Our Labor Day Weekend plans came together in June after we’d decided that the featured hike at Dug Bar in Hells Canyon wasn’t going to happen (post). With us not willing to make the drive to that trailhead our quest to hike all 100 featured hikes in one of the editions of William L. Sullivan’s Eastern Oregon guidebooks (post) needed adjusting. We had been working out of his 2015 third edition of the “100 Hikes/Travel Guide Eastern Oregon”, but his 2022 “100 Hikes Eastern Oregon” did not include Dug Bar as a featured hike. While our Dug Bar problem was resolved by making the switch one of the new featured hikes was located in the Steens Mountain Wilderness in SE Oregon 350 miles from Salem. The long holiday weekend provided us an opportunity to head to Burns and pick up that featured hike.
We decided to stay in Burns, OR and planned on heading to the featured hike, Threemile Canyon, on Sunday. We picked a pair of other hikes for Saturday to fill the time before checking into our room. Our first stop was at the BLM managed Dry River Canyon Trail.
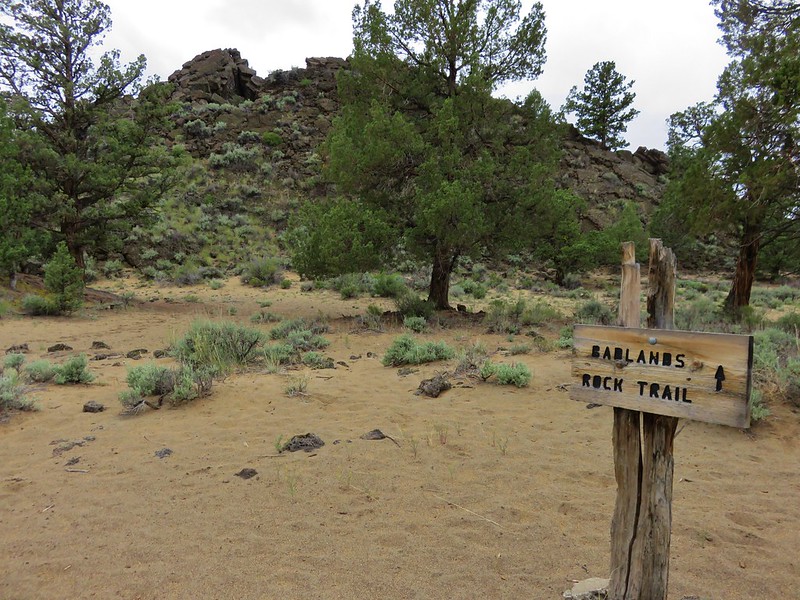
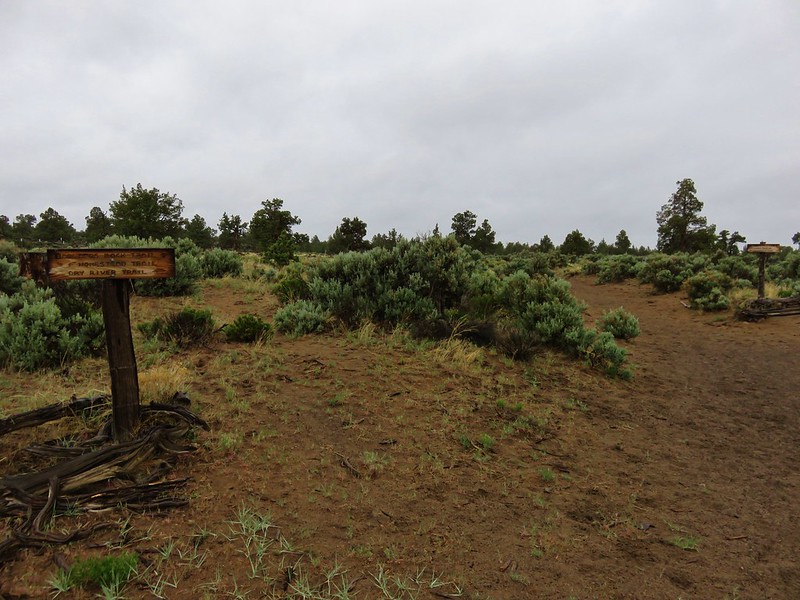
The canyon and trail are closed annually from February 1st through August 31st to protect wildlife, so this was a good option for this weekend having just recently reopened. We opted to park at the far end of the ODOT gravel area at a sign announcing the trail’s status as “Open”.

This left us with a 0.6-mile road walk to the actual trailhead but saved us from having to drive the primitive rocky road.

 Open sign at the trailhead.
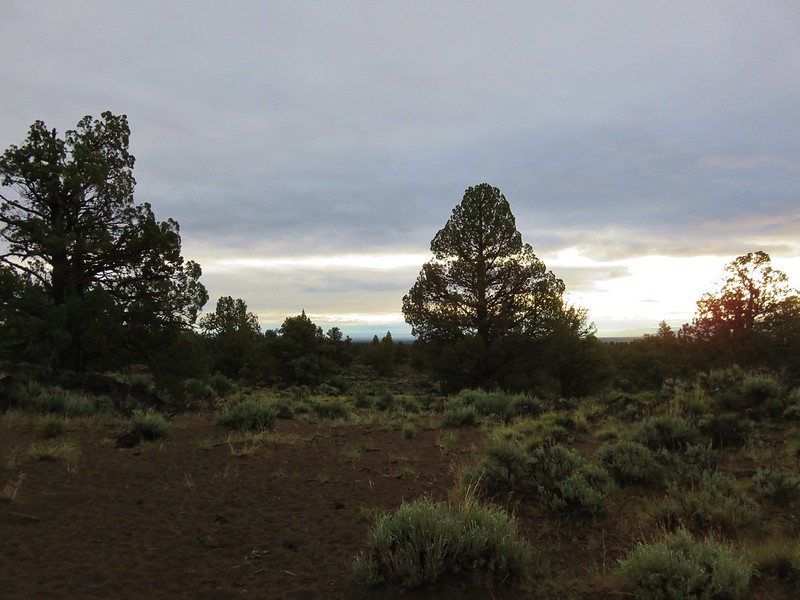
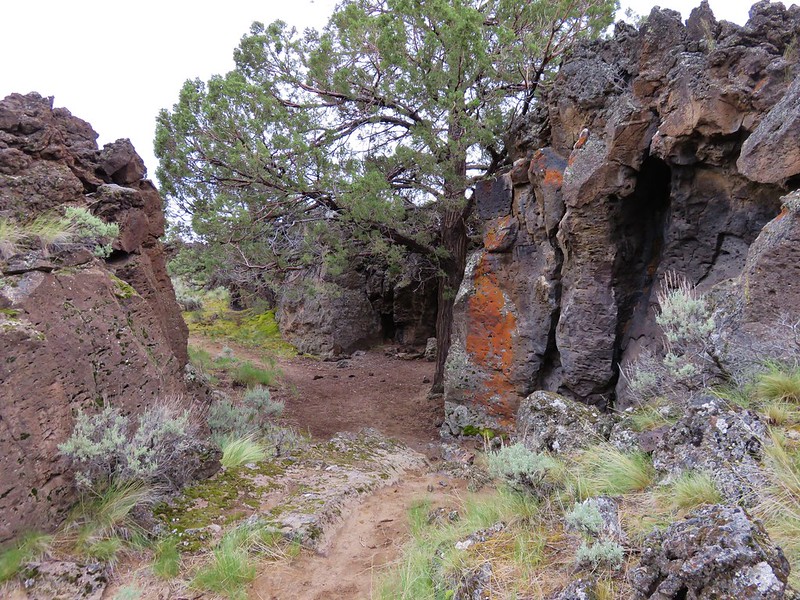
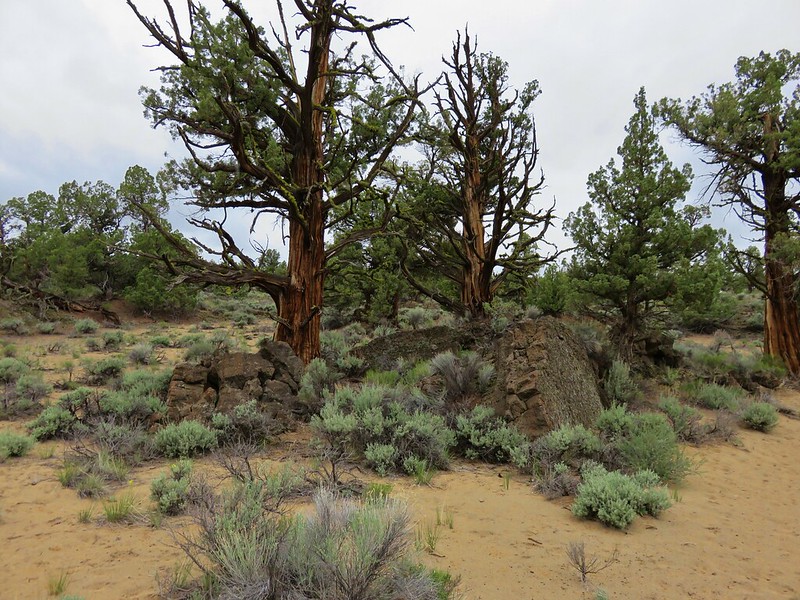
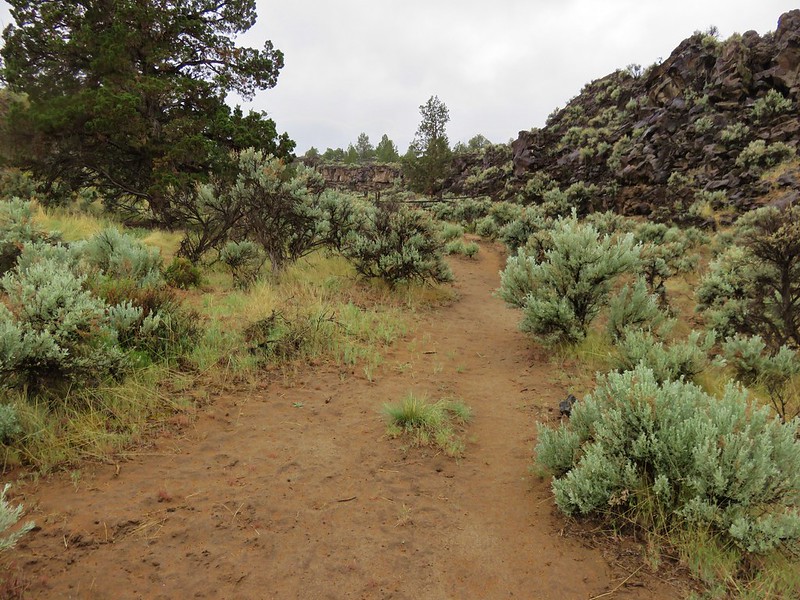
We set off on the dirt trail into the canyon which in the ancient past was the course of a river flowing from the former Lake Millican.

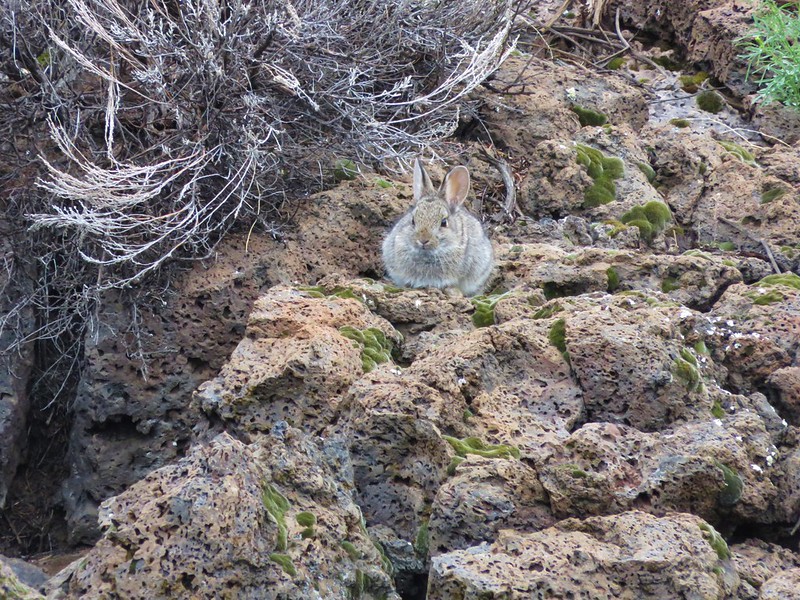
 Rabbit in the sagebrush.
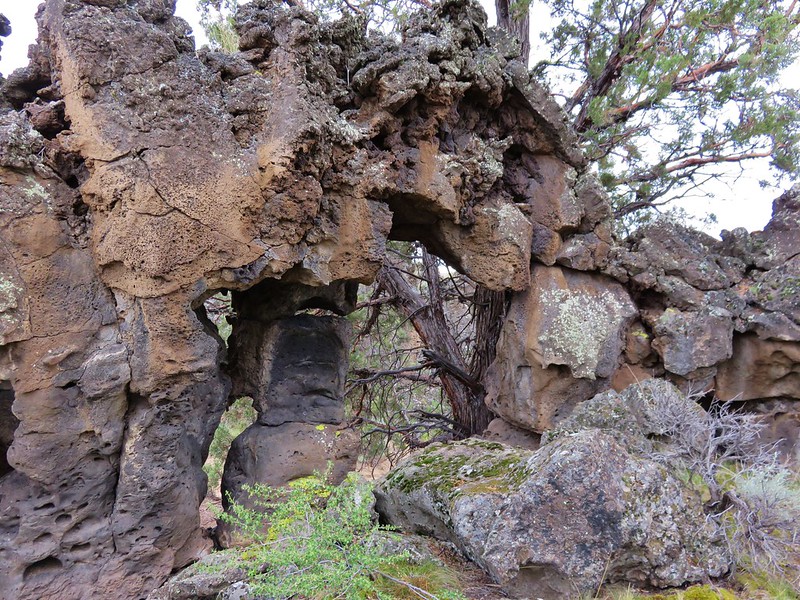
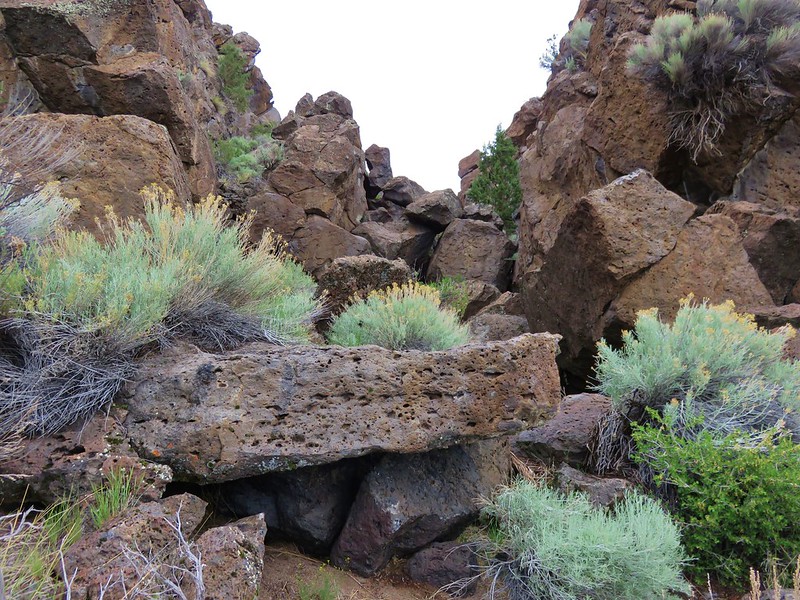
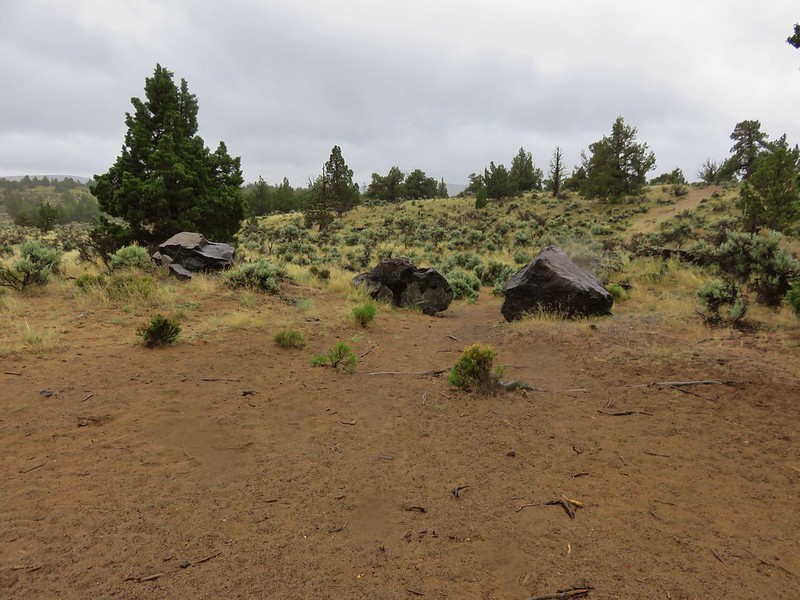
 Some of the exposed rocks showed the work of the ancient river.
 Shaped by water.

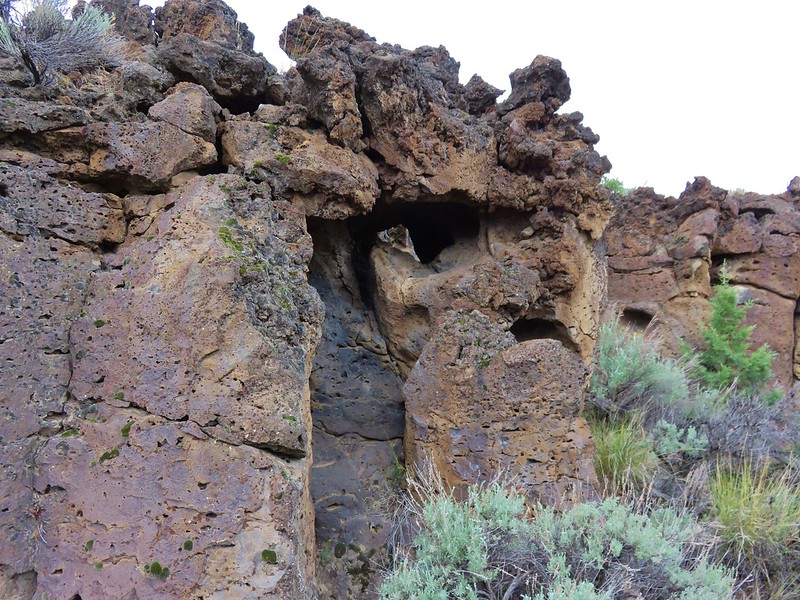
 Colorful rock bands along the canyon wall.


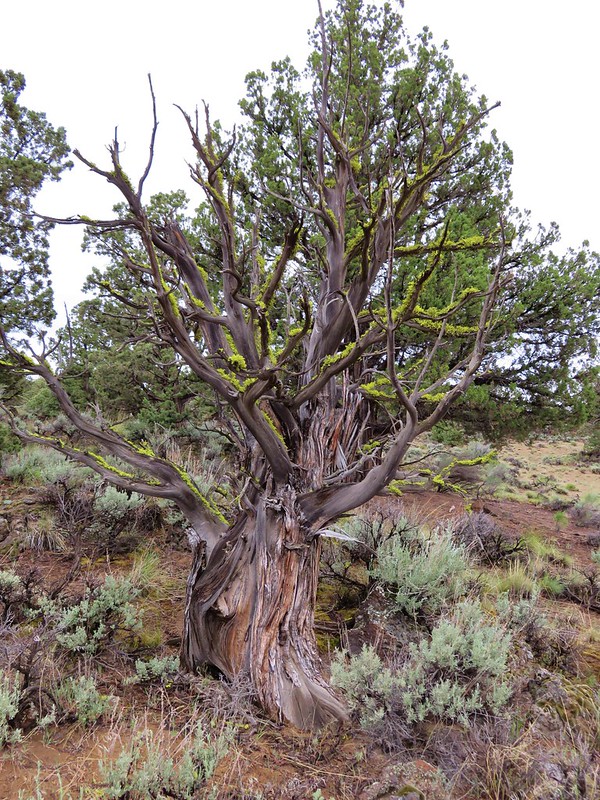
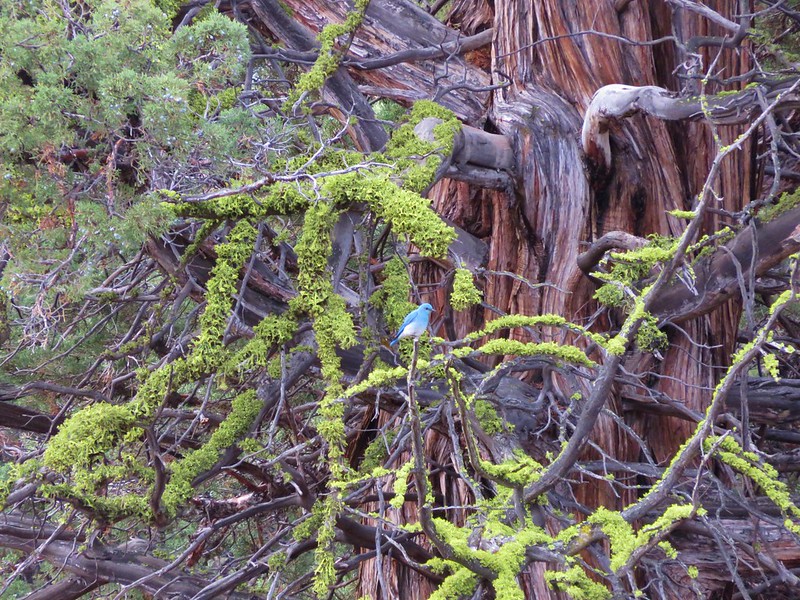
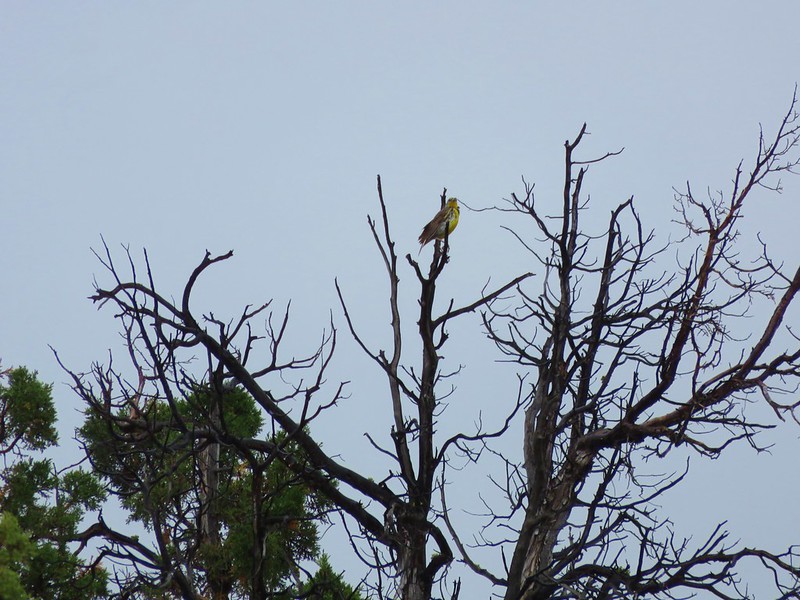
While the canyon is closed to protect peregrine falcon nesting there were a number of other birds among the junipers. The most surprising for us were a number of Clark’s nutcrackers which we typically see at much higher elevations where their favorite food, the seeds of whitebark pines, is found.

 There is a huge nest up on the cliffs.
 The nest
 Wren
Wren
 American kestral
 Tall sagebrush in the canyon.
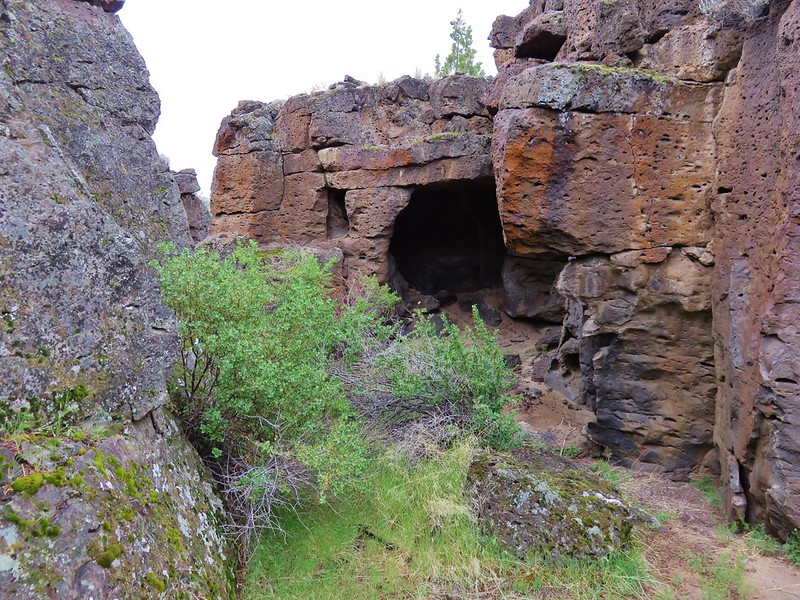
 The canyon reaches a depth of approximately 300′.
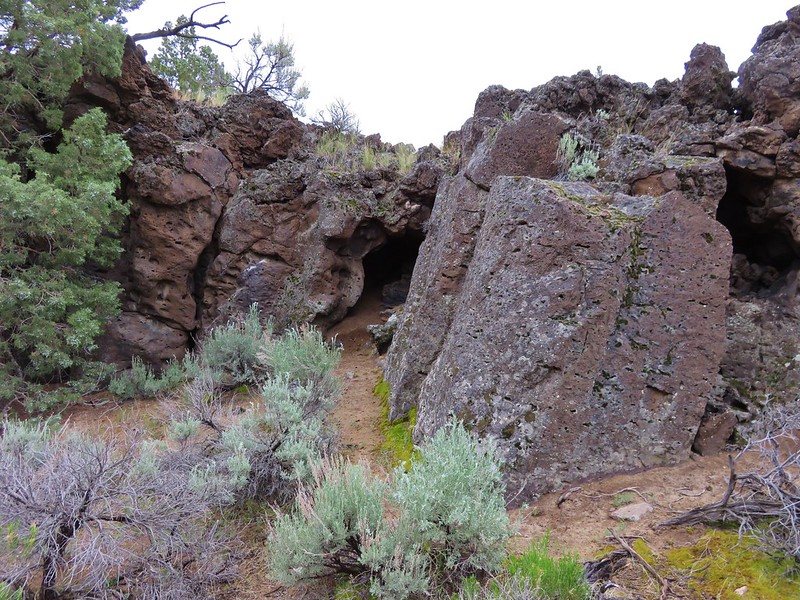
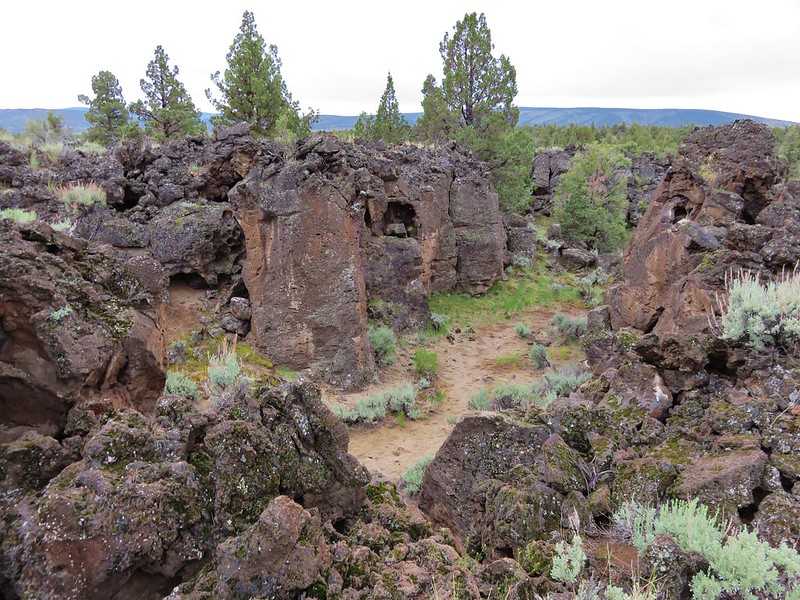
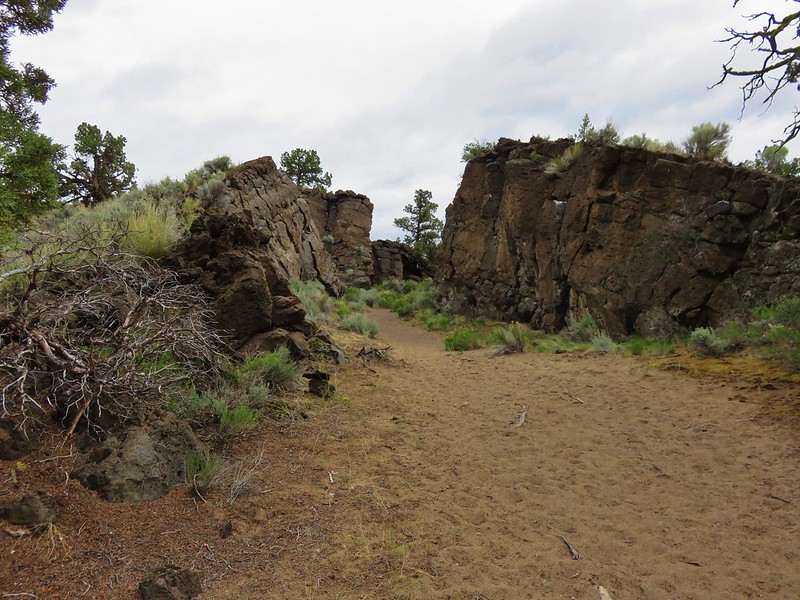
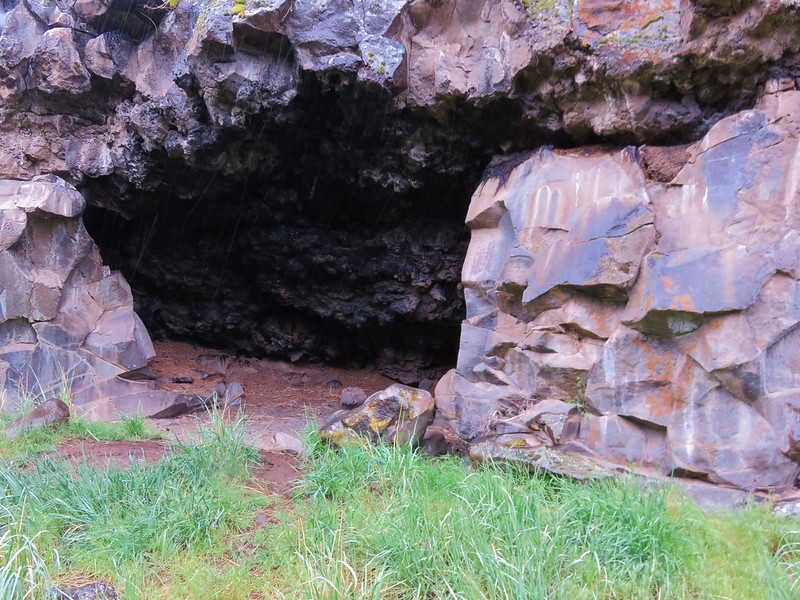
After just over 2 1/4 miles we arrived a boulder field where it appeared at first that the trail abruptly ended.

We knew the BLM map showed it continuing and eventually emerging from the canyon and curving to meet Highway 20 across from the Evens Well Trailhead
We were just about to turn back when we spotted the continuation of the trail heading to the right up some rock steps.

The trail climbed up and around the boulder field then dropped steeply back down to the canyon floor.


 Skipper
 I believe this is a ringlet of some sort.
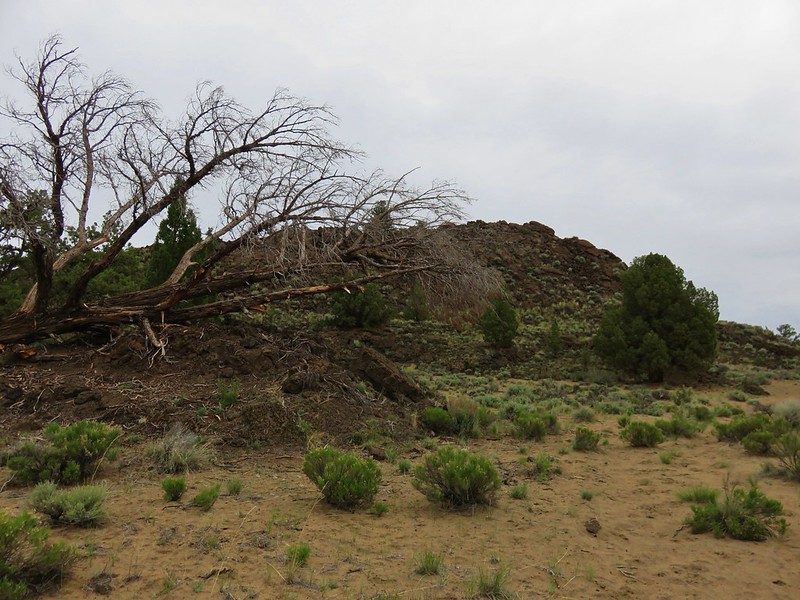
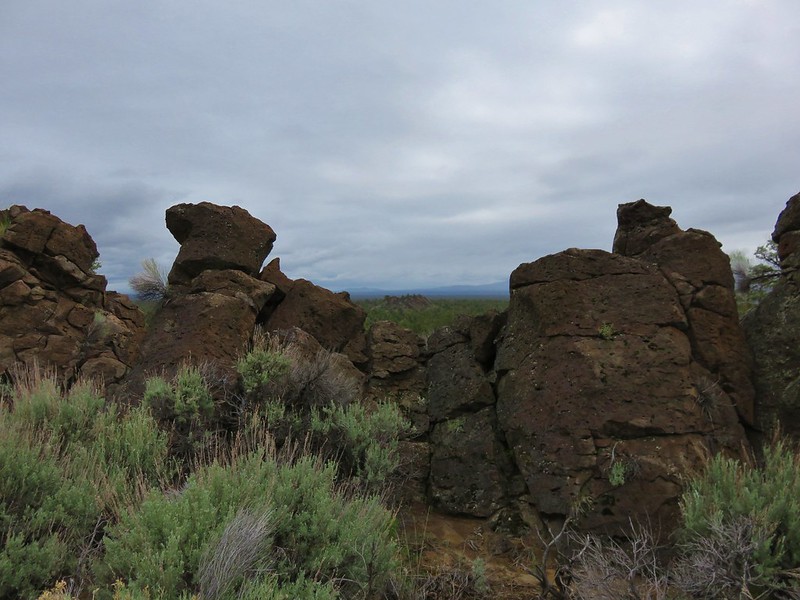
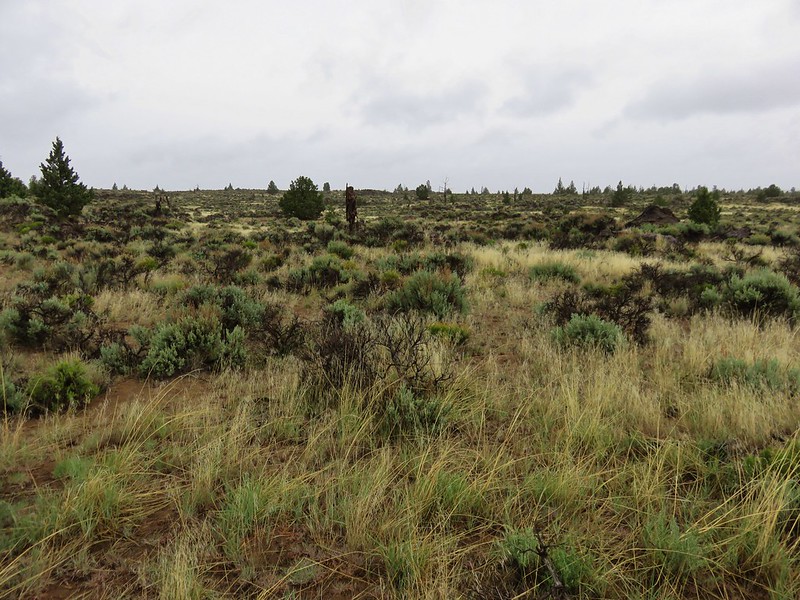
Beyond the boulder field the canyon walls shortened and we were soon veering right out of the canyon onto a sagebrush plateau.


 Heading toward the Evens Well Trailhead.
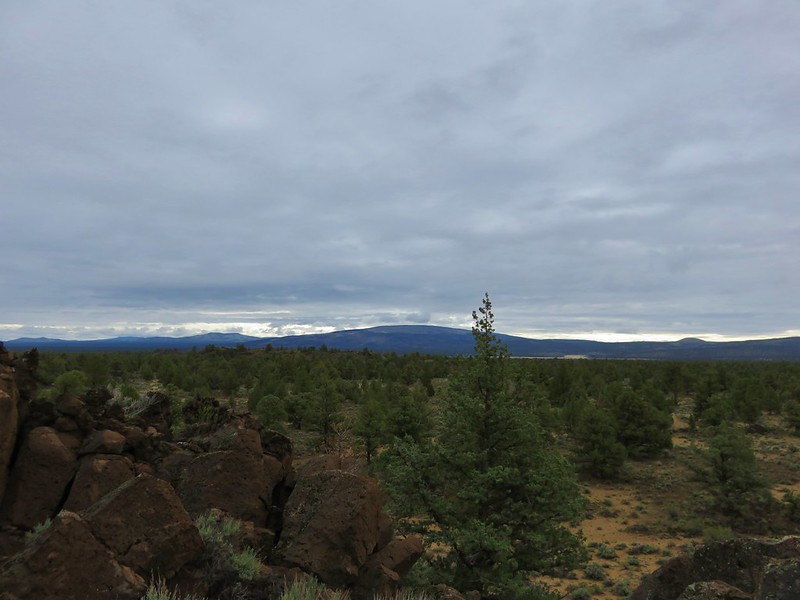
 Looking toward the Dry River Canyon from the plateau. It was impossible to tell that there was such a deep canyon out there.
 Pine Mountain (post) to the SE.
We returned to the canyon and returned the way we’d come. We started seeing a few hikers on our way back as well as a number of lizards soaking in the Sun’s rays.

 The rock steps were more obvious on the way down them.

 A sparrow behind the sticks the camera was intent on focusing on.
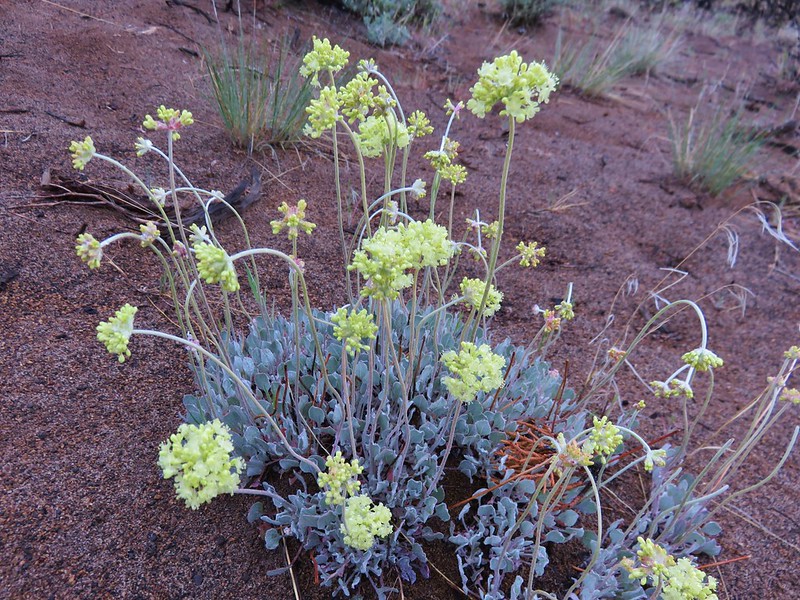
 Bee on buckwheat

 Arriving back at the official trailhead. Several SUVs were now parked here.
 They’re hard to make out but the Middle and North Sisters were visible from the road walk back to the gravel area.
Including the road walk our hike here came in at 7.9 miles with 550′ of elevation gain.

We hopped in the car and continued East on Highway 20 to Burns. It was too early to check in so we headed for our second stop of the day at the Idlewild Loop Trail in the Malheur National Forest. There are two possible starting points for the hike. We followed the Forest Service directions in the previous link and parked at the Idlewild Campground. The other option would have been to start from the Idlewild Sno Park.
 The trailhead at the campground.
 Neat map at the trailhead.
The trail began by a small map along the campground road behind the big wooden map.

We followed this path approximately 100 yards to a “T” shaped junction with the Idlewild Loop Trail where we turned right.
 Gold flagging on the sagebrush ahead marked the junction.
 The trail followed a fence line before turning right along Highway 395.
 Tiny frog
 The trail crossed this gated road near the highway. A blue diamond marked the trails continuation.
 One of several interpretive signs along the loop.
 Squirrel
 The highway was just out of sight to the left.
 Big ponderosa
We initially missed the continuation of the trail toward the Sno Park and headed downhill to the campground road.

 We crossed the campground road and quickly realized our mistake and backtracked.
 This time we spotted the correct trail and forked right here.
From the unsigned junction we climbed for a tenth of a mile to a signed junction with the Microwave Trail.

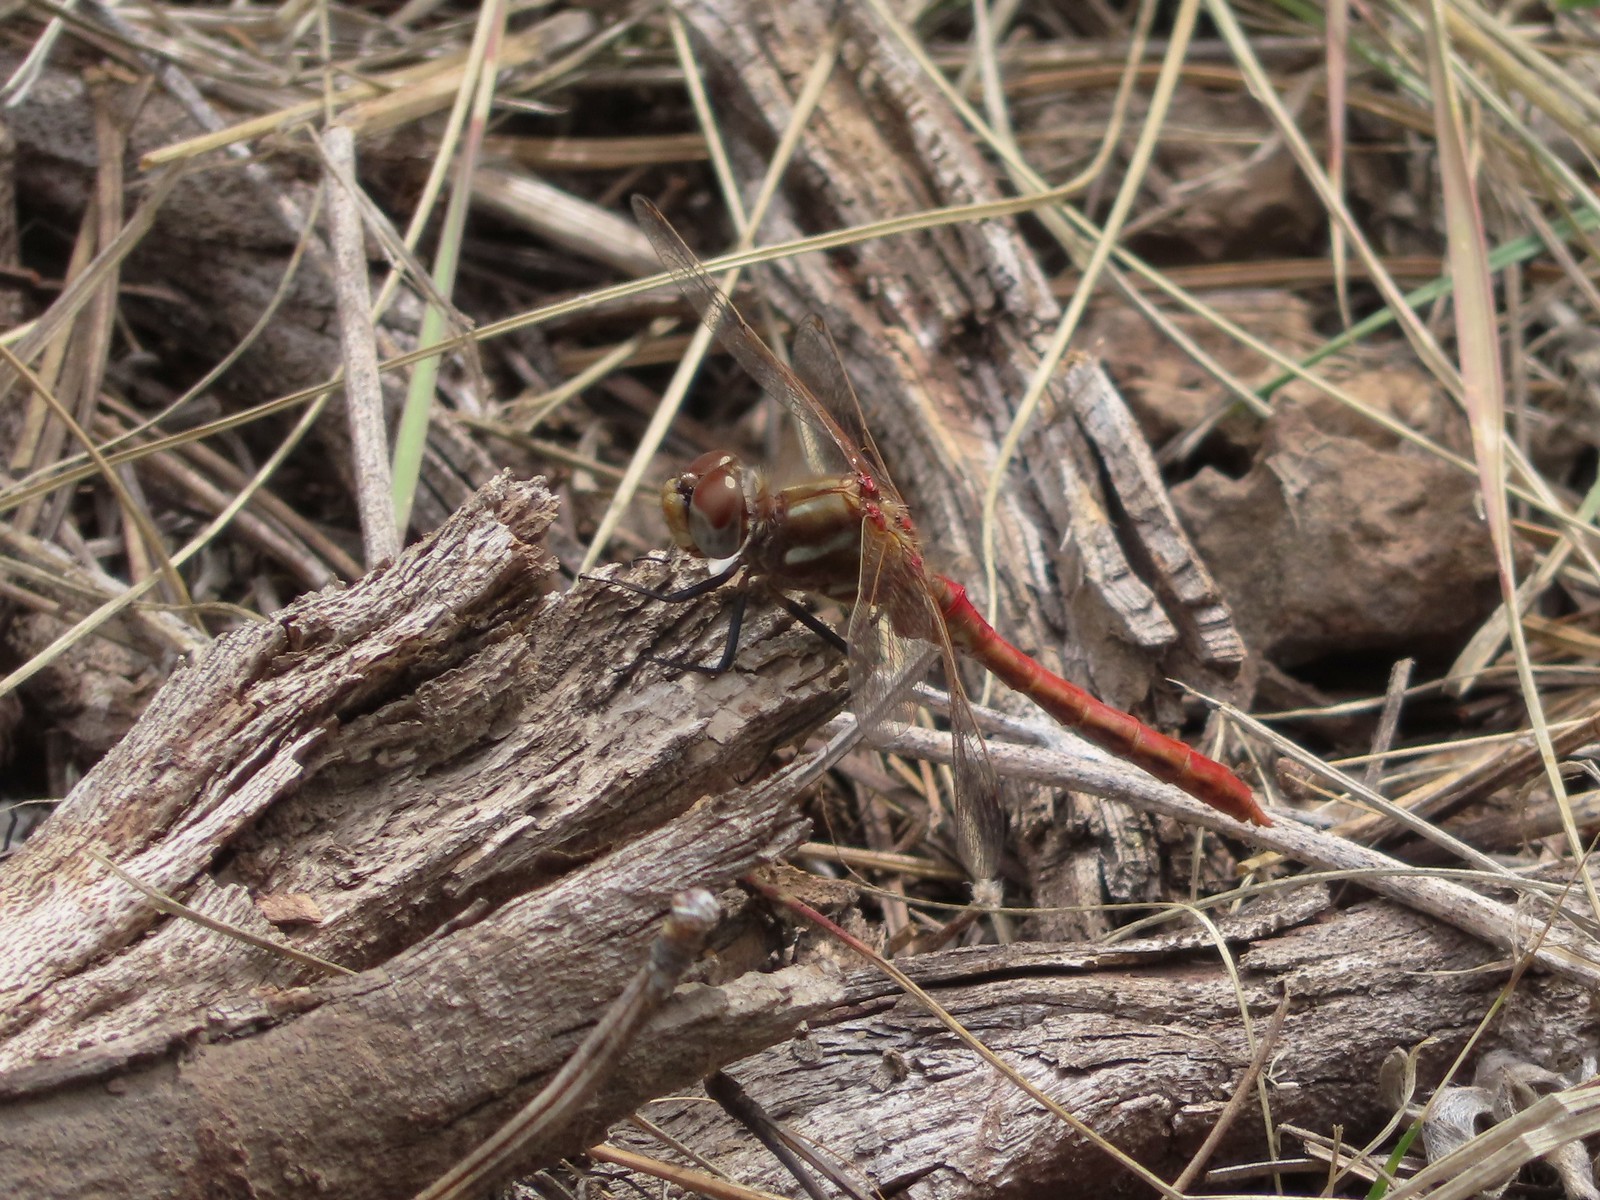 There were lots of dragonflies in the area.


We turned right on the Microwave Trail and followed this trail downhill and once again crossed the campground road.

On the far side of the road the trail passed through a fence and followed an old roadbed gently uphill.


 Golden-mantled ground squirrel already sporting some of its winter weight.
We followed the roadbed for a third of a mile before arriving at another signed junction.

 We turned right here onto the Devine Summit Trail.
The Devine Summit Trail climbed gradually before leveling out and then eventually descending back to the Idlewild Loop Trail after just over a mile.

 Deer in the forest.

 There was a bit of blowdown to navigate along the trail.
 Some maintenance had been done in the past. There were also a good number of benches along the trail, all of which were accompanied by a post with a number.
 Another bench near this fence.

 Ponderosa forest
 White breasted nuthatch
 Another post and bench.
 Arriving at the Idlewild Loop on the far side of the fence.
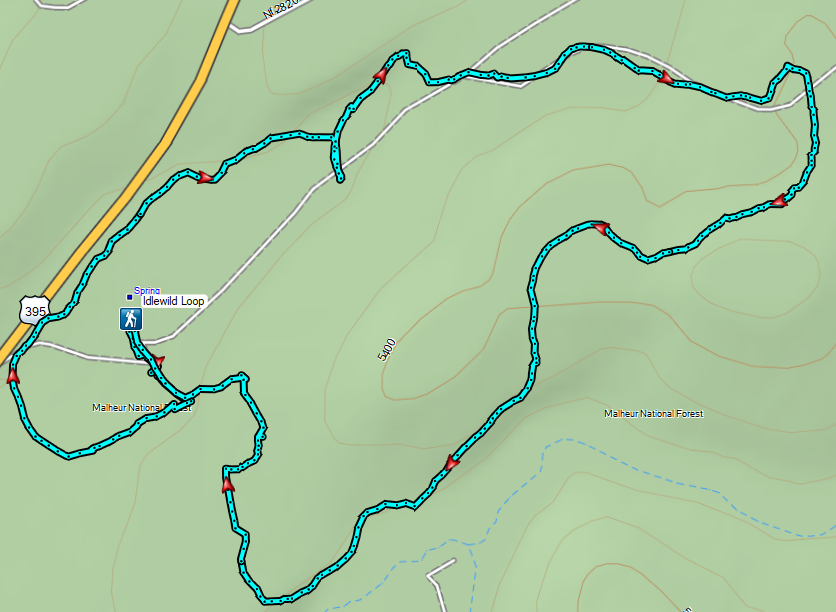
We turned left to complete our loop and then took a right onto the spur that led back to the trailhead.

Our little loop here came to 2.7 miles with 300′ of elevation gain.
This was a very enjoyable hike and we didn’t see another person until we were back at our car and another couple pulled up to the trailhead. We both imagined ticks could be an issue at certain times of the year but on this day the coast was clear. We made the 25 minute drive back into Burns and checked into our room and prepared for another canyon hike the following day. Happy Trails!