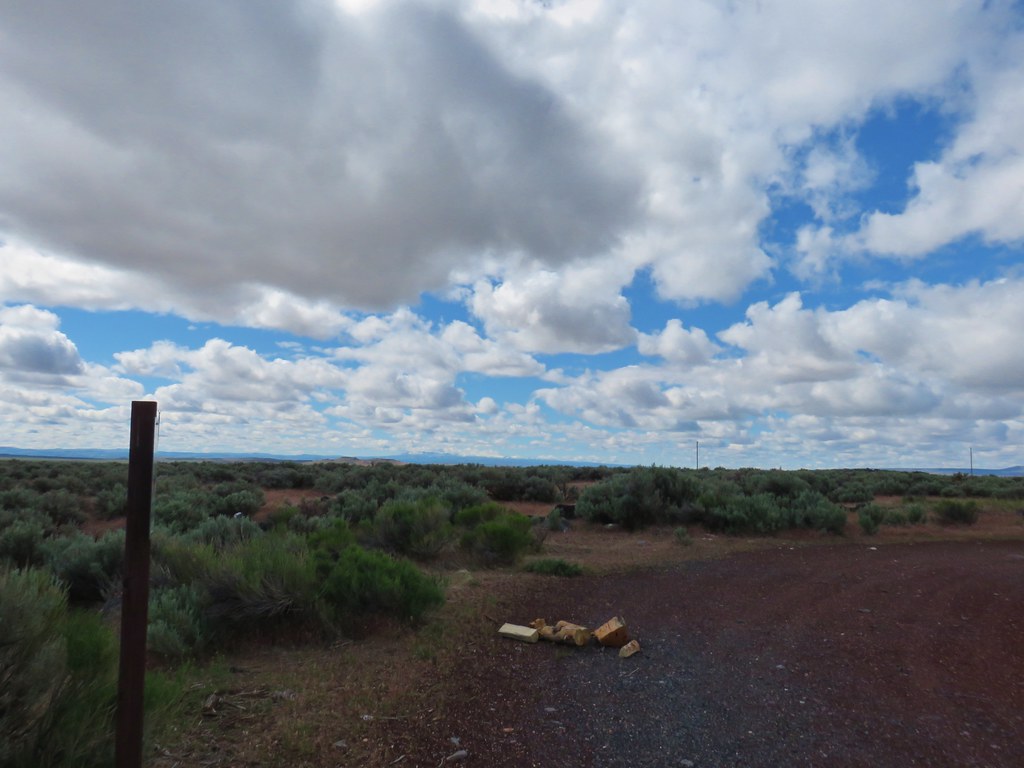
After winding up in Caldwell, ID the at the end of day 2 of our vacation we had a bit of a longer drive for our two planned hikes for day 3. The drive to the turnoff for Jordan Craters would have been just over 8 miles but from Caldwell it was a little over 55 miles. Either way that still left 27 miles of gravel and dirt roads from Highway 95 to reach the craters. The first 24 of those miles were on decent gravel roads but then the route to the craters forked left onto a rough dirt road which we followed for a mile and a half to another fork. Here we were met with a sign warning recommending 4 wheel drive vehicles only.
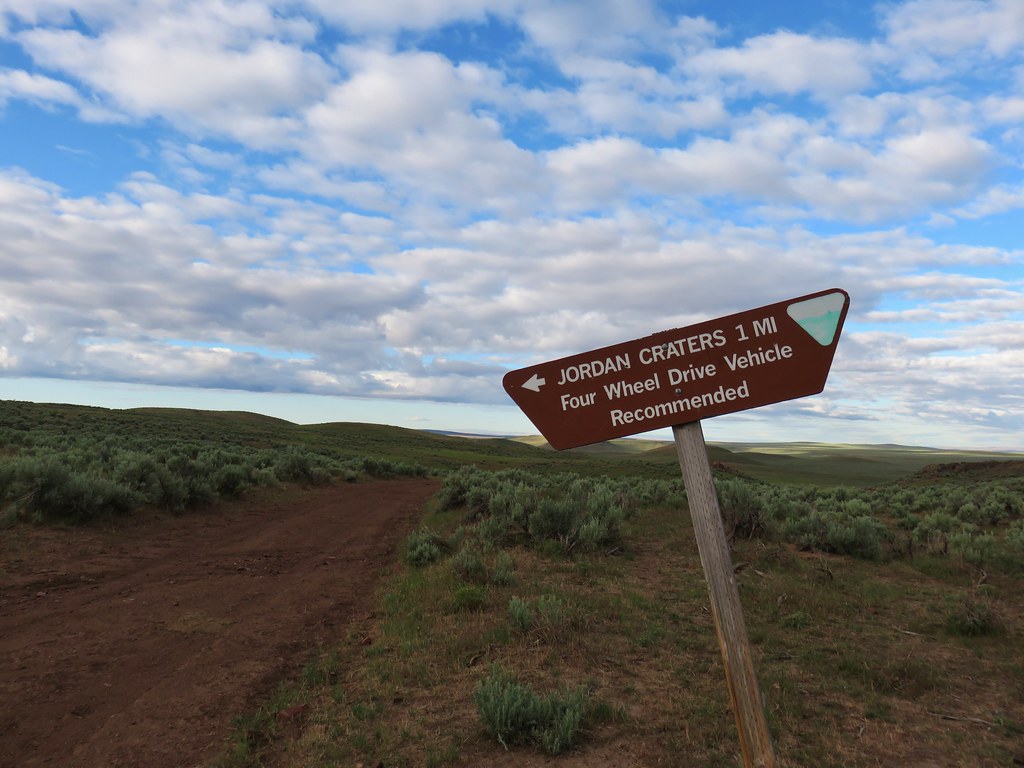
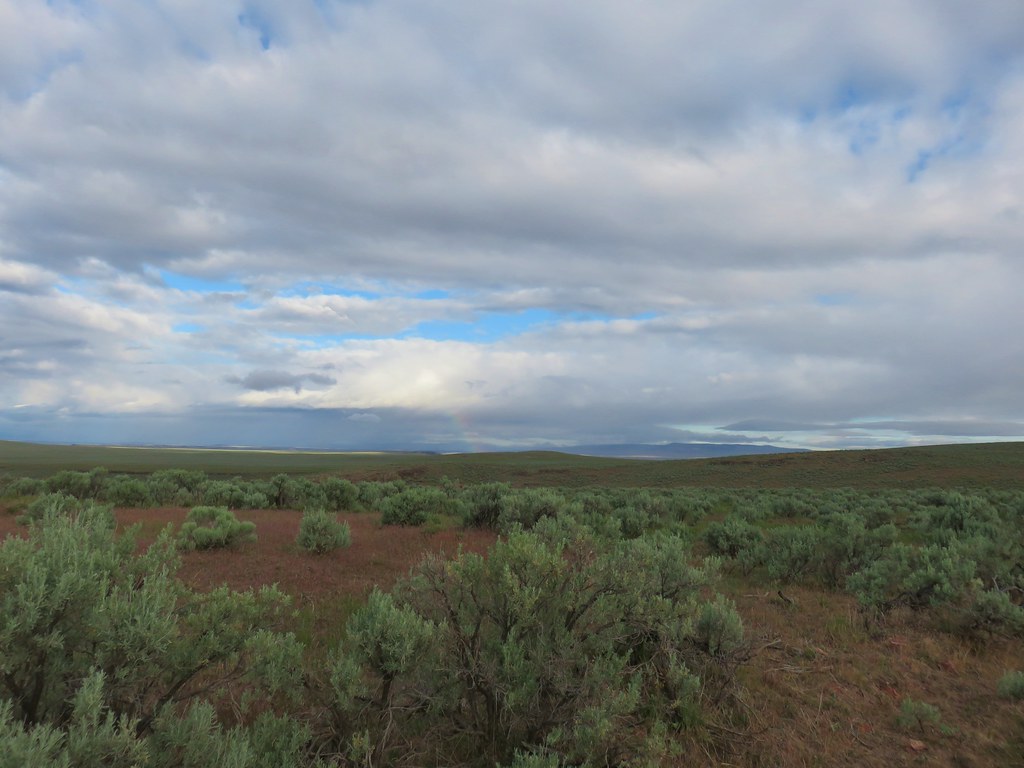
We decided we’d had enough of the rough roads and chose to hike the rest of the way down to the trailhead. There hadn’t been any rain in the forecast but it looked like there were some showers passing through the area.

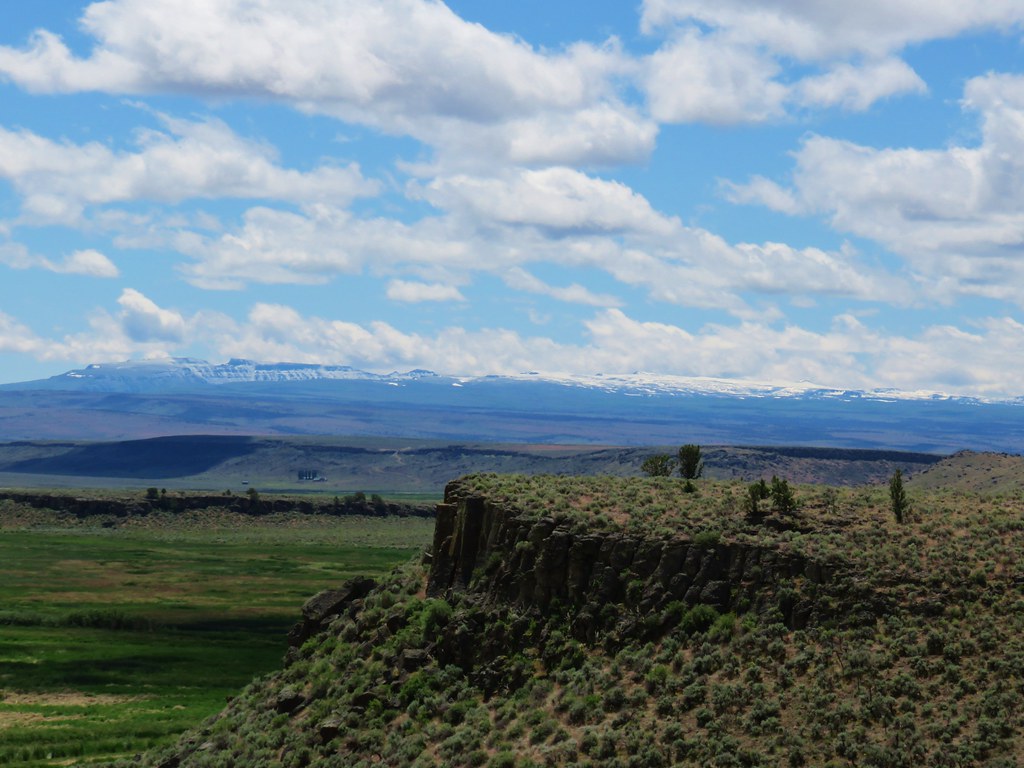
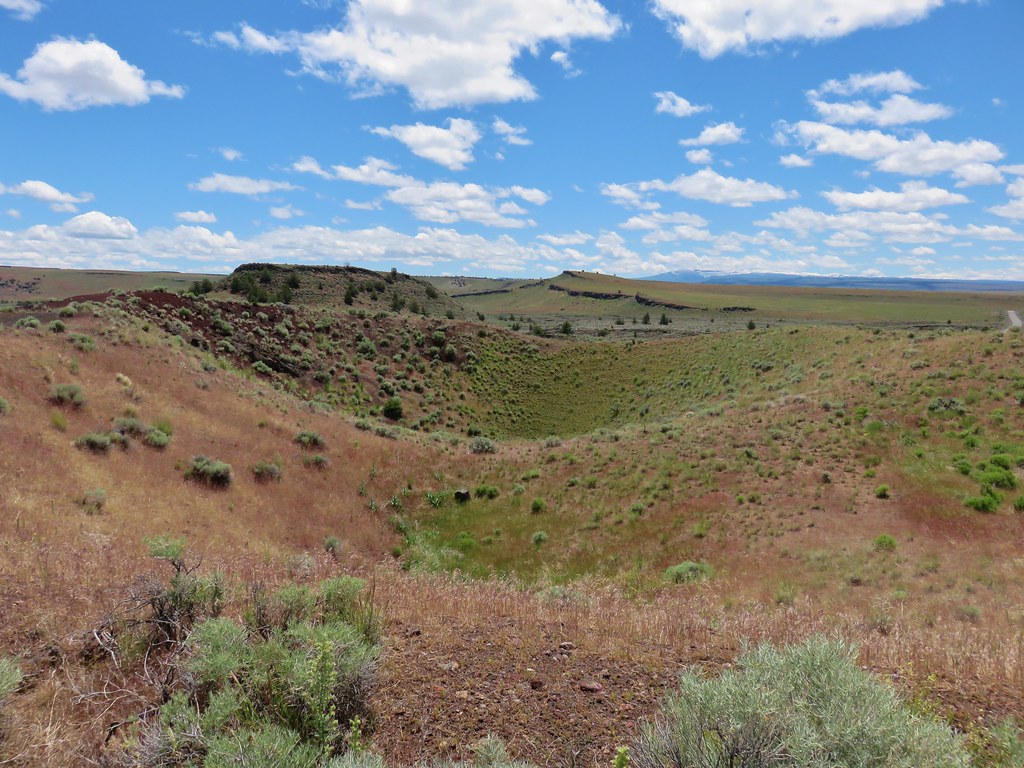
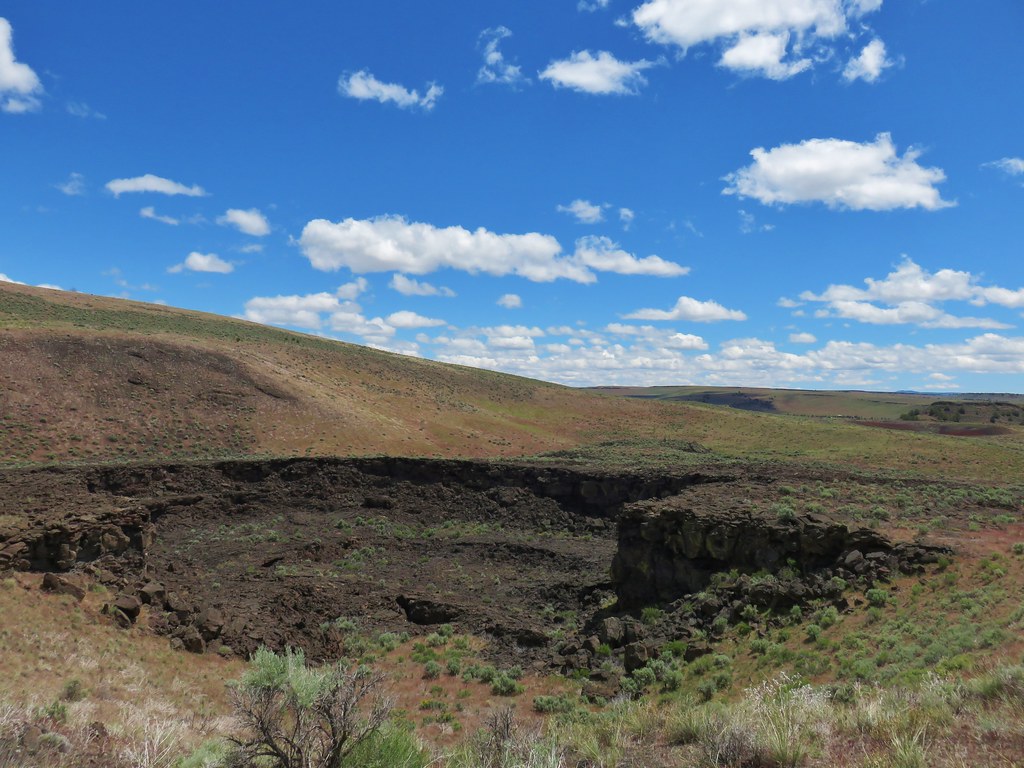
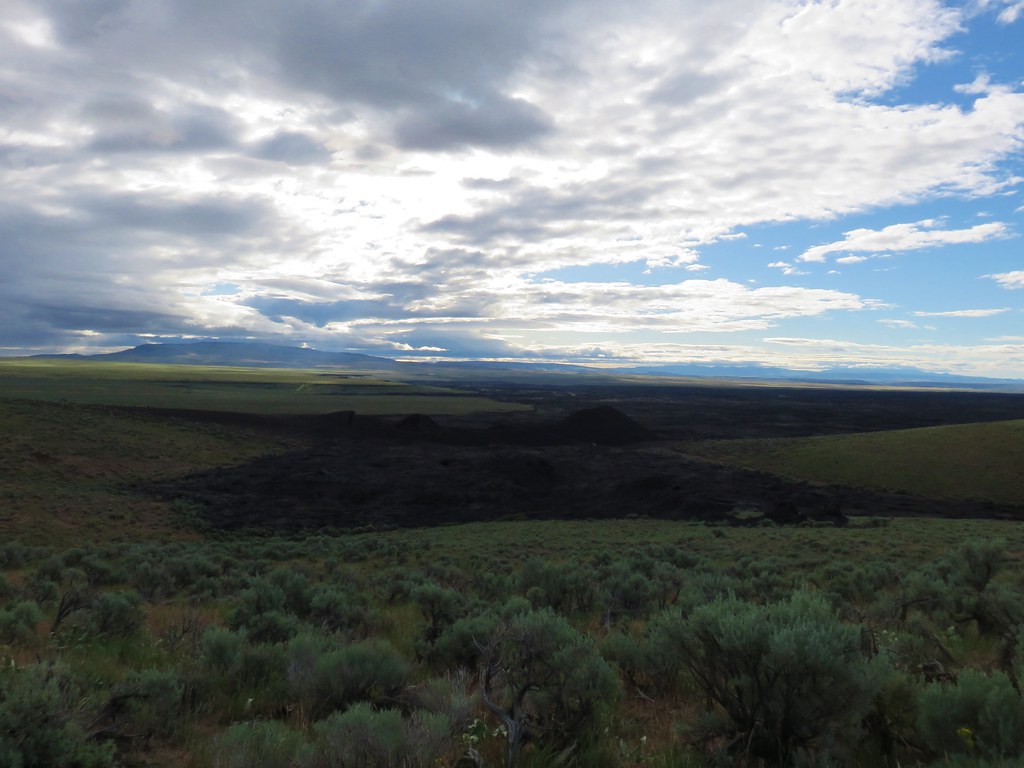
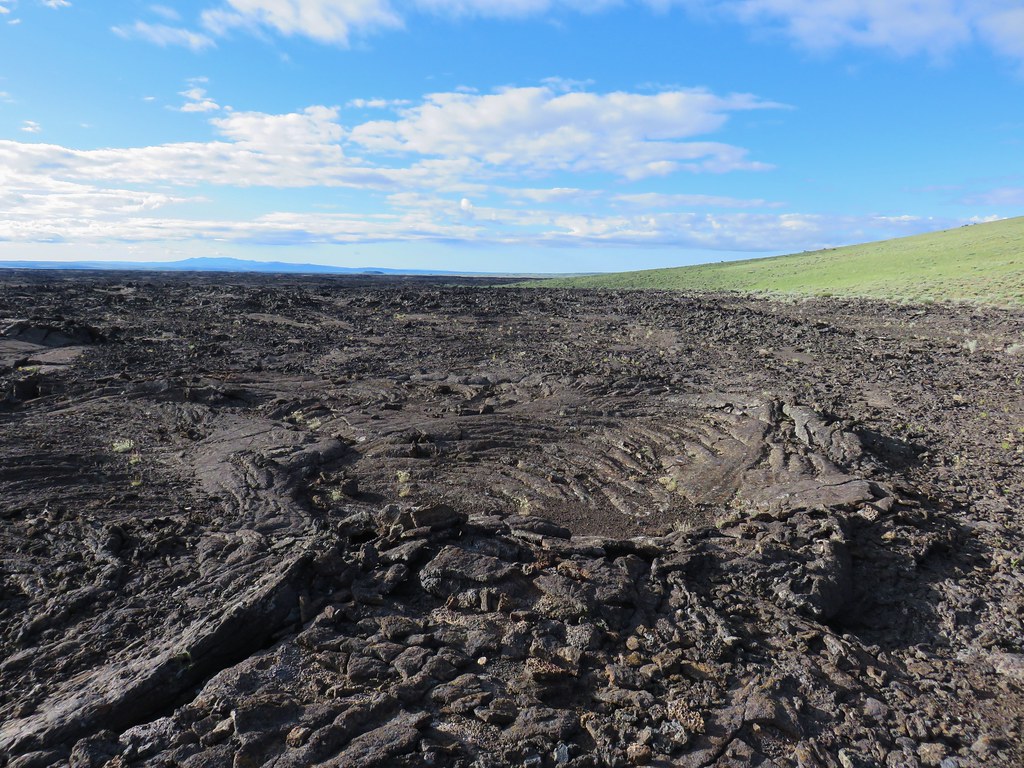
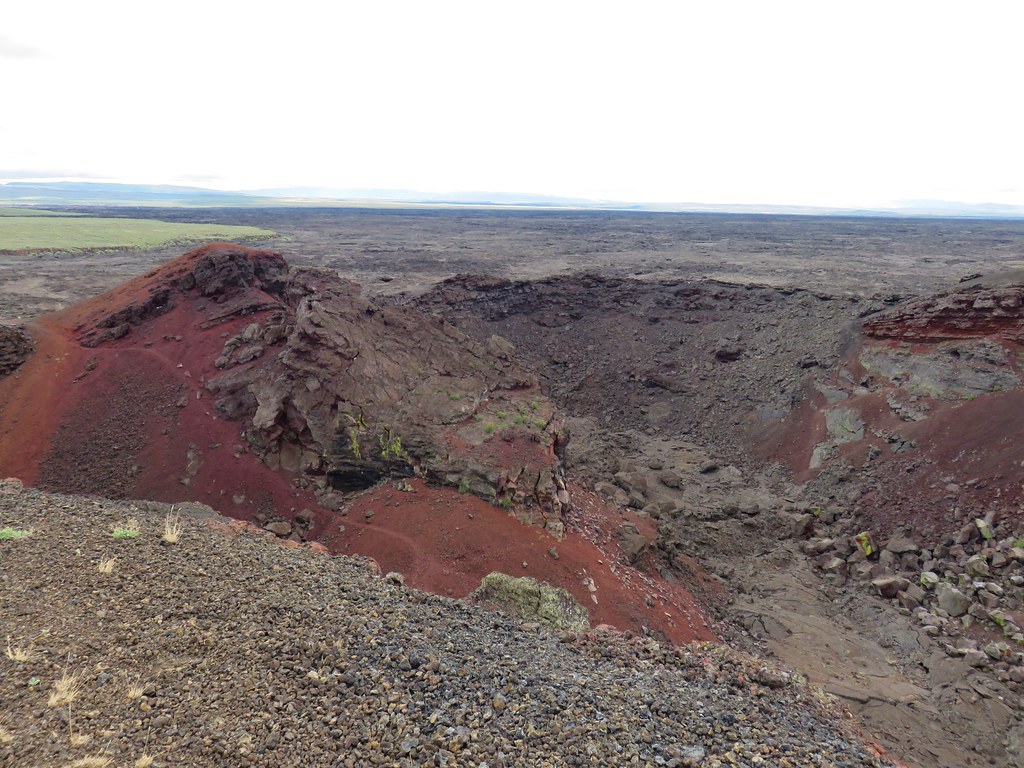
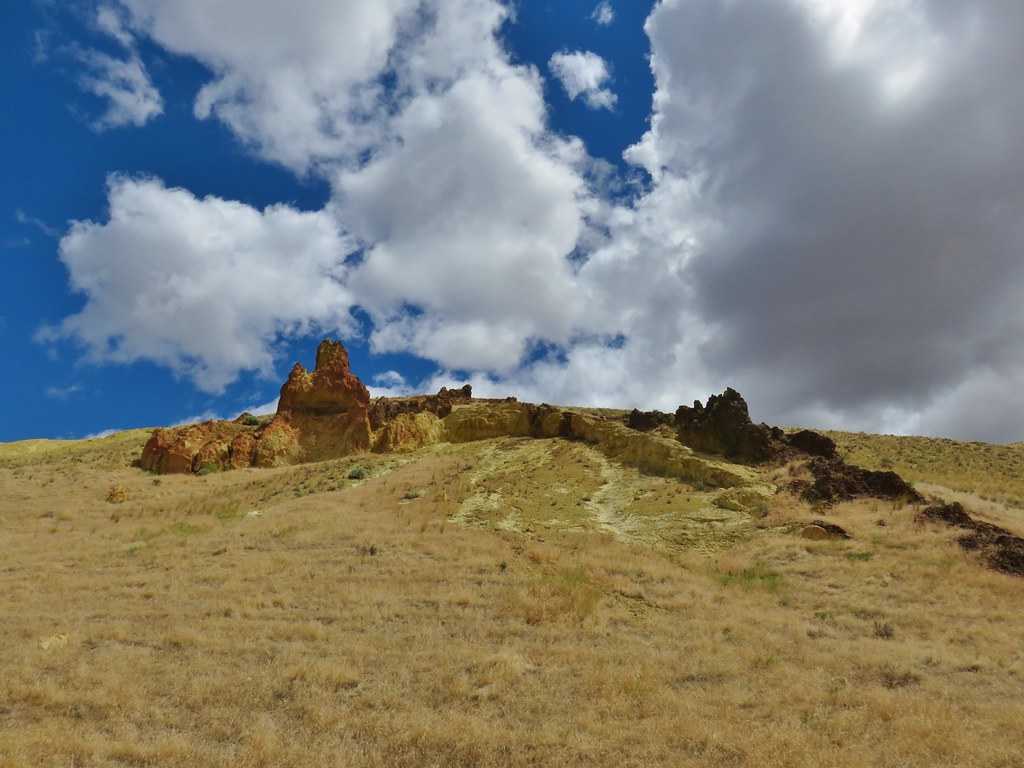
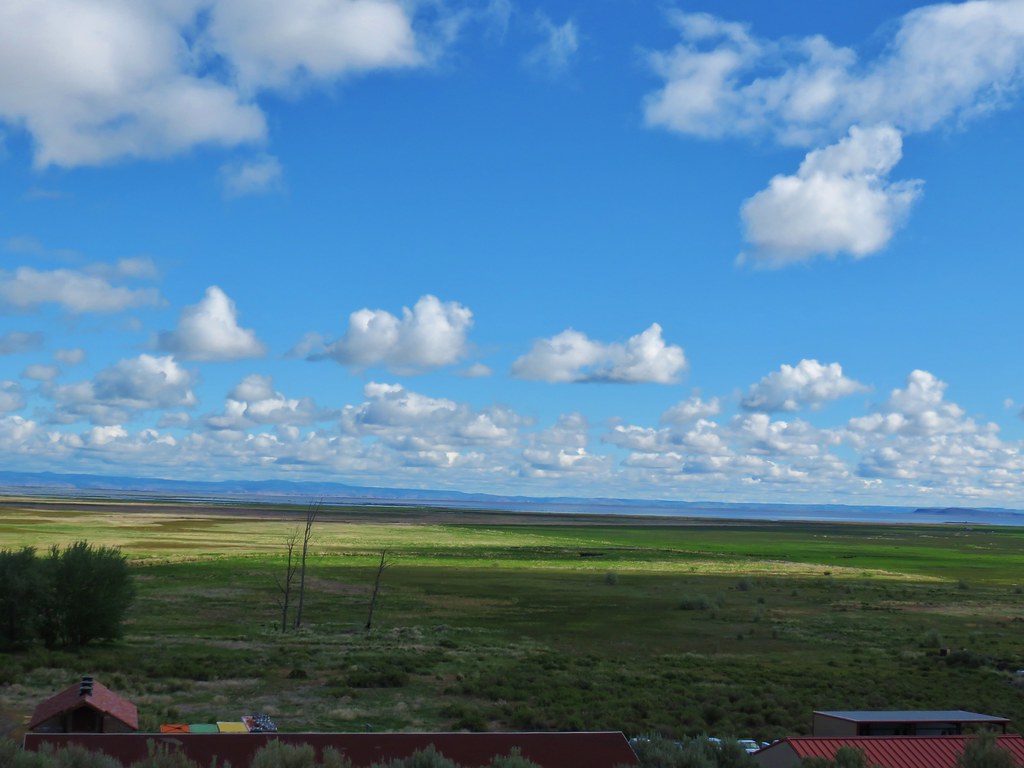
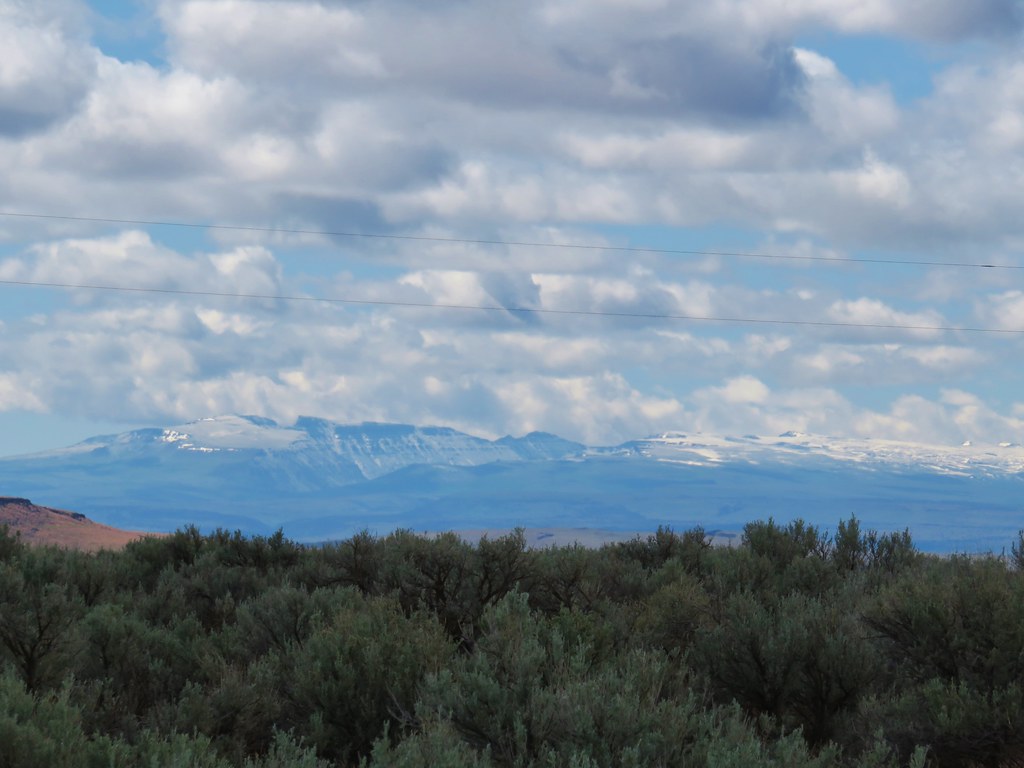
From the road we had a good view of the 27 square mile lava flow as well as the trailhead next to Coffee Pot Crater.

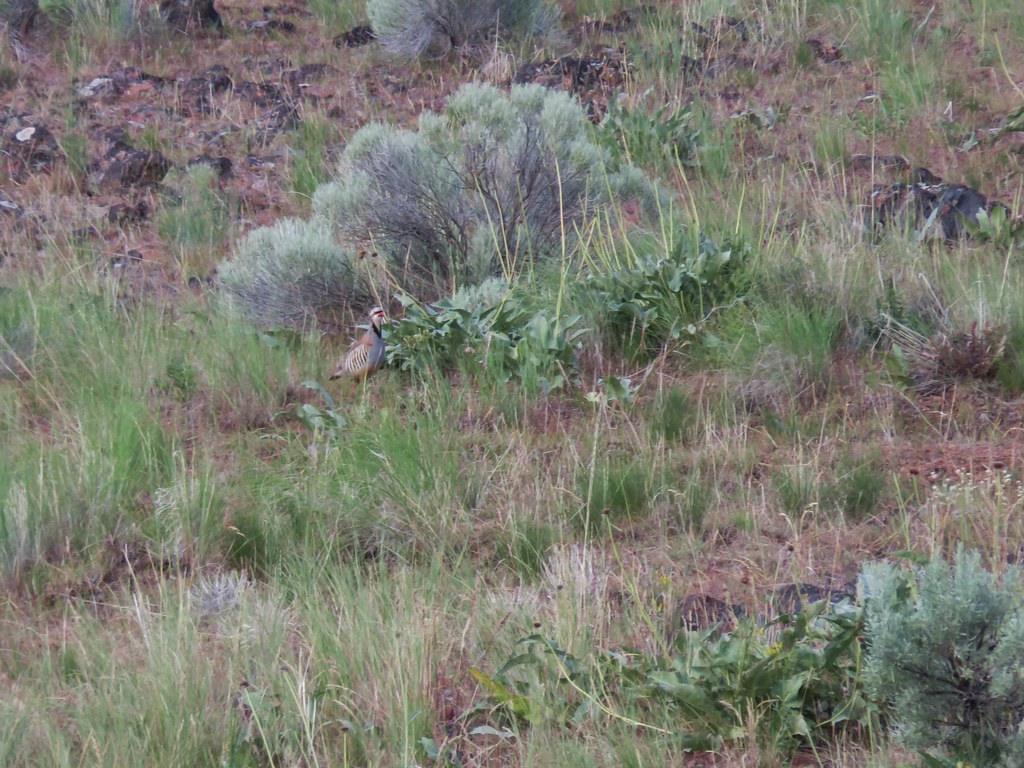
As we made our way down the road we spotted a chukar and a rabbit.

When we reached the trailhead we followed a path to the right of Coffee Pot Crater.
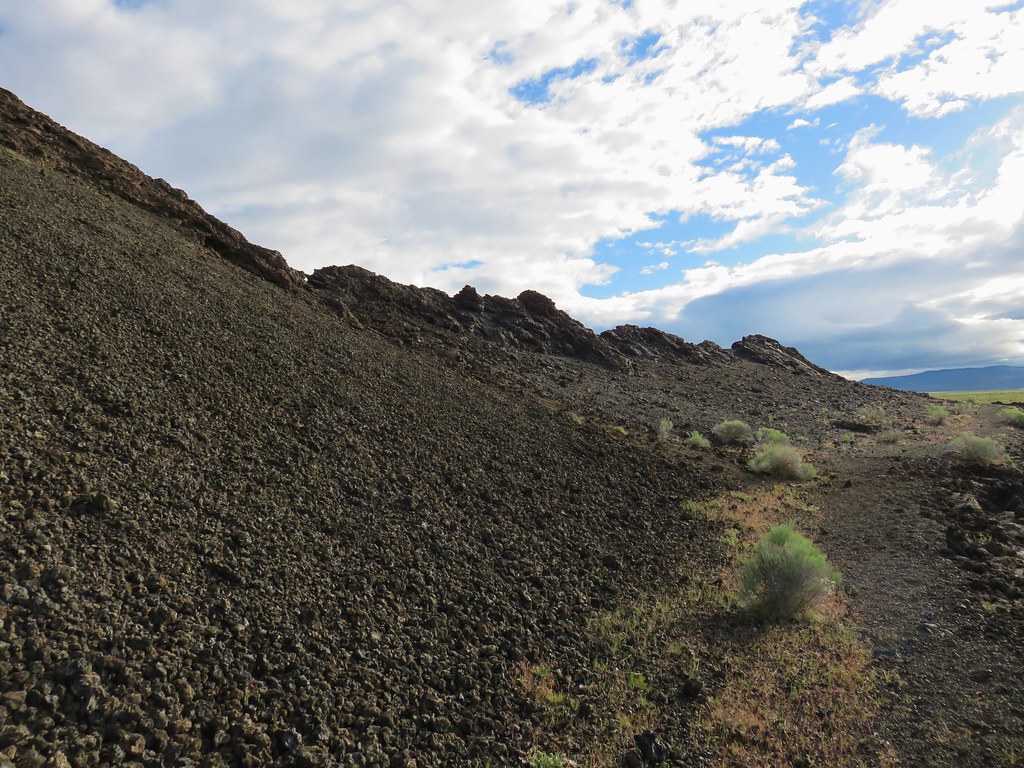
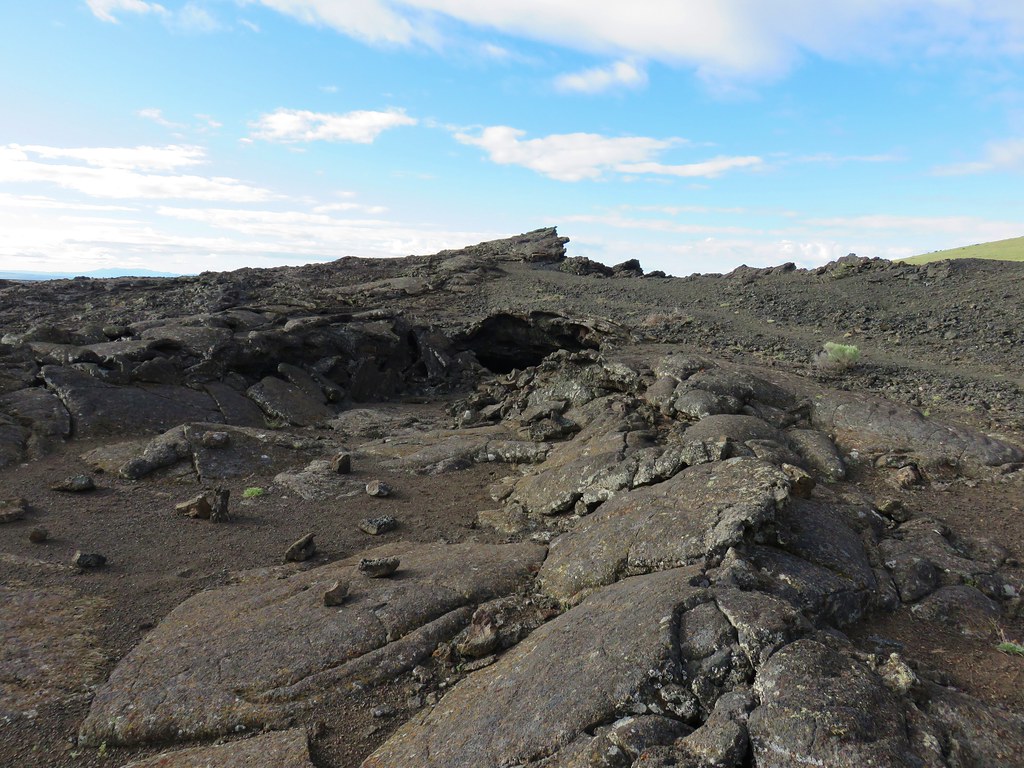
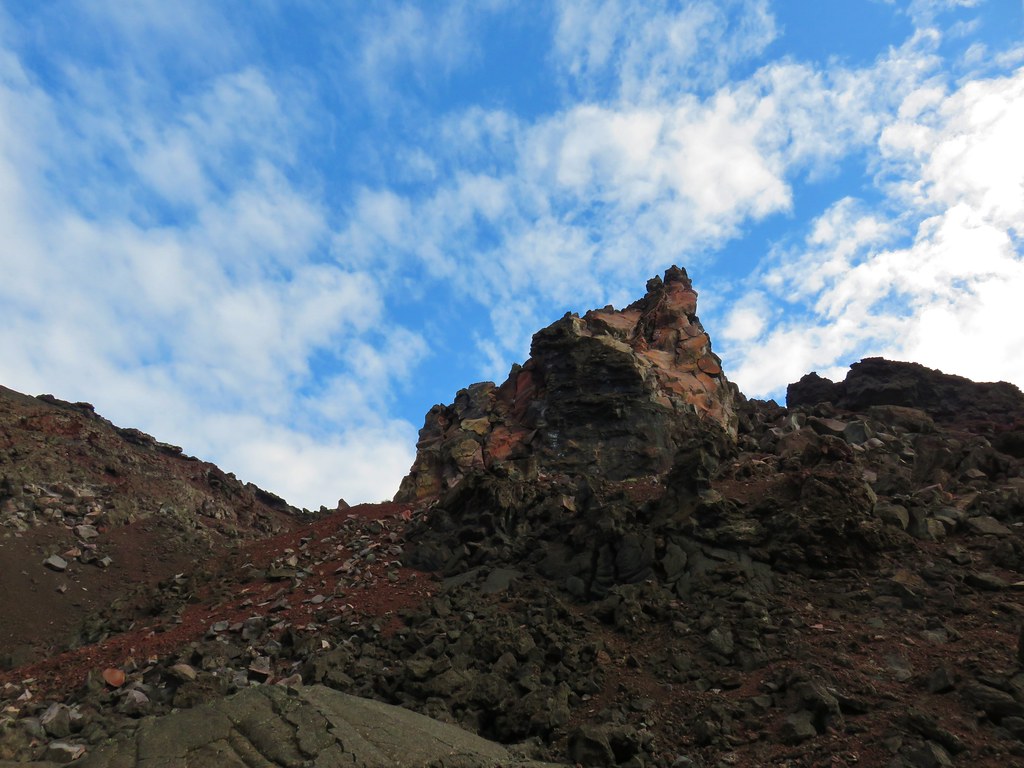
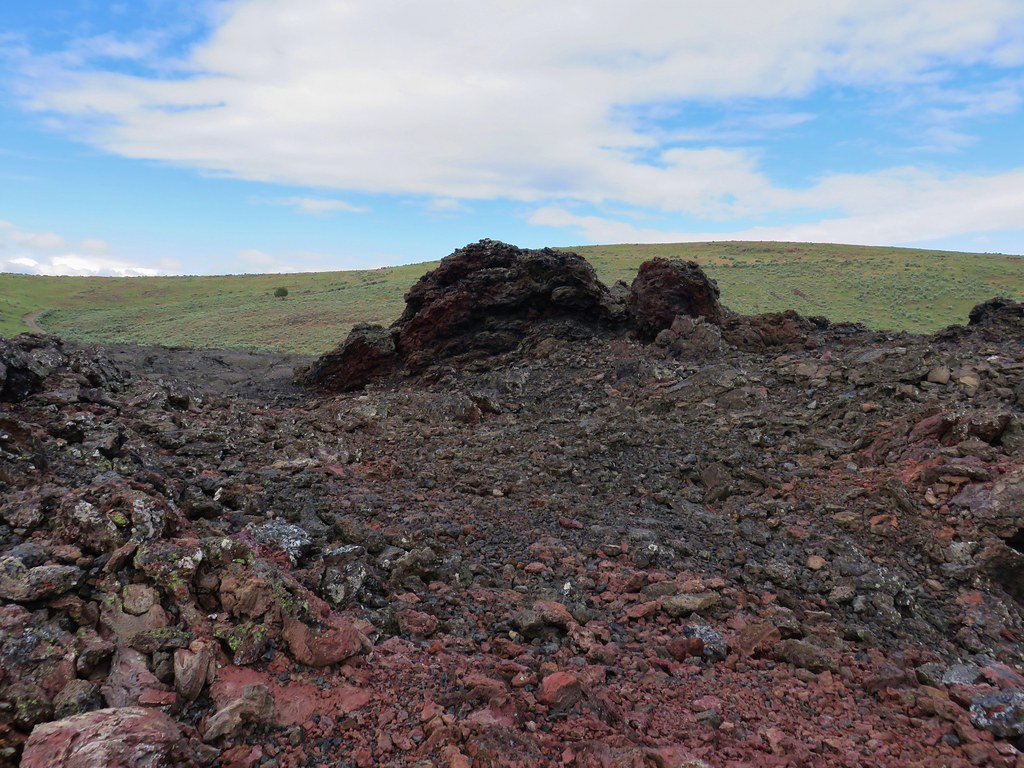
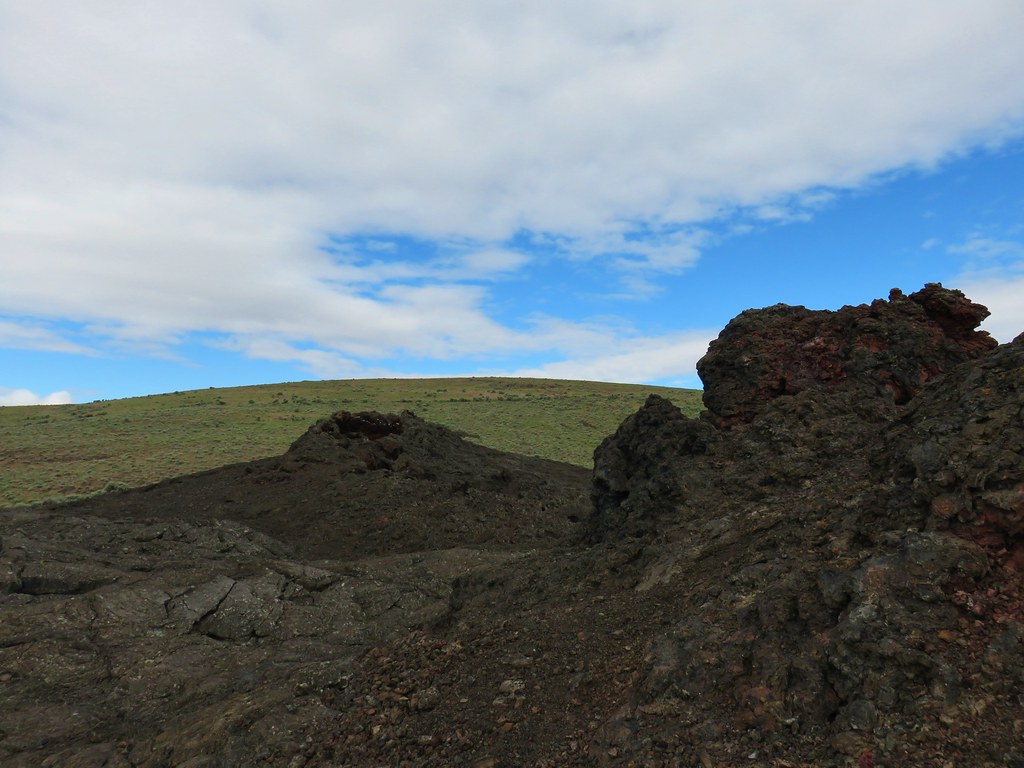
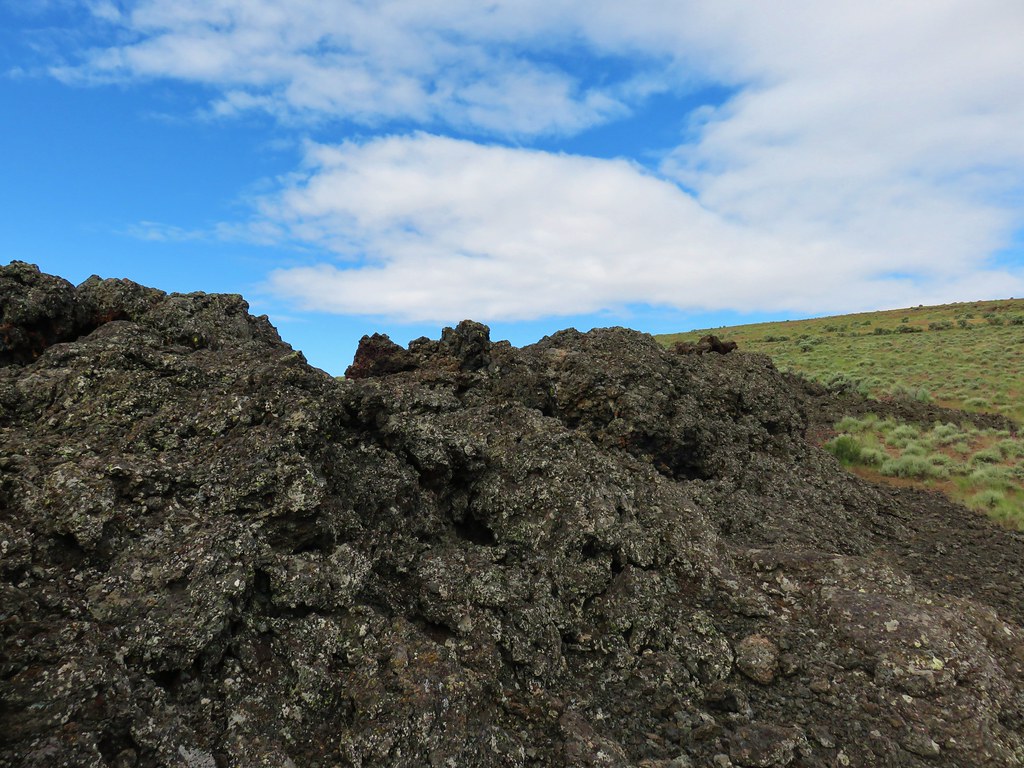
The path led around the crater first passing a rounded cinder hill then more rugged lava rocks.


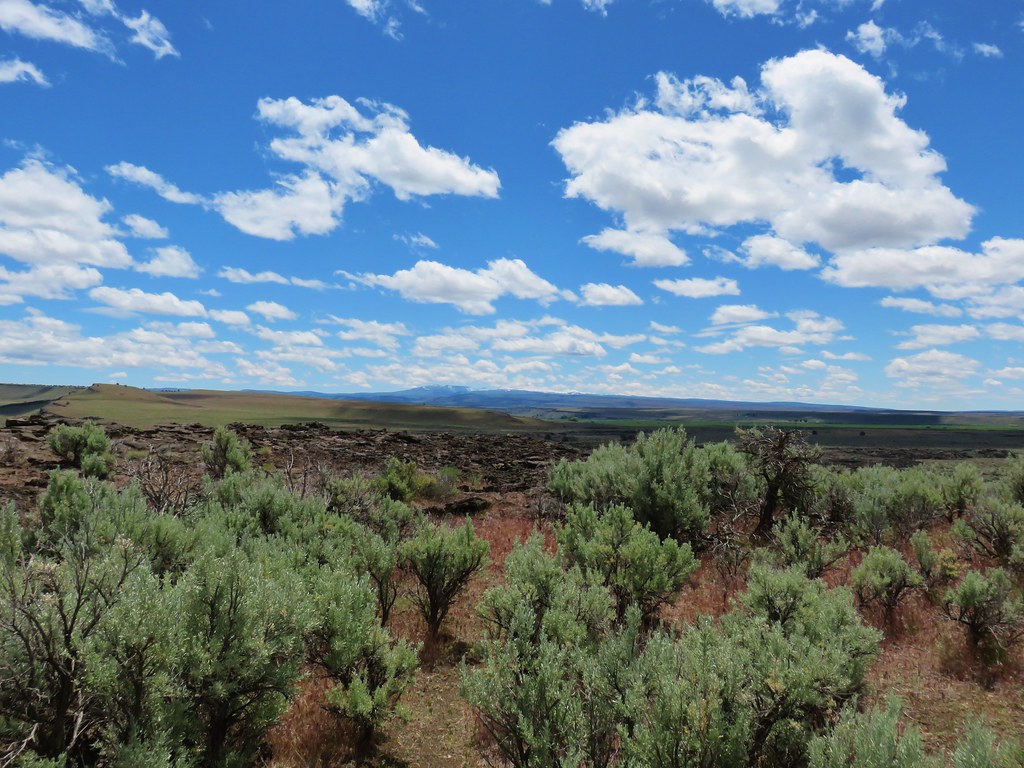
The lava flow extended south from the crater in various patterns.
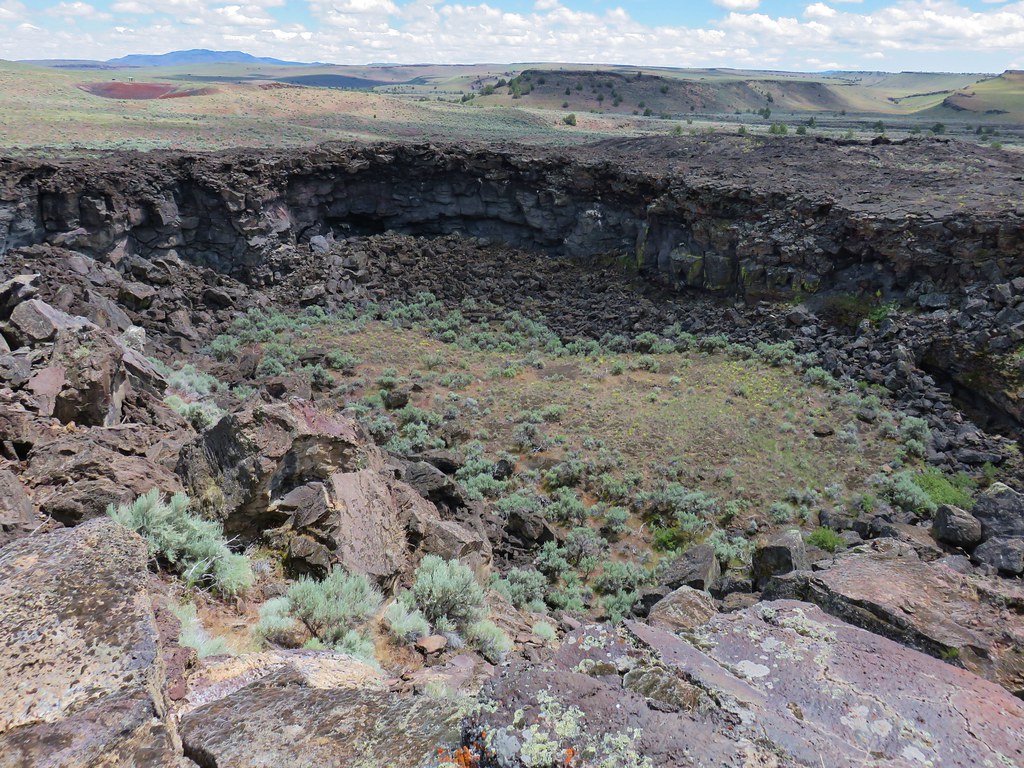
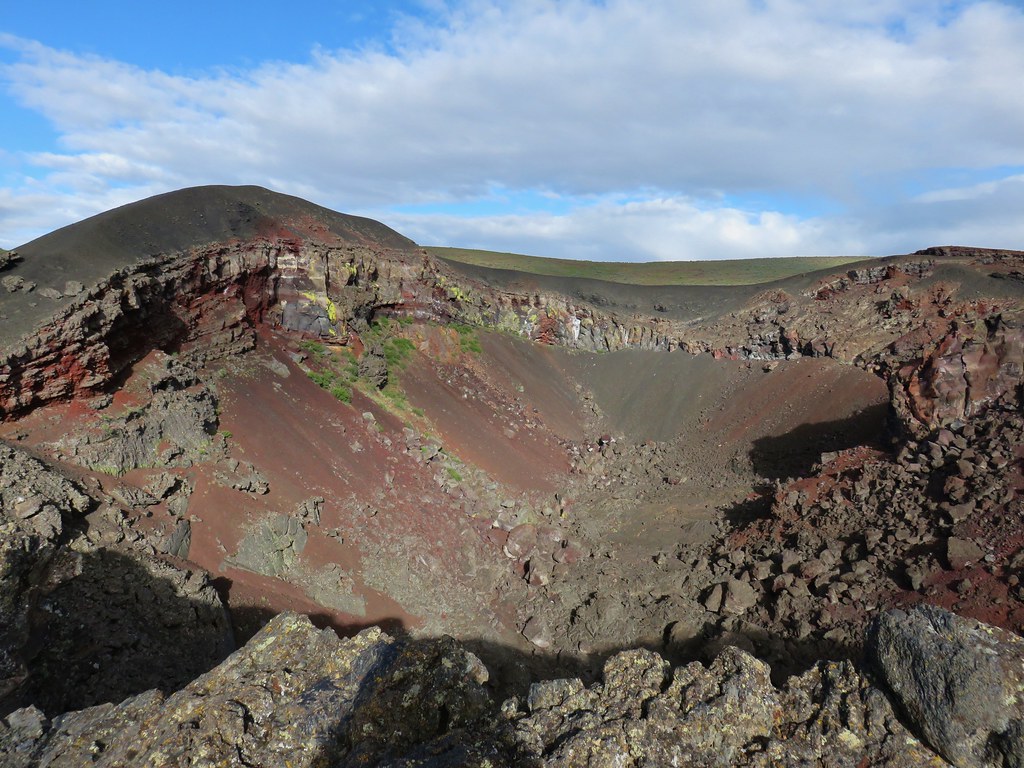
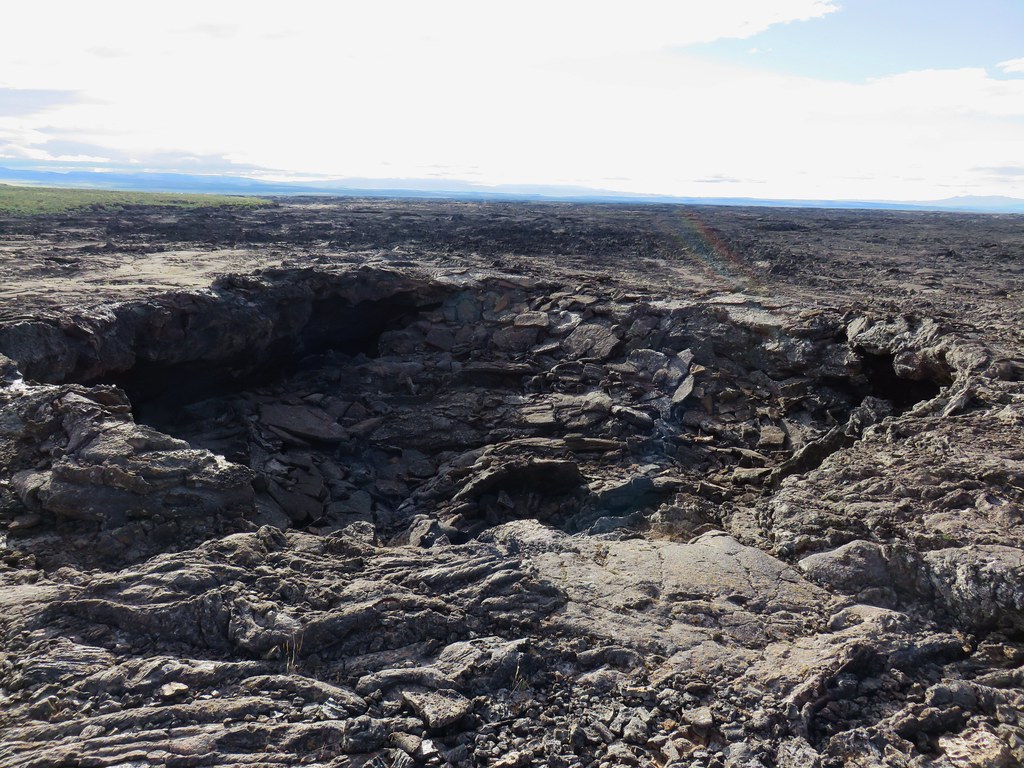
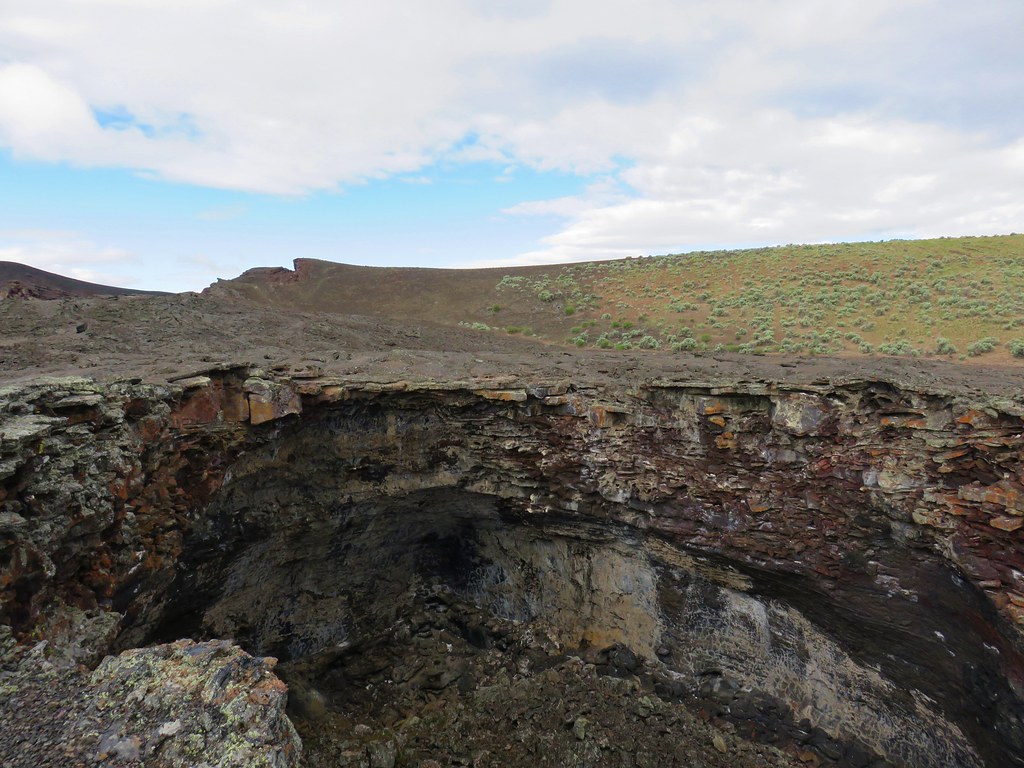
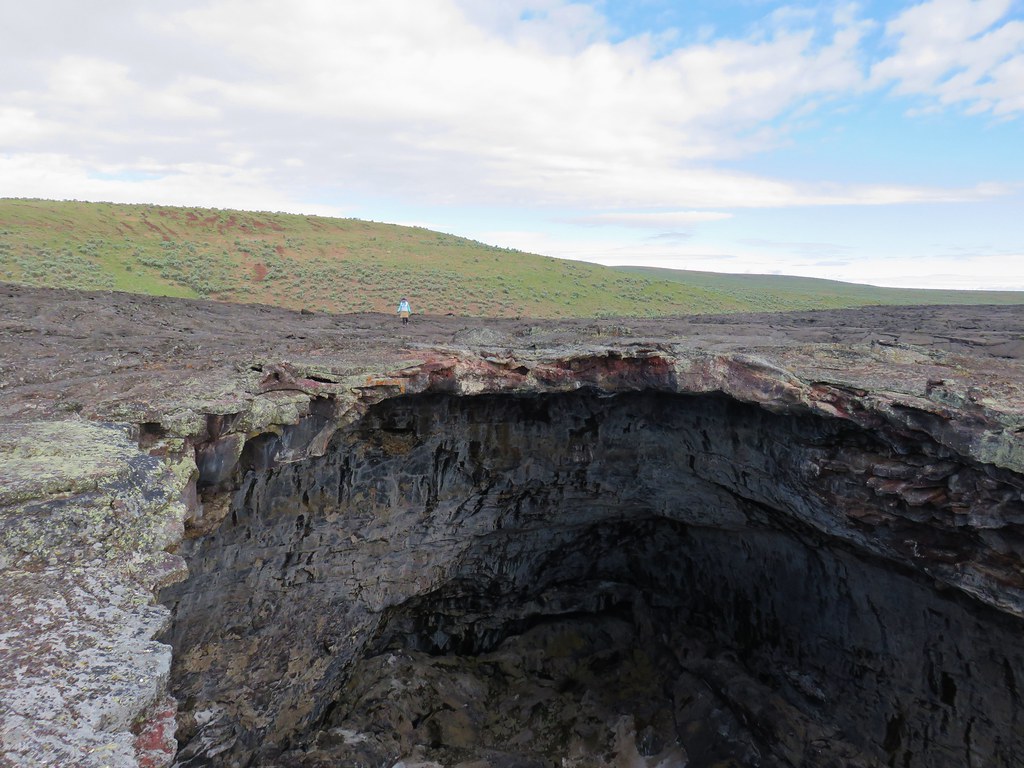
As we made our way around we were soon able to see inside the 150 foot crater which was much larger than either of us had expected.
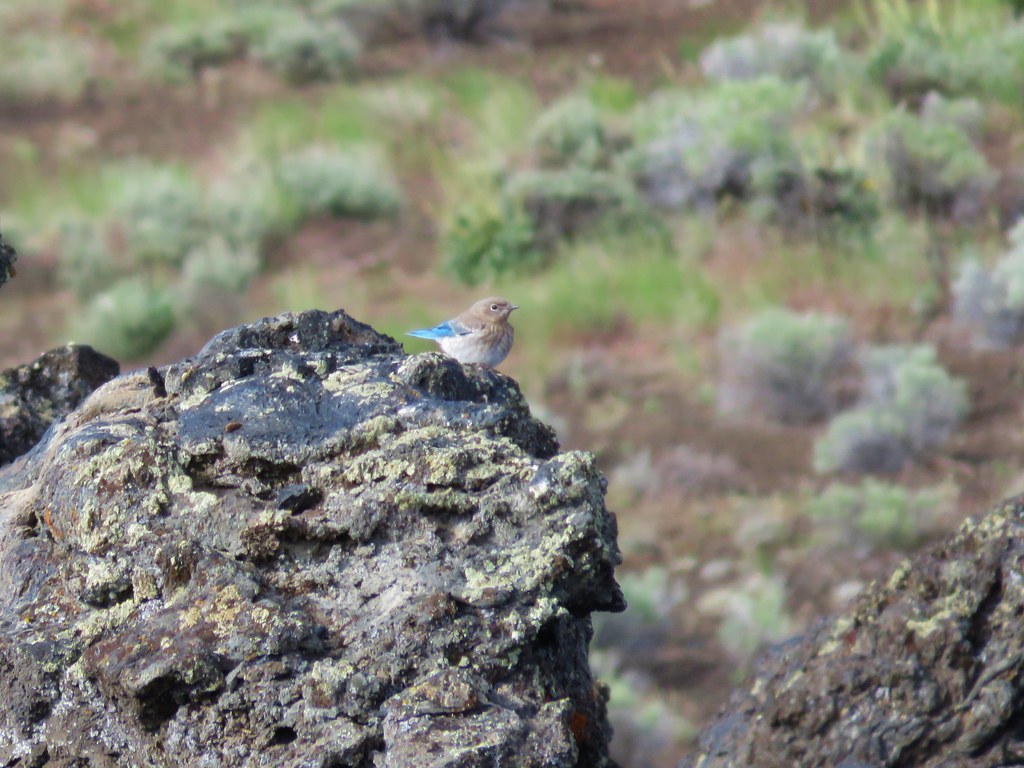
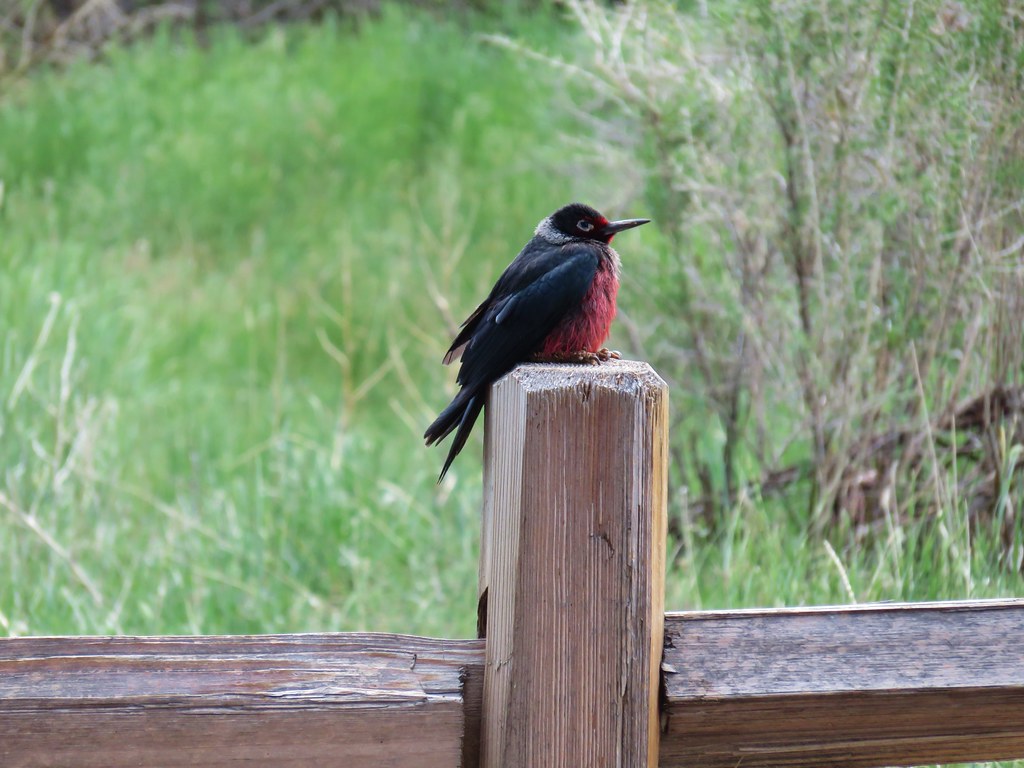
Swallows and blue birds flew in and out of the crater occasionally landing on its rim.
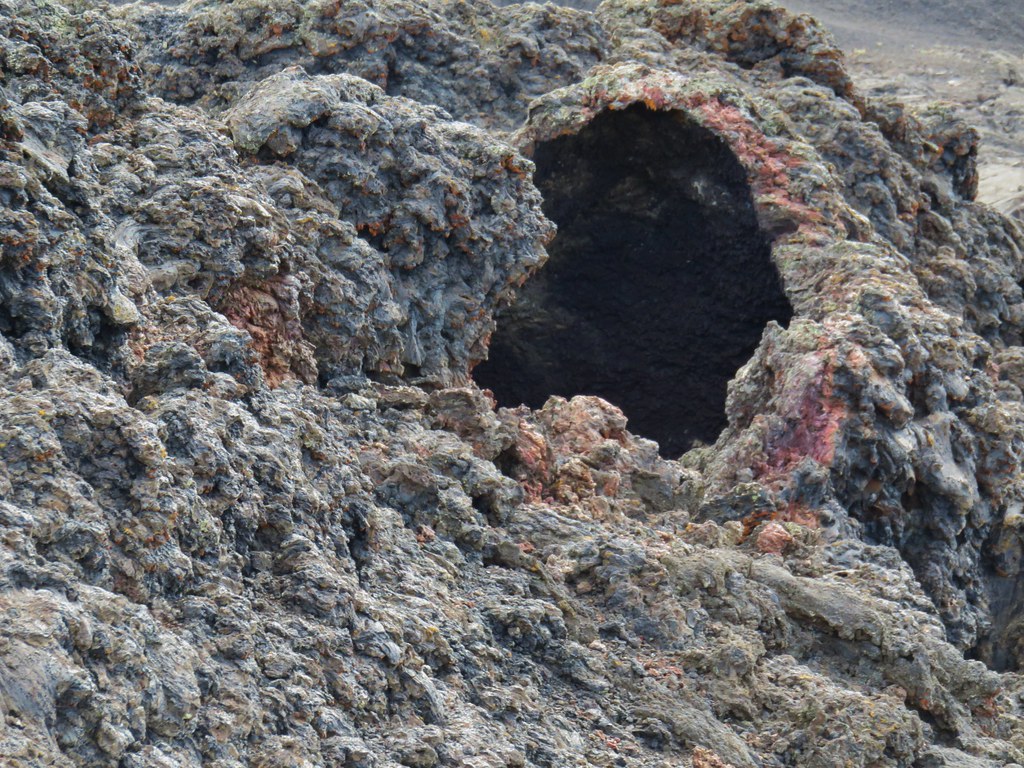
As we continued around we passed a smaller pit and several openings in the lava.

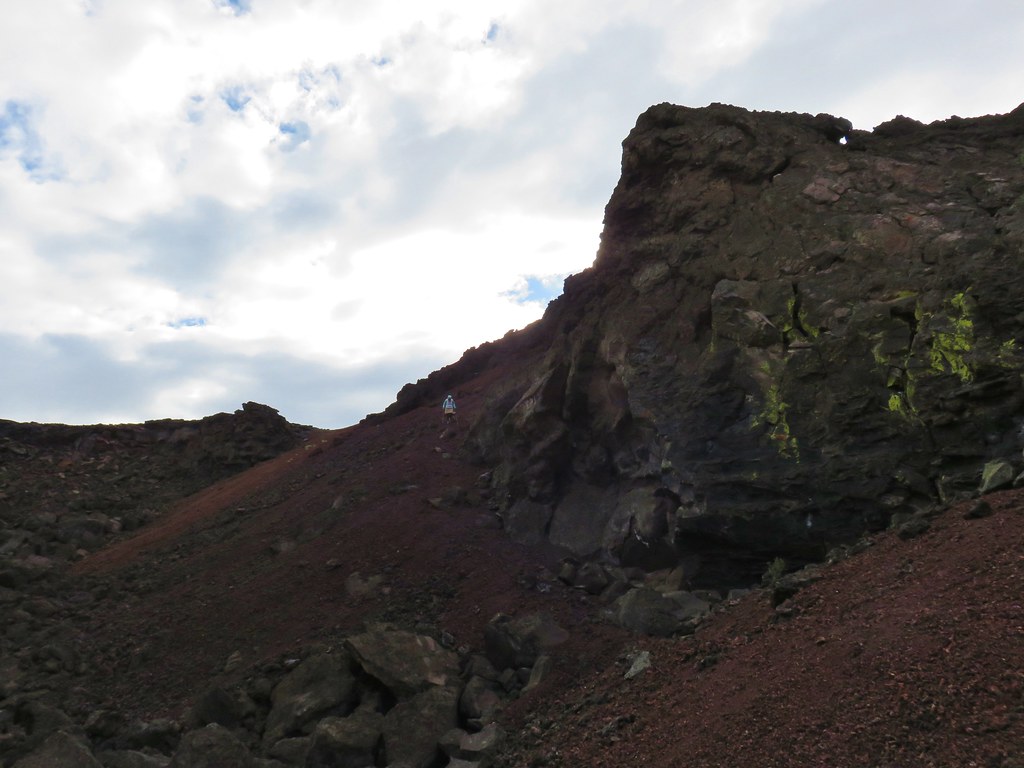
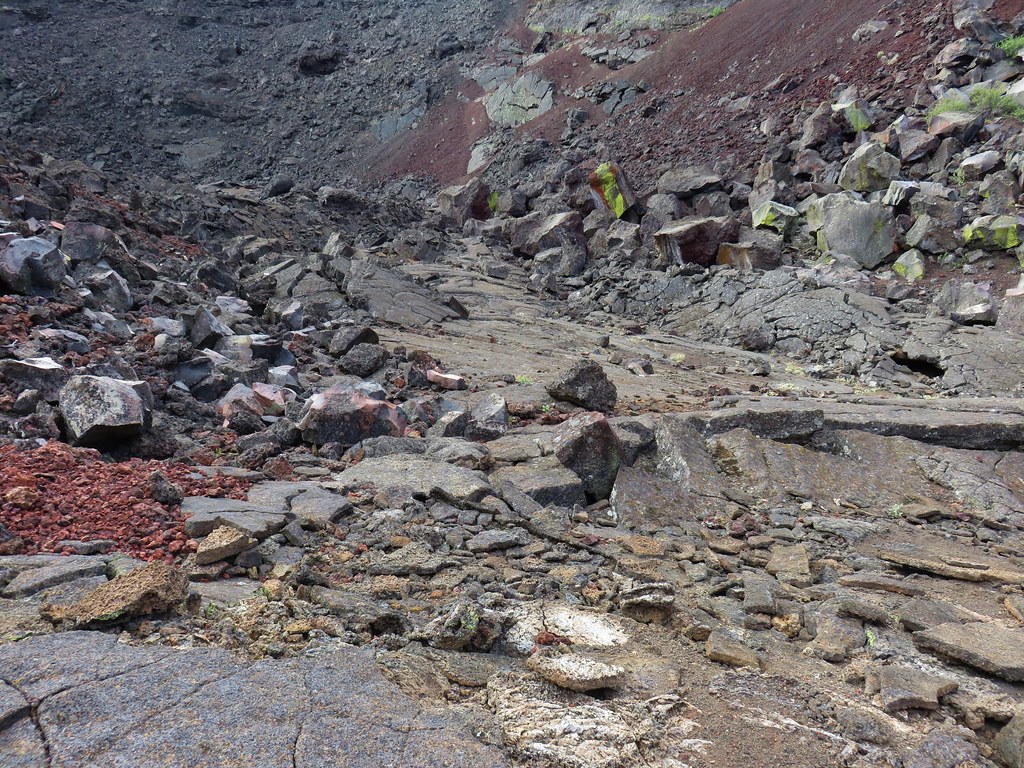
After just .3 miles we arrived at a scramble trail down a red cinder slope into Coffee Pot Crater.

The path was fairly steep with loose rock but we made our way down carefully and explored the inside of the crater.

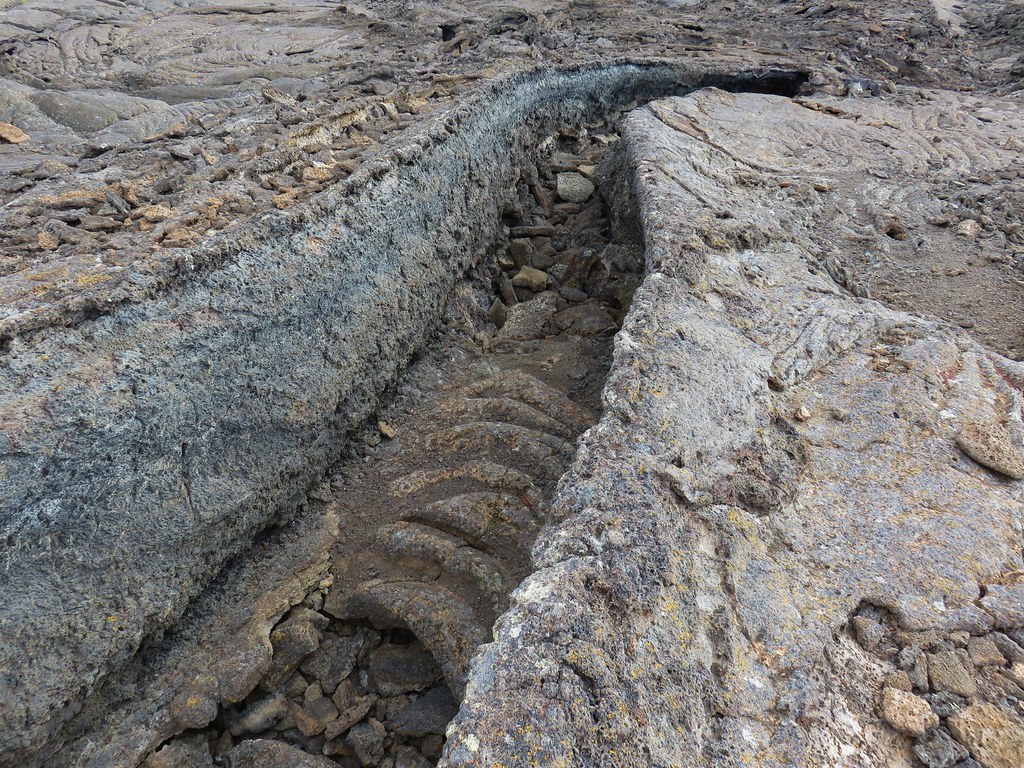
After wandering around inside the crater we climbed back out and headed cross country toward a visible channel in the lava.
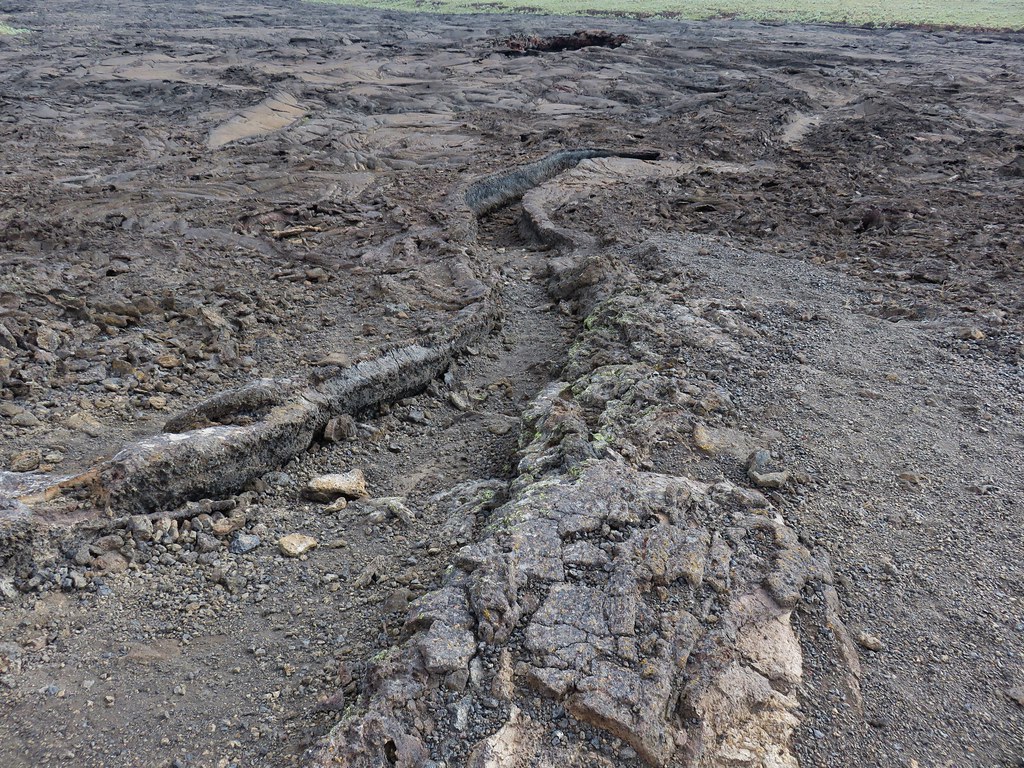
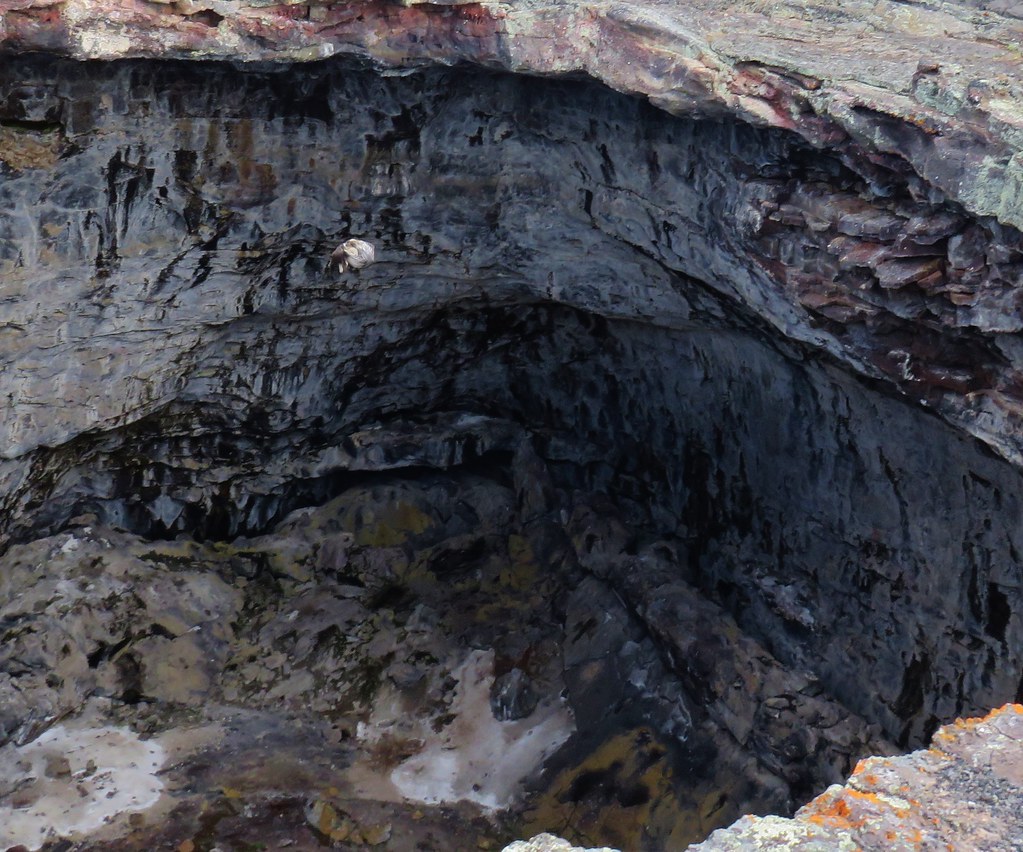
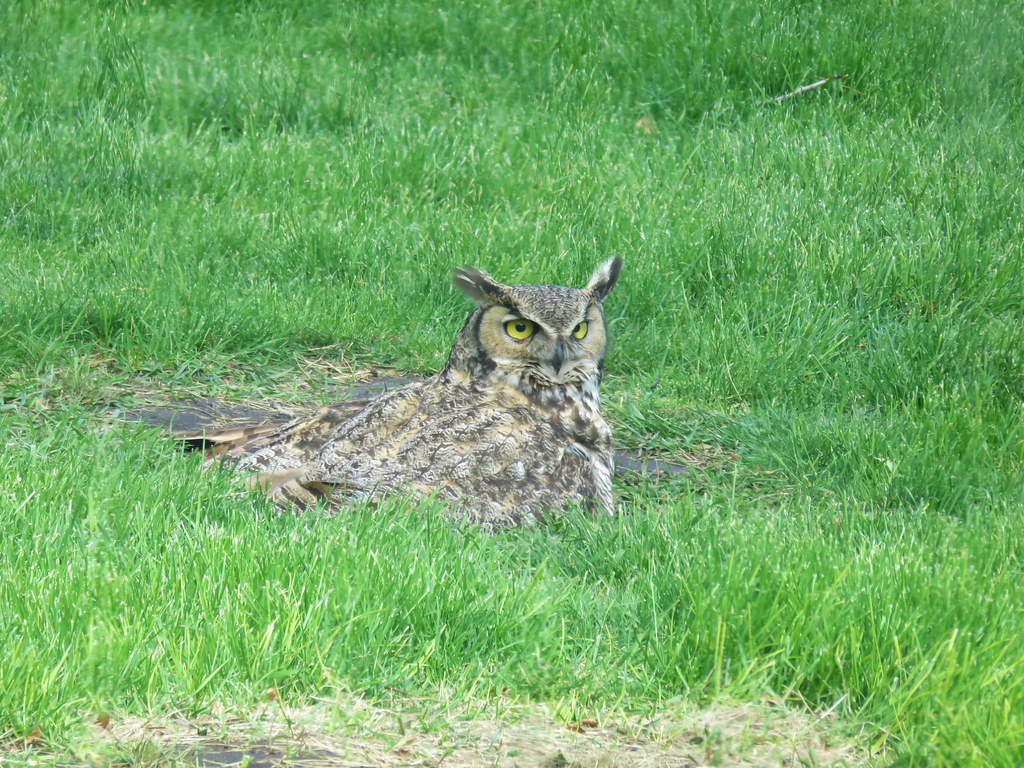
We followed this crack across the lava to its end near a pit where an owl startled us by suddenly appearing out of the pit and flying off further down the lava.
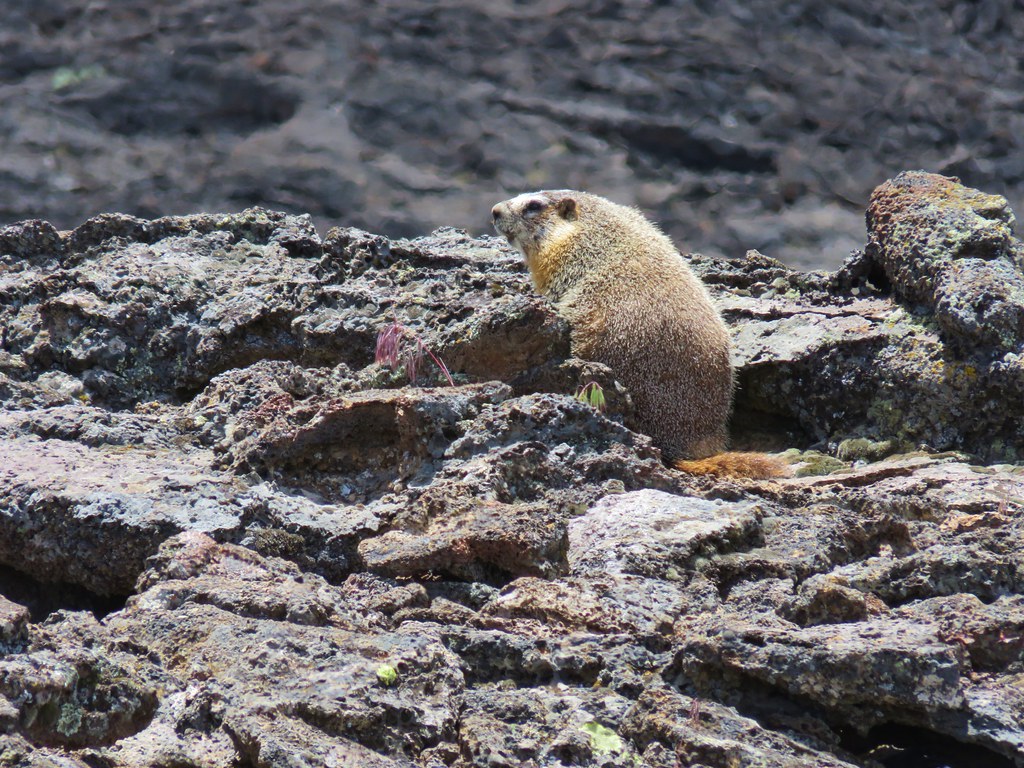
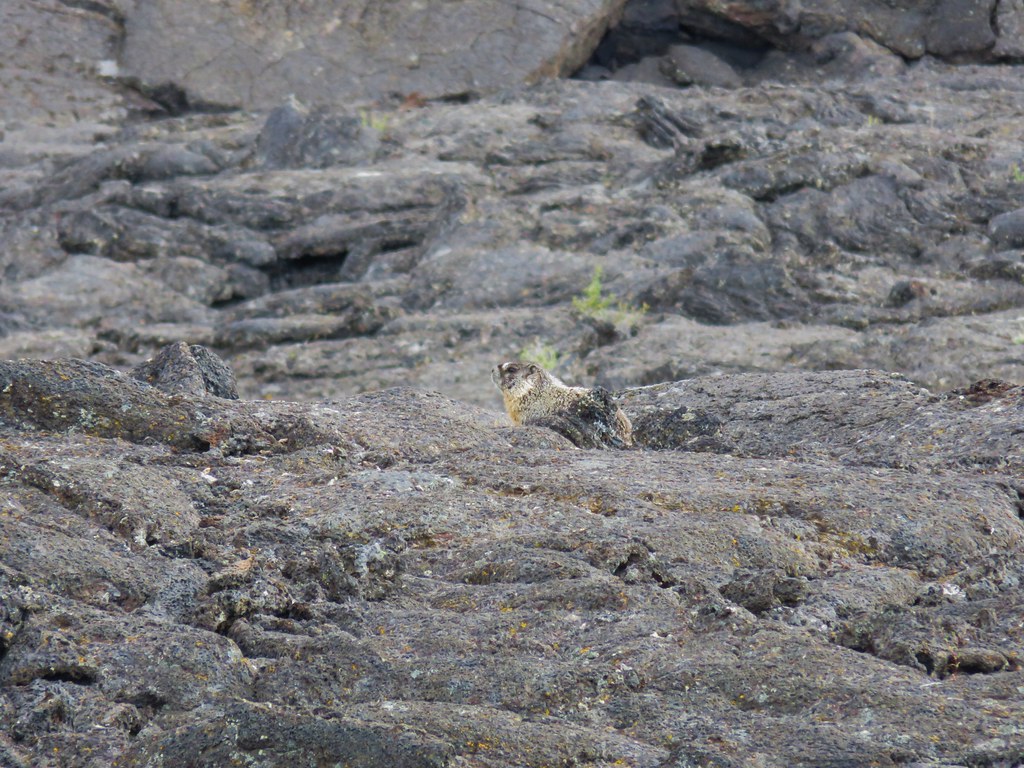
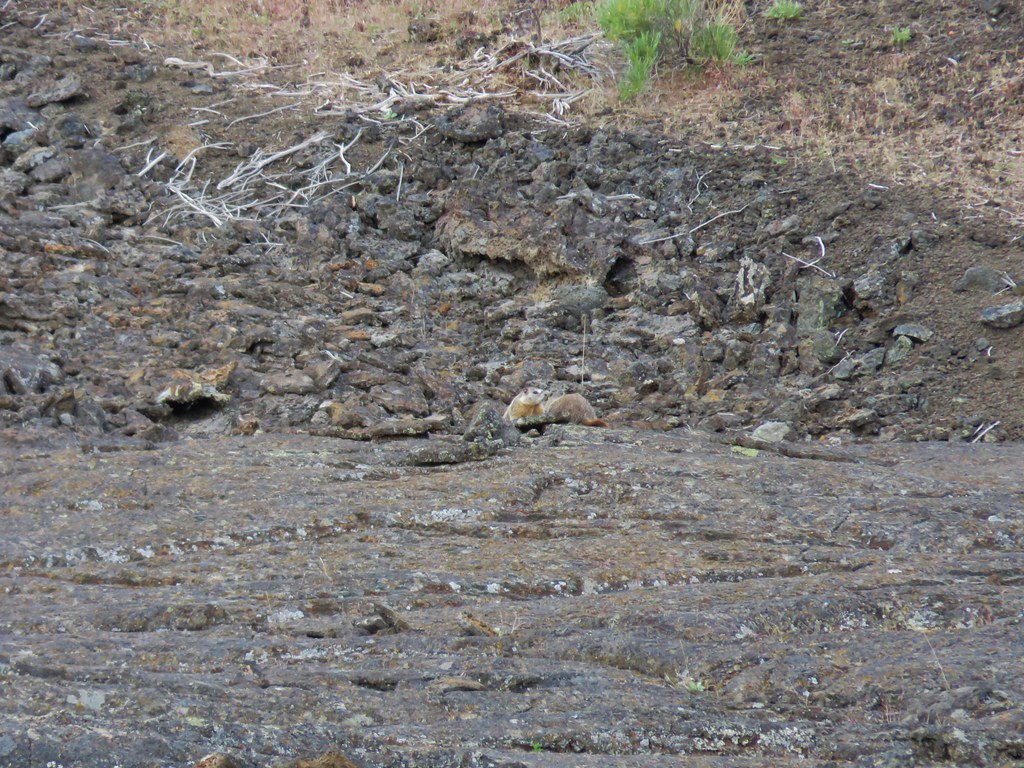
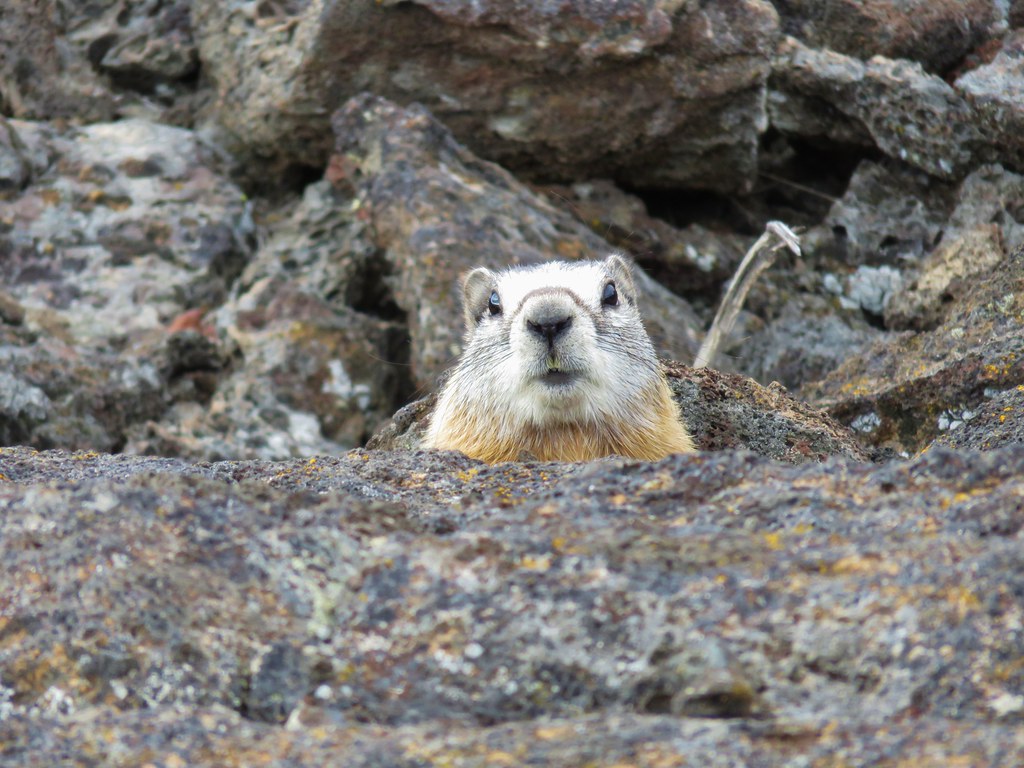
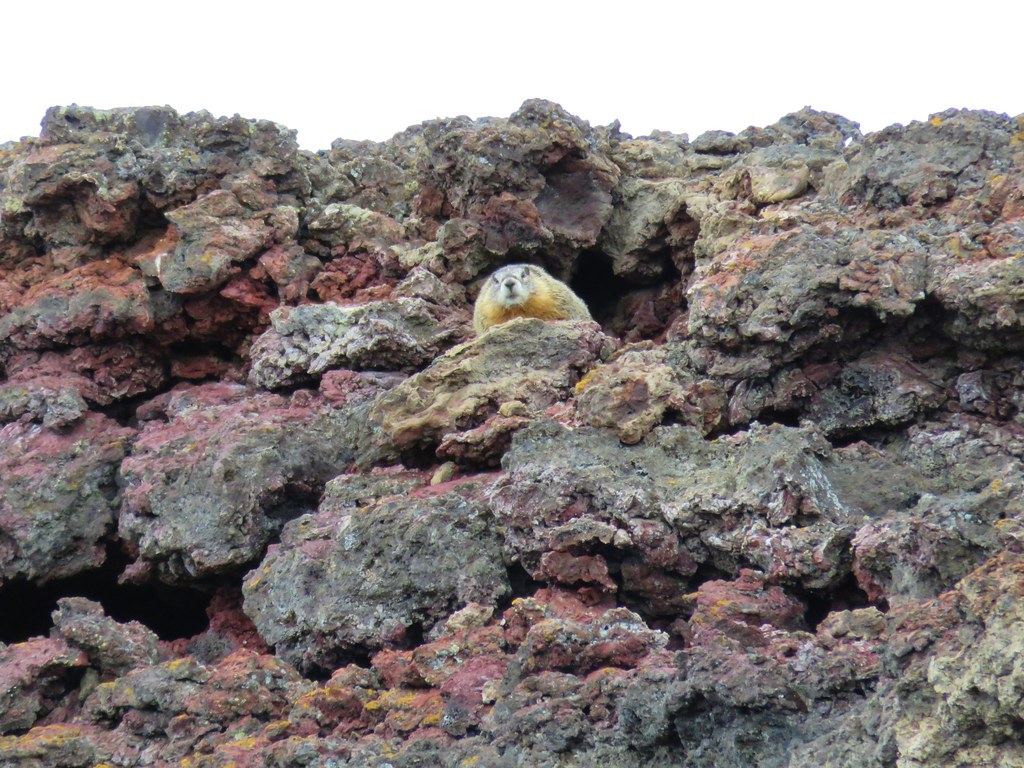
Heather spotted a marmot that was not able to fly off.
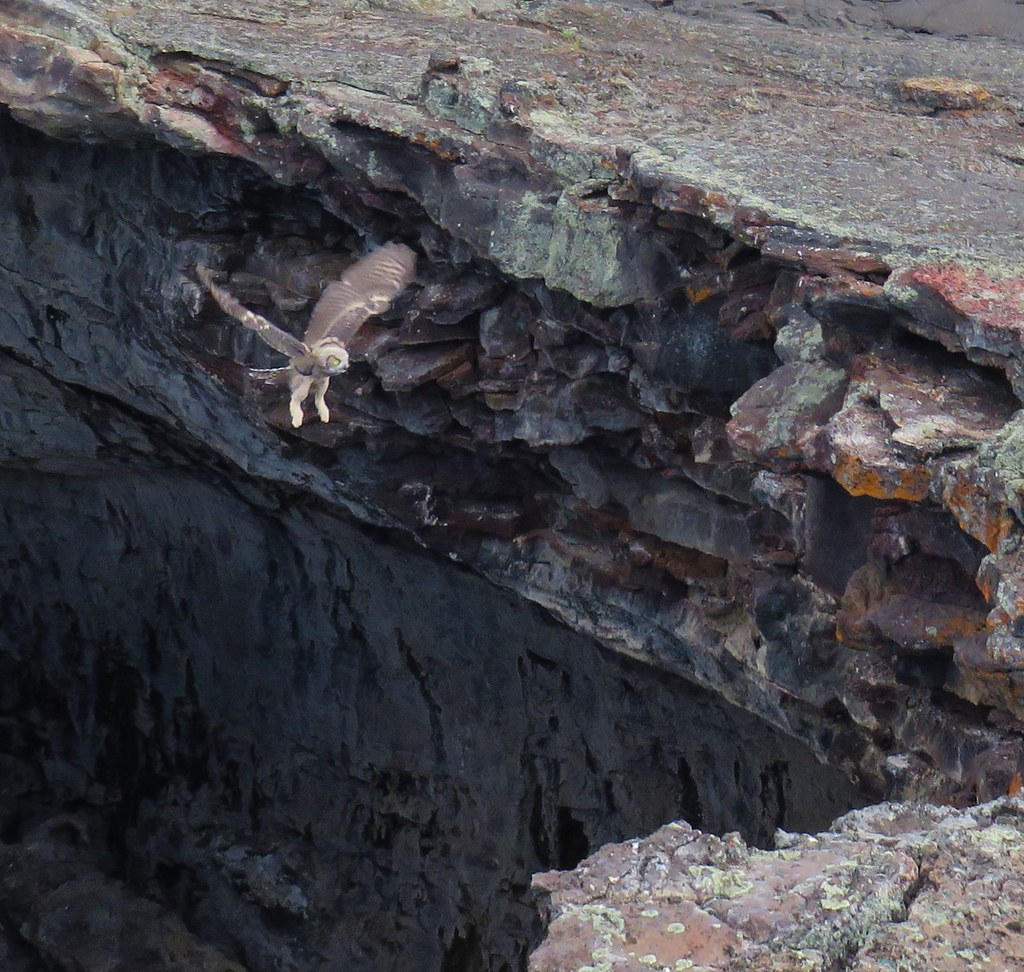
Just a bit further away was a second pit which we headed for. I got there first and started taking pictures.
As Heather neared the owl reappeared only this time flying in my general direction. I was able to take a few pictures as it flew by to parts unknown.

After admiring the second pit we headed back for the trail. More marmots watched us from the edge of the lava.
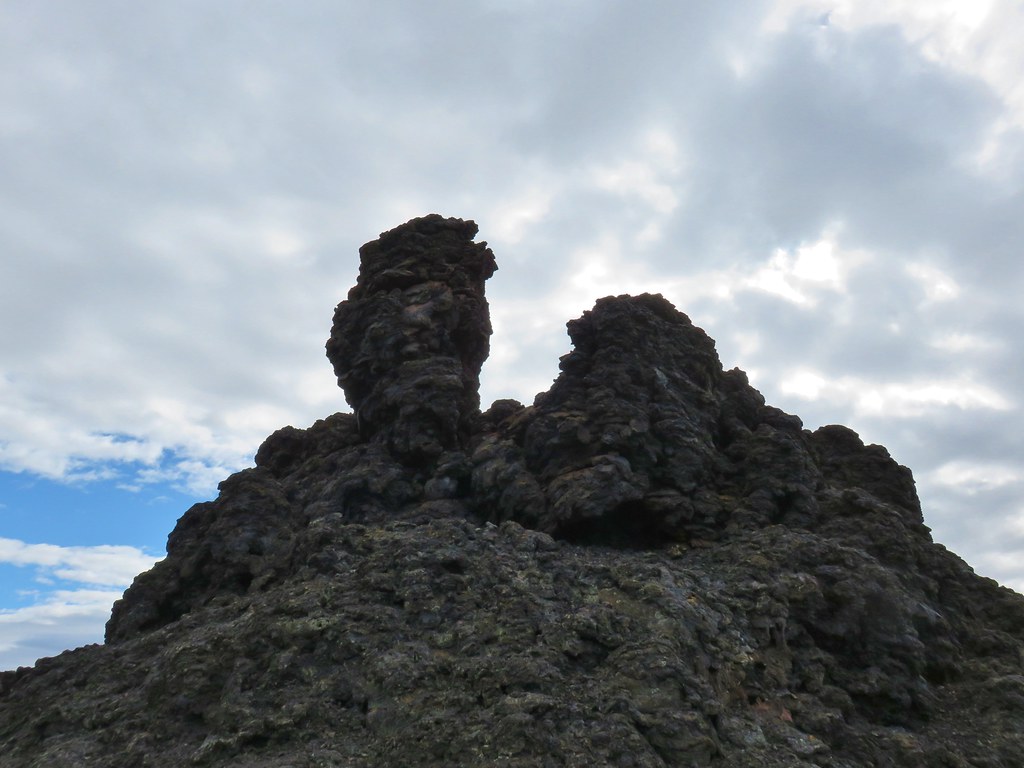
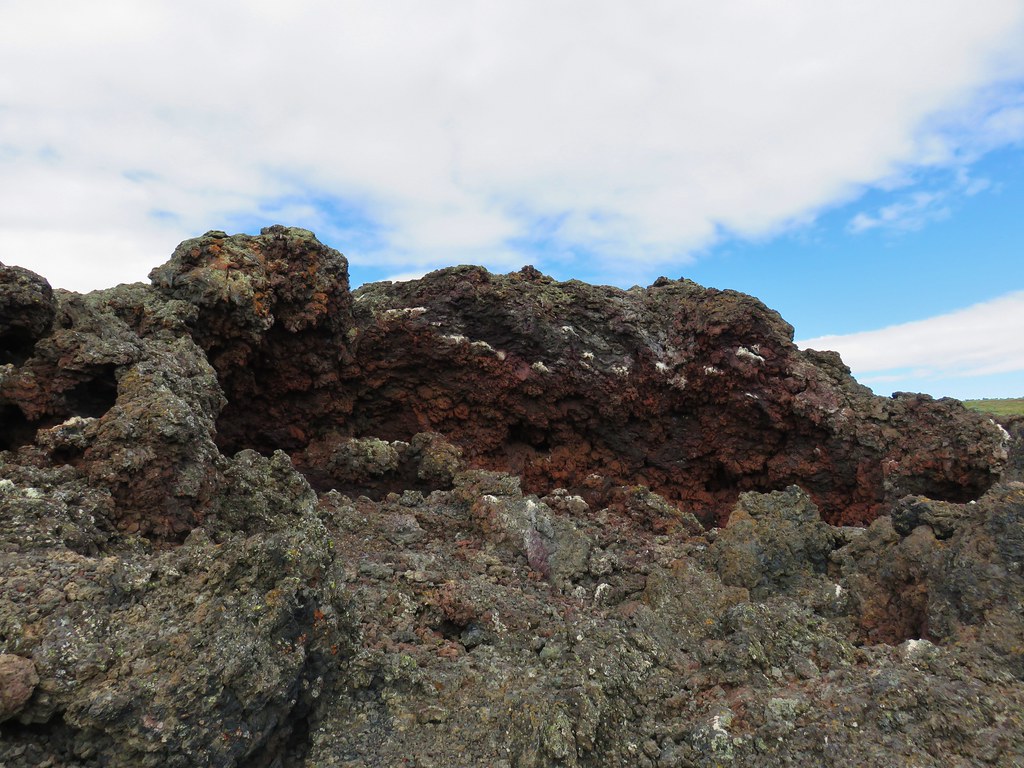
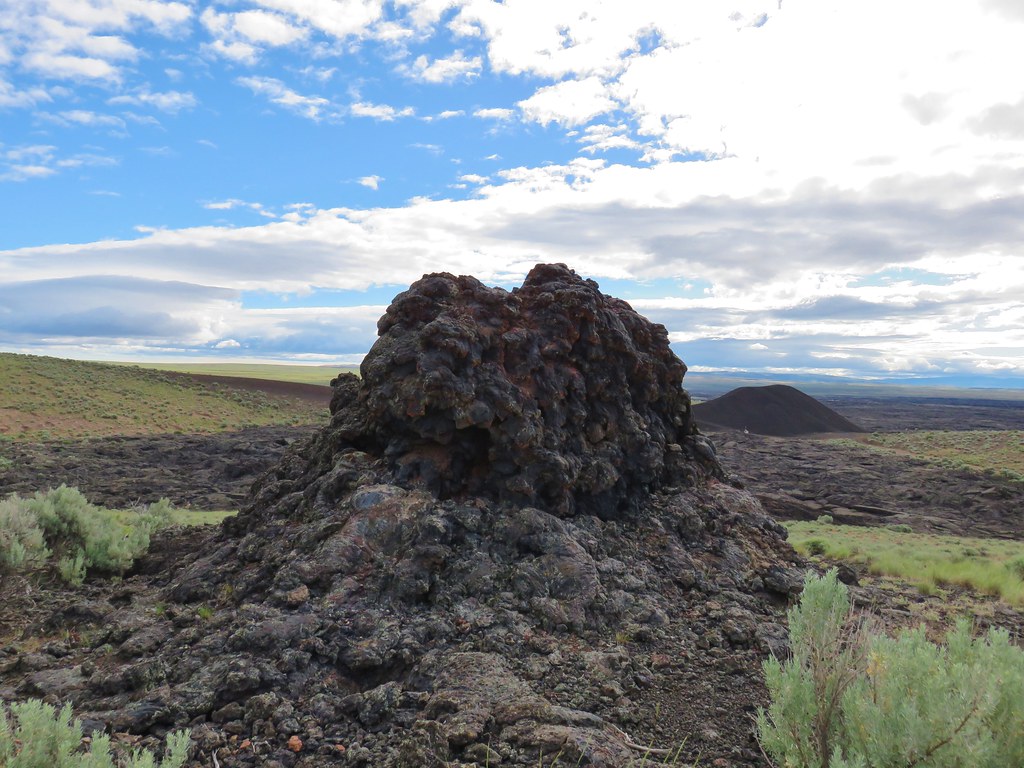
We were briefly back on the rim of the crater but then left the trail again to get an up close look at a row of splatter cones that extended uphill toward the road.
We had decided that after visiting the splatter cones we would just continue cross country uphill back to the road eliminating a little distance. In all there were seven cones varying in size and shape.


We followed the road back to our car and returned to Highway 95 where we headed north toward our next stops for the day at Leslie Gulch.
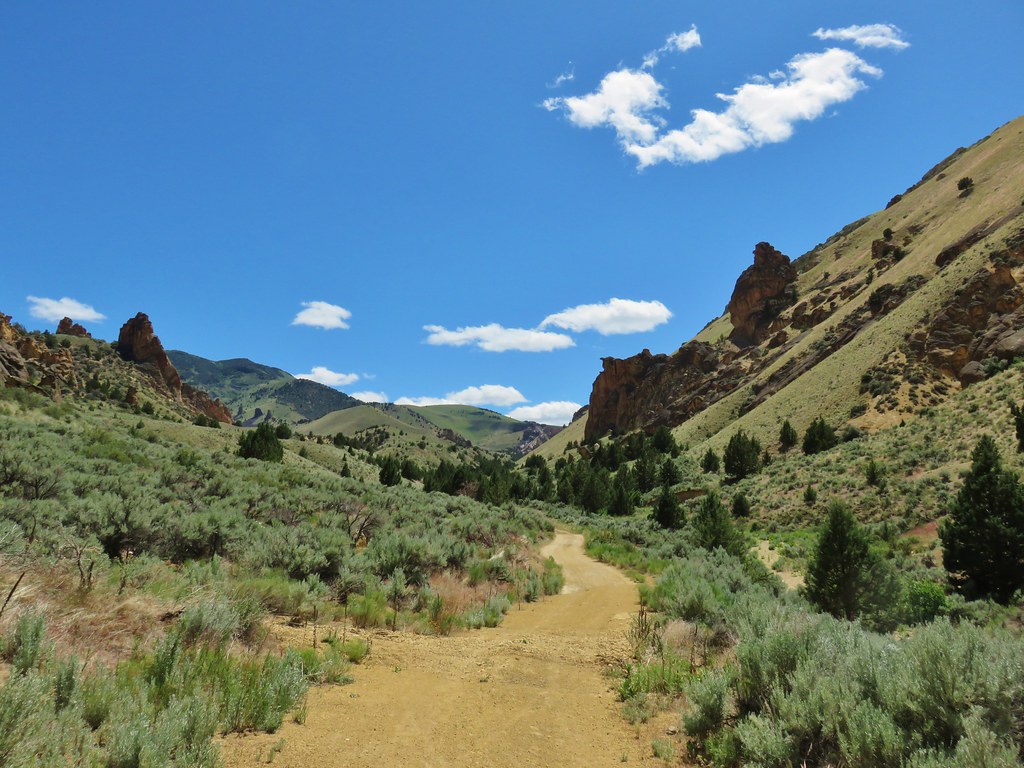
The hike at Jordan Craters had only been 3.8 miles even with the road walk so we had plenty of energy left for additional hikes and Leslie Gulch offered numerous opportunities. For our visit we planned on hiking into at least four of the explorable gulches. We decided to start at the western most gulch and work our way back east toward the highway. The gravel road to Leslie Gulch was easily the best of the roads we would take to trailheads while in the area and the scenery along the route was spectacular making this a worthwhile visit even if you aren’t planning on hiking.
We drove to the end of Leslie Gulch Road and parked near Slocum Campground near the boat ramp for the Owyhee Reservoir.


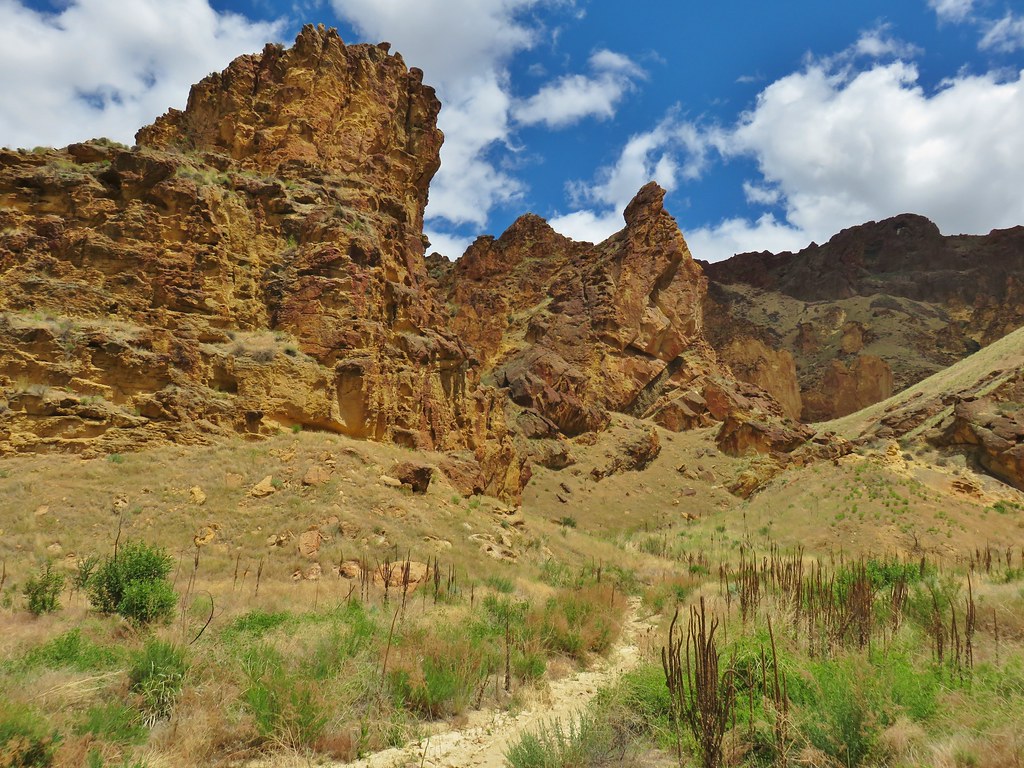
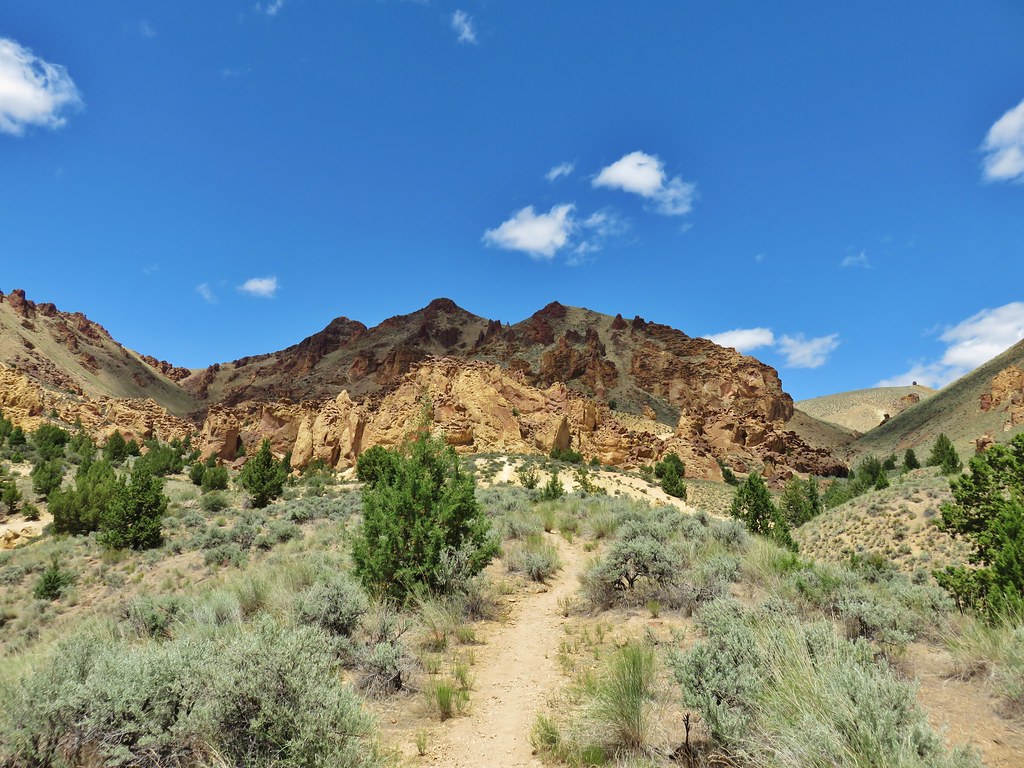
The trail into Slocum Gulch is not an official trail but it was easily identifiable at first.

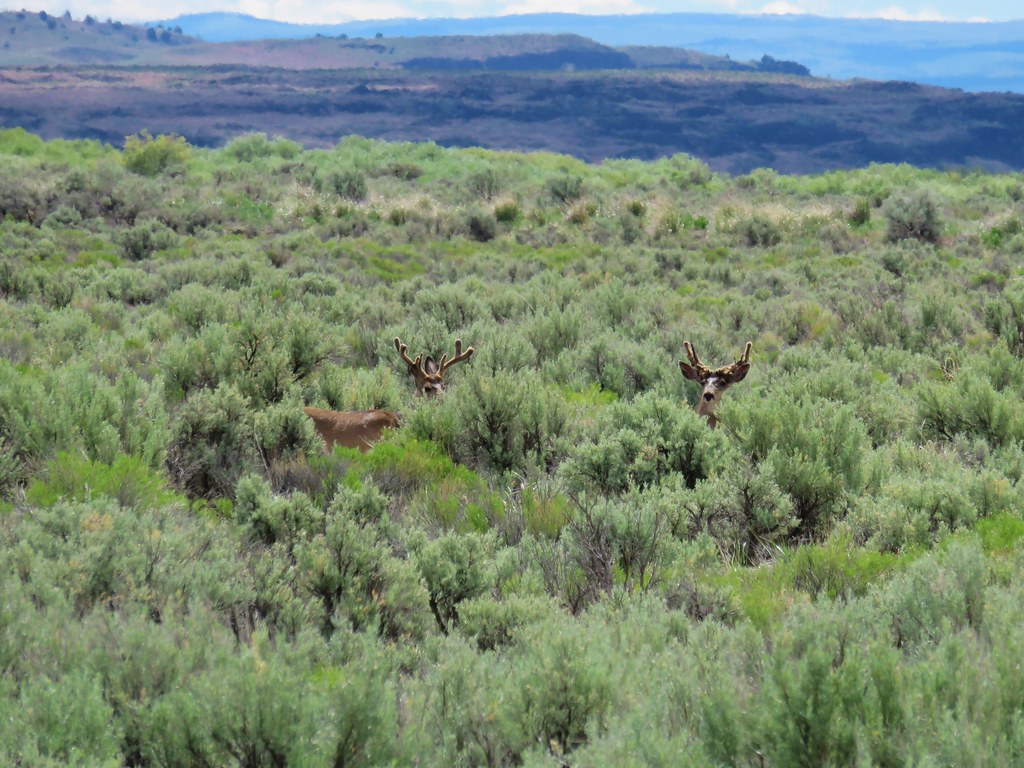
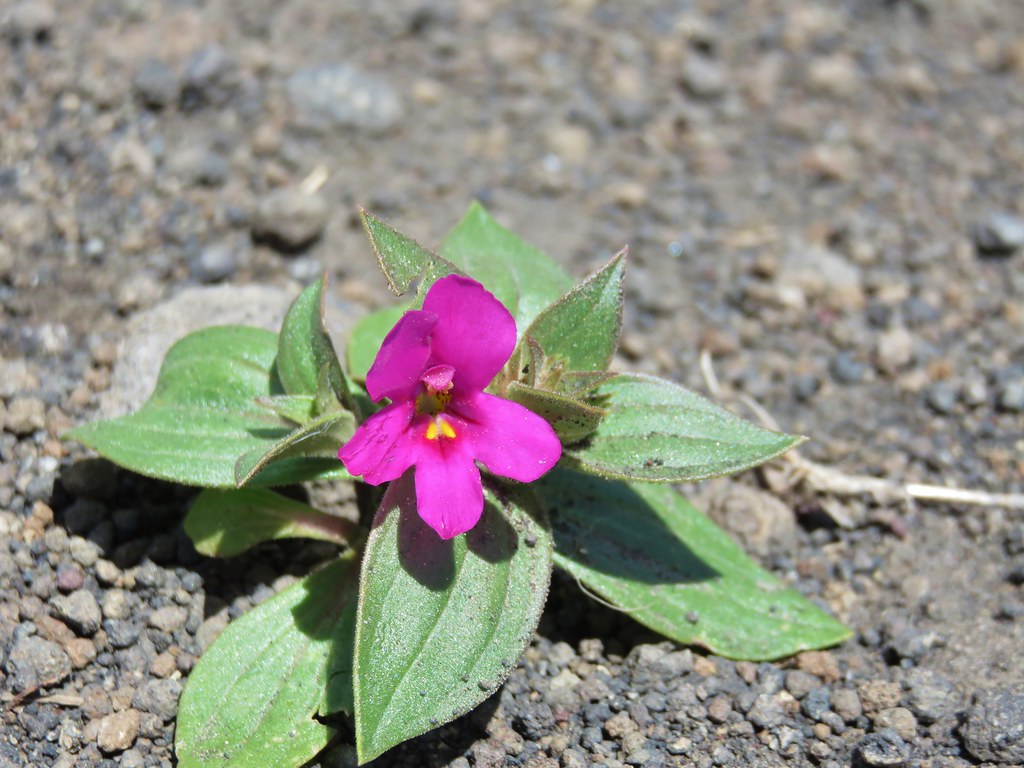
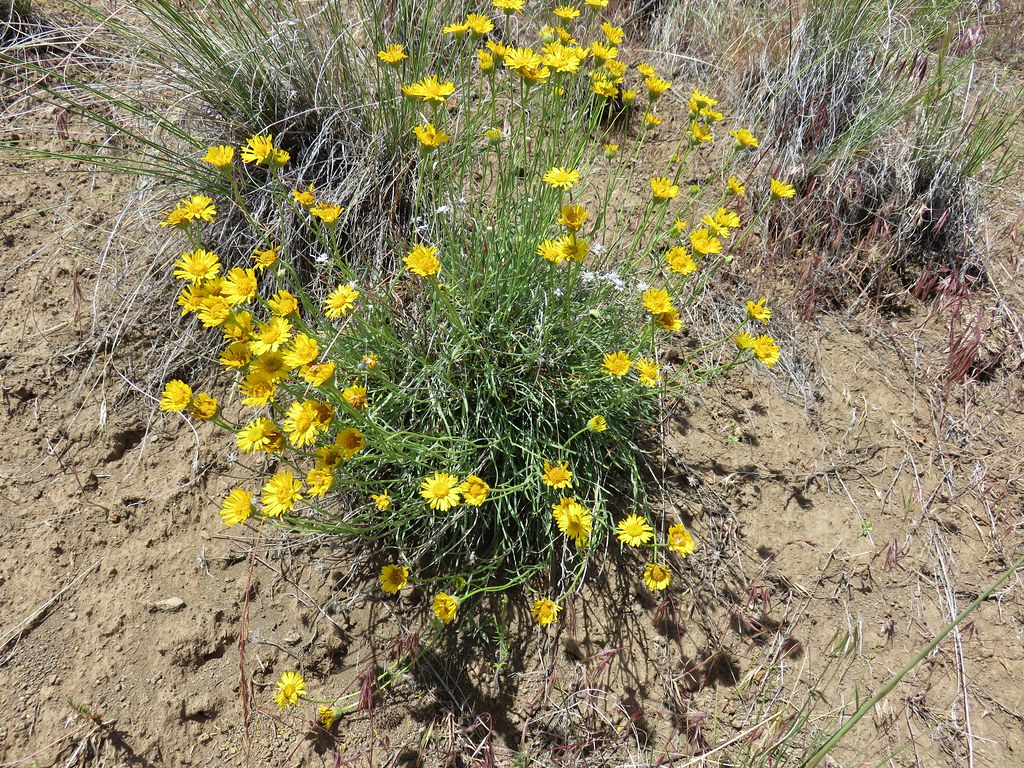
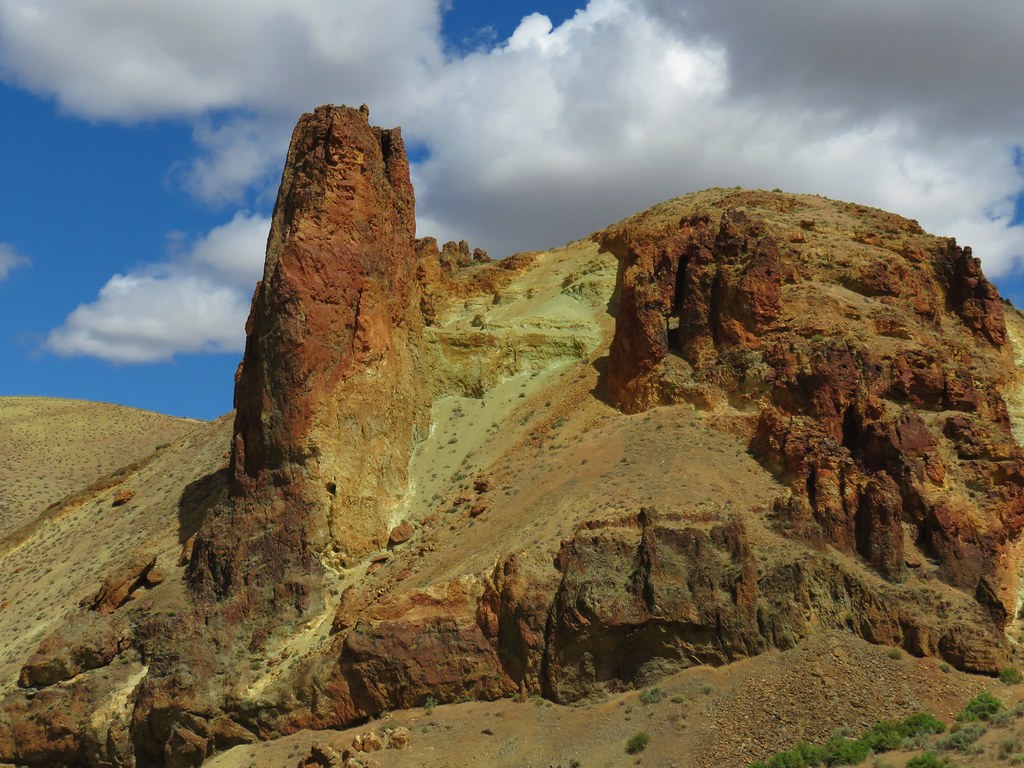
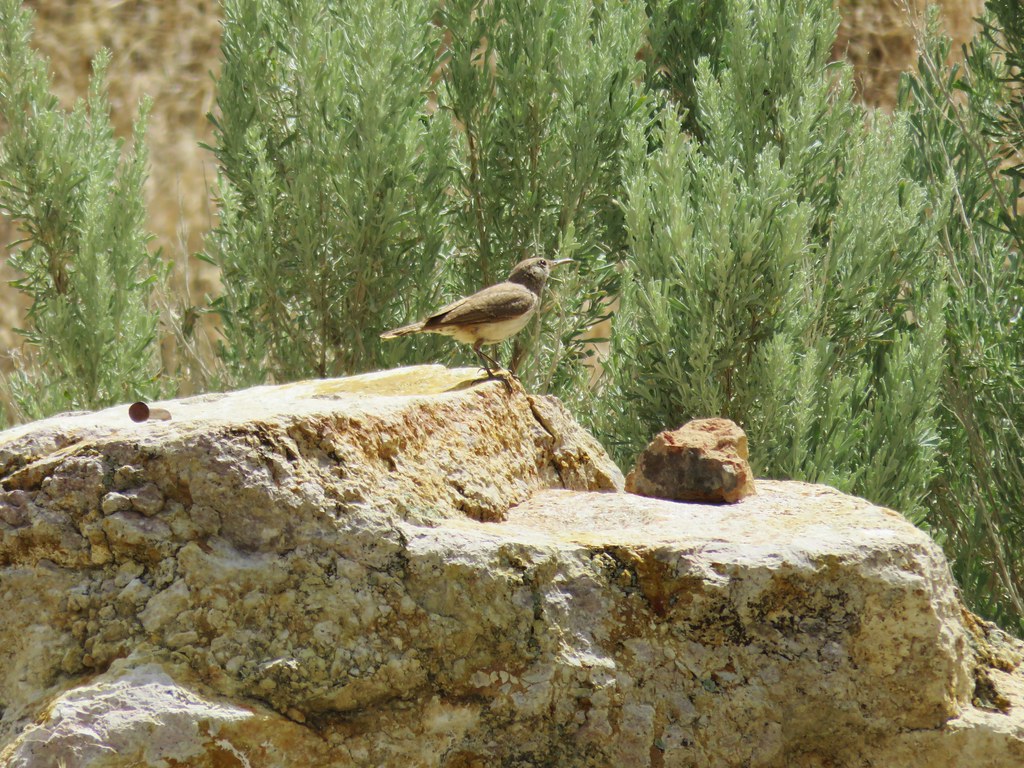
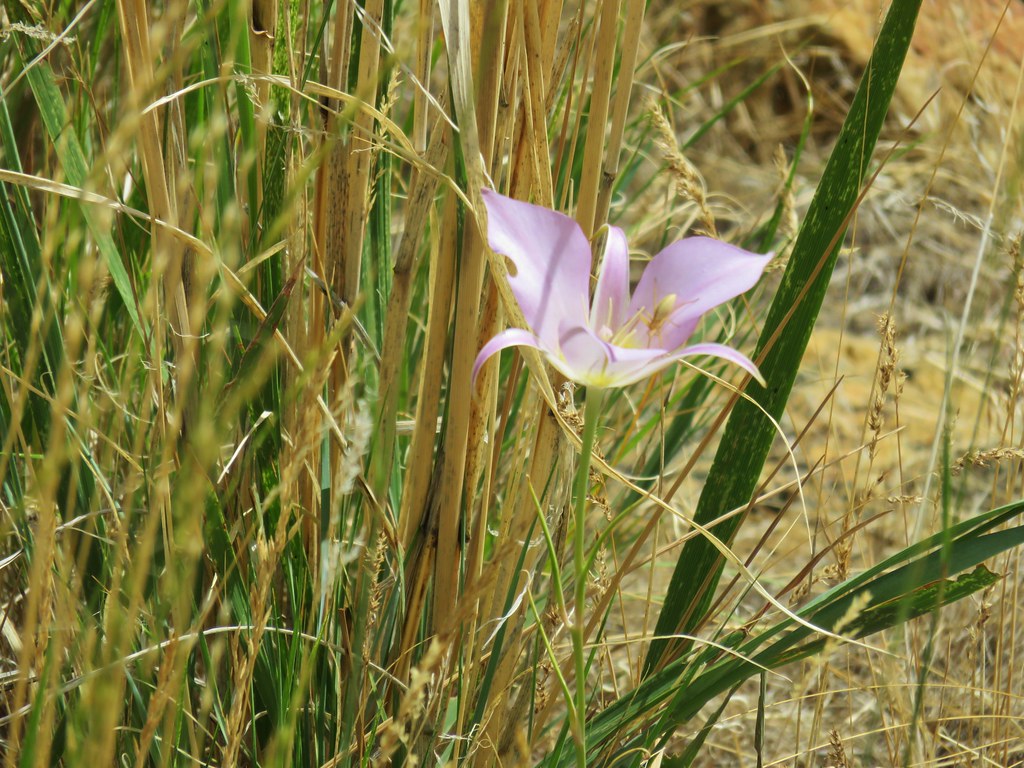
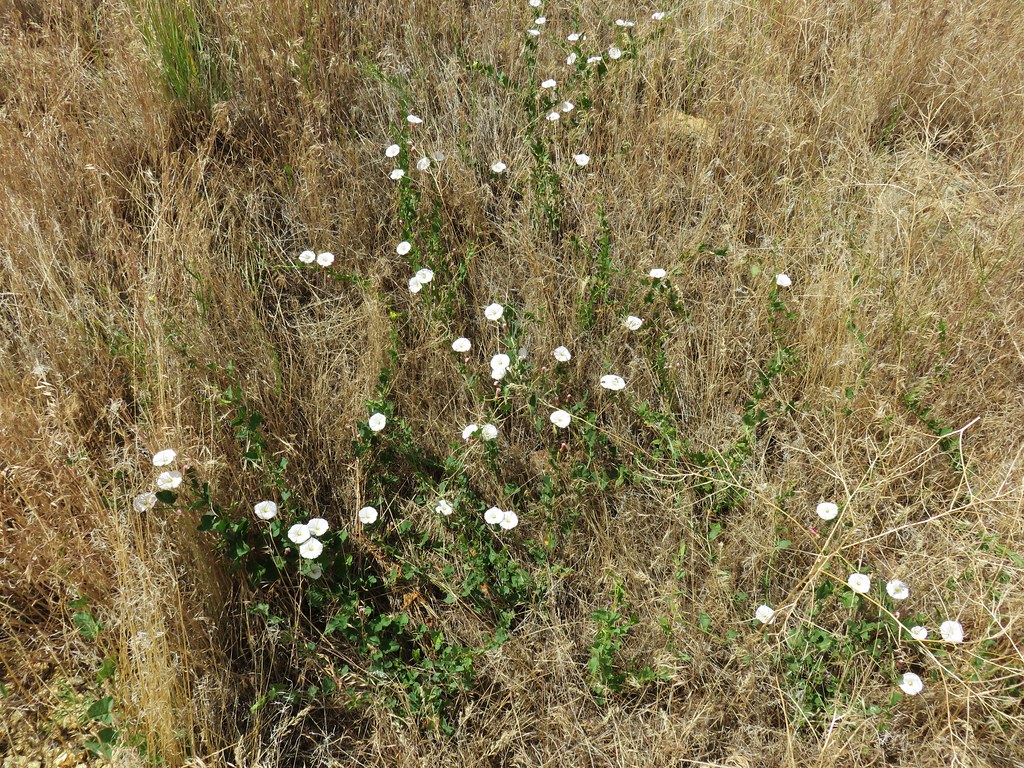
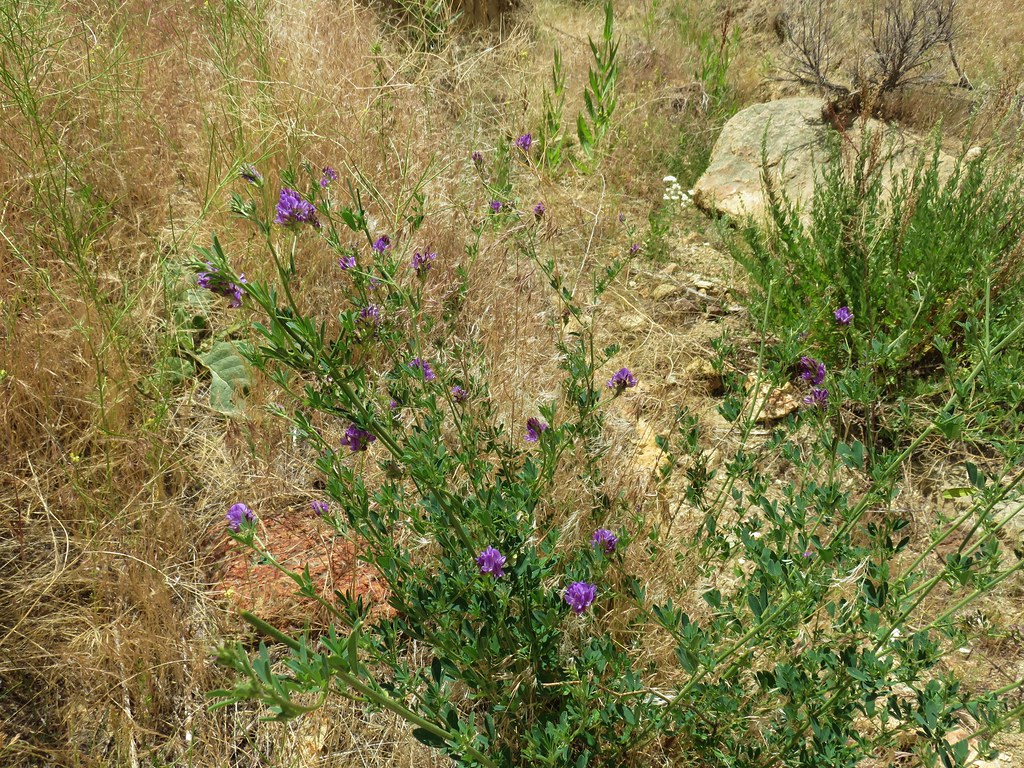
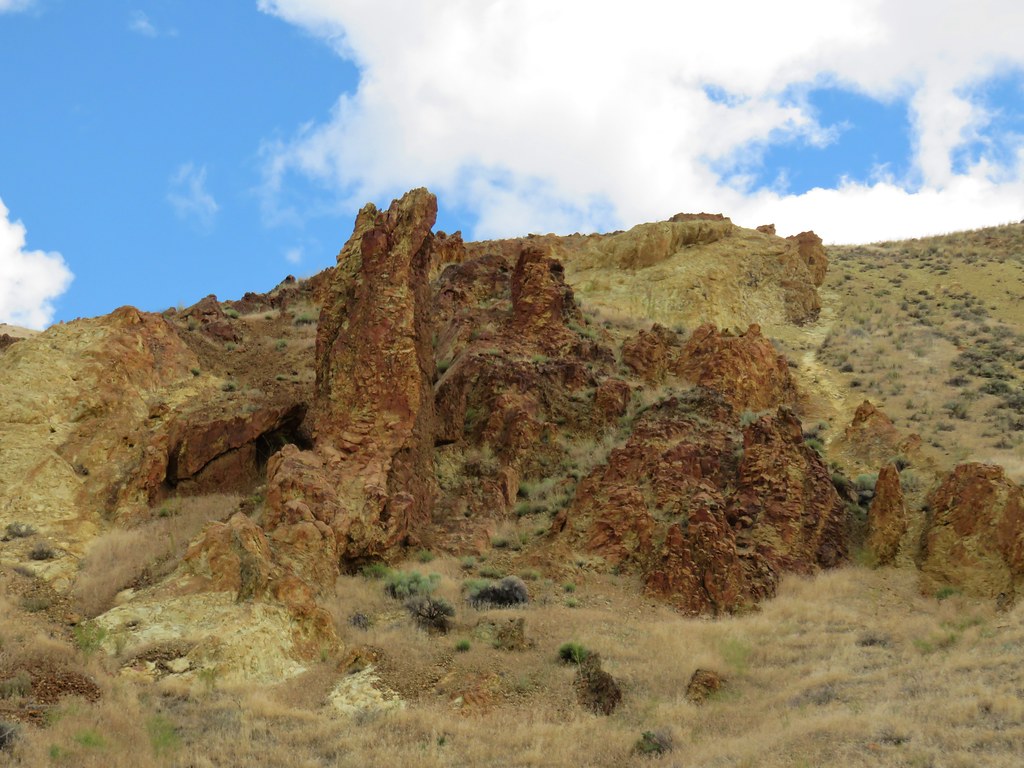
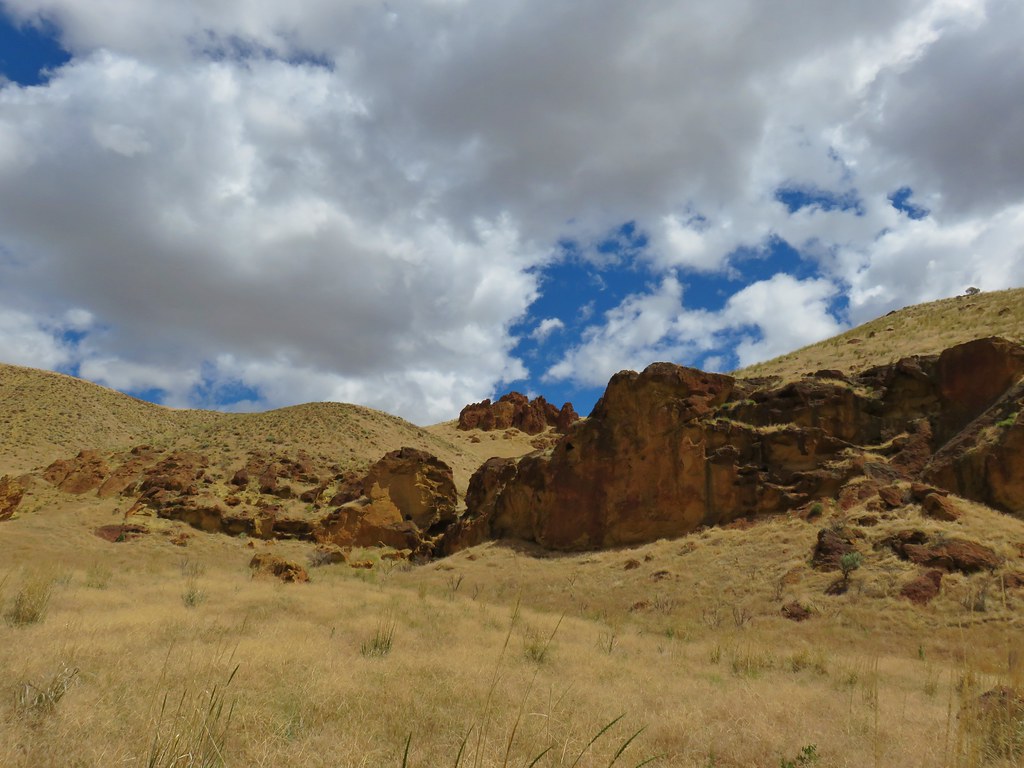
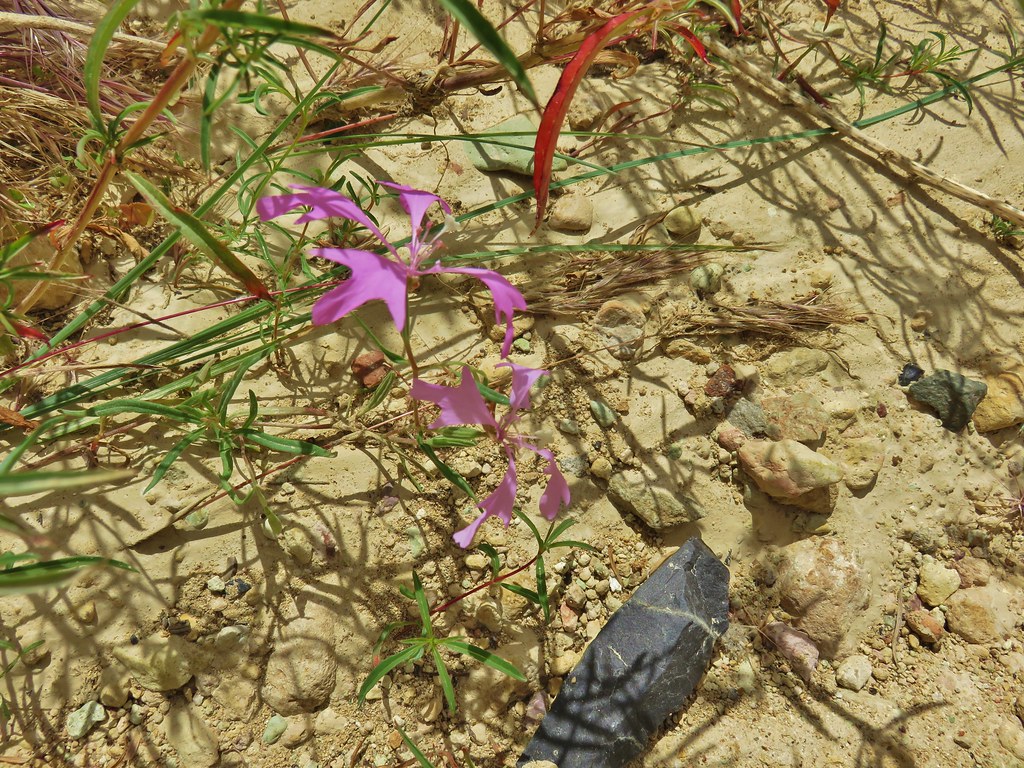
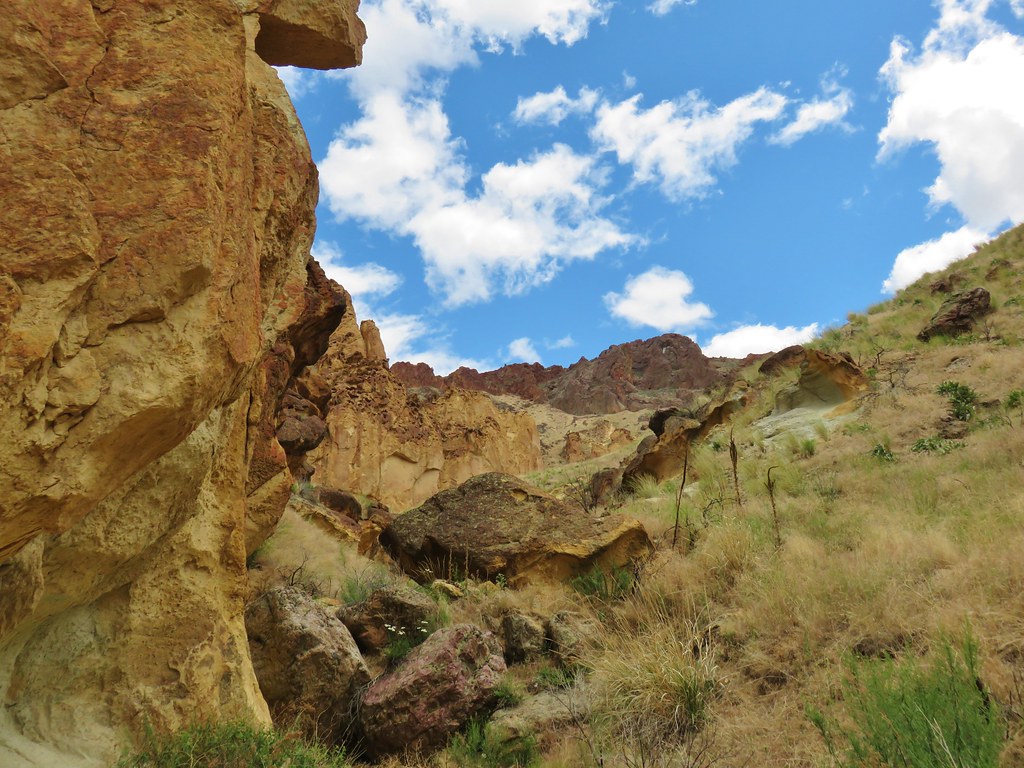
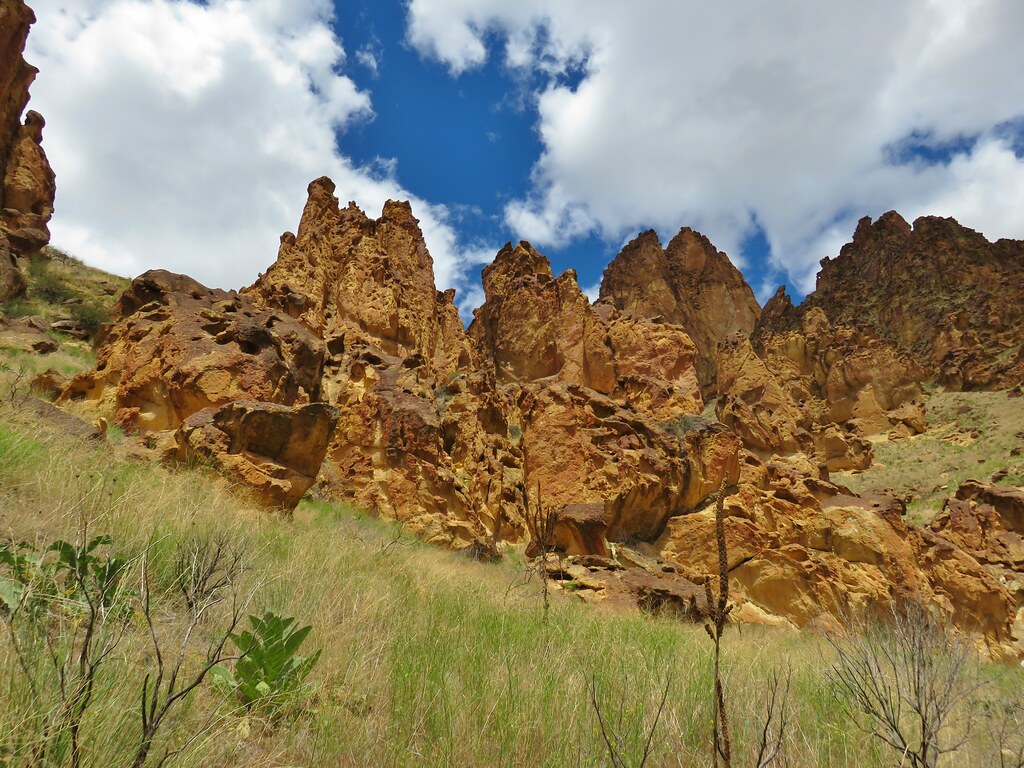
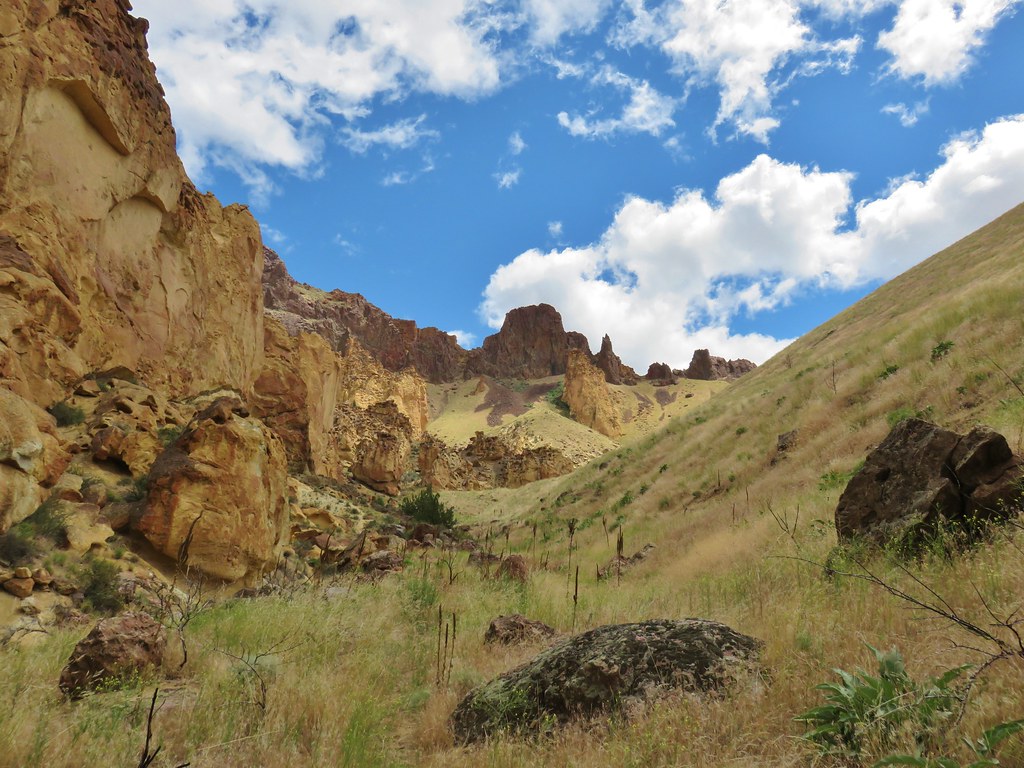
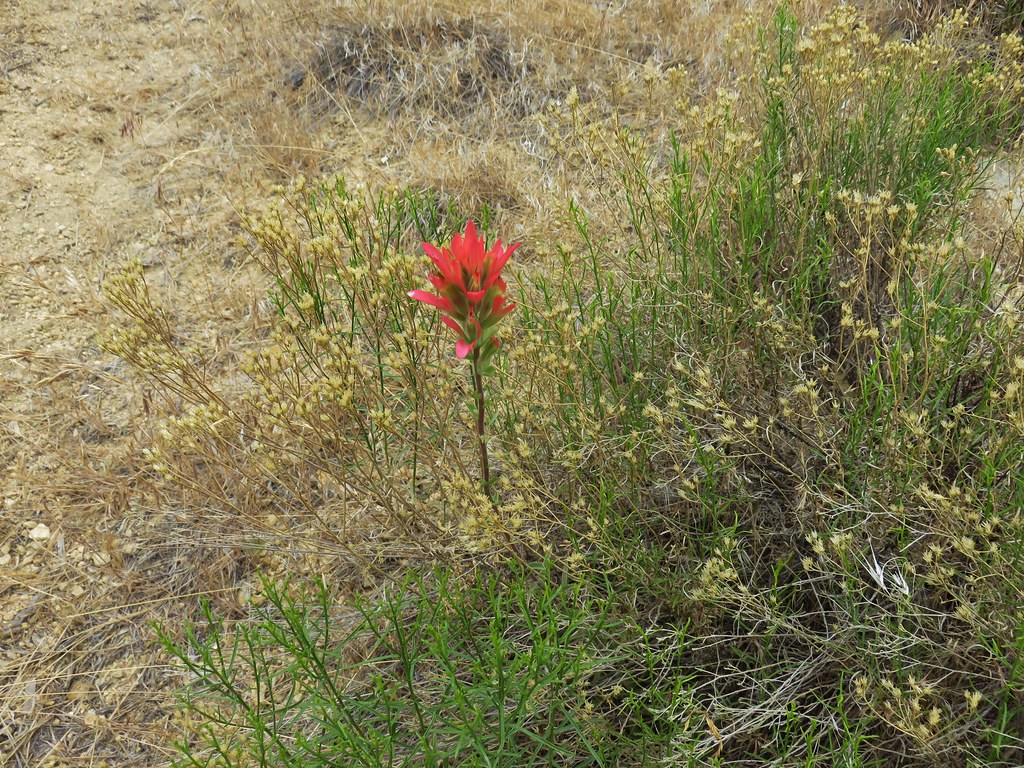
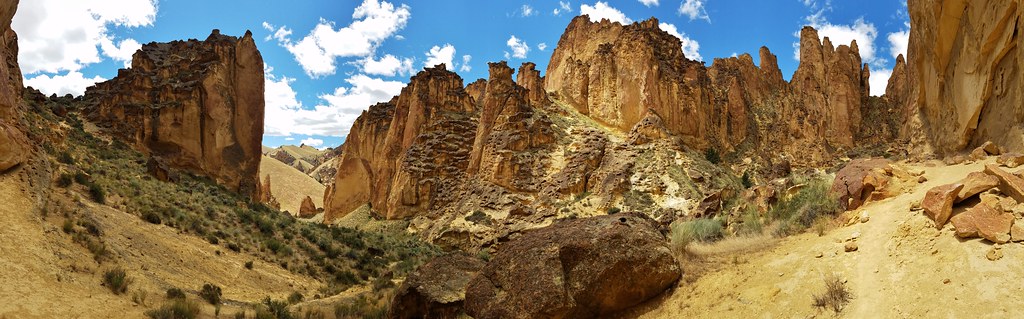
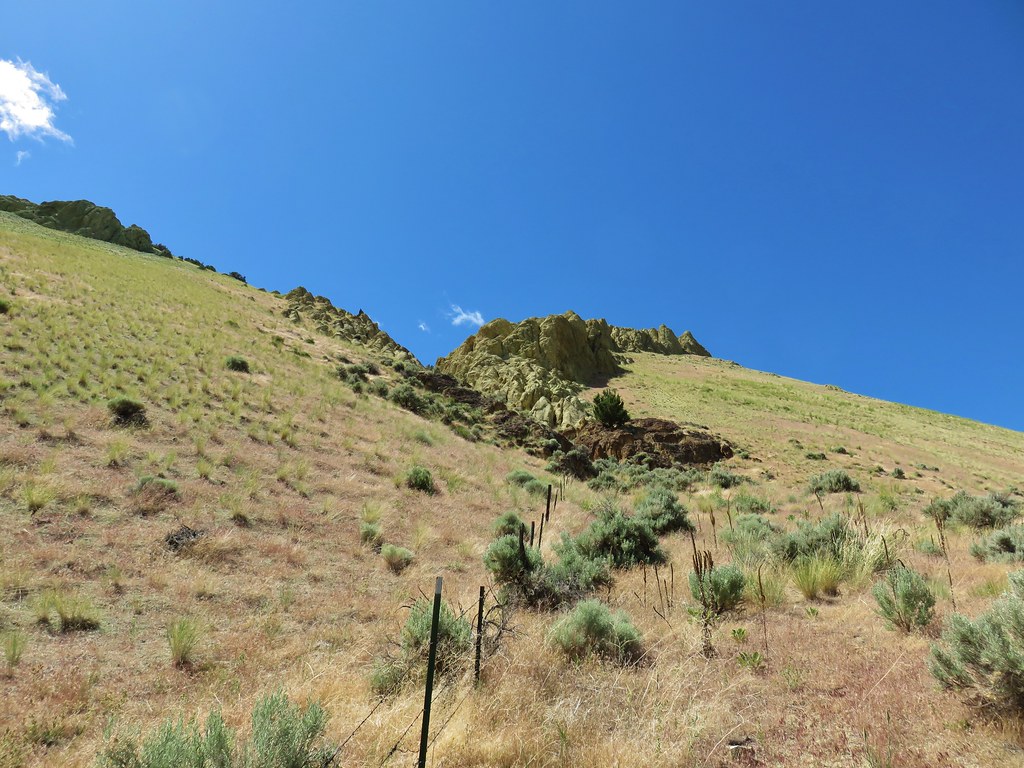
Wildlife and wildflowers accentuated the views but it was the rock formations that were the stars.


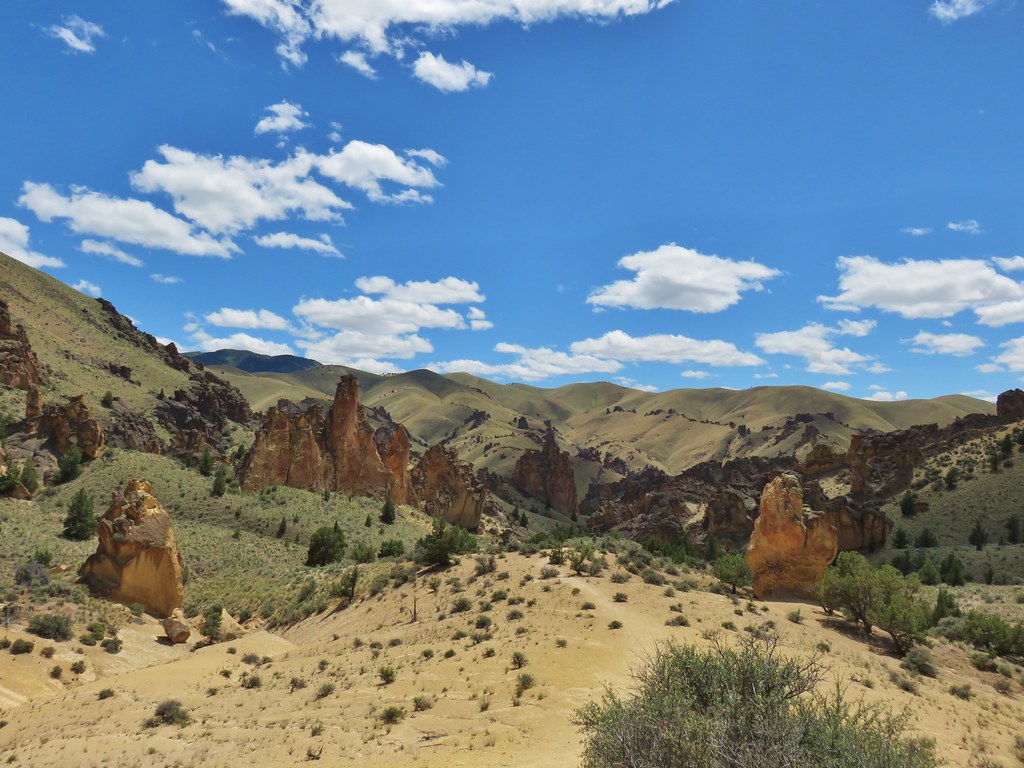
The trail grew fainter the further we went but we managed to go a little over 1.25 miles before turning around and heading for our next stop at Timber Gulch. This was another gulch with no official trail but there was a small pullout 2.35 miles from the Slocum Campground where we parked. From the pullout we followed another clear trail into Timber Gulch.
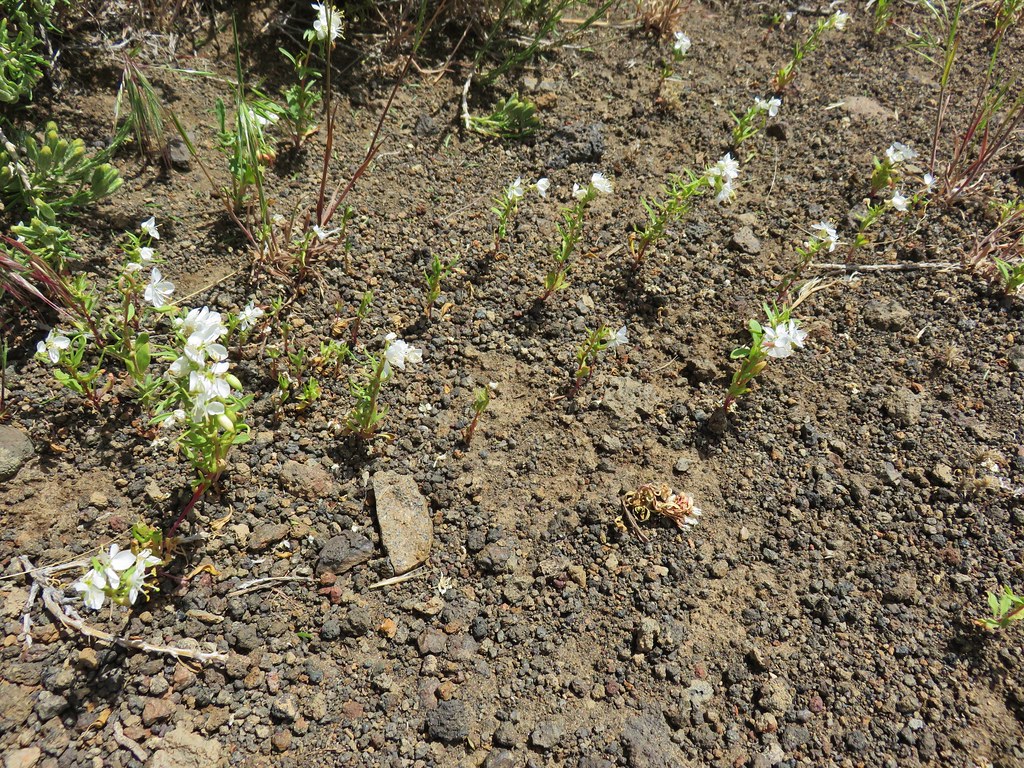
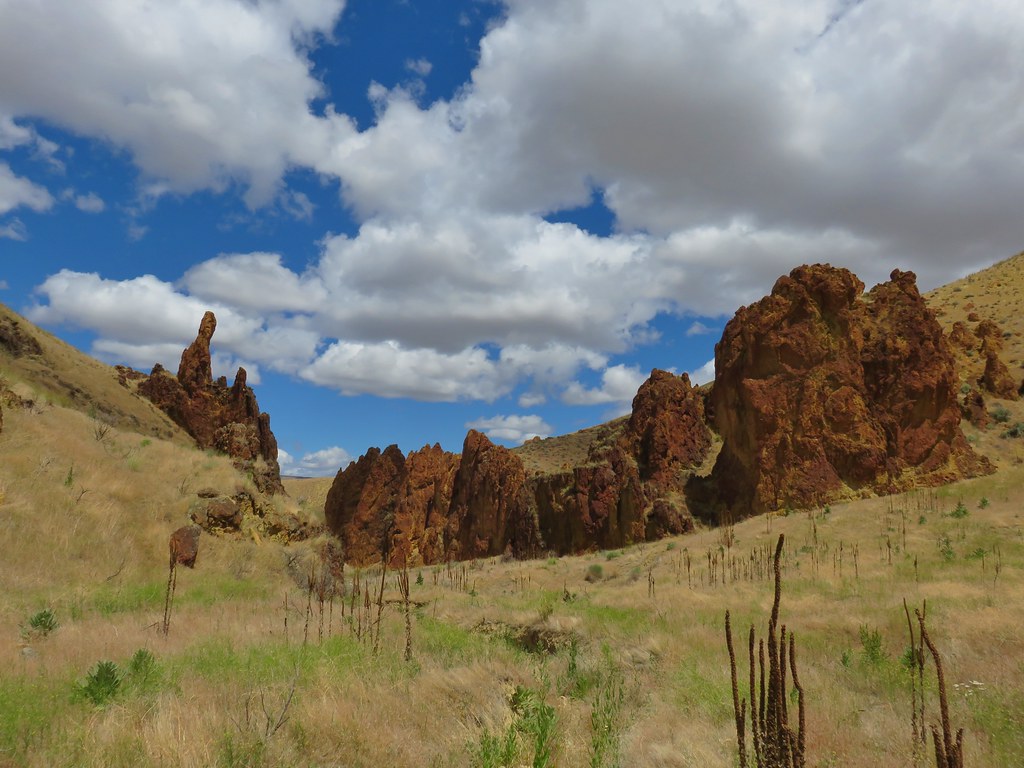
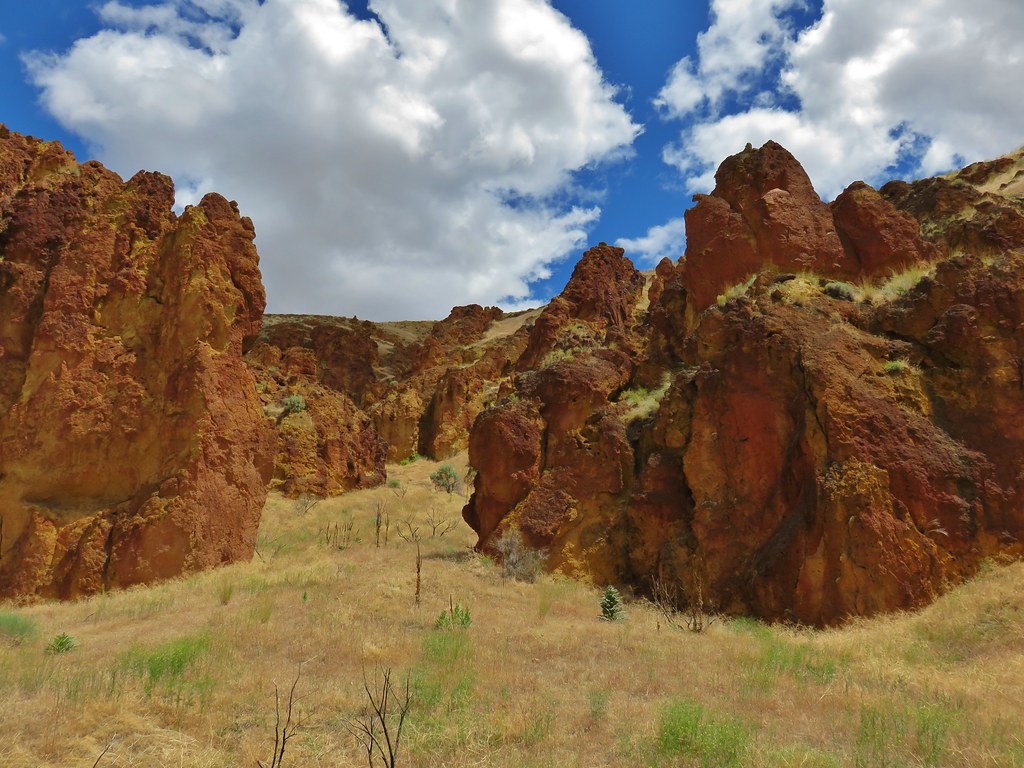
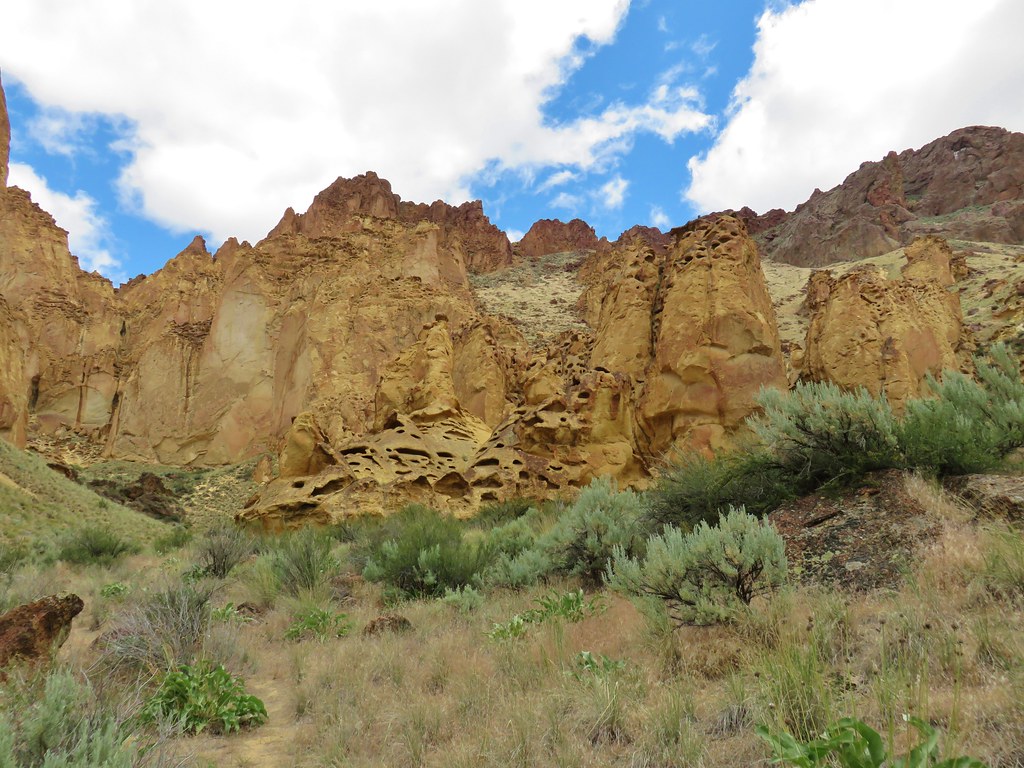
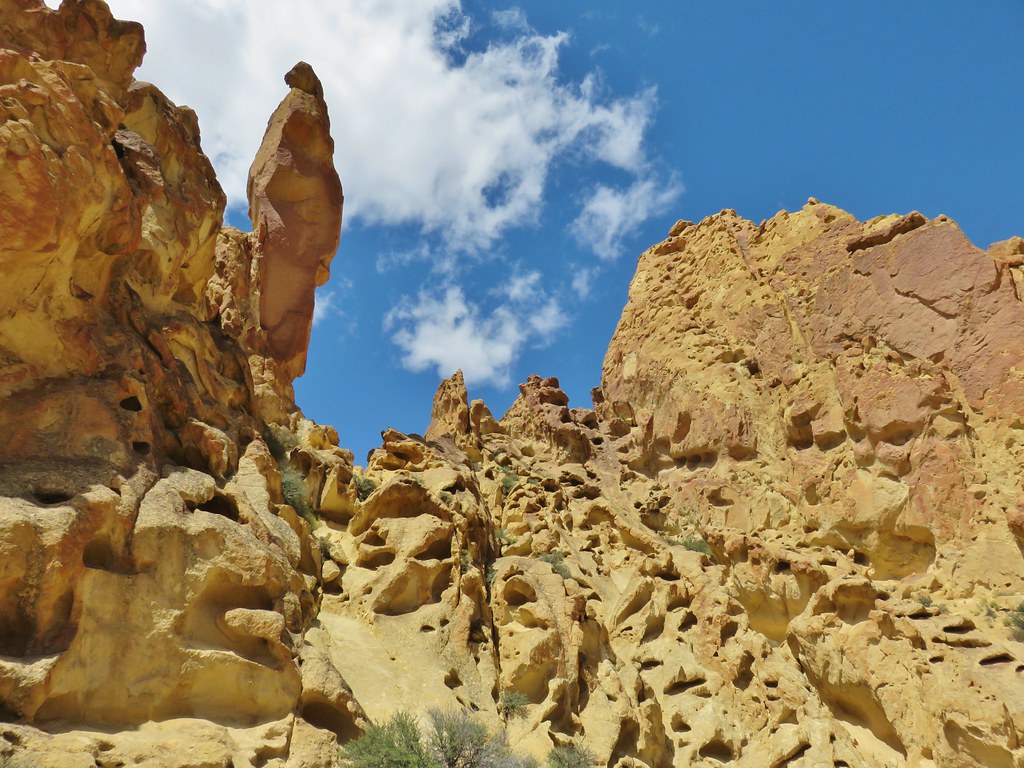
Despite the proximity to Slocum Gulch the scenery here was quite different with more “honeycomb” rocks and even some different flowers.
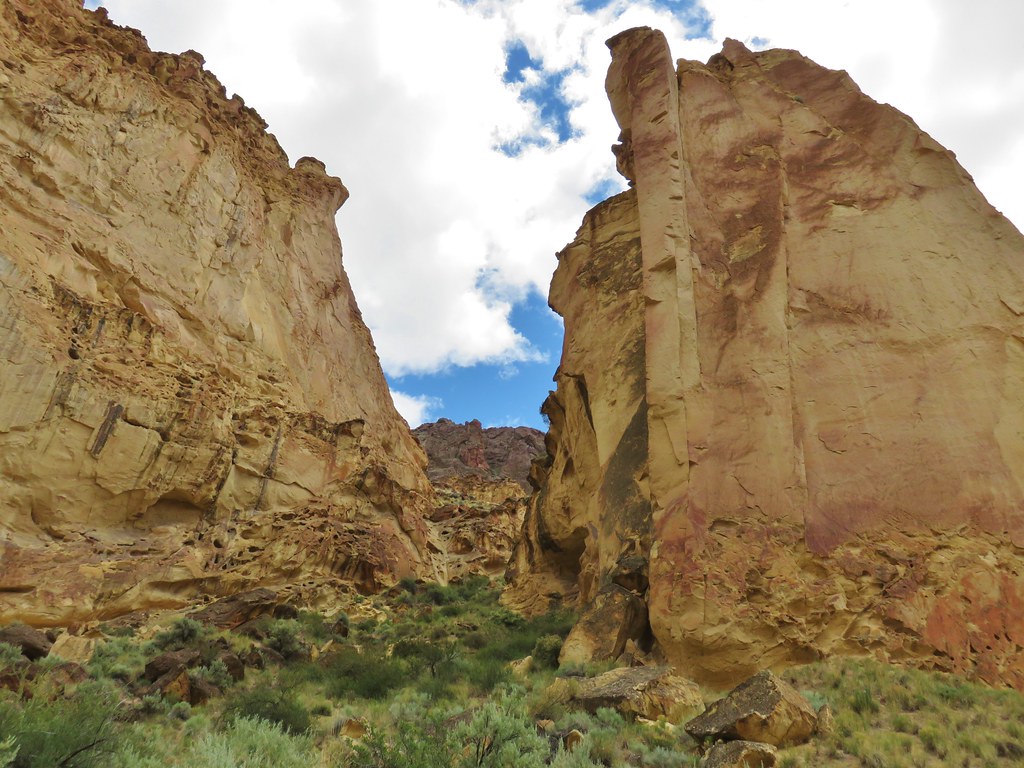

The trail ended in an amphitheater of rocks with sweeping views.
The hike up Timber Gulch was only 1.3 miles round trip but it was packed with scenery. After Timber Gulch we drove just 1.25 miles further back up Leslie Gulch Road to the signed Juniper Gulch Trail.

This wound up being a 1.8 mile hike with a little loop in the middle when we forked right where we should have stayed straight. Some minor scrambling up some rocks got us back on course though. This trail featured rock overhangs that we passed under and was also the only trail that we encountered other hikers on the entire trip after being at the Malheur Wildlife Refuge Headquarters.

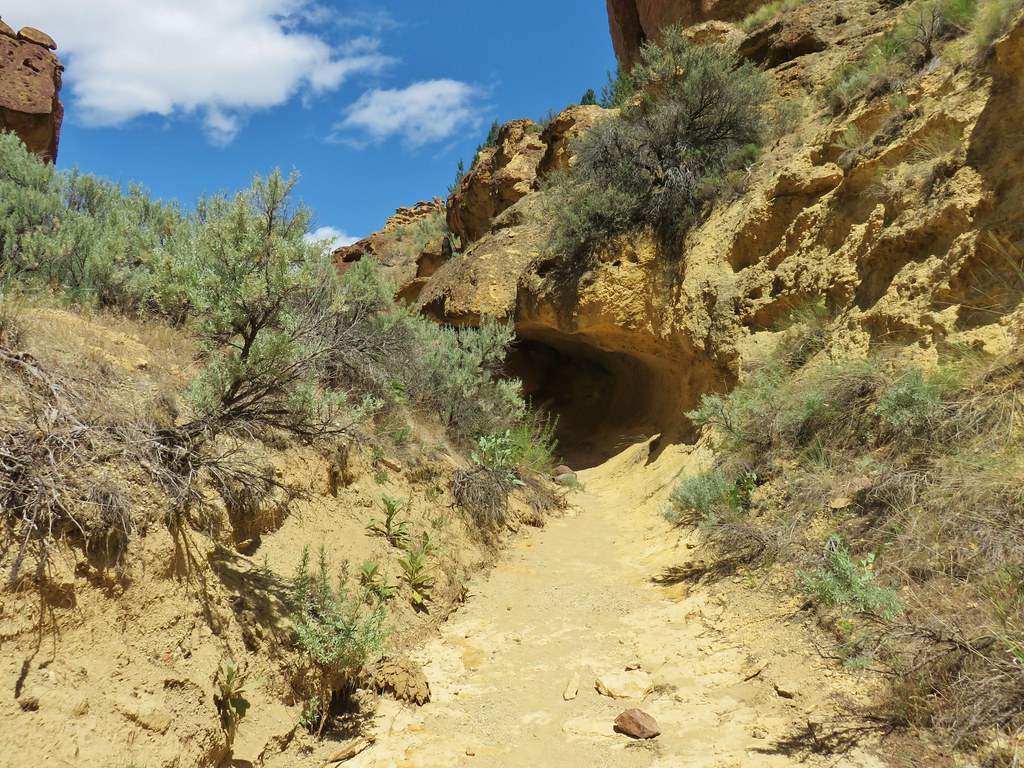
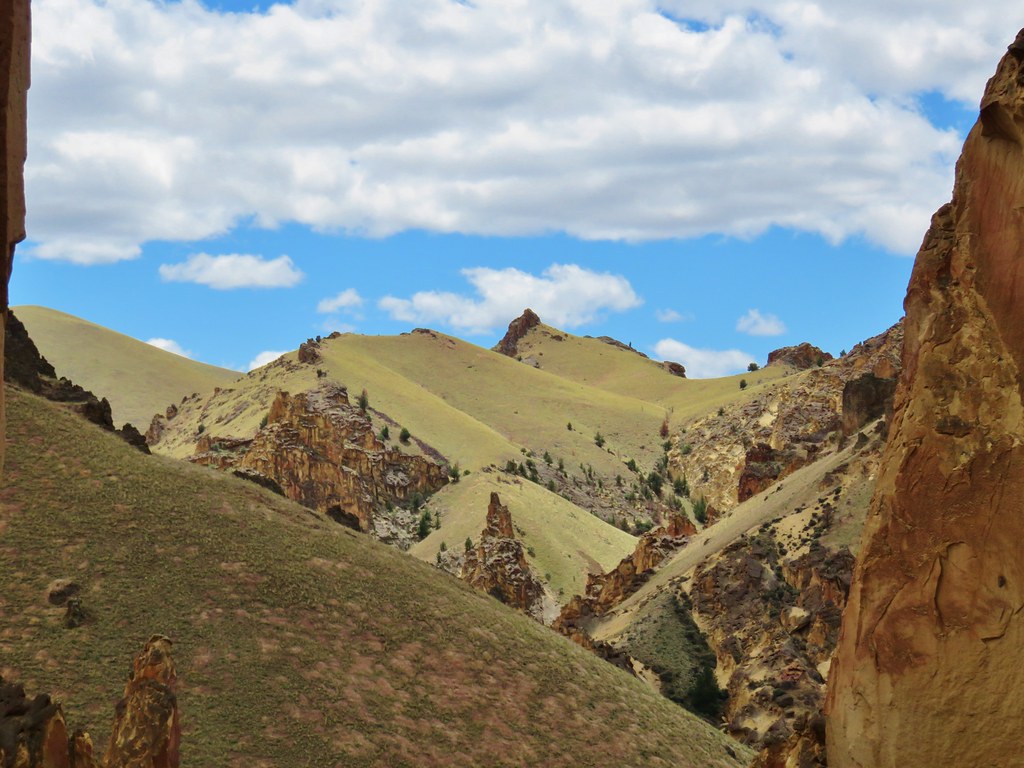
Beyond the overhangs (and once we were back on the correct path) the trail led up to a knoll with some impressive views.
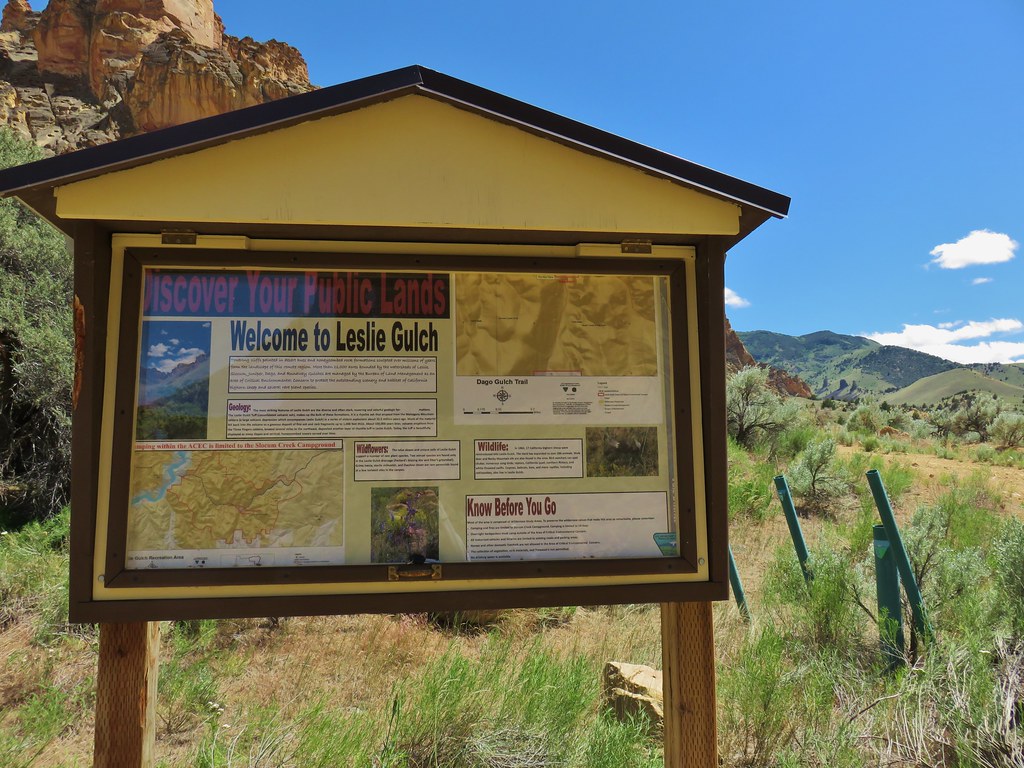
Our last stop in Leslie Gulch was at Dago Gulch, a mile from Juniper Gulch.

Here we followed an old roadbed for a mile to private land.
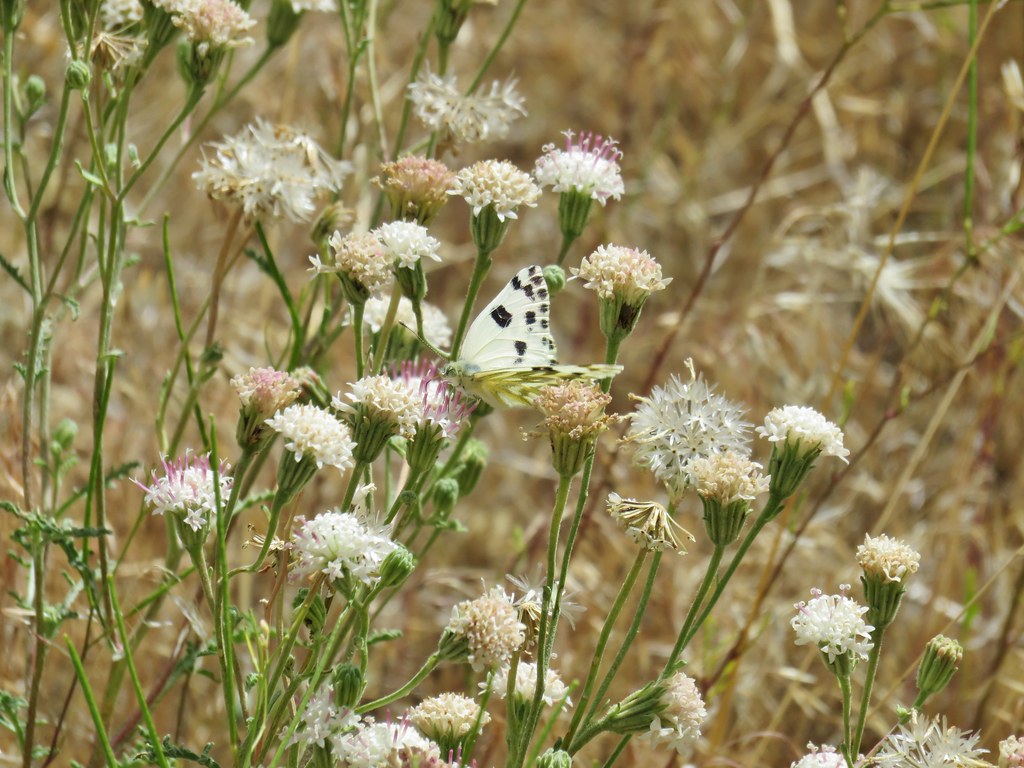
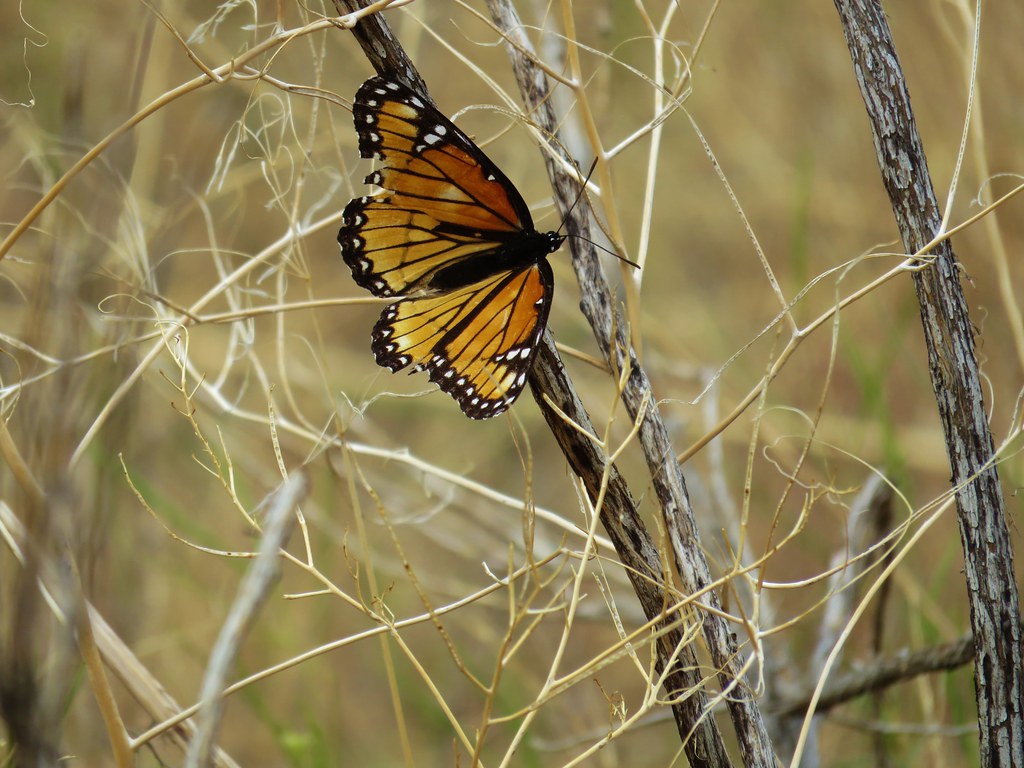
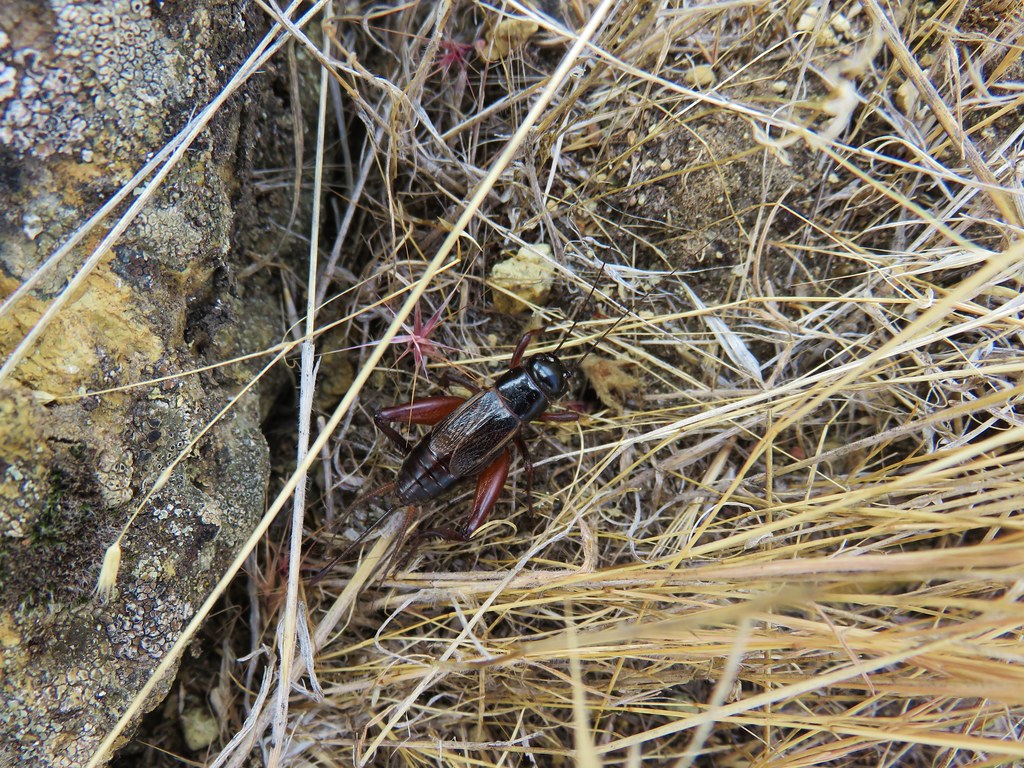
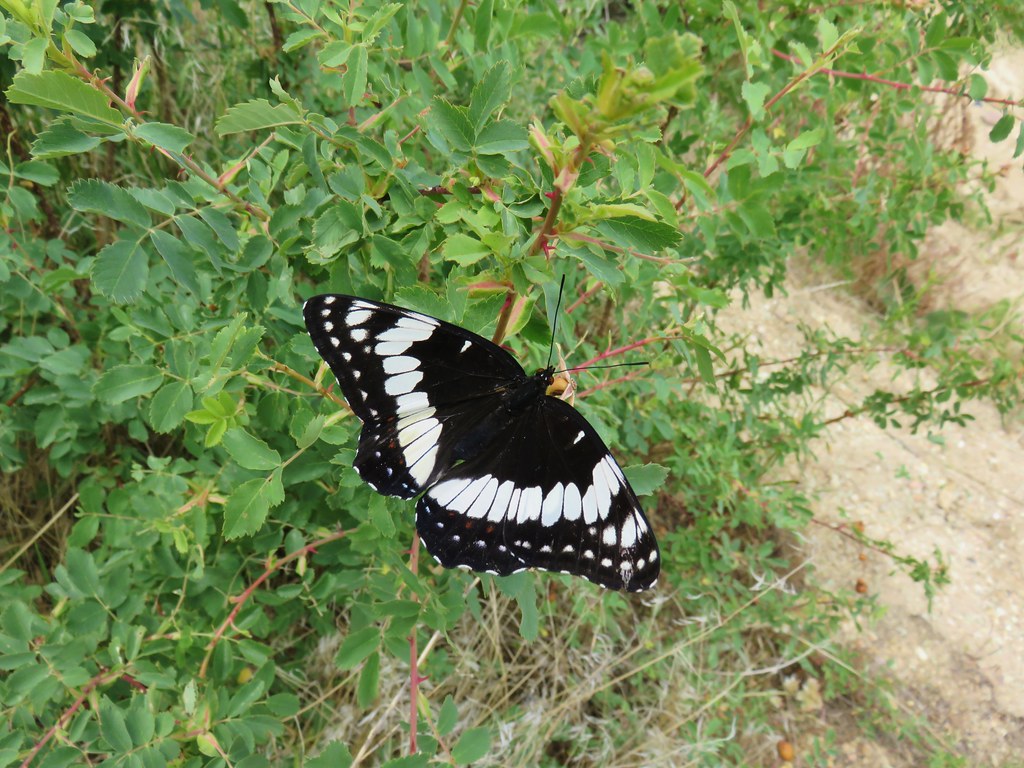
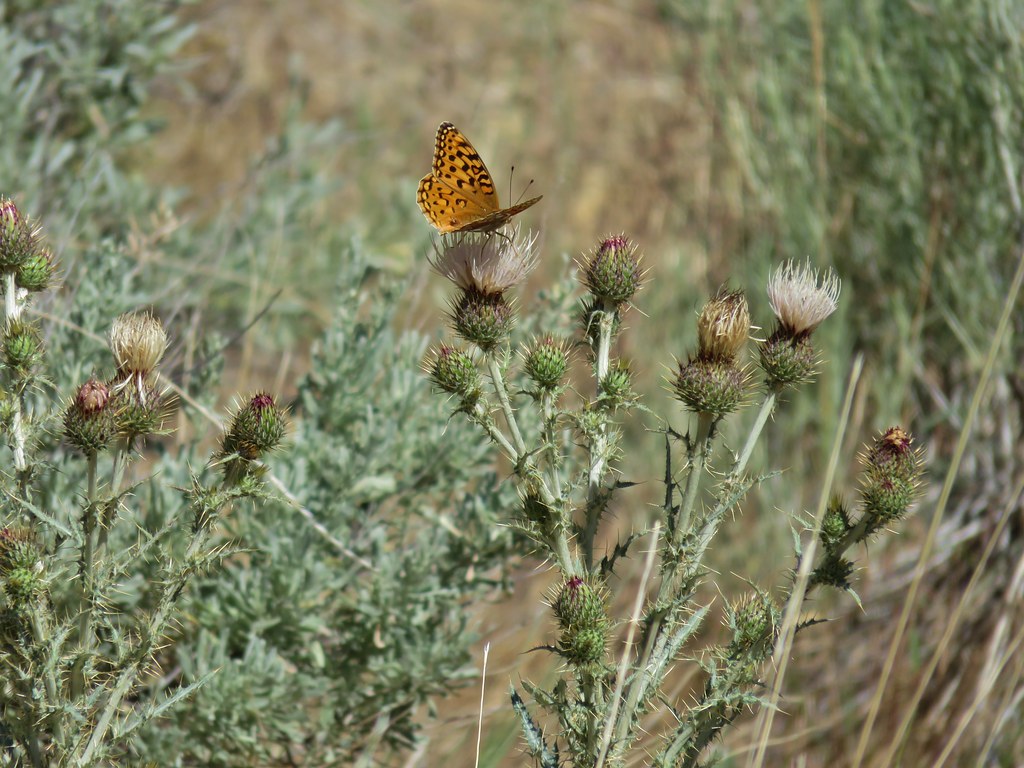
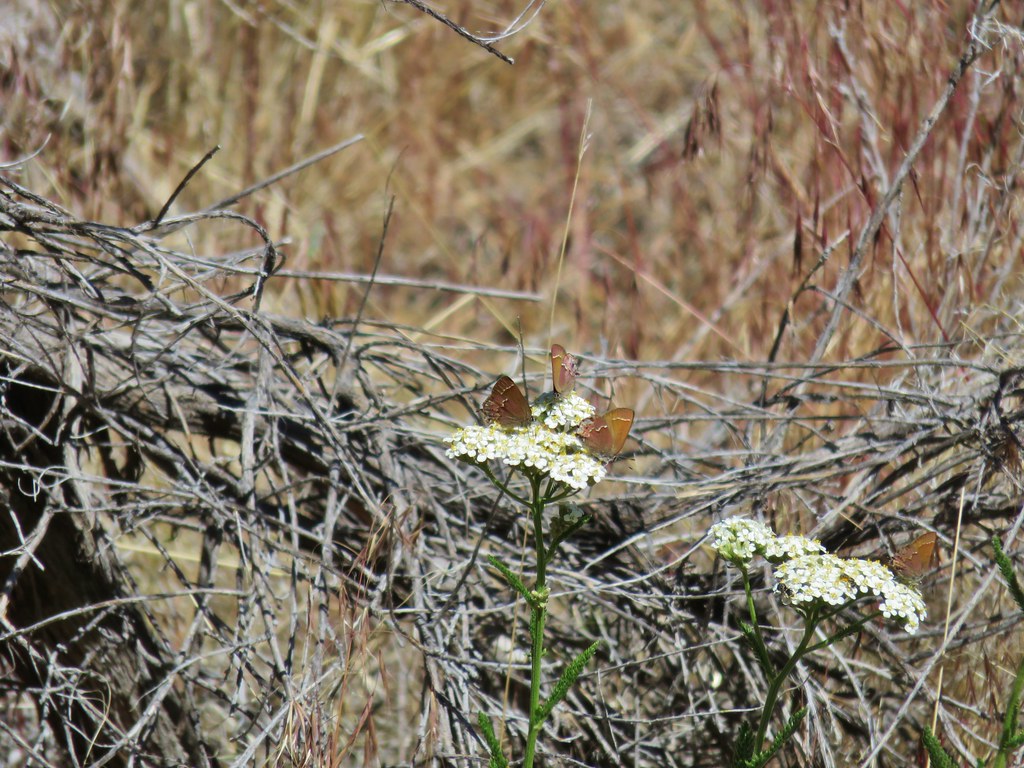
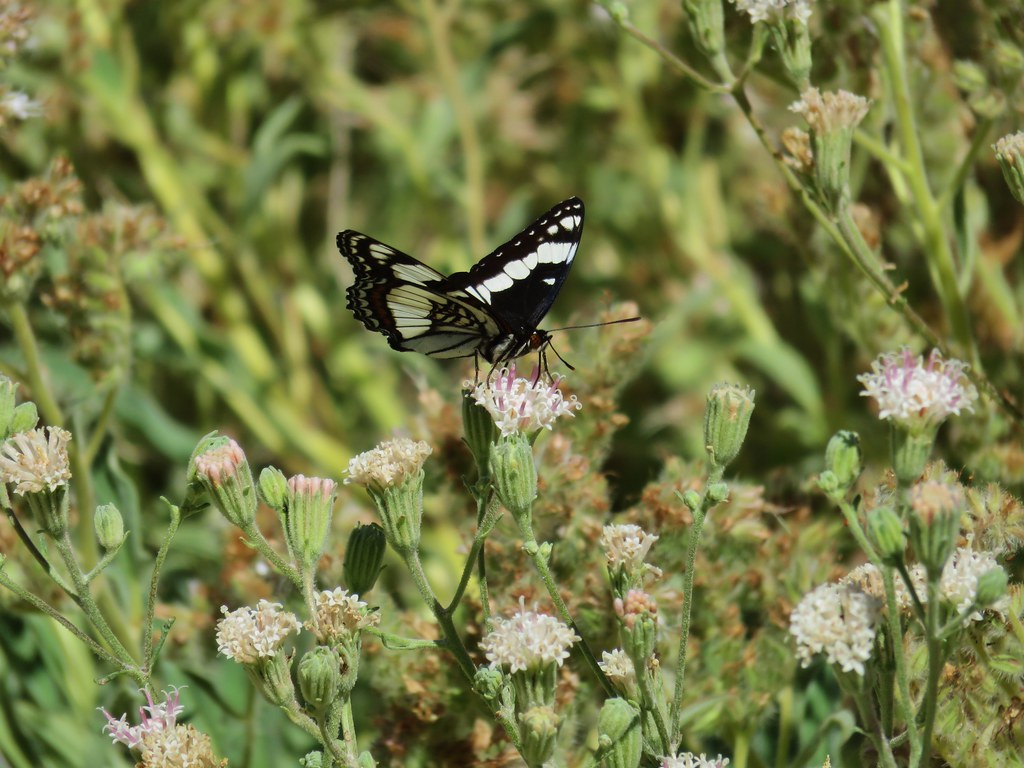
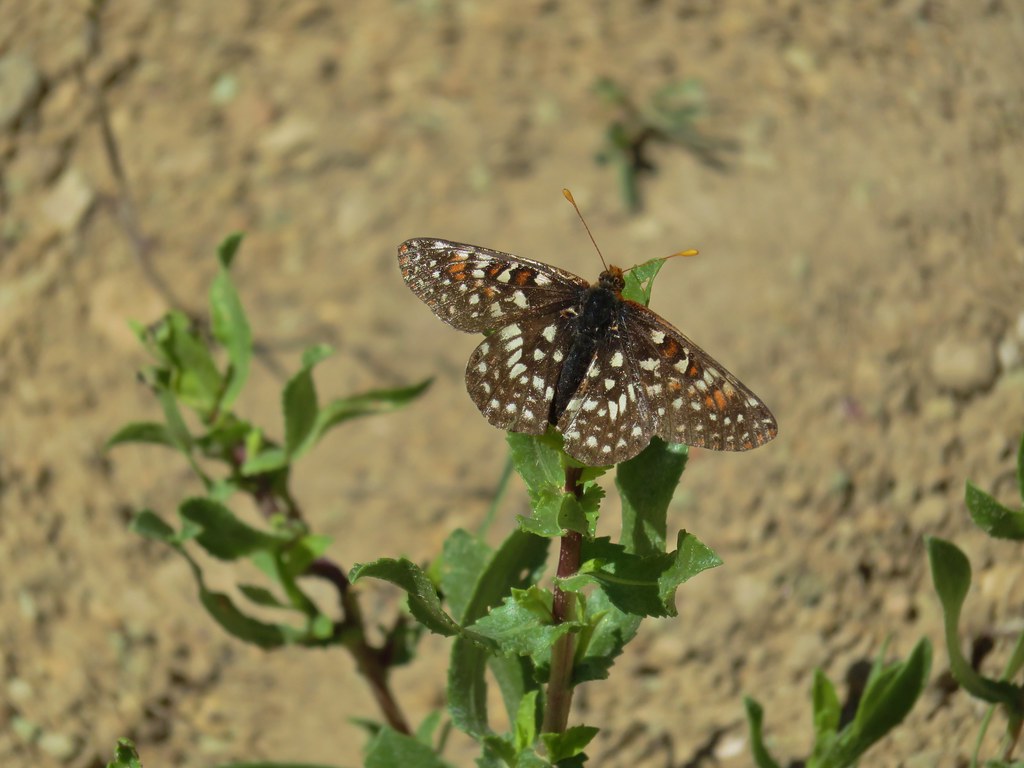
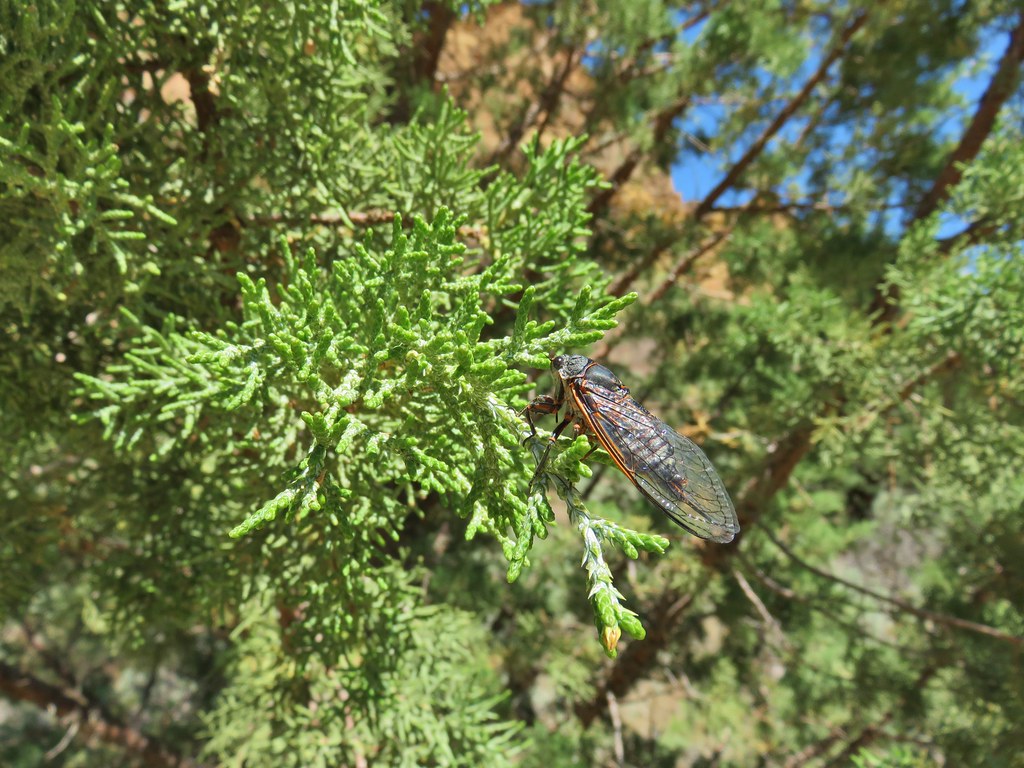
Although this gulch didn’t have quite as many impressive rock formations as the other gulches it had its share and it also had a lot of butterflies and cicadas.

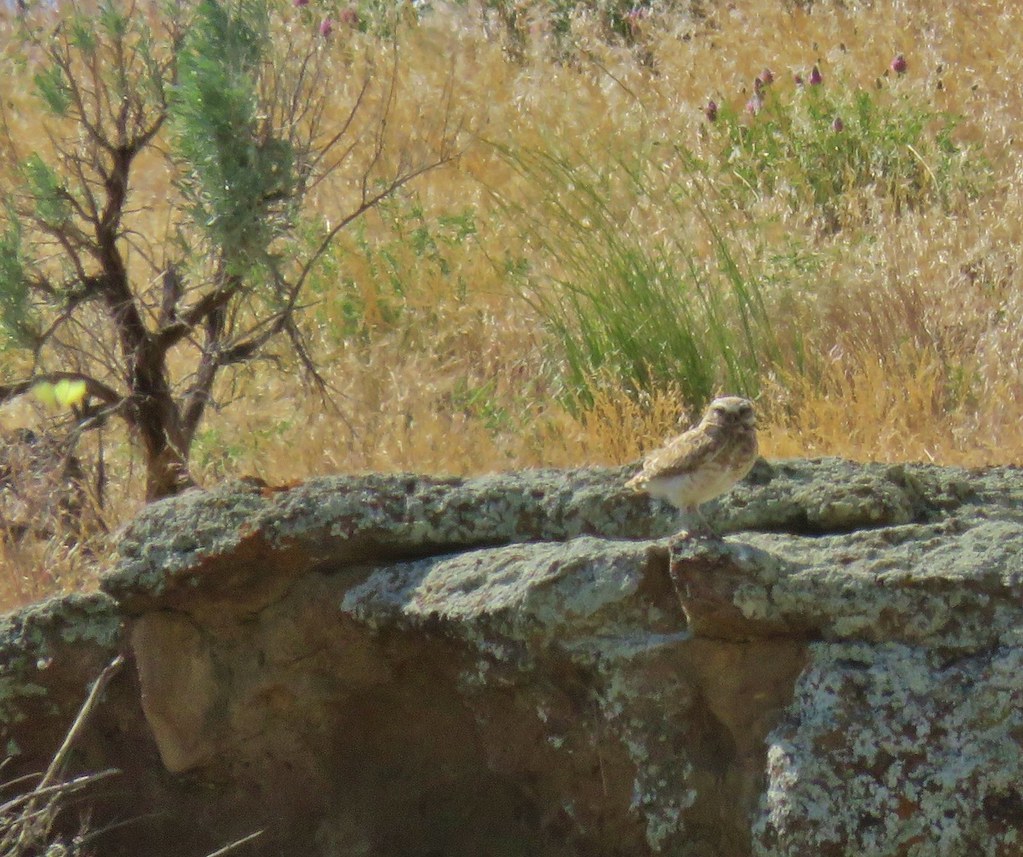
We had considered also hiking into Upper Leslie Gulch on a .3 mile trail there but it had gotten really warm and after five hikes we were ready to head back to Caldwell to get cleaned up and cool off. On the way back to the highway we spotted a burrowing owl atop some sagebrush along McBride Road. It flew up on some rocks when we stopped but I was able to get a somewhat blurry photo of the little guy before we drove on.
It was a long day with just under six hours of hiking and almost seven and a half hours of driving but the sights had been worth it. We grabbed a fast food dinner back in Caldwell and turned in for the evening looking forward to what the next day had in store. Happy Trails!
Flickr: Jordan Craters and Leslie Gulch
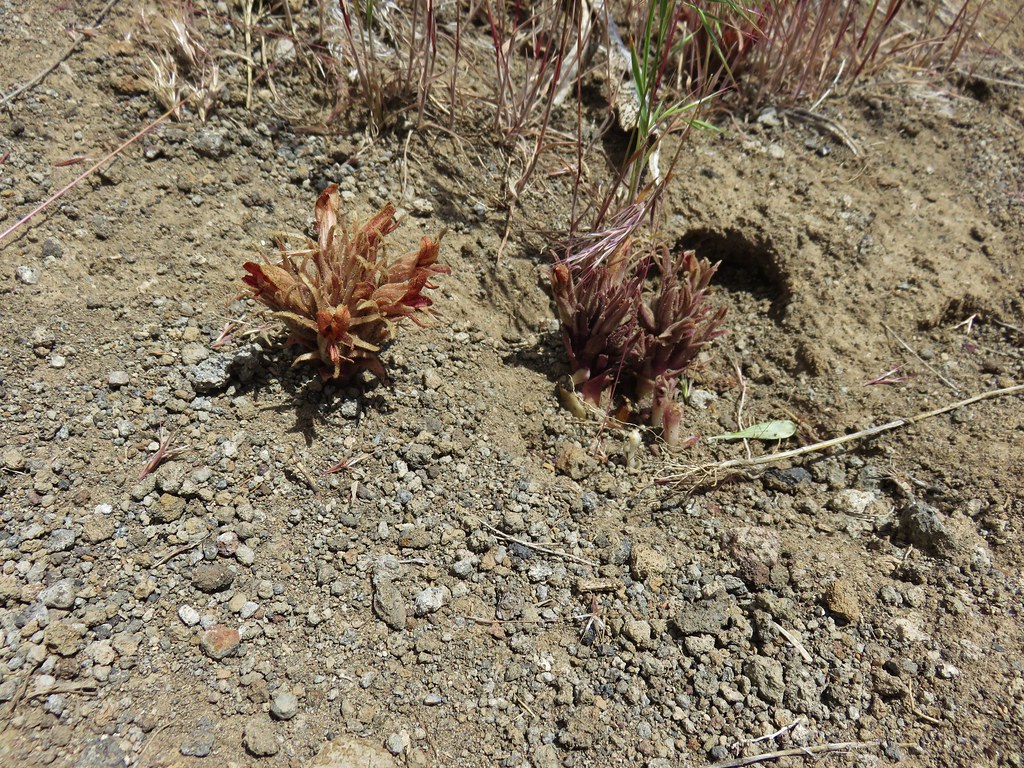
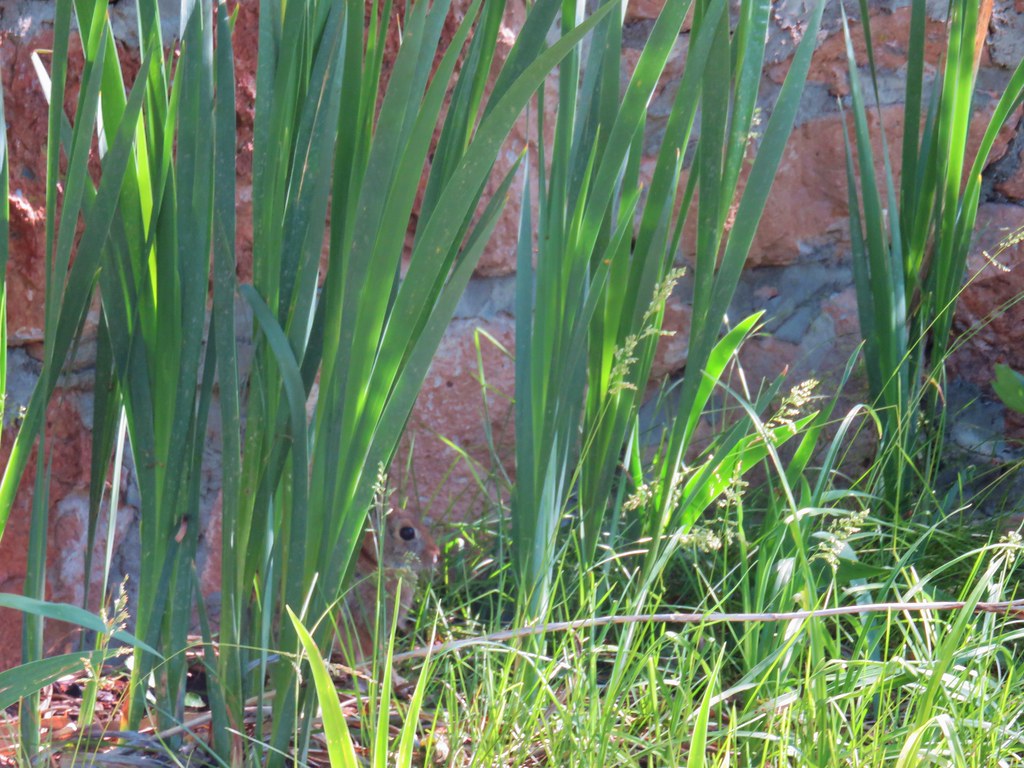 Rabbit behind the plants
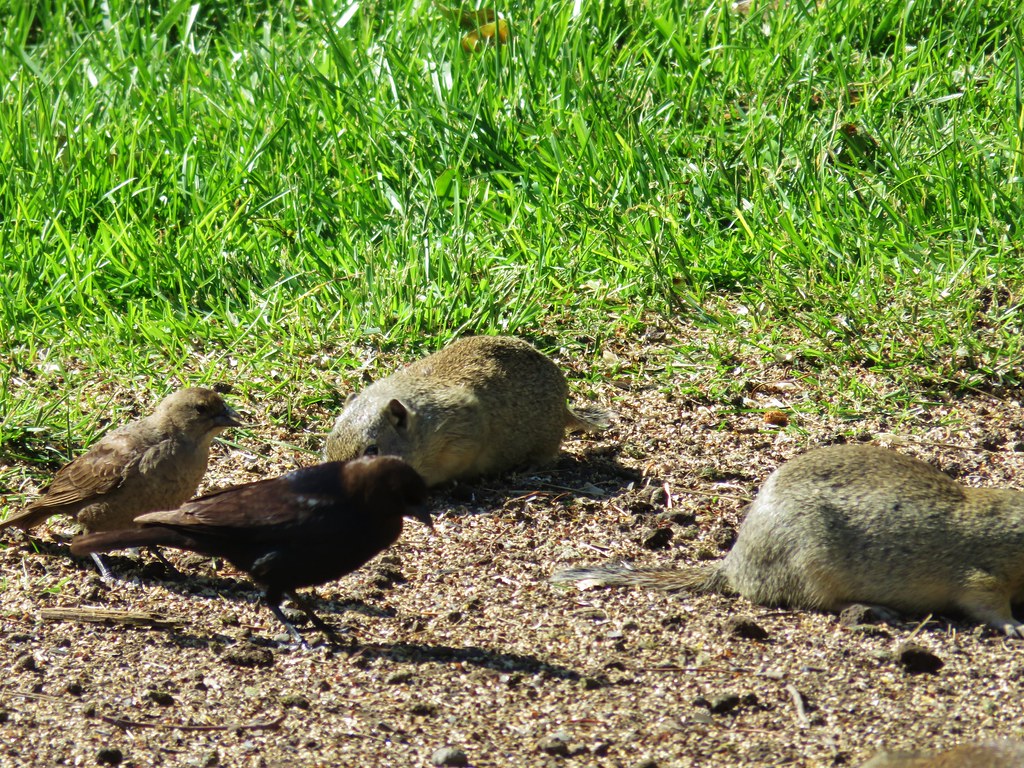


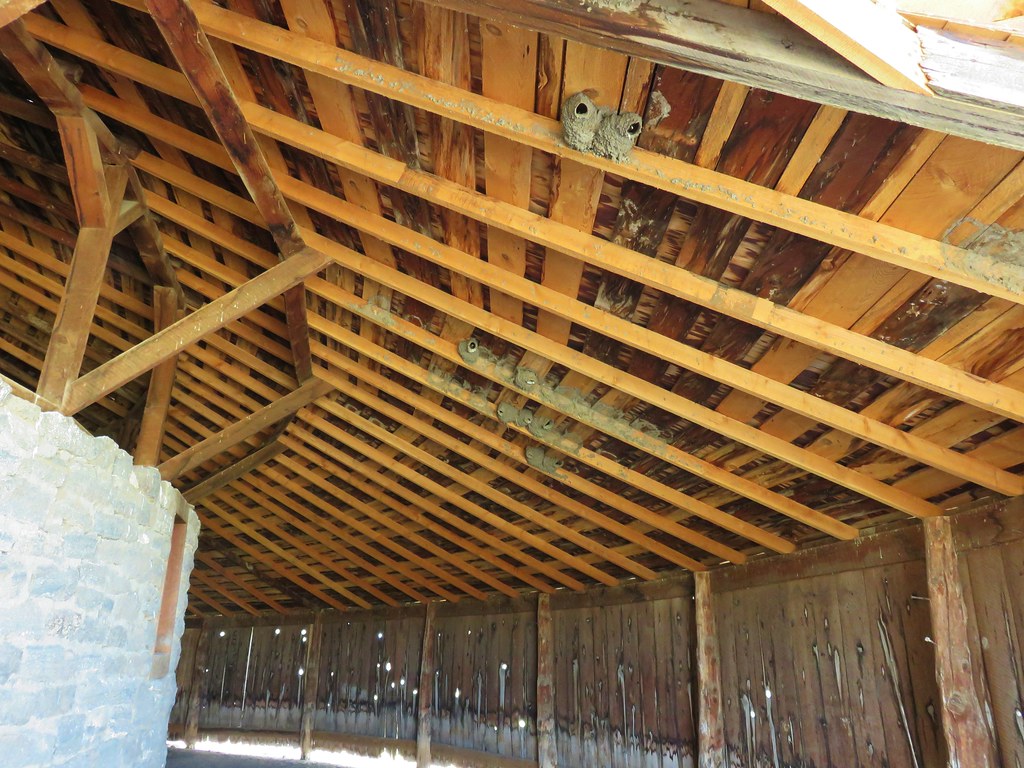
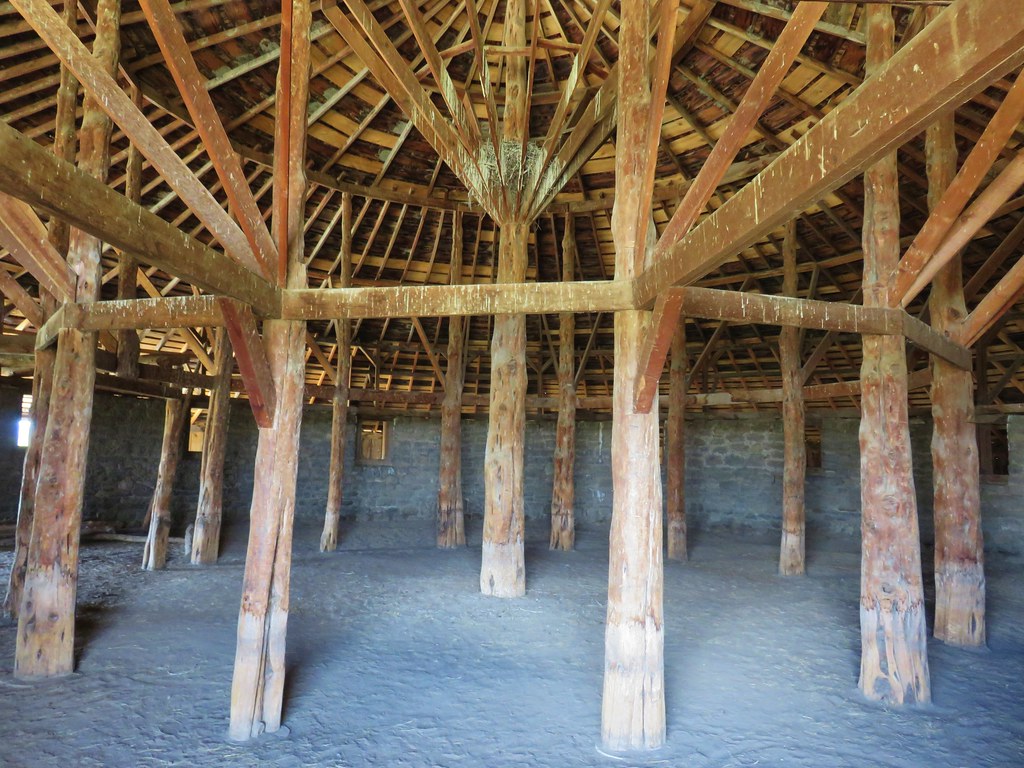
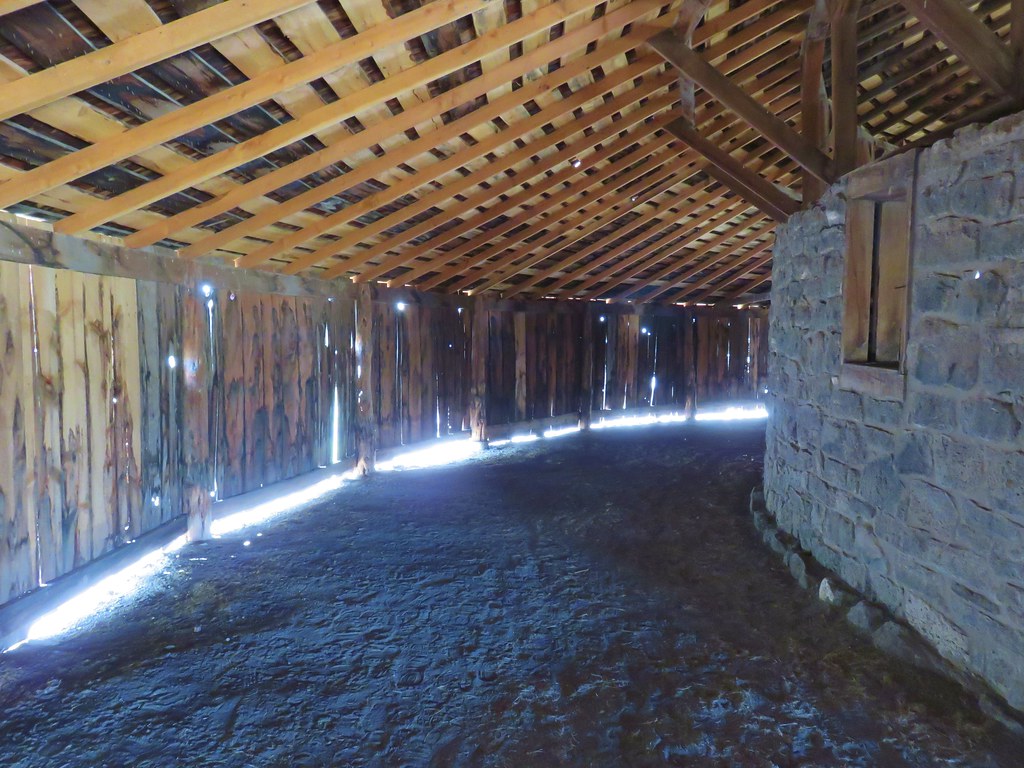
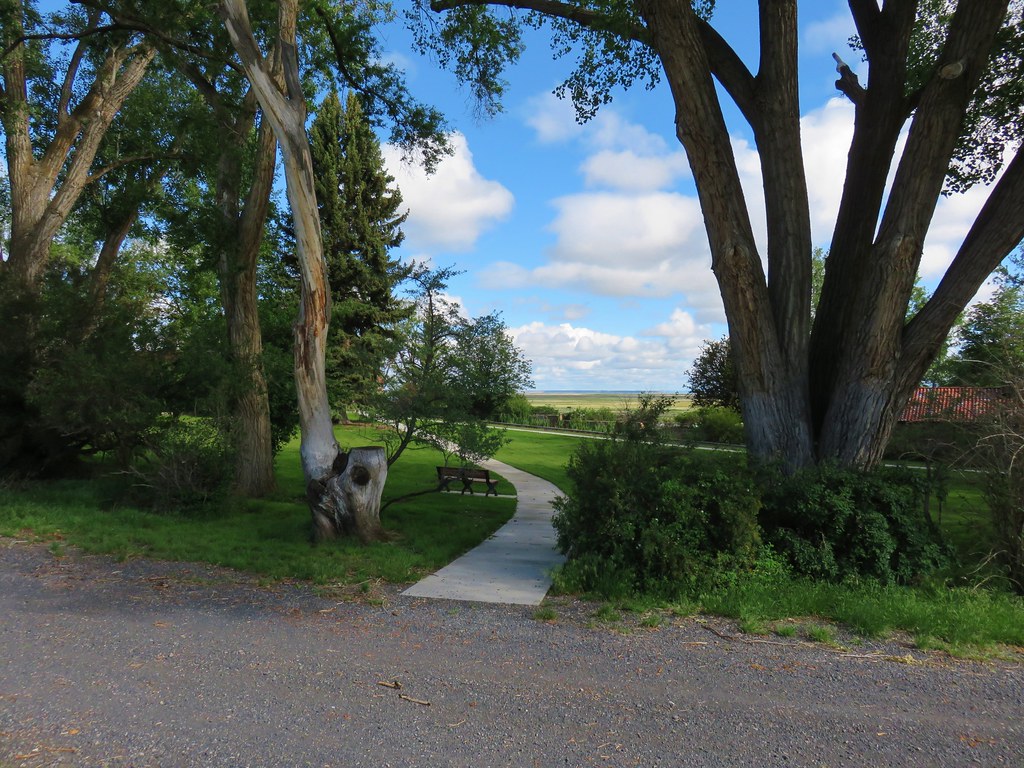
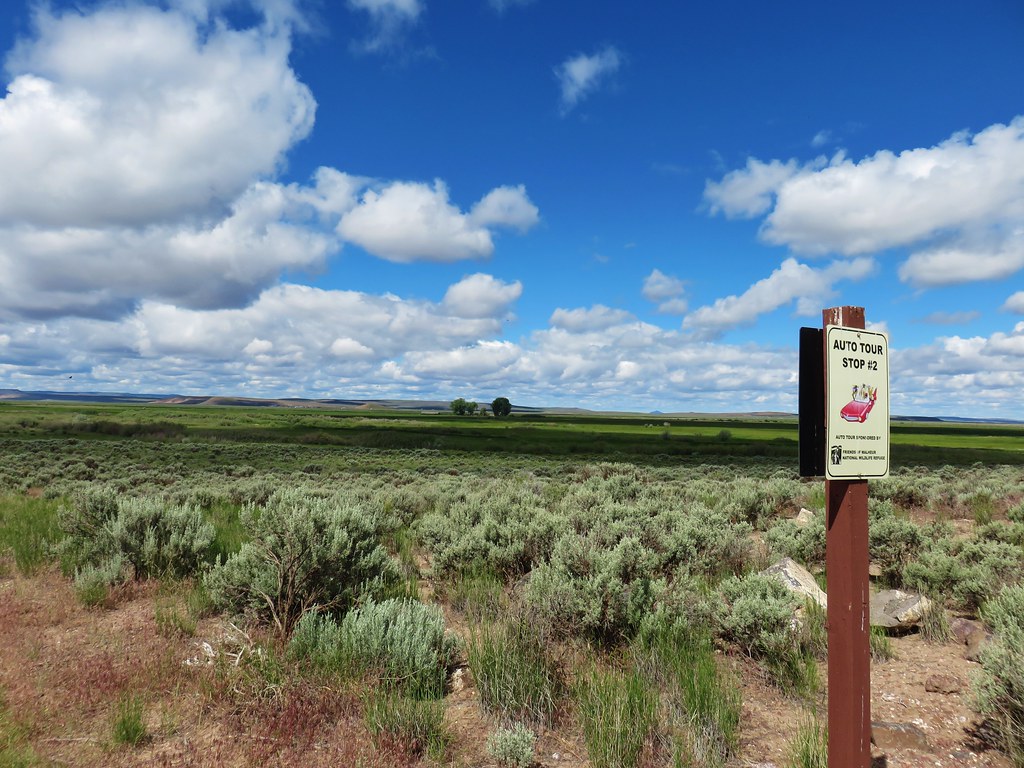 Stop 2 – Sod House Ranch
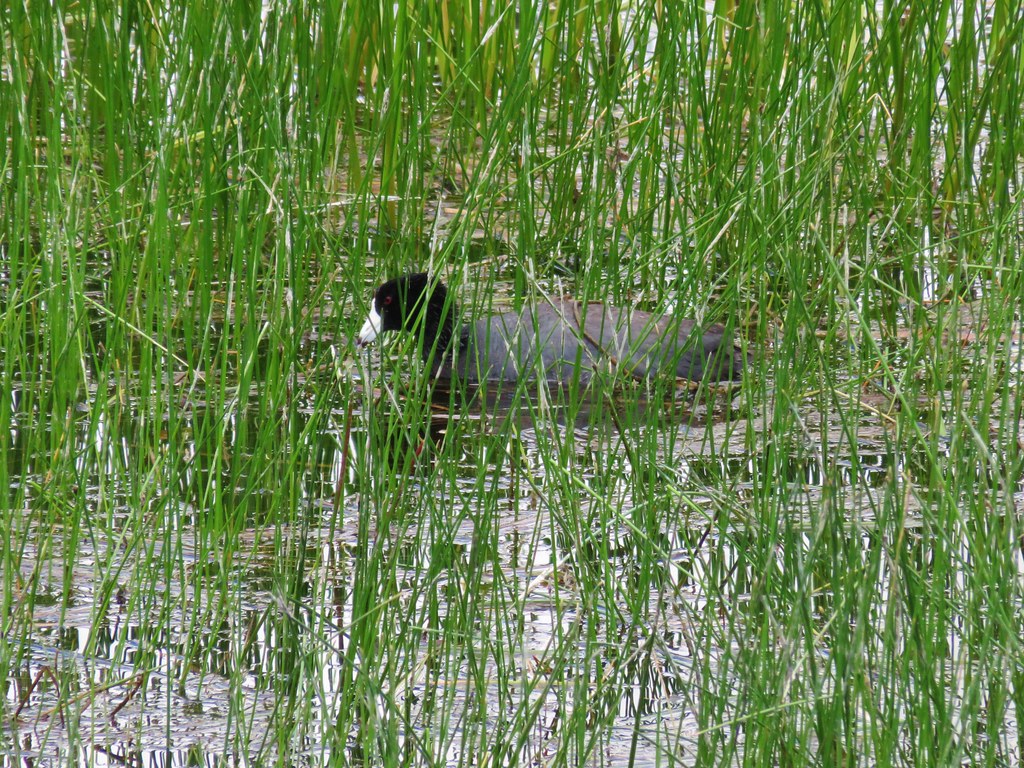 American Coot
 White Faced Ibis
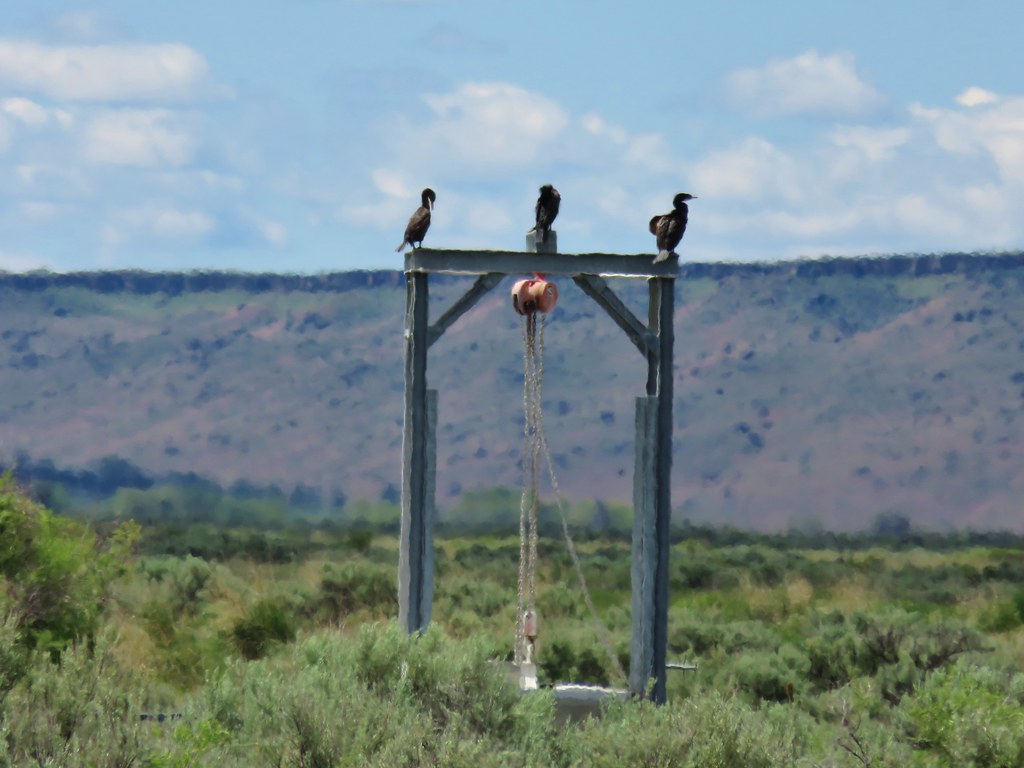 Cormorants
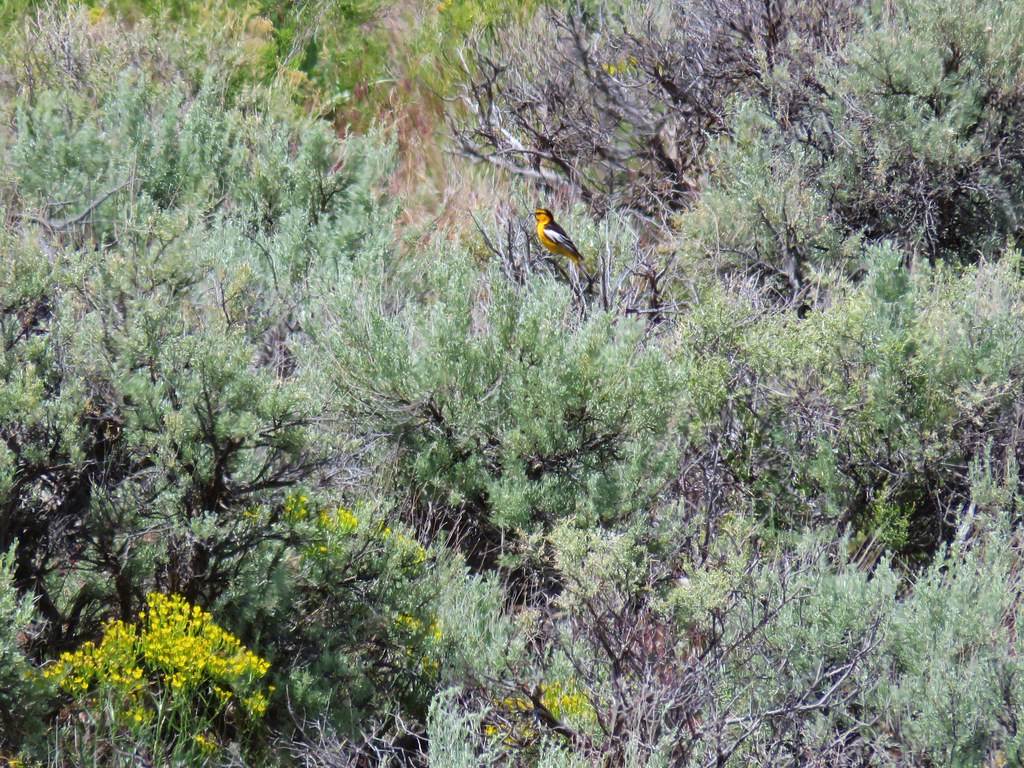
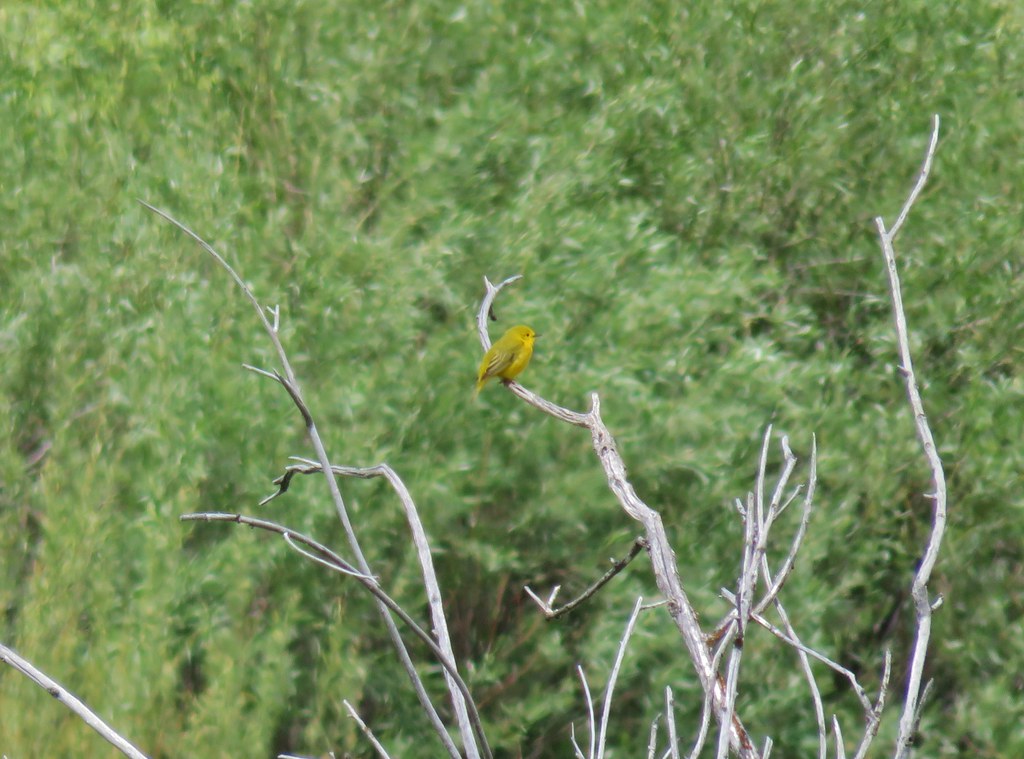 Yellow Warbler?
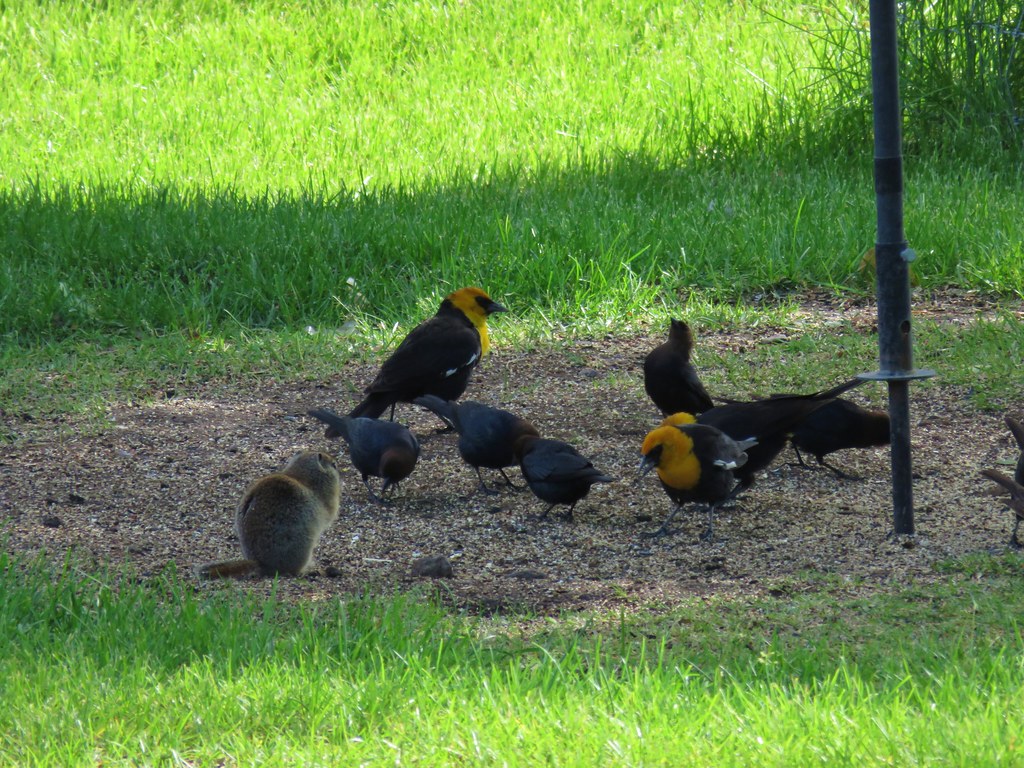
 Western Meadowlark