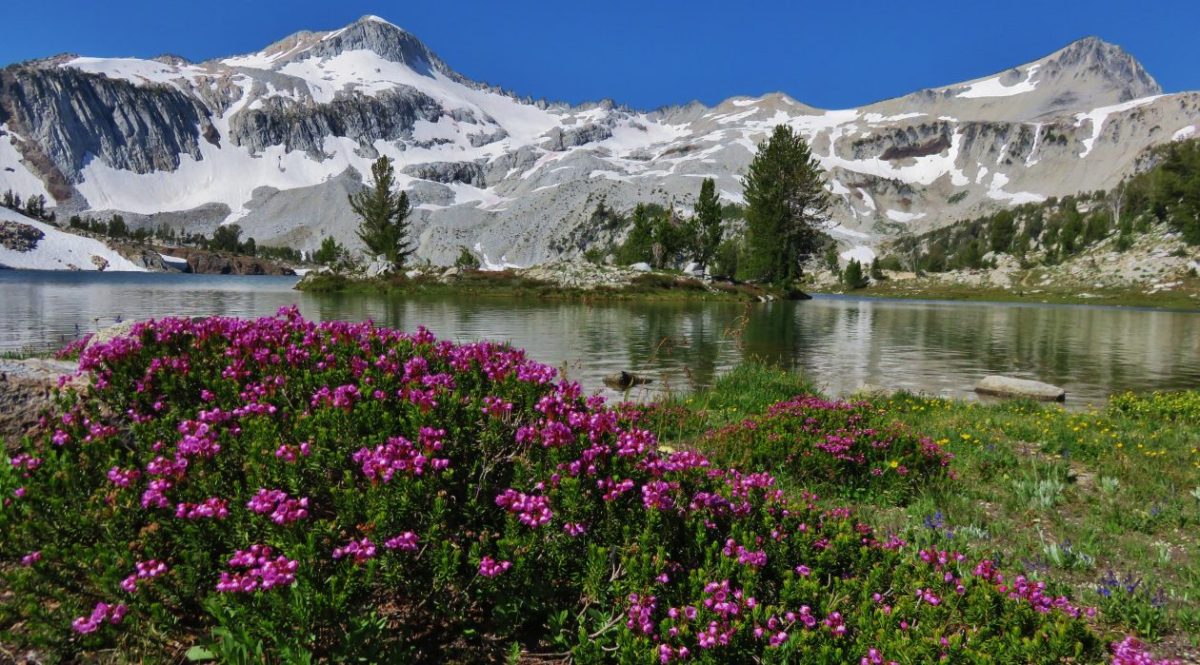
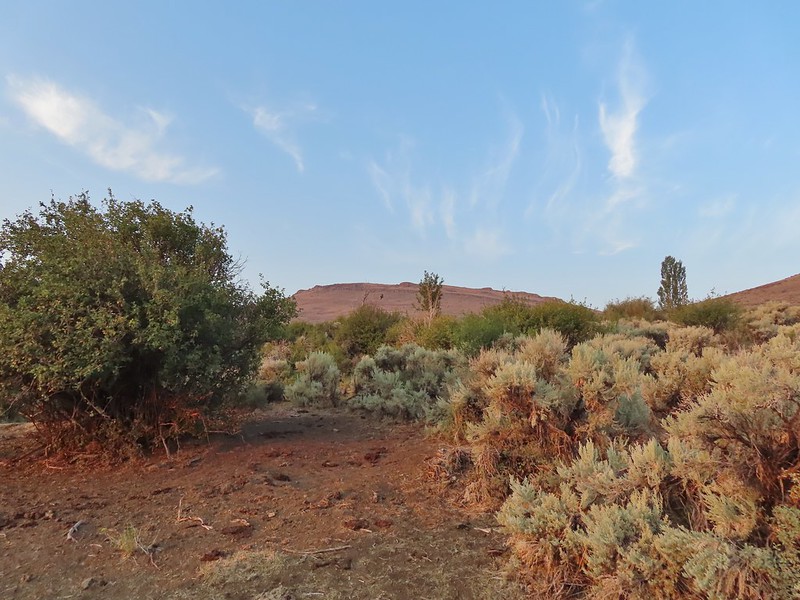
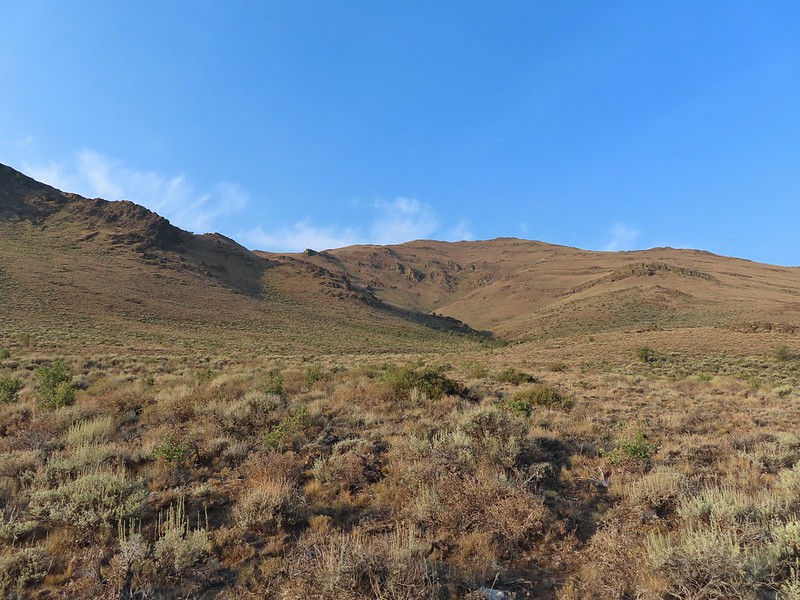
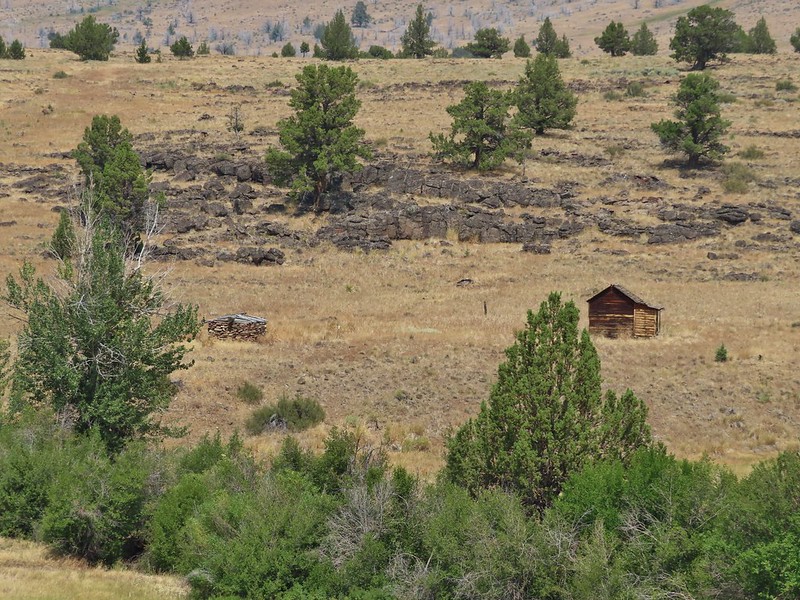
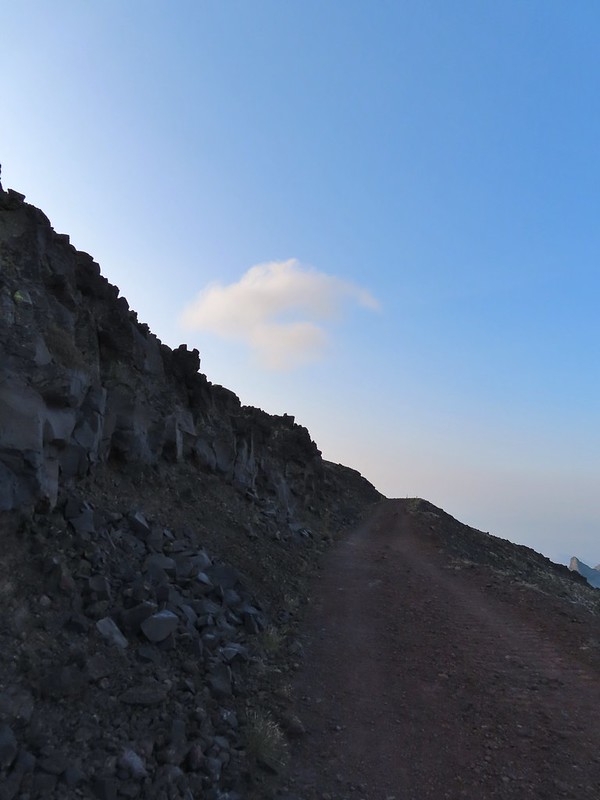
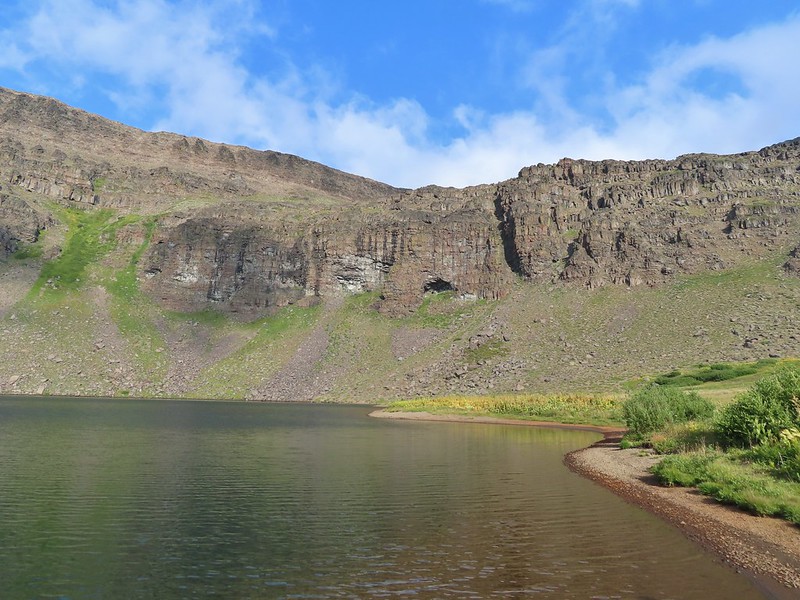
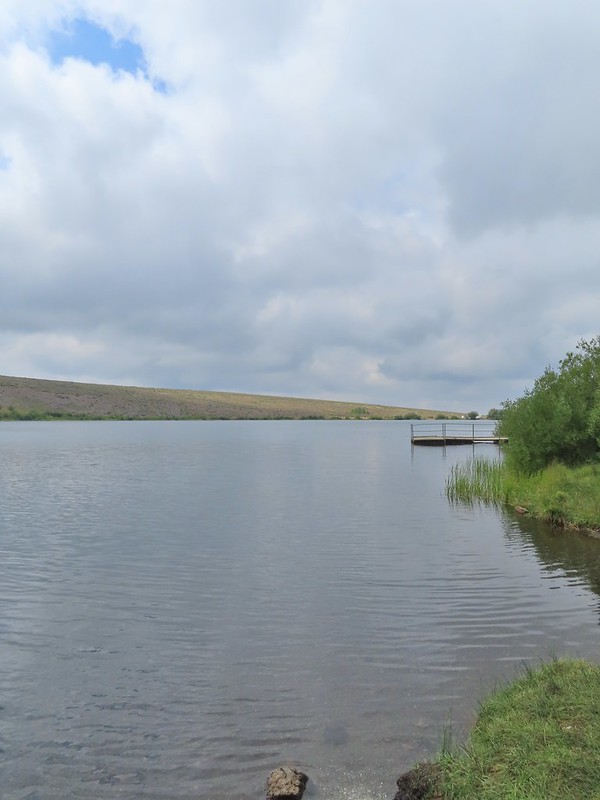
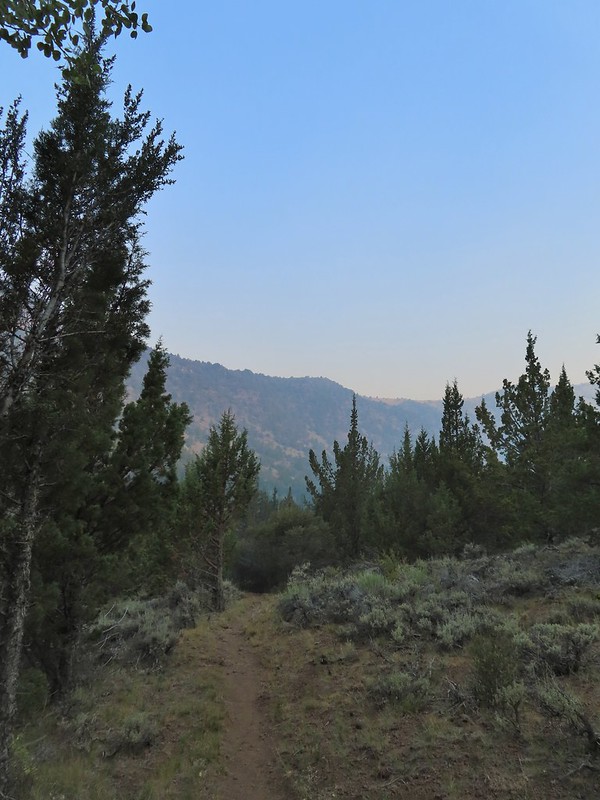
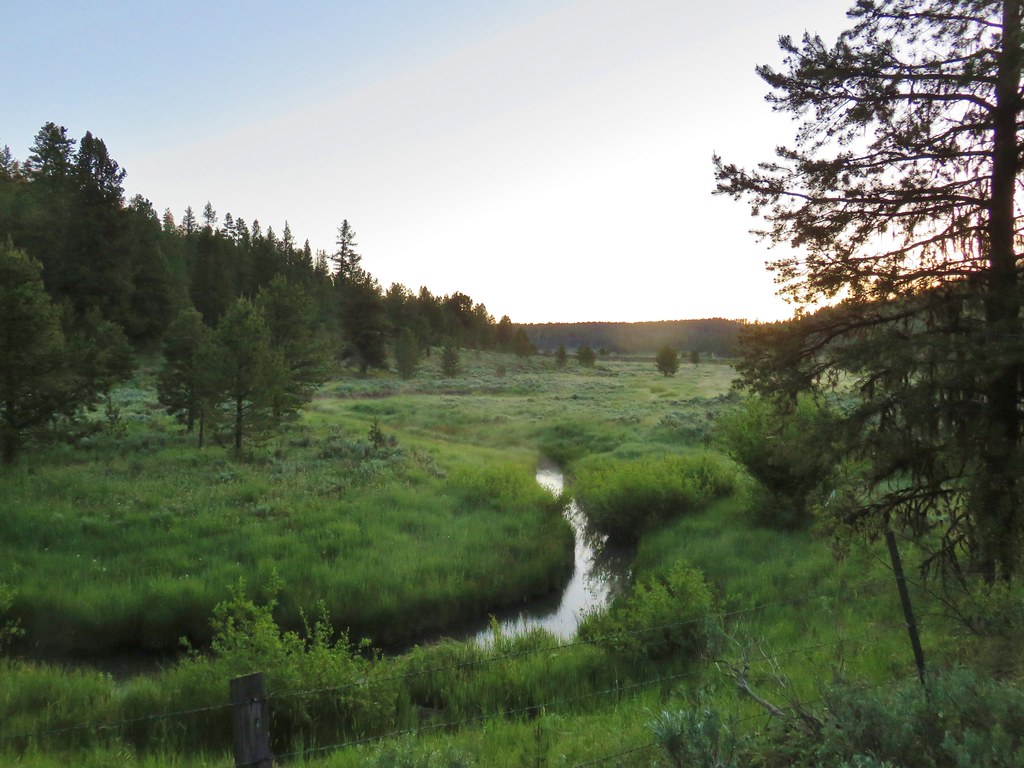
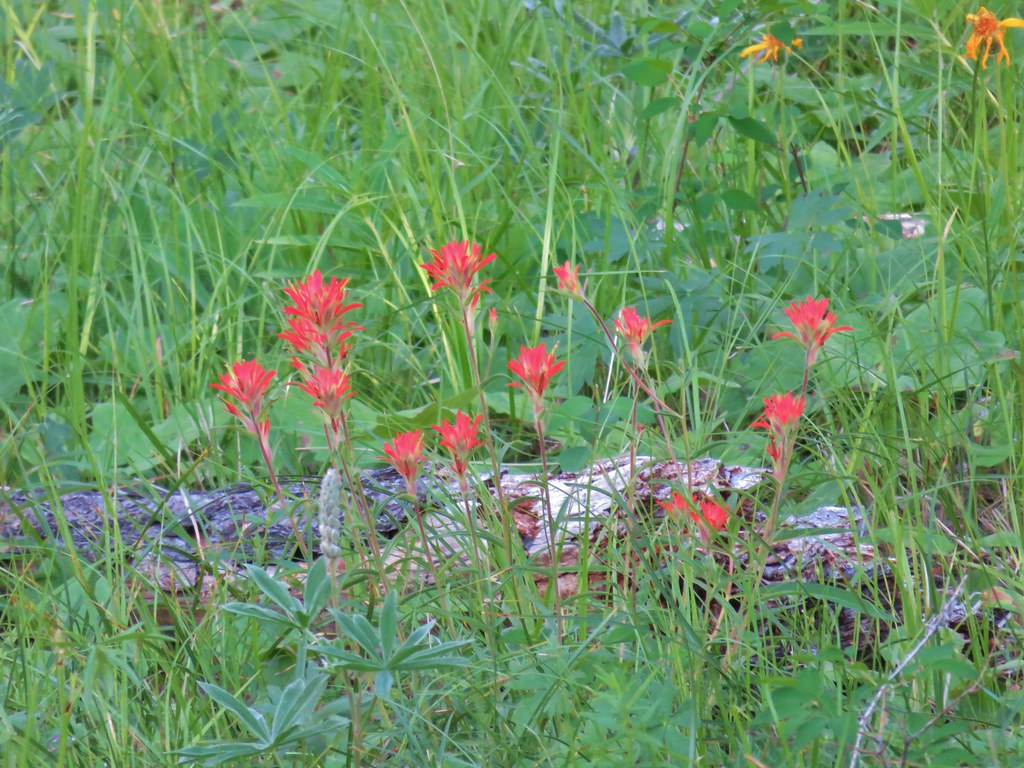
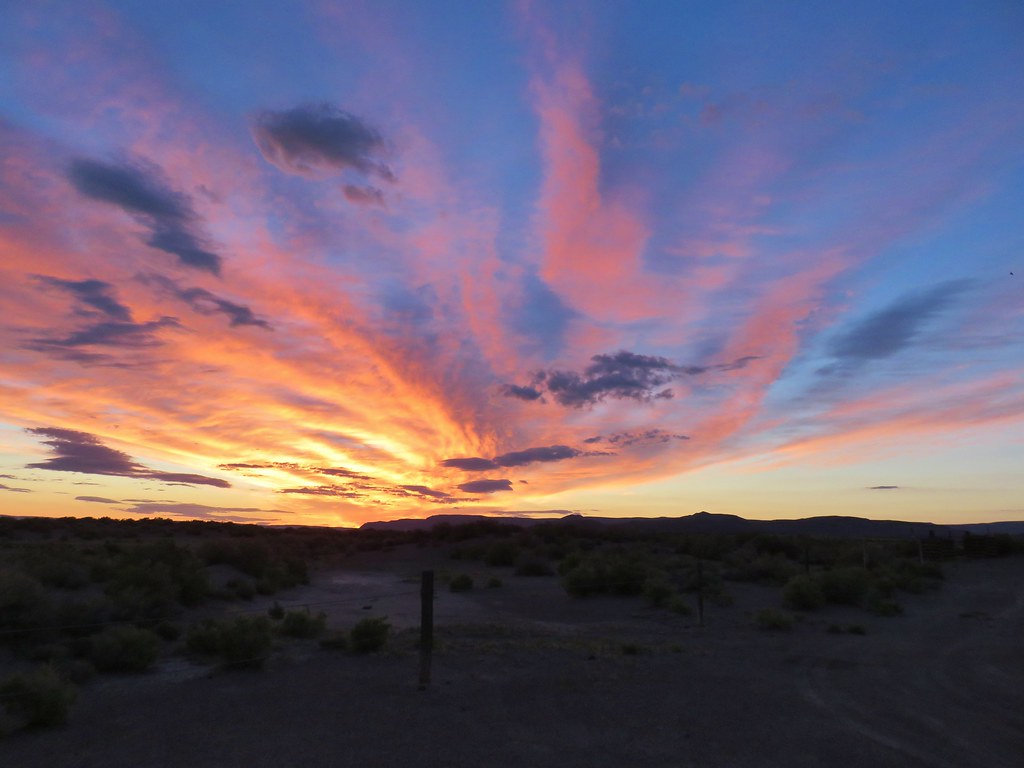
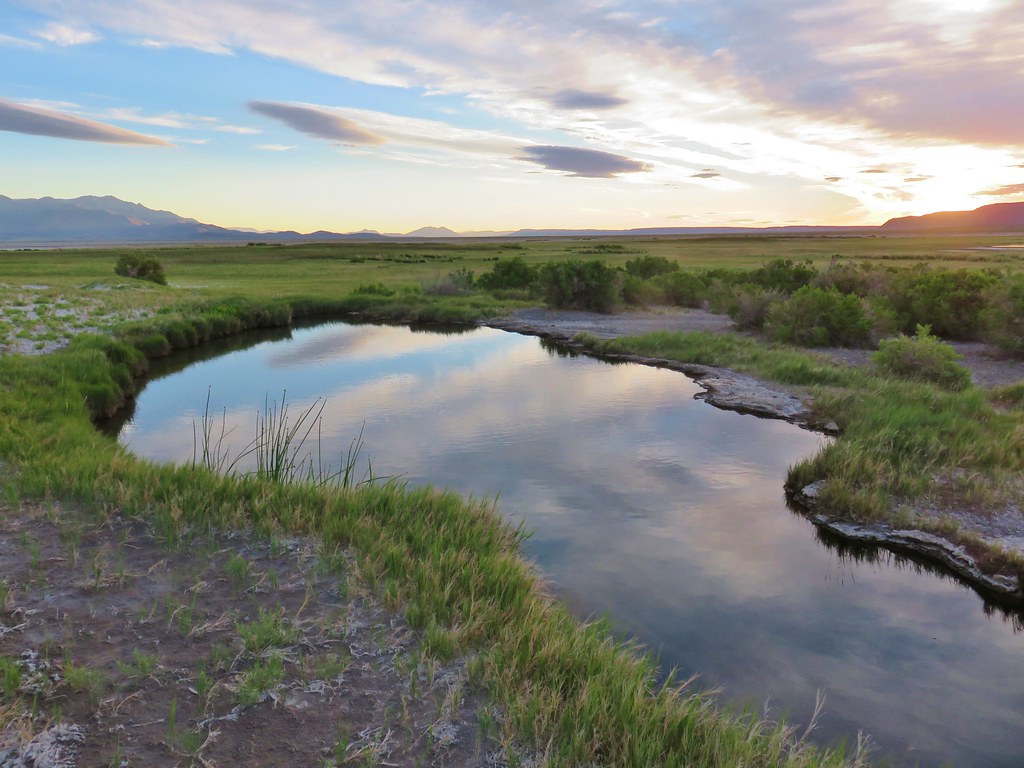
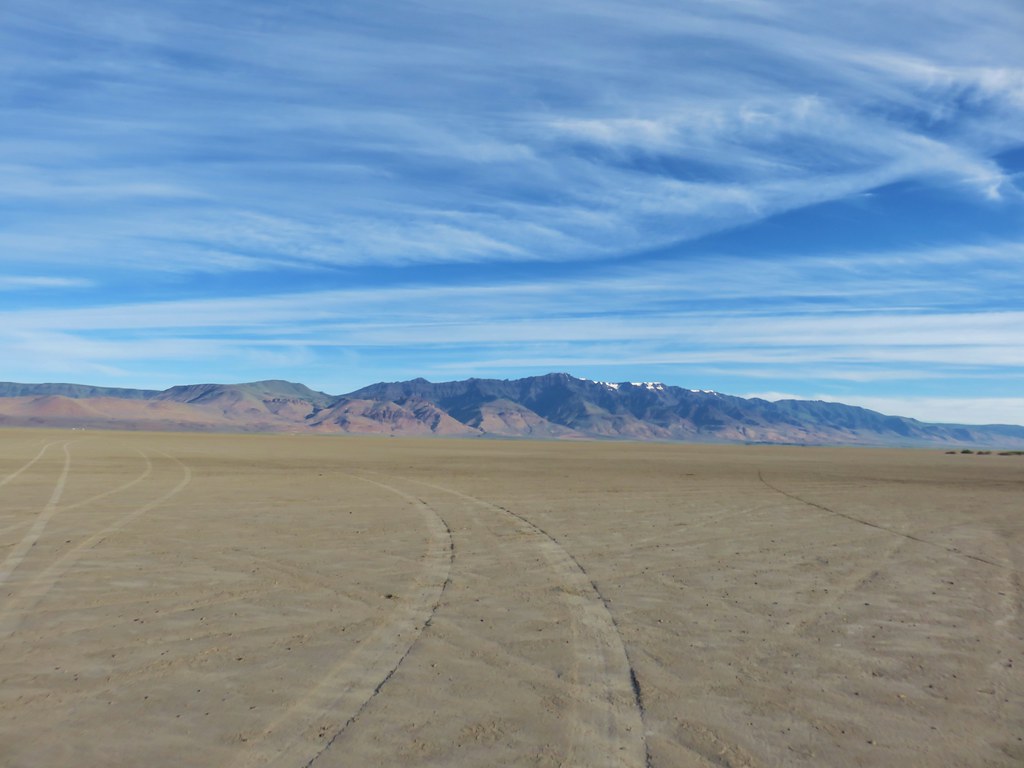
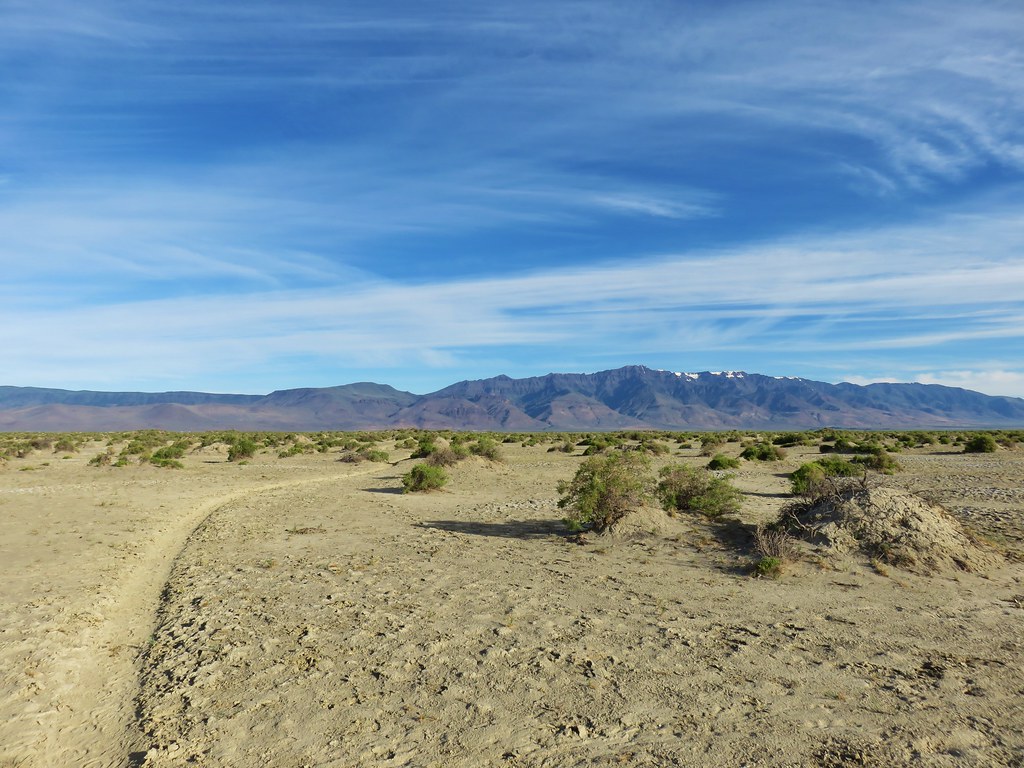
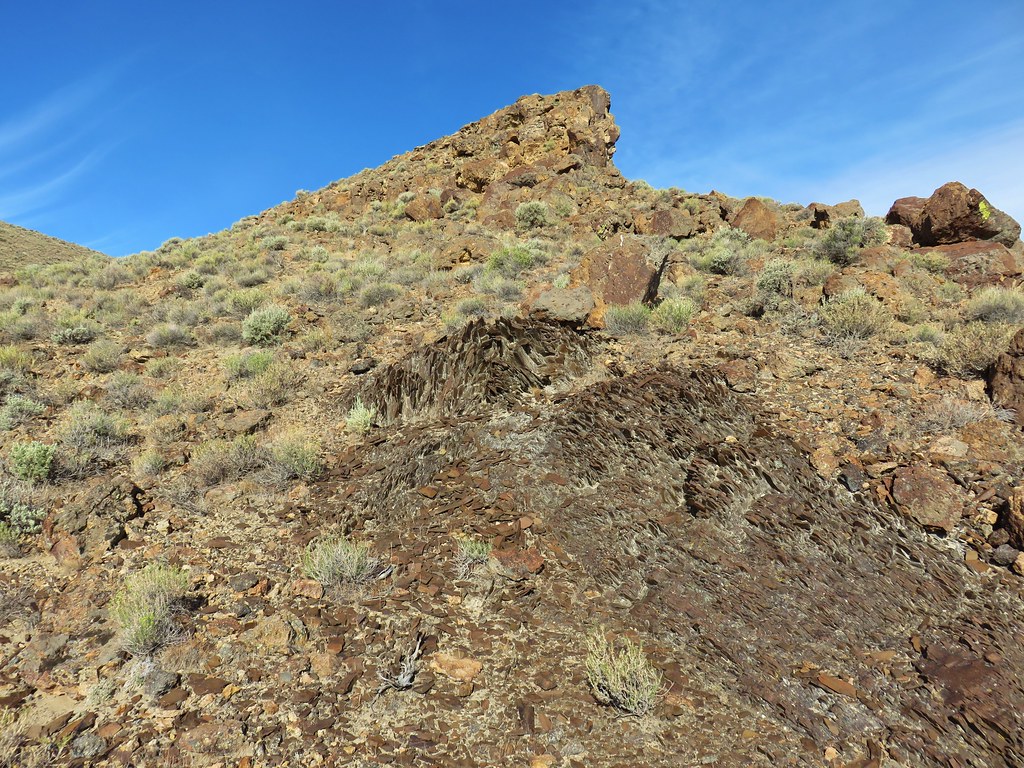
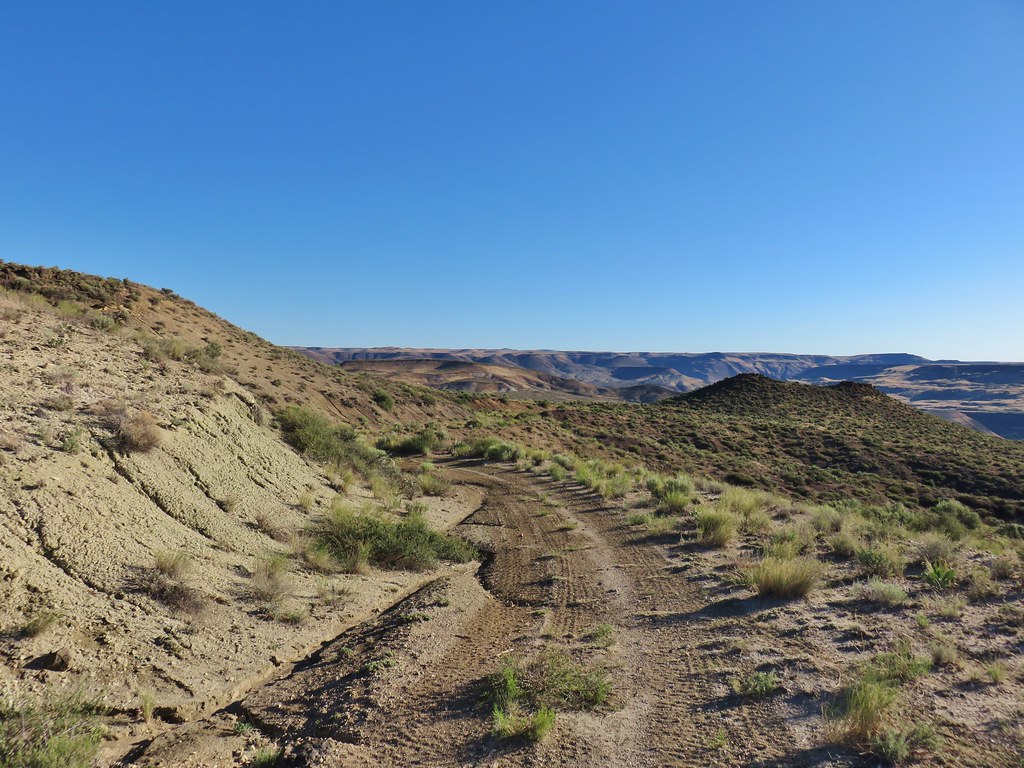
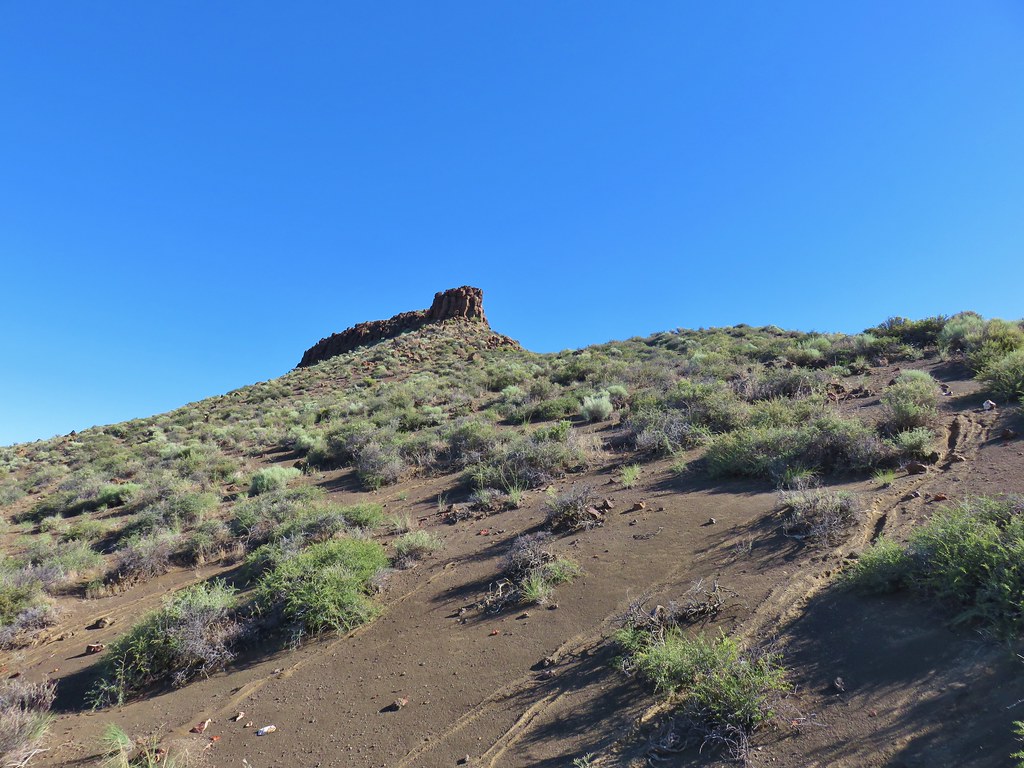
Back in 2016 we set a goal for ourselves to hike all 500 featured hikes in William L. Sullivan’s “100 Hikes…” series of guidebooks post. In 2020 we completed the first of these books covering the Central Oregon Cascades (post). We followed that up by completing a pair of books in 2021 starting with Sullivan’s “100 Hikes/Travel Guide Oregon Coast and Coast Range” 3rd edition (post) followed up by “100 HIkes/Travel Guide Northwest Oregon & Southwest Washington” 4th edition (post). Southern Oregon & Northern California was completed in 2023 leaving us with Eastern Oregon.
In 2023 we pivoted from the 3rd edition of Sullivan’s “100 Hikes/Travel Guide Eastern Oregon” to his renamed 2022 1st edition “100 Hikes Eastern Oregon” book. This was to avoid needing to make the tedious drive on horrible roads to Dug Bar in Hells Canyon which had been replaced as a featured hike in the newer edition.
The criteria for checking a hike off our list is to hike a portion of Sullivan’s described hike or, at least visit the main attraction(s) he identifies for the hike. For 67 of the hikes we completed the books described route. For the other 33 hikes various factors contributed to us not completing every option of each featured hike. For some we started at a different trailhead, others had portions of trail(s) closed when we visited, and several had additional options that we did not do.
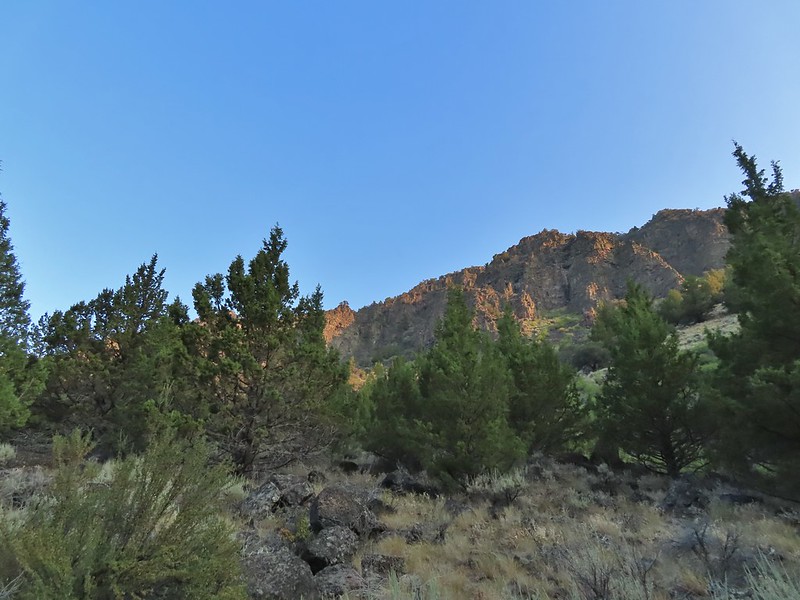
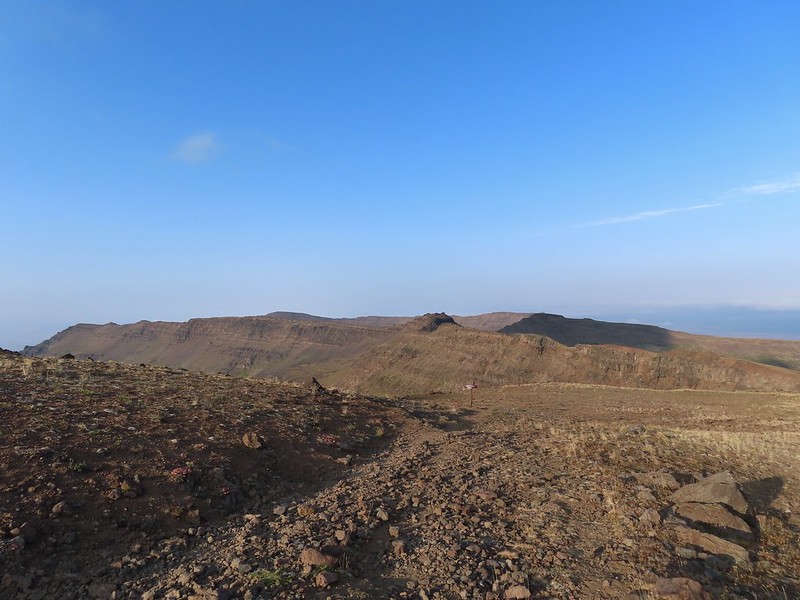
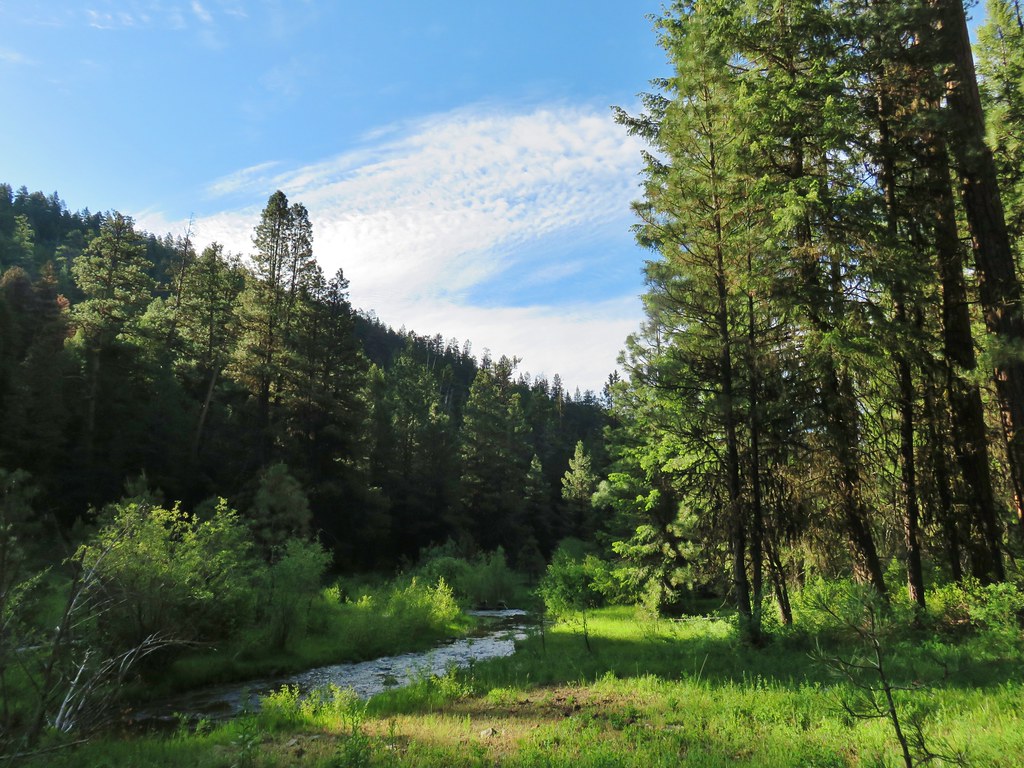
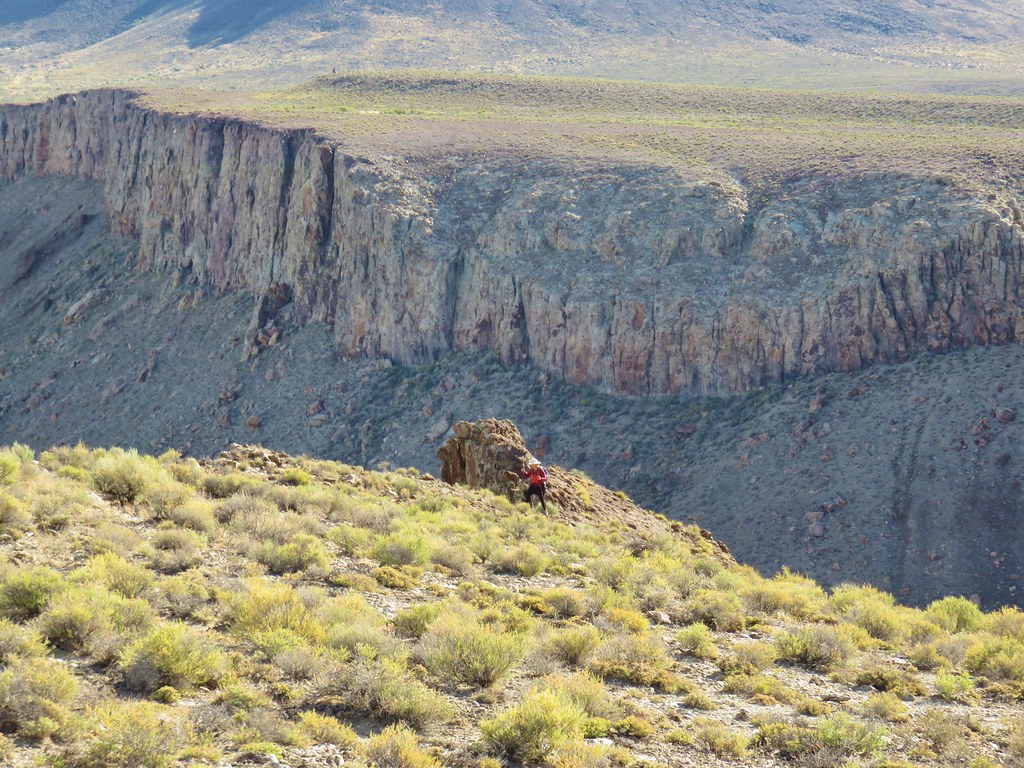
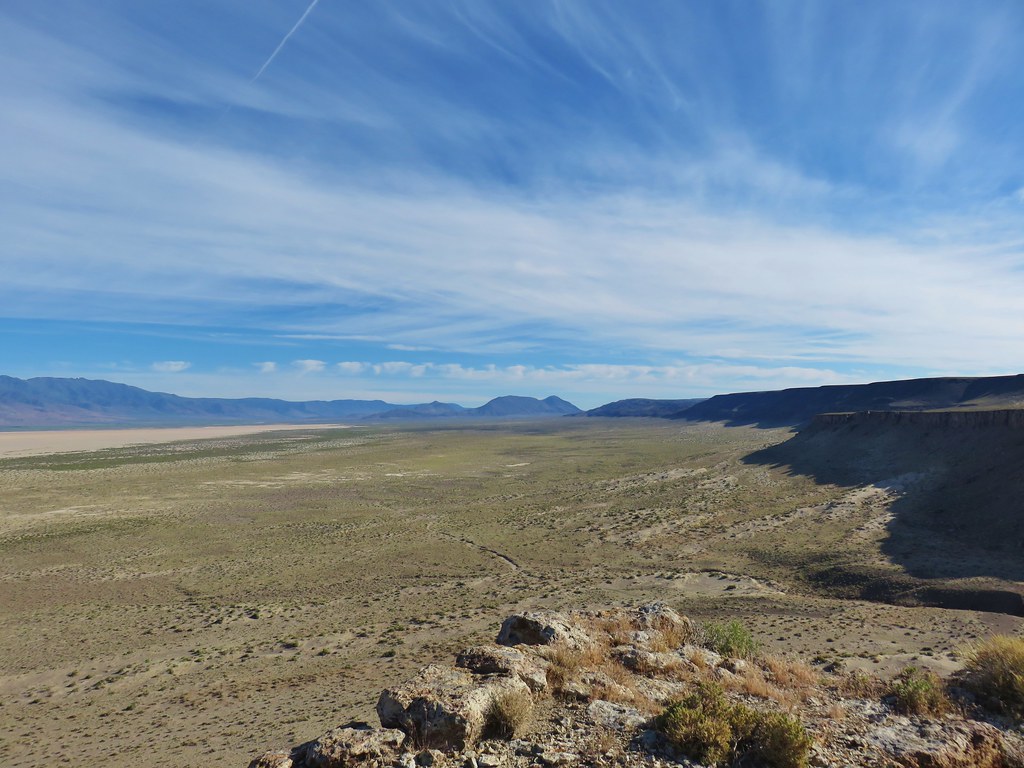
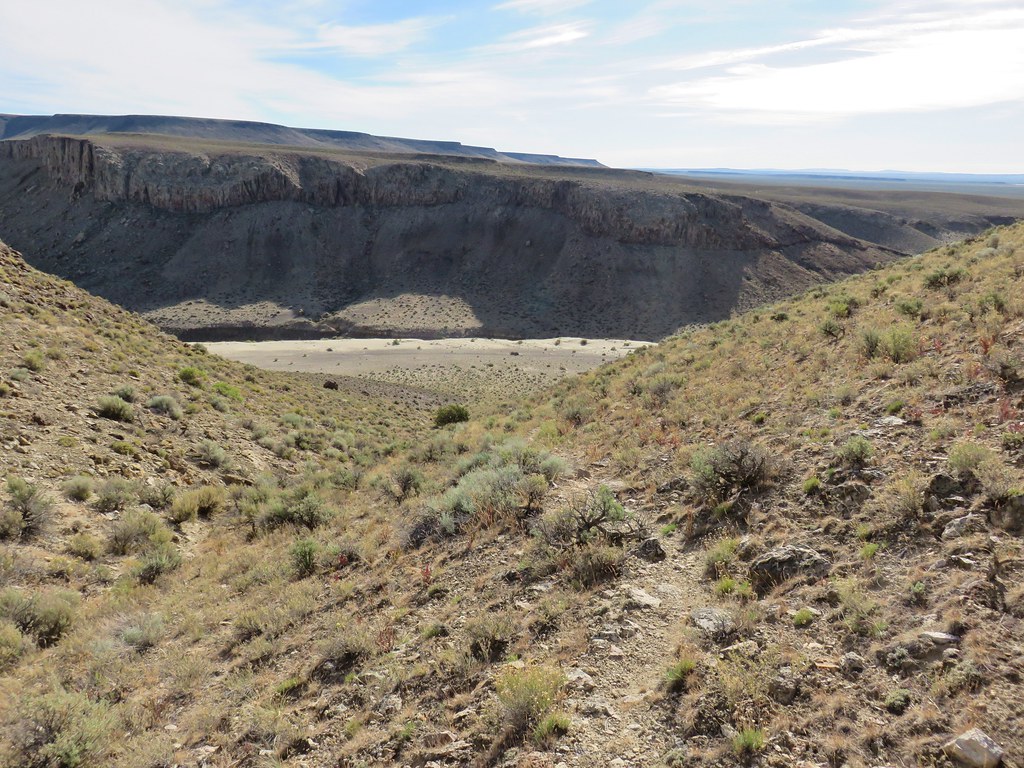
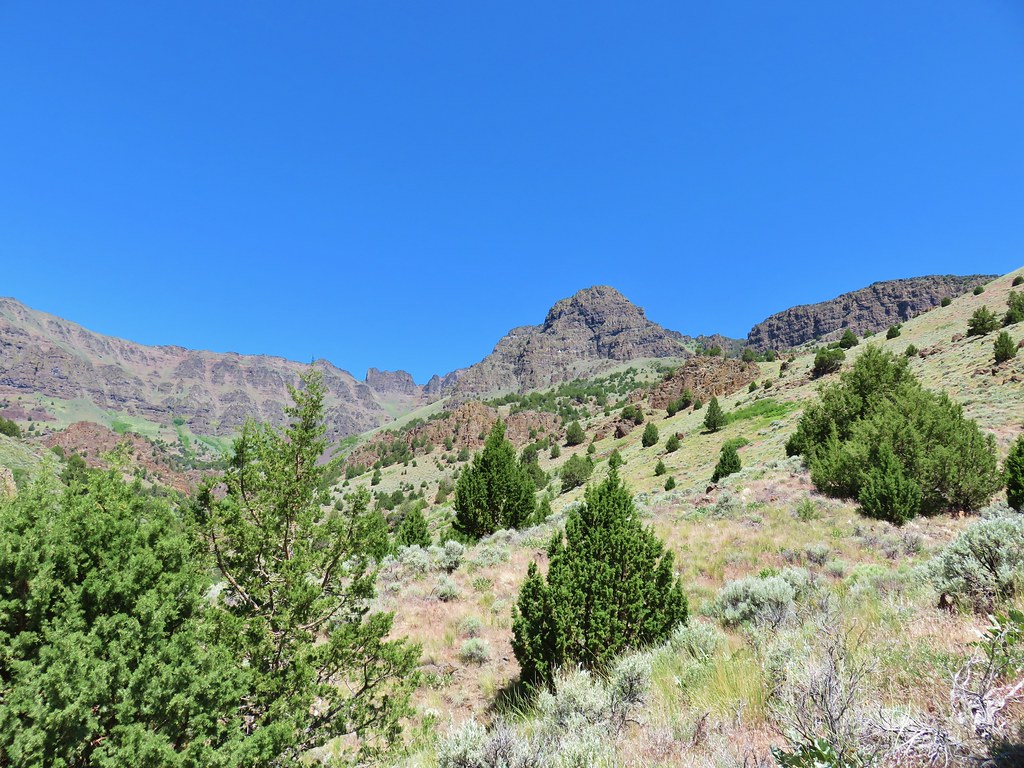
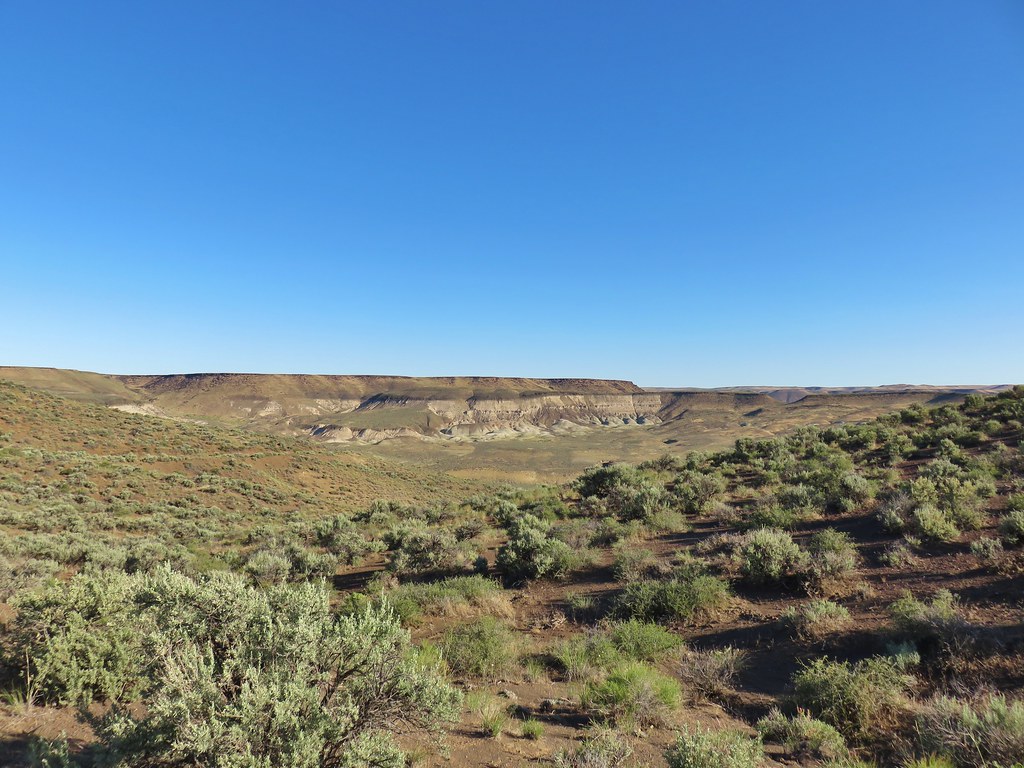
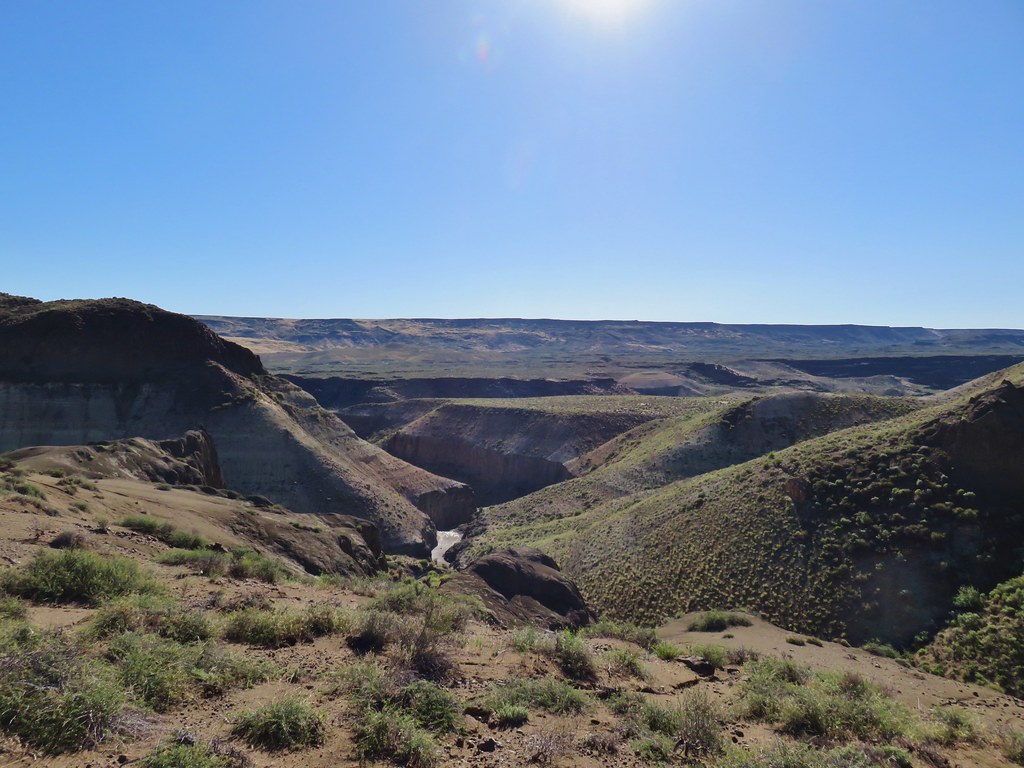
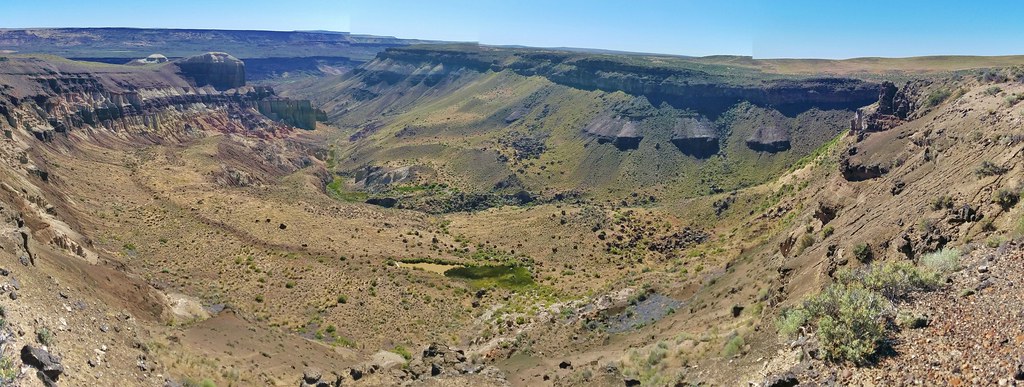
Of the five regions Sullivan breaks his guidebooks into, the Eastern Oregon region is the largest and most diverse. The area covered in this book includes hikes in Oregon east of the Deschutes River in Central Oregon and from Klamath Falls (western most hike) east to the Idaho border. There is however one hike in Washington west of the Deschutes across the Columbia River from The Dalles, OR. It also includes one short option in Idaho (eastern most), one featured hike in California (southern most) making it his only book with hikes in more than two different States. The northern most hike is not the one in Washington. That honor belongs to the Wenaha River near Troy in NE Oregon.

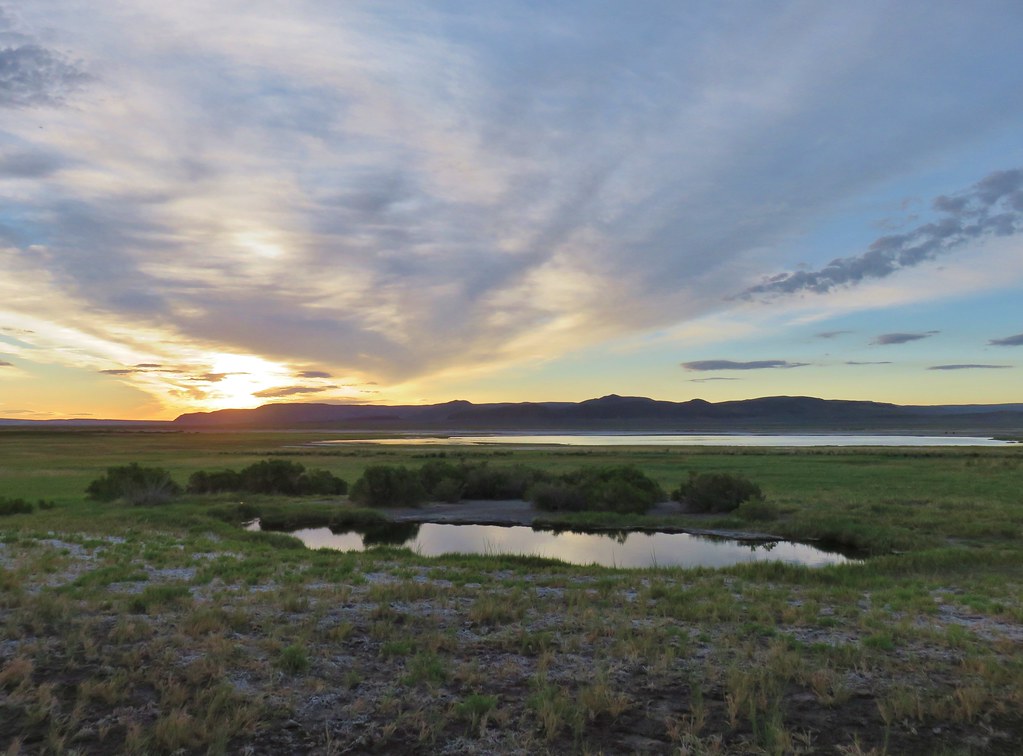
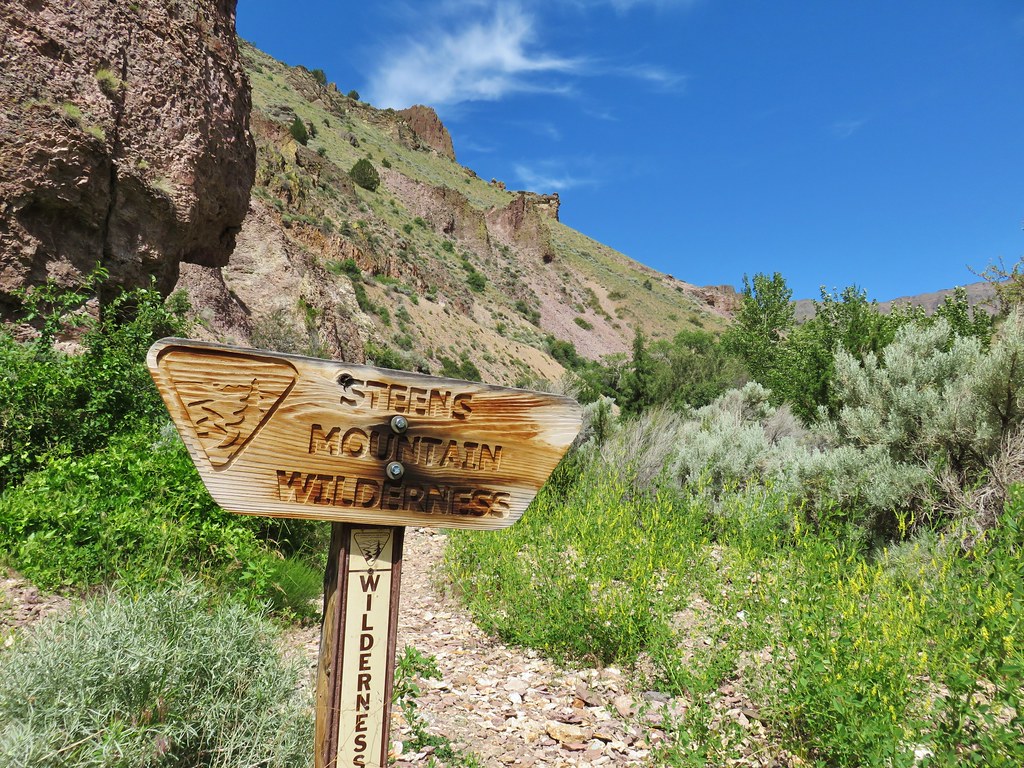
The hikes involved several wilderness areas: Oregon Badlands, Mill Creek, Spring Basin, Strawberry Mountain, North Fork John Day, North Fork Umatilla, Wenaha-Tucannon, Eagle Cap, Hells Canyon, Monument Rock, and Steens Mountain. Missing from this list are the Black Canyon (post) and Gearhart Mountain (post) wilderness areas which had featured hikes in earlier versions of Sullivan’s book that we’d completed, but were removed in the 2022 edition due to wildfire damage.
In addition to the 11 designated wilderness areas there were hikes in two National Monuments, the John Day Fossil Beds National Monument in Oregon and the Lava Beds National Monument in California, and one National Volcanic Monument, the Newberry National Volcanic Monument.
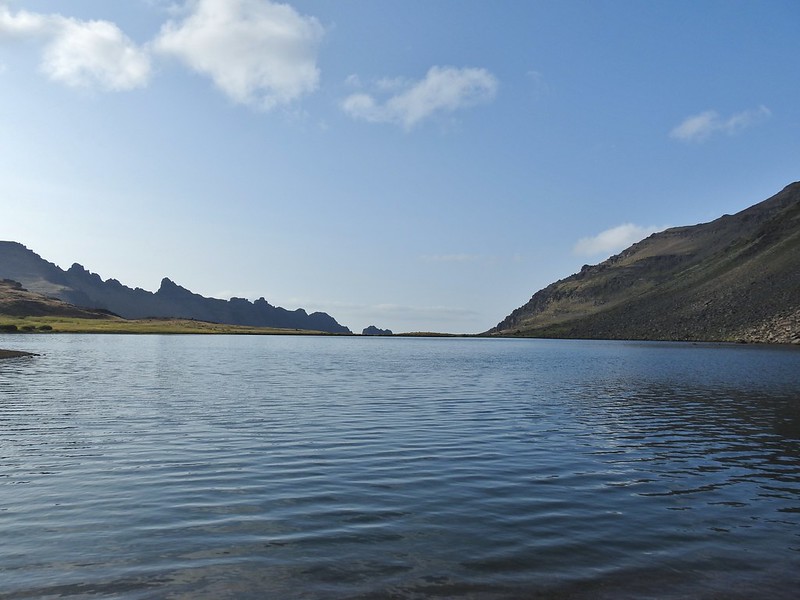
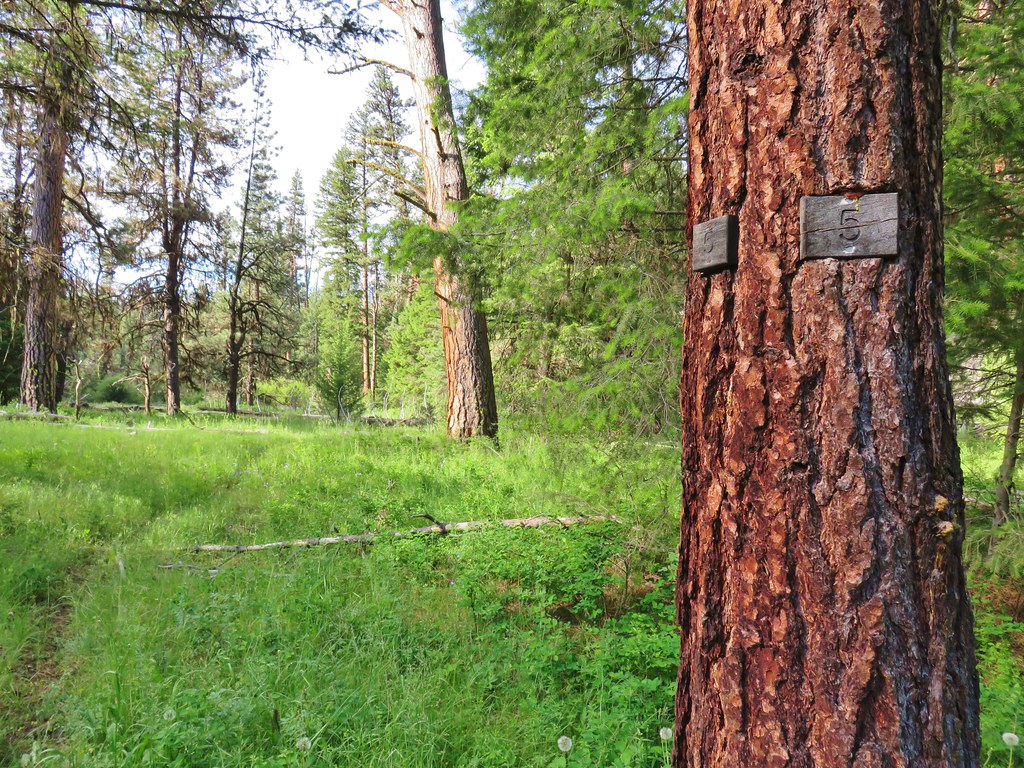
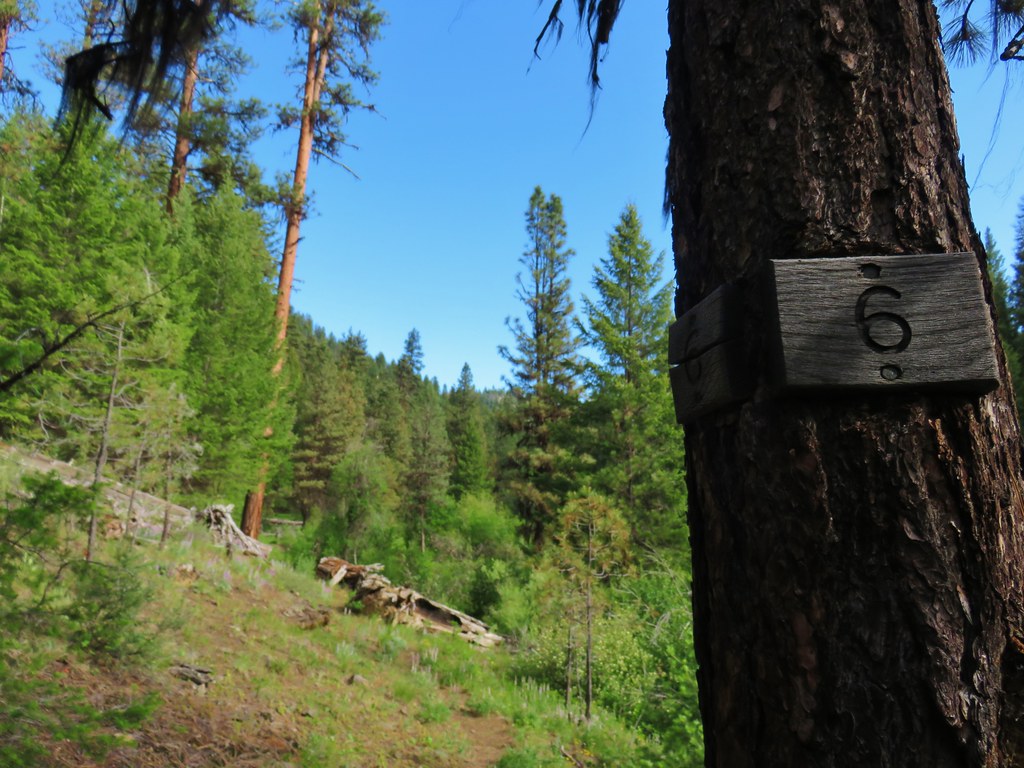
Following is a list of the 100 featured hikes and the dates we visited.
#1 Cottonwood Canyon – Hiked 5/27/2017

#2 Columbia Hills – Hiked 4/4/2015 & 4/17/2021

#3 Lower Deschutes River – Hiked 6/9/2018

#4 Macks Canyon – Hiked 5/26/2018

#5 Criterion Tract – Hiked 05/28/2023

#6 Trout Creek – Hiked 10/12/2013

#7 Willow Creek at Madras – Hiked 5/27/2024

#8 Cove Palisades – Hiked 6/16/2018

#9 Gray Butte – Hiked 6/13/2015

#10 Oregon Badlands – Hiked 5/15/2016 & 12/24/2016

#11 Pine Mountain – Hiked 7/30/2012

#12 Paulina Falls – Hiked 8/9/2011 & 9/16/2017

#13 Paulina Lake – Hiked 8/9/2011 & 9/16/2017

#14 Obsidian Flow – Hiked 8/9/2011

#15 Crooked River Wetlands – Hiked 5/29/2024

#16 Chimney Rock – Hiked 9/22/2017

#17 Steins Pillar – Hiked 5/8/2013

#18 Juniper Hill – Visited* 5/27/2024

#19 Mill Creek – Hiked 7/31/2012

#20 Lookout Mountain – Hiked 6/12/2014

#21 Walton Lake – Hiked 6/17/2017 & 6/18/2021

#22 Spring Basin – Hiked 4/22/2017

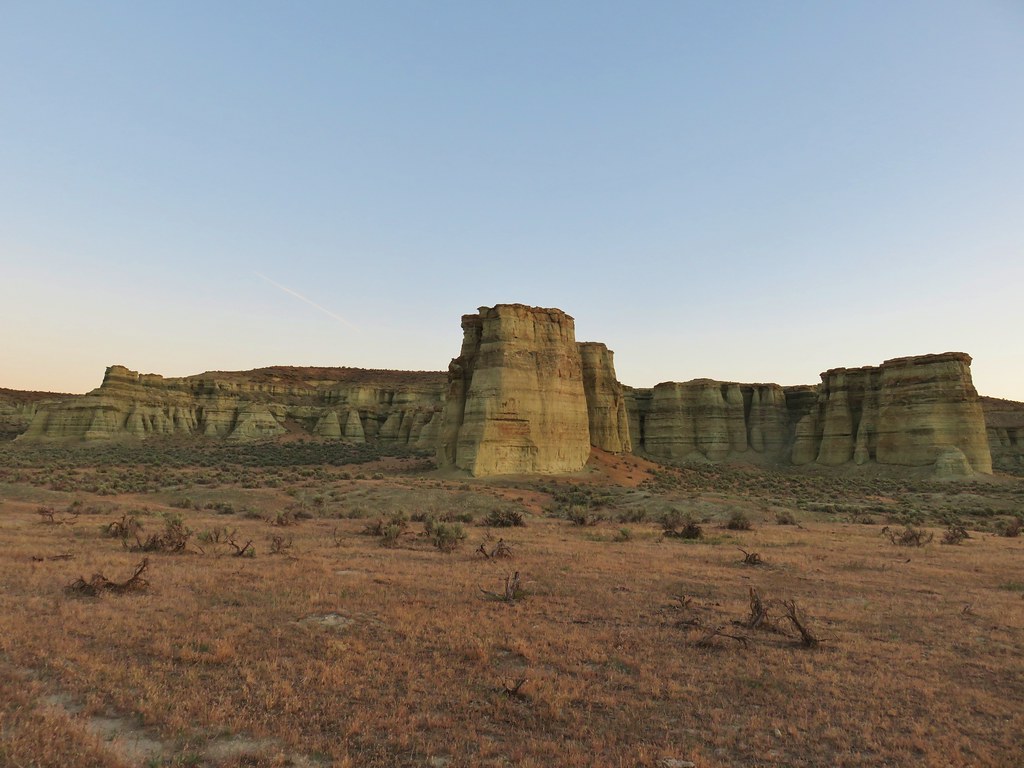
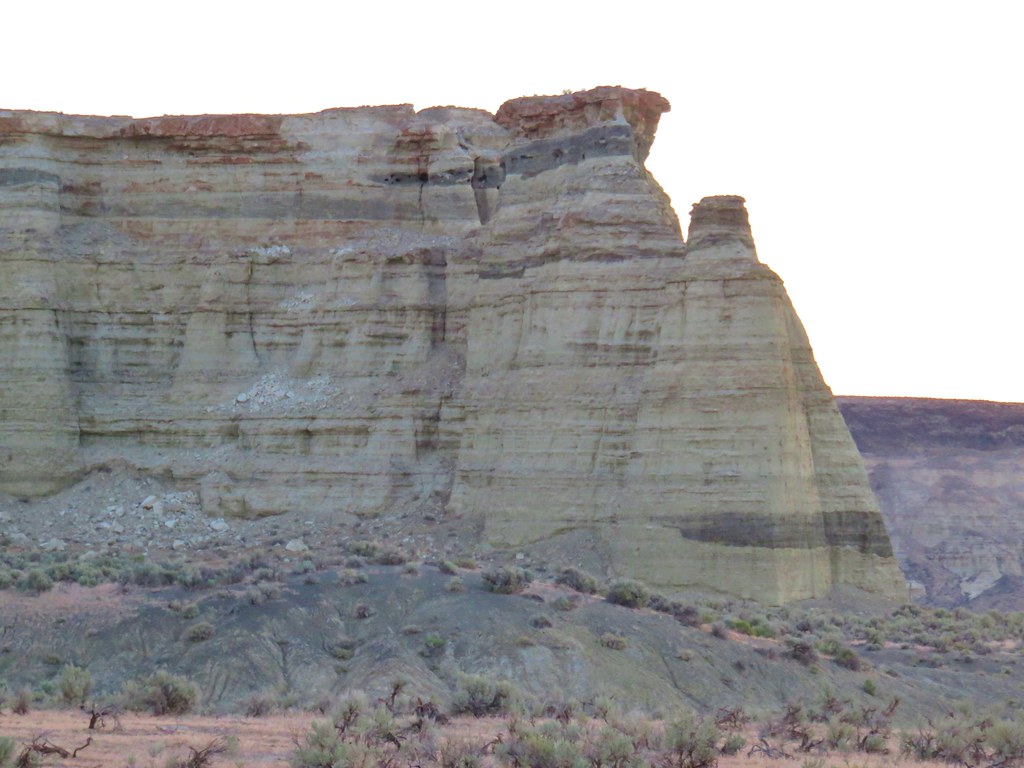
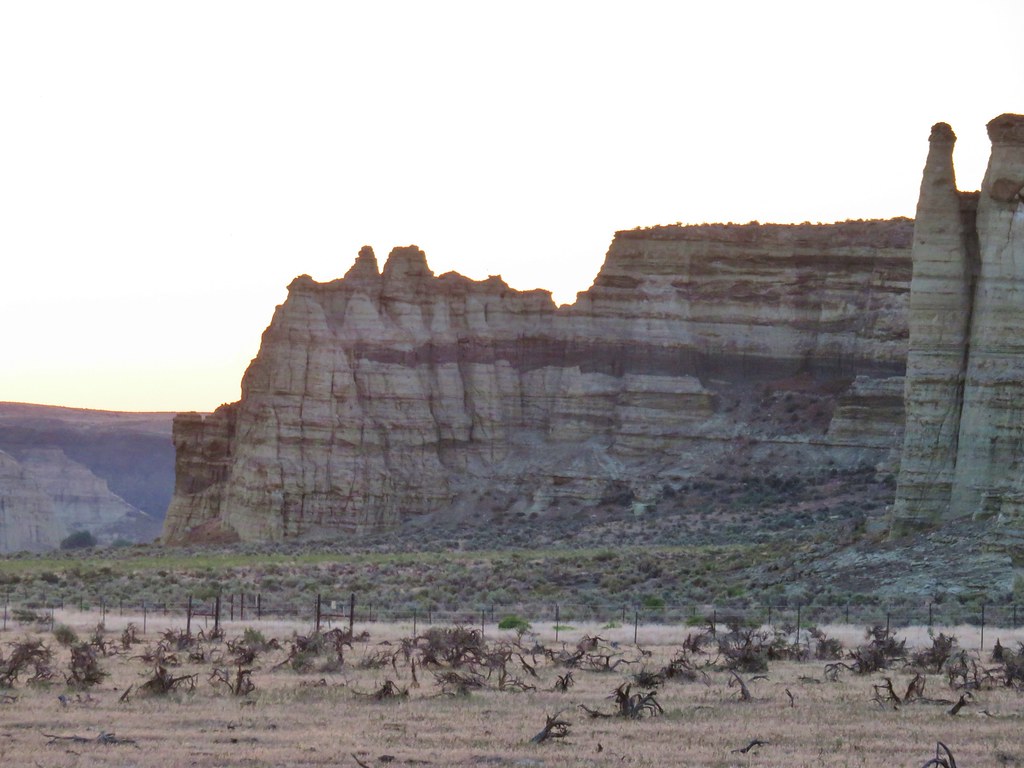
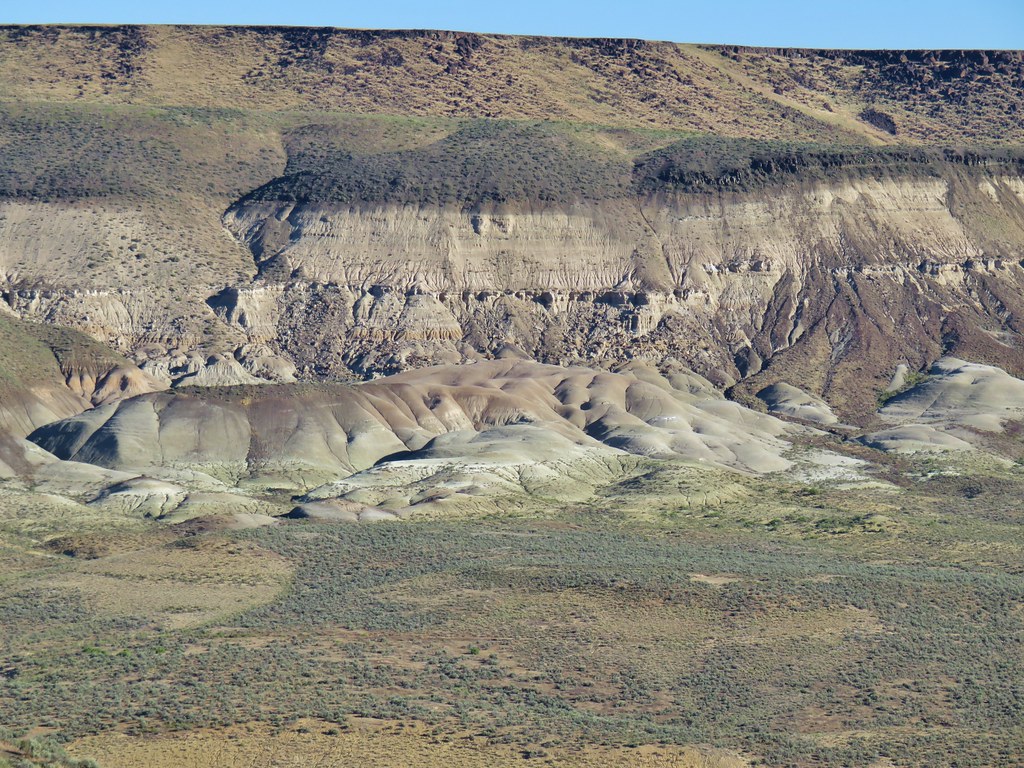
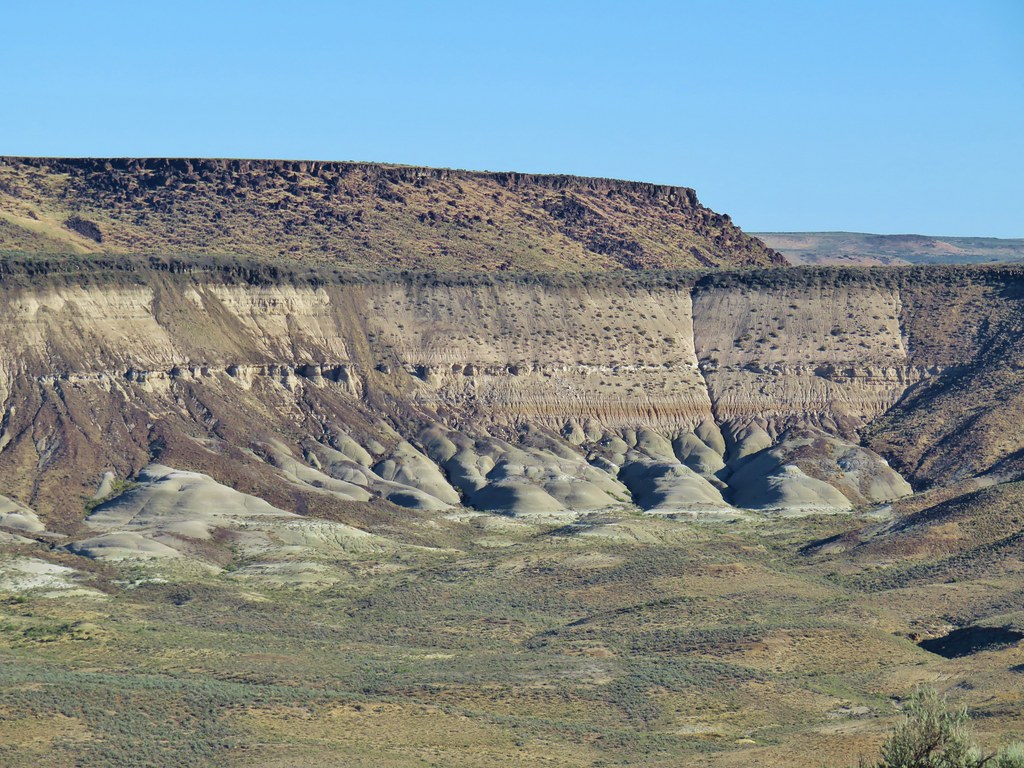
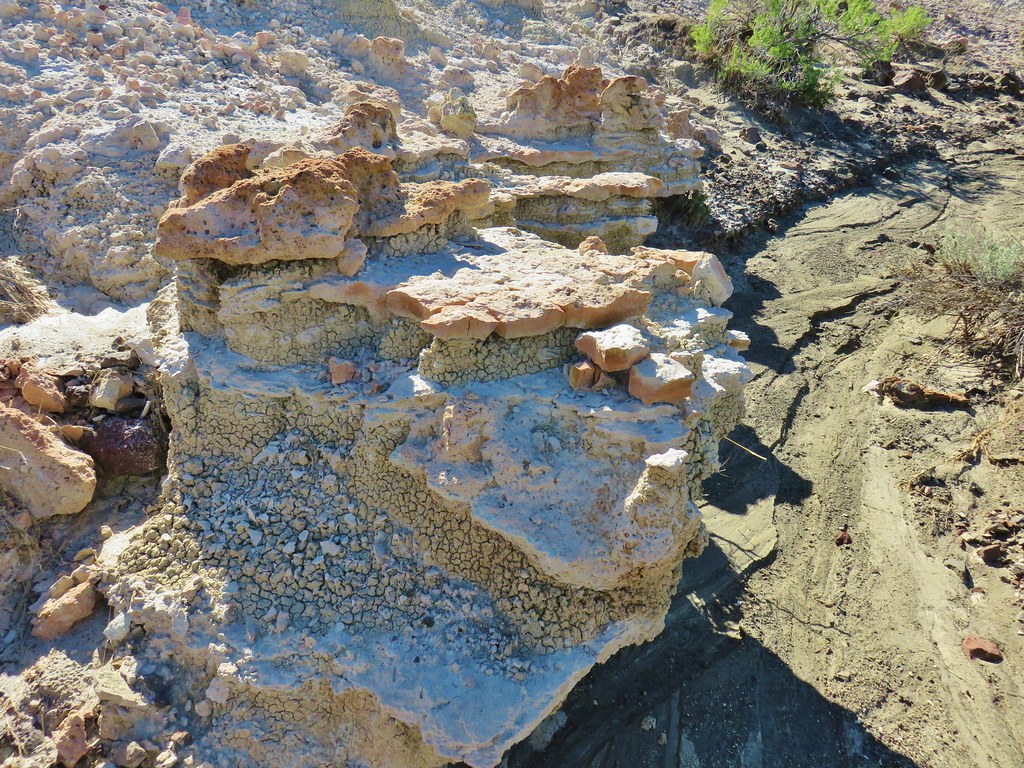
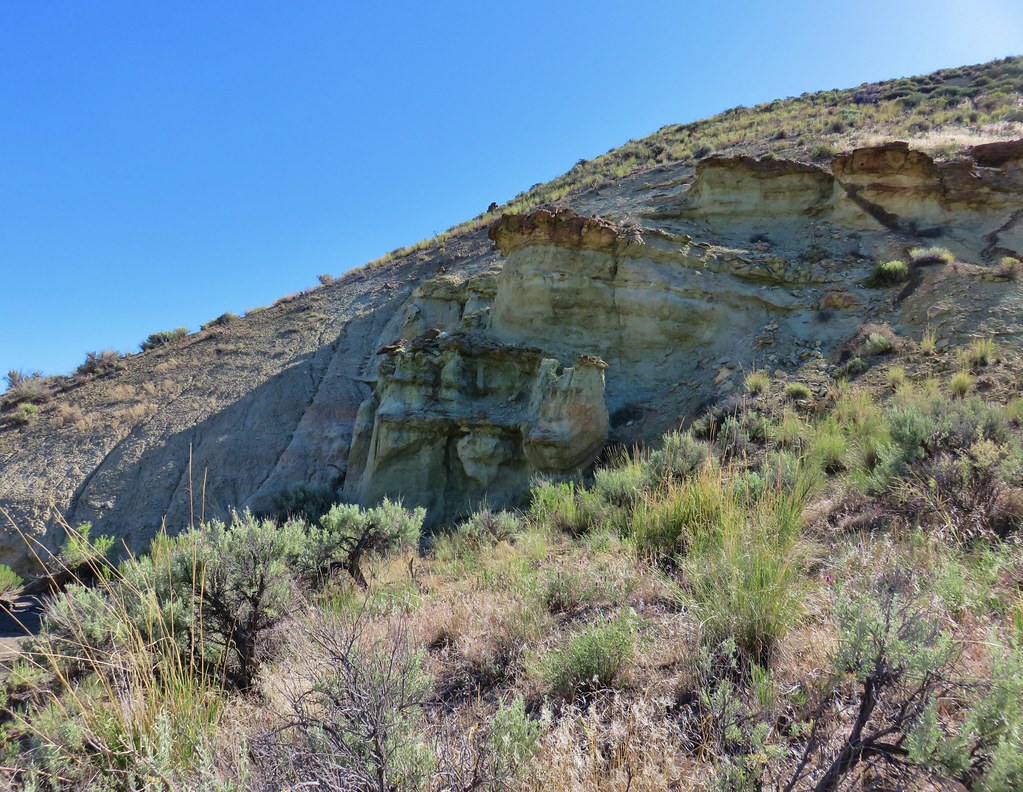
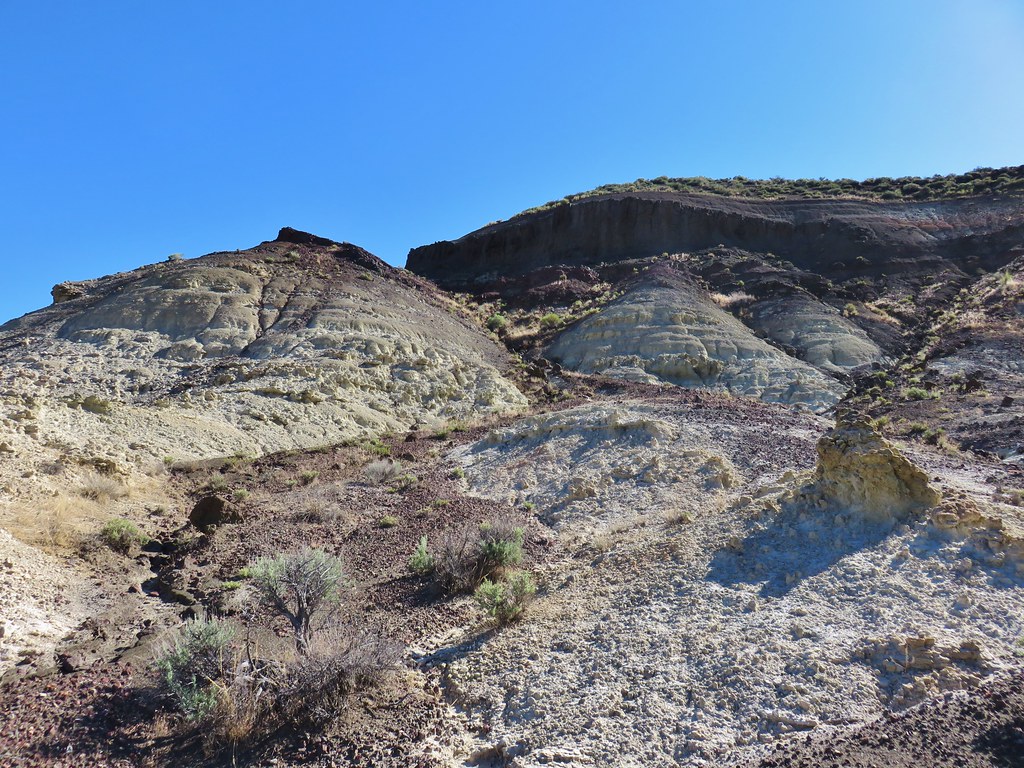
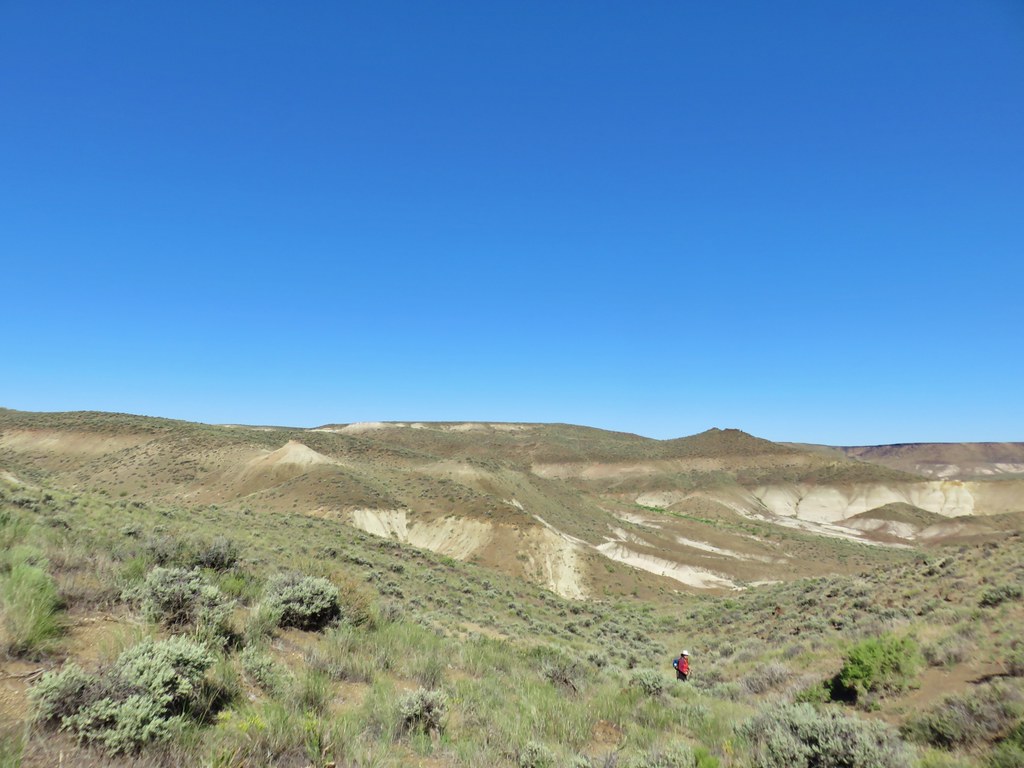
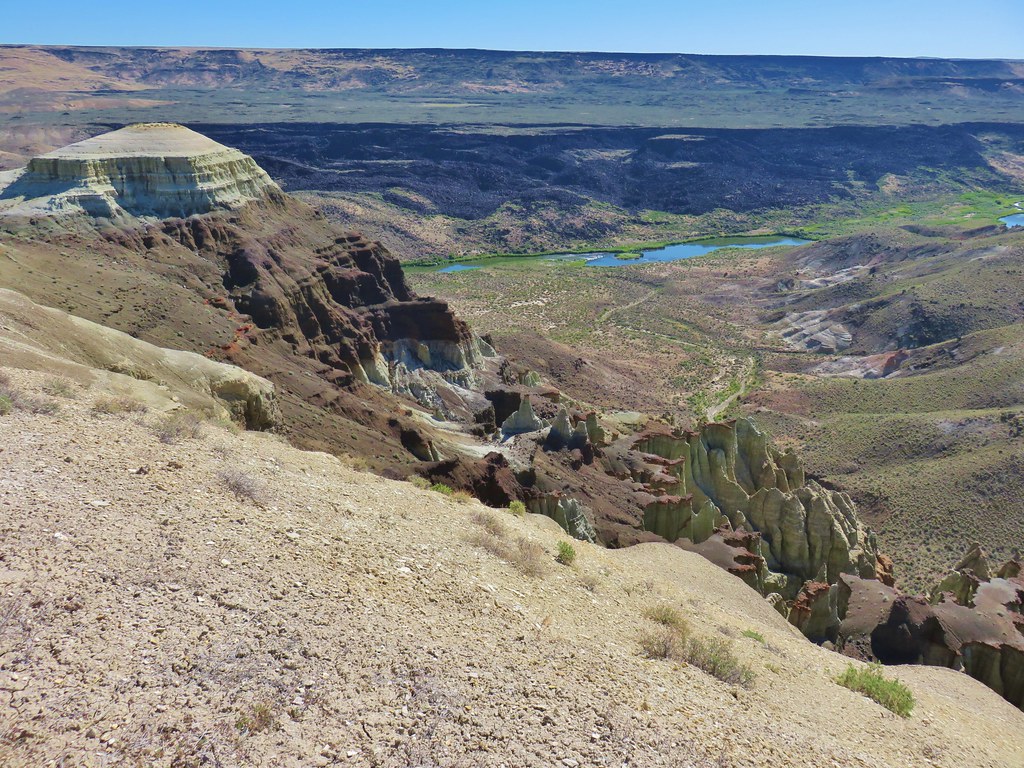
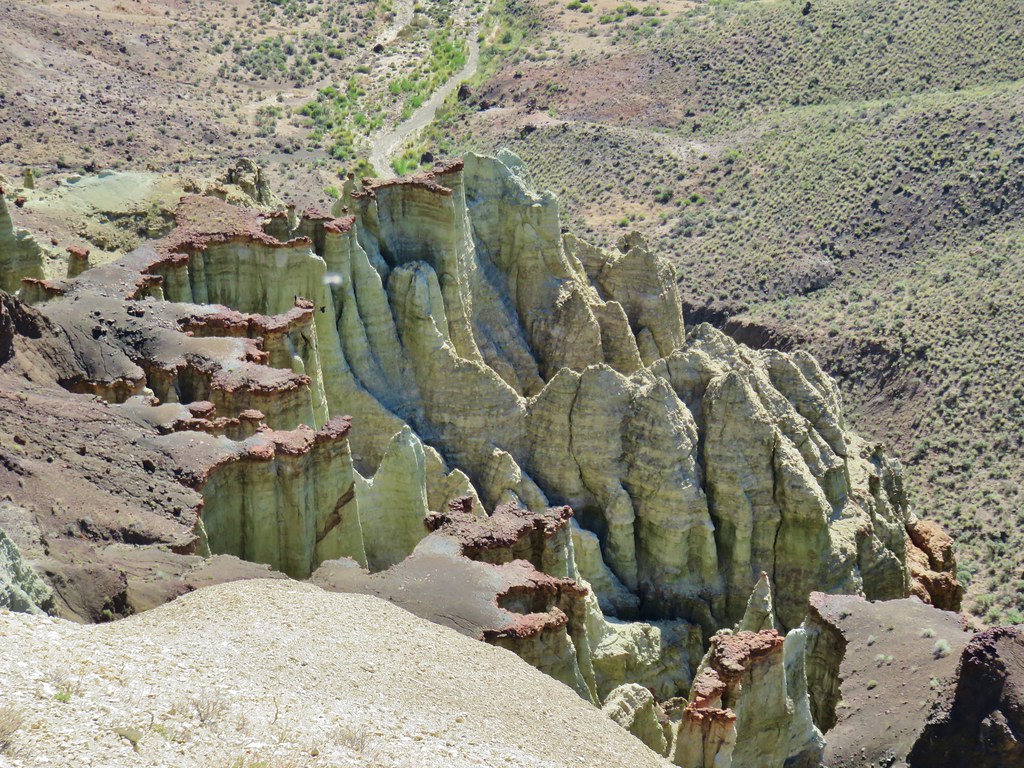
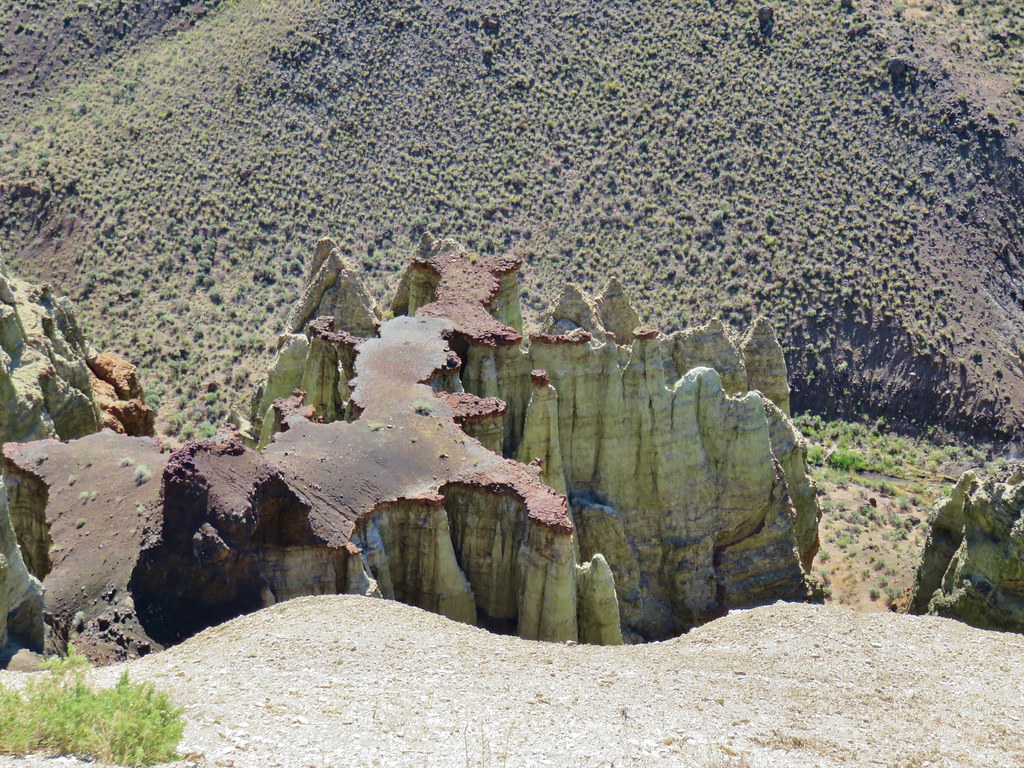
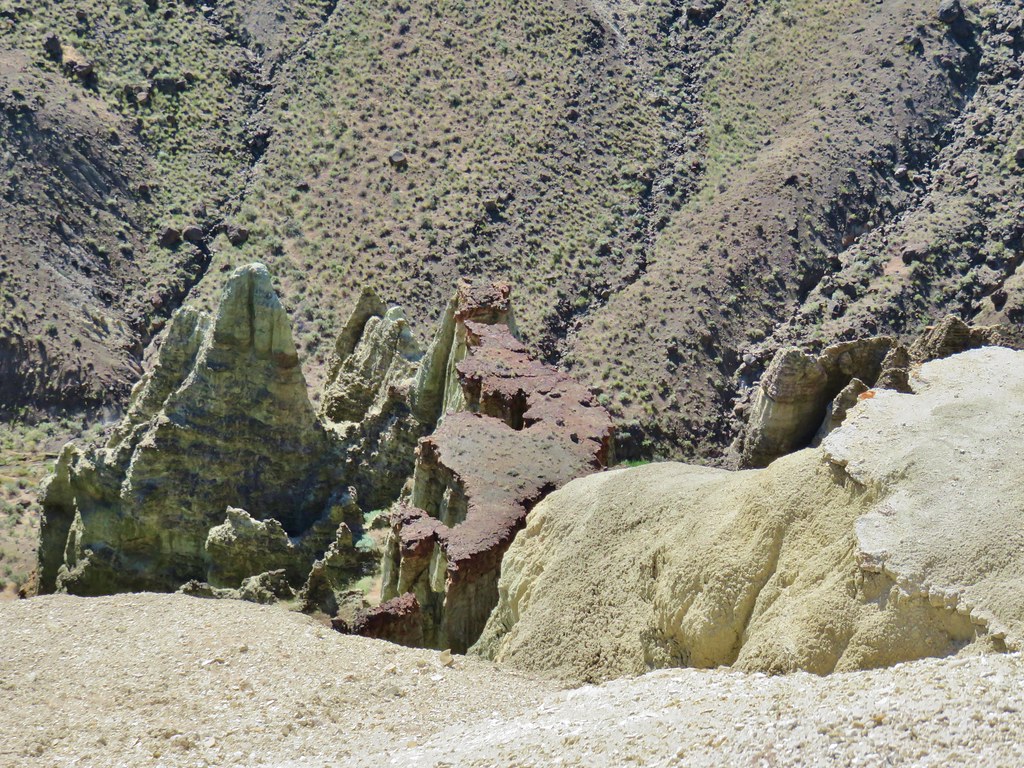
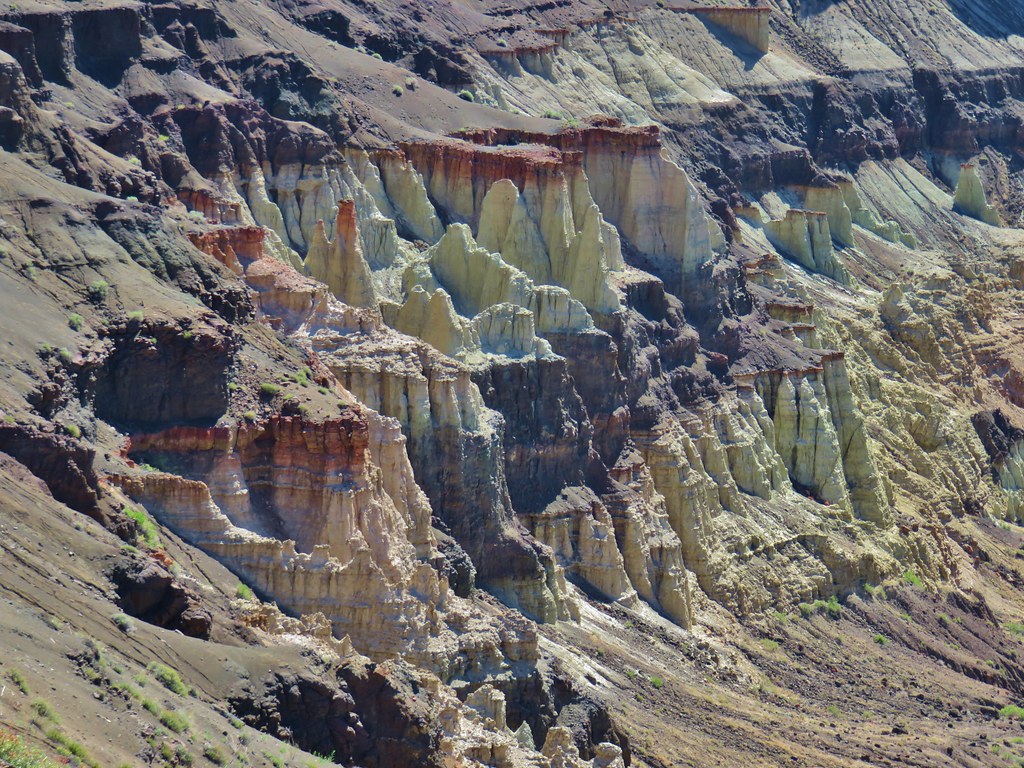
#23 John Day Fossil Beds – Hiked 4/30/2016, 4/22/2017 & 9/17/2017
 Painted Hills Unit
 Clarno Unit
 Blue Basin Unit
#24 Sutton Mountain – Hiked 4/30/2016

#25 Spanish Peak – Hiked 7/19/2021 & 7/20/2021

#26 Madison Butte – Hiked 5/28/2024

#27 Wildcat Basin – Hiked 7/24/2018

#28 High Lake – Hiked 7/26/2018

#29 Strawberry Lake – Hiked 7/25/2018

#30 Malheur River – Hiked 6/17/2021

#31 Canyon Mountain – Hiked 7/22/2021

#32 Monument Rock – Hiked 7/21/2021

#33 Bates and Sumpter – Hiked 9/17/2017

#34 Olive Lake – Hiked 9/18/2017

#35 Granite Creek – Hiked 9/21/2017

#36 North Fork John Day River – Hiked 9/19/2017

#37 Mount Ireland – Hiked 7/9/2022

#38 Baldy Lake – Hiked 9/20/2017

#39 Crawfish Lake – Hiked 8/16/2018

#40 Anothony Lake – Hiked 8/16/2018

#41 Elkhorn Crest – Hiked 8/12/2018, 8/13/2018, 8/14/2018, 8/15/2018 & 08/16/2018

#42 Twin Lakes – Hiked 8/13/2018

#43 North Fork Umatilla River – Hiked 6/14/2021

#44 Jubilee Lake – Hiked 9/12/2021

#45 Wenaha River – Hiked 5/25/2019

#46 Zumwalt Prairie – Hiked 5/26/2019

#47 Buckhorn Lookout – Hiked 6/15/2023

#48 Eureka Bar – Hiked 6/14/2023

#49 Hat Point – Hiked 7/21/2024

#50 Freezeout Saddle – Hiked 5/24/2019

#51 Hells Canyon Dam – Hiked 6/16/2023

#52 Hells Canyon Reservoir – Hiked 6/16/2023

#53 Imnaha Falls – Hiked 6/12/2023

#54 Bonny Lakes – Hiked 7/24/2024

#55 McCully Basin – Hiked 7/23/2024

#56 Mount Howard – Hiked 7/26/2024

#57 Aneroid Lake – Hiked 8/22/2024

#58 Wallowa Lake – Hiked 5/23/2019
 B.C. Falls
#59 Ice Lake – Hiked 7/31/2016

#60 Horseshoe Lake – Hiked 8/3/2016 & 8/04/2016

#61 Hurricane Creek – Hiked 7/22/2024

#62 Eagle Cap – Hiked 8/3/2016

#63 Minam Lake – Hiked 7/25/2024

#64 Maxwell Lake – Hiked 8/21/2024

#65 Chimney Lake – Hiked 8/20/2024

#66 Wallowa Homeland – Hiked 7/14/2022

#67 Bear Creek – Hiked 7/14/2022

#68 Rock Springs – Hiked 7/11/2022

#69 Moss Springs – Hiked 7/13/2022

#70 Catherine Creek Meadows – Hiked 7/10/2022

#71 Burger Pass – Hiked 7/12/2022

#72 Tombstone Lake – Hiked 8/16/2023 & 8/17/2023

#73 Eagle Lake – Hiked 8/13/2023

#74 Bear Lake – Hiked 8/14/2023

#75 Hidden Lake – Hiked 9/9/2024

#76 Summit Point Lookout – Hiked 8/18/2024

#77 Pine Lakes – Hiked 8/19/2024

#78 Fort Rock – Hiked 6/14/2014 & 5/28/2017

#79 Fort Rock Valley – Hiked 5/28/2017

#80 Hager Mountain – Hiked 7/30/2013 & 6/14/2014

#81 Summer Lake – Hiked 7/24/2020

#82 Winter Ridge – Hiked 7/19/2020

#83 OC&E Railroad – Hiked 10/5/2018

#84 Klamath Falls – Hiked 10/20/2018

#85 Modoc Lava Beds – Hiked 10/6/2018

#86 DeGarmo Canyon – Hiked 7/22/2020

#87 Hart Mountain Hot Springs – Hiked 7/21/2020

#88 Petroglyph Lake – Hiked 7/22/2020

#89 Steens Summit – Hiked 8/18/2021

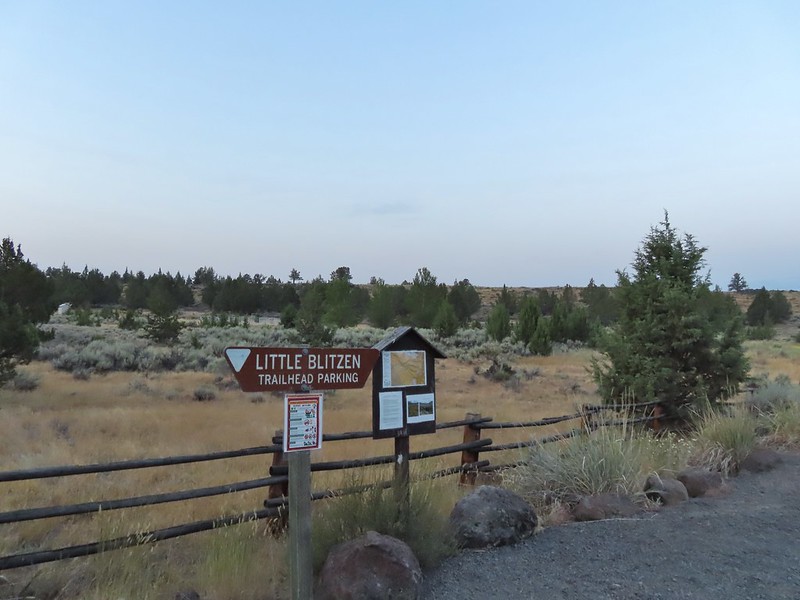
#90 Little Blitzen River – Hiked 8/19/2021

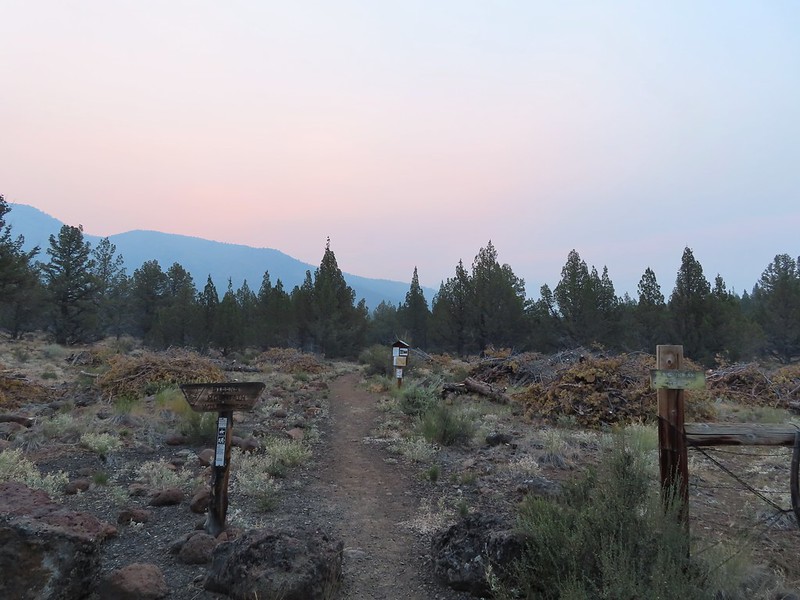
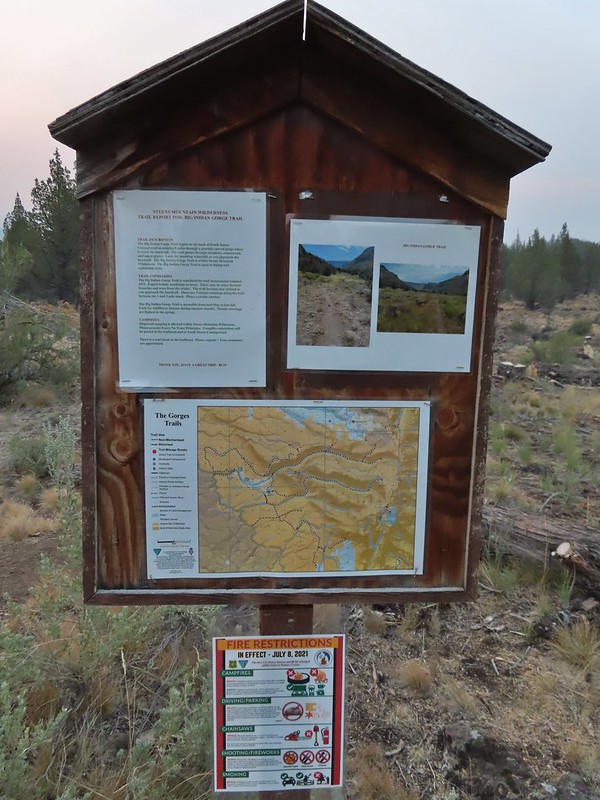
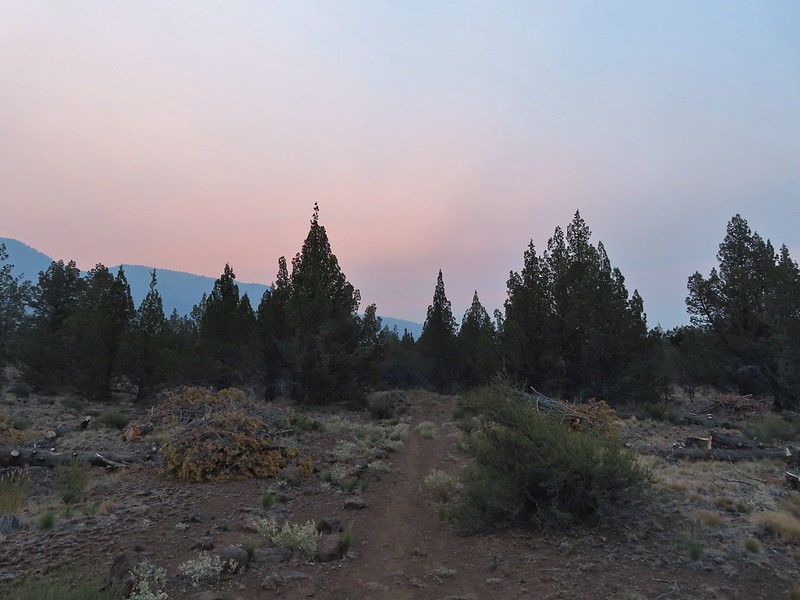
#91 Big Indian Gorge – Hiked 8/17/2021

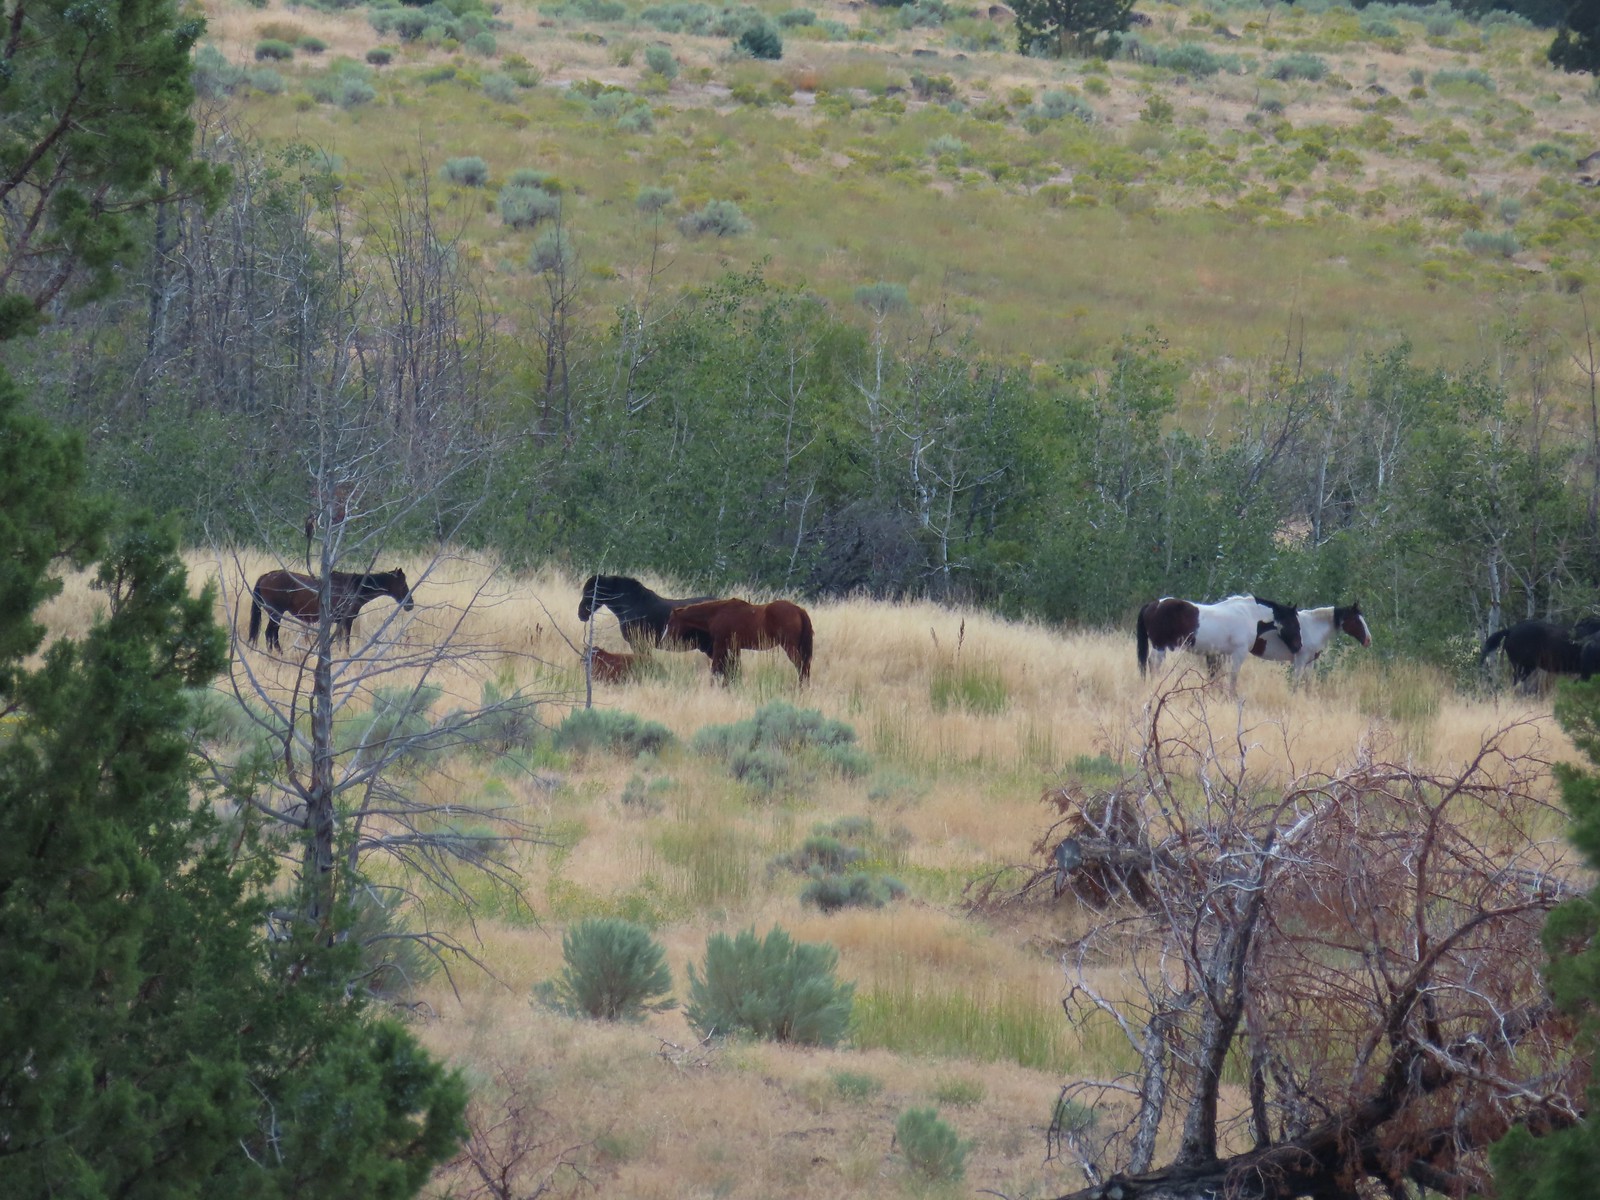
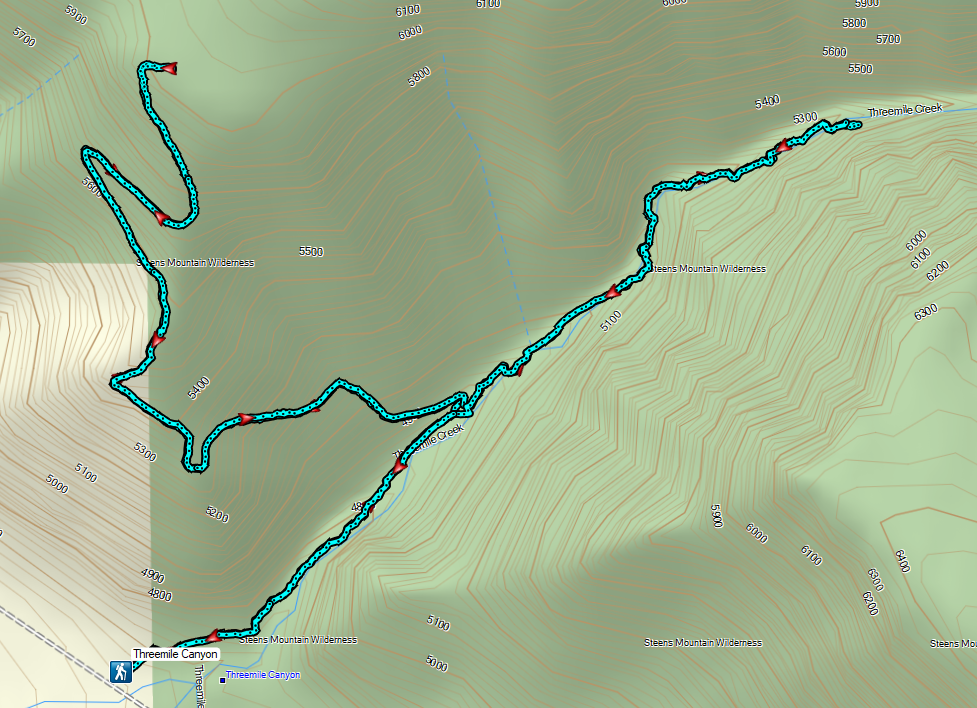
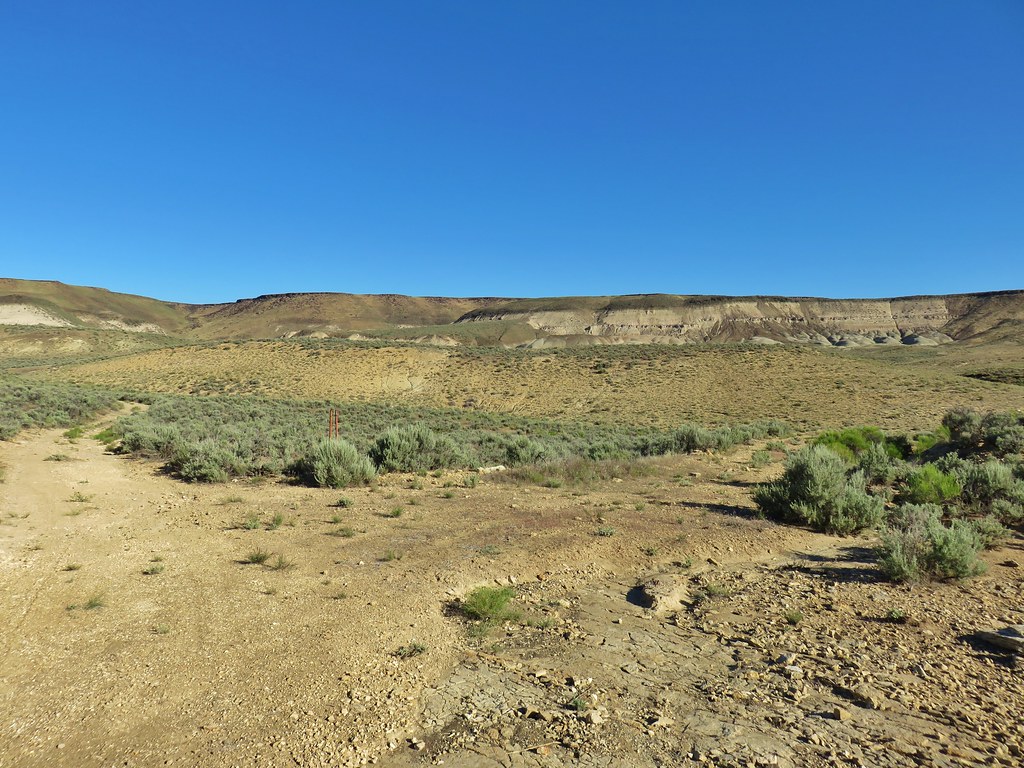
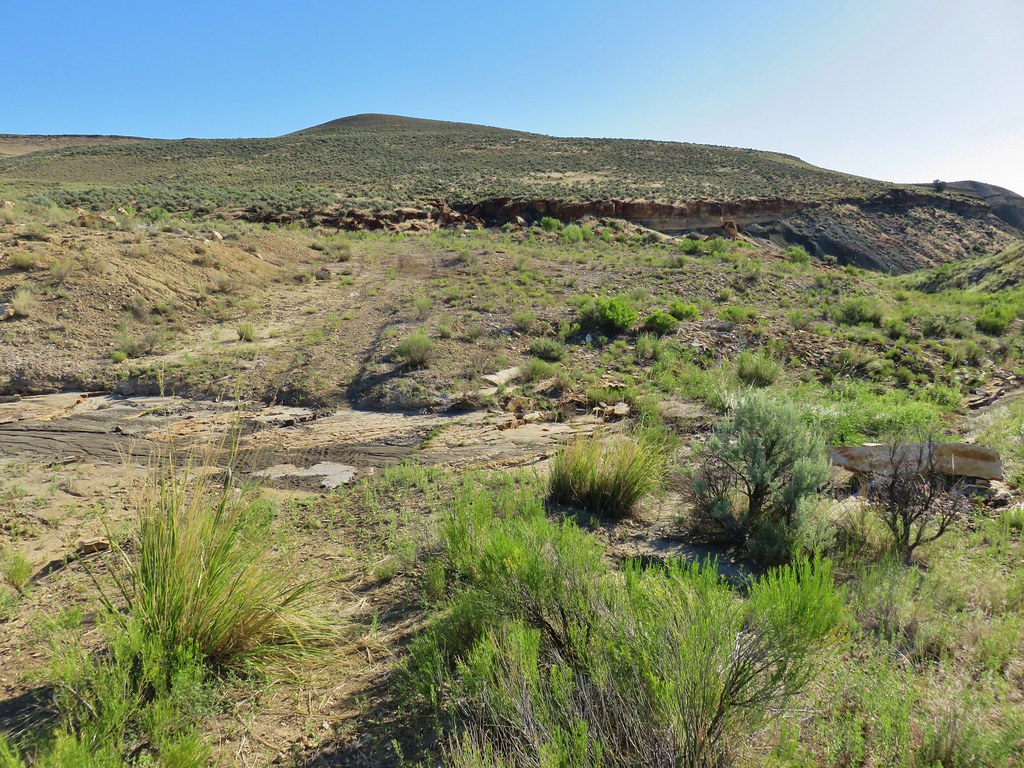
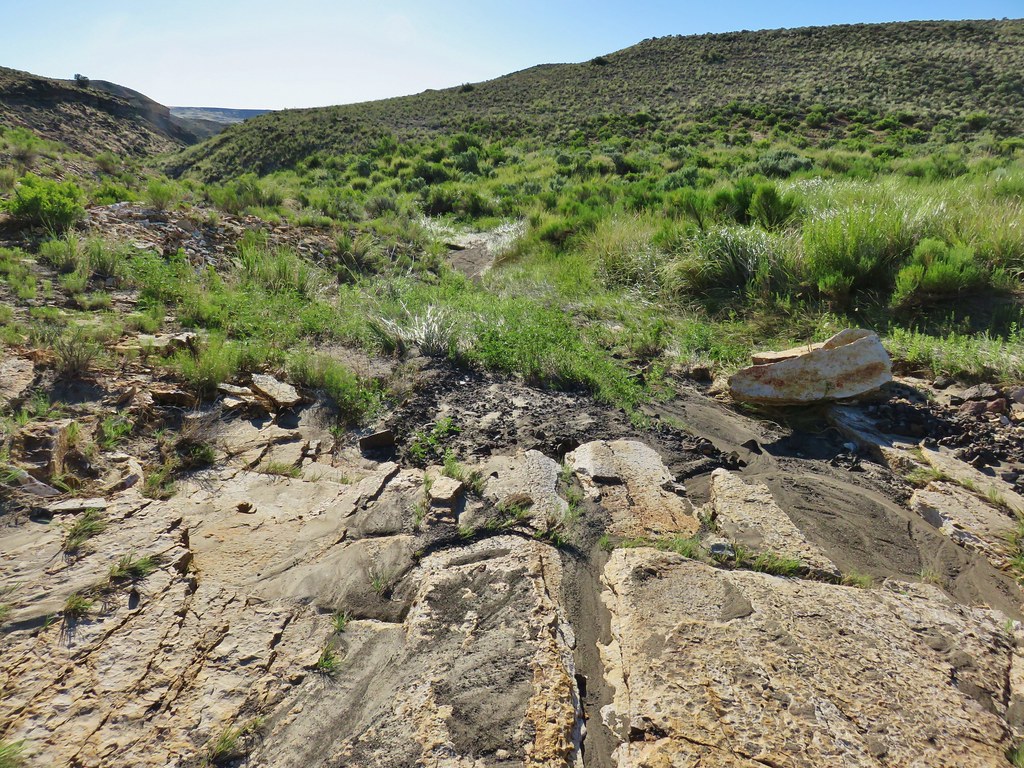
#92 Threemile Canyon – Hiked 9/3/2023

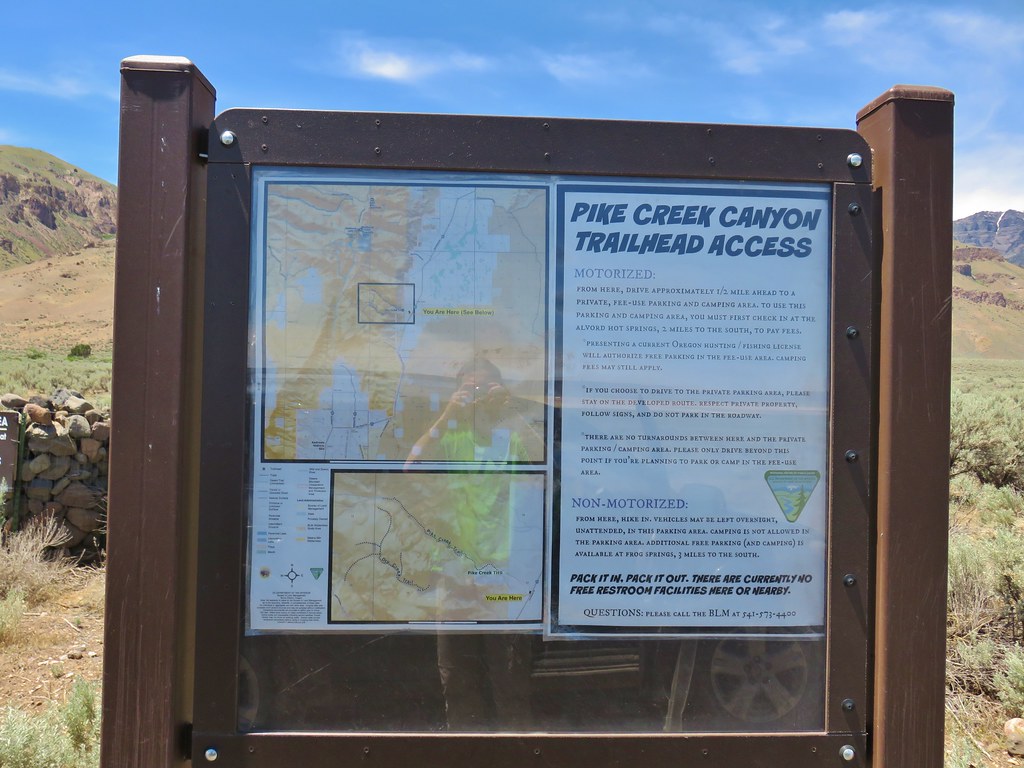
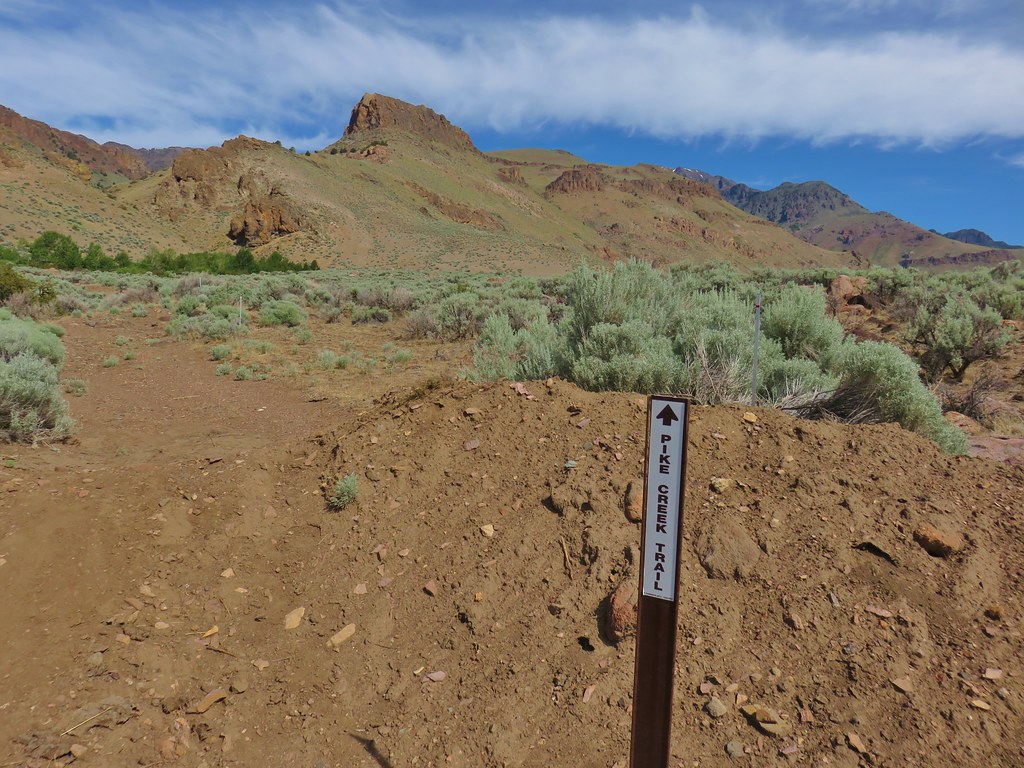
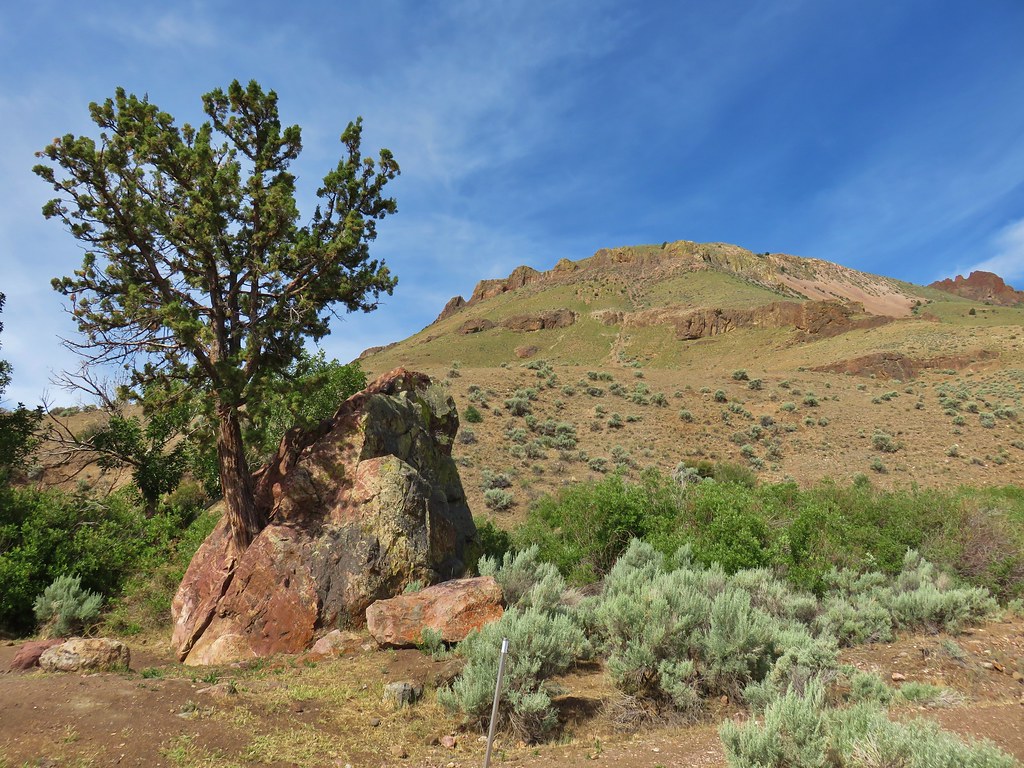
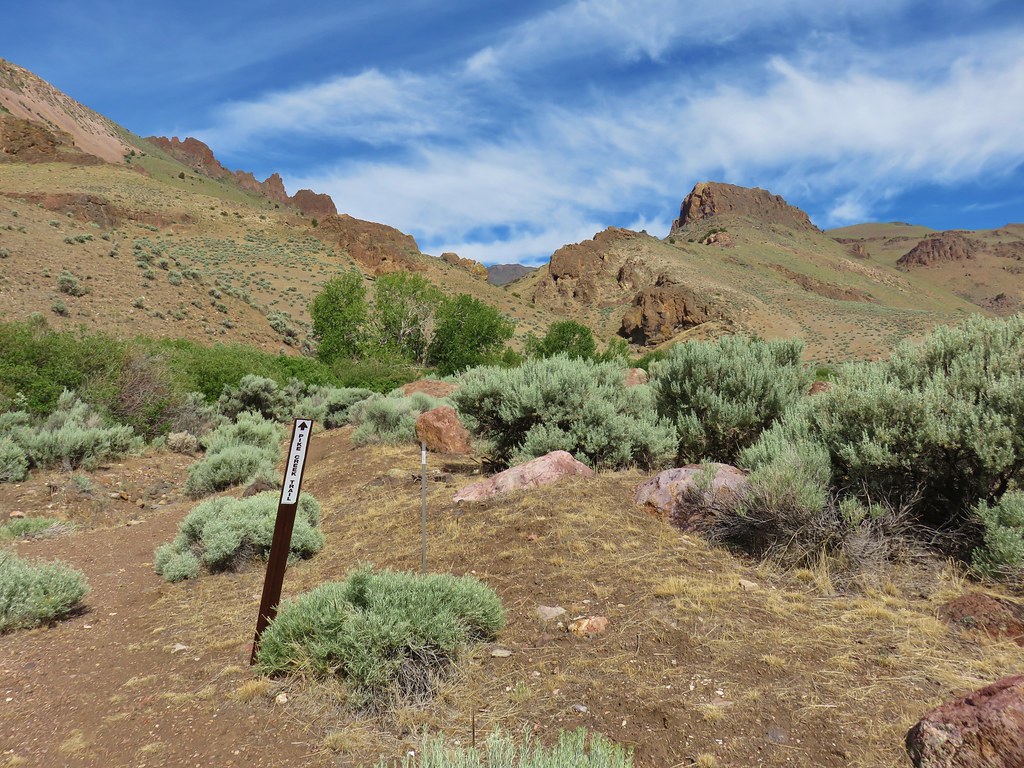
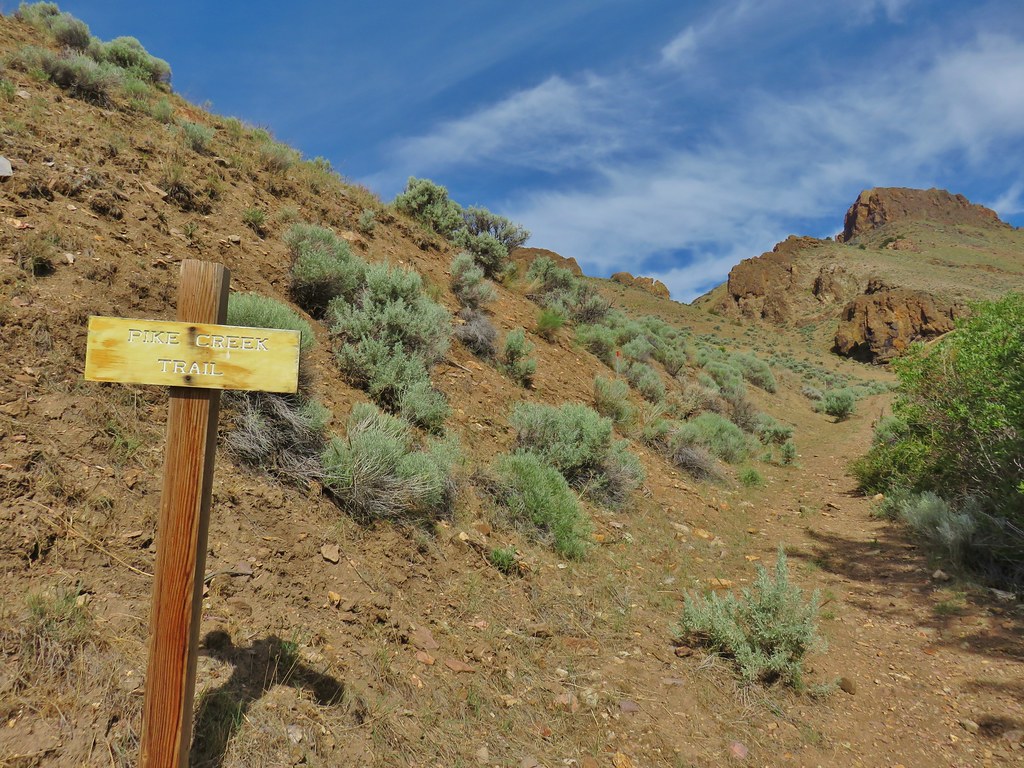
#93 Pike Creek – Hiked 6/14/2018

#94 Big Sand Gap – Hiked 6/14/2018

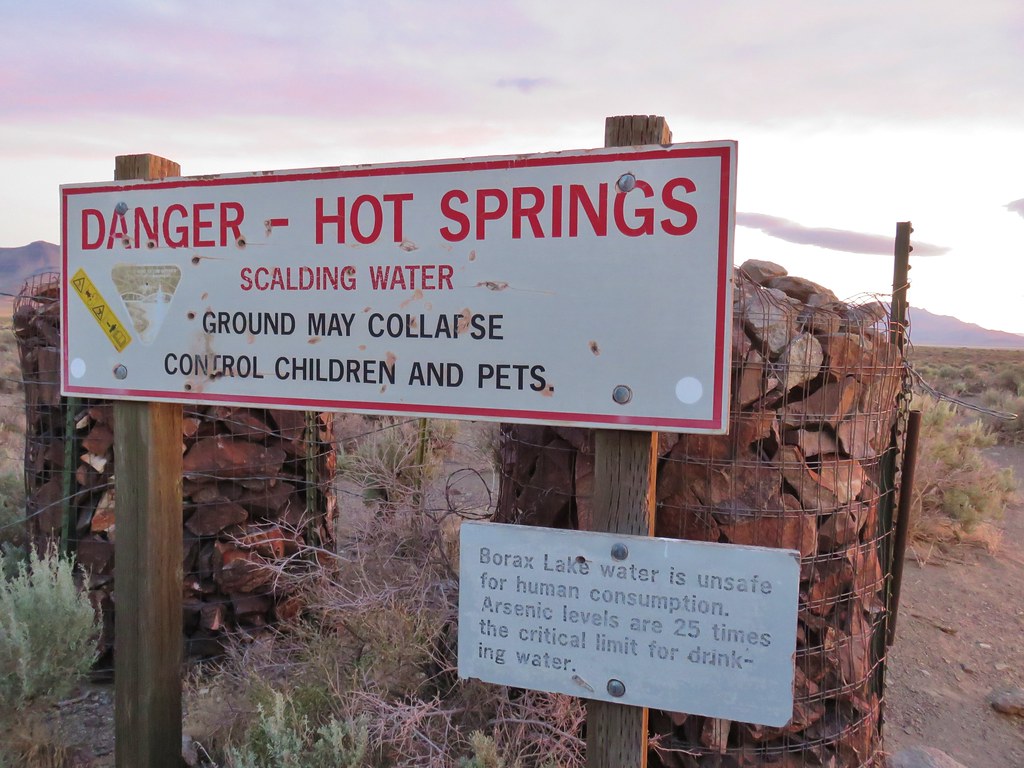
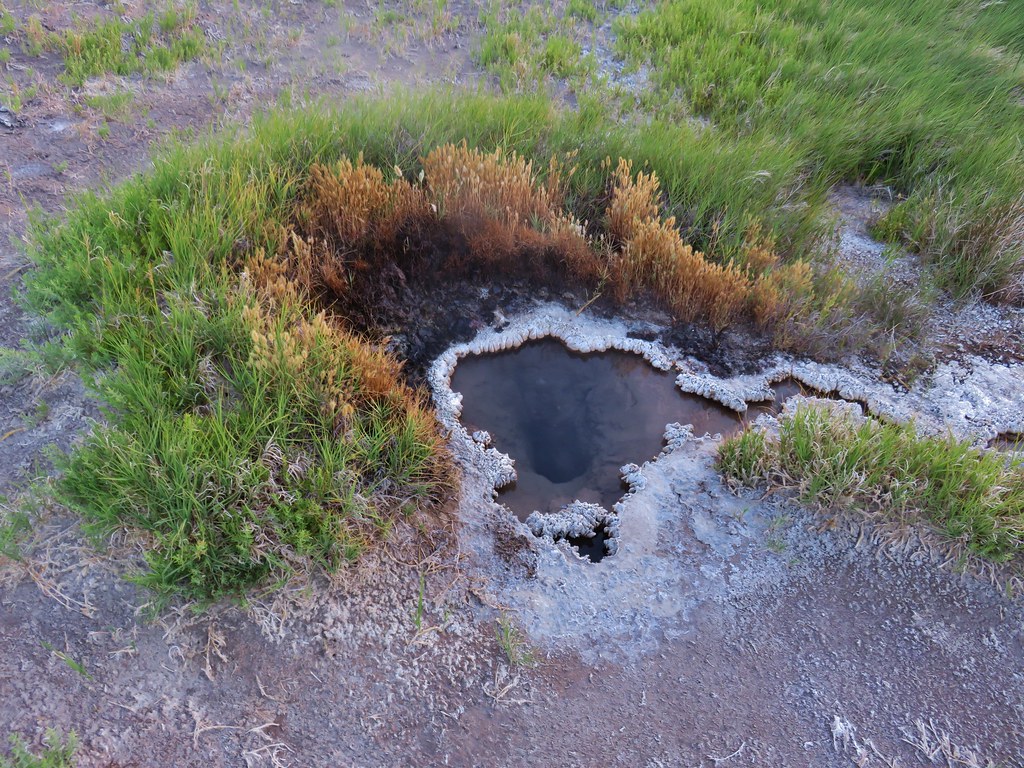
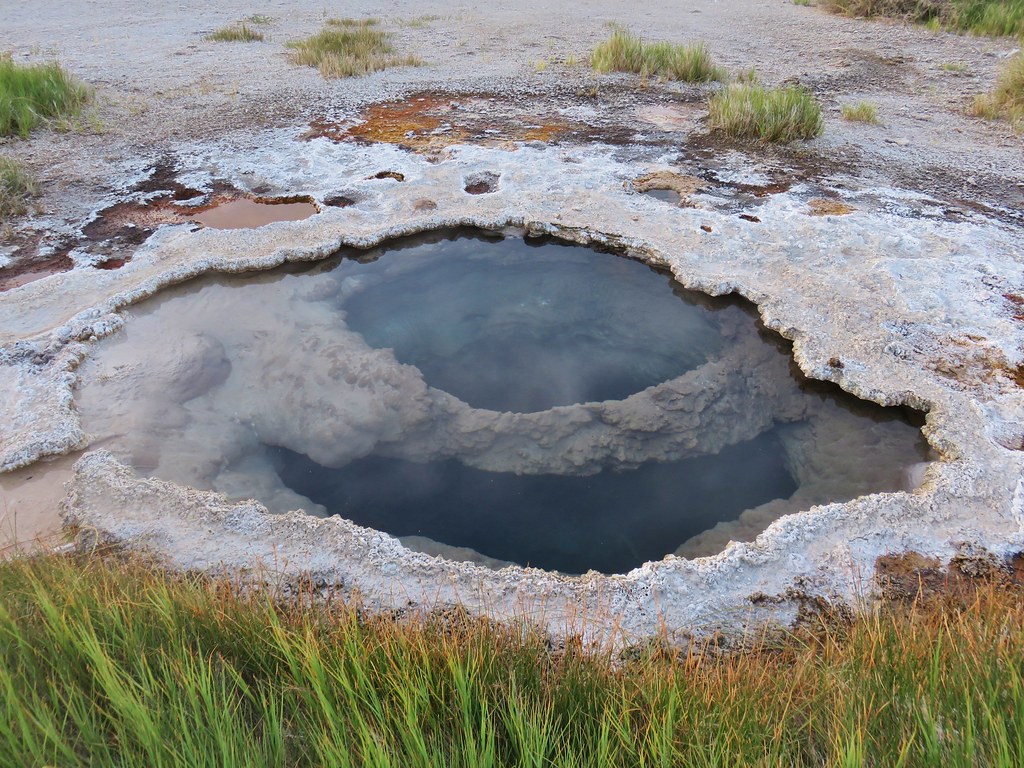
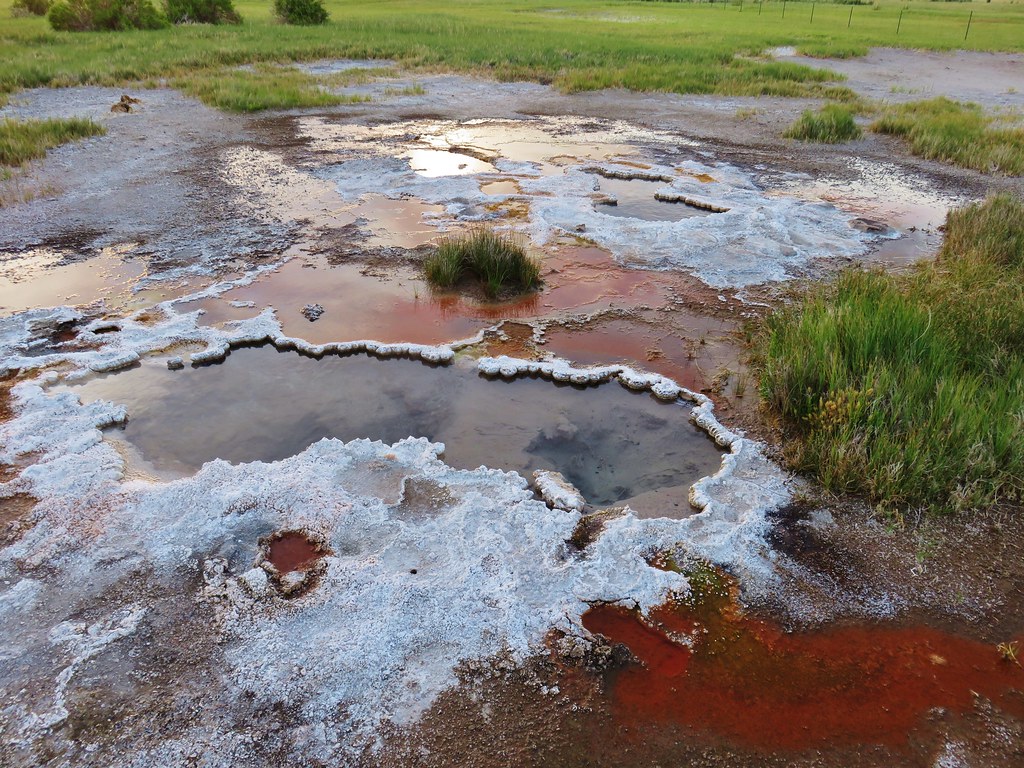
#95 Borax Hot Springs – Hiked 6/14/2018

#96 Pueblo Mountains – Hiked 8/20/2021

#97 Leslie Gulch – Hiked 6/11/2018

#98 Coffeepot Crater – Hiked 6/11/2018

#99 Chalk Basin – Hiked 6/13/2018

#100 Three Forks – Hiked 6/12/2018

*The Juniper Hills Preserve is owned by the Nature Conservancy and had been closed to public entry in 2023, so we were unable to hike the trails. We parked and walked to the gates to take photos. If they ever reopen it to the public we will go back.
Completing our featured hike goals provided a sense of relief. While we thoroughly enjoyed all of the hikes, and the Wallowa Mountains became our favorite destination in Oregon, we had begun to put pressure on ourselves to finish. That pressure had begun following the September 2020 wildfires that ravaged parts of the Central Cascades and left many trails closed for years. We had just finished the featured hikes in that area earlier that year and realized how close we’d come to having to put our goal on hold. In the grand scheme of things reaching 500 featured hikes is irrelevant but having worked on it for several years it was something we didn’t want to abandon. We will gig deeper into that in a later post covering finishing the 500, but it’s nice to have the urgency to get to specific places removed.
Setting the goal did provide us with an excuse to visit parts of Oregon that we’d never seen before. While we were checking off the 100 featured hikes we stopped at over three dozen additional spots including eight previously featured hikes. There are still numerous trails left for us to explore so we will almost certainly be heading back to Eastern Oregon from time to time to see new sights and possibly revisit some familiar ones. Happy Trails!


 Beatys Butte to the SW.
 Rain to the SW as well.


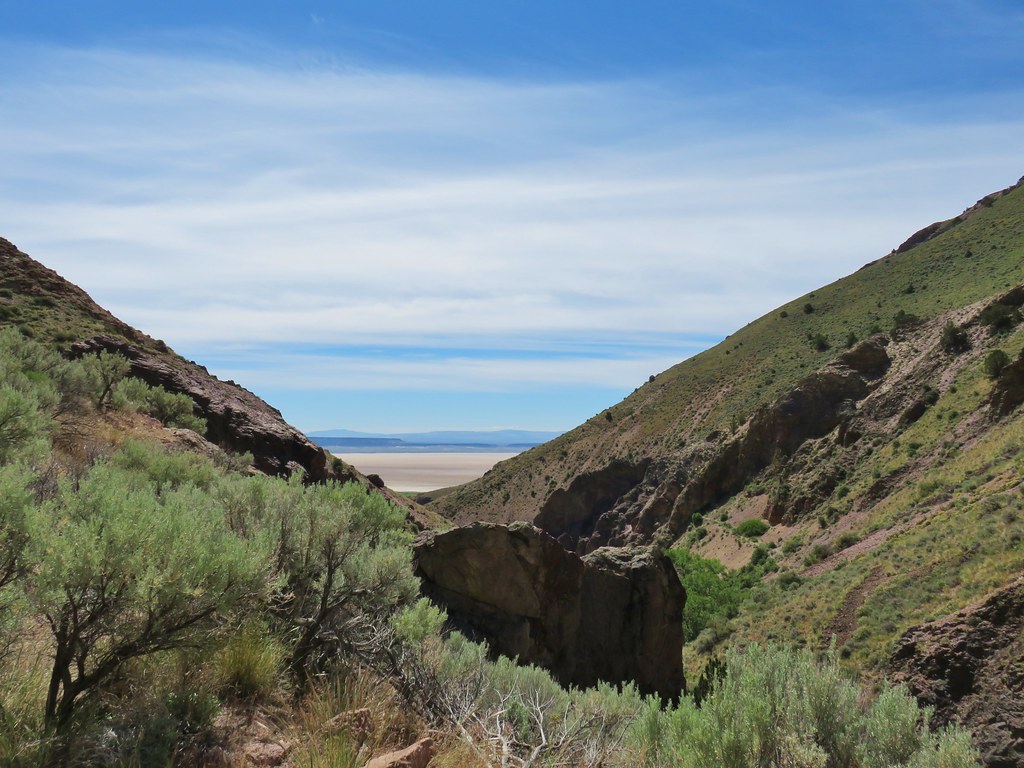
 Threemile Creek could be heard but not seen through the thick brush.
 Lupine
 There was a post but no sign at the junction.
 Wickerstem buckwheat
 The Pueblo Mountains (
 Clouds and rain showers to the SW.
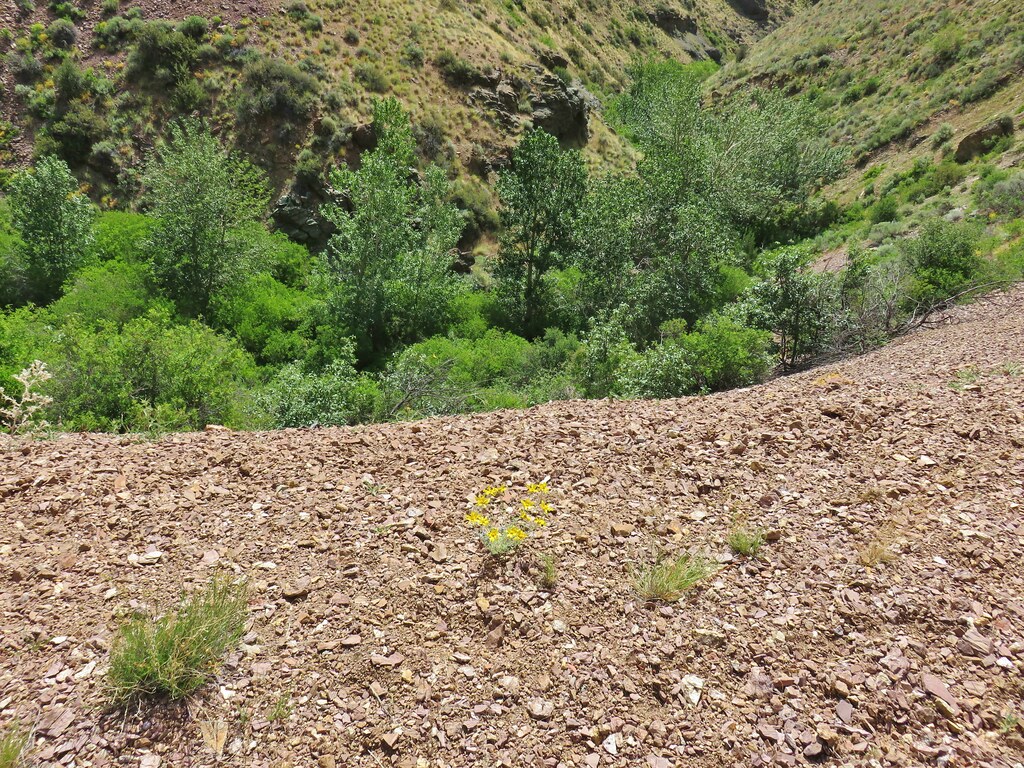
 Threemile Canyon
 The faint Huffman Trail.
 Alvord Peak in the center distance with Pueblo Mountain to the far right.
 Closer look at Alvord Peak in the center.
 Still a little blue sky to the NW.
 Not sure where the fog below came from but it was on a mission to beat us up to the plateau.
 Here comes the fog and some rain.
 Just moments later.
 And here is the fog.

 The final pitch to the plateau.
 Cairn at the end of the trail.
 Exploring is possible as long as you remember where you came up.
 Looking West.
 Looking toward Threemile Canyon.
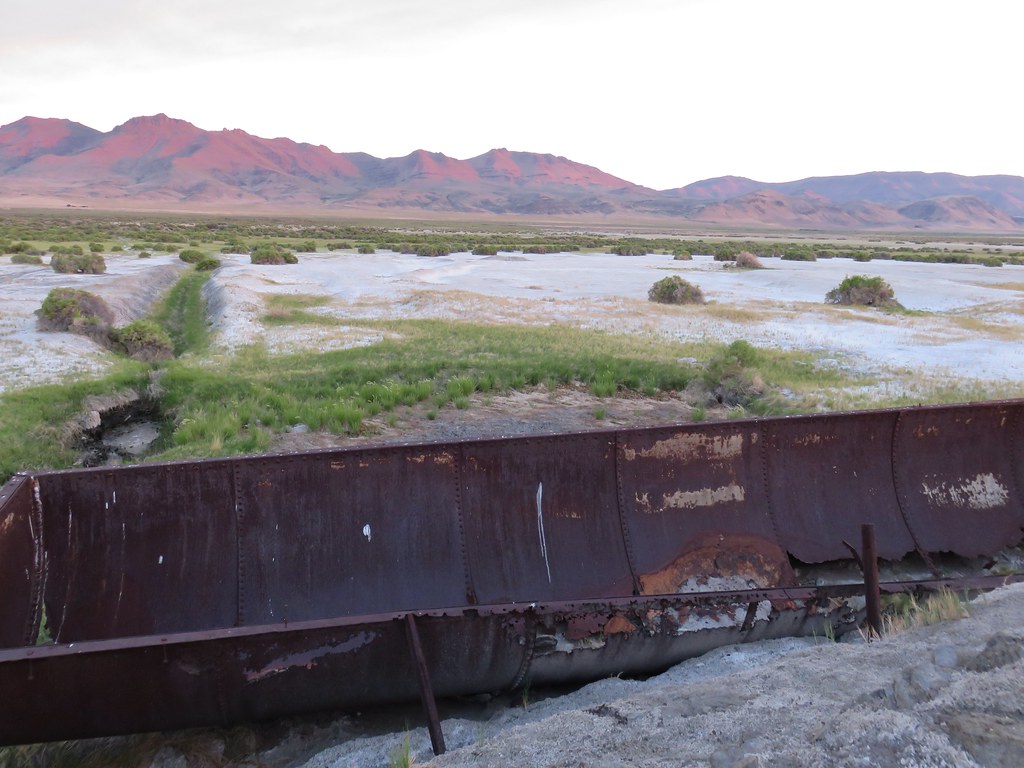
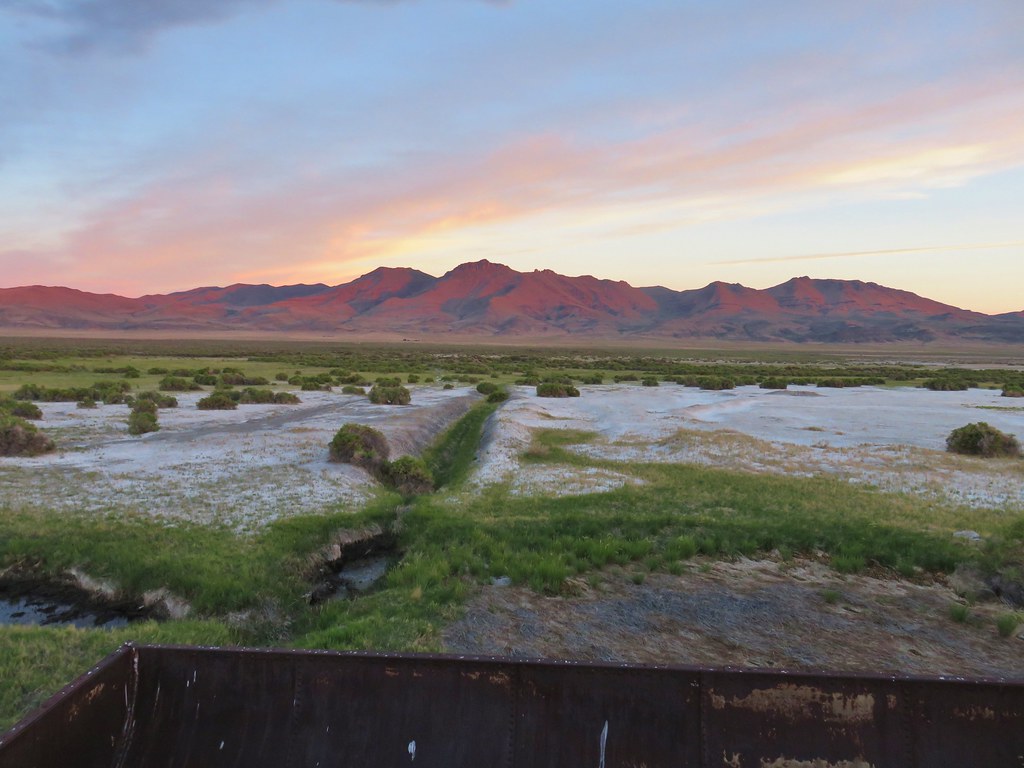
 Beatys Butte at center with the long fault block of Hart Mountain (

 This frog seemed to enjoy the damp weather.
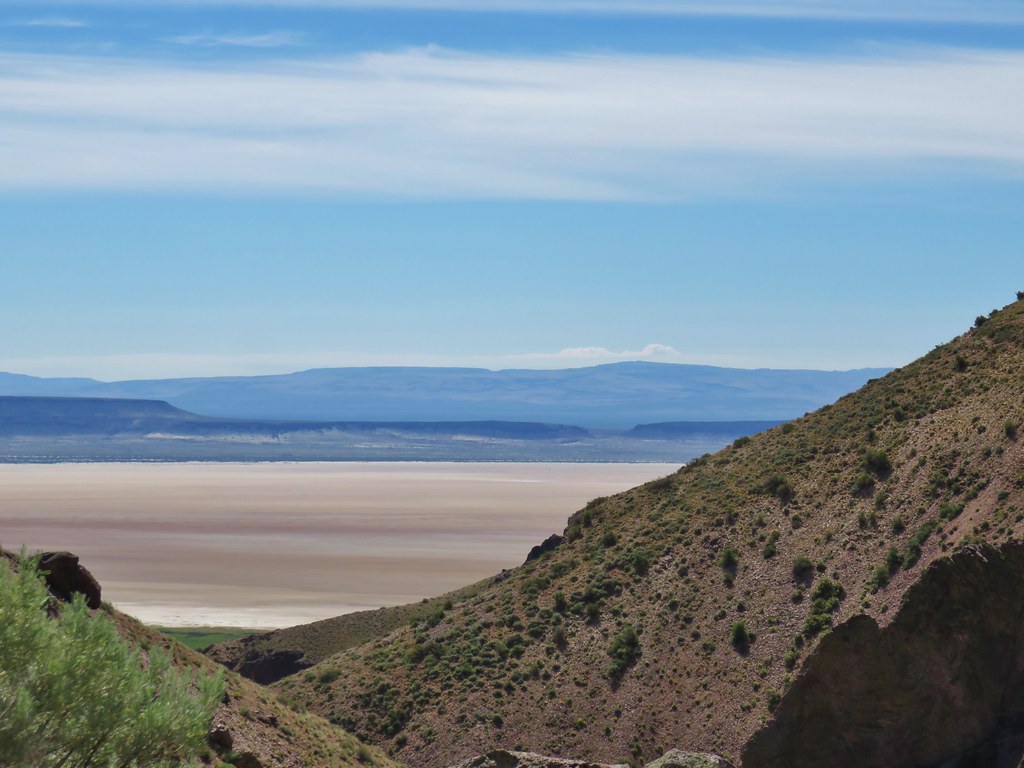
 Cliffs across Threemile Canyon
 Arriving back at the junction with the Threemile Creek Trail.

 Curlycup gumweed
 The trail crossed and at times used dry creek beds and also crossed Threemile Creek several times.
 The easiest crossing of Threemile Creek. Several of the others were not obvious until I pushed through the brush and then the footing was often tricky due to large, slick rocks needing to be navigated (at least in order to stay out of the creek).
 On the trail, I think.
 Elderberry
 Hard to tell by the photo but this puffball was a little bigger than a softball.
 I wouldn’t really describe the area as a meadow but I was 0.9 miles from the junction.
 Looking down at the meadow and post/snag (lower right) from the rocks.
 Sometimes the trail was really only identifiable by which junipers had had limbs cut.
 The drop to the creek here was approximately 2′ and the pool in Threemile Creek was fairly deep making this crossing a bit of a challenge not to slip and fall in.
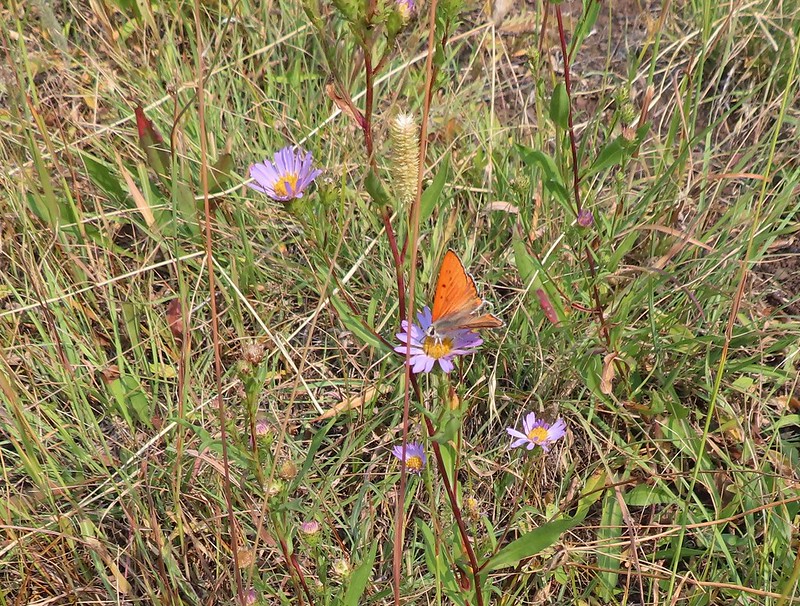
 Aster
Aster

 Sullivan’s map showed a “Bart Simpson Rock” which we believe was this one.
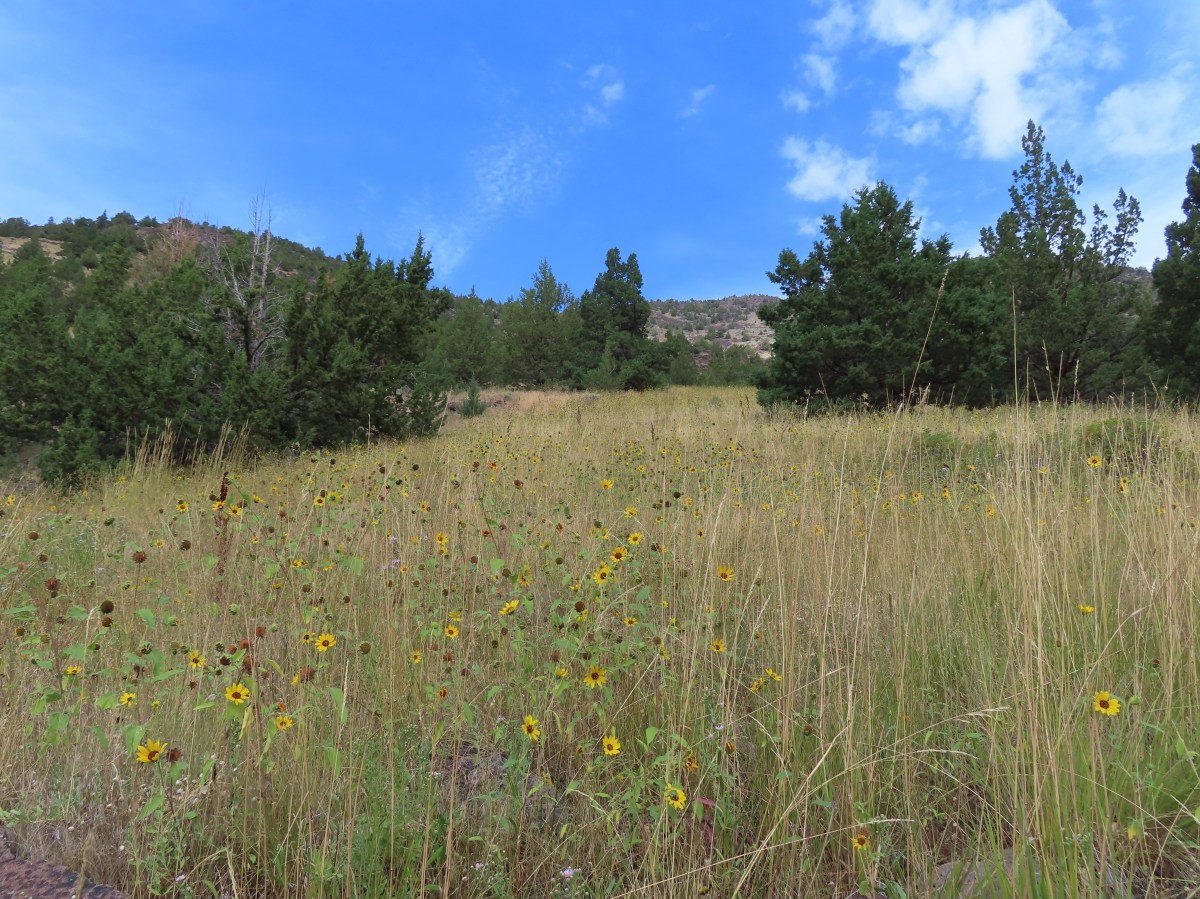
 Nearing the sunflower hillside and trail junction.
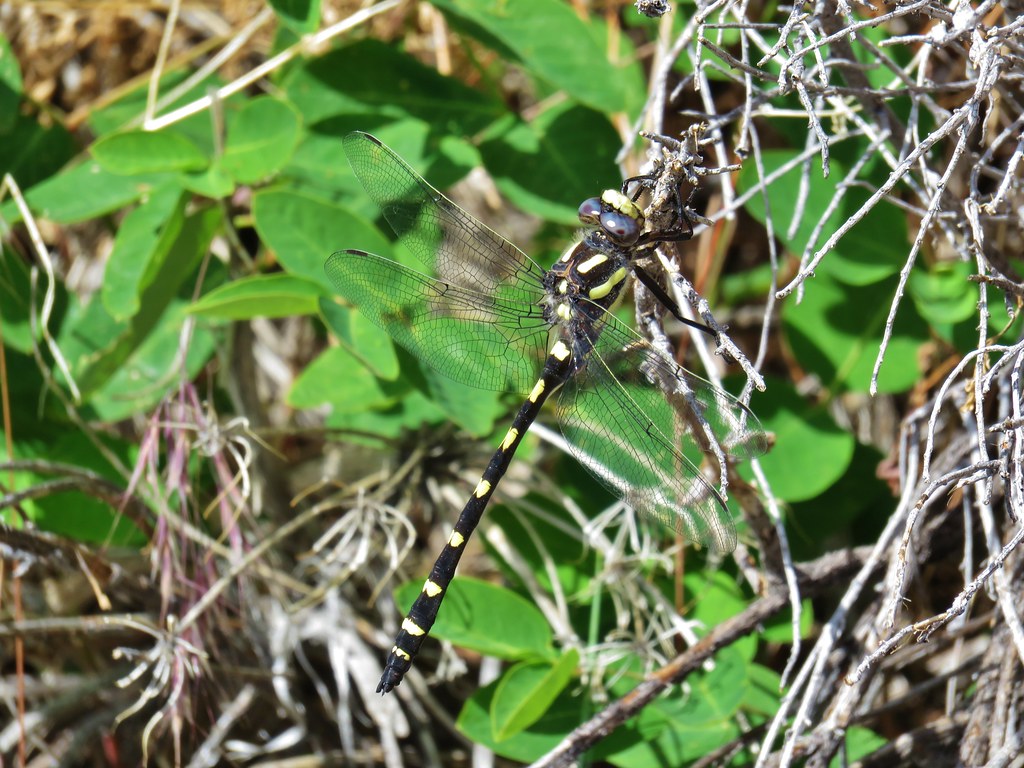
 Dragonfly
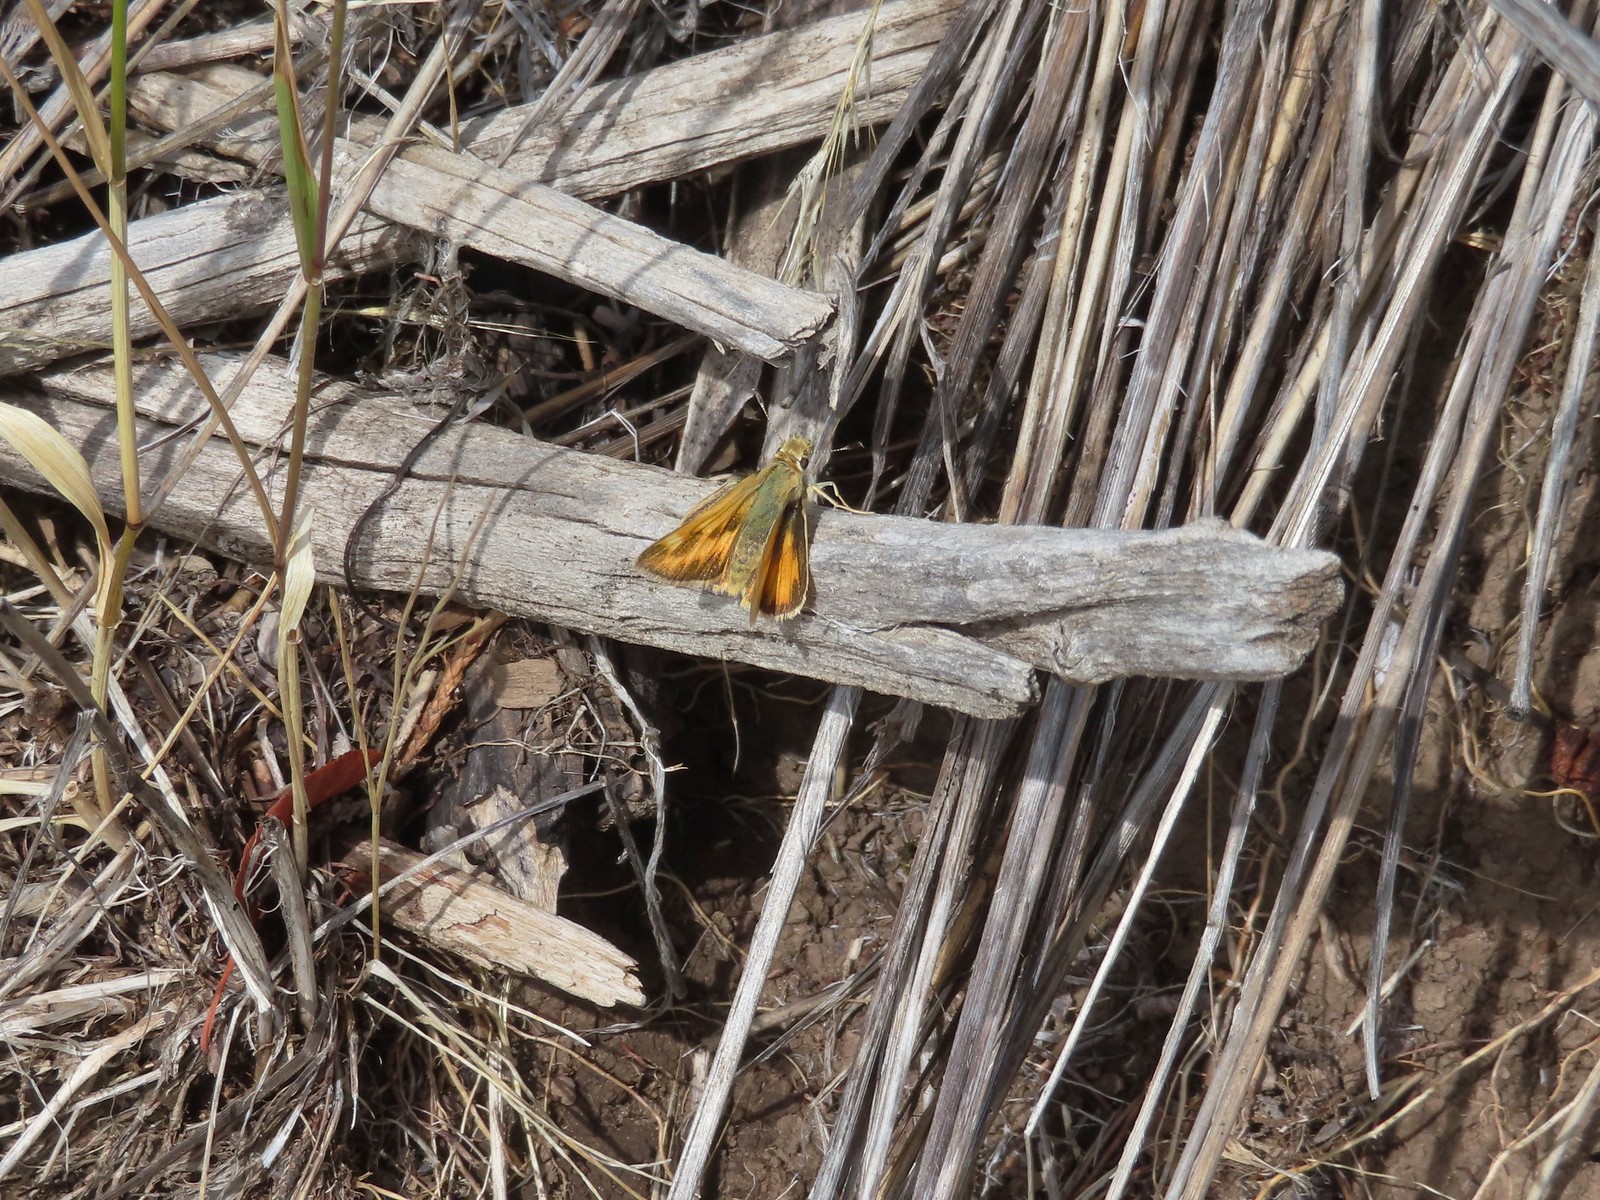 Skipper
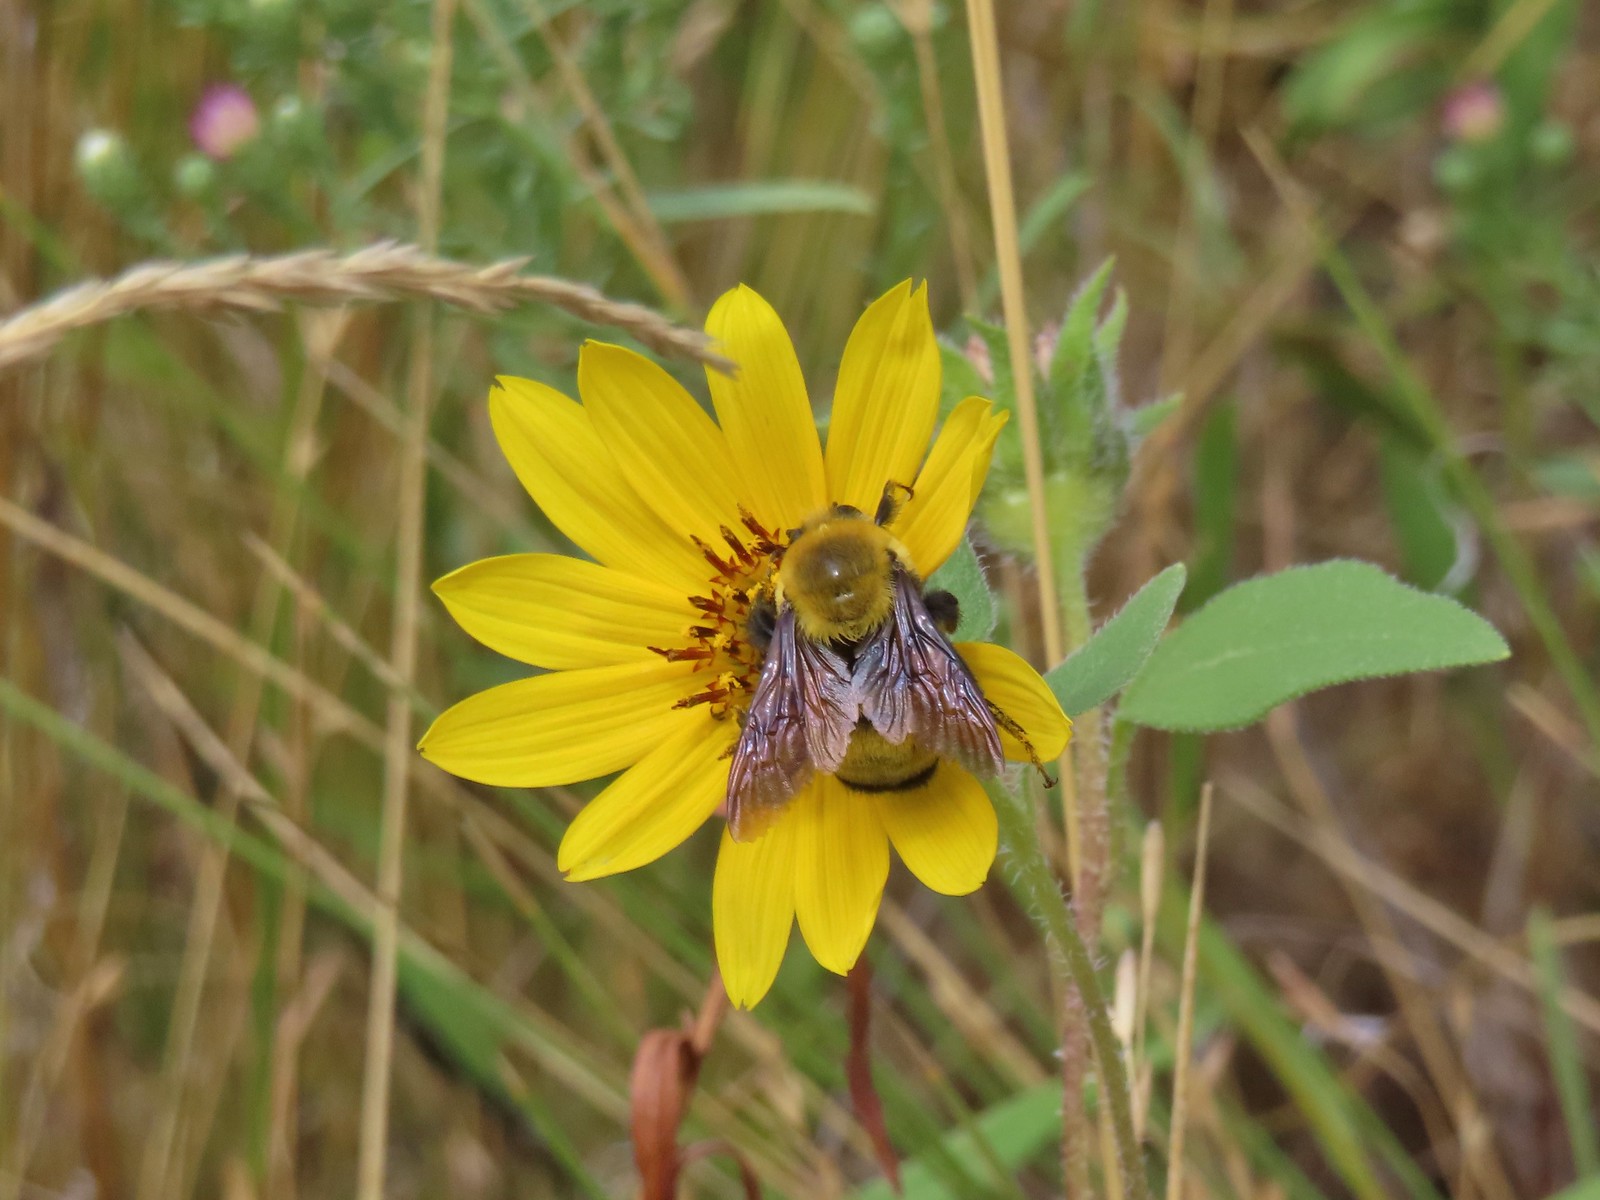 Big bumblebee


 Sign for the River Trail.
 The long barn where we’d be heading next.
 We turned around here where the tread became rougher.
 Interpretive signs were scattered along the trails at the P Ranch.
 Lorquin’s admiral and a grasshopper.
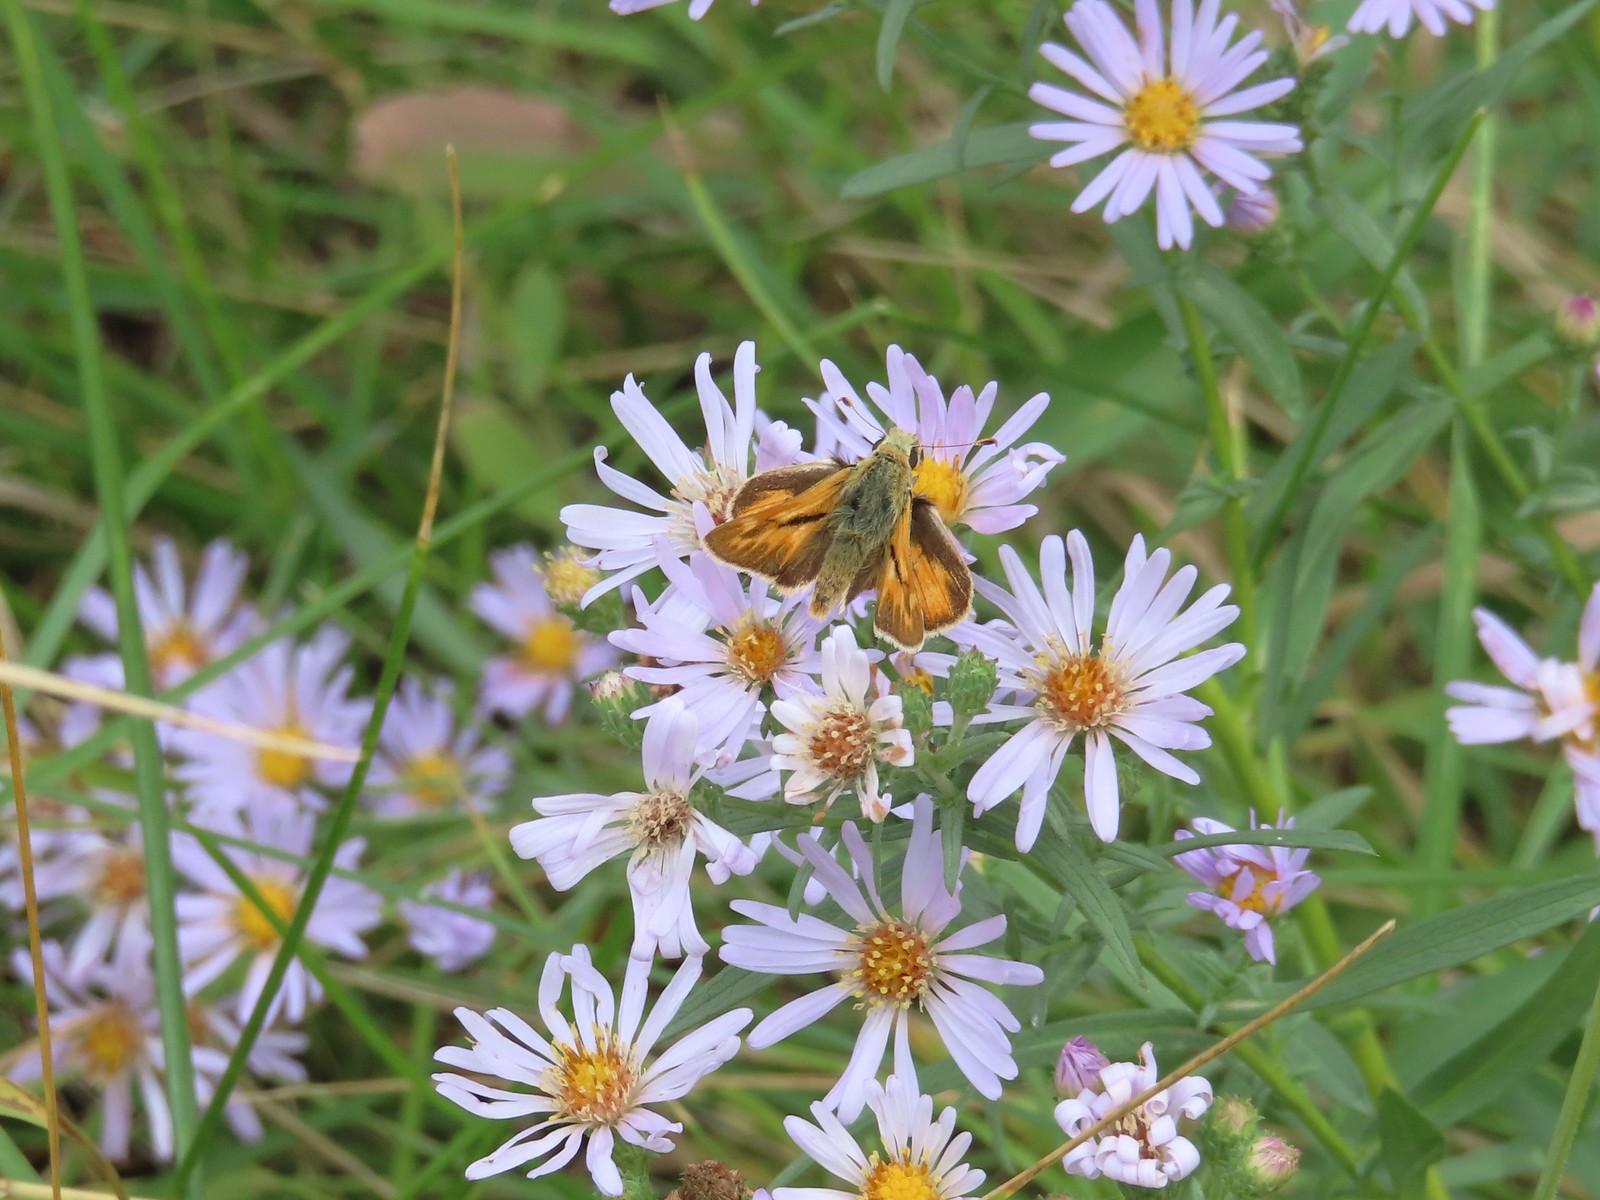 Skipper on aster.

 History of the P Ranch which at one time covered 140,000 acres.
 The owl inside the barn.
 Other structures from the ranch.
 The gravel road is in good shape but you don’t want to drive any faster than about 10mph so you don’t miss any wildlife.
 Fawns
Fawns Common nighthawk
 So many red-winged blackbirds.
 Hawk (northern harrier?) in a field.
 More fawns and birds.
 Finch?

 It disappeared in the grass moments later.
 Another hawk
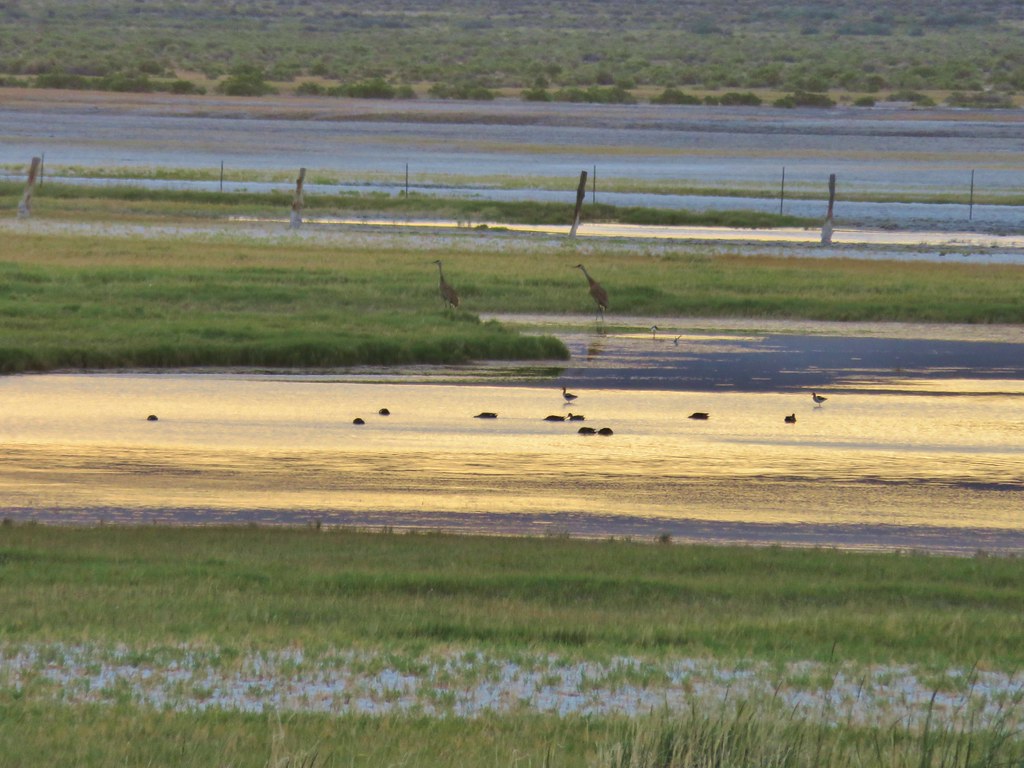
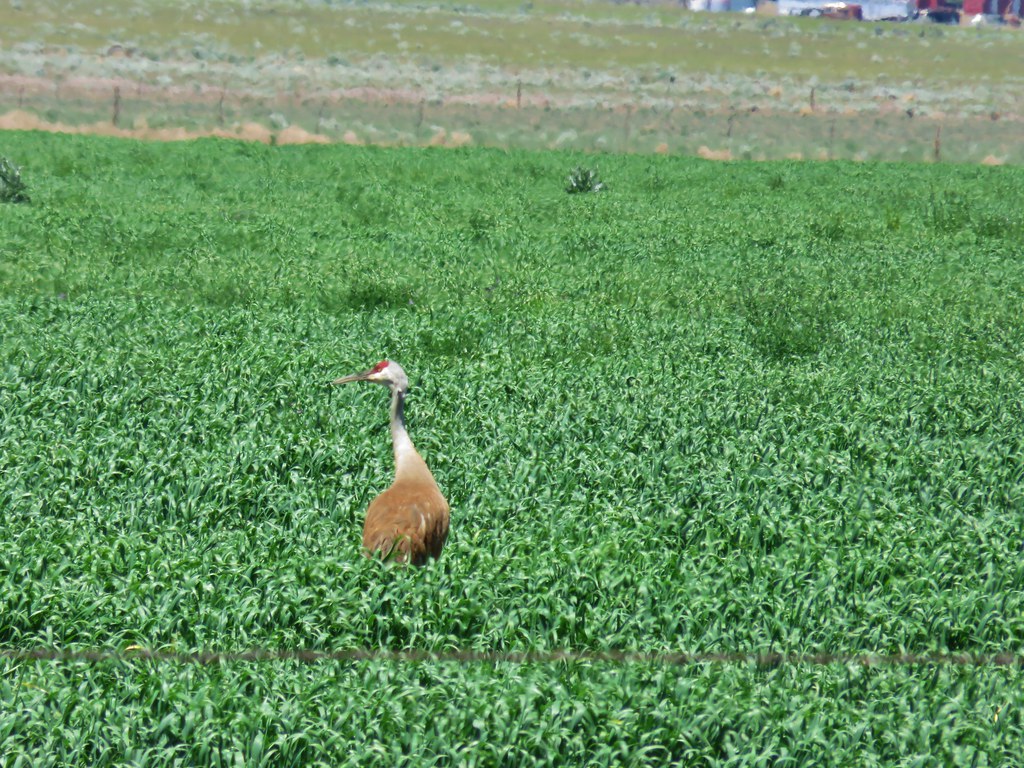
 Sandhill cranes in the field.
 Sandhill cranes


 Crossing the dam.
 Kiger Gorge (
 Kiger Gorge
 Blurry due to distance but there were several deer at the far end of the reservoir.
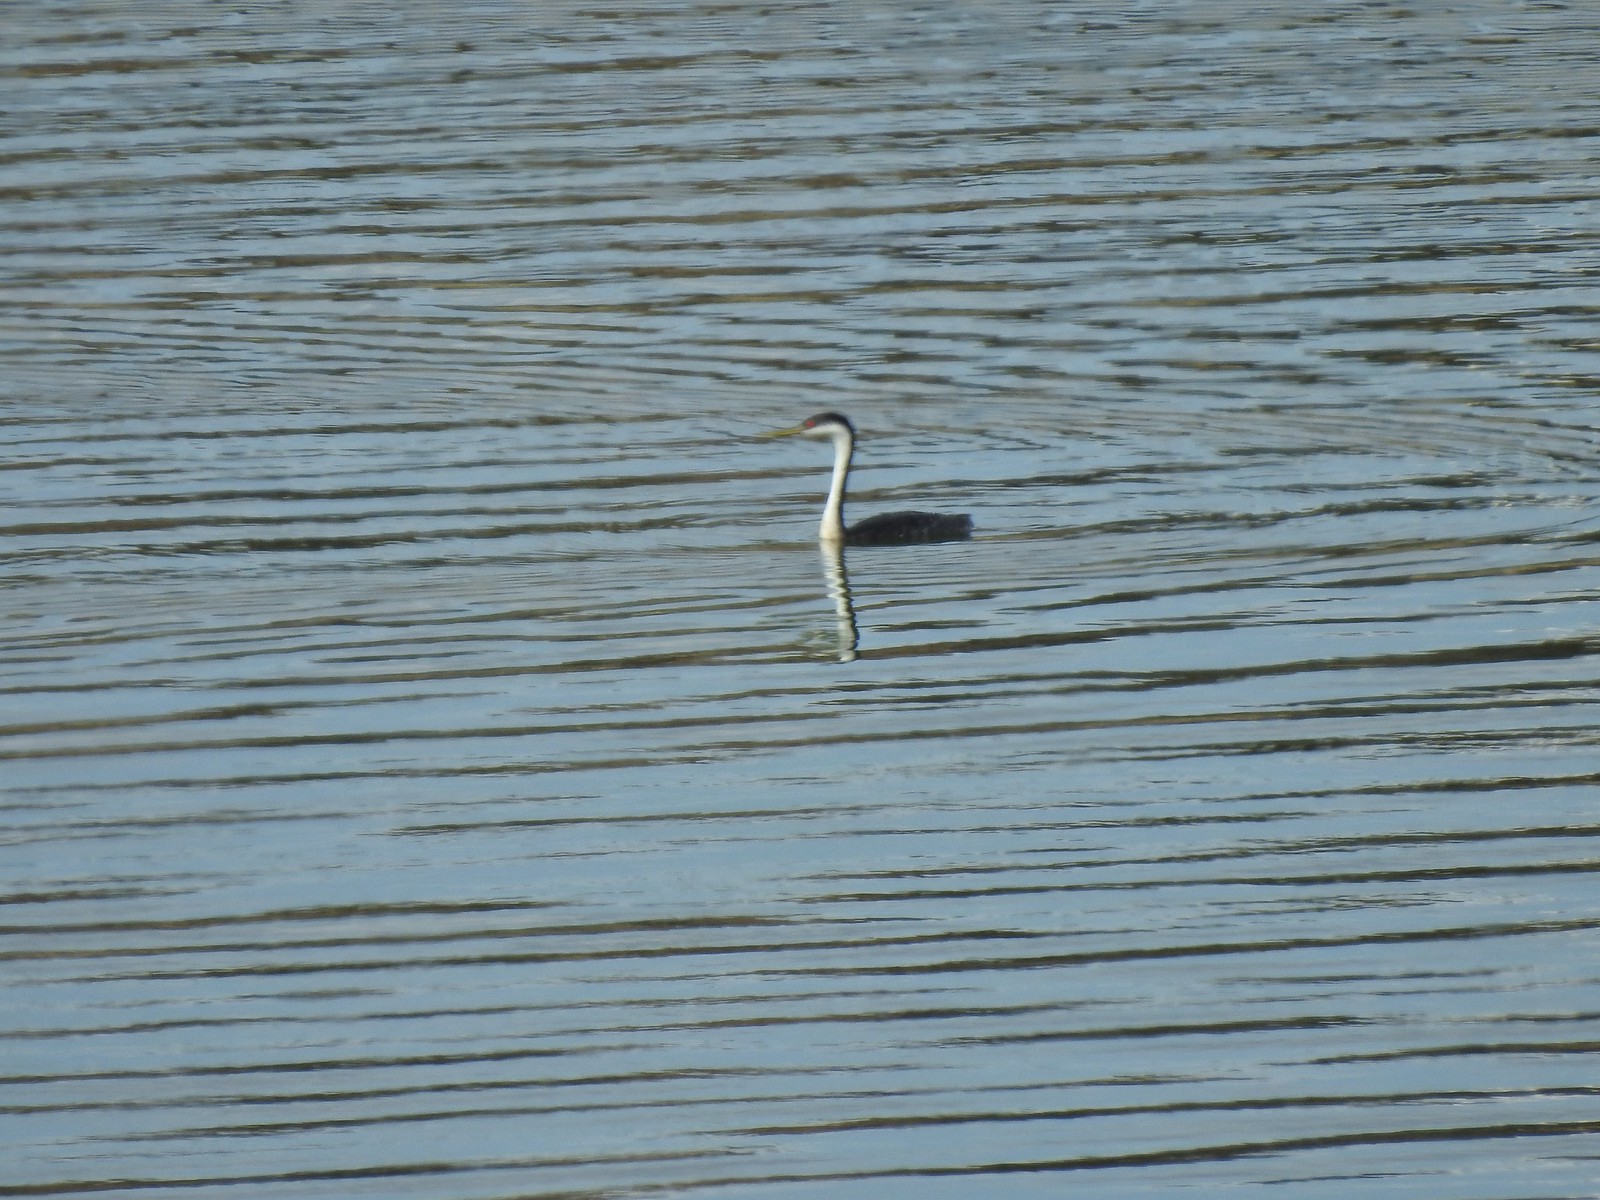 Another long shot, a western grebe.
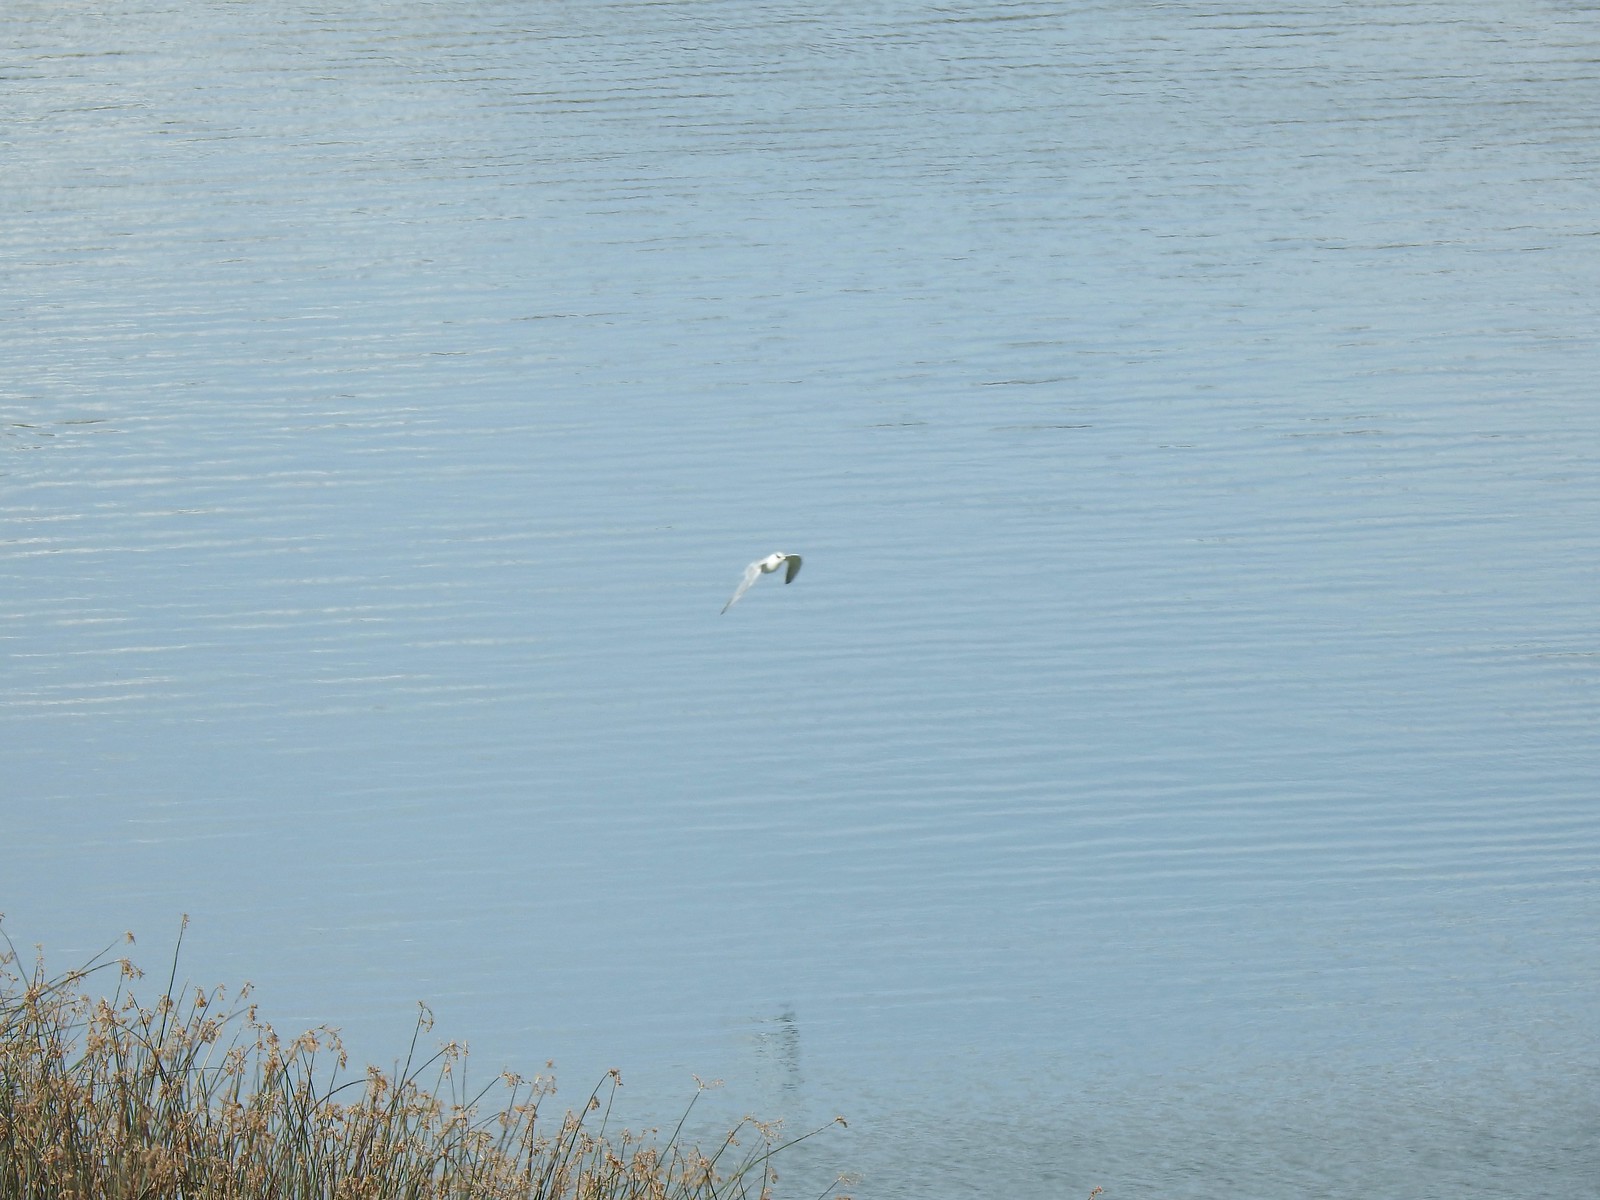 Not certain what this bird was but it dove into the water a couple of times.
 The deer, some ducks, the western grebe and a cormorant were all that direction.
 It also appeared that some rain was on the way.
 Recrossing the dam.
 Pheasant family
 There were at least 5 deer out there.
 Two
Two Three more
 White faced ibis
 California quail
 Pheasant
 A few of at least 10 turkey vultures in the trees above the Refuge Headquarters.
 Malheur Lake from the end of the auto tour.

 The view back along the road to the fork.
 Road walk
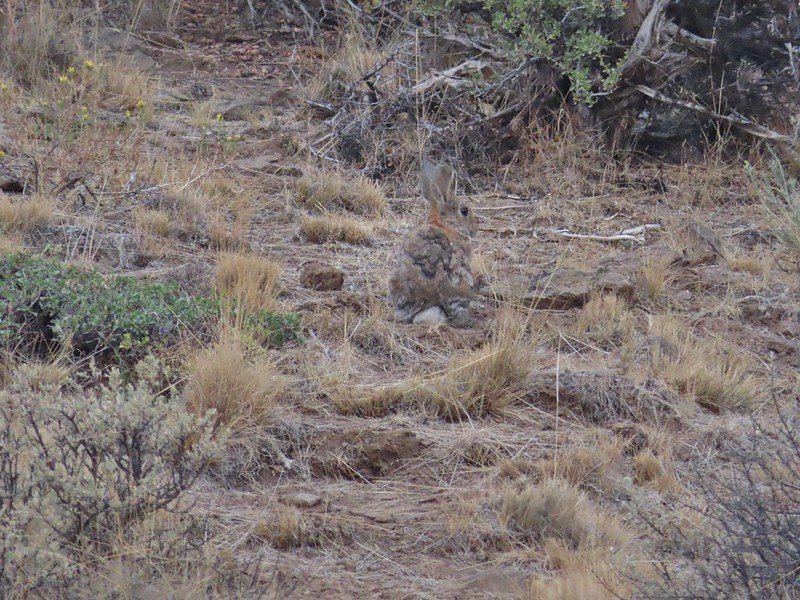
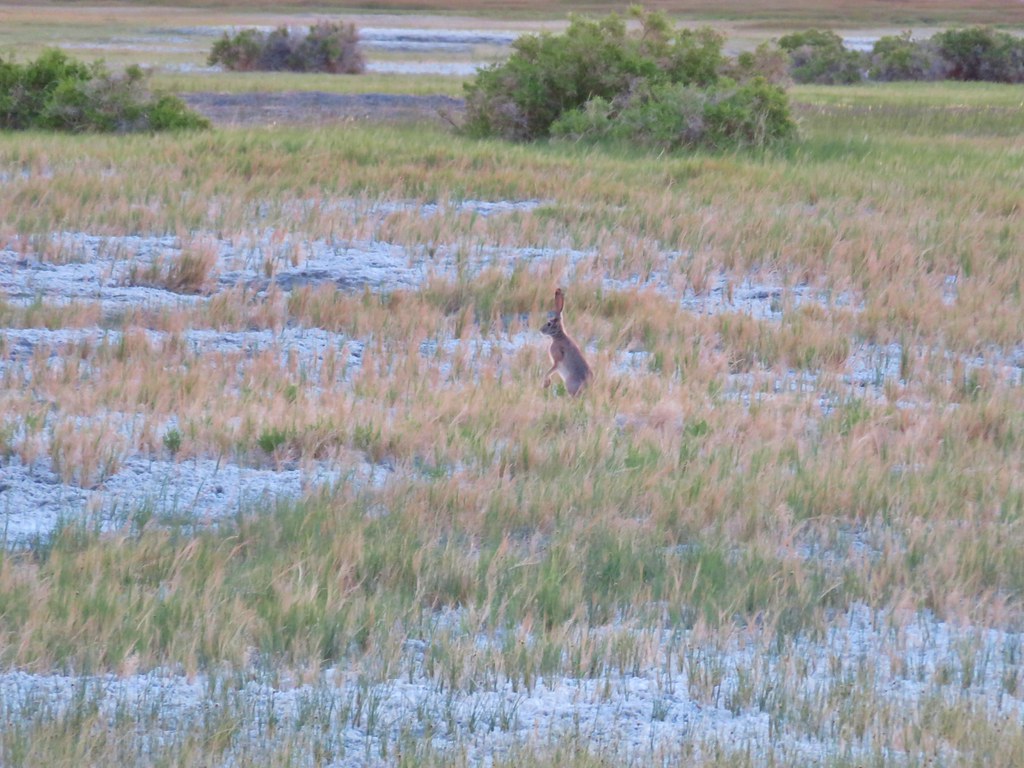
 Rabbit


 A hawk in a dead tree above the springs feeding Sesena Creek.
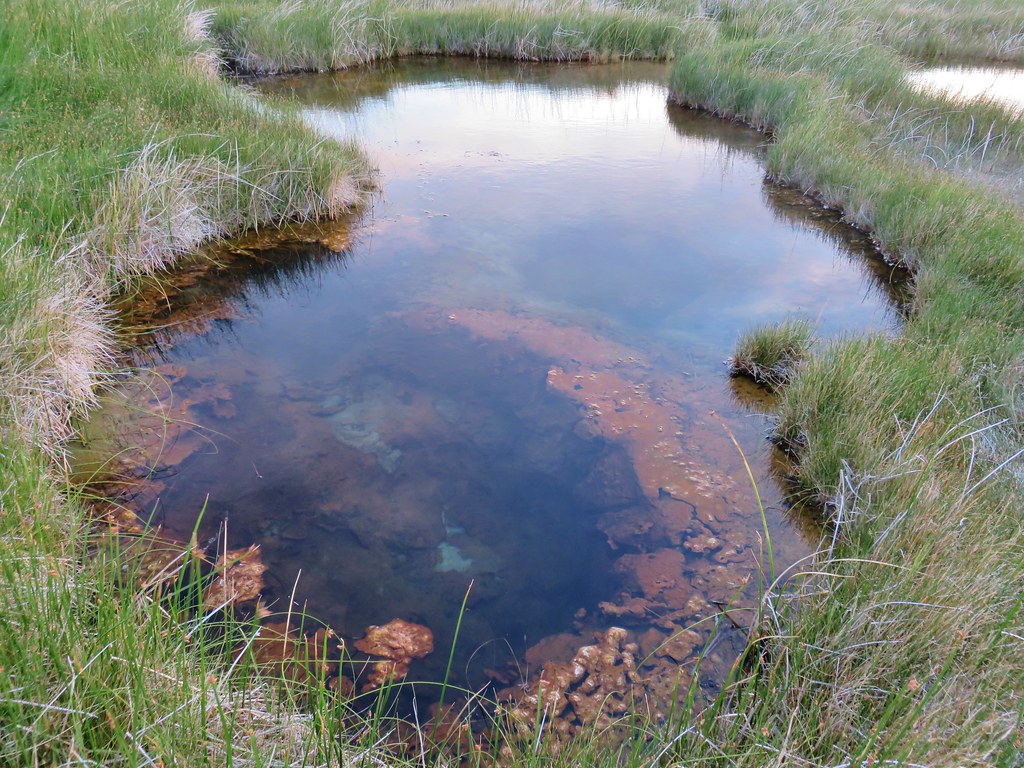
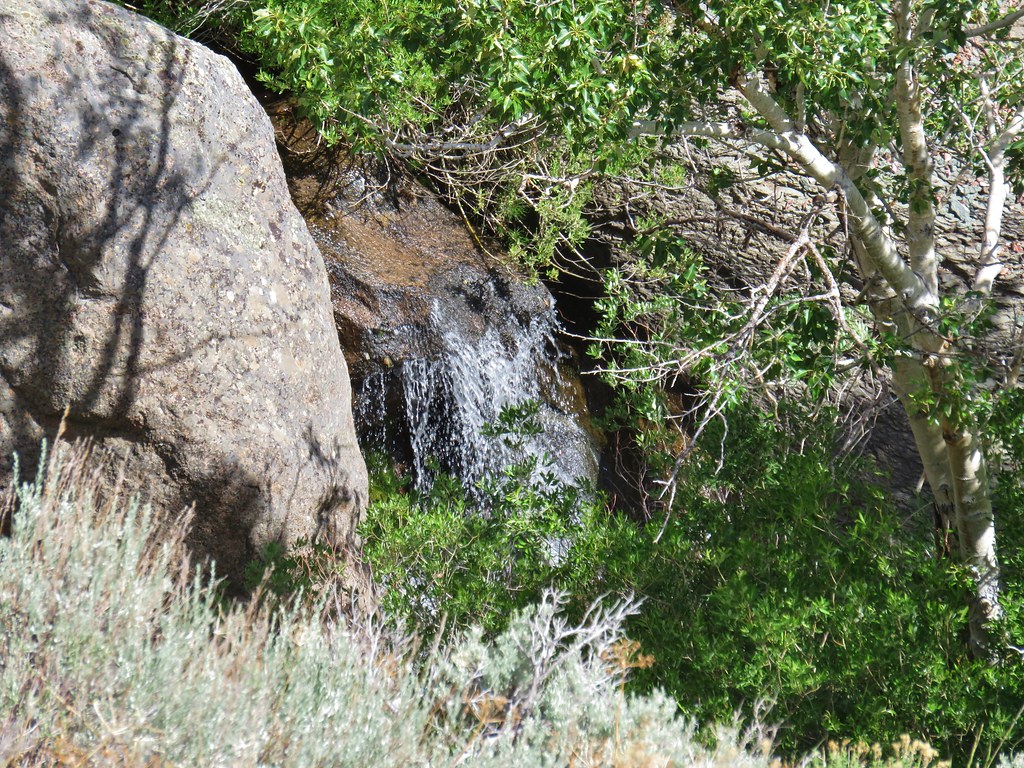
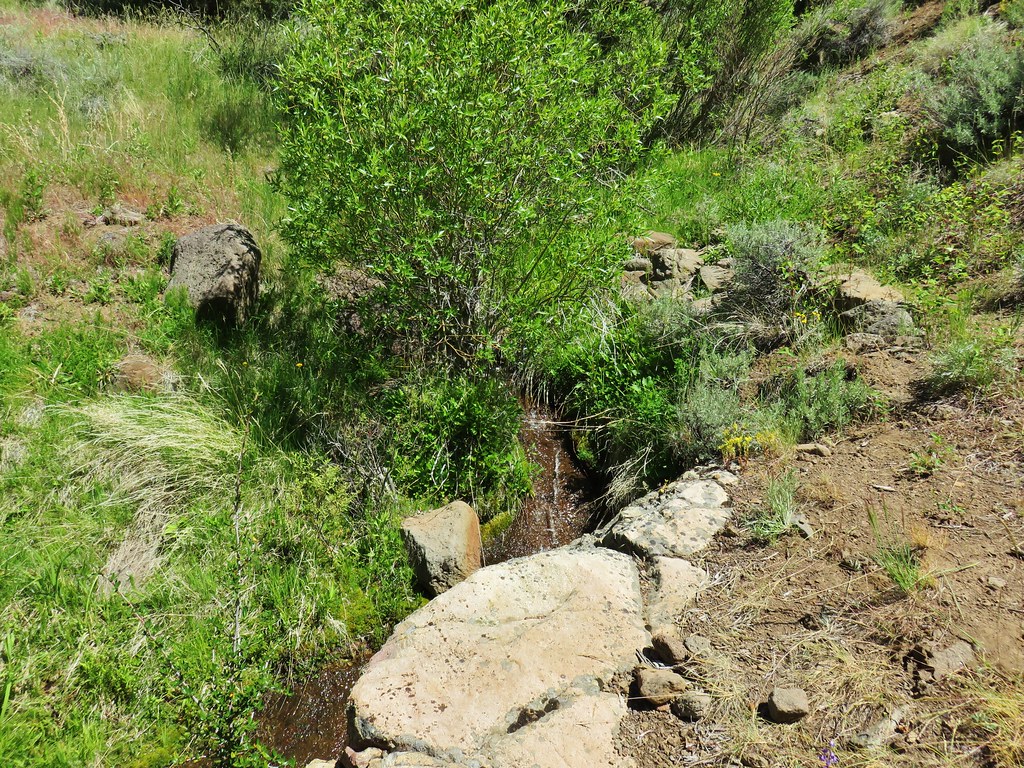
 This was the only water we’d see all day.
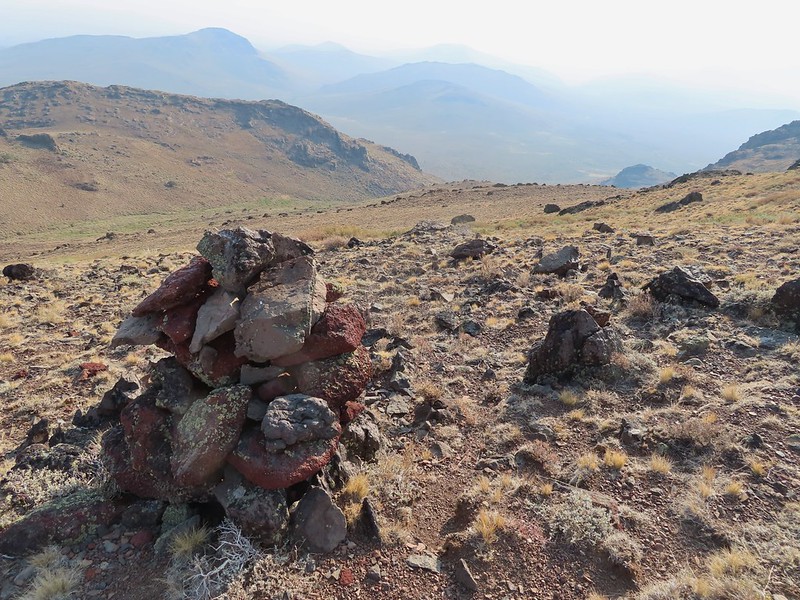
 The first cairn from later in the day.


 View from cairn #3.
 Looking back over the mahogany trees, the rise with cairn #2 and the cow lick.
 Looking up the steep hillside.
 On the climb up to #5.

 The view from the saddle.


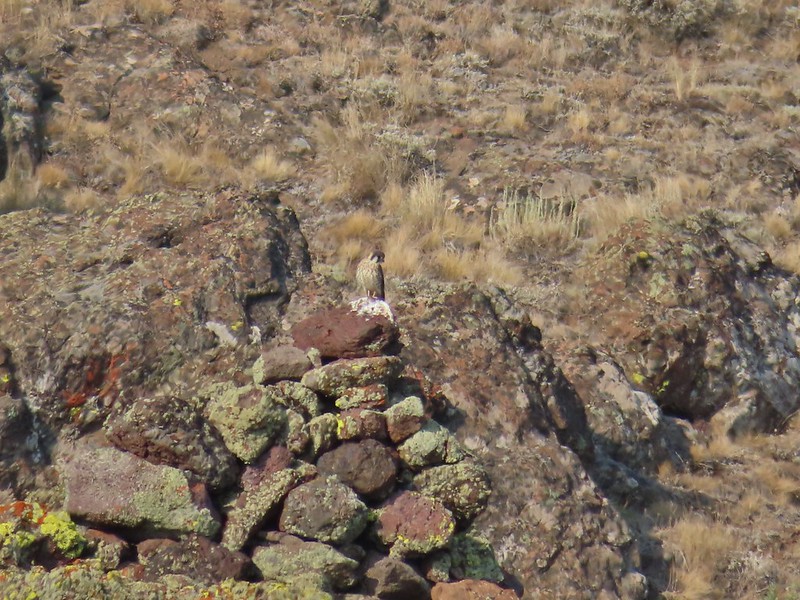 A kestral on a cairn.

 You can see Heather following me up on this “less” steep section.
 Looking down into the haze in the east.
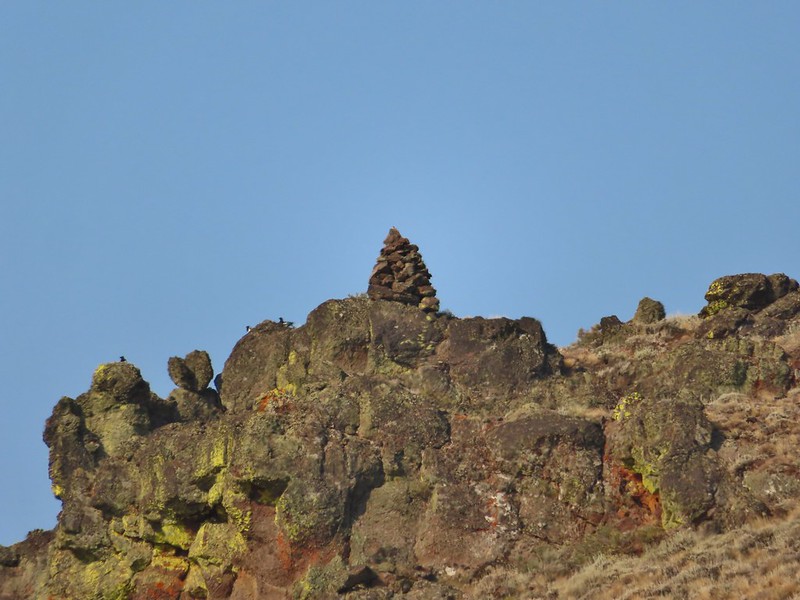 Cairn #7 was being guarded by magpies.
 View south over the Pueblo Mountains.
 Passing below cairn #7 (upper right corner).
 View to the NW from the pass.
 Pueblo Mountain (the large rounded peak) from the pass.
 We climbed this rise on the ridge and continued on the top for a bit.
 Looking at the rocky cliffs that would force us to the west.
 It’s not a desert trail without bones.
 Looking back
 The sagebrush draw below (Heather is traversing the hillside.)
 Cairn #9 and the view west.
 The next ridge is where the high point we were planning to turn around at was.
 Cairn #11 in the saddle along the ridge.
 Heather dropping down to the saddle, cairn #10 was out of frame to the left here.
 View to the west from the saddle.
 Sculpted rock along the ridge.
 Heather making her way up to #12.
 Thought this might be an arrowhead or at least something that was used for a tool of some sort.
 Heather resting by cairn #12 while I scouted the route.
 A hazy Pueblo Mountain (and more of the Pueblo Mts.) from the high point.
 Cairn #15 is on a small rock outcrop near the saddle at center.
 Cairn #15 (at least we think).
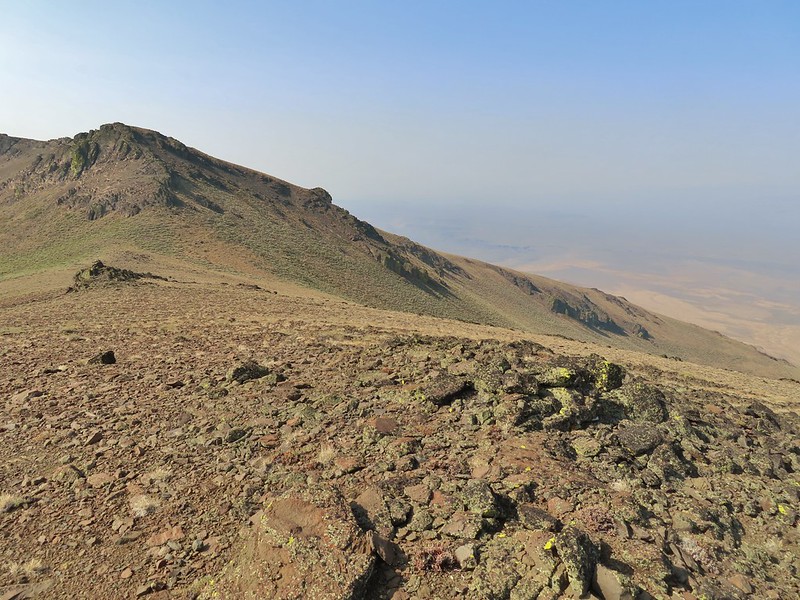 Cairn #15 below from the cairn #14 coordinates, it appears that cairn #14 may have been at least partially dismantled.
 Oh great, more uphill.
 Peaks in the Pueblo Mts. near the Nevada border.
 Cairn #12 and the saddle zoomed in.
 Van Horn Creek is down there somewhere as is Ten Cent Meadows.
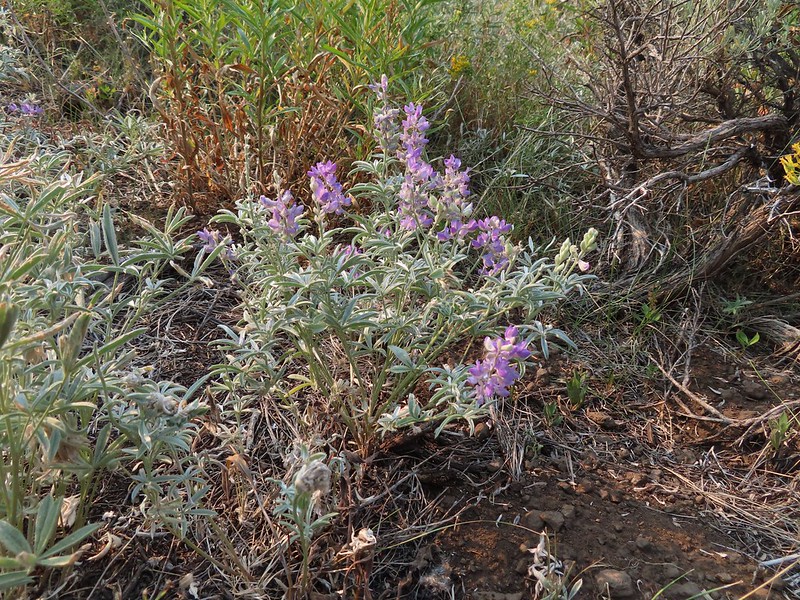
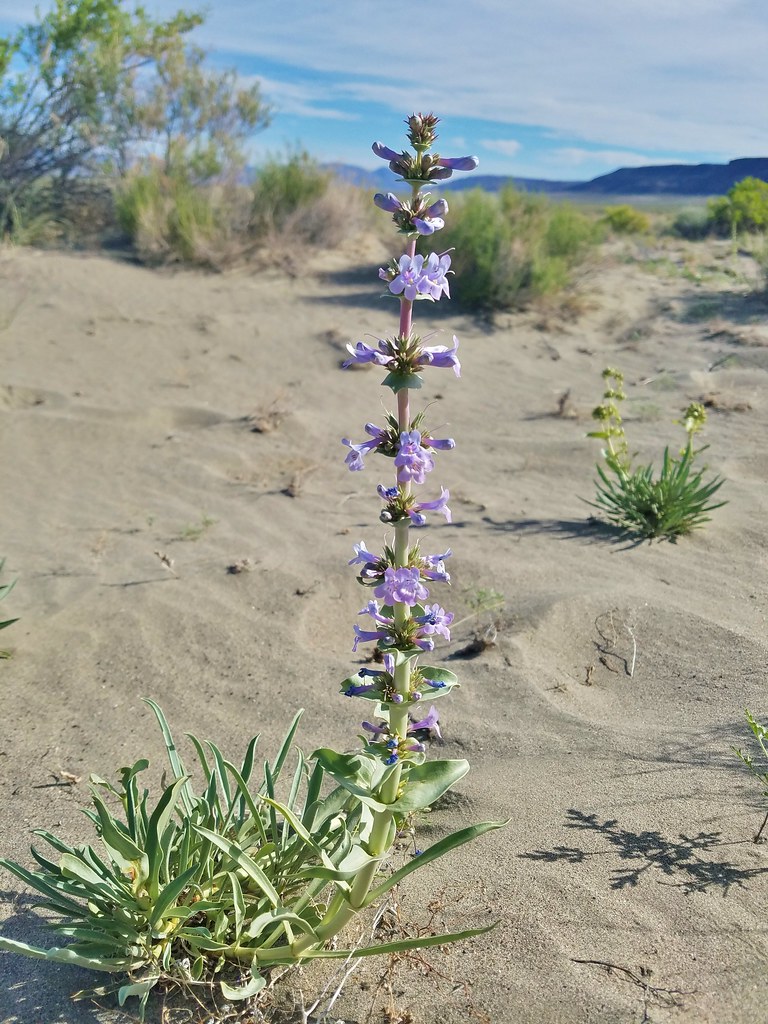
 A lupine with a few blossoms left.
 Lots of colored lichen on the rocks along the way.
 Vertical rocks.
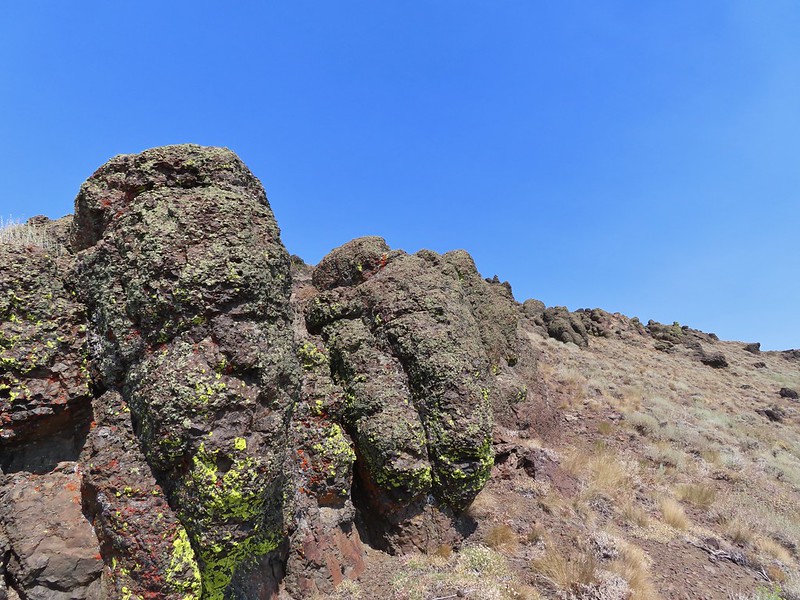 Rounded rocks.
 Back to the mahogany trees.
 Cairn #2 dead ahead.
 Found the cow lick again.
 Looking back at the Pueblo Mountains from the road walk.
 Trees marking the spring and Sesena Creek.
 The southern end of Steens Mountain from the road walk.
 Sage grouse hen


 Big and Little Indian Gorges from the Little Blitzen Trail.
 Heading for the Little Blitzen Gorge.
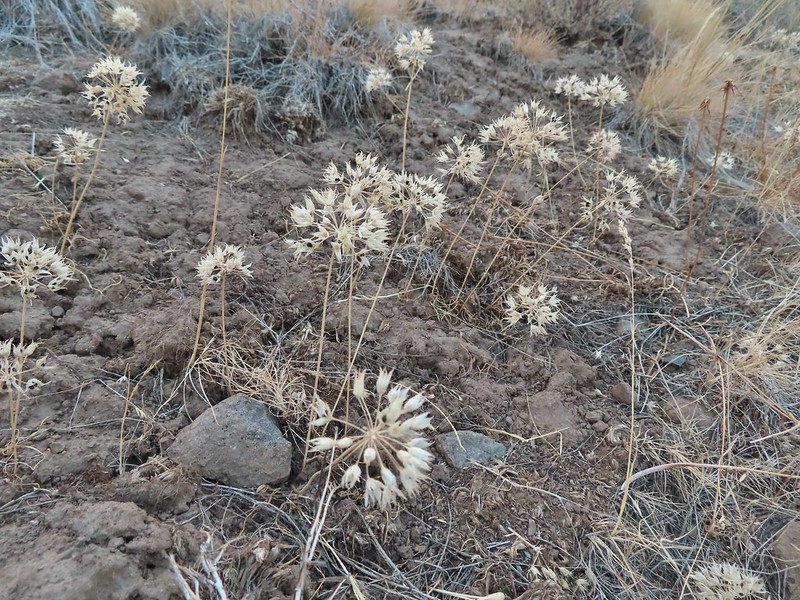
 So many dried out wild onions.
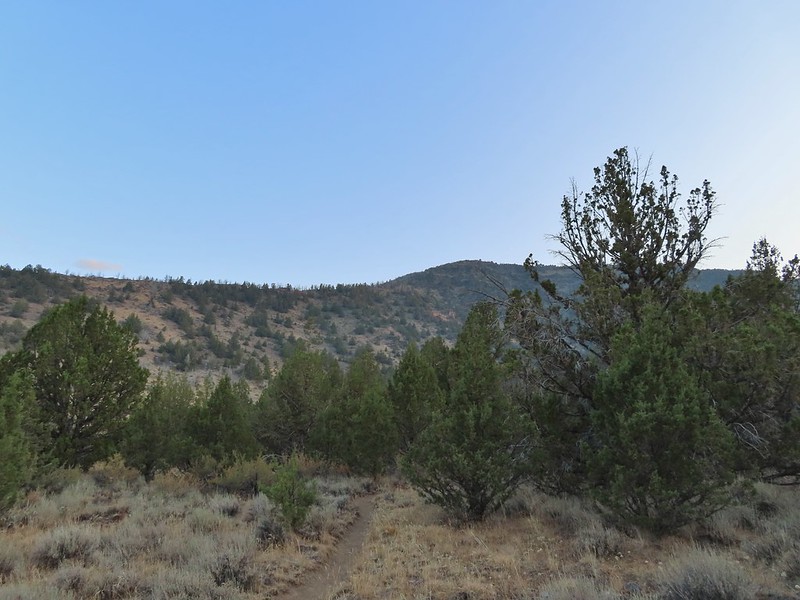


 Looking back the way we’d come.
 The view ahead.
 A stand of quacking aspen.
 Something to avoid.
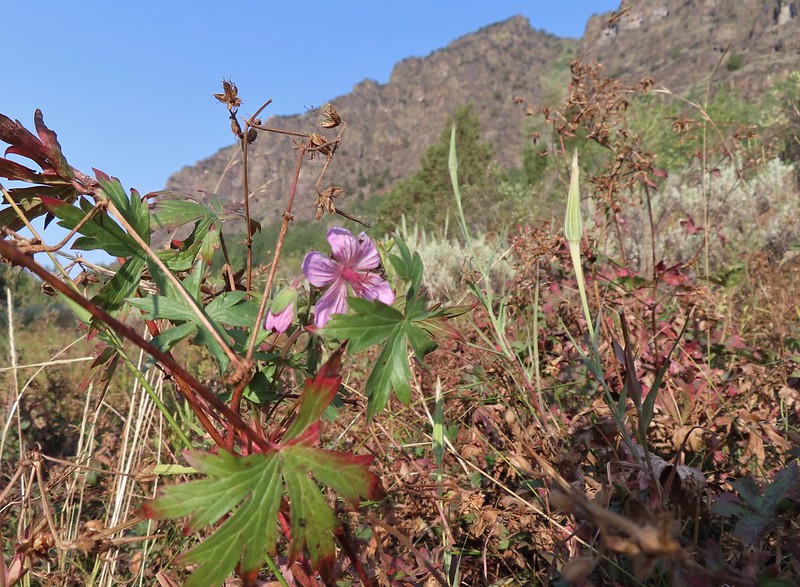 A geranium blossom.
 Passing through some willows.
 Hyssop
 Vegetation along a spring fed creek.
 Monkshood
 The view ahead where we turned around.
 A robin
 Heading back
 The Little Blitzen River near Four Mile Camp
 More of the old corral.
 Gentians under a willow.
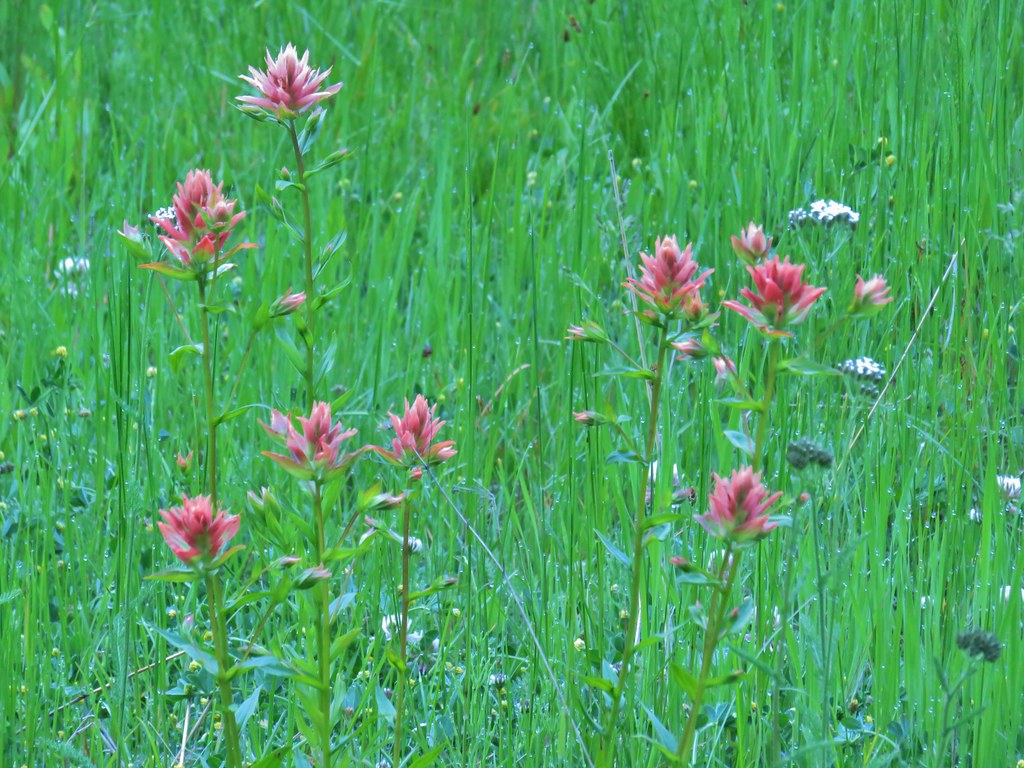
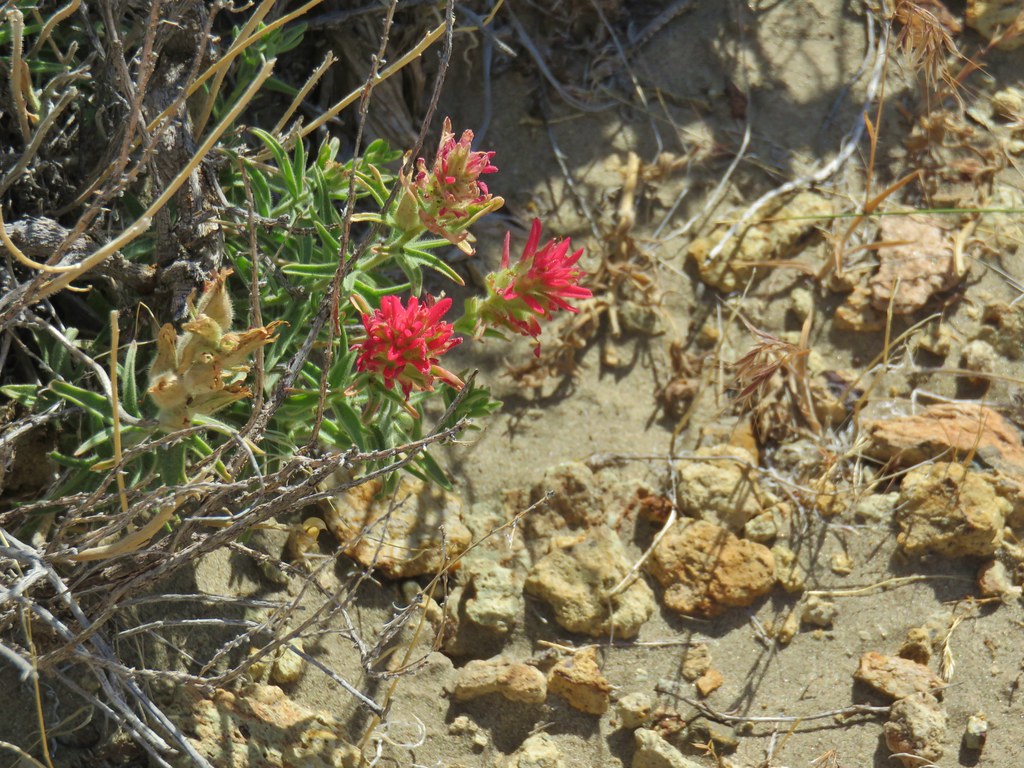
 Paintbrush
 Another little cascade along the river.
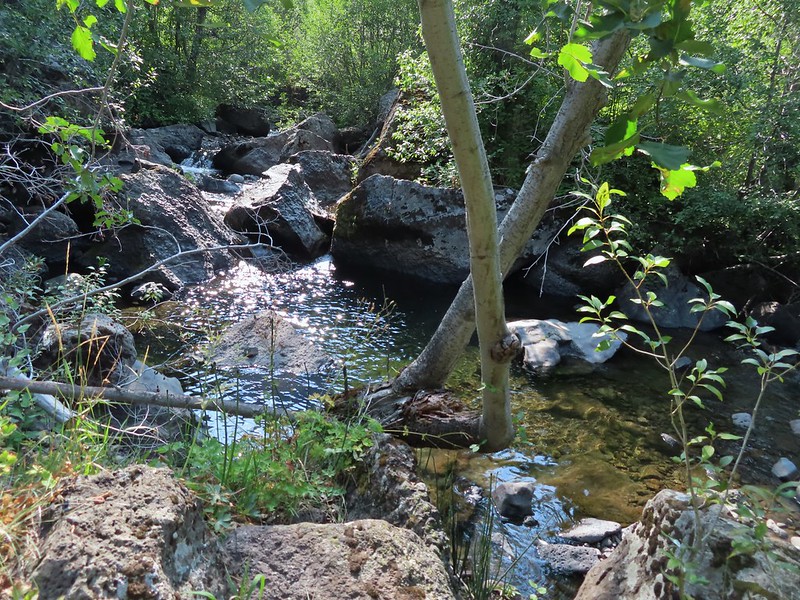 A nice pool.
 There were a number of tiny grey birds in here, at least two in this photo.
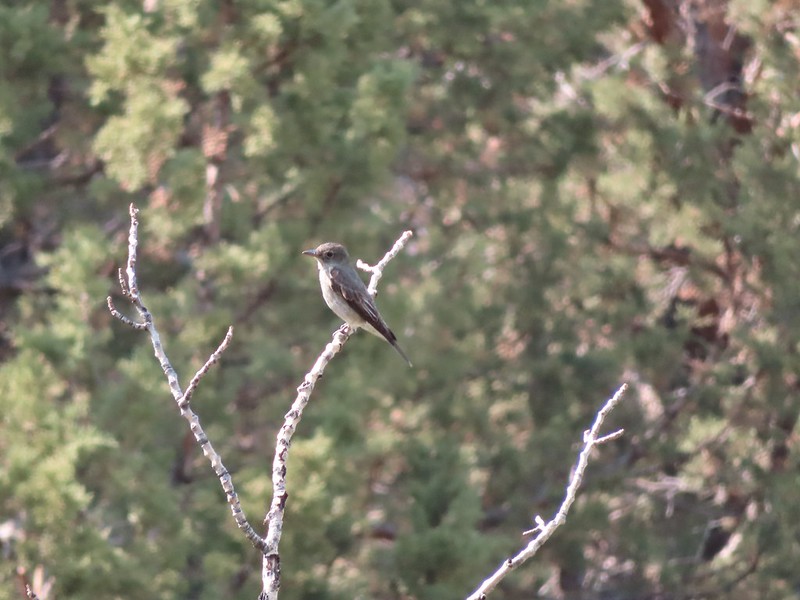 A bigger bird, but not by a lot.
 A wood nymph
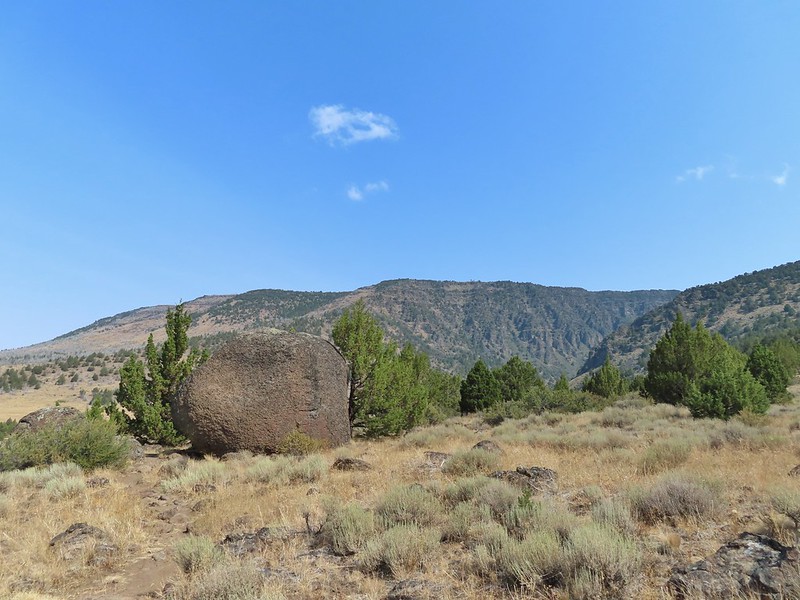 This was a huge boulder along the trail. At least two small junipers were growing out of it.
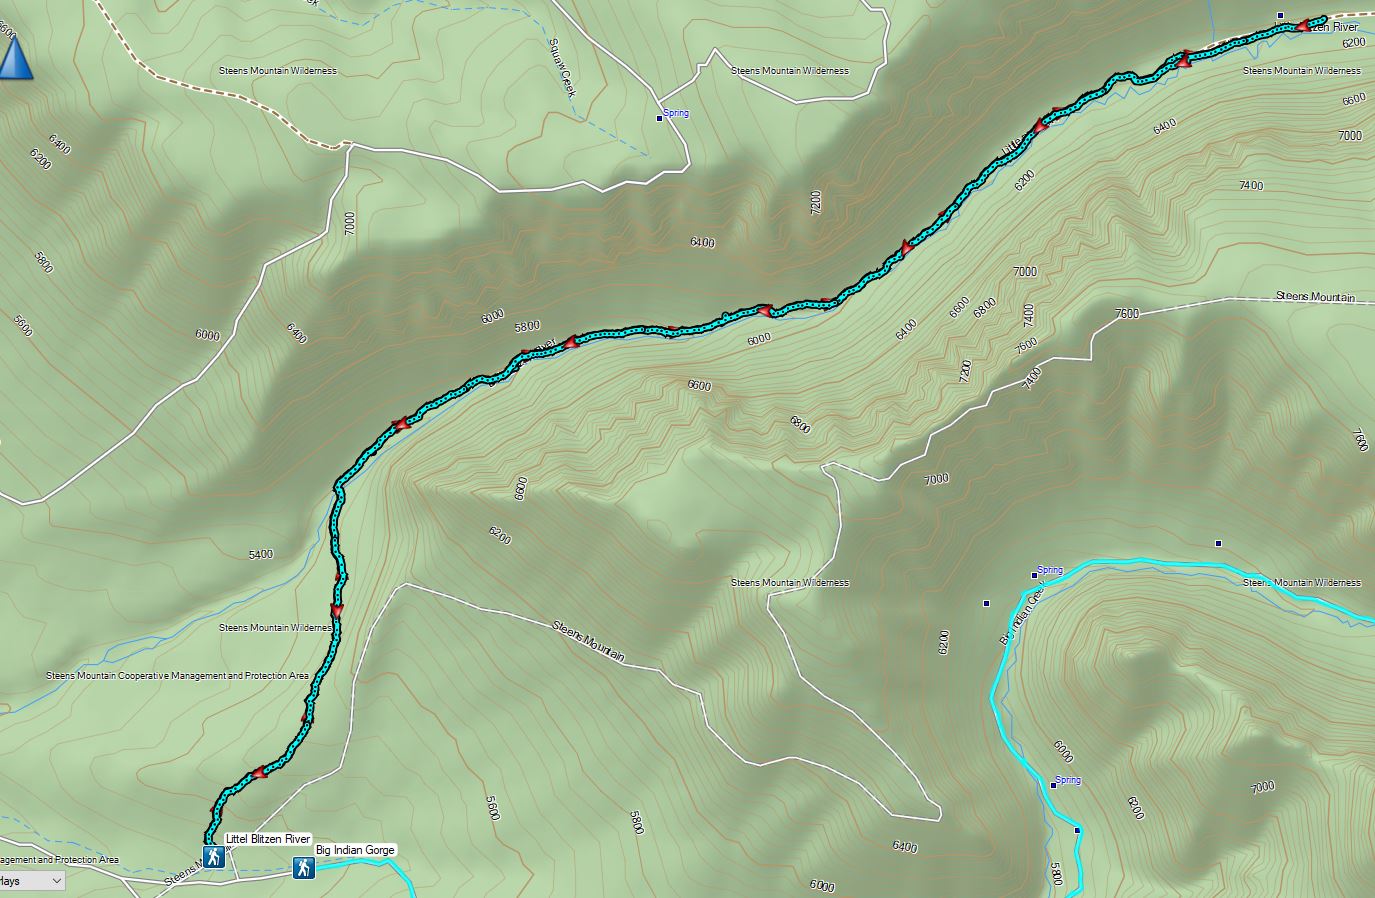

 The stone house is too low to even stand up in but it was enough to stake a claim to the land.


 Upstairs
 The barn
 Inside the Bunkhouse
 Levi was one of 9 Prinveille Hotshot firefighters who perished on Storm King Mountain in Colorado fighting the South Canyon Fire. This hit home for me having gone to school with one of the 9, Bonnie Holtby.
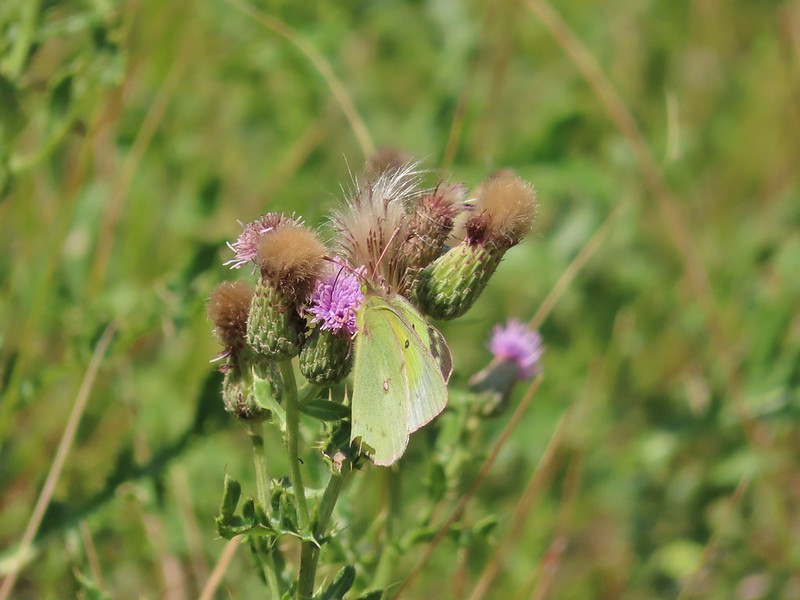
 Thistle in a field once used for hay production by the Riddles.
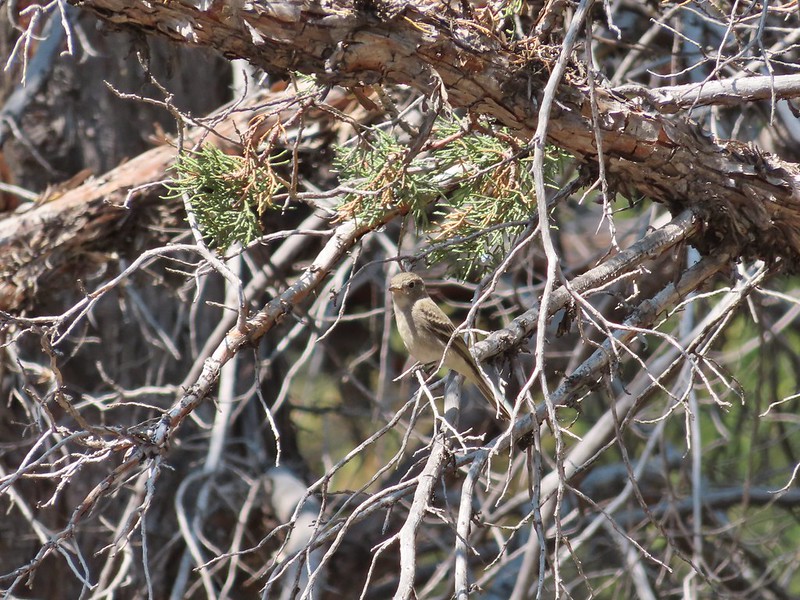
 Could be a green-tailed towhee


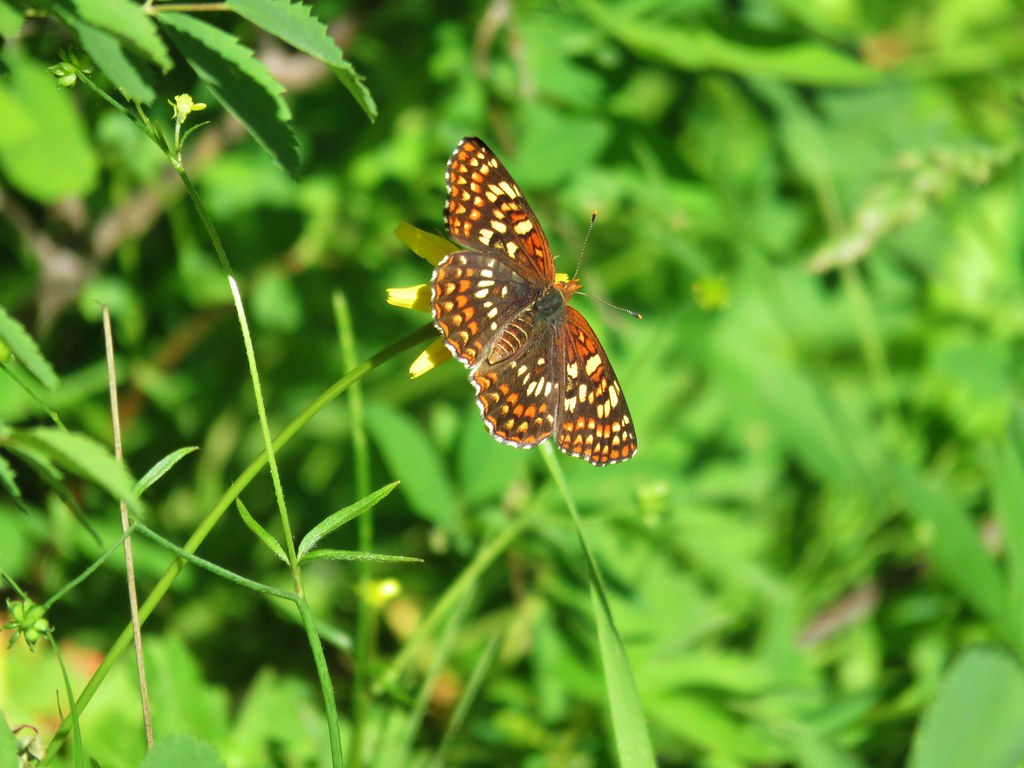
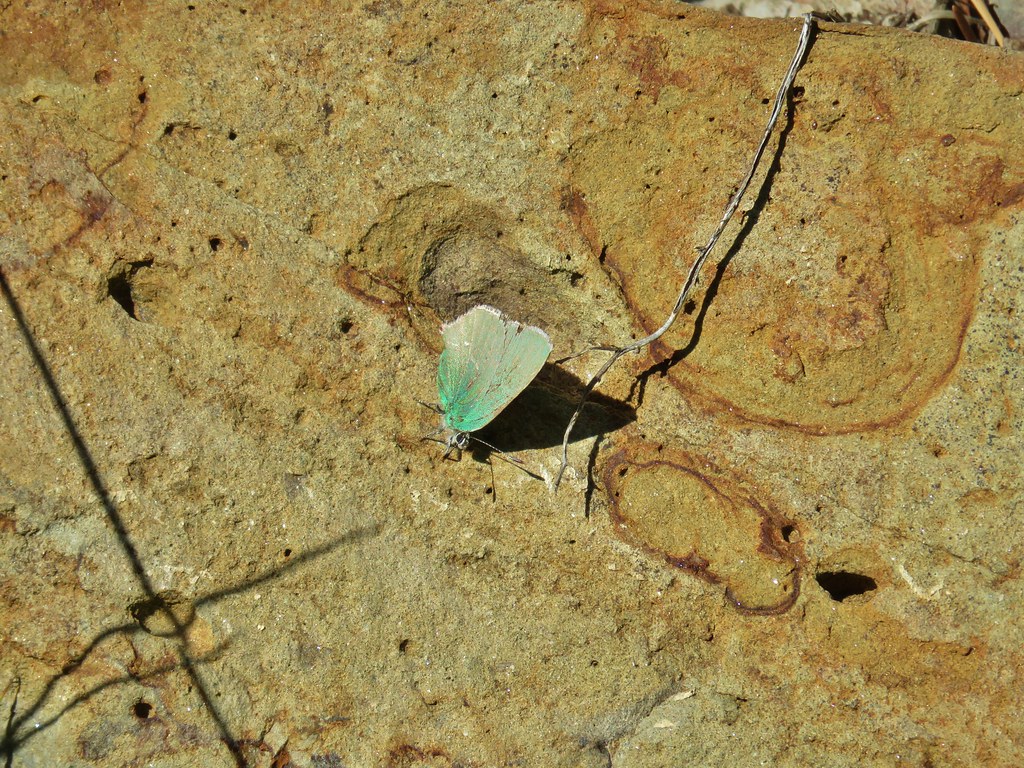
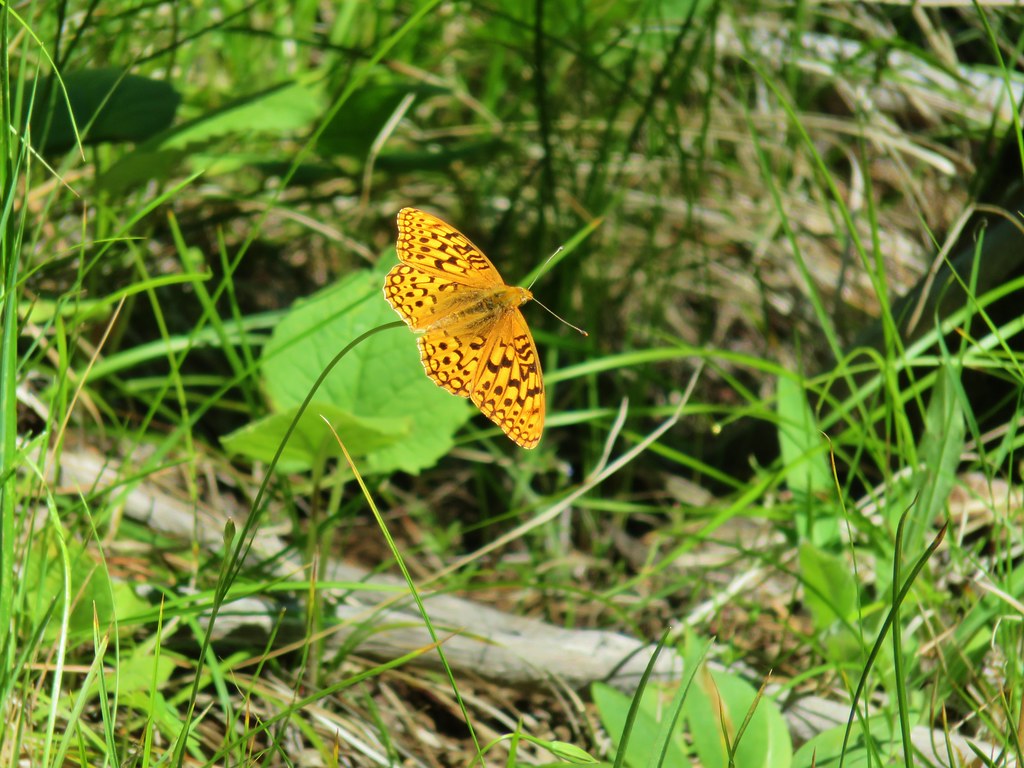
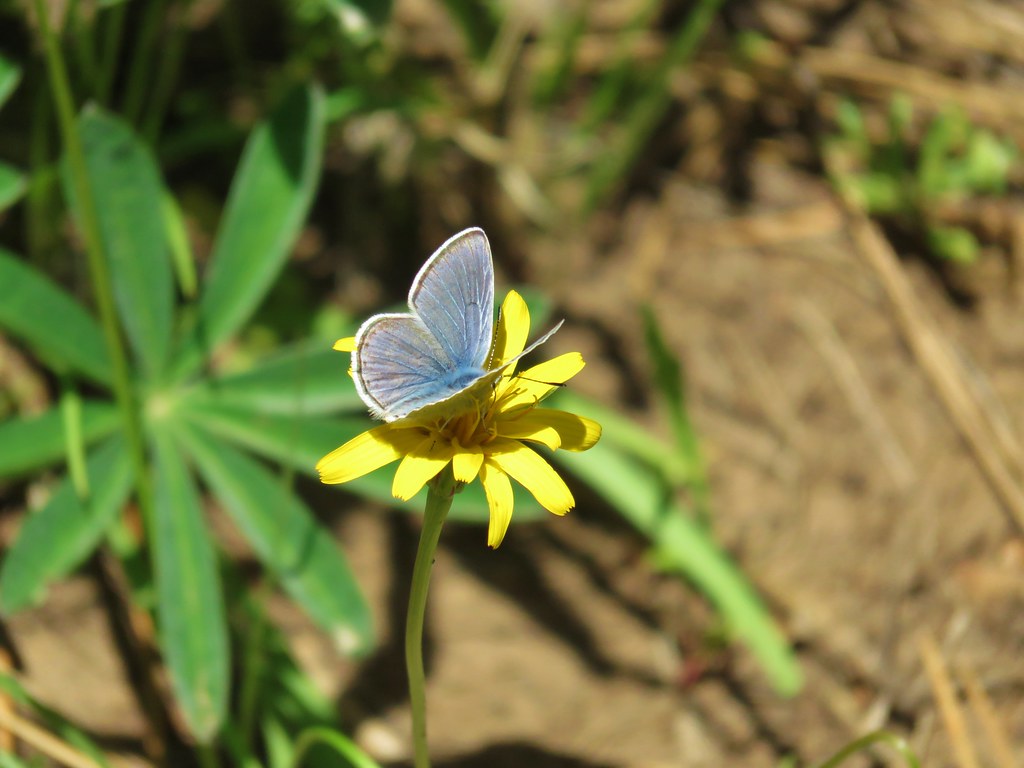
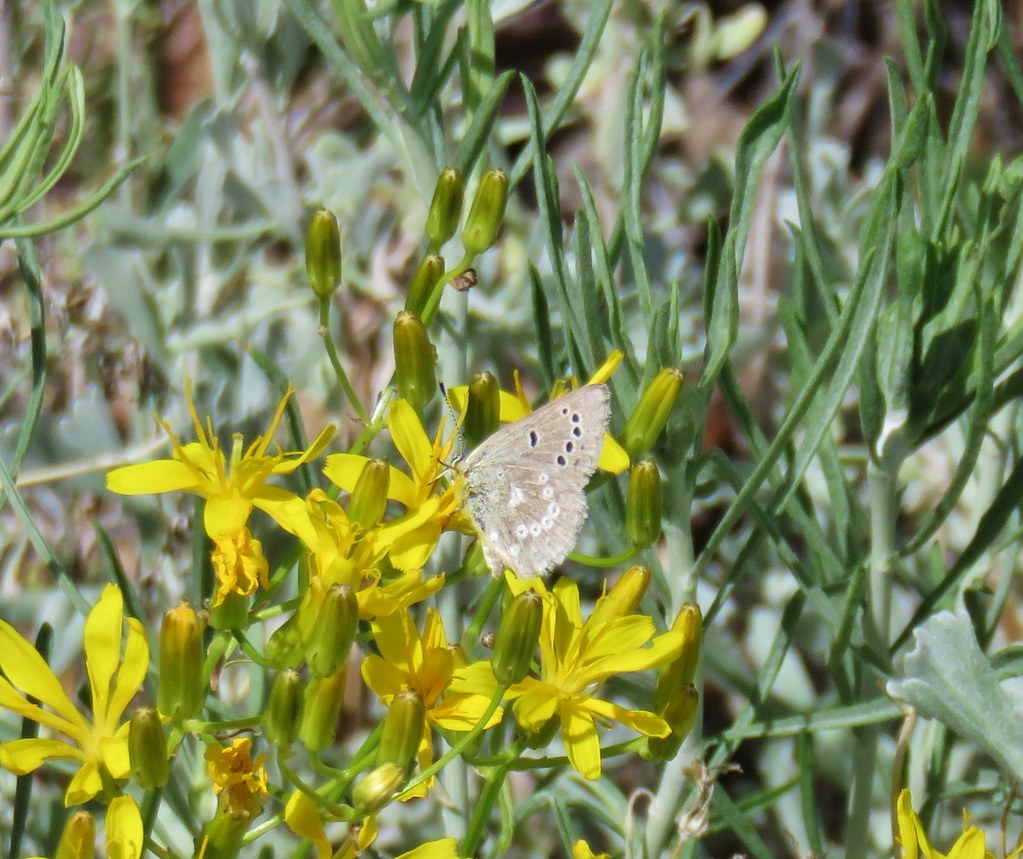
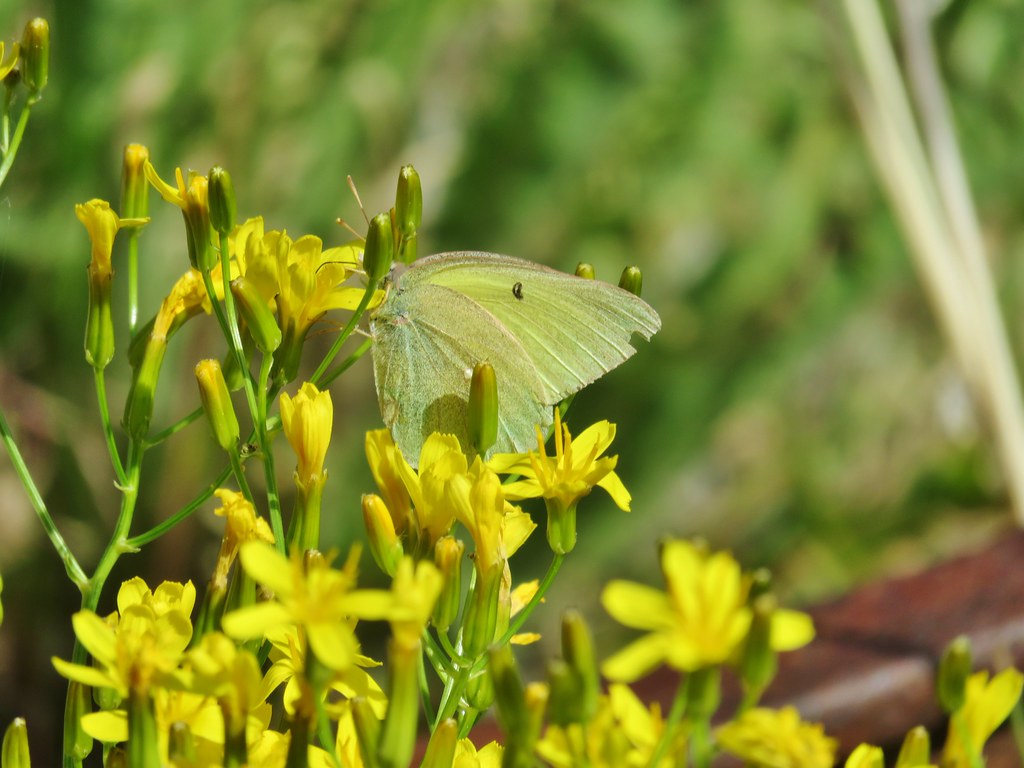
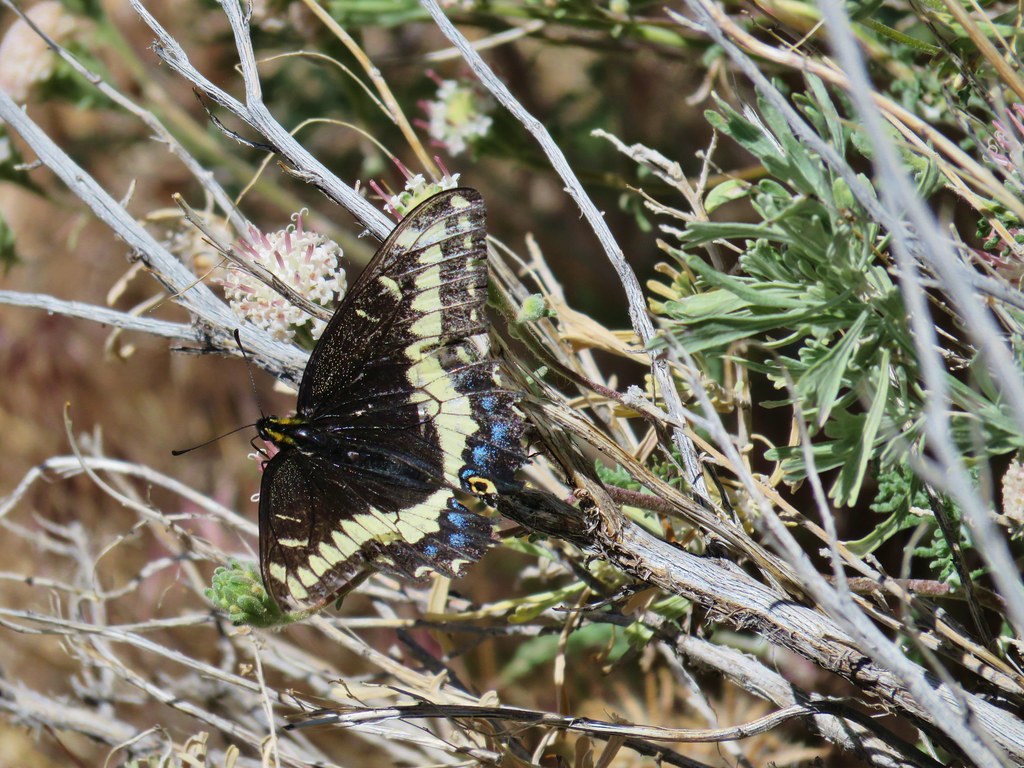
 Lots of butterflies in the grassy areas.


 Nearing the confluence.
 The confluence of the Donner und Blitzen River (left) and Little Blitzen River (right).
 A skipper at the confluence.
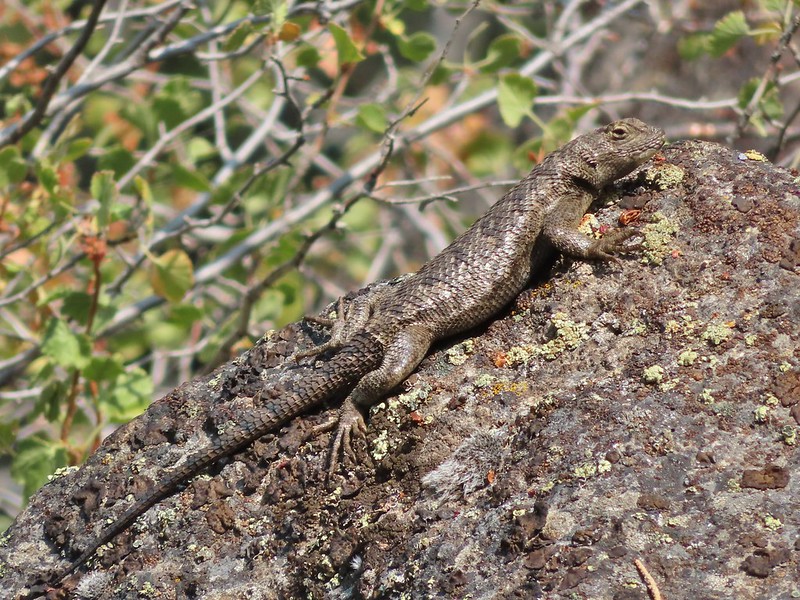
 A ringlet
 The mouth of Big Indian Gorge from the Levi Brinkley Trail.
 Old wagon at Fields Station.


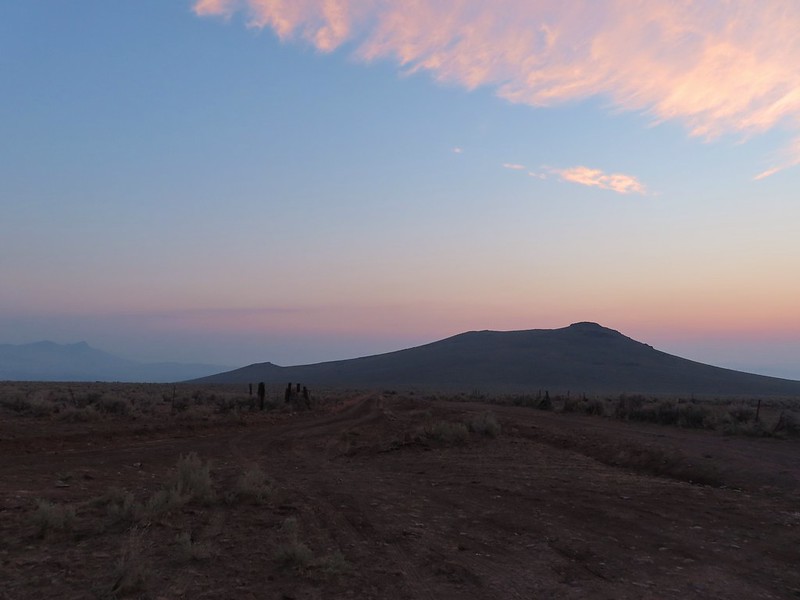
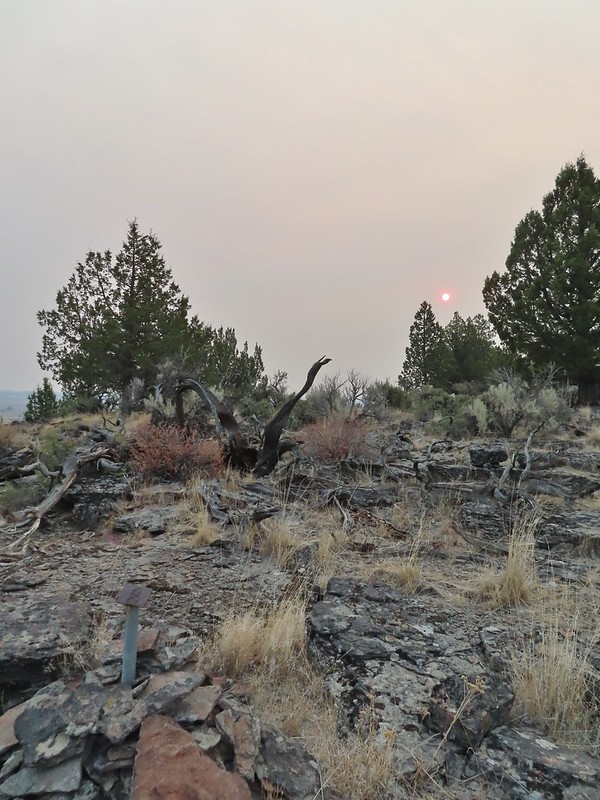
 Still some smoke to the east as shown by the red Sun.
 Here come the clouds.

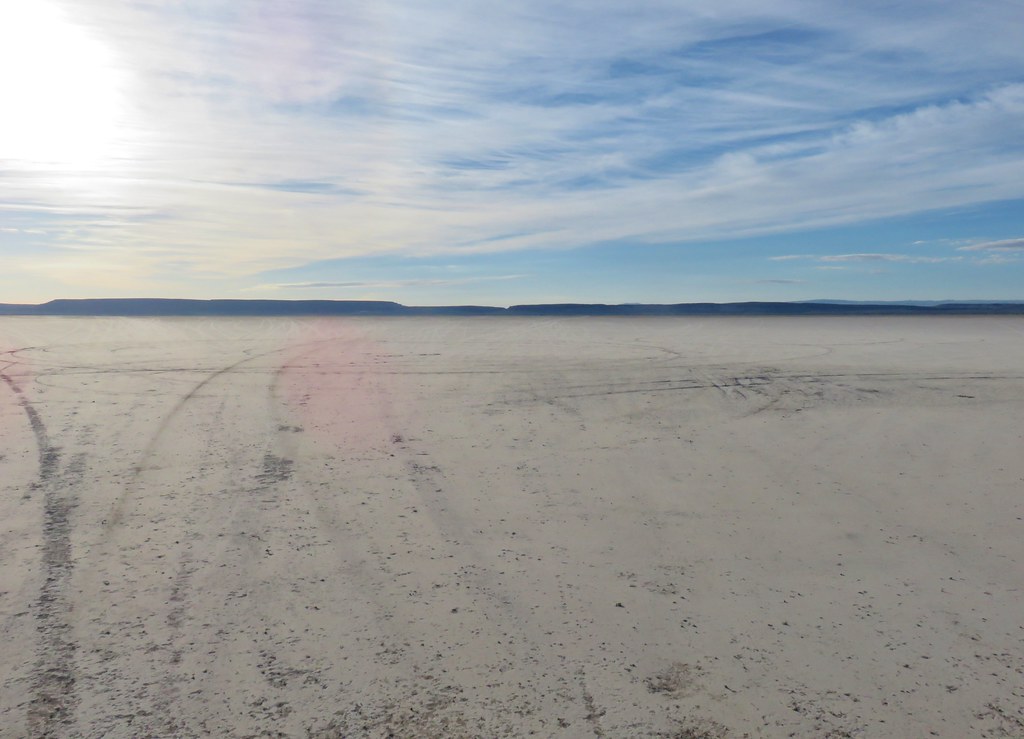
 Between the Sun and haze it was hard to see much of the ragged eastern side of Steens Mountain or the Alvord Desert (
 Frozen thistle
 The Alvord Desert through the haze.
 A look back at the parking area.

 Wildhorse Lake below the summit.
 The rocks here provided a little protection from the freezing wind.
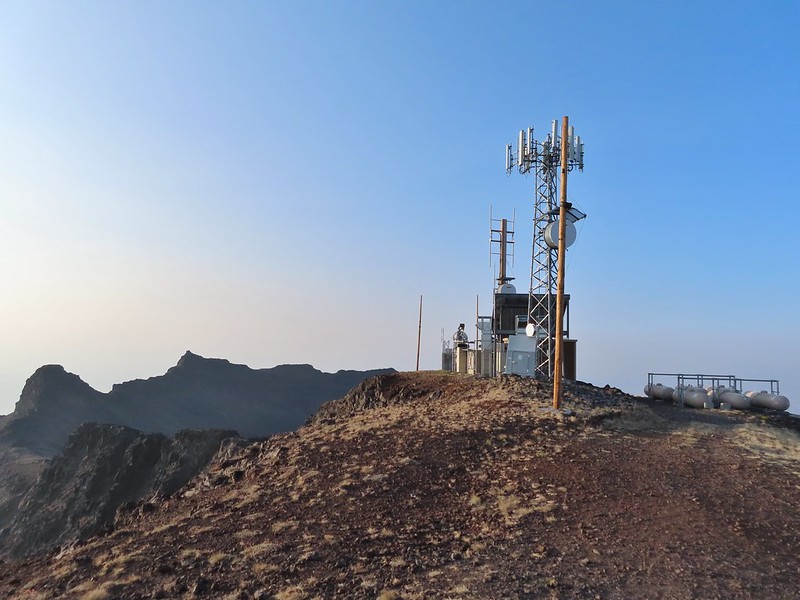
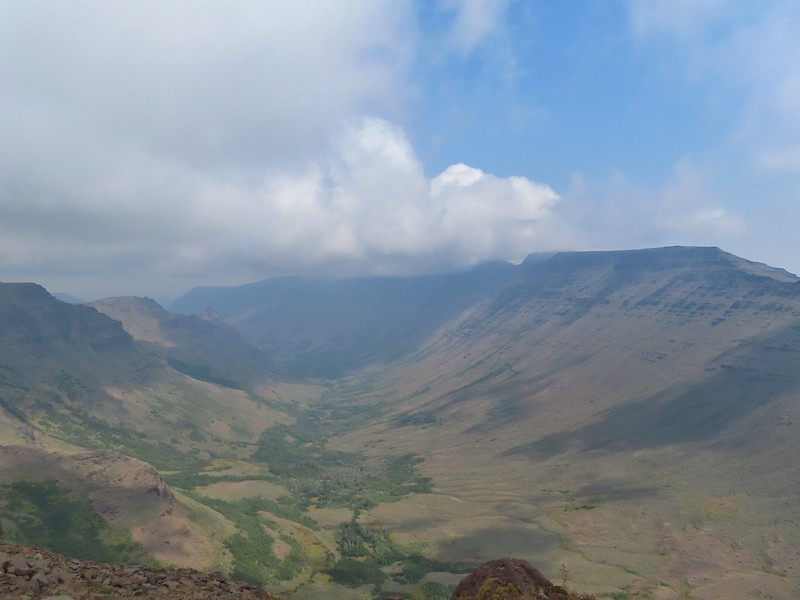
 Big Indian Gorge (
 Heather getting a closer look at Wildhorse Lake.
 Not much snow left up here.

 Typical tread near the top.
 Buckwheat
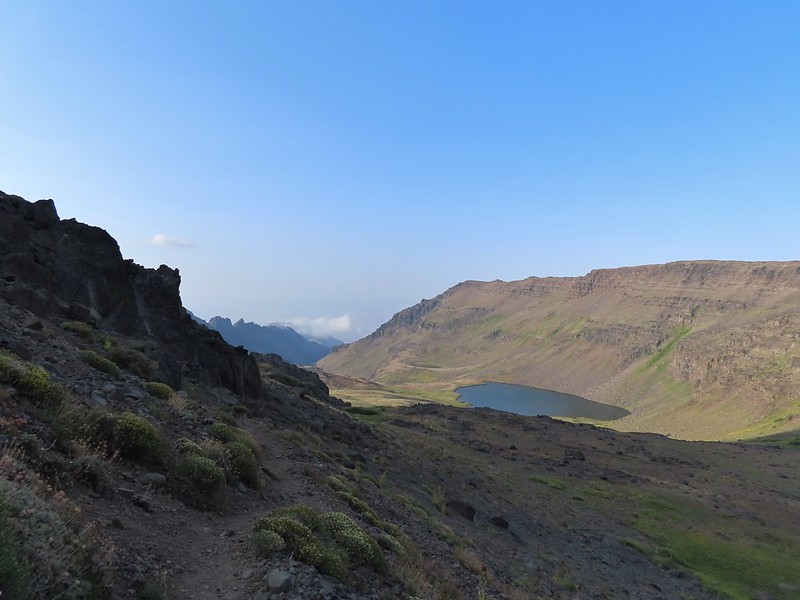 The bench.
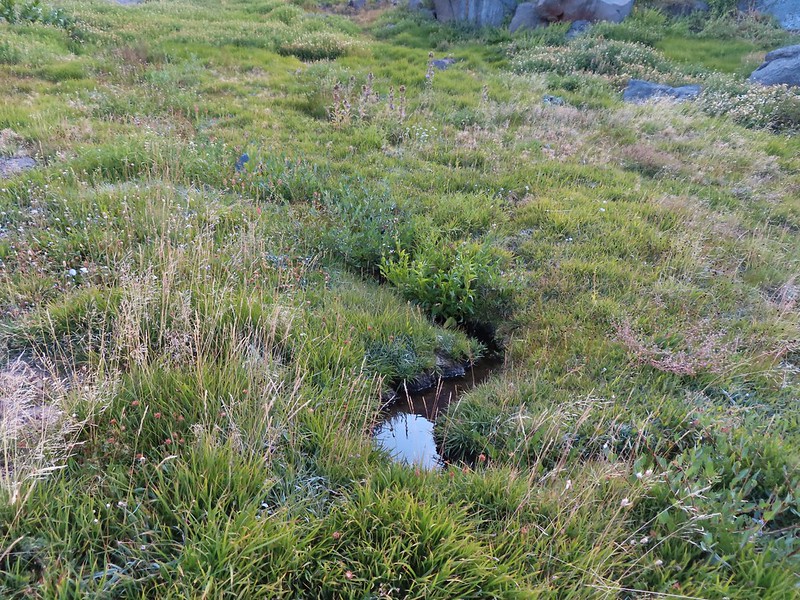 The small stream.
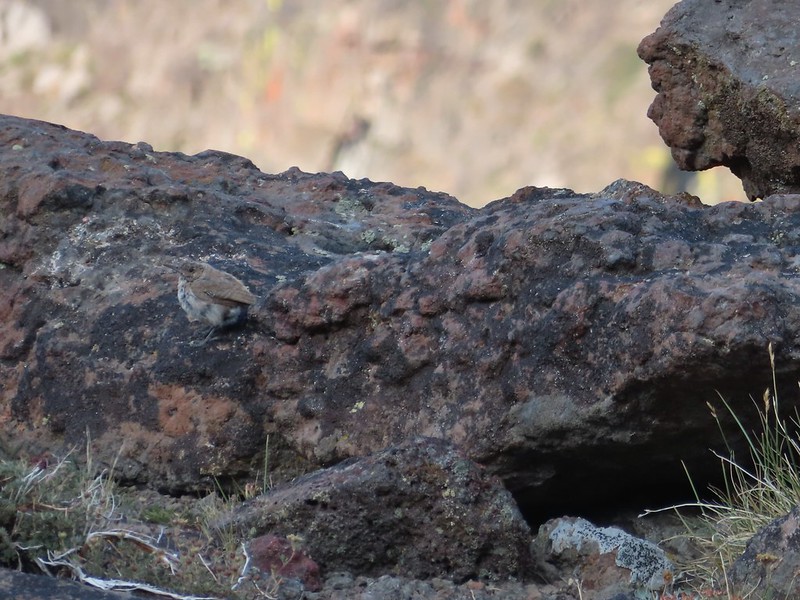 A wren.
 Wildhorse Lake from near the end of the bench.
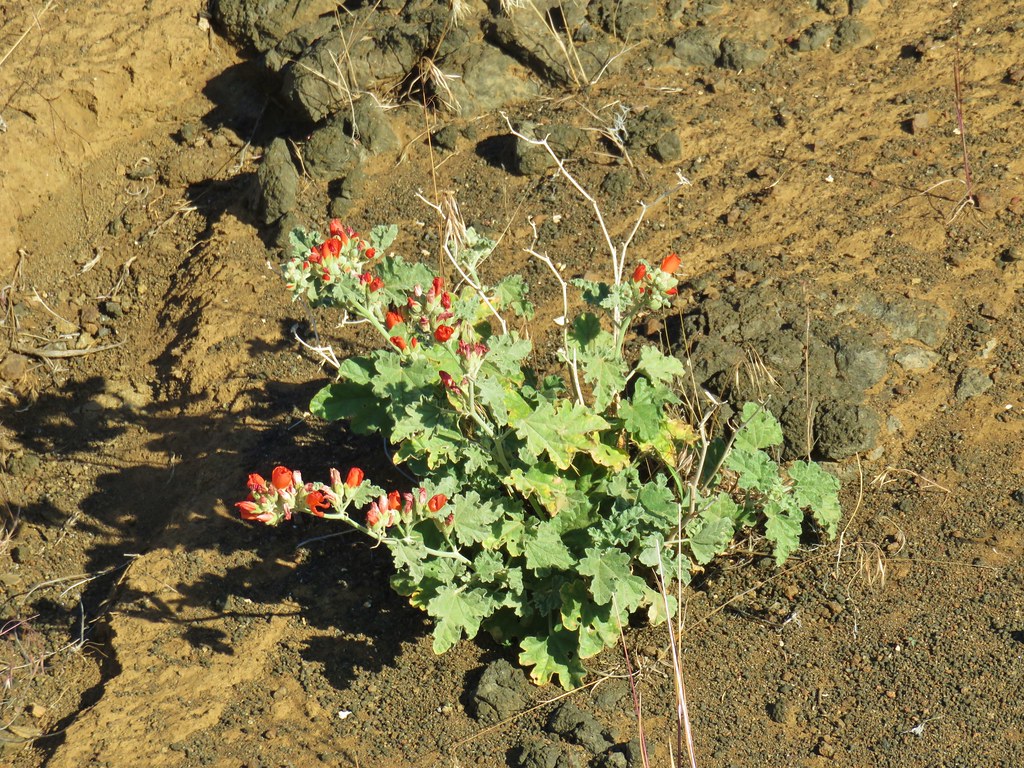
 We were a little disappointed to see just how late we were for most all of the wildflowers. I don’t know how much the drought this year affected the timing or if it blooms that much earlier in SE Oregon but the remains of what looked to have been an excellent display were all we were left with.
 A few stone steps began the steep descent along the stream.
 A few of these little yellow flowers were still in bloom.
 This was a mass of pink monkeyflower a few weeks ago.
 A look up at the summit.
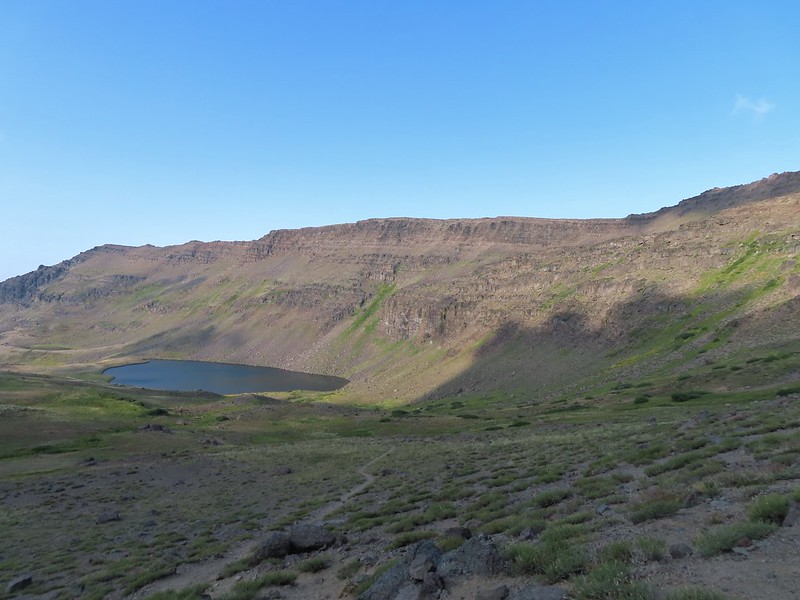 The trail descending less steeply to the lake.
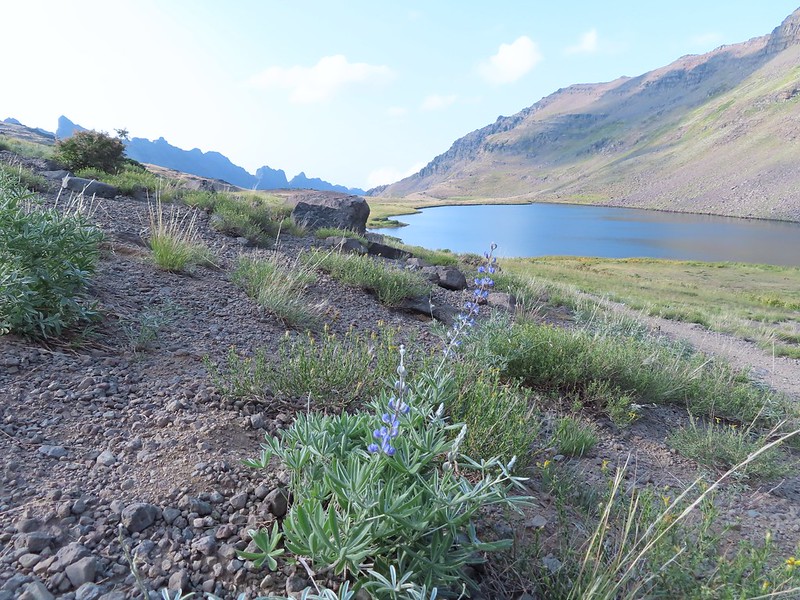 A lone lupine blooming near the lake.
 A pair of paintbrush and the remainder of some aster or fleabane.
 A ground squirrel near the lake.

 The only pink monkeyflower blossom we spotted.
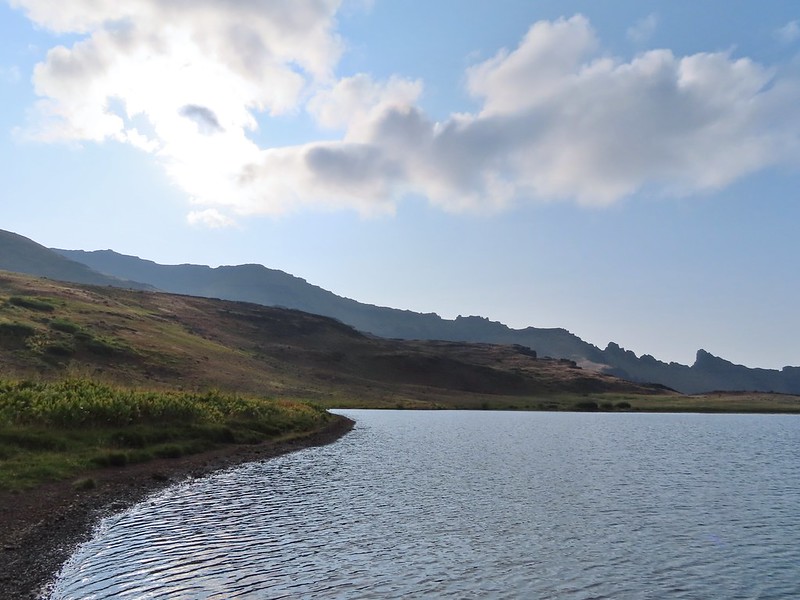
 Ranger buttons
 Mountain coyote mint
 Cascade grass-of-parnassus

 Gentians
 Wildhorse Creek
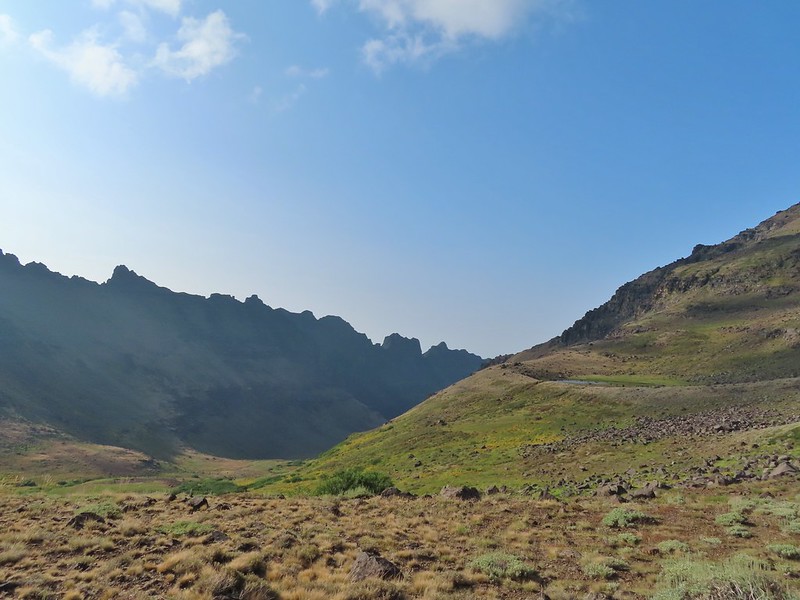 Looking down along Wildhorse Creek.
 Wildhorse Lake and Steens Summit.


 Rockfringe willowherb
 Raptors soaring above Steens Mountain.

 Big Indian Gorge
 The summit from the unofficial trail.
 The trail on the ridge.
 Looking ahead at the ridge the rocky outcrop looked a bit intimidating.
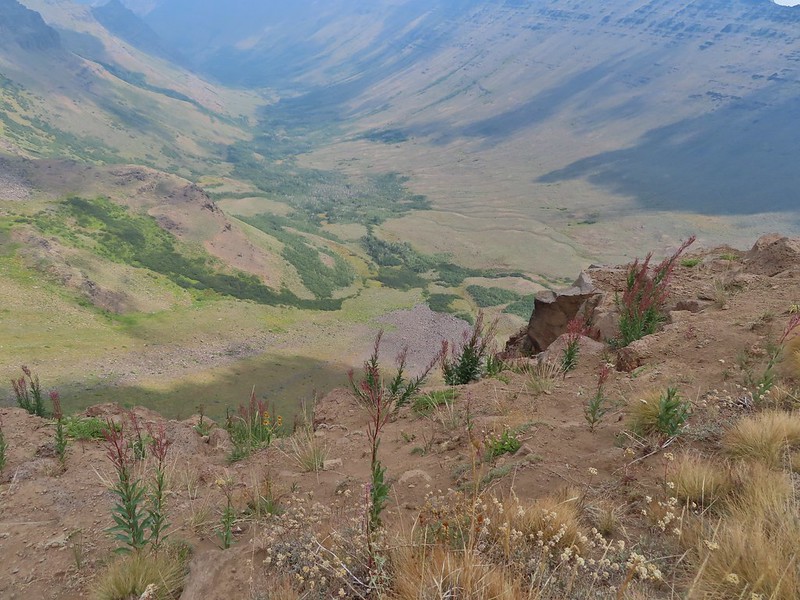
 The view out over Big Indian Gorge.
 Wildhorse Lake
 I turned back here, I’m not that adventurous.
 Darker clouds over the summit from the trailhead.
 A little better view of the Alvord Desert.
 The view as we prepared to drive off.
 We did stop along the way to take a couple of photos.
 Our planned hike for the next day was up this gorge.


 The historic

 There were tons of wild onions along the way.
 Deer on one of the hillsides.
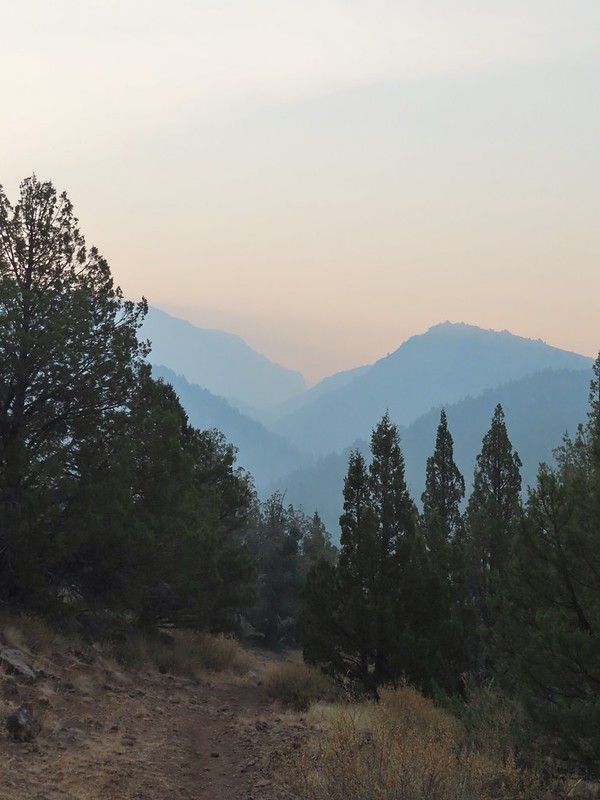 Beginning to drop down to Big Indian Creek.


 Quacking aspen along the trail.

 One of the many Brown’s peonies along the trail.
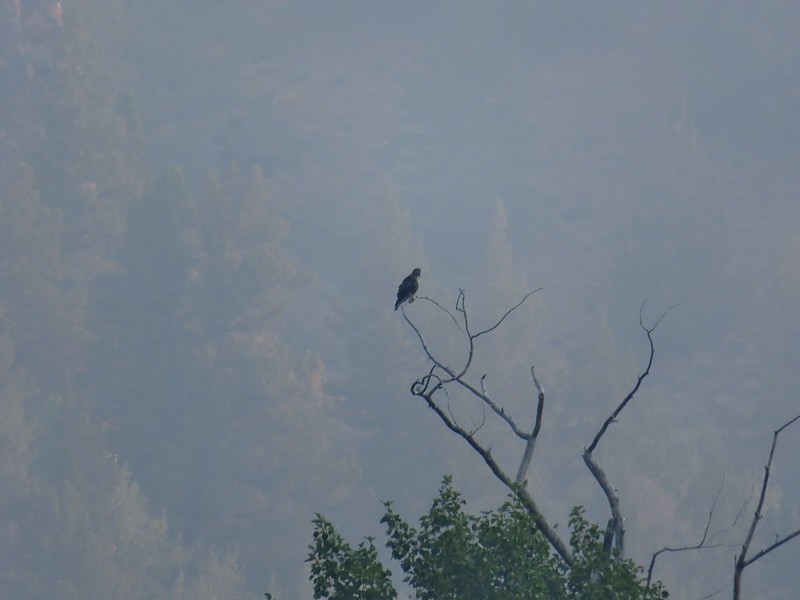 Hawk atop a cottonwood
 This counts a lupine in bloom!
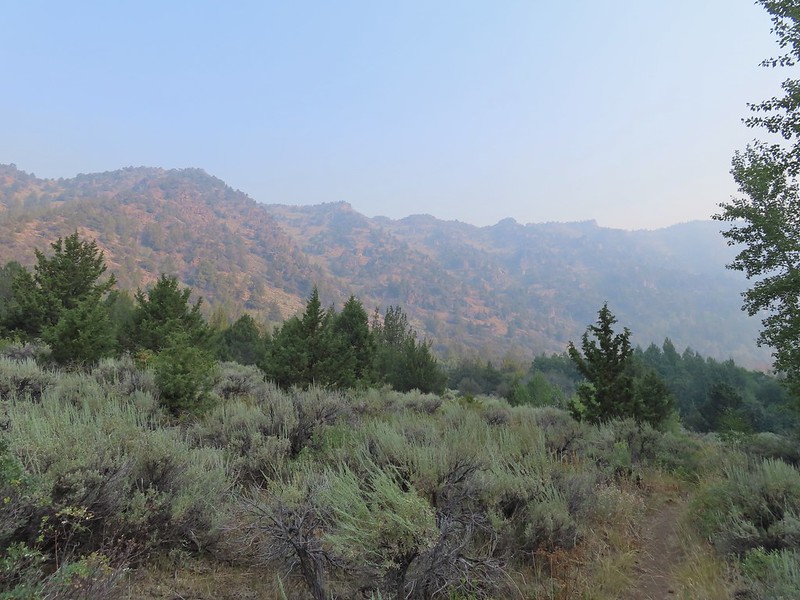
 A lone yarrow
 One of a couple of spring fed streams along the trail.
 Aspens and junipers
 Tassel-flowered Brickellbush
 Waxwings
 The large boulder later in the day on our way out.
 One of the other spring fed crossings.
 There were lots of crickets/grasshoppers bouncing about.
 We could see some of the closer cliffs through the haze.
 We started to see a few more lupine in bloom the further in we hiked.
 What the smoke looked like ahead.
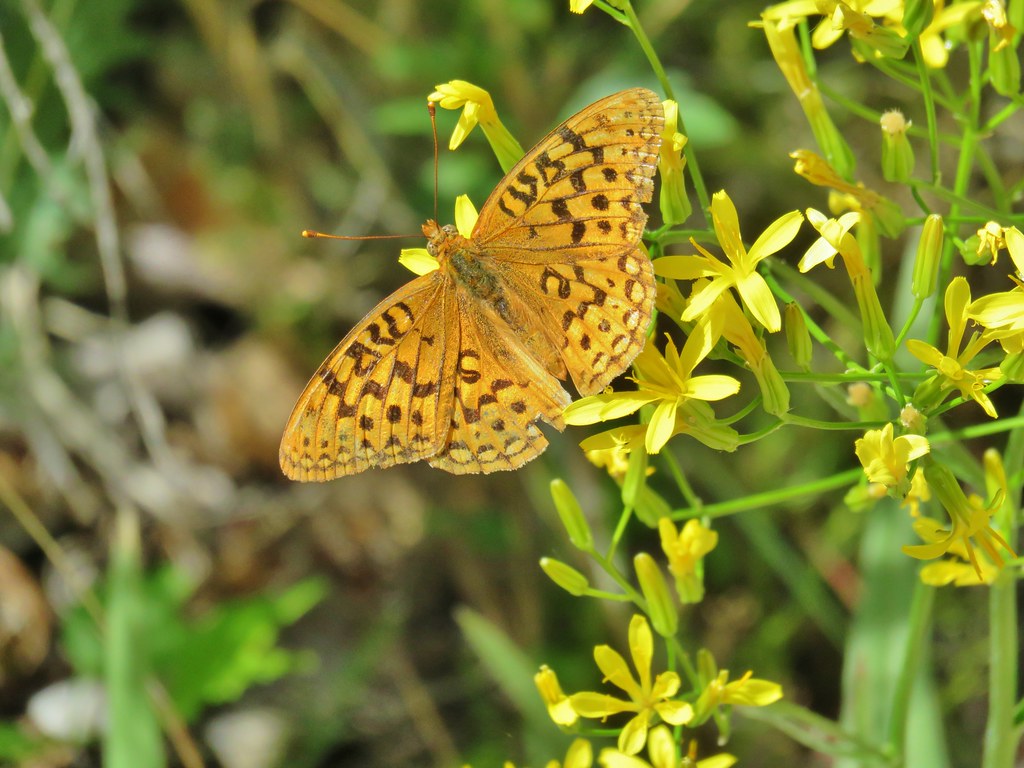
 Lots of butterflies too.
 Salsify
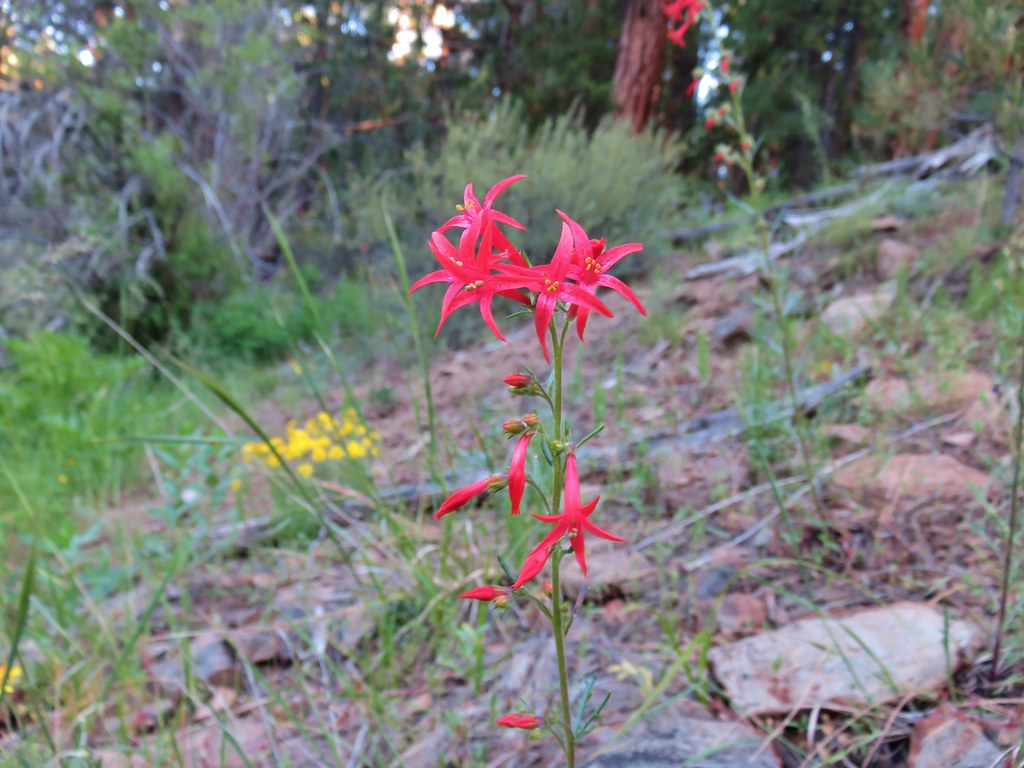
 Paintbrush
 Aster or fleabane
 Geranium
 We couldn’t see very far up the gorge because of the smoke.
 The view was better behind us.
 Coneflower
 Hummingbird visiting paintbrush
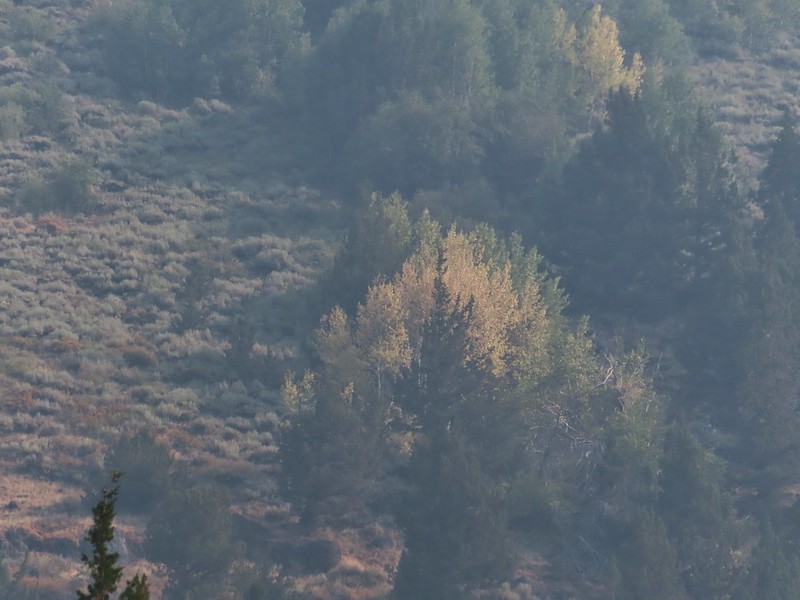 A few aspen already turning golden.
 Cottonwood Camp down to the right.
 Looking up Big Indian Gorge from the trail near Cottonwood Camp.
 Genitian
 Raptor
 Cottonwood Camp
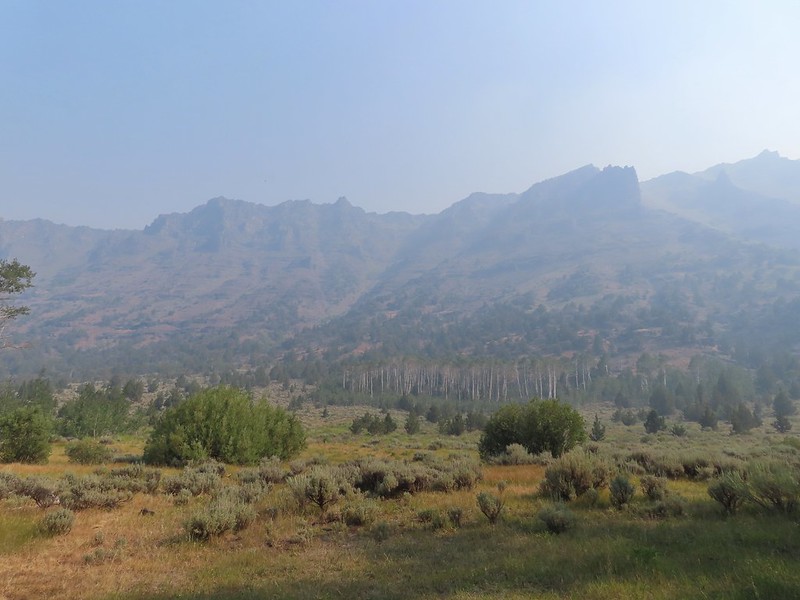 View across the gorge when we arrived at the camp.
 Big Indian Creek
 A few white clouds started to appear along with the breeze.
 The near wall above Big Indian Creek and Cottonwood Camp.
 We missed this nest on the first pass. It was about 30 yards off the trail.
 We also missed this Nuttall’s linanthus blooming along the trial.
 Improving views
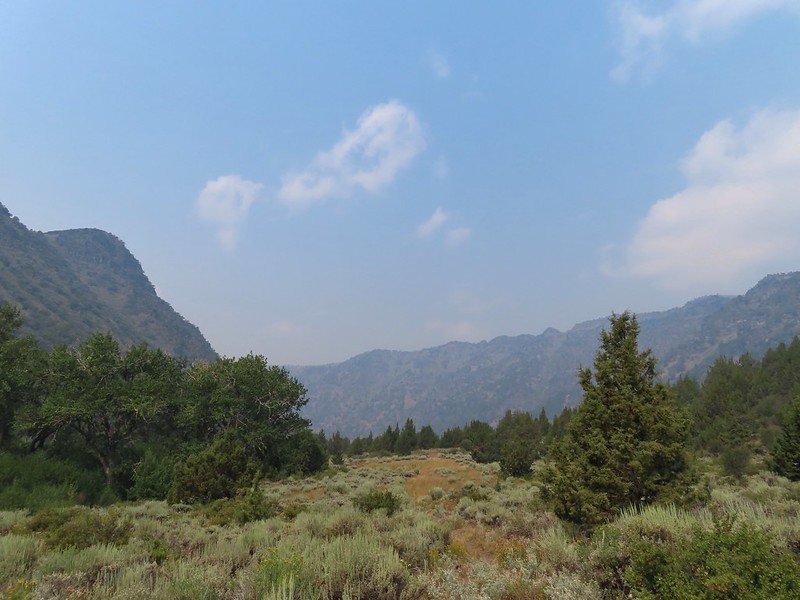
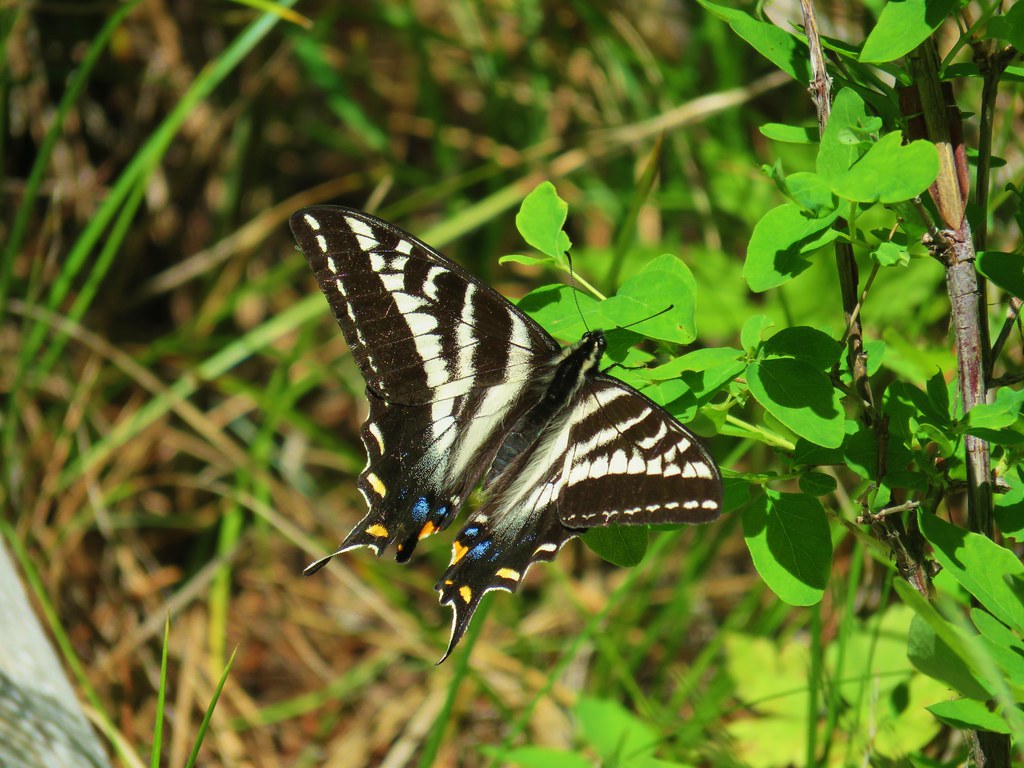
 This was a very pretty butterfly that for some reason the camera just didn’t want to focus on.
 Clearer skies above.
 Skipper
 Clouds building up over Steens Mountain
 Lorquin’s admiral
 Ground squirrel
 Some type of wood nymph.
 Back to the first ford, which I again managed to cross dry footed giving me a perfect record for the day which is unheard of.
  A comma of some sort.
 A vast improvement over the morning.
 Looking back toward the gorge from the old road bed.
 What a difference a few hours can make.
 Our accommodations.
 Trailhead sign at the south end of the rest stop. Brochures were located in the small box under the sign.
 Map on the trailhead sign.
 Red Sun through the smoke.

 The Harney Valley to the east.
 This stop was for a juniper that was blown apart by a lightning strike.
 The rest area from the loop.
 The last stop was to discuss the relationship between the junipers and the Idaho fescue that grows underneath.
 Deer in the nearly dry Marshall Pond
 Yellow headed blackbird
 California quail
 Owl
Owl Chipmunk
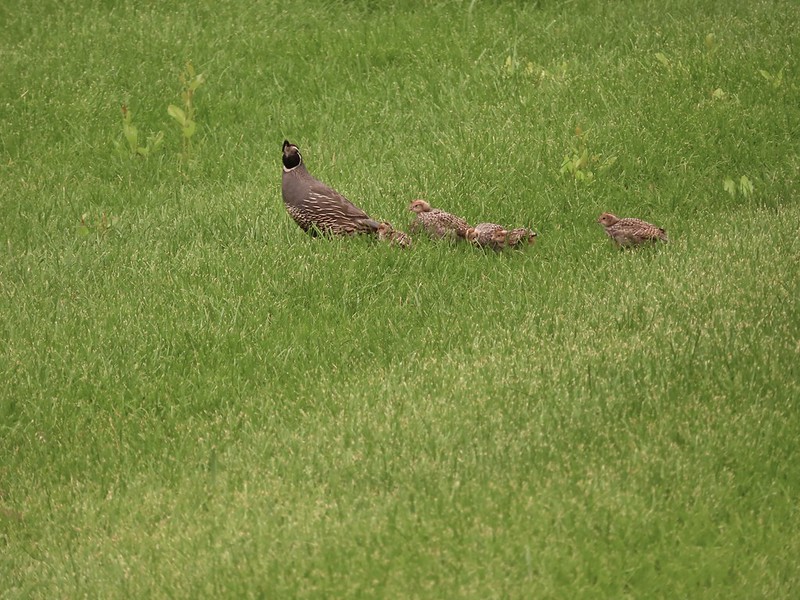 More quail
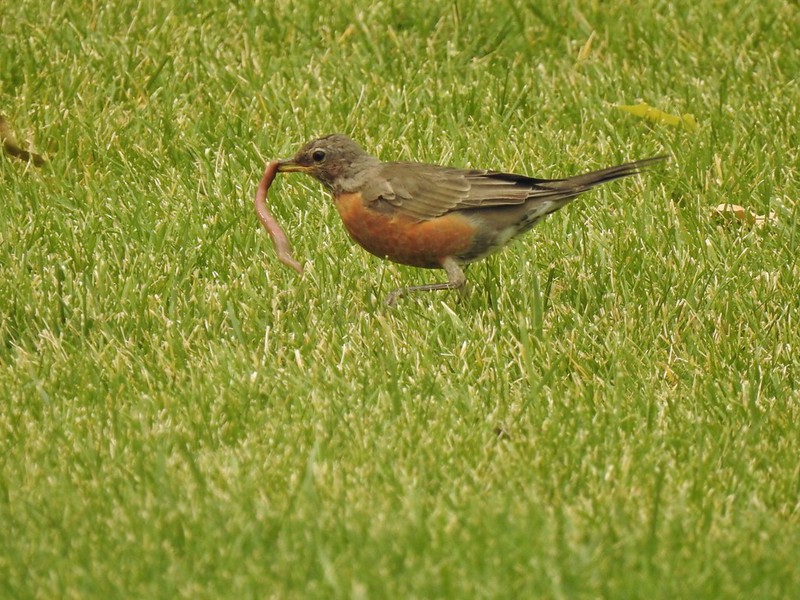 The early bird
 Hummingbird
 Little bird on a feeder
 Shrike
 Hawk and a magpie
 Osprey
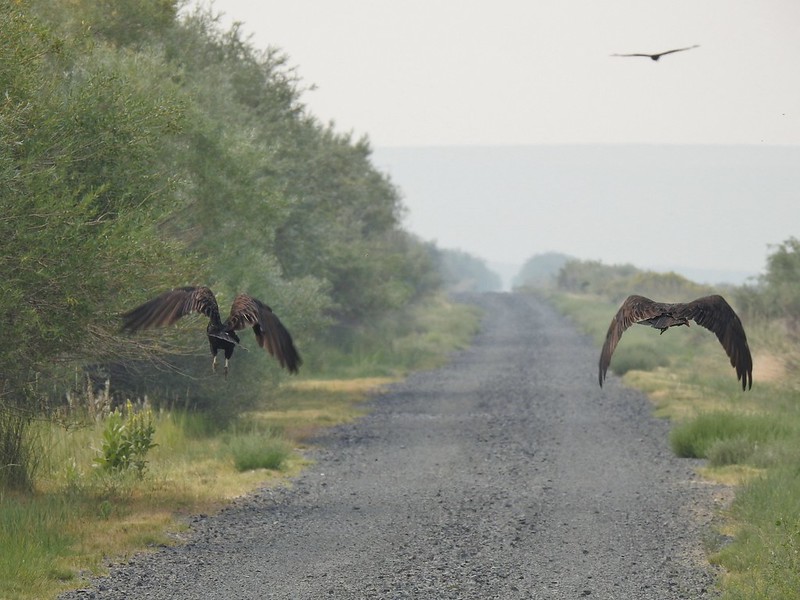 Turkey vultures
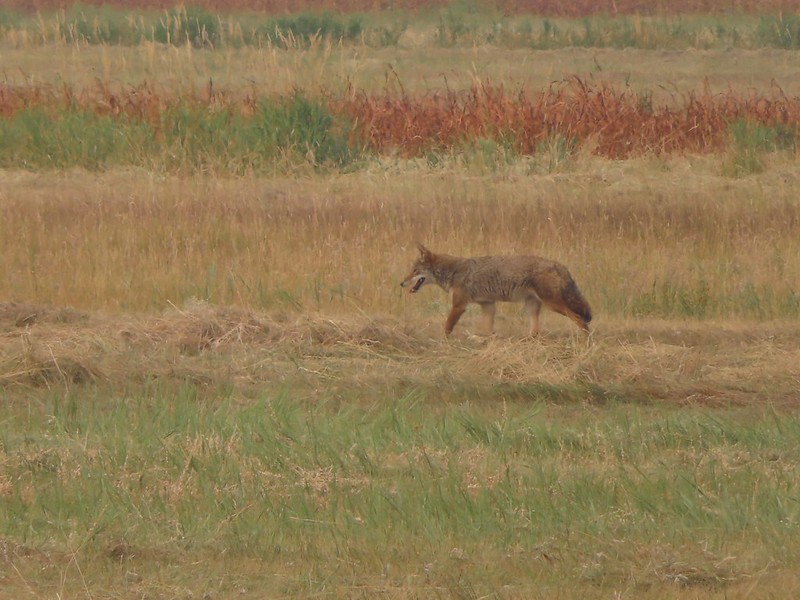 Coyote
 Mourning doves
 Egrets and ducks at Benson Pond
 Old cabin at Benson Pond
 Another owl
 Another turkey vulture
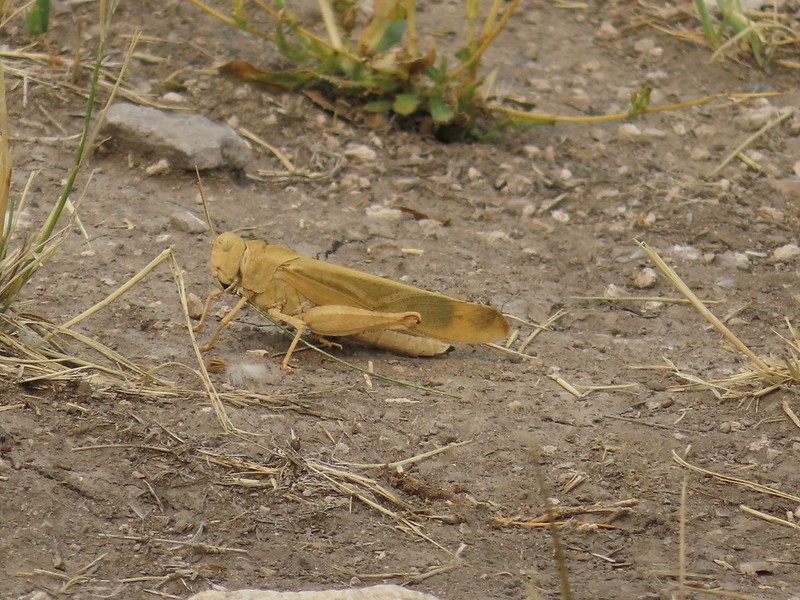 Grasshopper
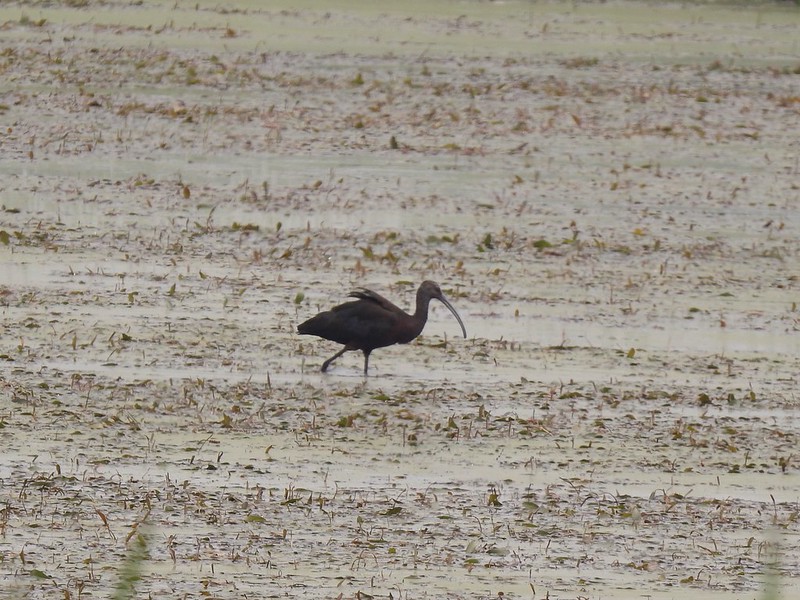 White faced ibis
 Great blue heron amid the ducks.
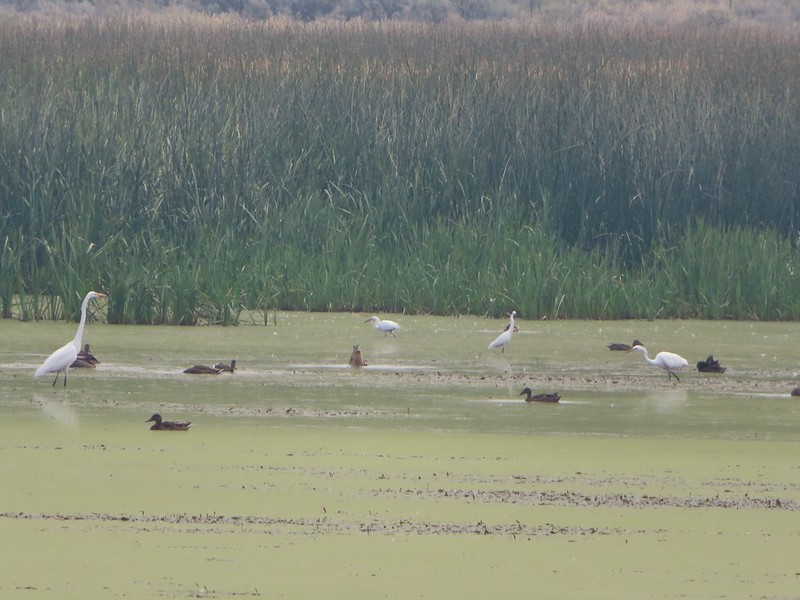 A couple types of egrets it appears.
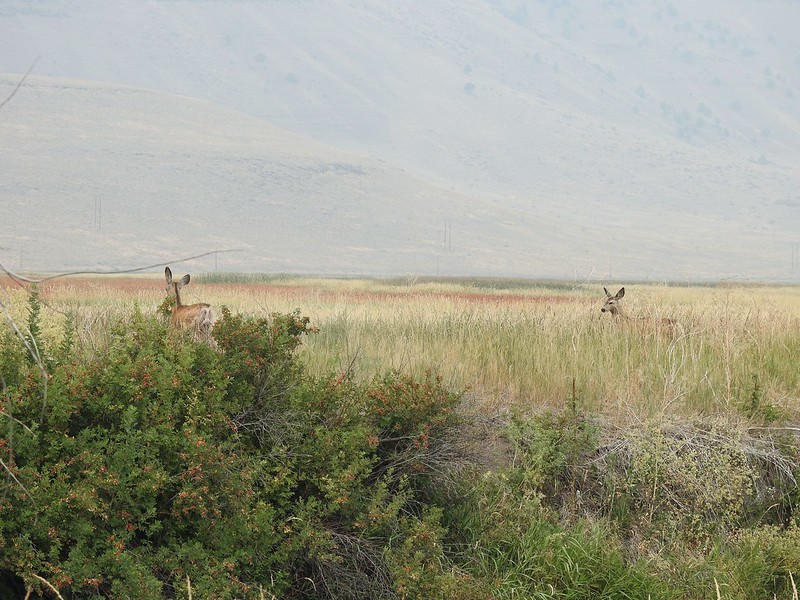 Deer that were in the Blitzen River
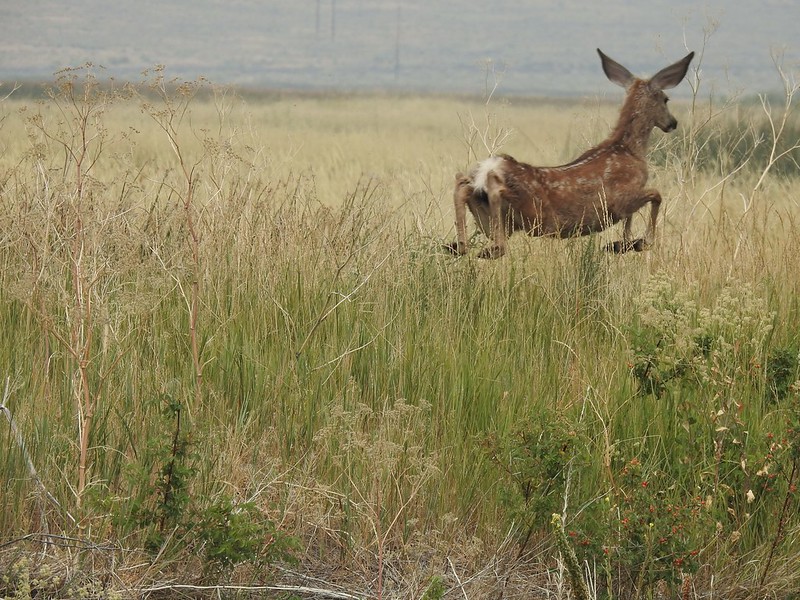 Bounding fawn
 Ducks and coots at Knox Pond


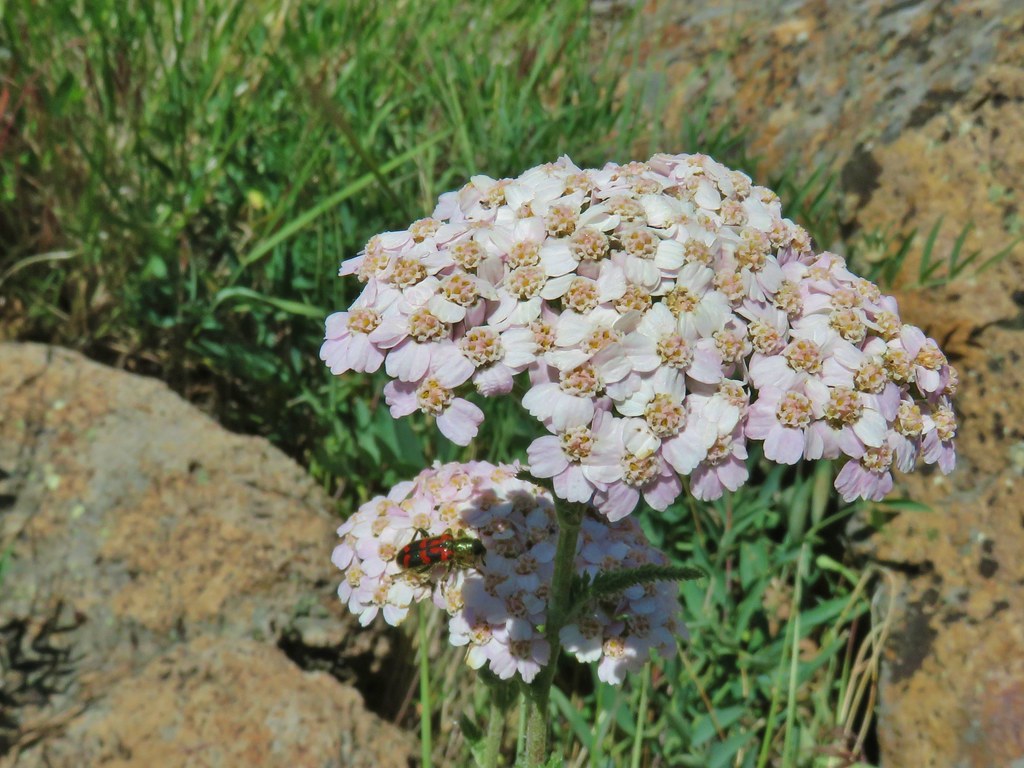
 Bee and a butterfly
 A brushy section.
 A bee and a skipper
 Praying mantis
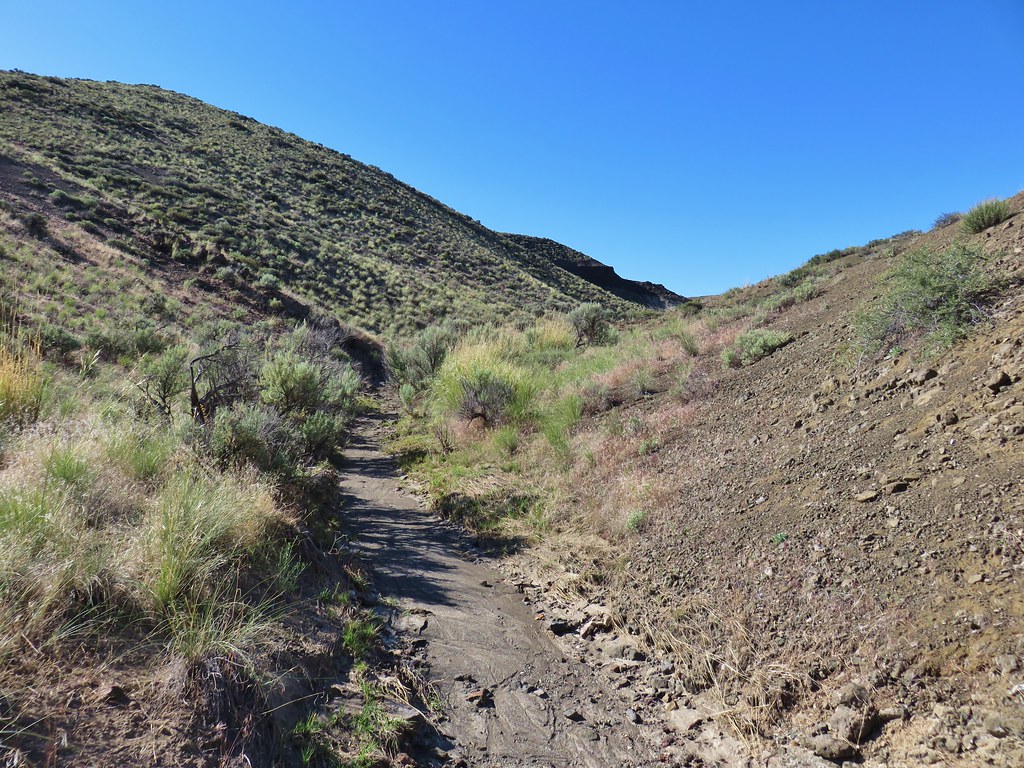
 The “other” trail on the hillside at the 0.7 mile mark.
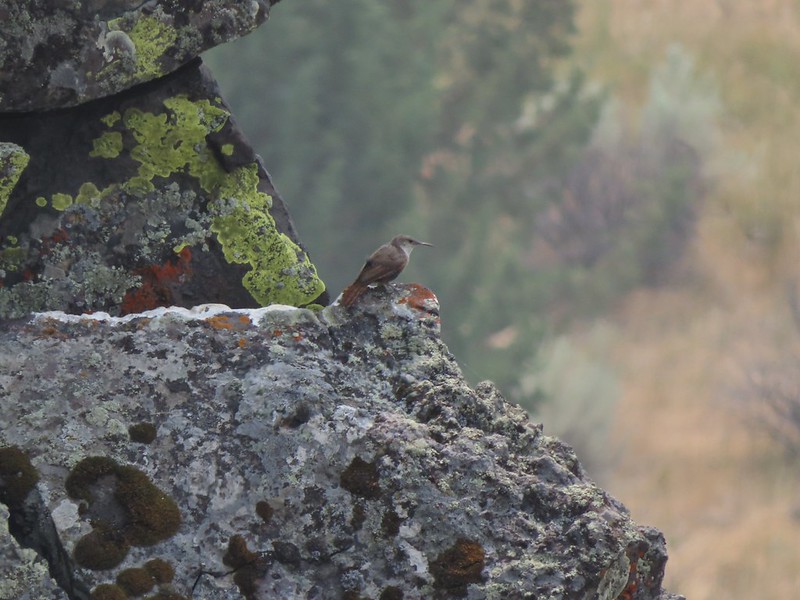 A wren?
 Fence crossing
 Rejoining the Donner und Blitzen Trail at the 0.4 mile mark.
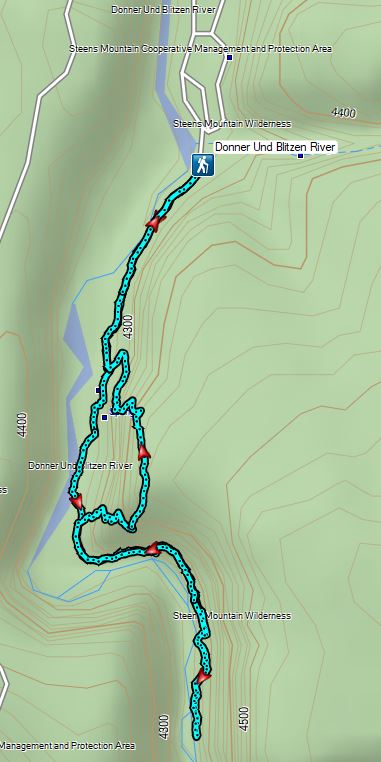


 Old man’s whiskers and a chocolate lily
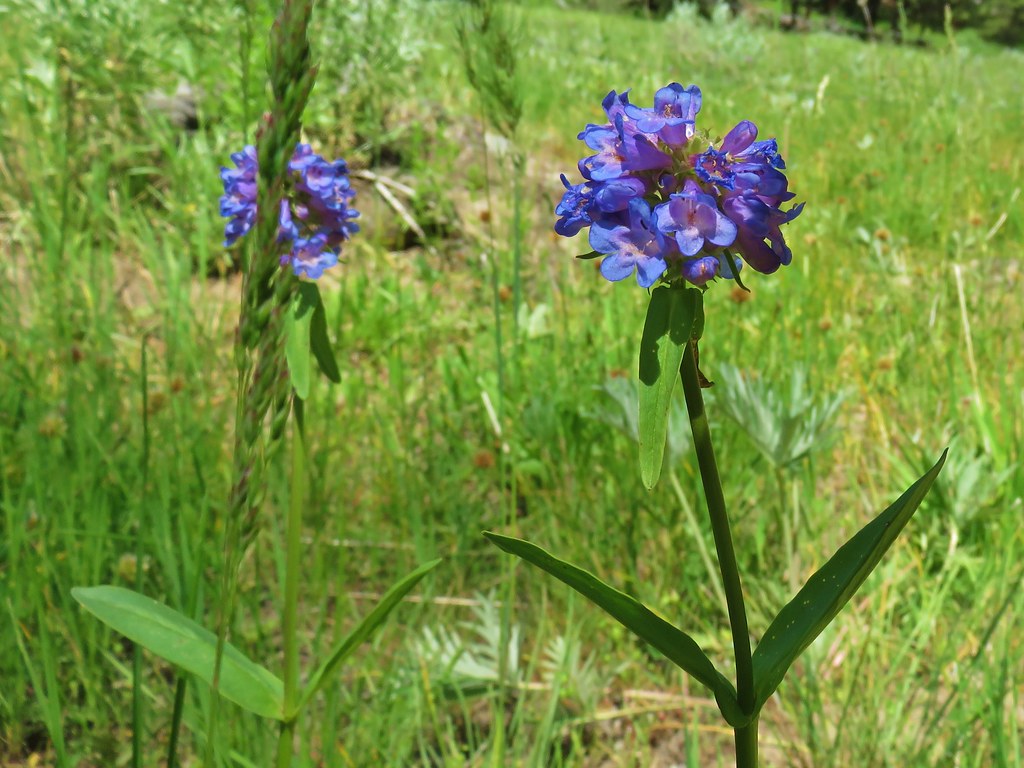 Penstemon
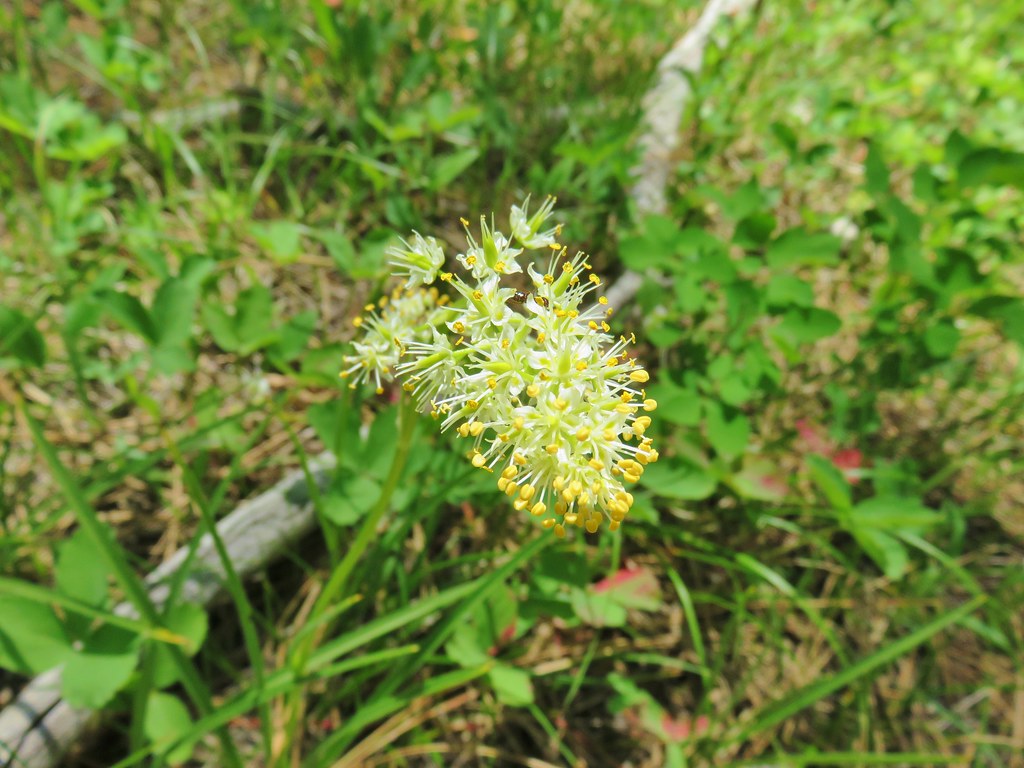 Death camas
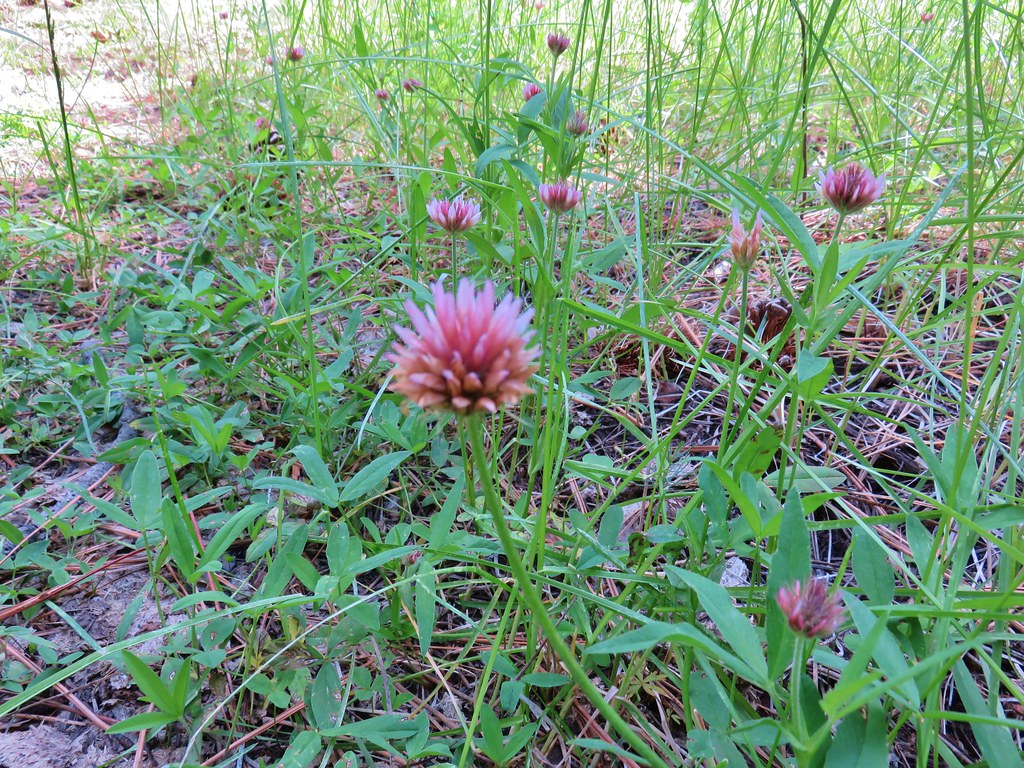 A clover
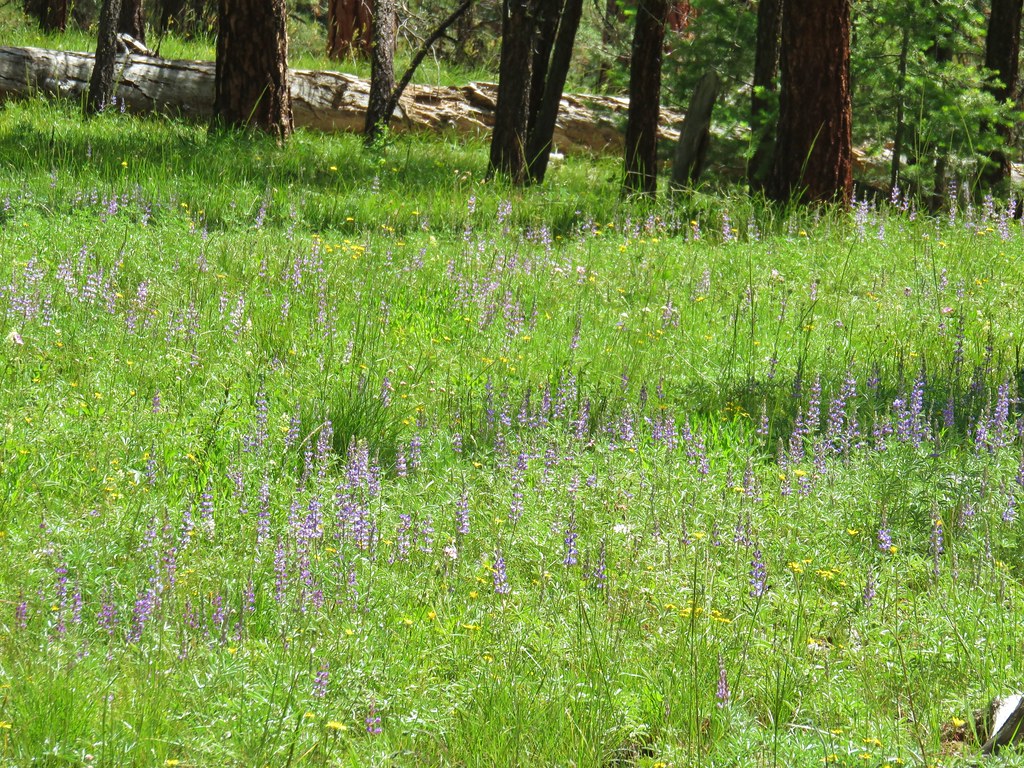 Lupine
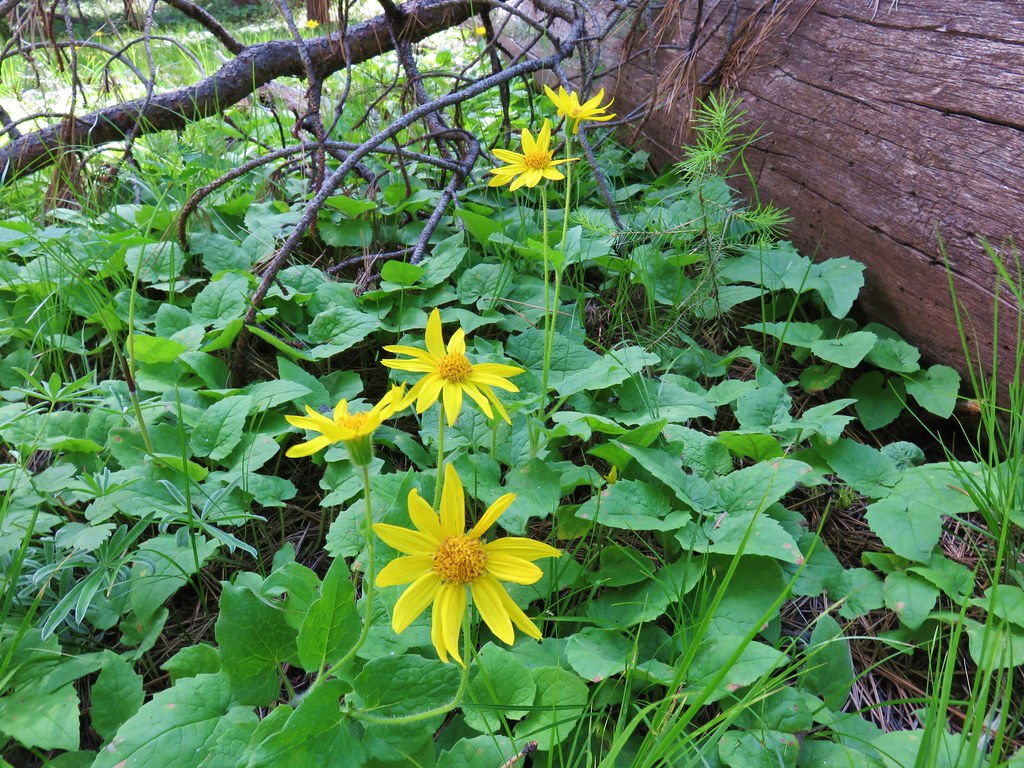 Arnica
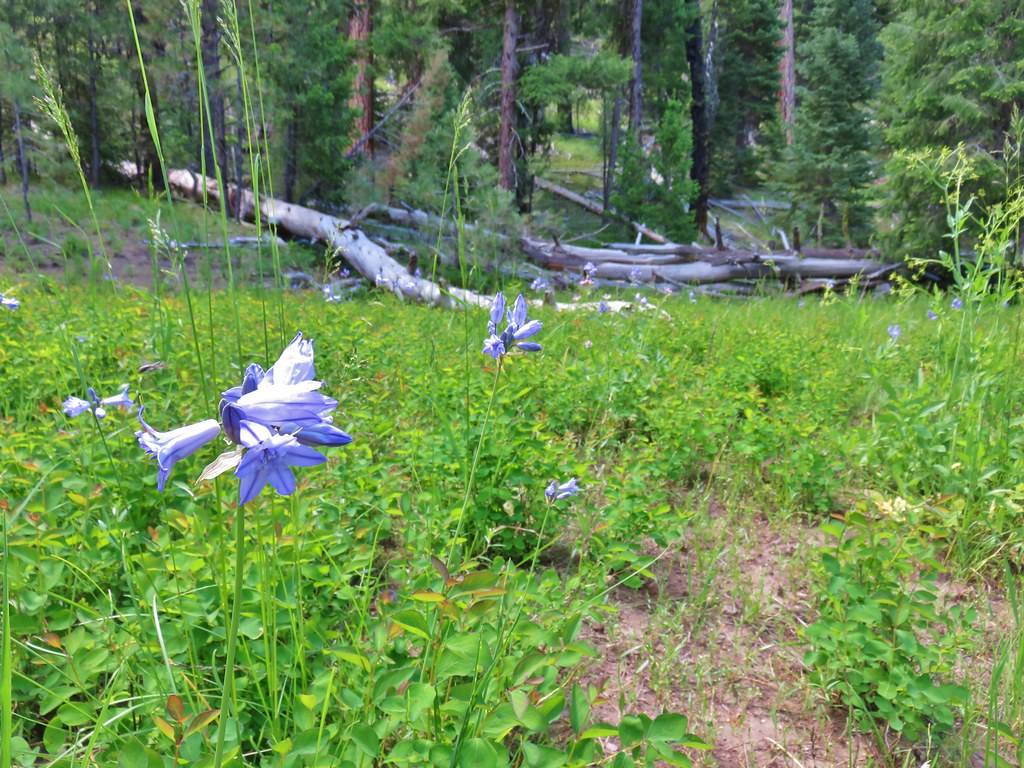 Large-flower triteleia
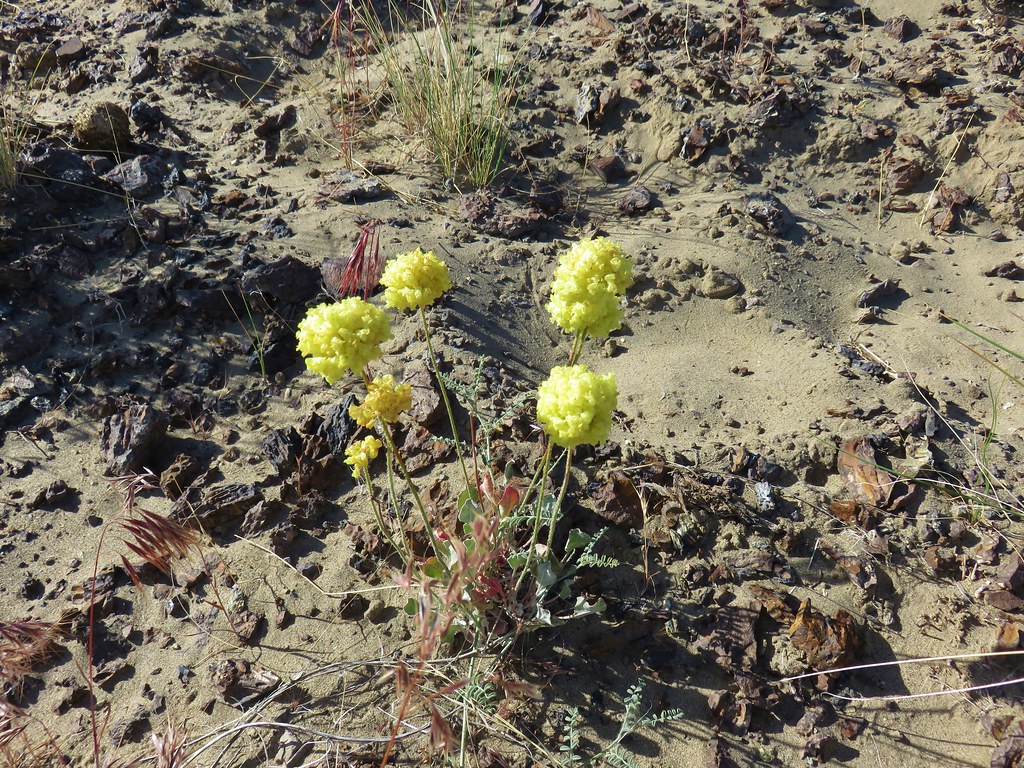
 Oregon sunshine
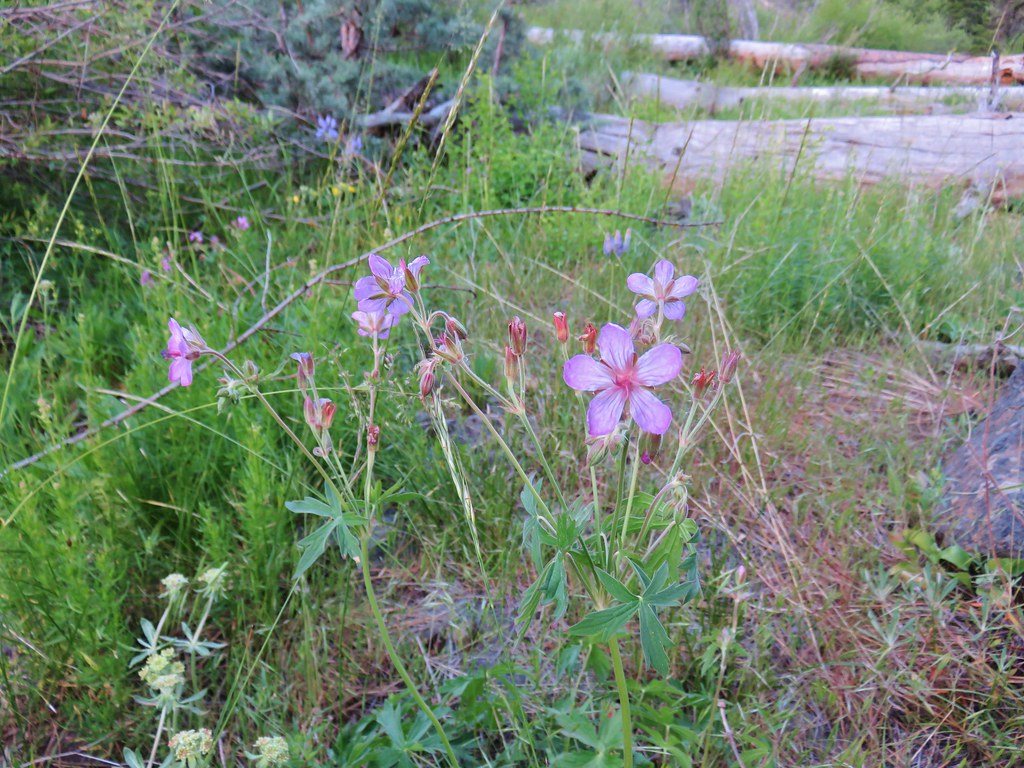 Sticky geranium
 Woodland star
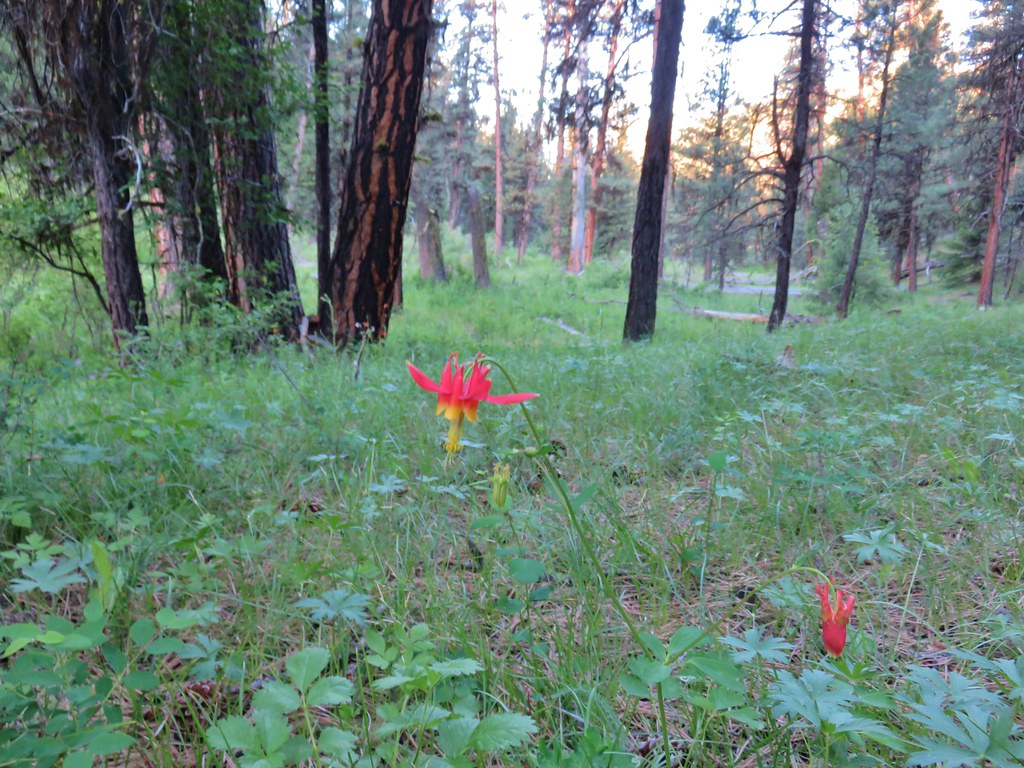 Columbine
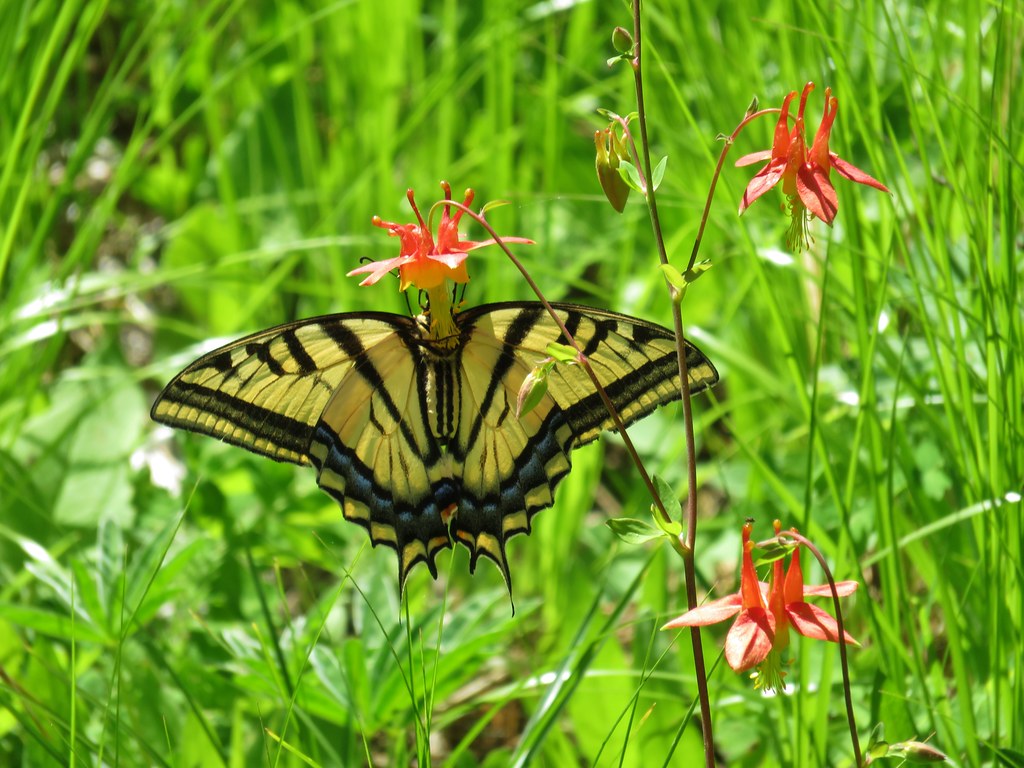
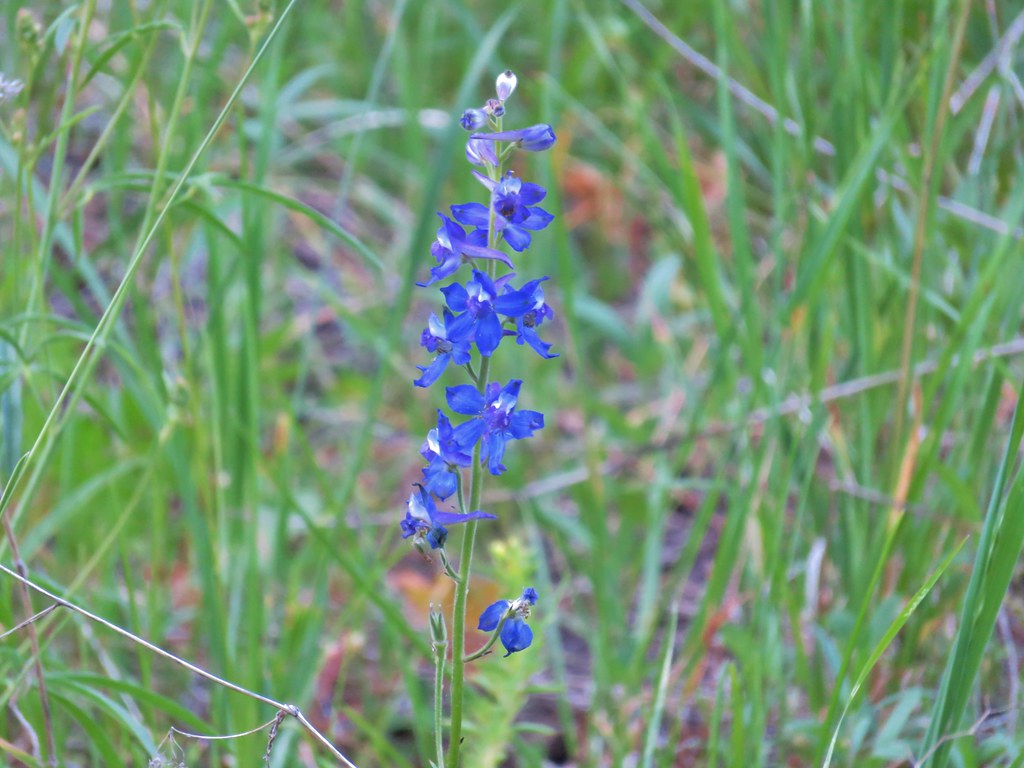 Larkspur


 Steens Mountain from a horse trail.


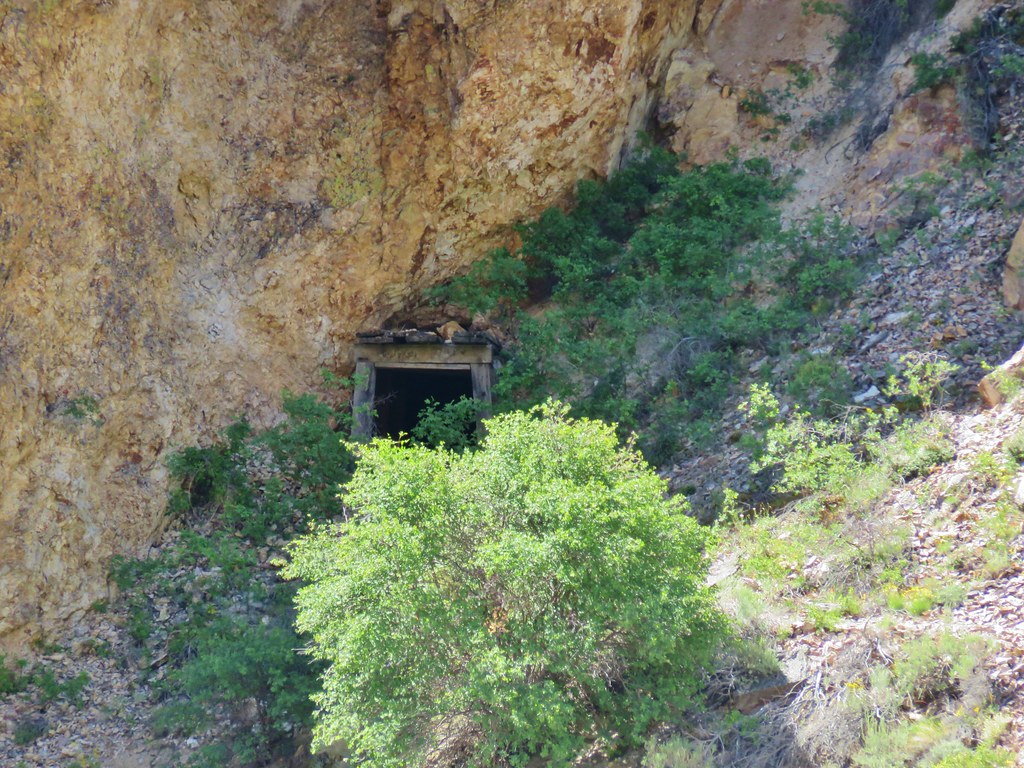 Mine shaft
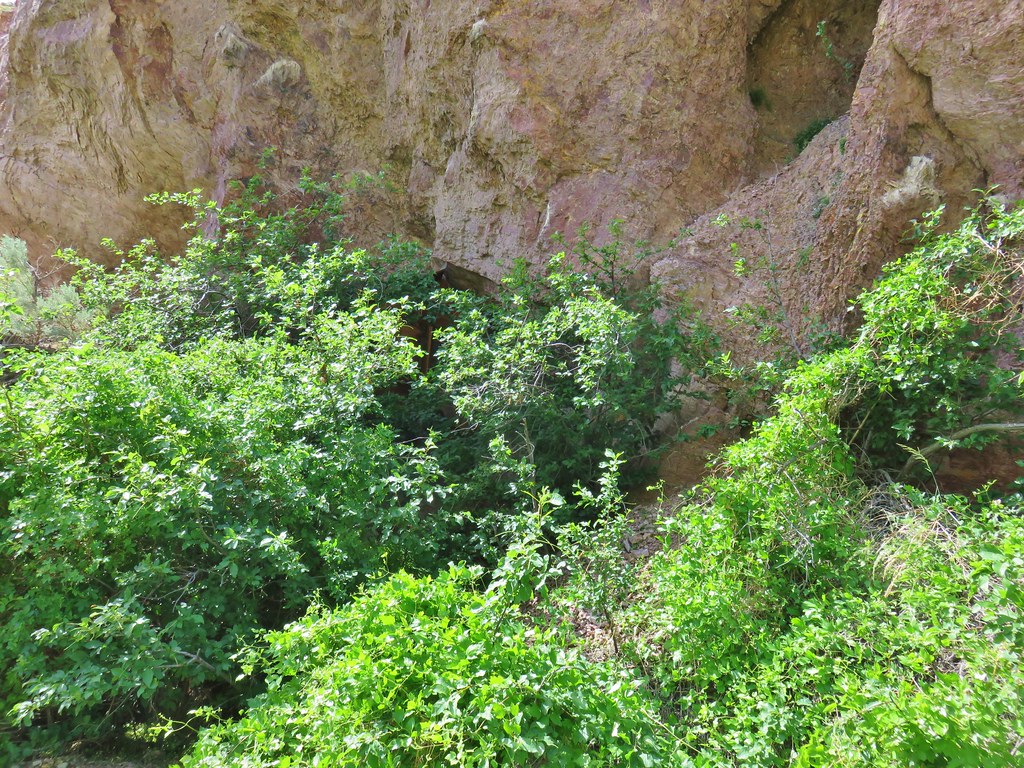 Hidden dynamite shed
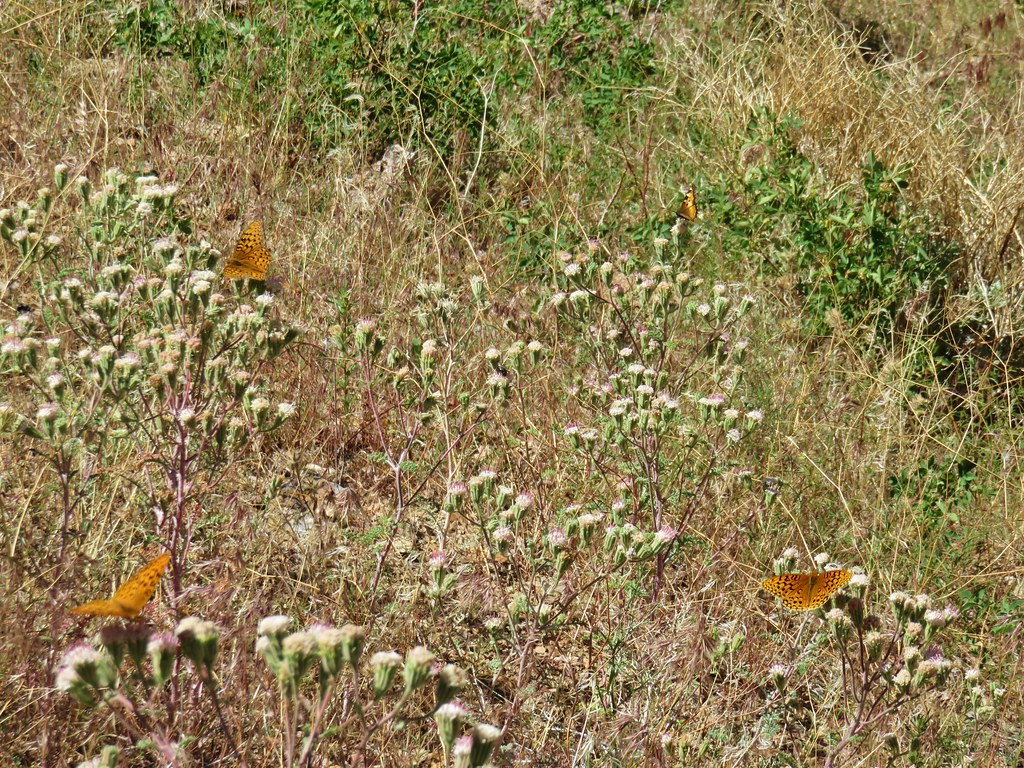


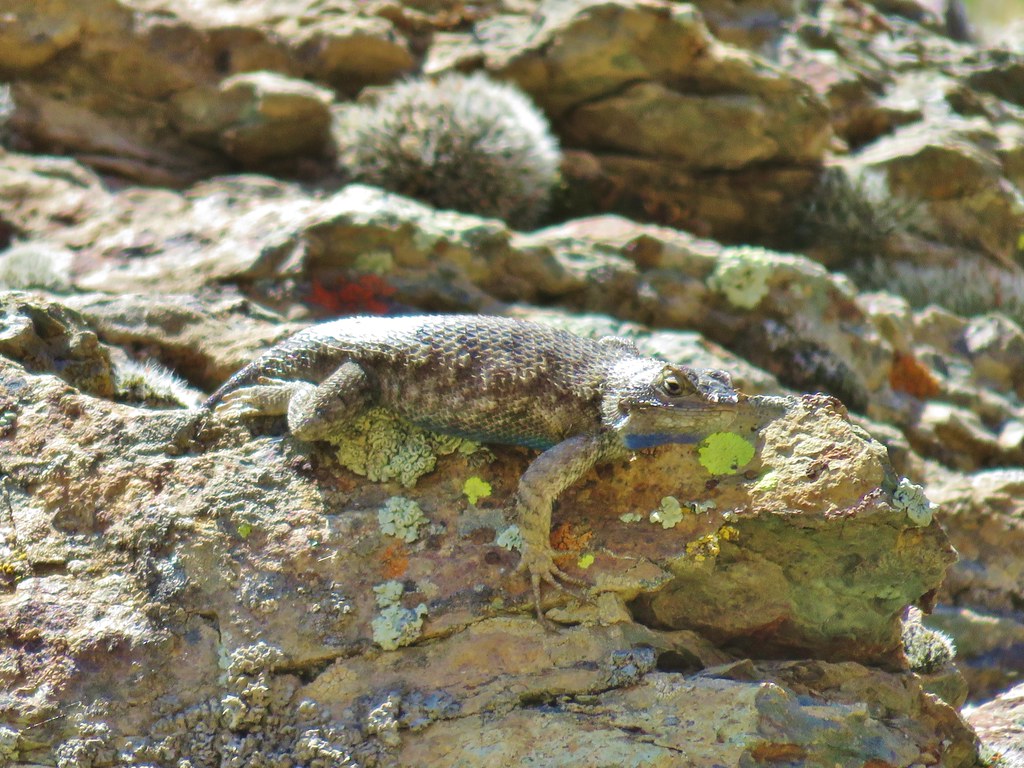


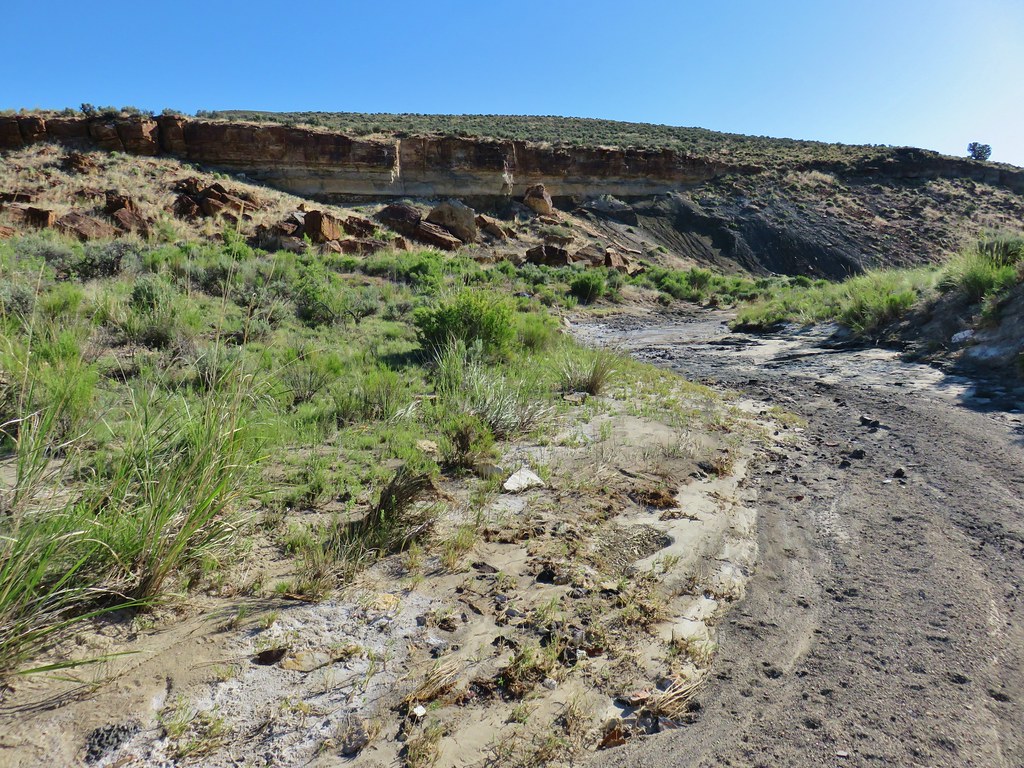
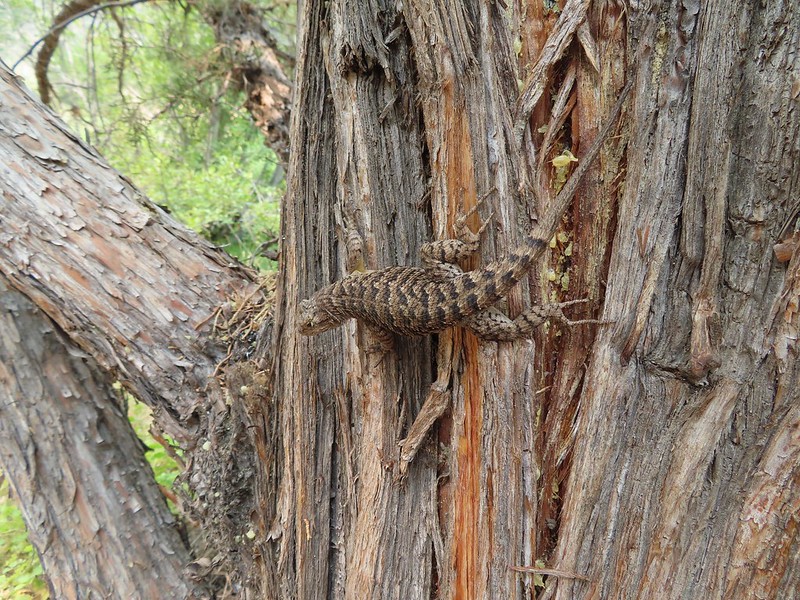
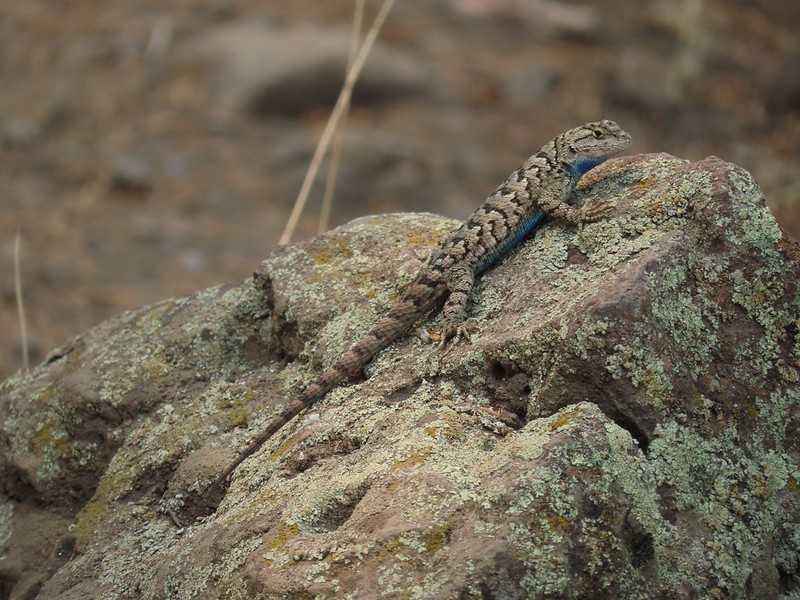
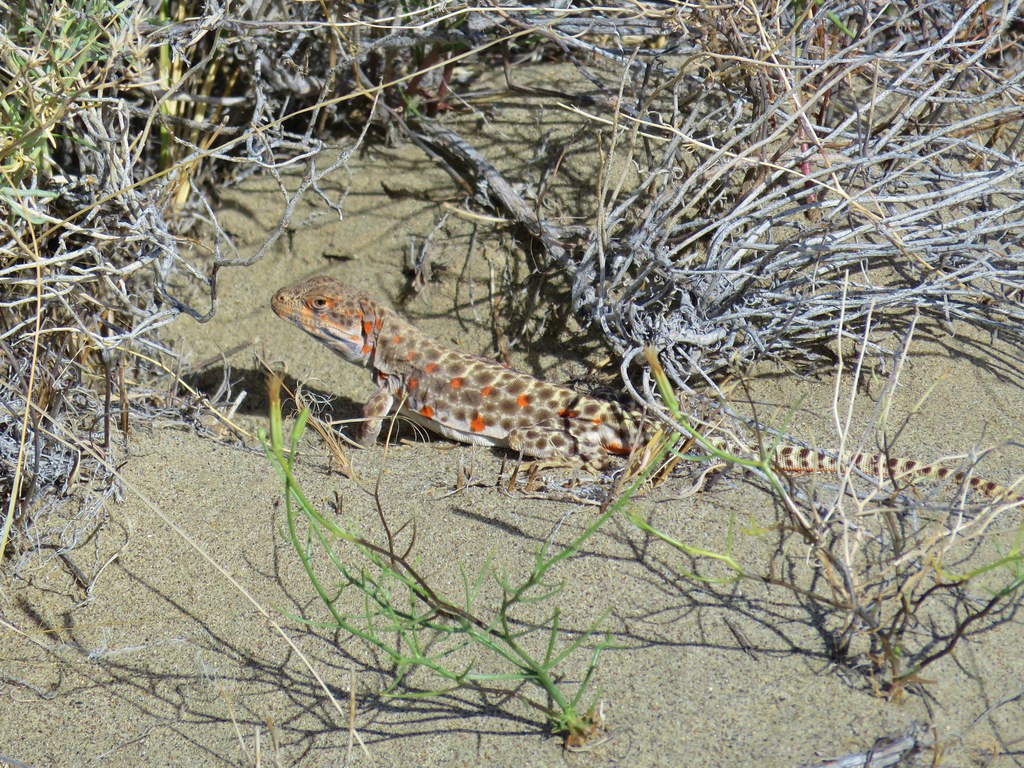
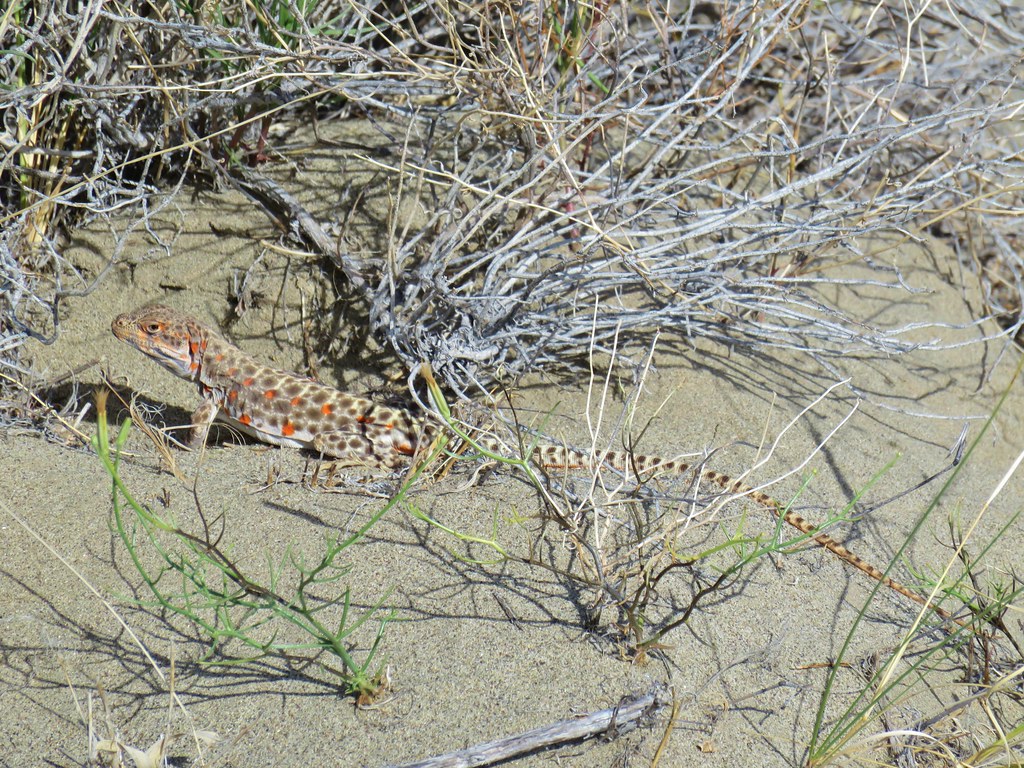
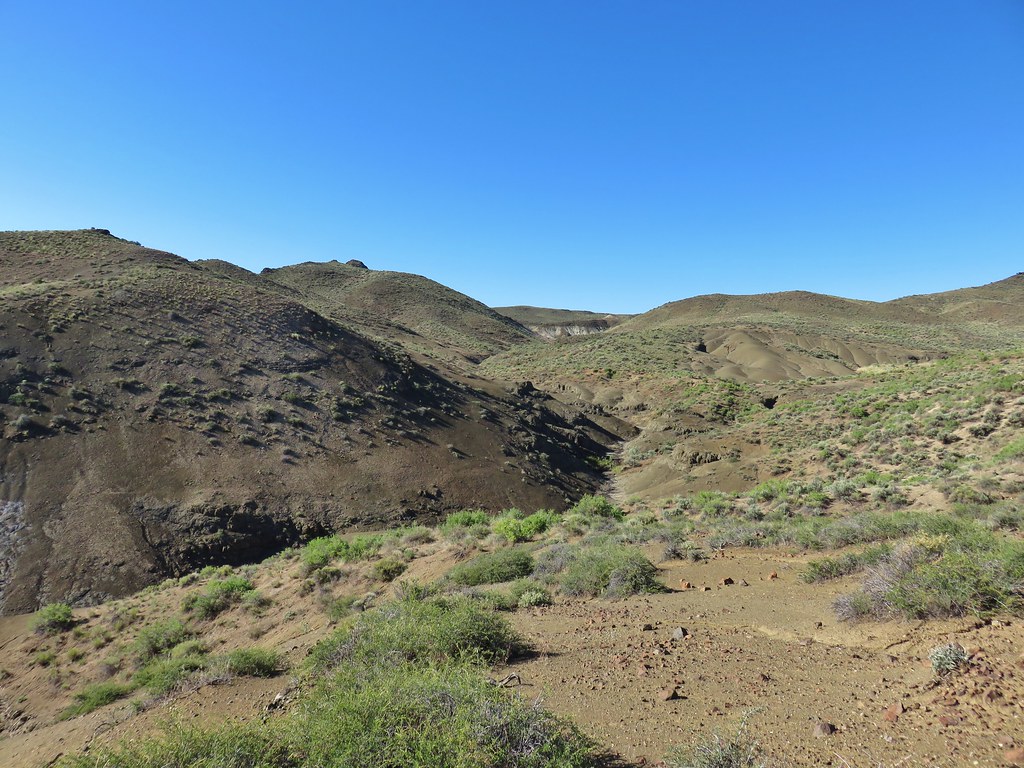
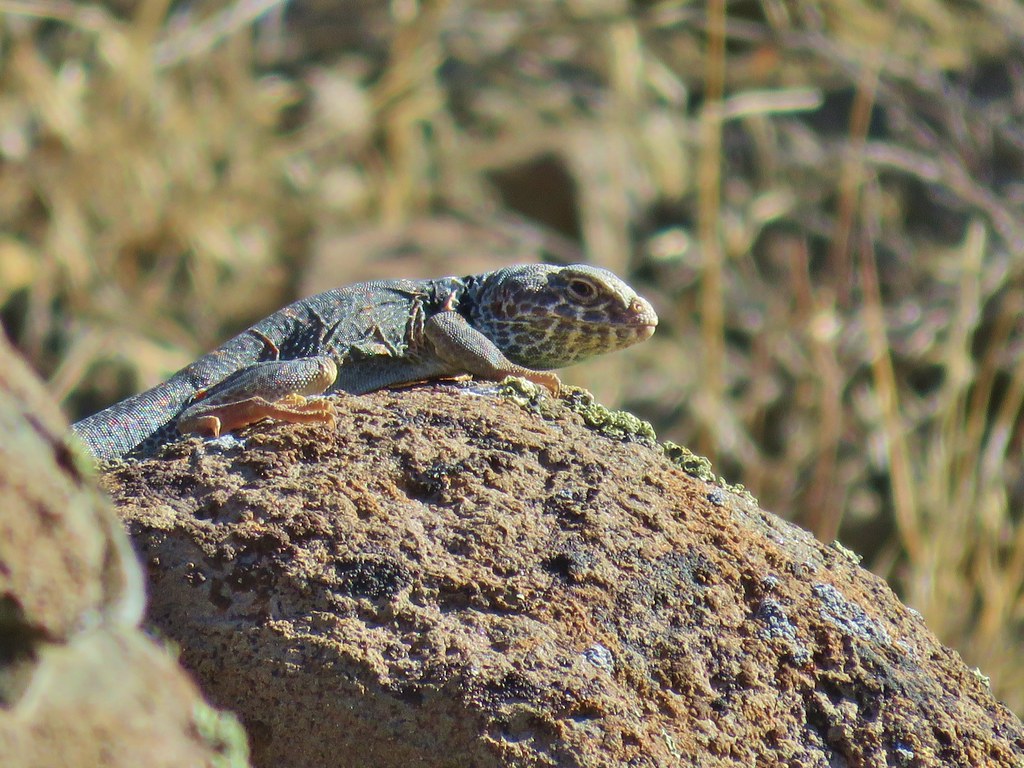
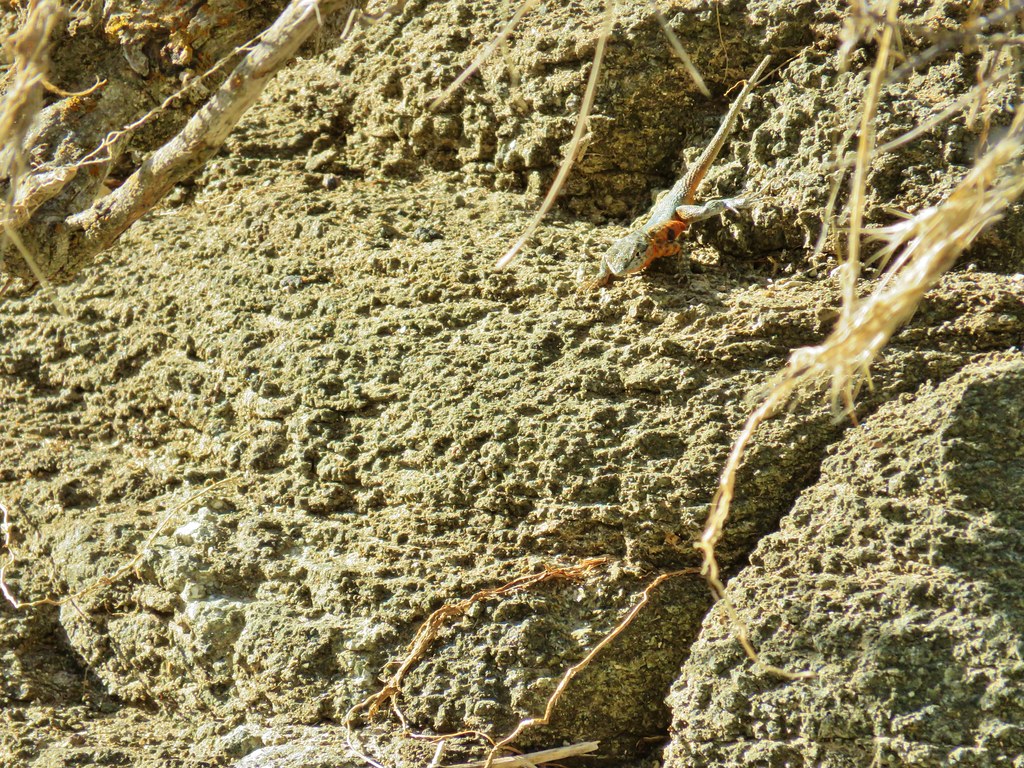 Side blotched lizard
 Wildflowers in the wash
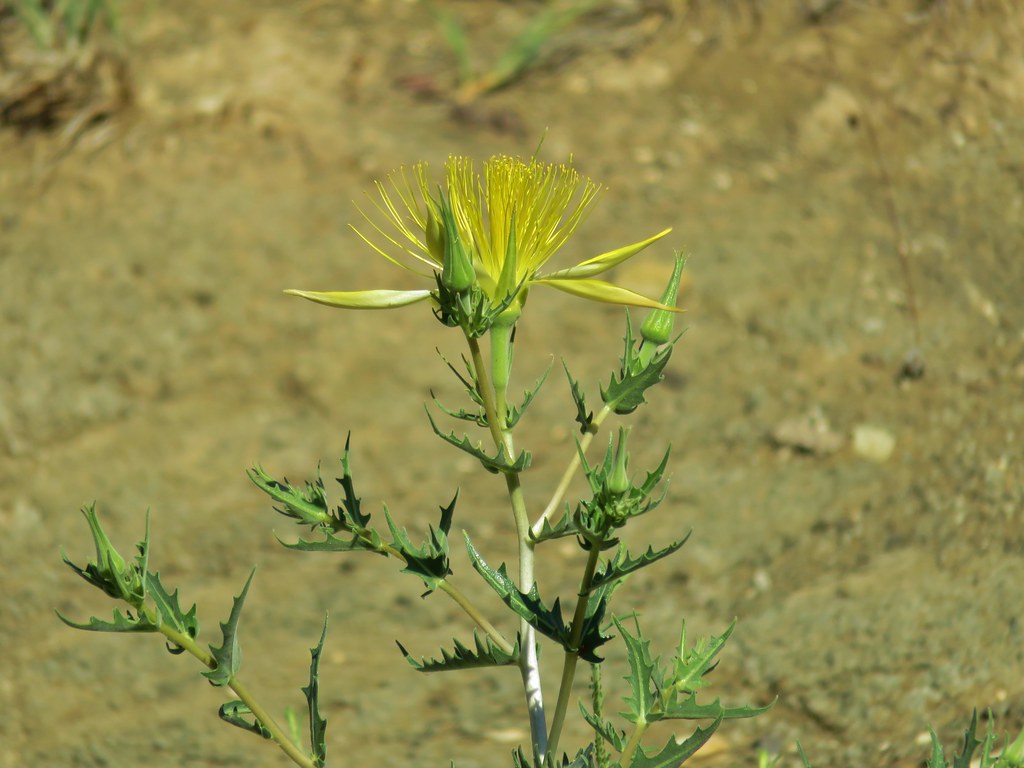 Smooth stemmed blazing star
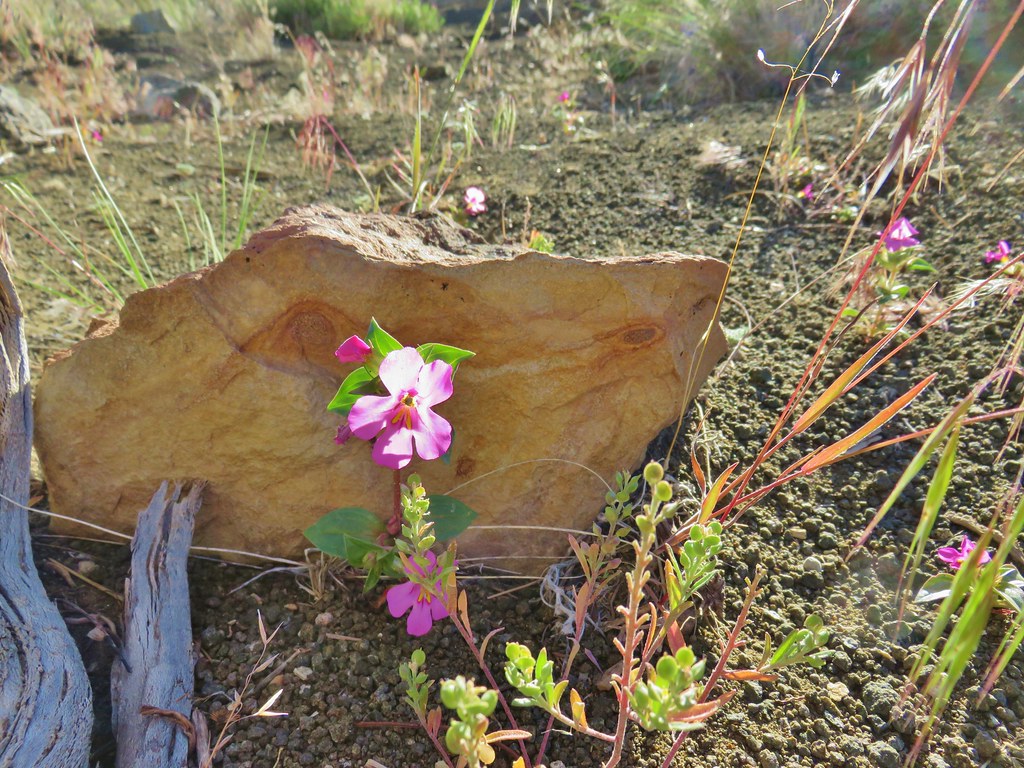 Monkeyflower
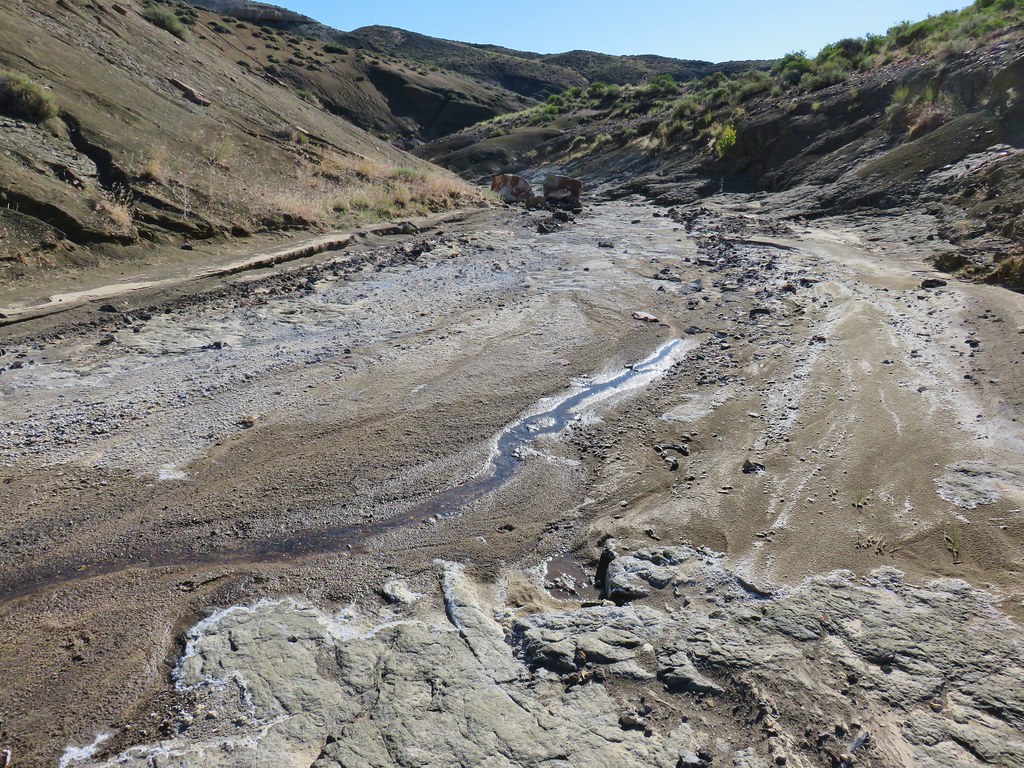 End of the water in the wash
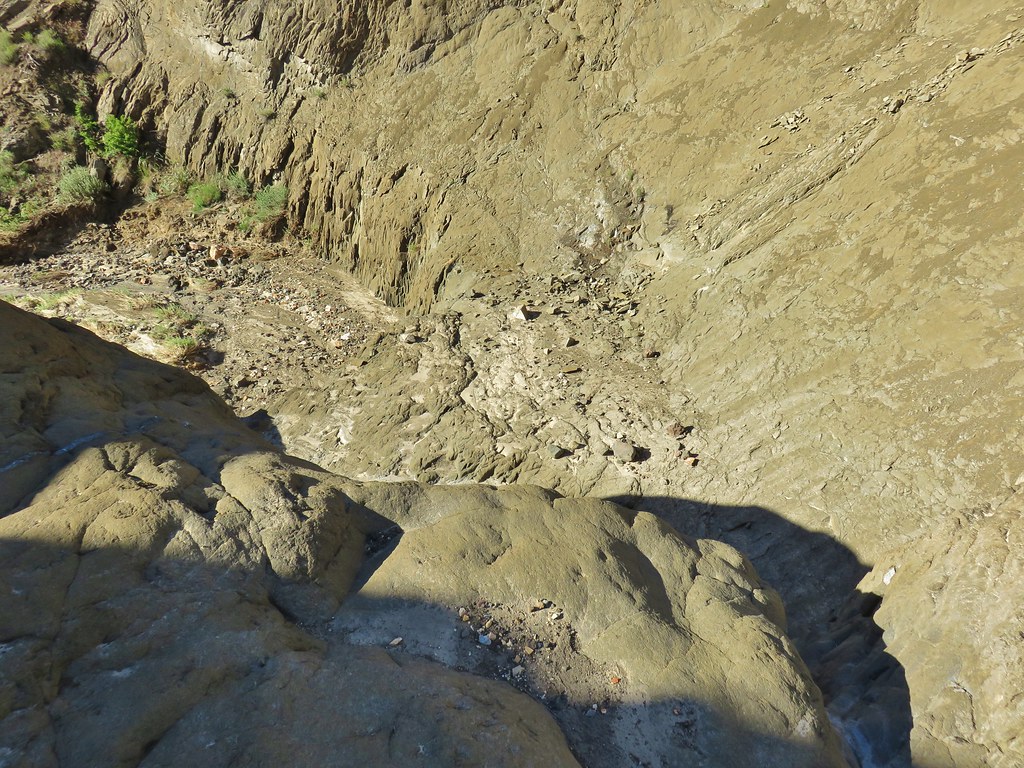 Above the dry waterfall
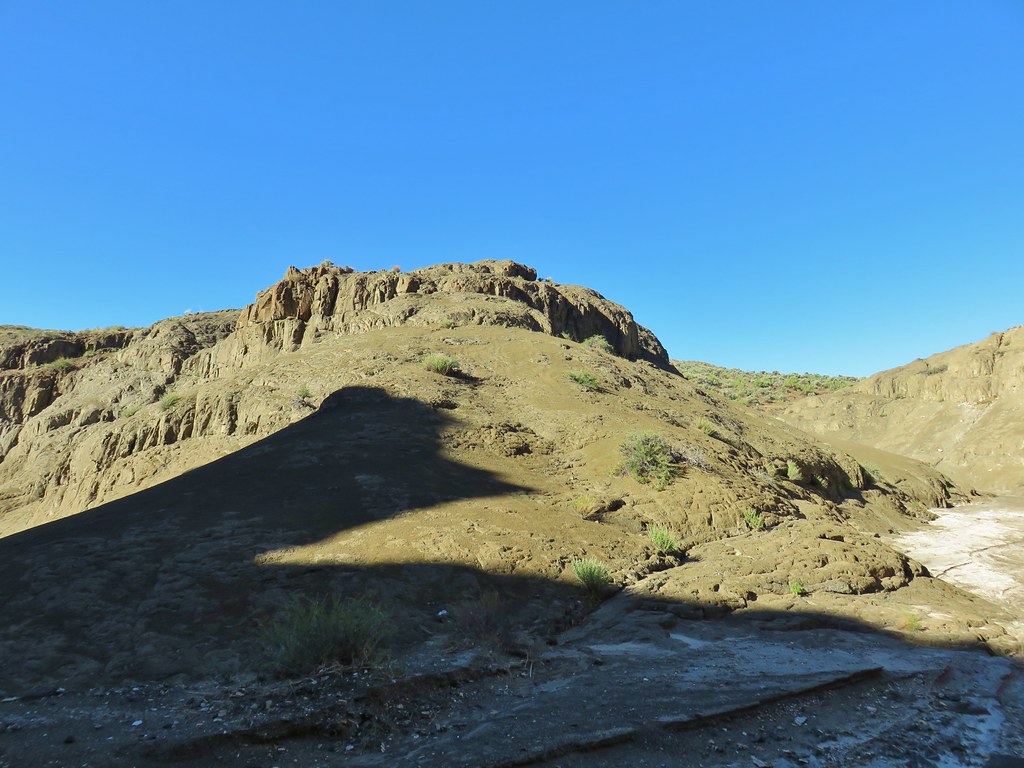
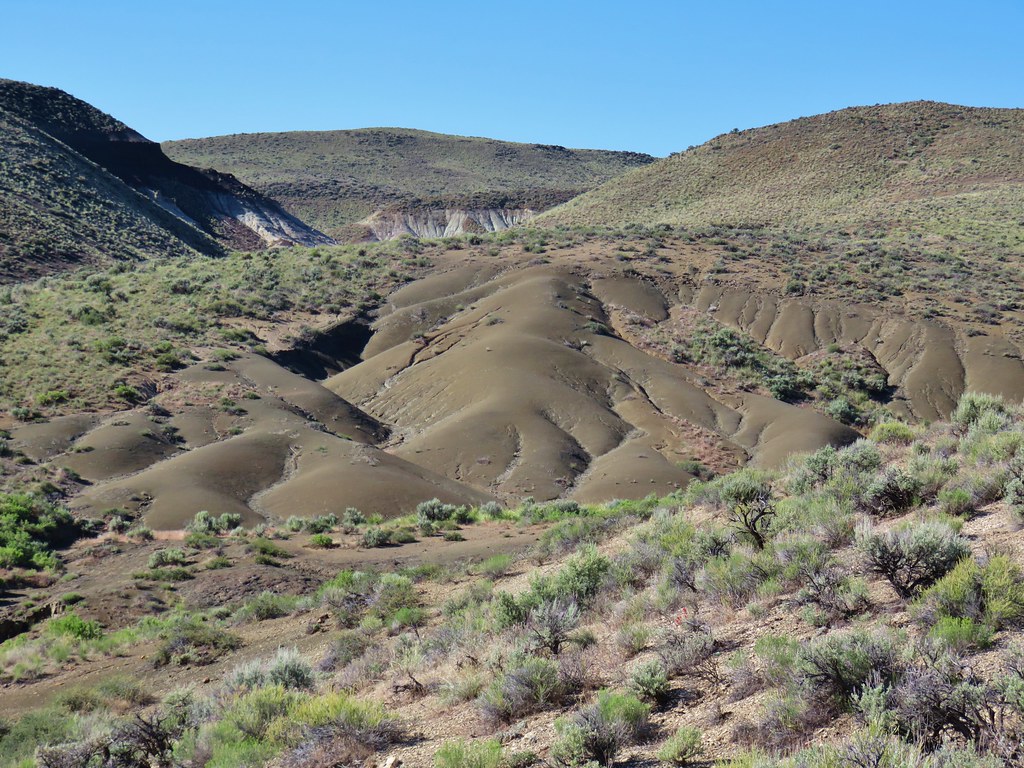
 Yellow Knoll with the Yellow Dome to its left.
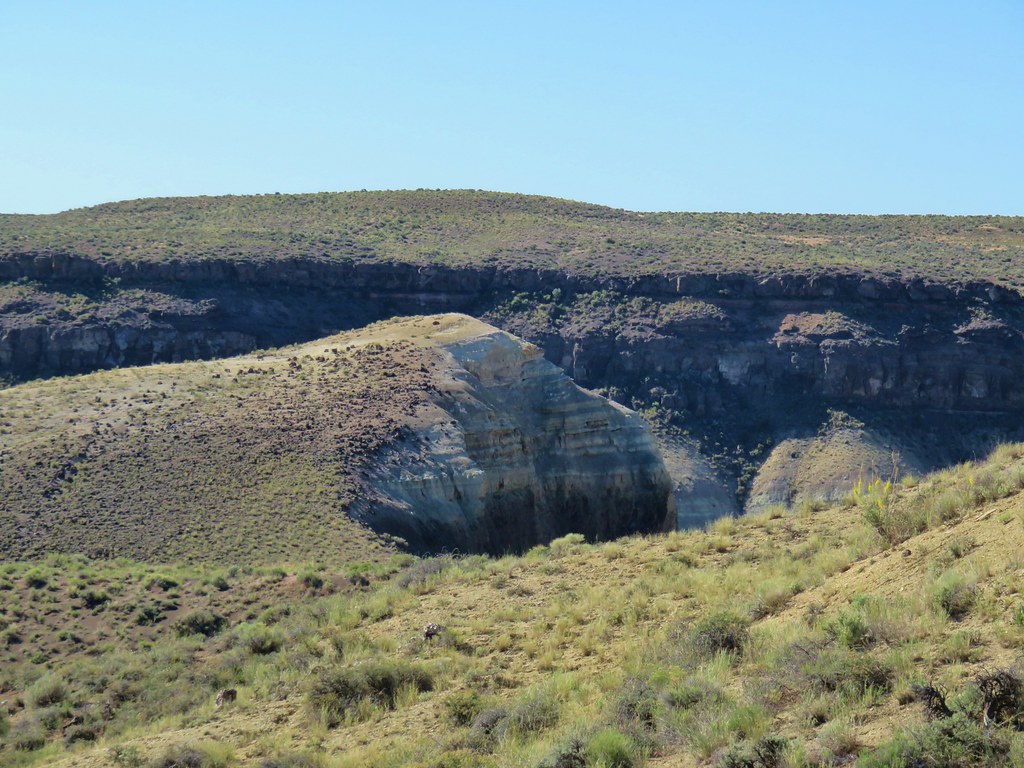 Yellow Knoll
 Yellow Dome


