We kicked off our September hiking with the steep rocky climb to the rim of Mt. St. Helens. After missing out on climbing permits last year (The passes are limited to 100 per day from April 1st through October.) we had scooped up this years permits as soon as they went on sale in February. We were fortunate to have wound up picking a day with a forecast for clear skies and mild temperatures.
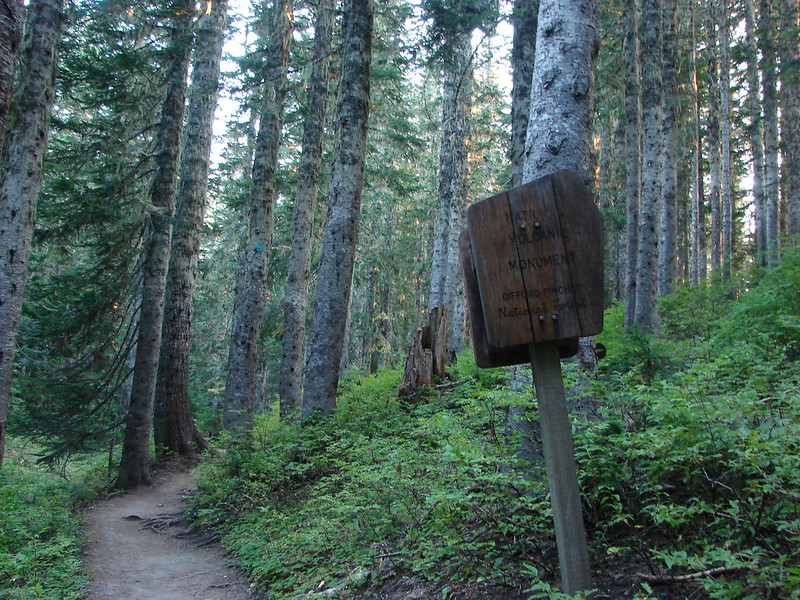
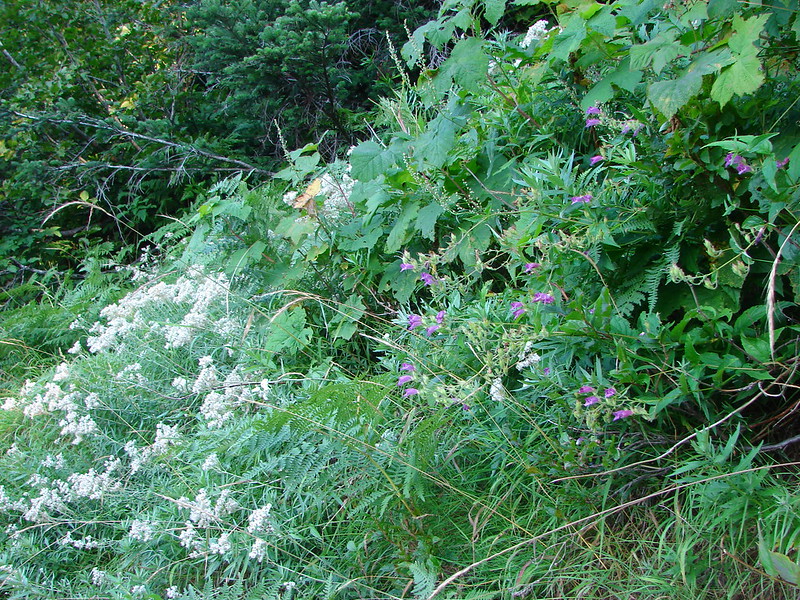
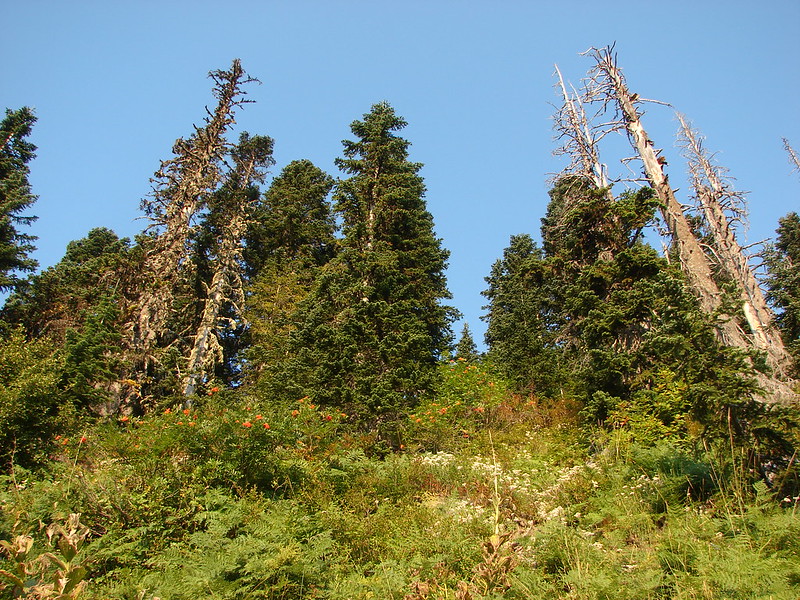
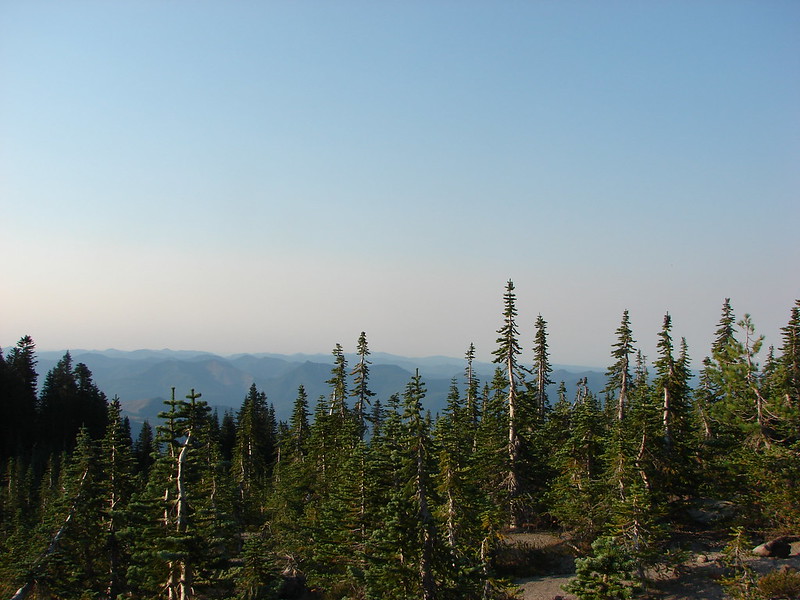
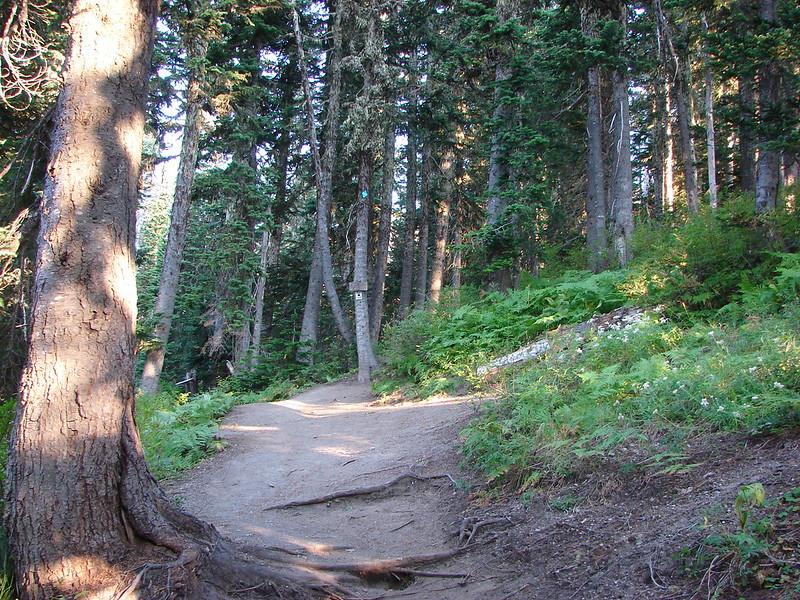
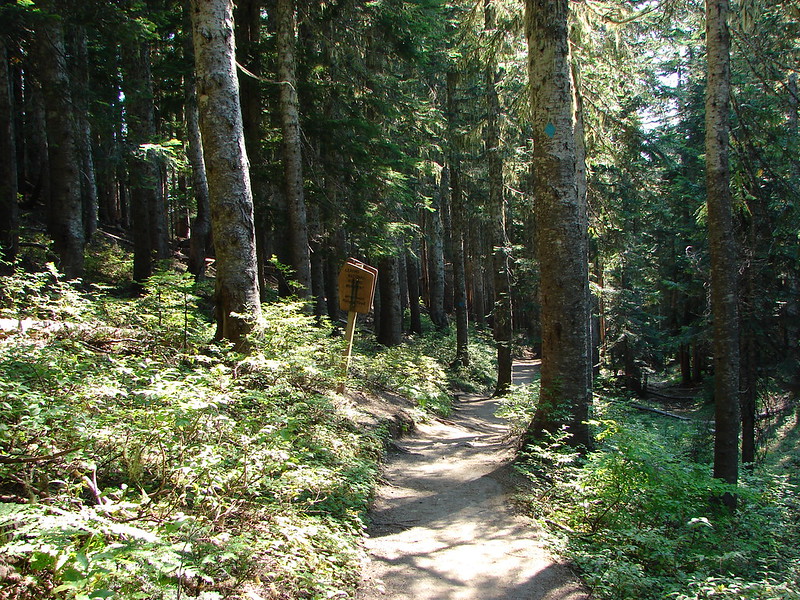
After picking up our permits and signing the climbers register at the Lone Fir Resort in Cougar, WA we drove up to the Climbers Bivouac and got ready to climb. The first 2 miles of trail climbed gradually through a forest. There were just a few flowers and a couple of berries left here and there. We had blue skies above us but the sky was hazy to the East and South hiding Mt. Hood and Mt. Adams from view.
At the 2 mile mark we crossed over the Loowit Trail and continued up the mountain.
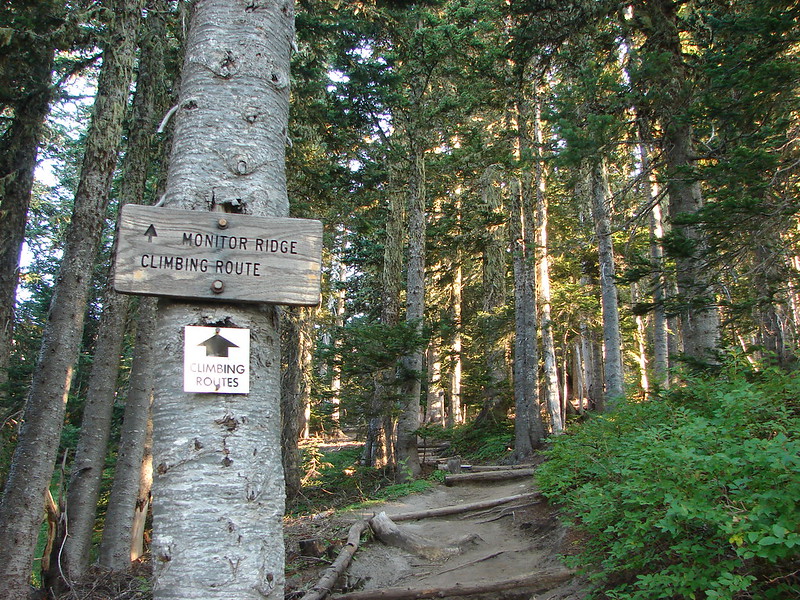
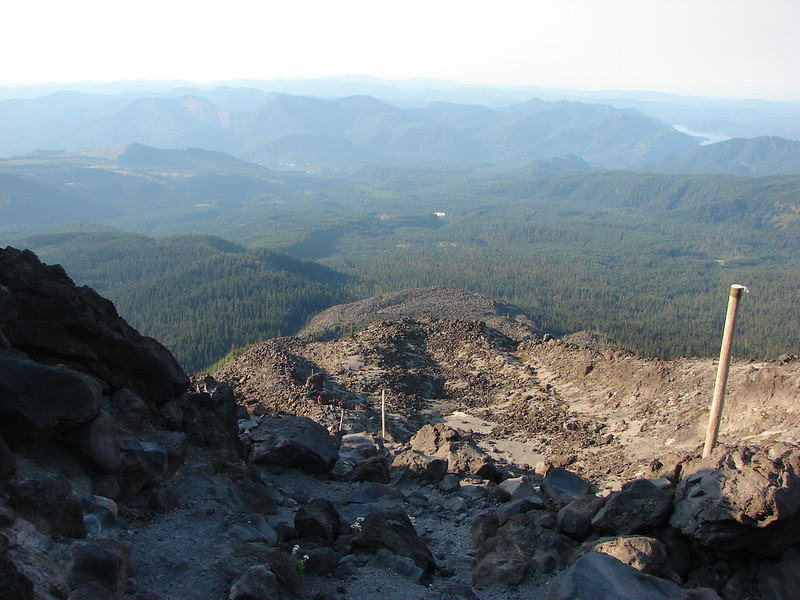
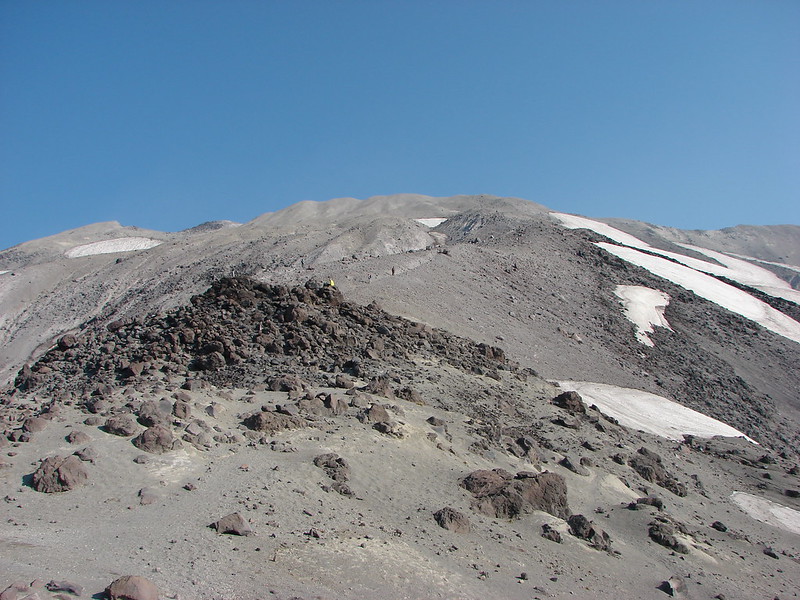
The trail quickly emerged from the trees and headed for the lava flow on Monitor Ridge.
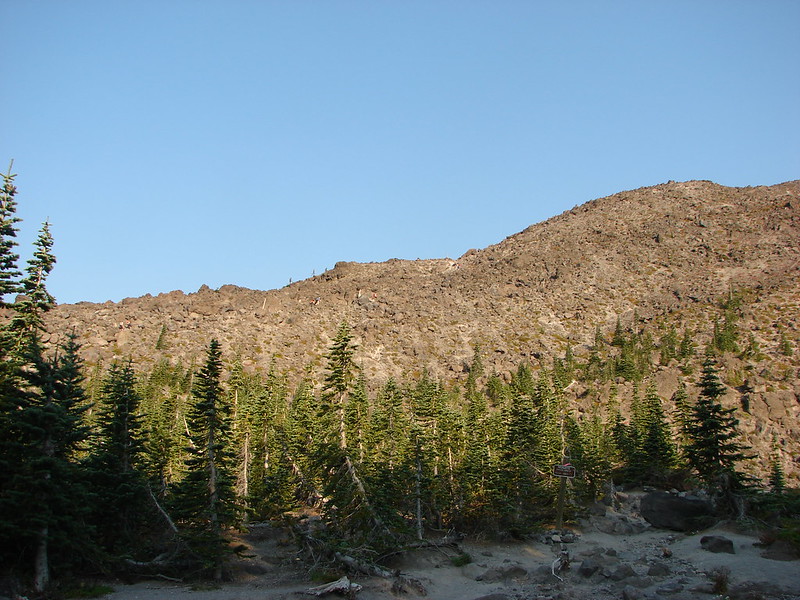

Posts indicated the general path to follow up the lava, but it was nearly impossible to tell where the optimal route was. It seemed like no matter where we were a better looking route was just to the left or right.
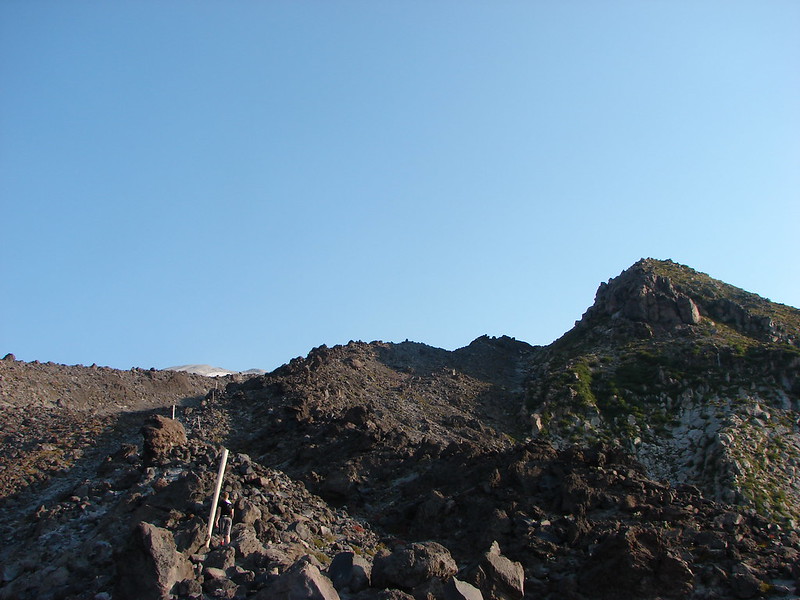
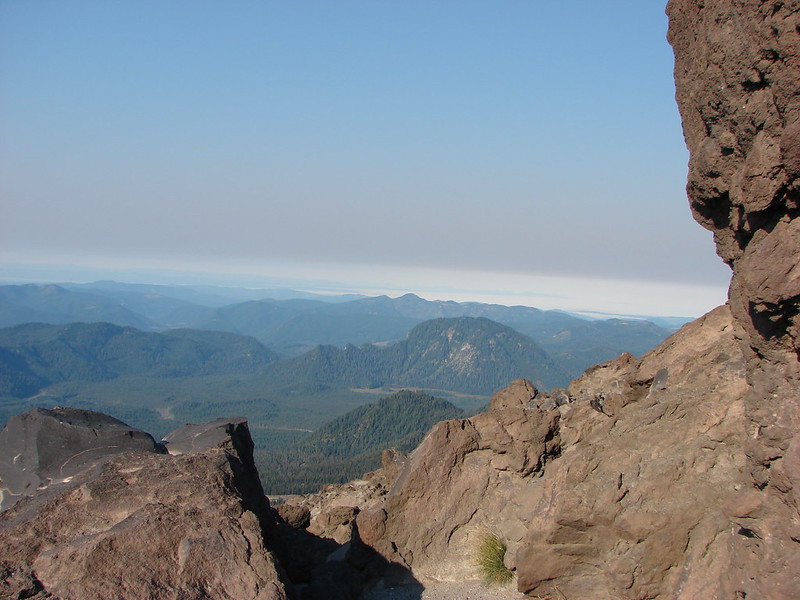
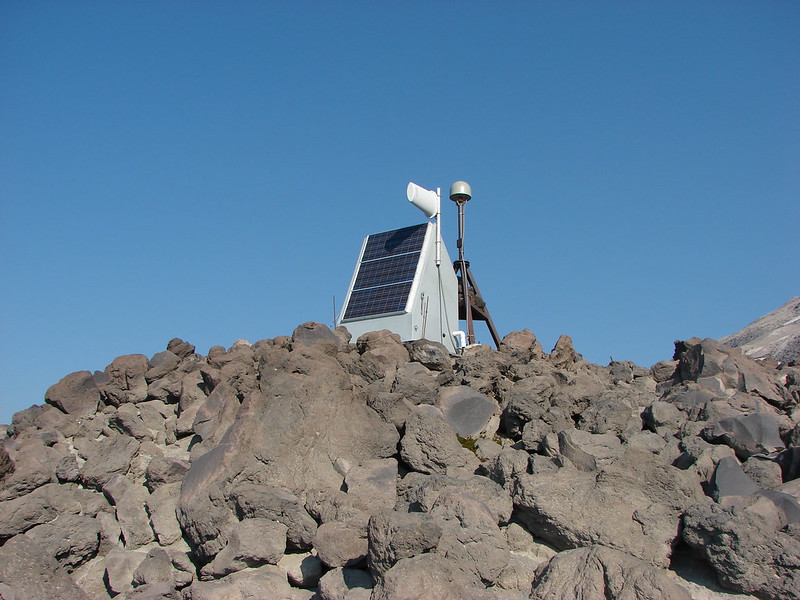
We picked our way up and over the rocks as best as we could passing the first monitor (yes there are actually monitors on monitor ridge) and gaining ever better views of Goat Mountain just to the SE of Mt. St. Helens.

Just under 2 miles from the Loowit Trail we found the second monitor. Used for monitoring any swelling of the mountain we used it as proof that we were actually getting somewhere.

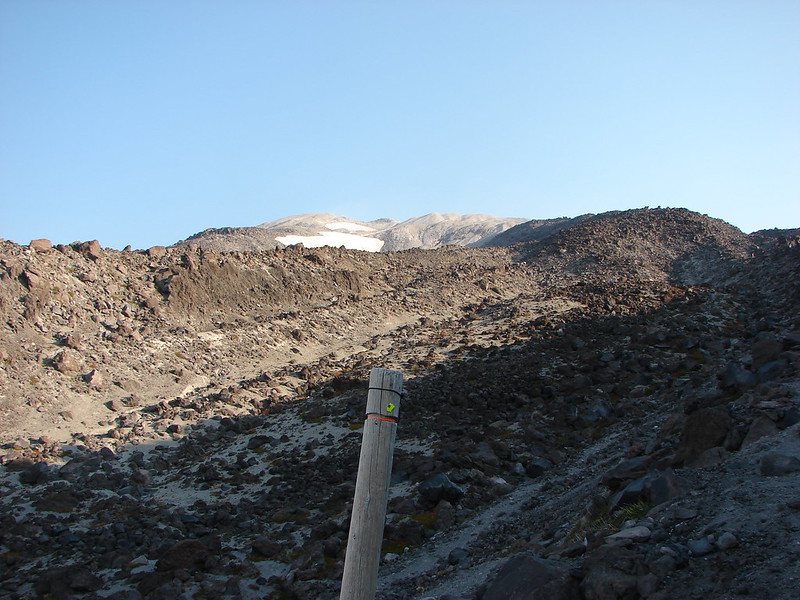
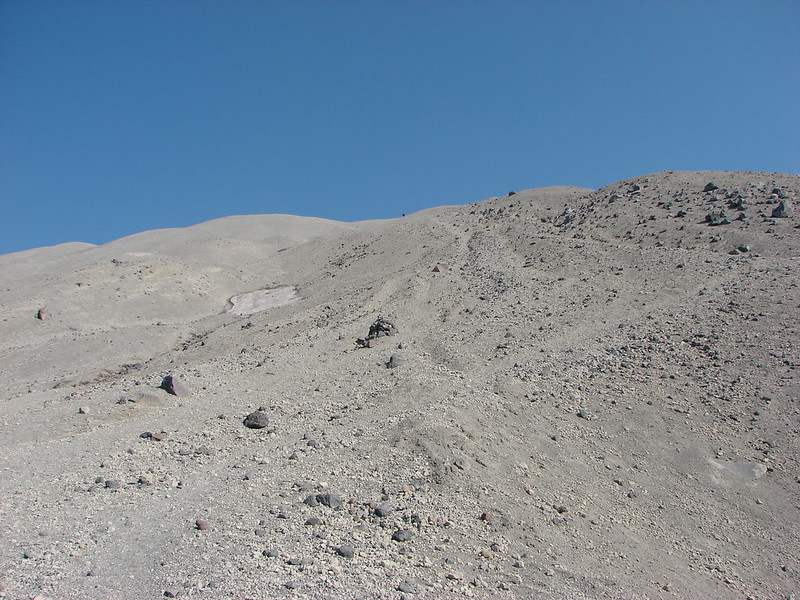
From the second monitor there was one final pile of lava rocks before a final stretch of loose rock and ash.
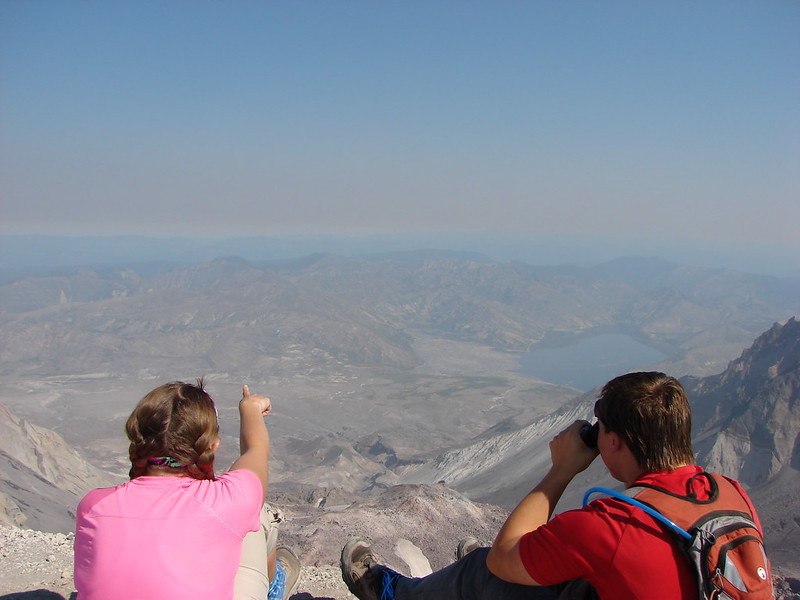
The sky above the rim was a clear blue and we had hopes that maybe the view North would be clearer than the rest of the horizon, but from the rim the view in that direction looked like the others.

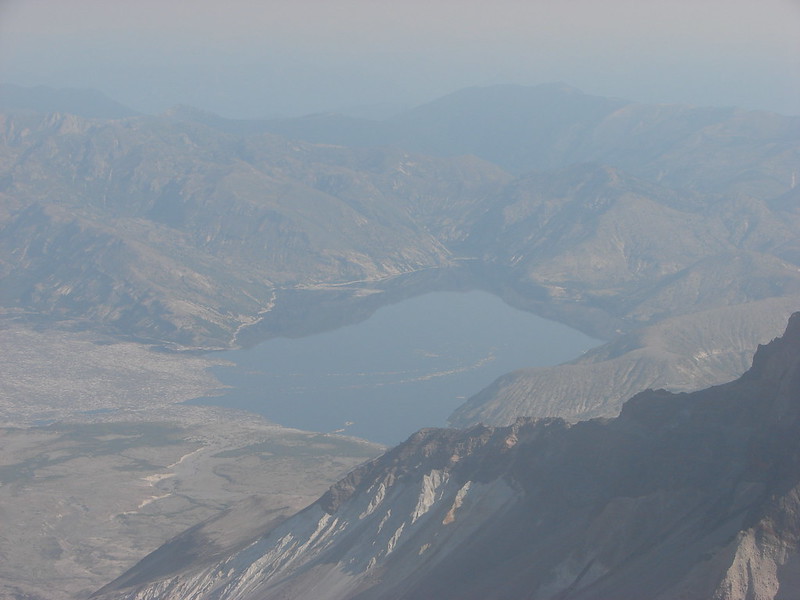
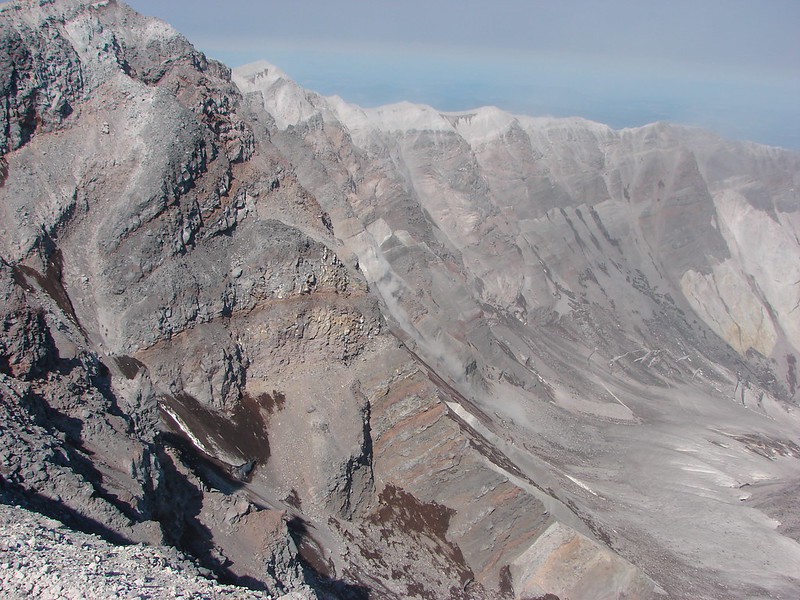
There was one big difference, the view down into the crater was unobstructed and Spirit Lake lay beyond with its flotilla of logs.

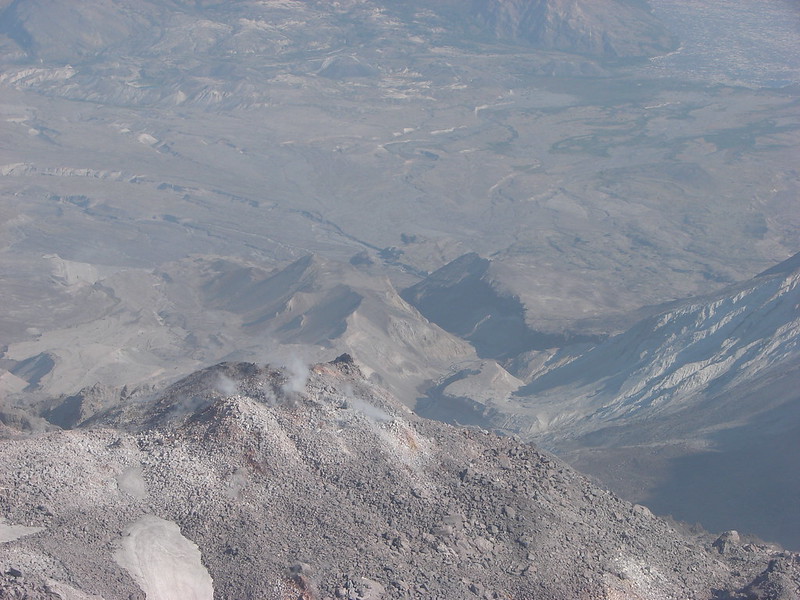
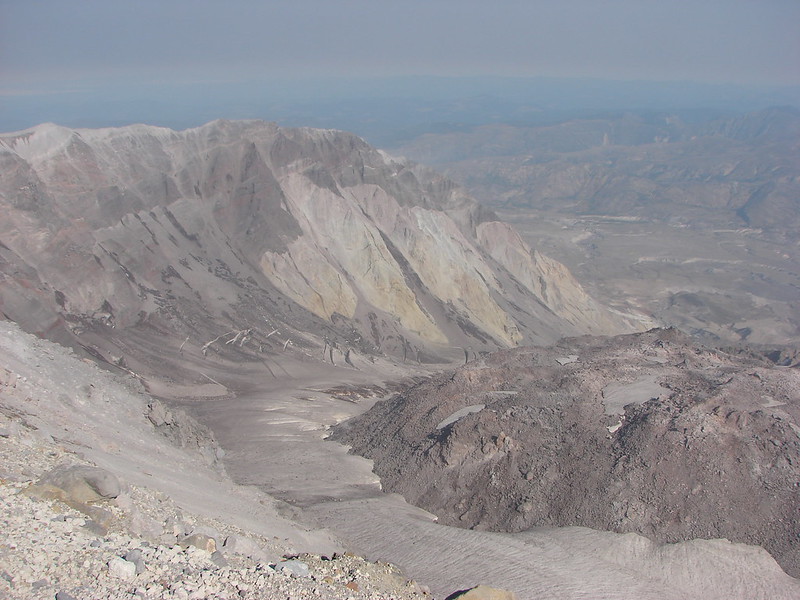
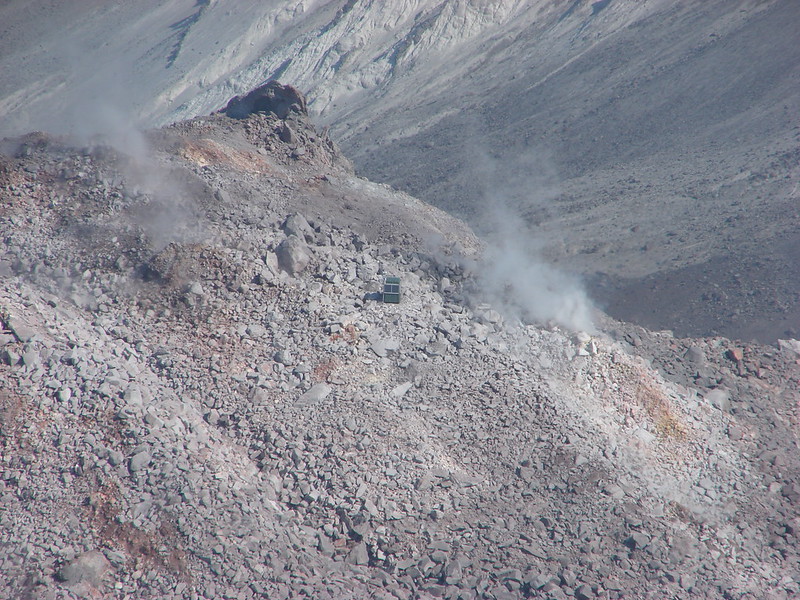
We sat on the rim for awhile catching our breath and resting our legs. The steam rising from the lava dome coupled with the nearly constant sound of rocks falling down into the crater gave us plenty of entertainment.
Once we had sufficiently recovered we began our descent.

Going down was just as difficult as climbing up. We slowly made our way back down though and wound up back in the trees. The final 2 miles seemed to fly by compared to how long it took to come down the lava flow and we were soon leaving the volcanic monument.
Back at the car we had one final look at the rim we had been on just a few hours earlier. It had been an interesting hike, arguably the most difficult we’ve done, but worth the effort.

Happy Trail!
Flickr:https://www.flickr.com/photos/9319235@N02/sets/72157647296074376/
Facebook:https://www.facebook.com/media/set/?set=a.10204963823042484.1073741907.1448521051&type=1

2 replies on “Mt. St. Helens Rim”
[…] #24 Mt. St. Helens Rim – Hiked 9/7/2014 […]
[…] the ridge we finally could see Mt. St. Helens (and Mt. Adams). Mt. St. Helens (post) to the left and Mt. Adams to the right of the […]