**Note the 2020 Caldwell Fire burned a portion of the Schonchin Butte hike and the 2021 Antelope Fire burned the area around Whitney BUtte.**
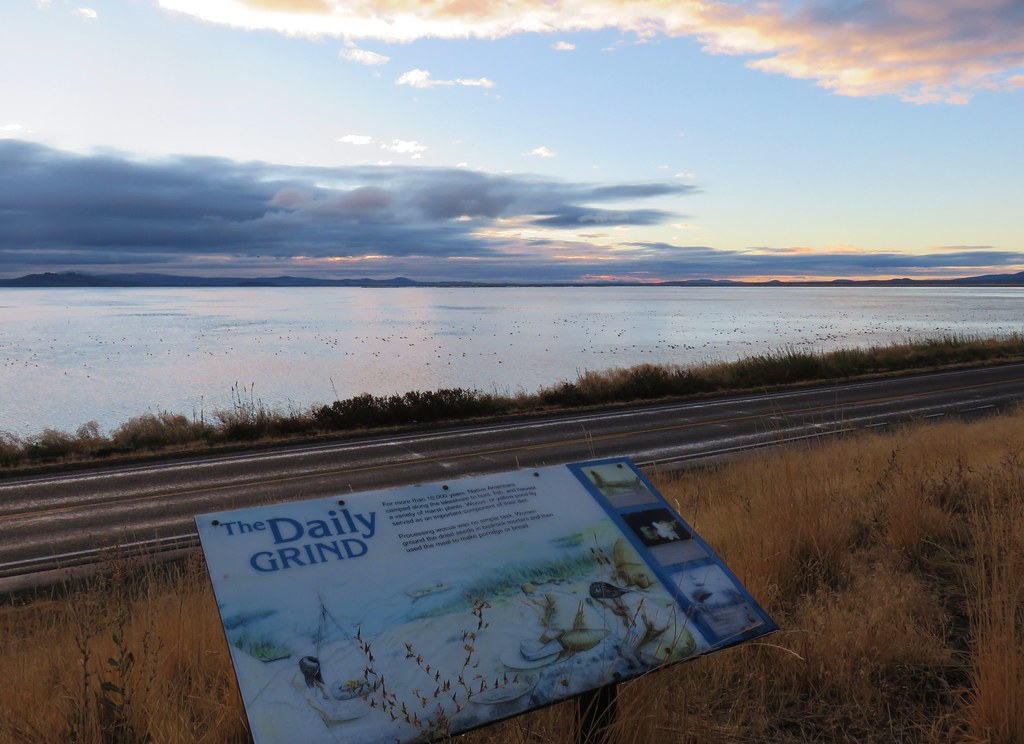
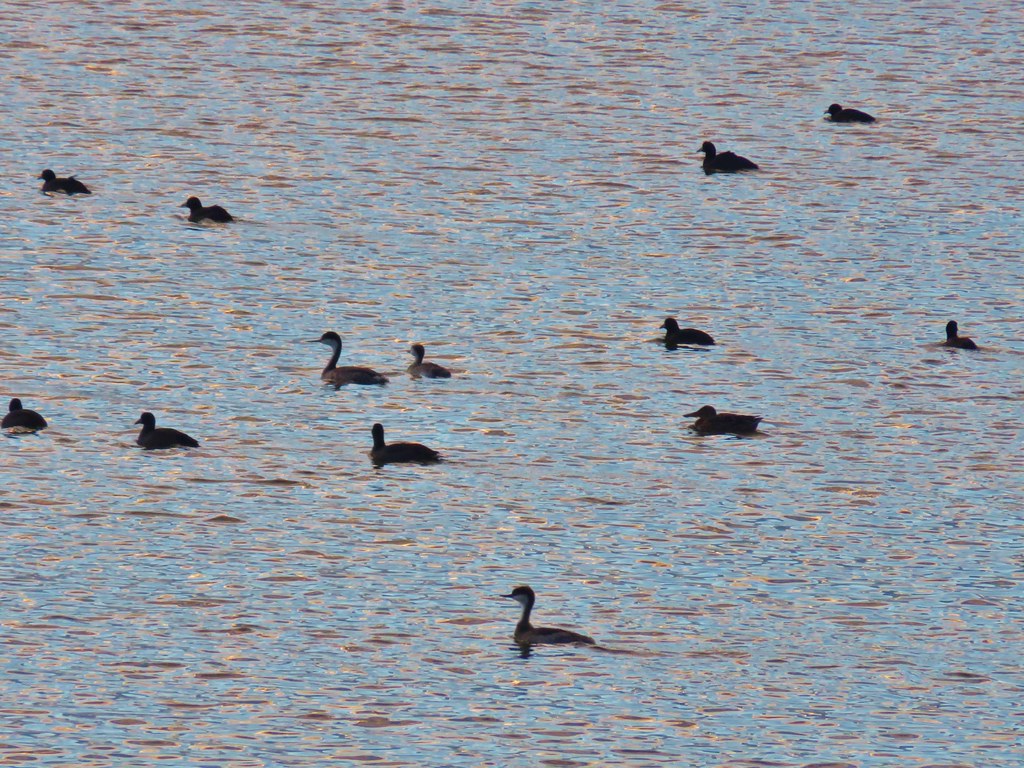
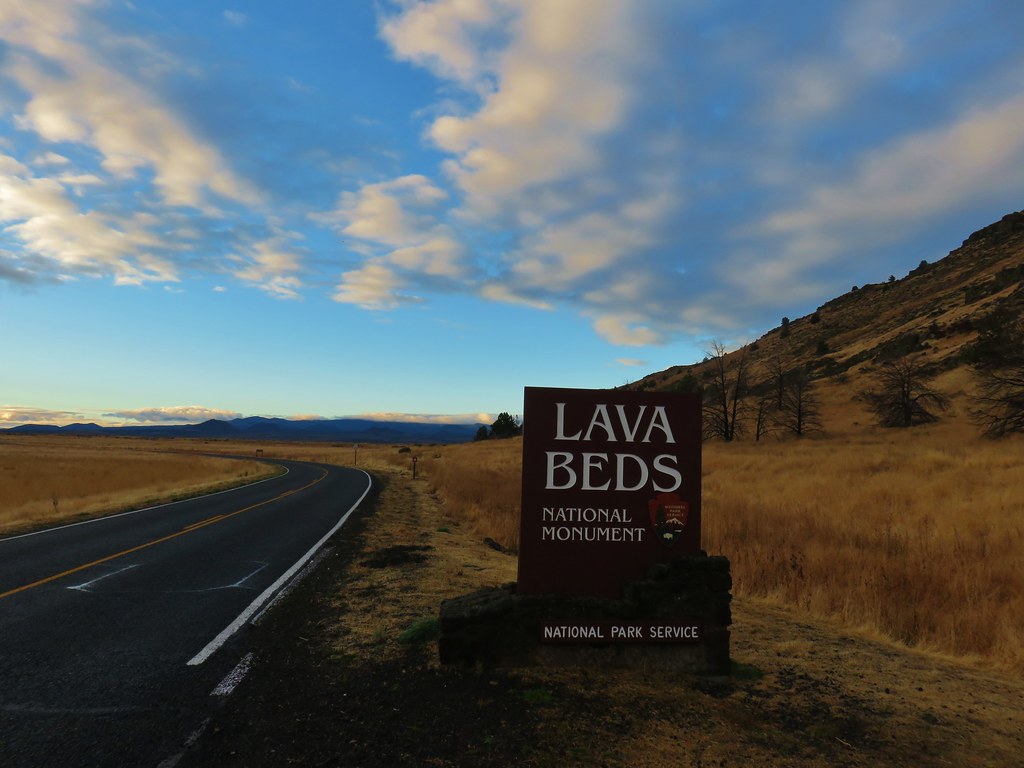
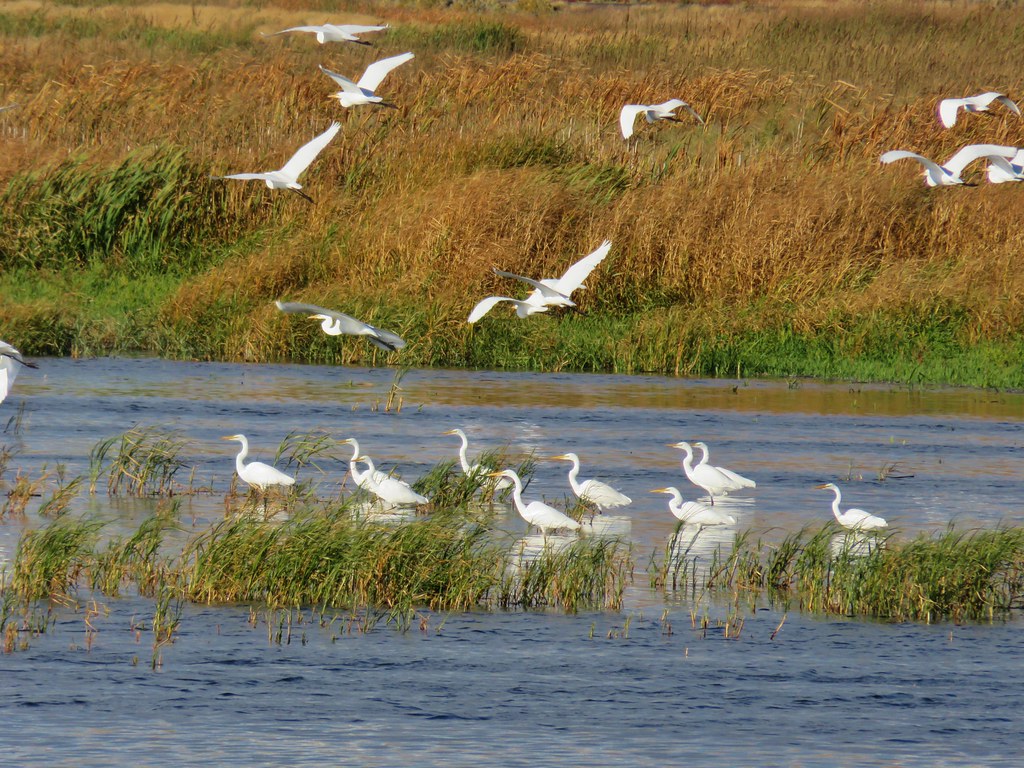
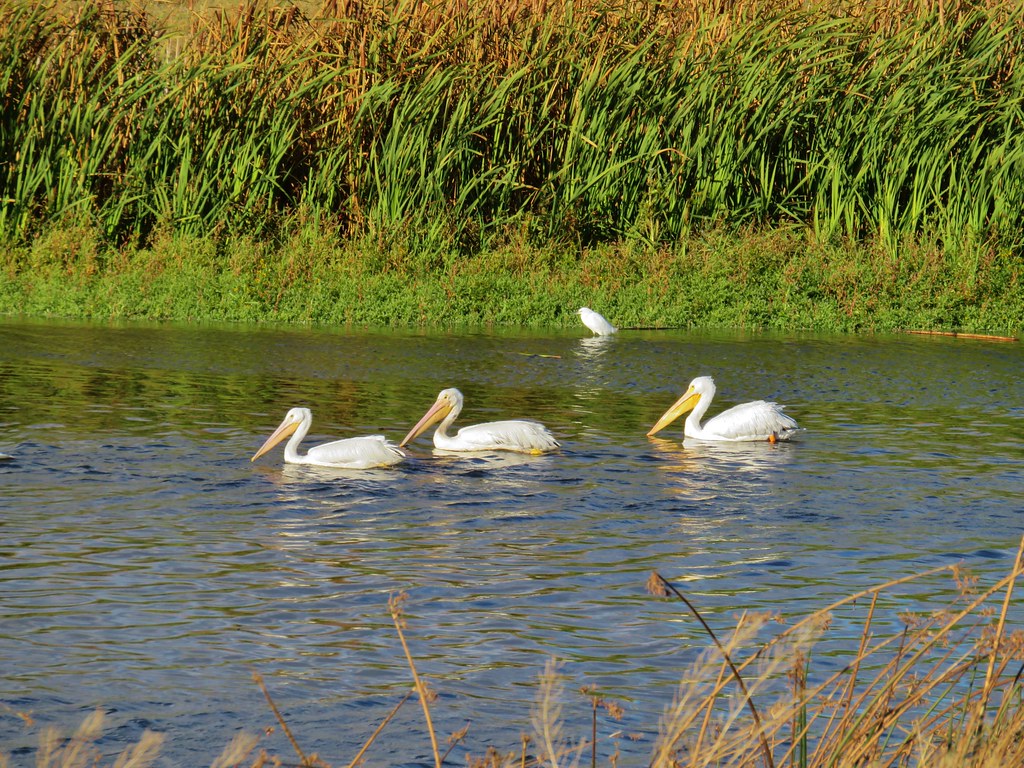
We spent the second day of our Klamath Falls trip in California visiting the Lava Beds National Monument. It had started raining Friday afternoon and continued overnight, but by morning the clouds were beginning to break up leaving scattered showers to make their way across the landscape. This made for some dramatic scenery on our drive from Klamath Falls to the National Monument, especially along Tule Lake. We took advantage of a couple of the numerous pullouts that are part of the Tule Lake National Wildlife Refuge to admire the colorful sky and numerous waterfowl on the lake.


The fee booth (currently $20/per car) was closed at the north entrance of the Monument so we had to drive to the Visitor Center to obtain a pass which was 9.7 miles away.
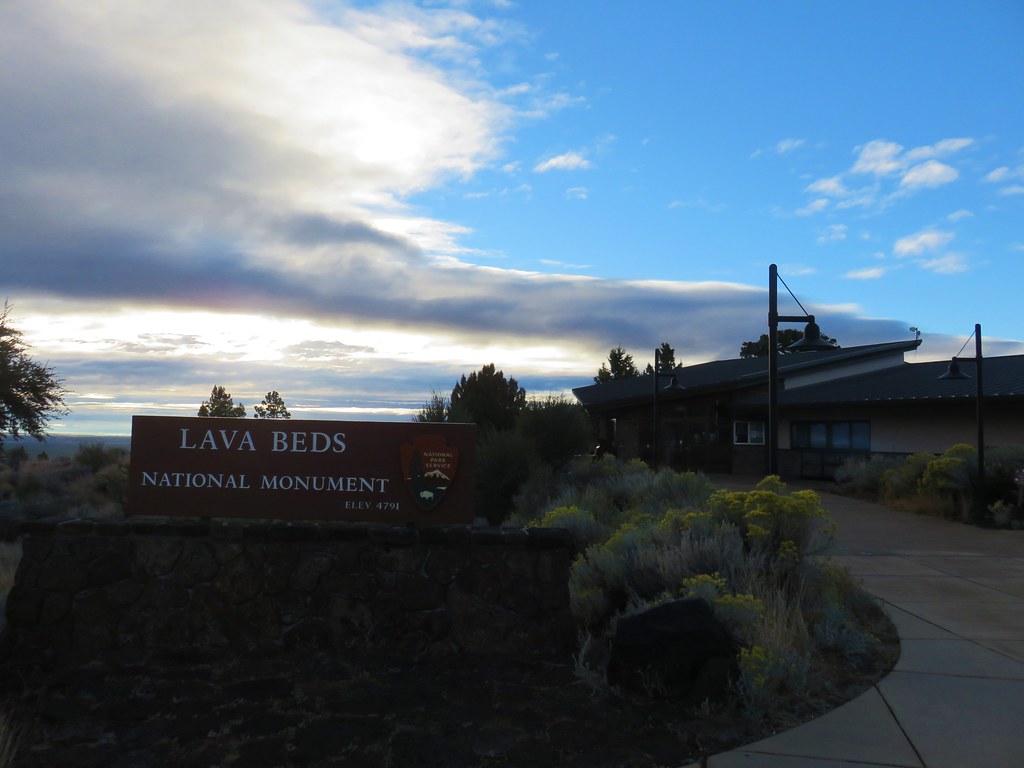
It was a little before 8am and the Visitor Center didn’t open until 9am but we were able to pay with a fee envelope. What we couldn’t do was obtain a cave permit though, which are required to visit any of the area caves. The threat of White Nose Syndrome has made screening by Park Rangers necessary. We’d need to come back for that but in the meantime we headed back north to the Black Crater Trailhead.
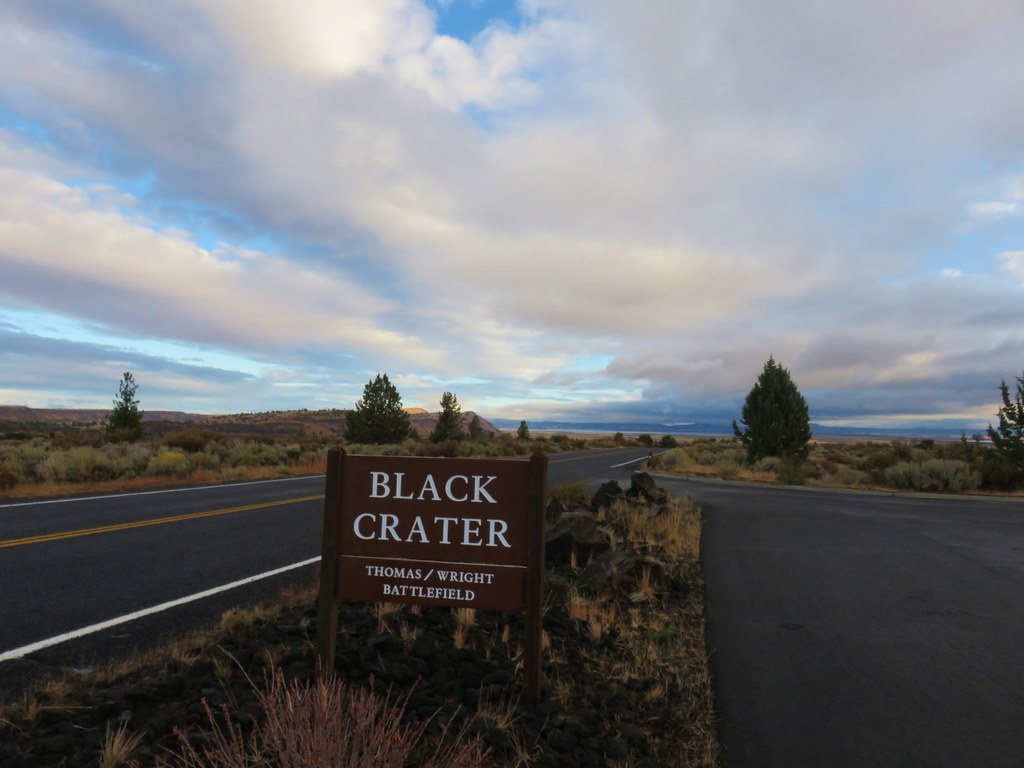
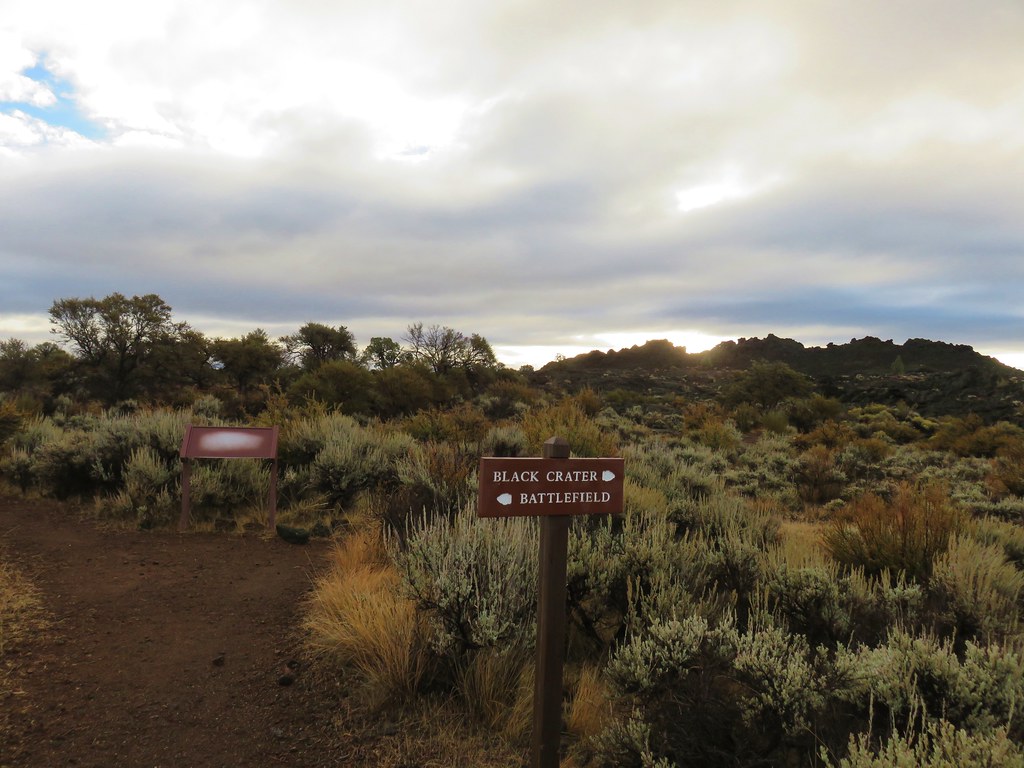
From this trailhead there were two destinations, Black Crater and an overlook of the Thomas-Wright battlefield.
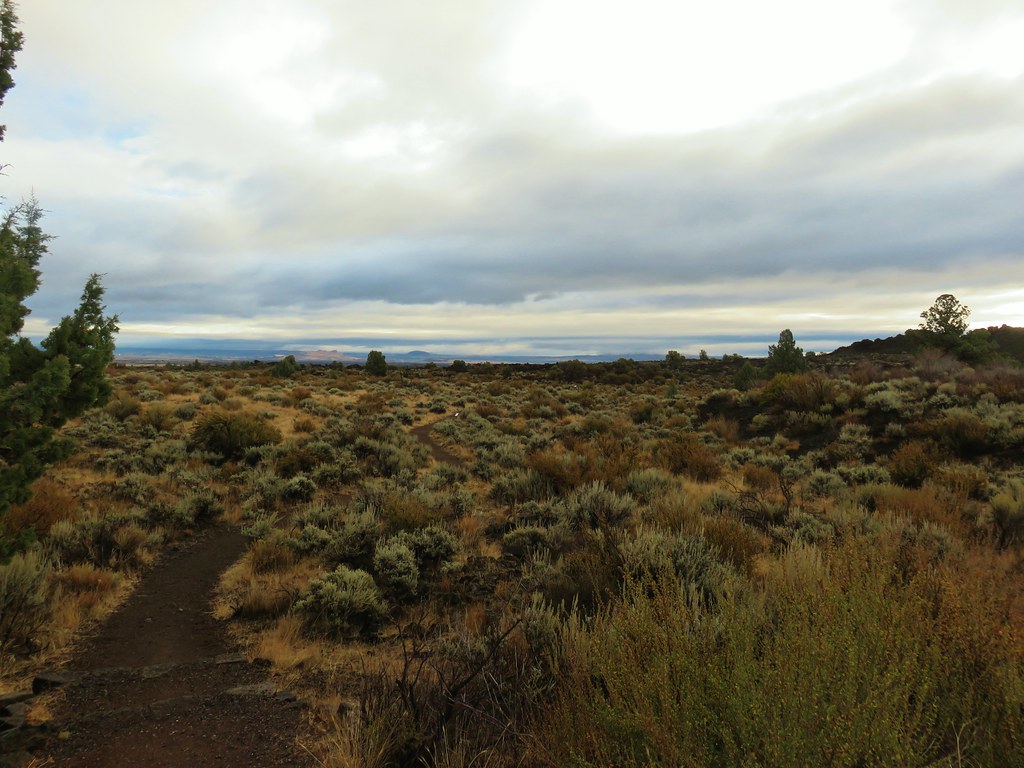
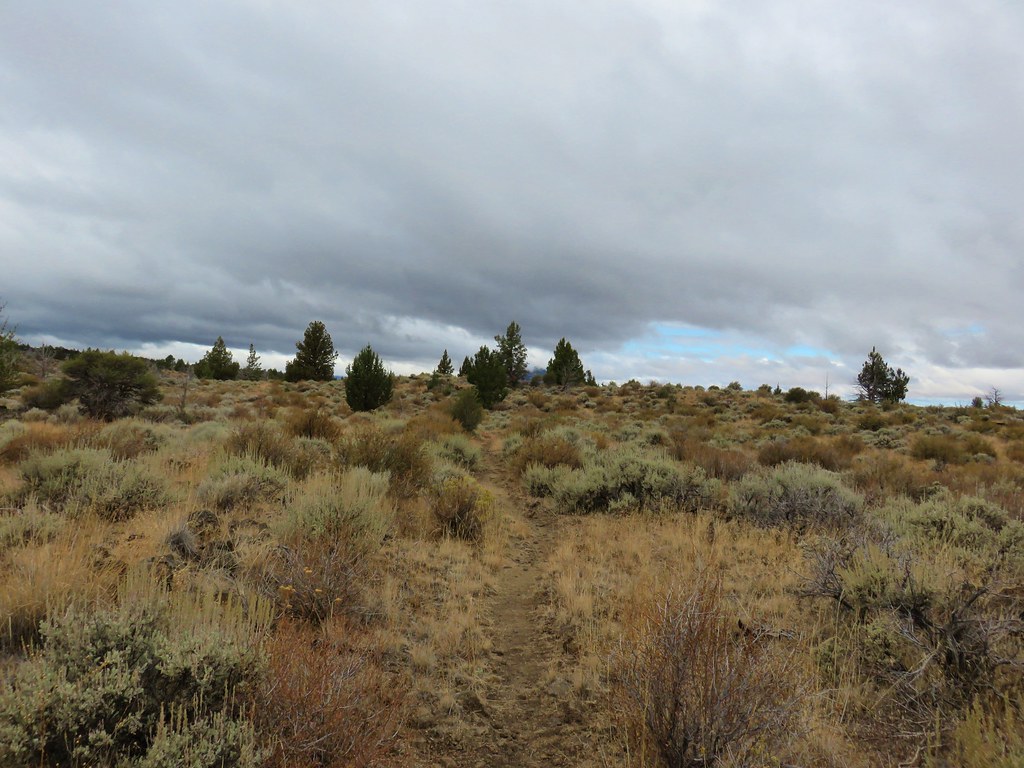
Each destination shares the first tenth of a mile of trail. The overnight rain had brought out the sweet smell of sagebrush to which Heather pointed out that smell is one thing that you can’t capture in photos.
We decided to visit Black Crater first and took the right hand fork when the trail split.
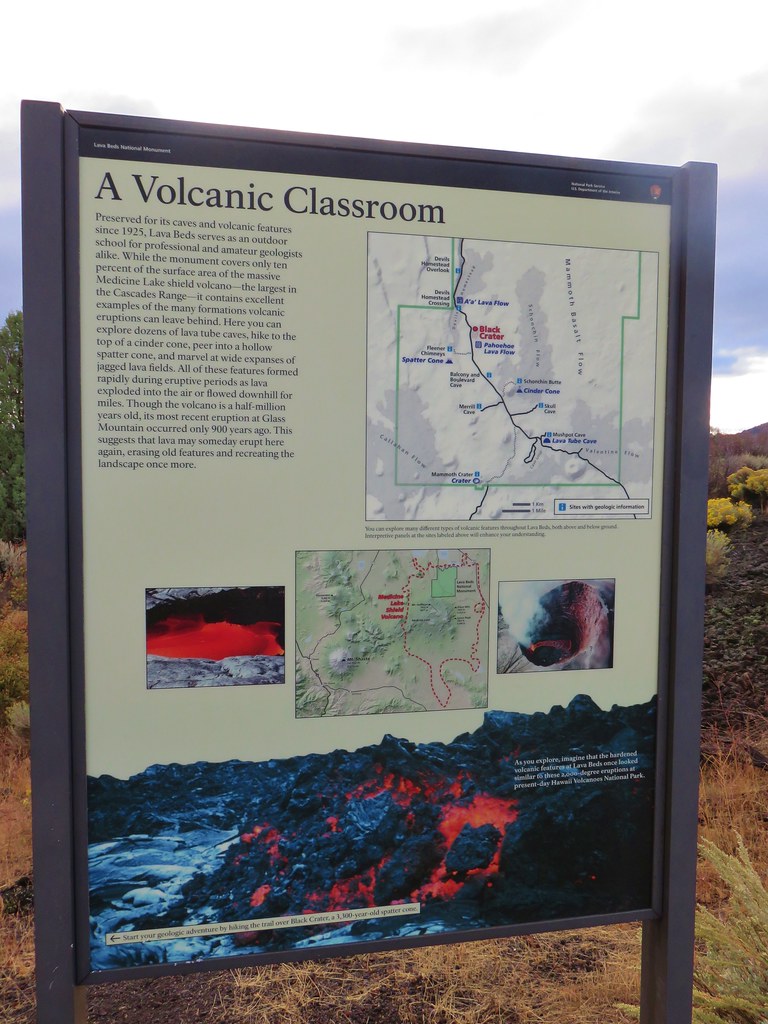
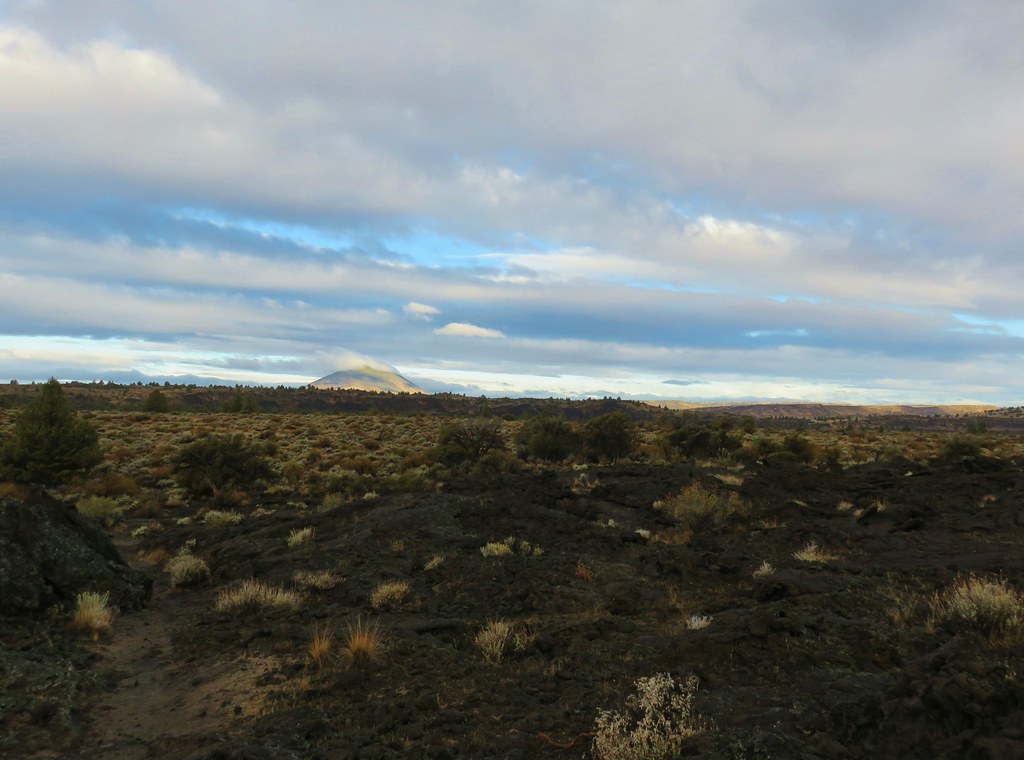
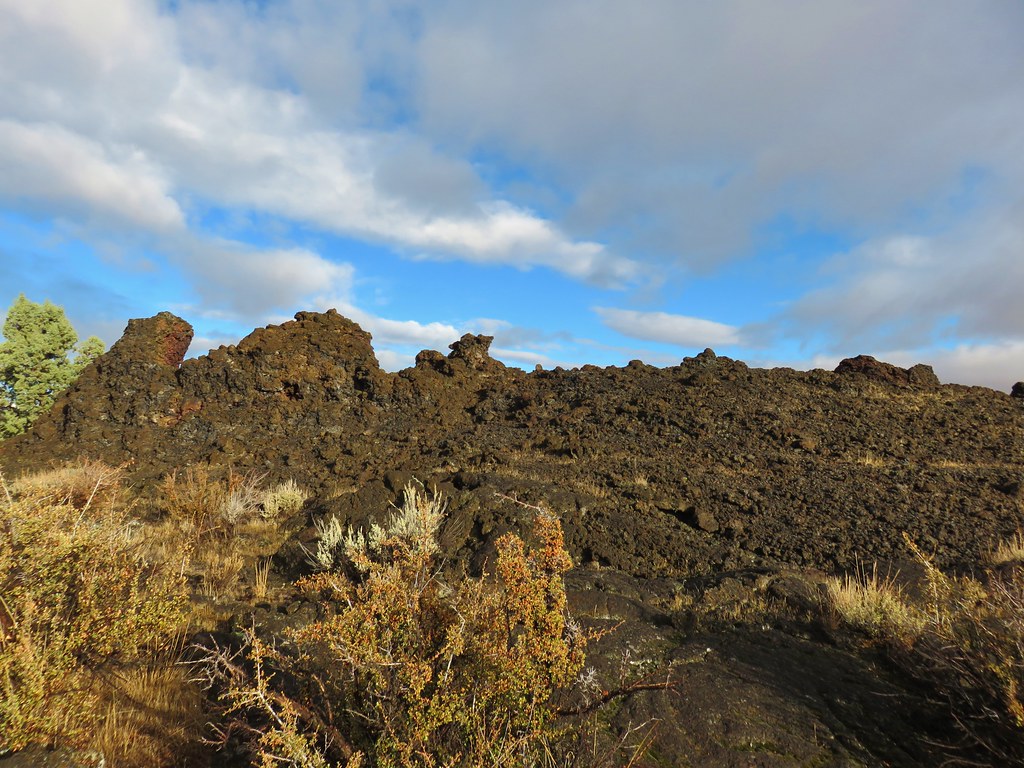
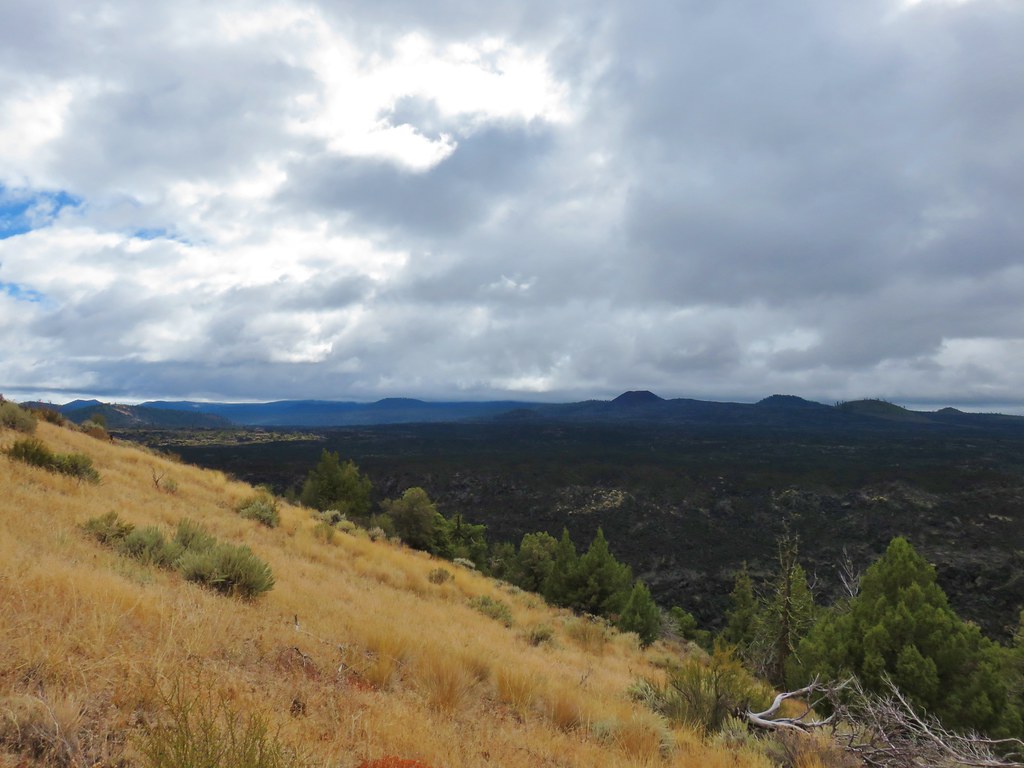
This trail passed over a lava flow arriving at the start of a short .3 mile loop that climbed up and around part of the splatter cone. We took notice of a peak to the NW that appeared to have a cloud stuck to its summit. It turned out to be Mount Dome, and for much of the rest of the day we kept watch on this peak to see if it would ever be cloud free.
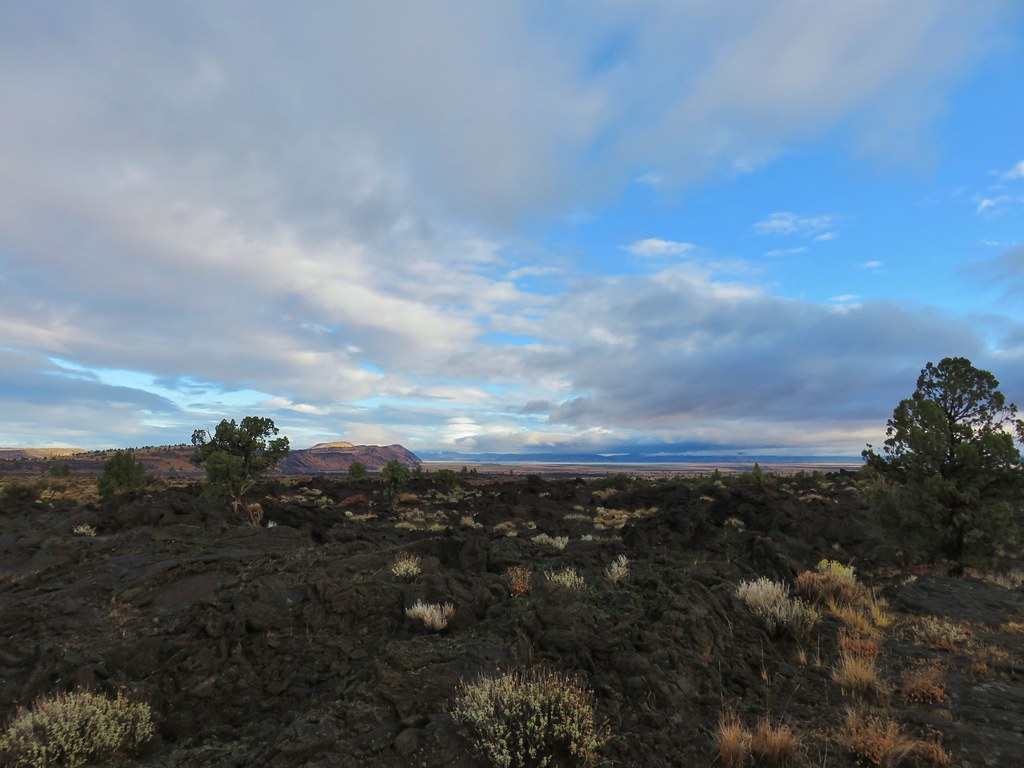 Tule Lake

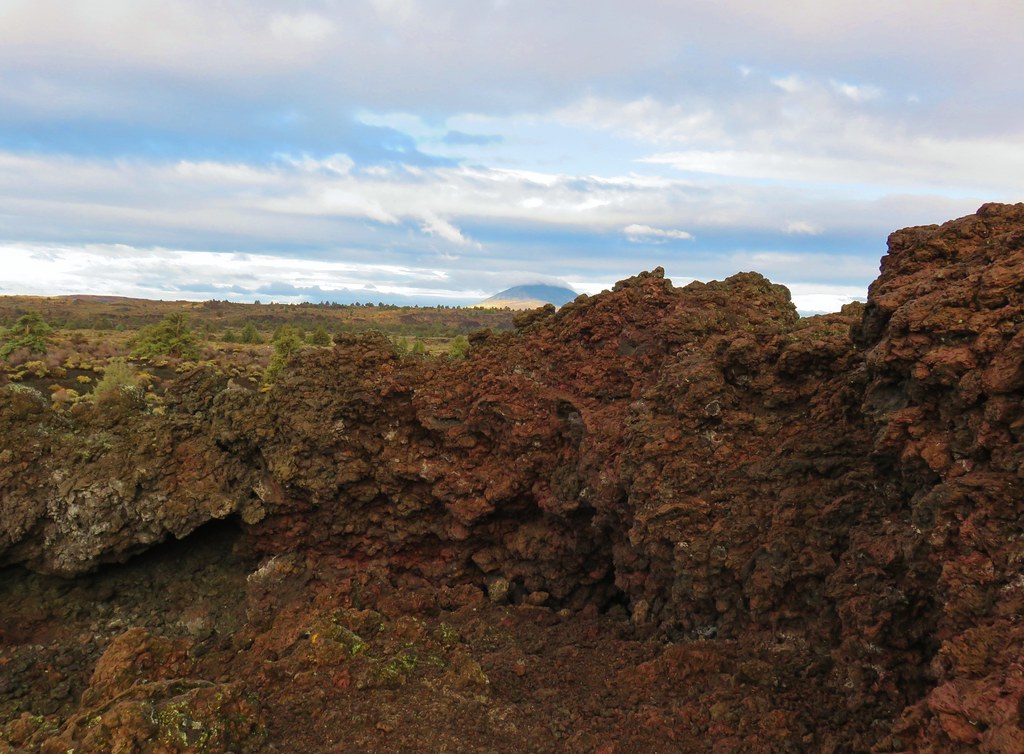
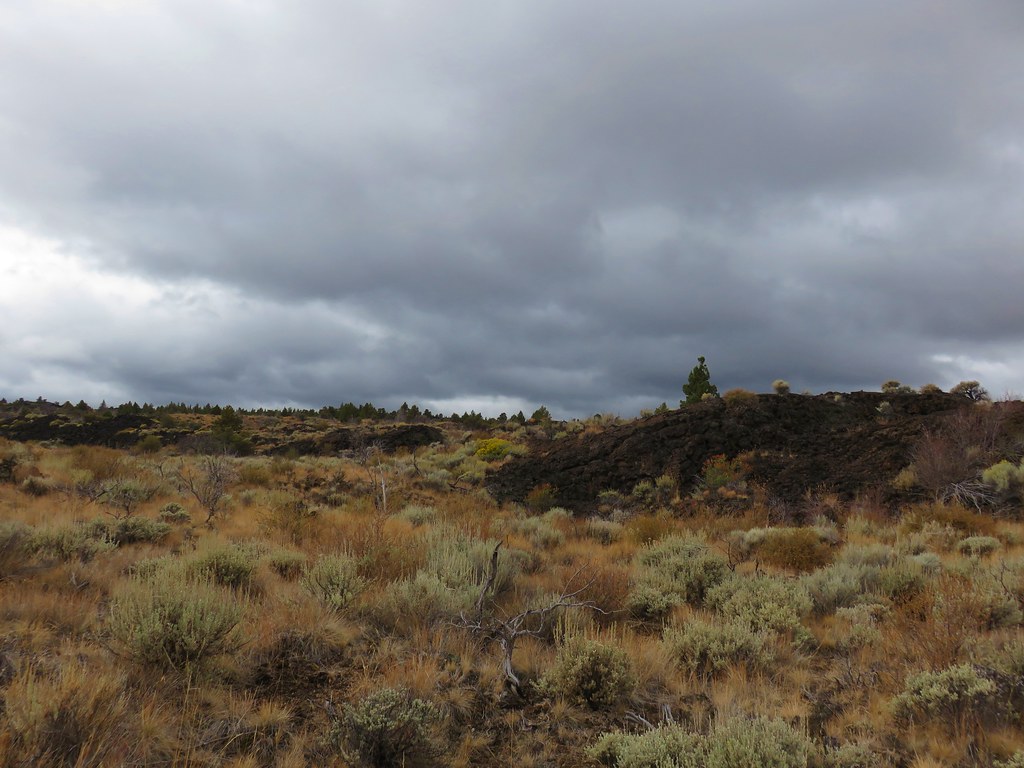
Although not nearly as large, Black Crater did remind us a little of Coffee Pot Crater which we’d visited in June (post).
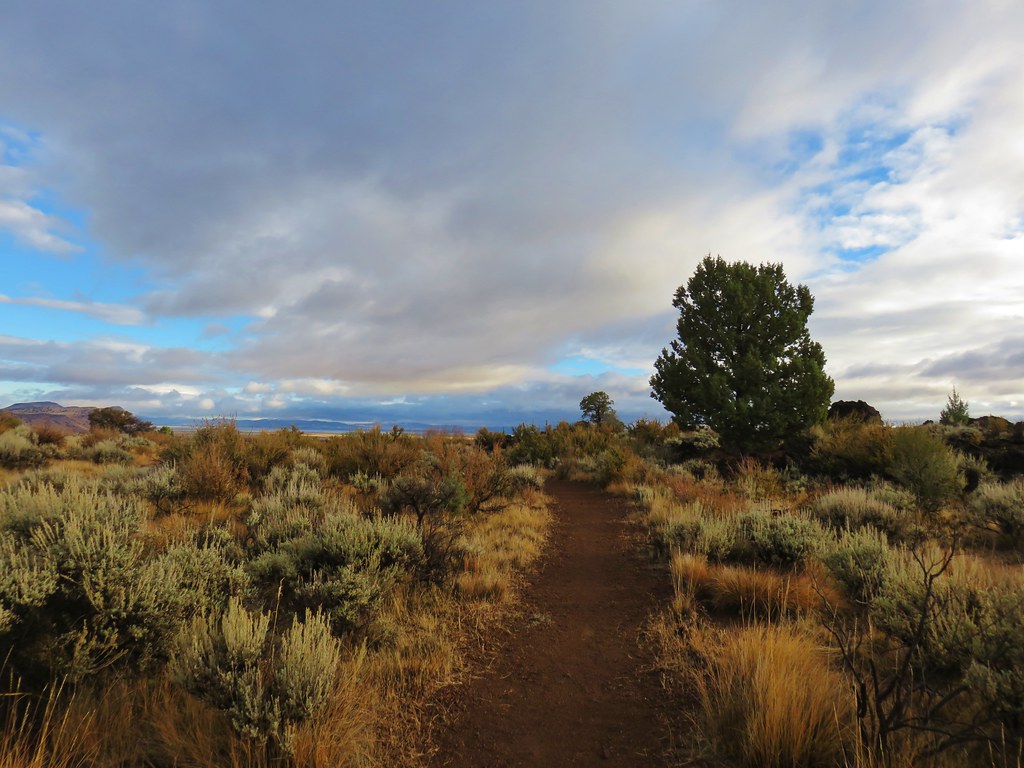
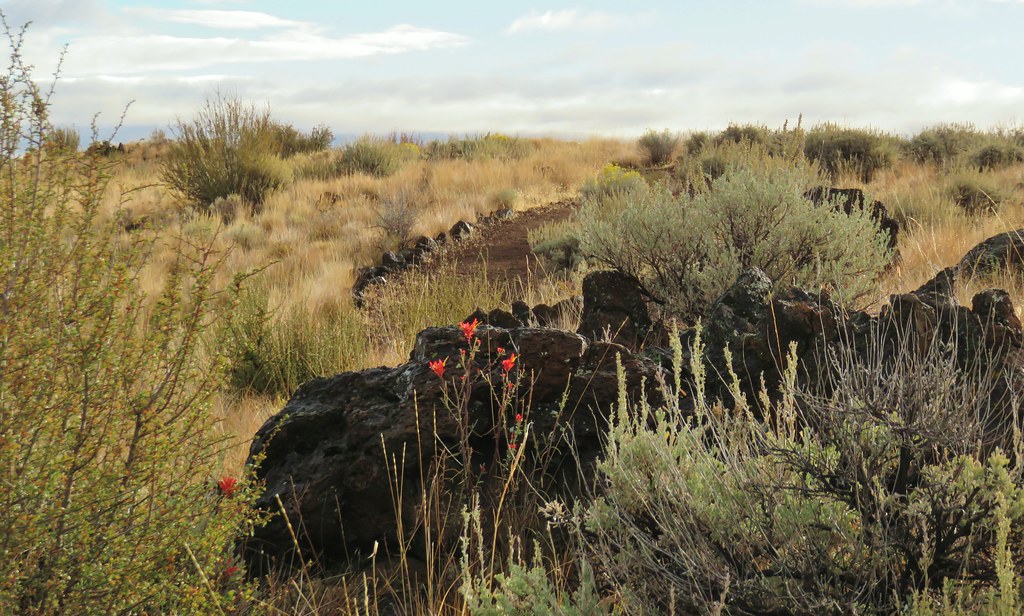
After completing the loop we headed for the battlefield. It was just over a mile from the fork to the viewpoint and the trail spent this time passing volcanic formations and a few lingering wildflowers.


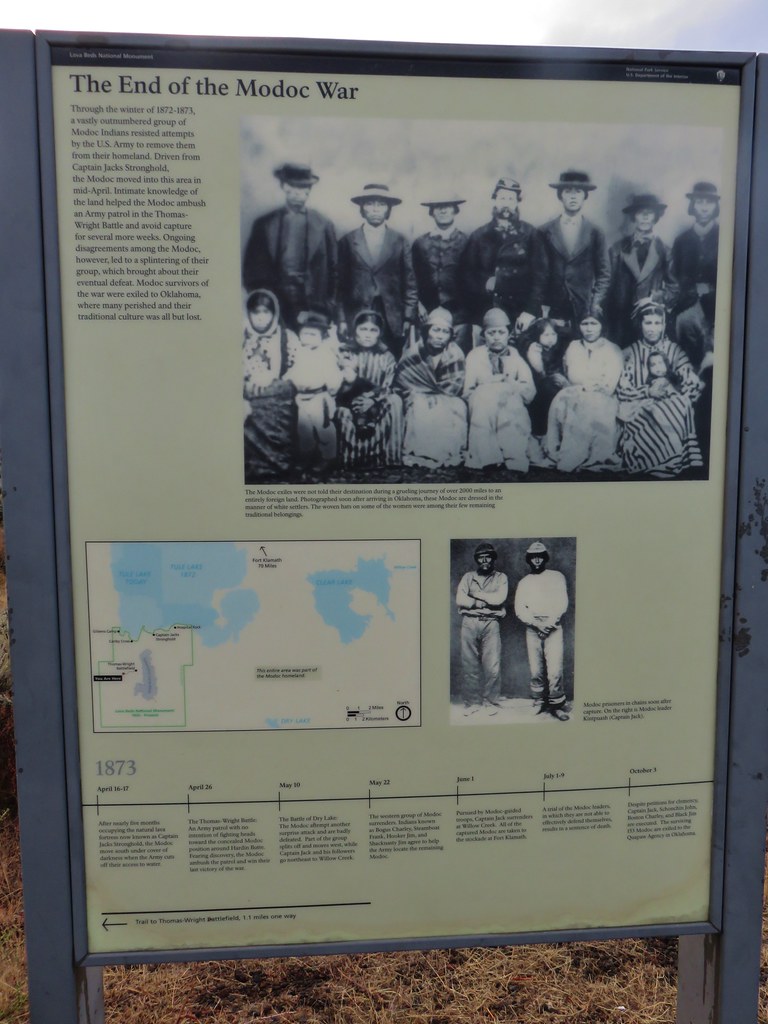
The Thomas-Wright battle took place on April 26, 1873 when an Army patrol was defeated by the Modocs.


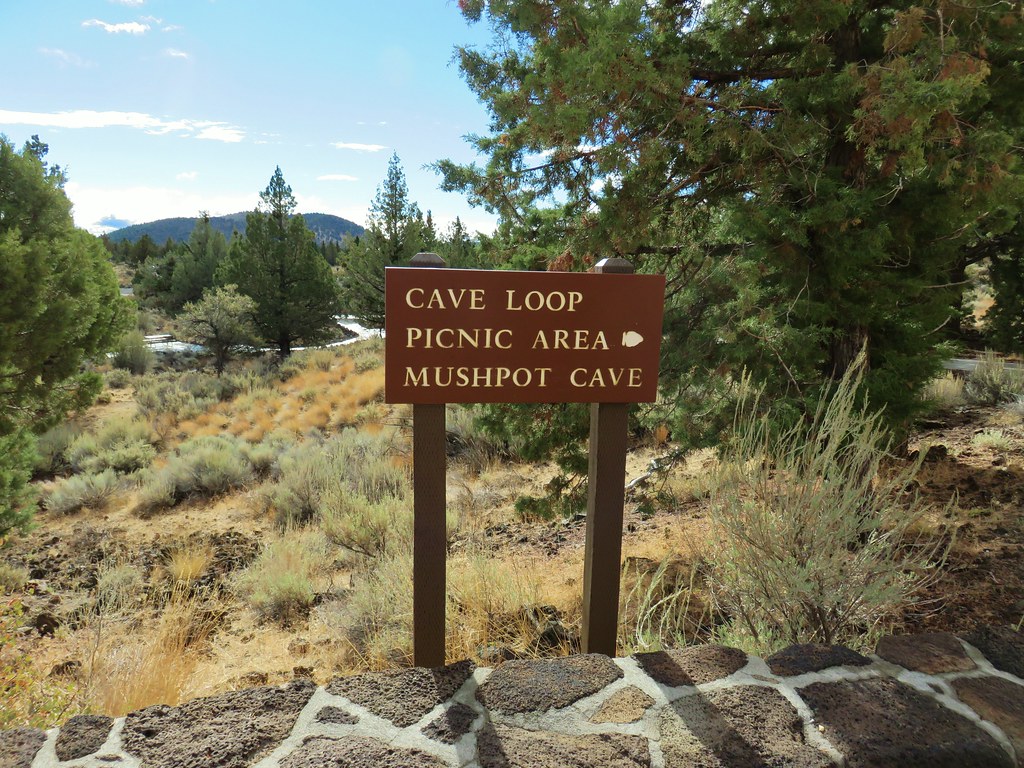
After reading up on the battle we headed back to the trailhead and drove back to the now open Visitor Center. We spent some time looking at the displays inside before obtaining our cave permit. We hung the permit in our car and headed for Mushpot Cave. After initially starting to drive Cave Loop Road we realized that Mushpot Cave was actually right next to the Visitor Center so we turned around and parked back once again at the center.
At the far end of the center we spotted the sign for the cave.
A .2 mile paved path led to the entrance of the lava tube.
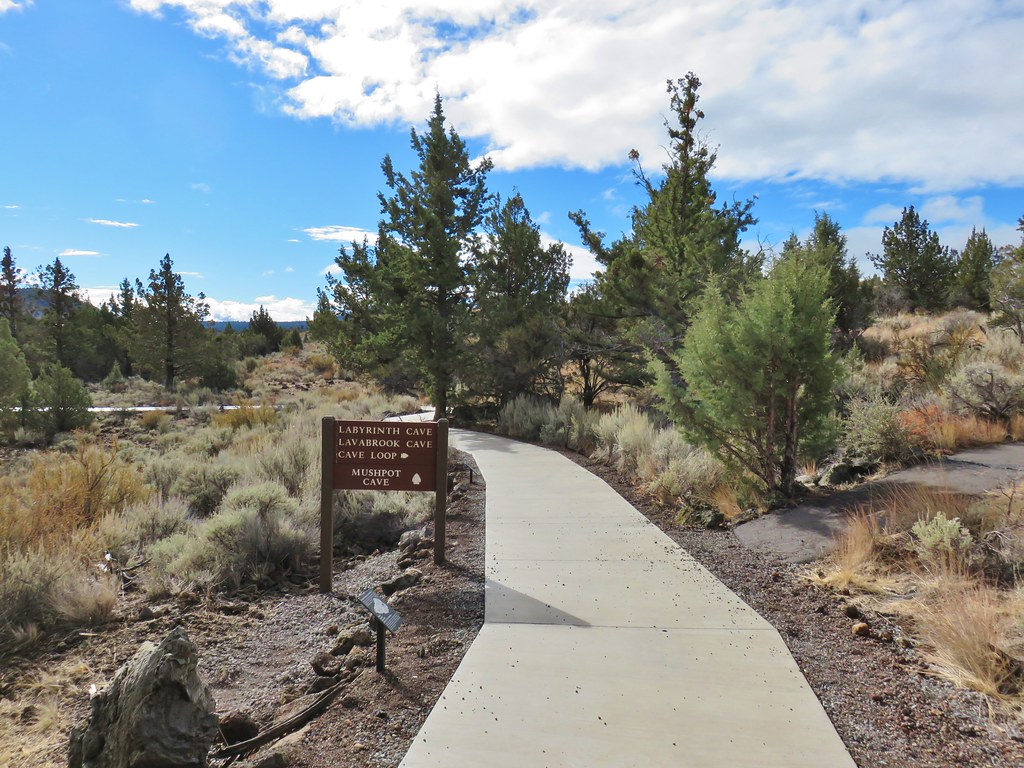


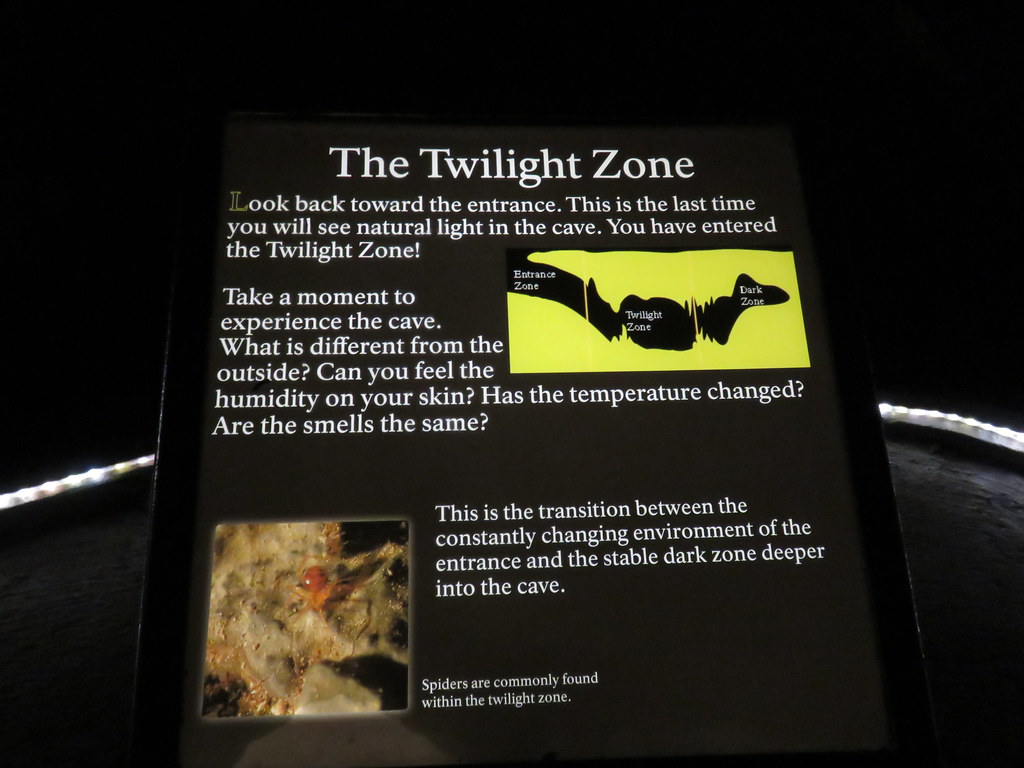
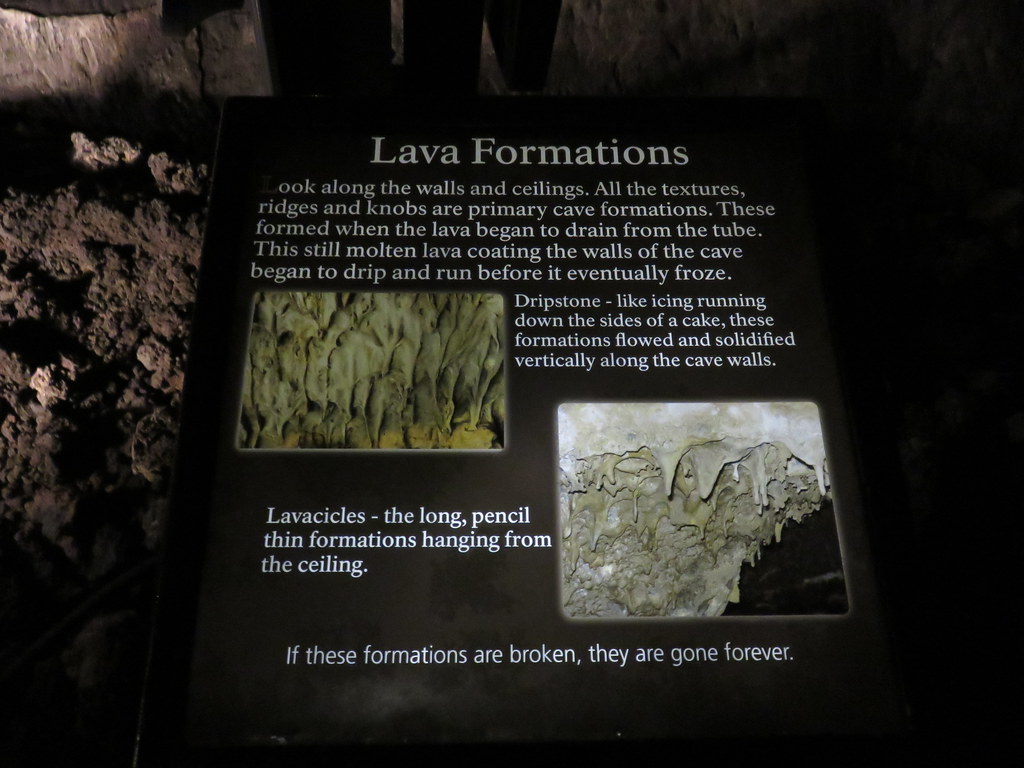
This is the only lighted cave in the Monument and also featured a paved path lined with interpretive signs.

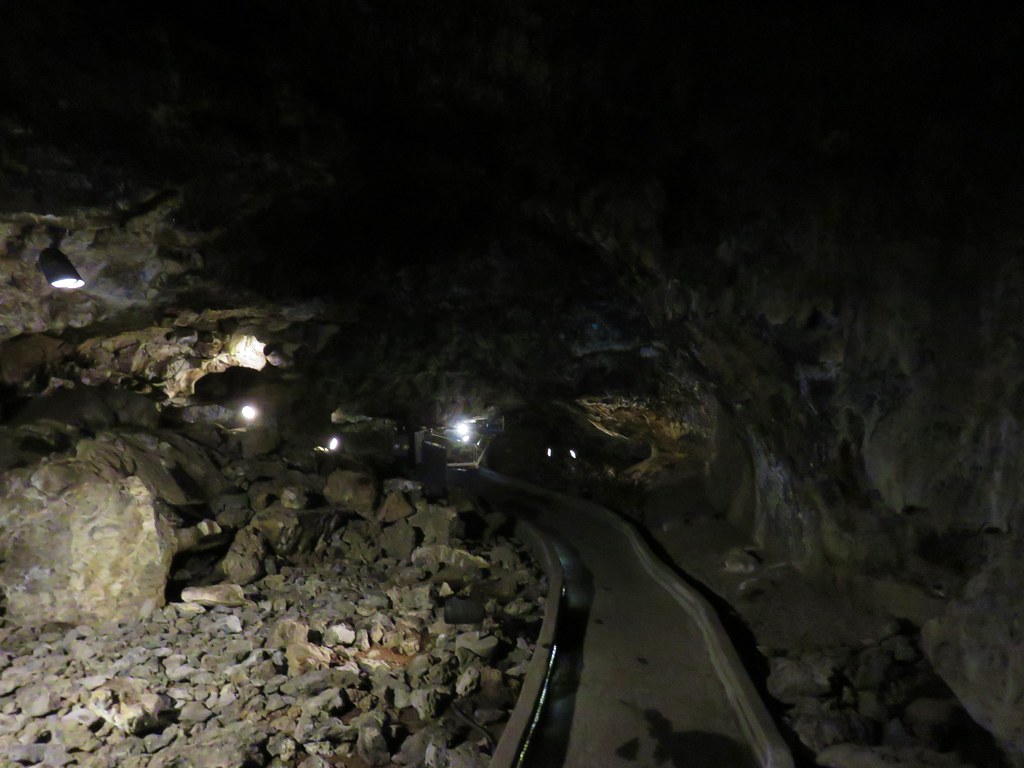
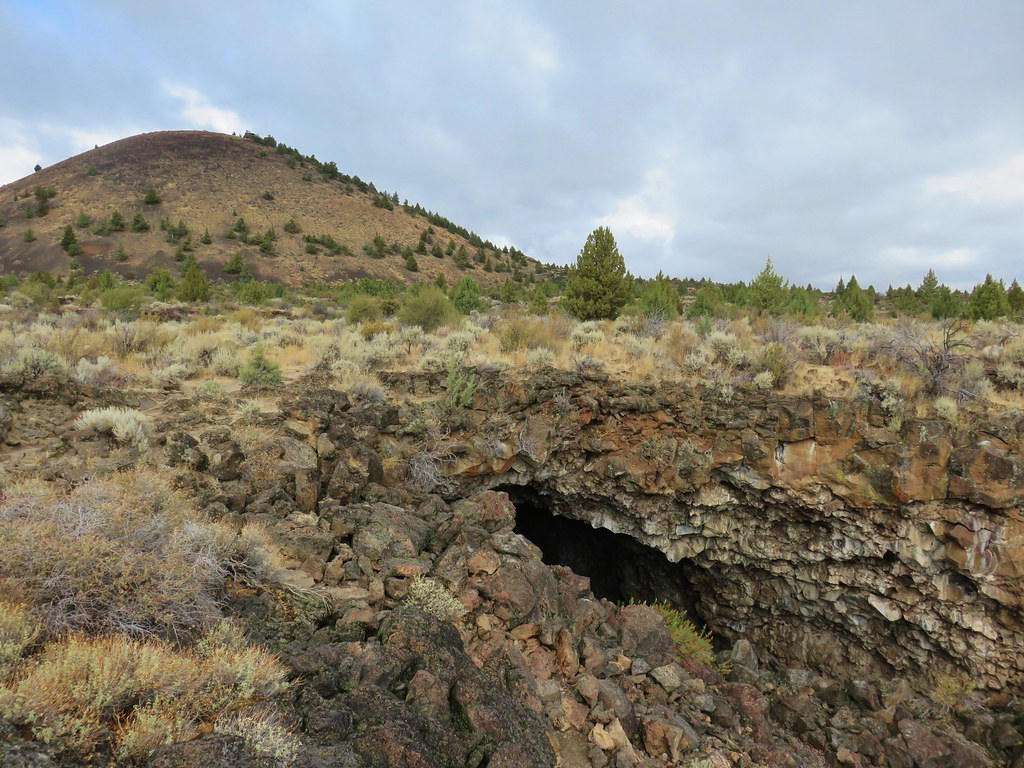
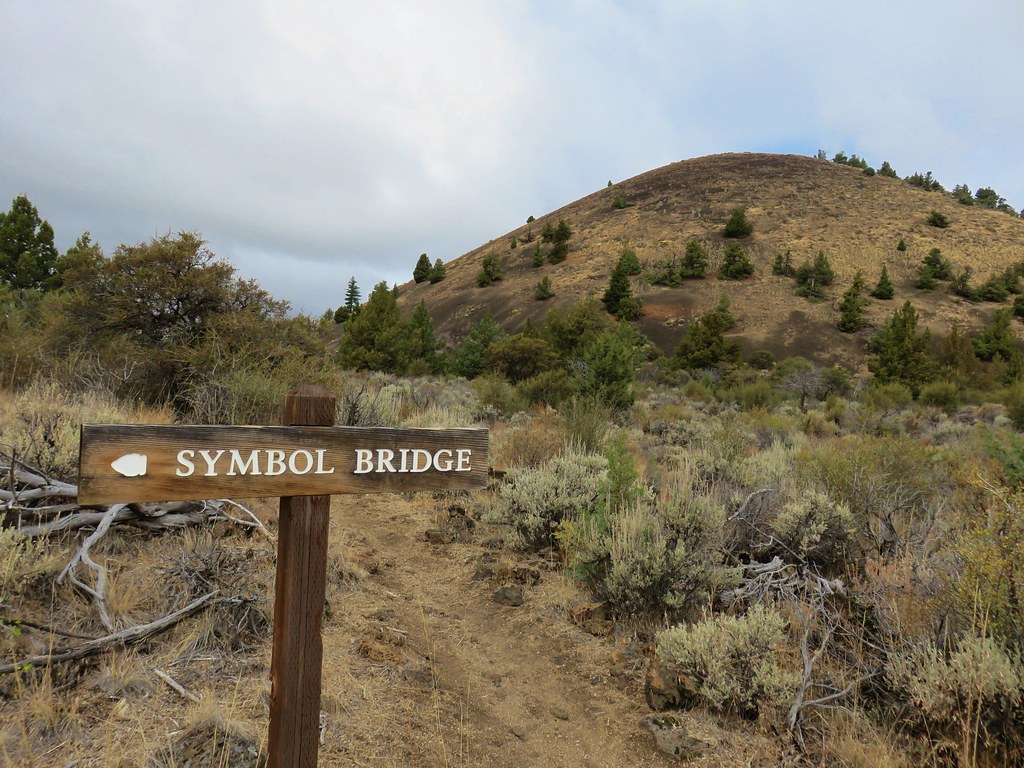
The lava tube is 770′ in length and does have a spot or two where we needed to duck under the low ceiling. We exited the cave and returned to our car. Since we were only there for the day we skipped the rest of the caves along the loop (a few were closed for bat mating season). Instead we drove north, once again, from the Visitor Center to a sign for Skull Cave where we turned right. After a mile we pulled into a small trailhead parking area for Symbol Bridge and Big Painted Cave.

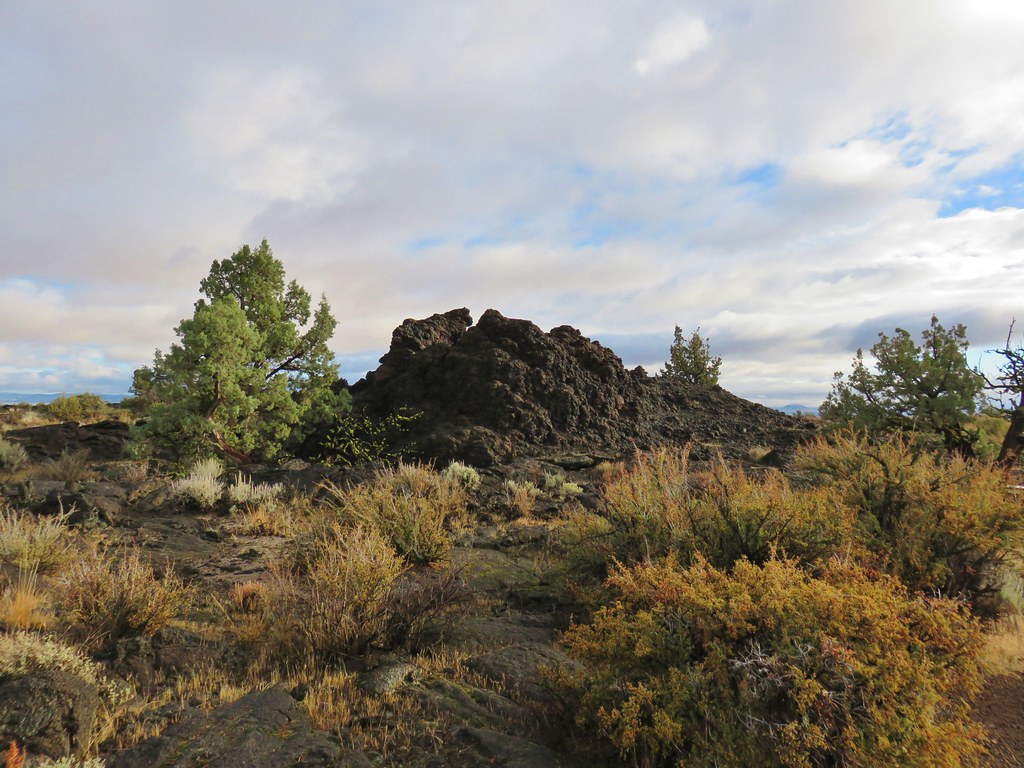
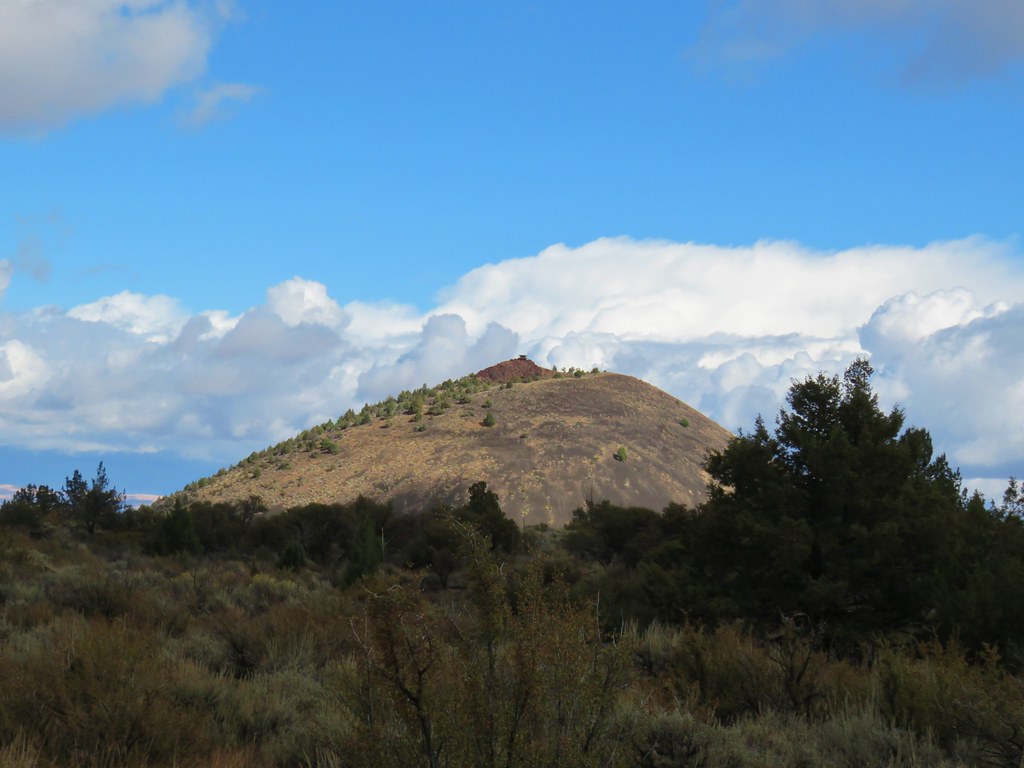
The short trail here passes several collapsed sections of a lava tube and offers a good view of Schonchin Butte.
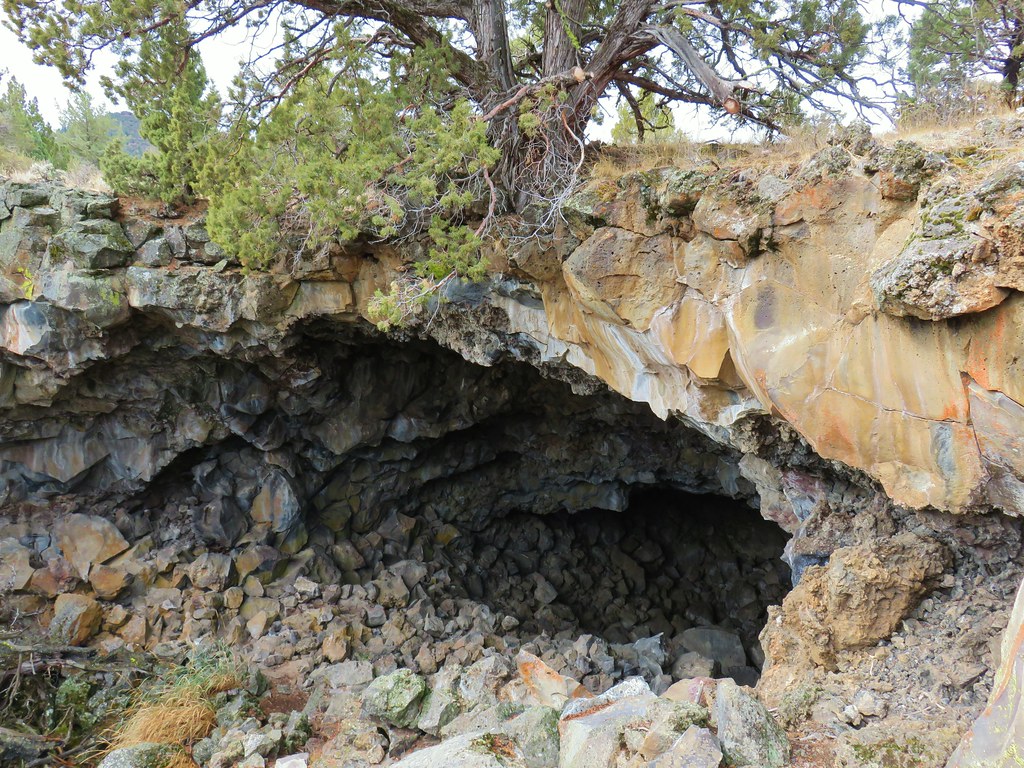
We turned left at a sign for Big Painted Cave.

The signed cave entrance was only about 100′ along the spur trail.

More of an overhang than a cave, a path led down to the entrance.
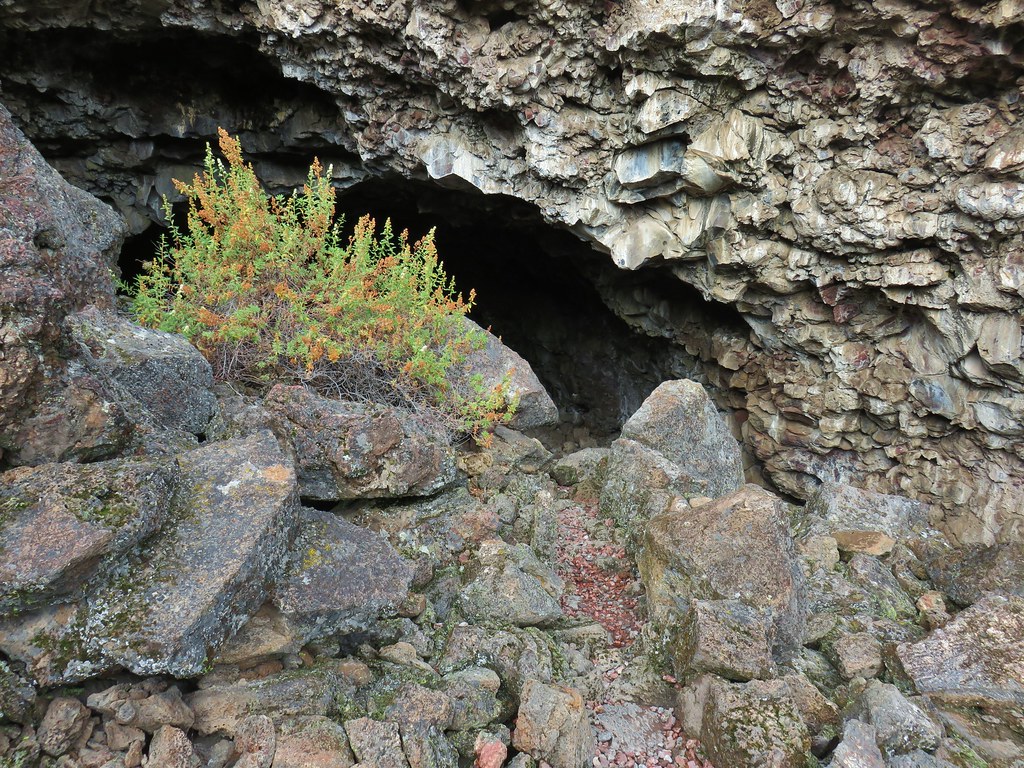
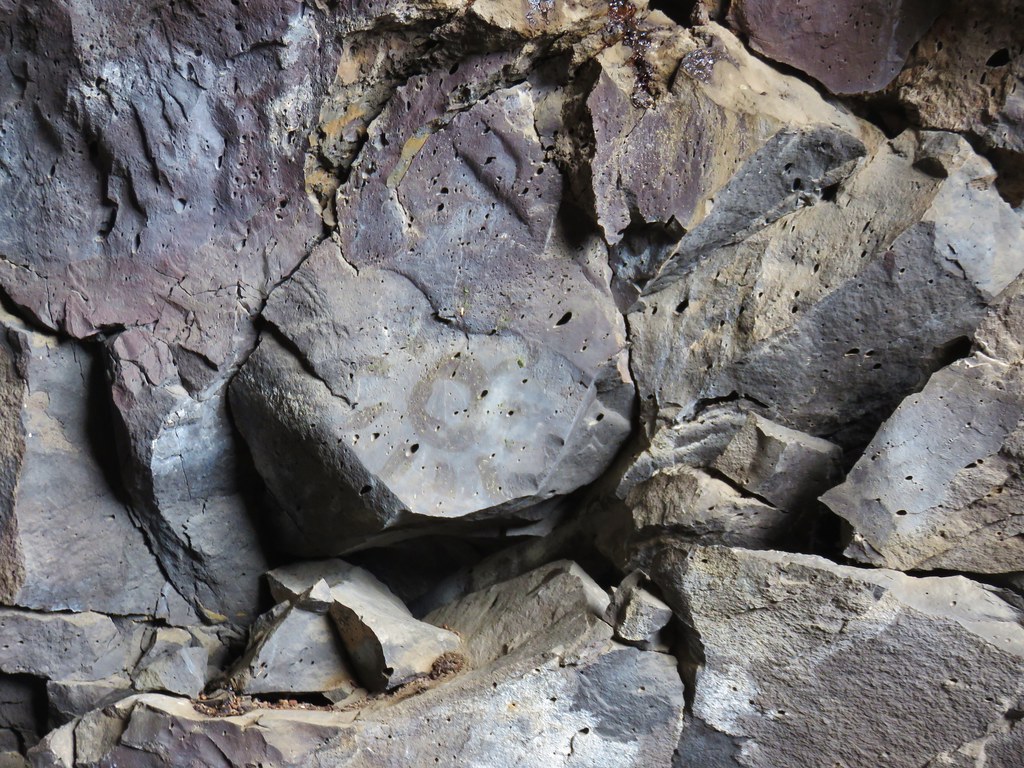
We honestly couldn’t make out any of the pictographs, the colored rocks made it difficult to tell what was natural and what wasn’t. It’s been a common theme for us when visiting pictograph sites.
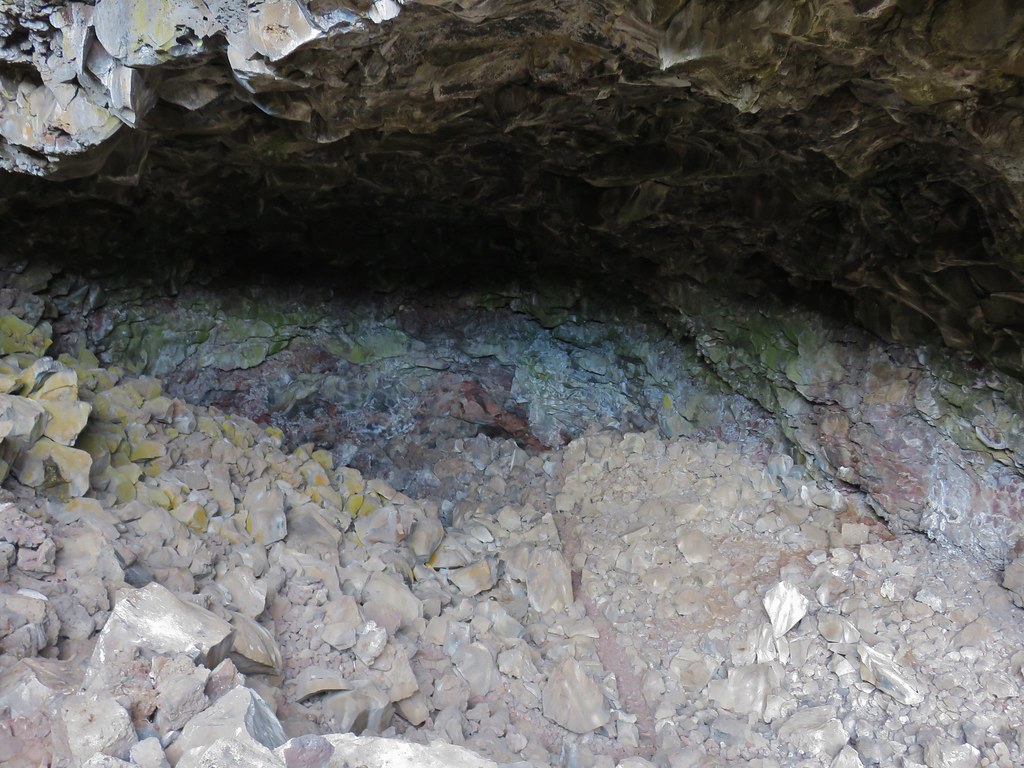
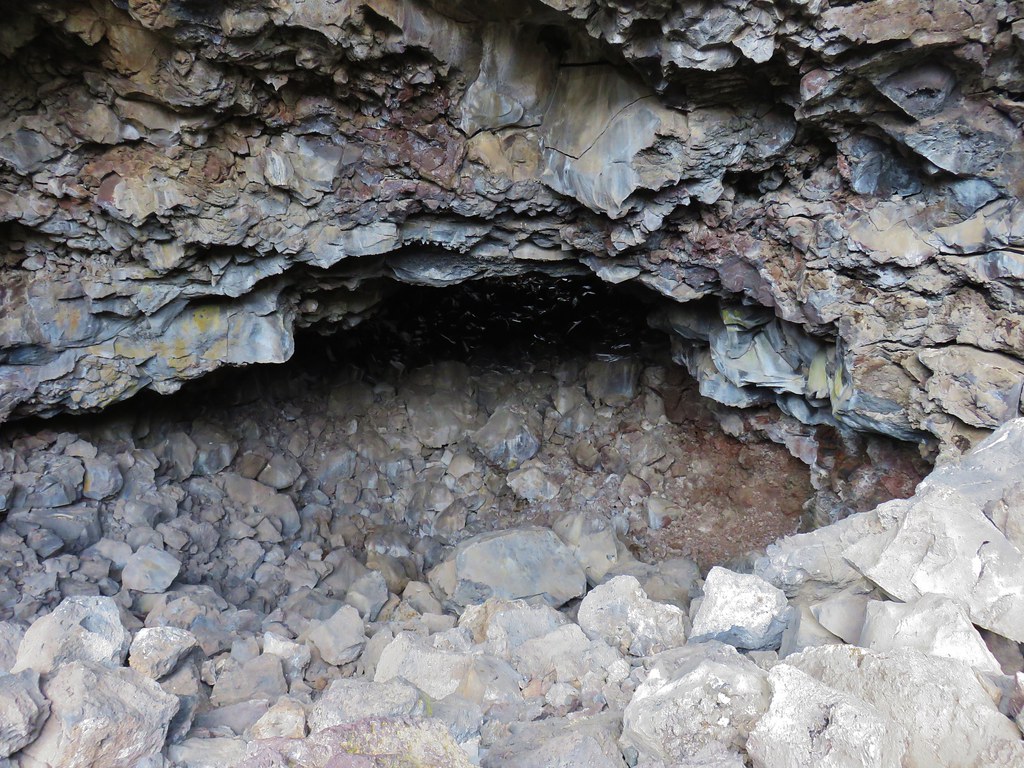
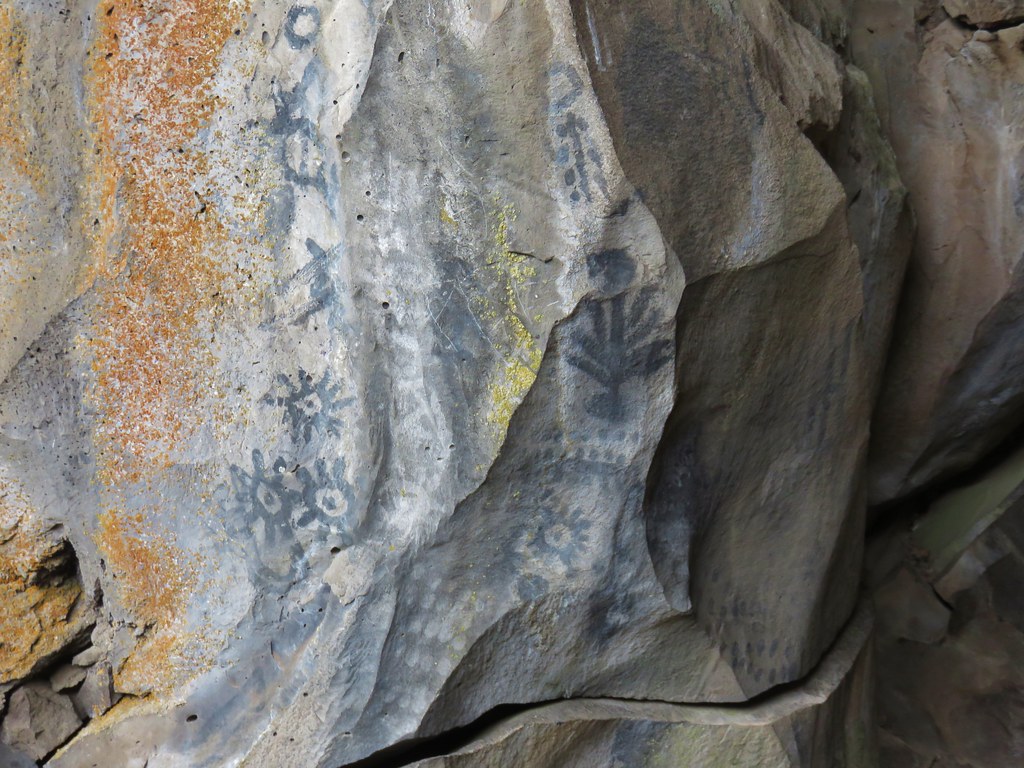
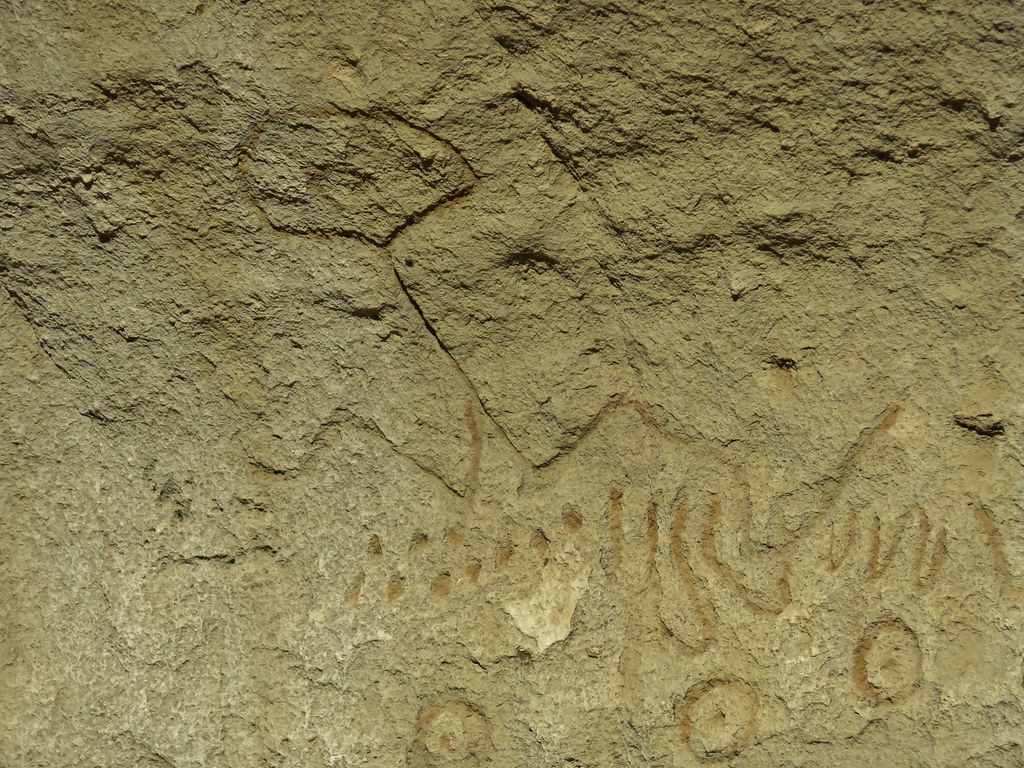
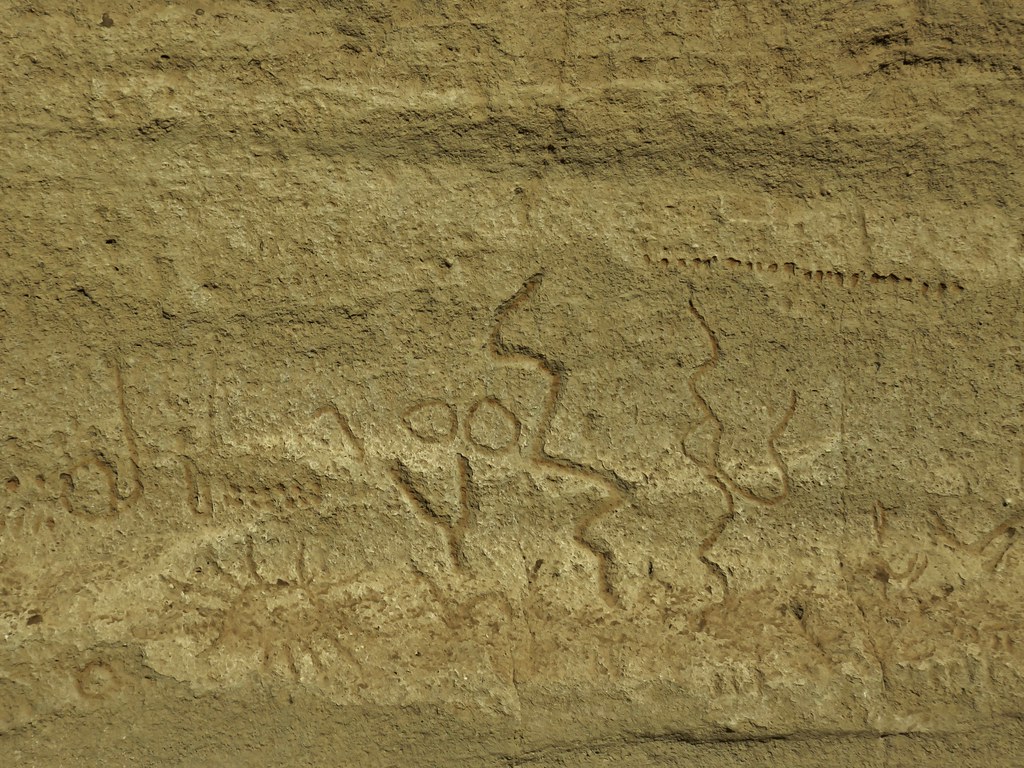
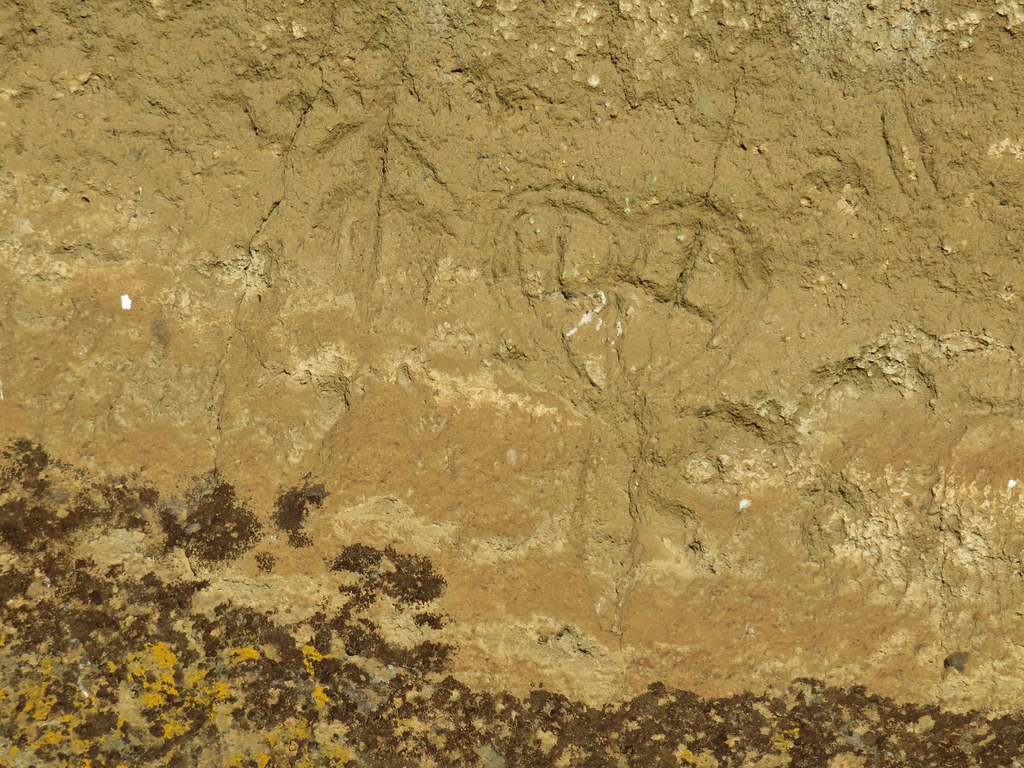
We returned to the main trail and continued the short distance to Symbol Bridge.

Again a short path led down to the cave entrance, but this time the pictographs were clearly evident.

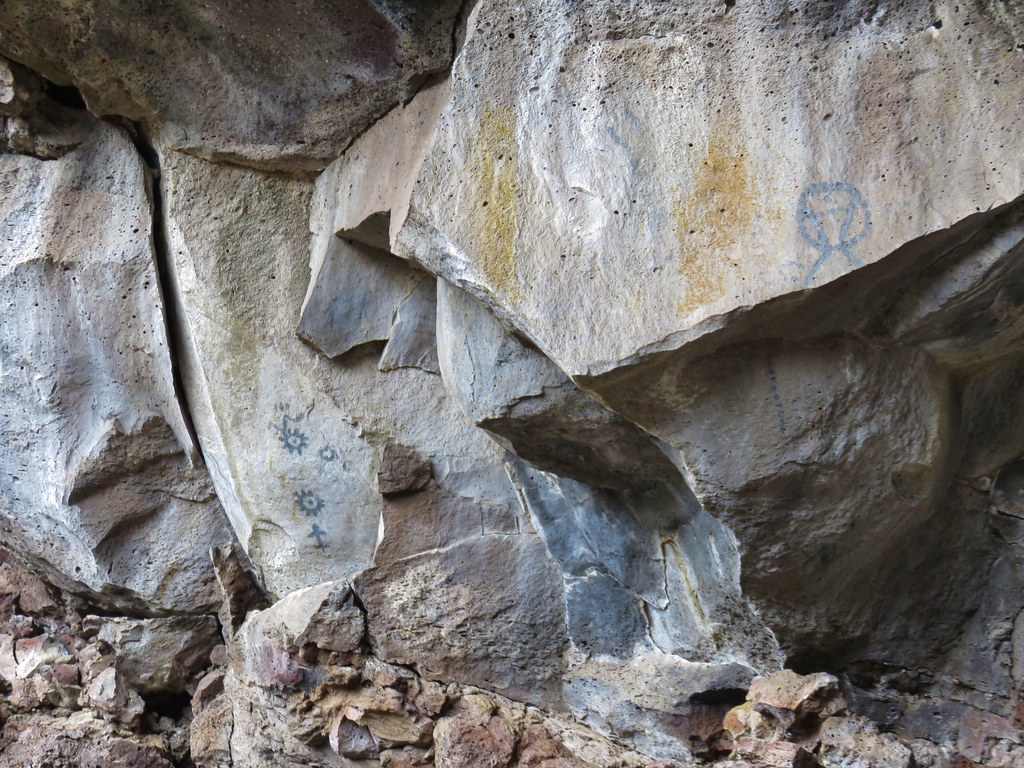
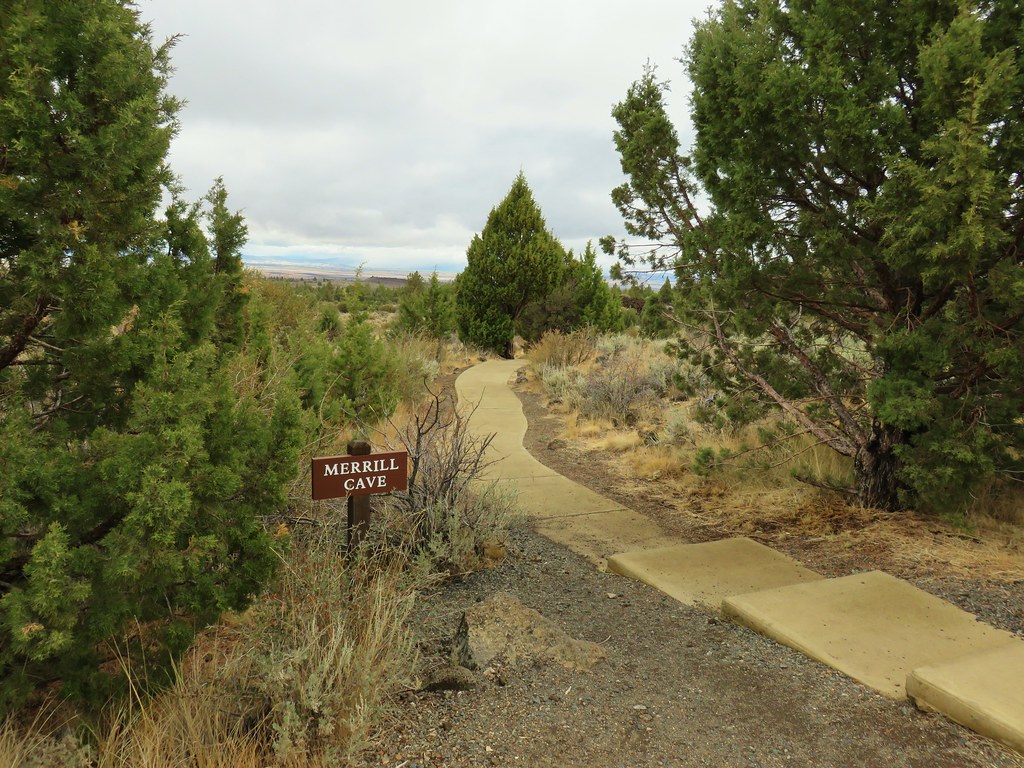
We headed back to the car happy to have finally been able to make out some drawings. After completing the two mile hike we continued driving north to a sign for Merrill Cave where we turned left for almost a mile to the shared Whitney Butte and Merrill Cave Trailhead.
Up until this point we had been following the recommended hikes in William L. Sullivan’s “100 Hikes/Travel Guide Eastern Oregon” 3rd edition, but these were from Bubba Suess’s “Hiking Northern California” book.
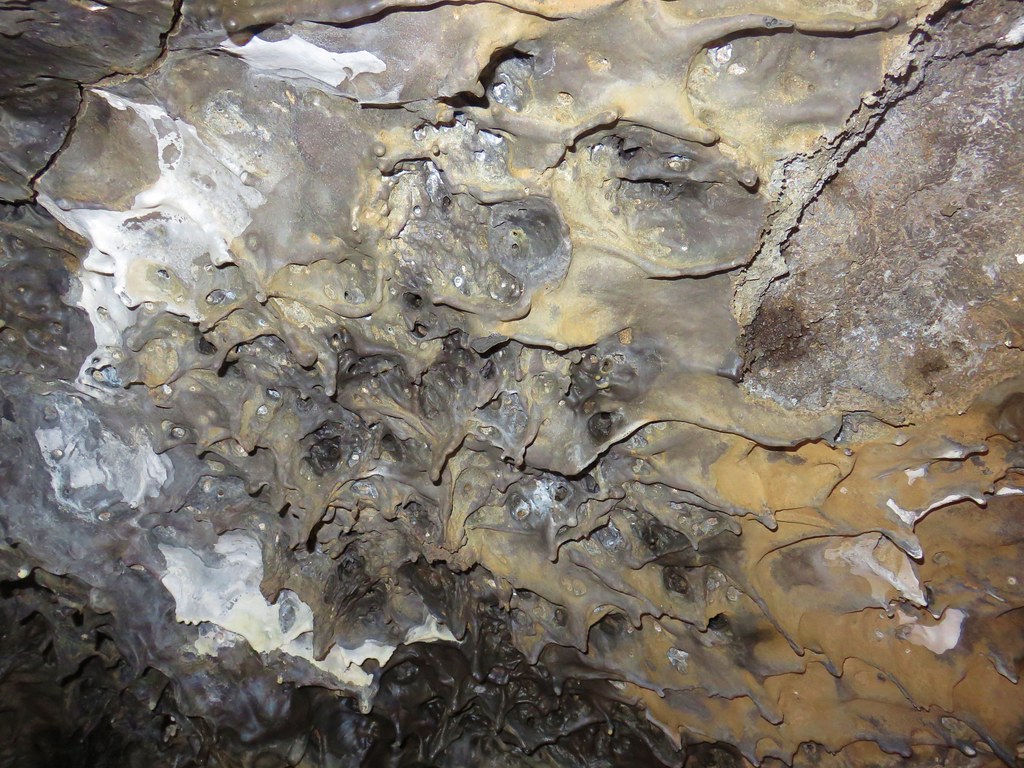
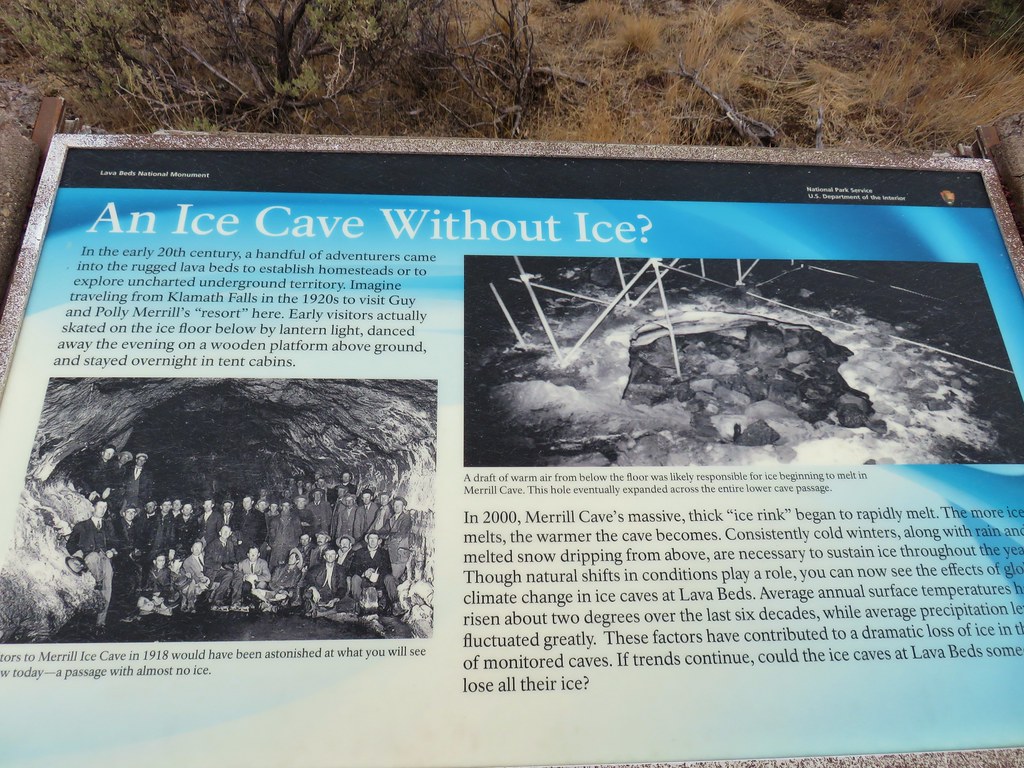
We started with the short path to Merrill Cave. An interpretive sign at the entrance told a familiar story, warming temperatures have led to the loss of ice in this cave like many others. 😦
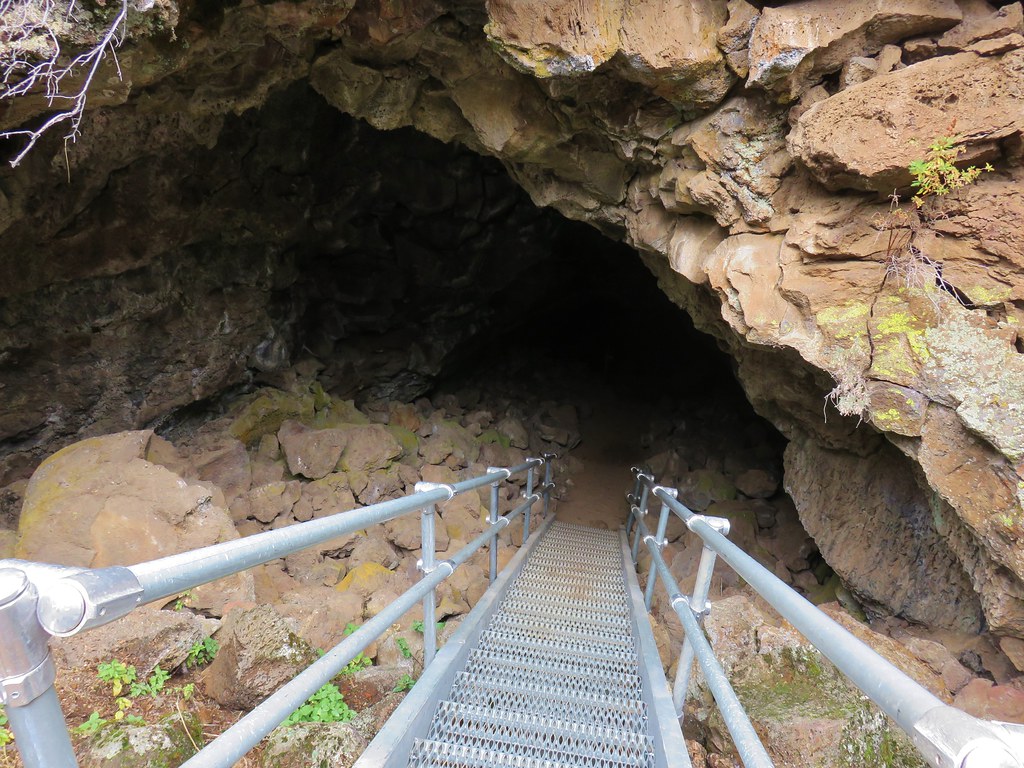
We descended the metal staircase and followed a metal walkway through the cave.
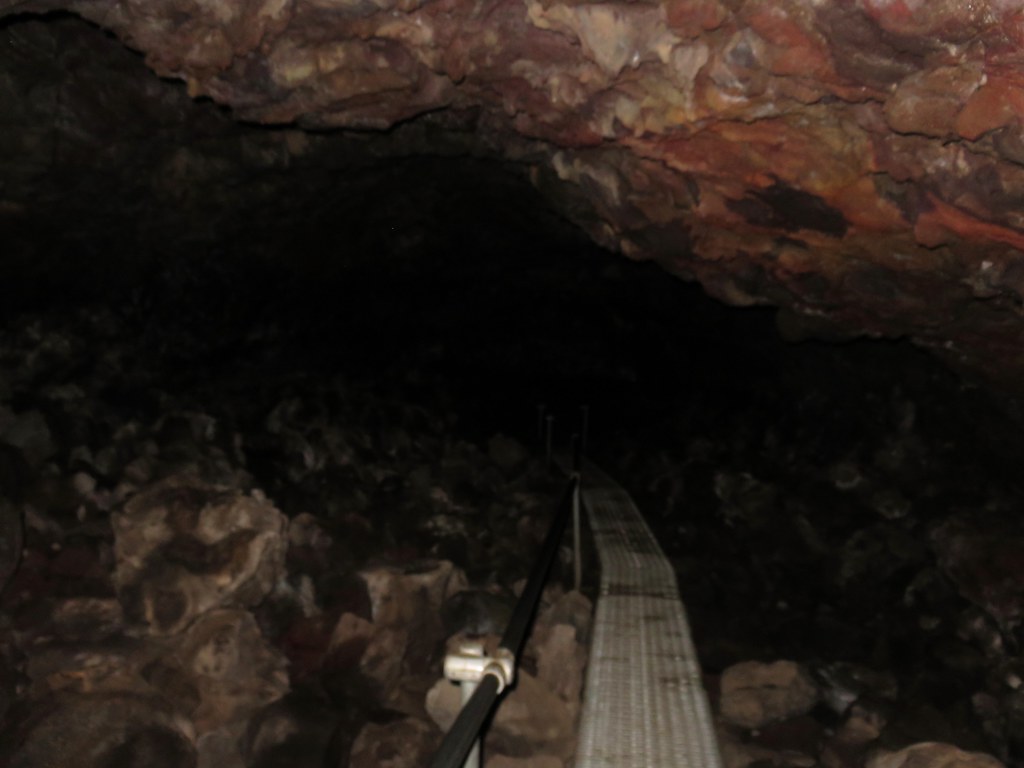
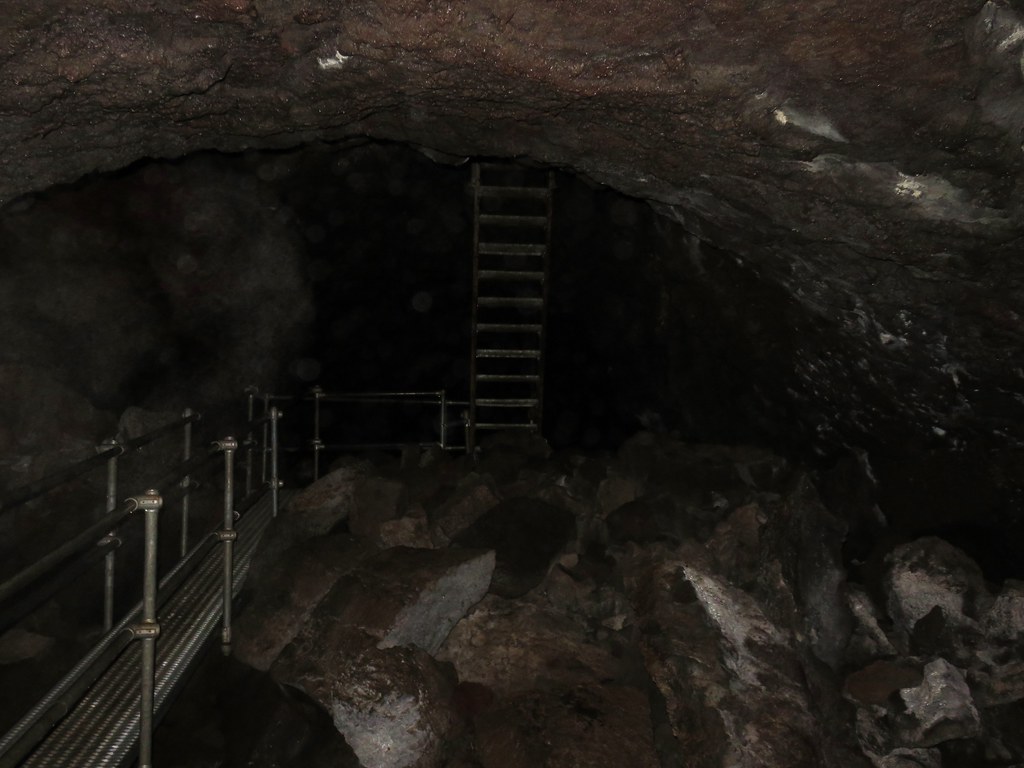
Near its end there was a metal ladder dropping down into an opening.
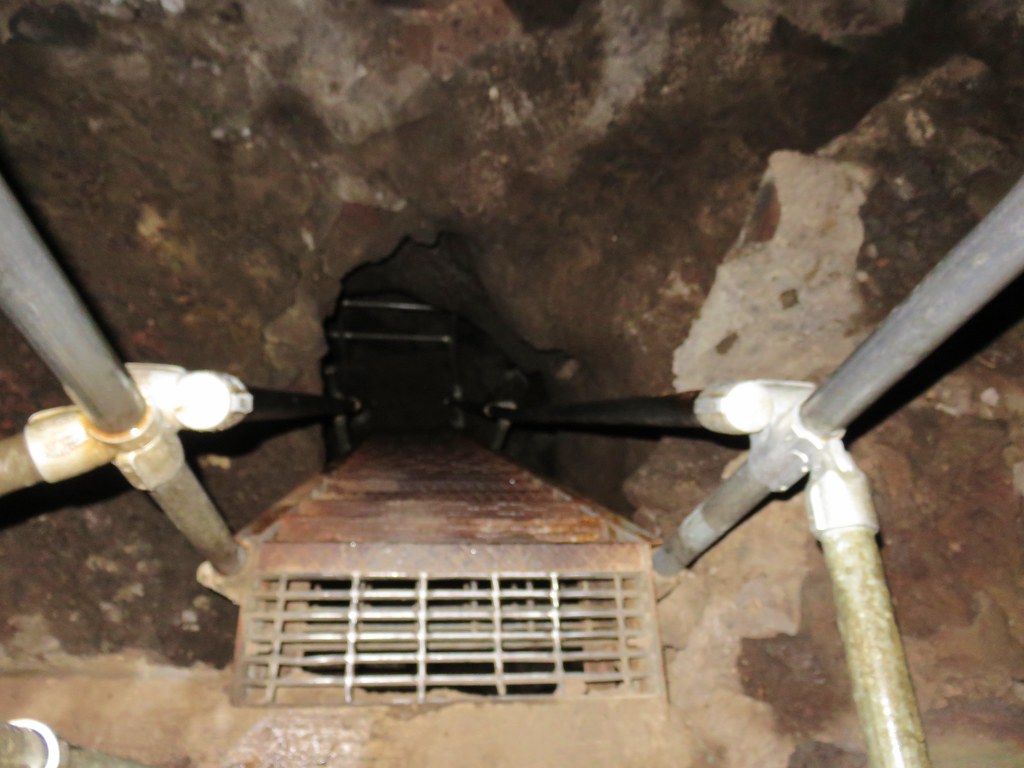
The rails actually did have a little ice on them as we climbed down into the lower chamber where the path quickly ended.

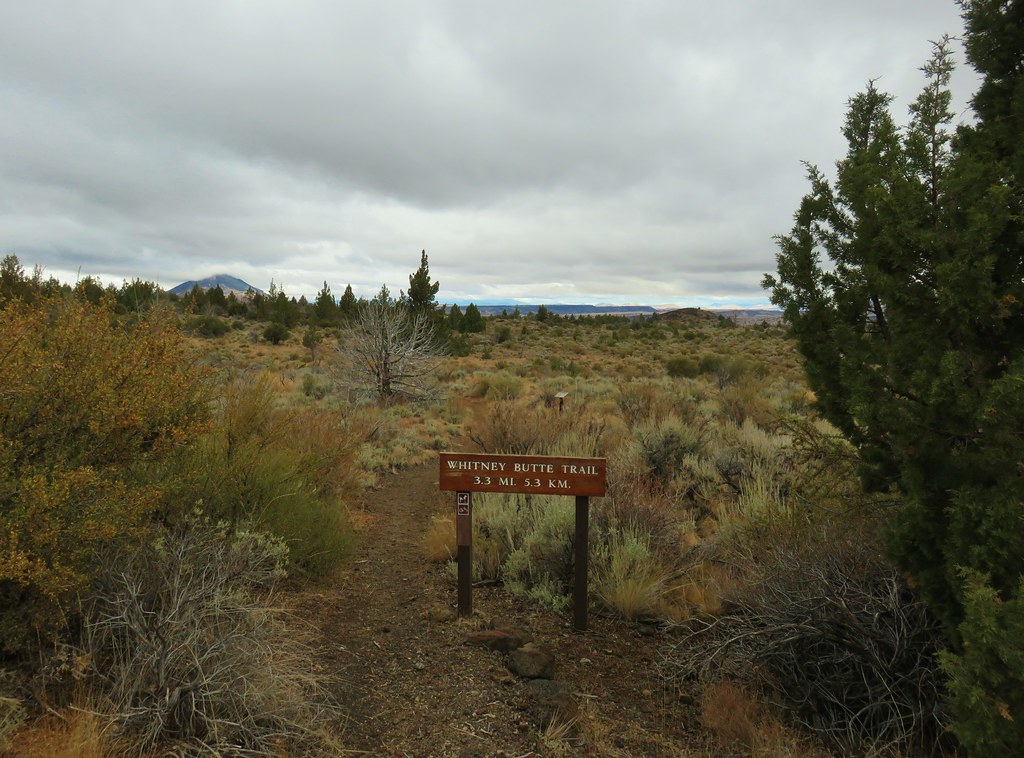
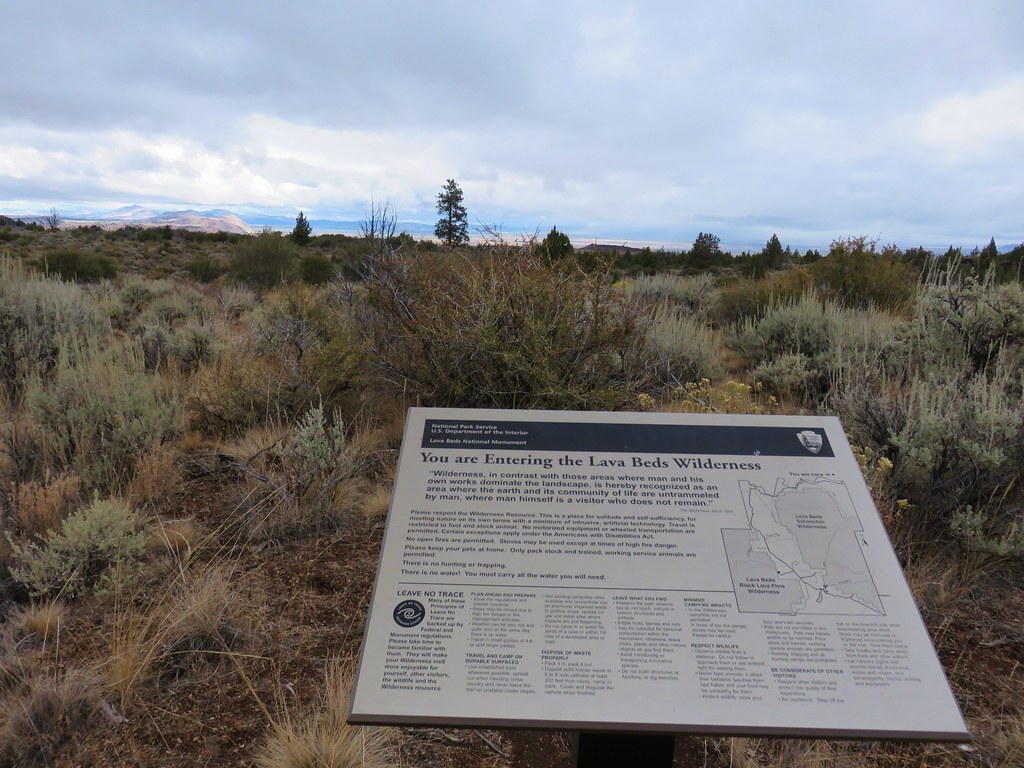
We climbed back out of the cave and then started down the Whitney Butte Trail. One exciting prospect of the Whitney Butte Trail was that it would take us into the Lava Beds Wilderness.
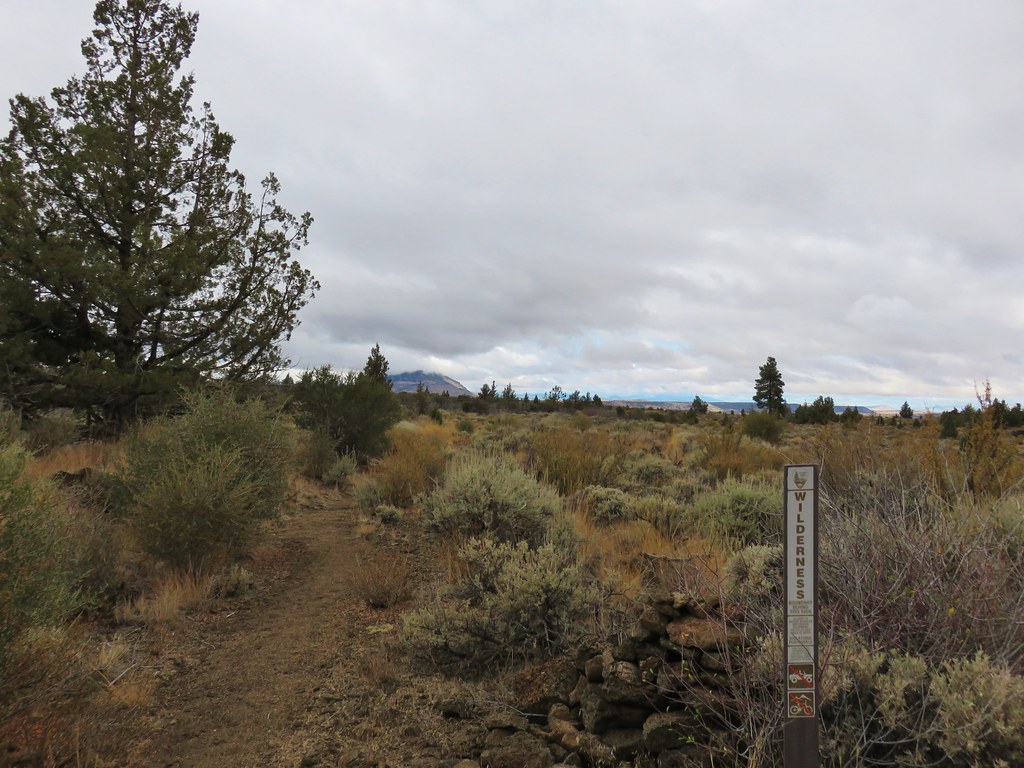
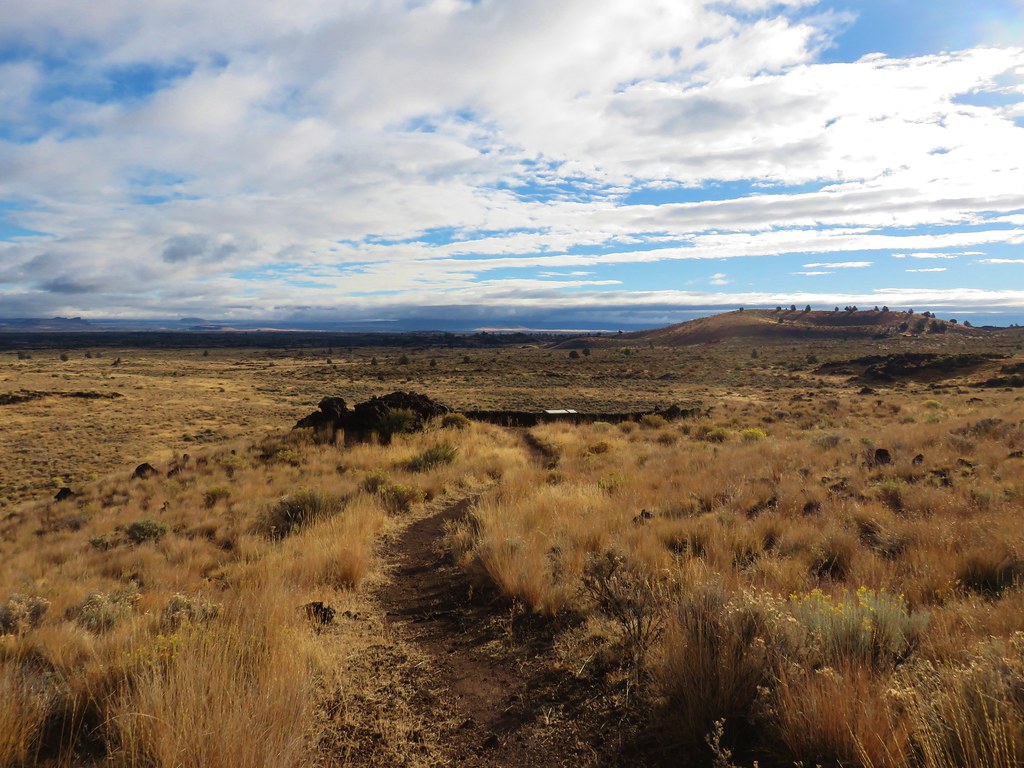
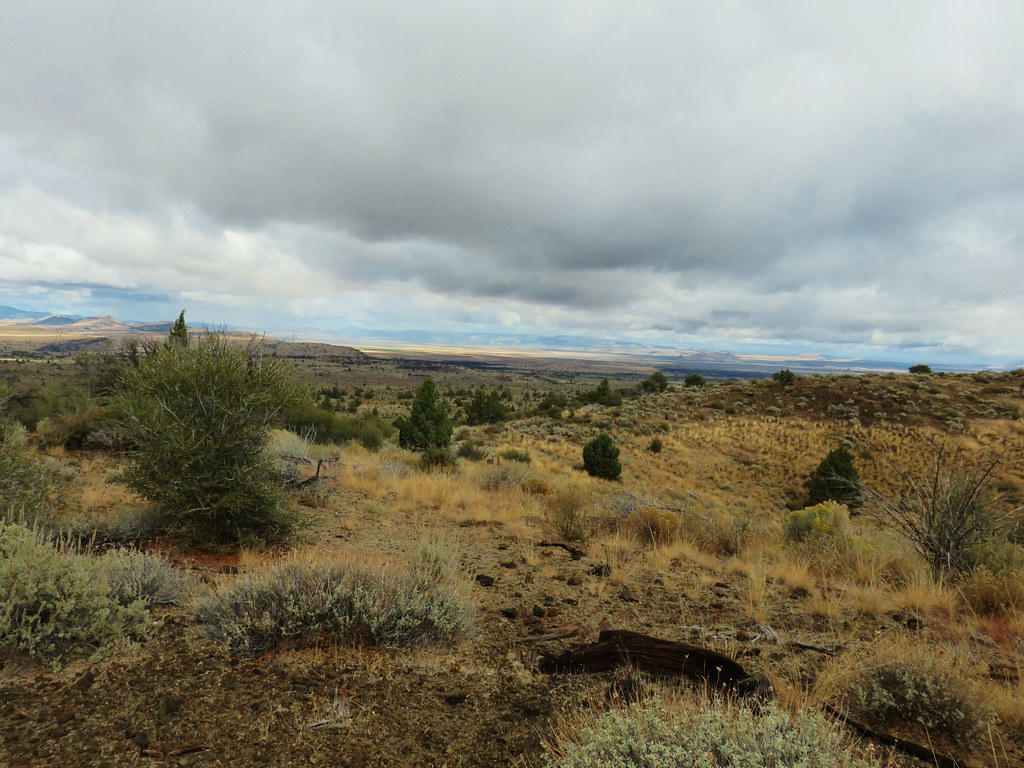
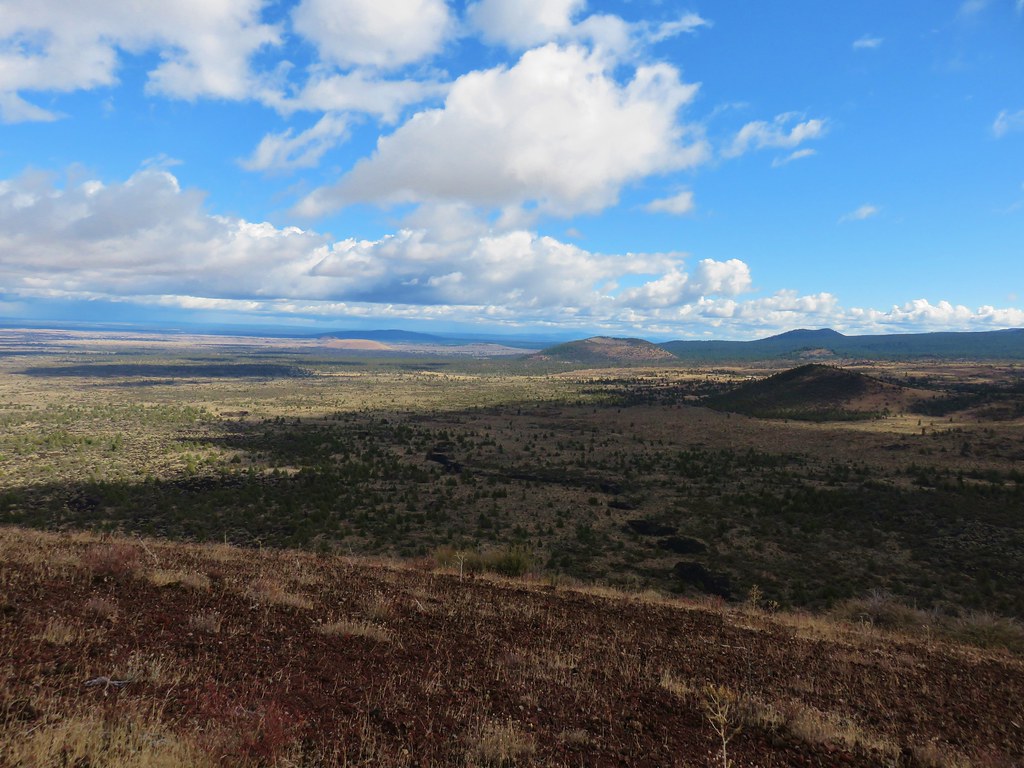
This was by far the longest hike we’d tackle on the day but was still just a little under 7 miles round trip. The Whitney Butte Trail began by passing through open sagebrush then skirted around an old lava flow.
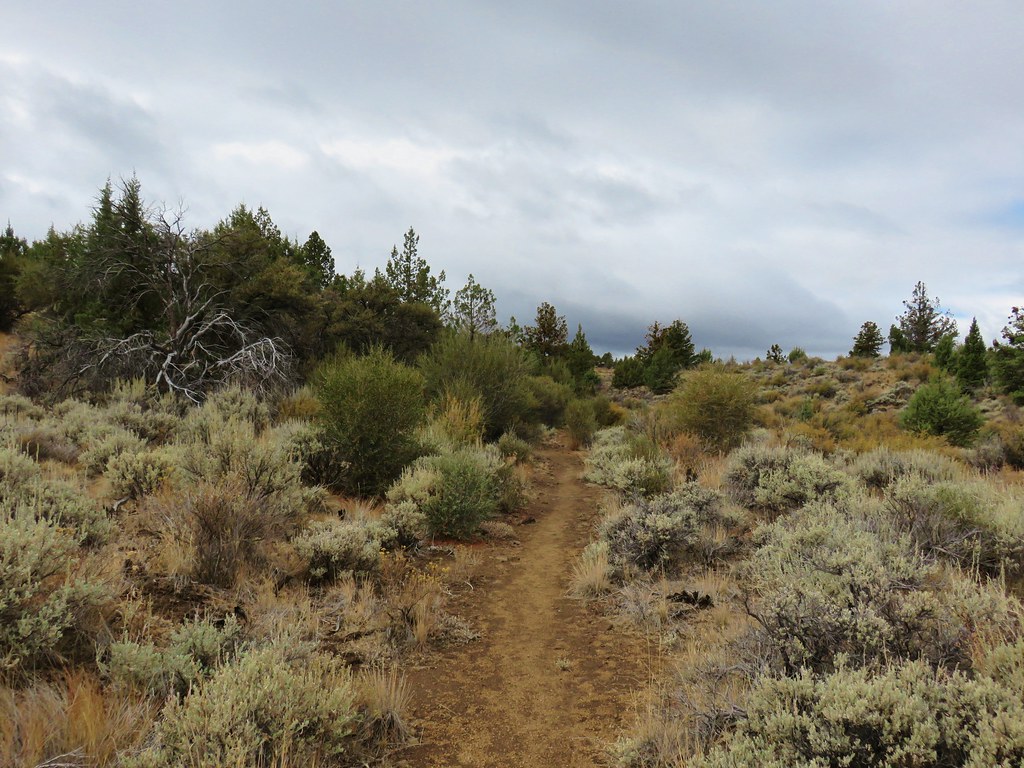
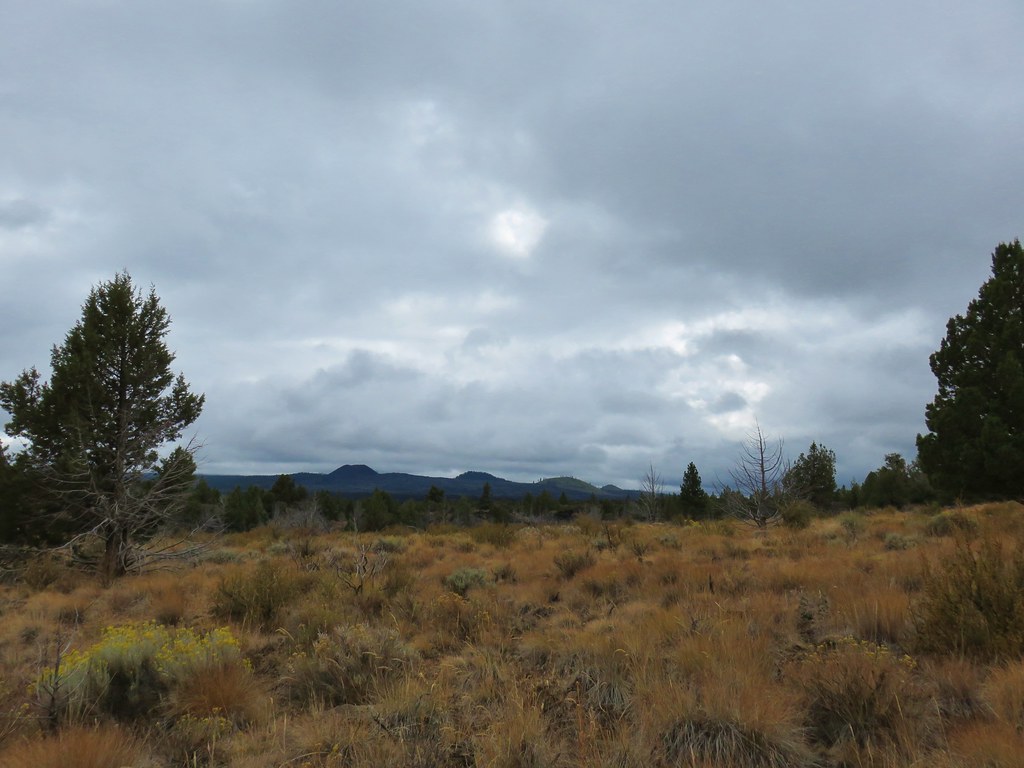
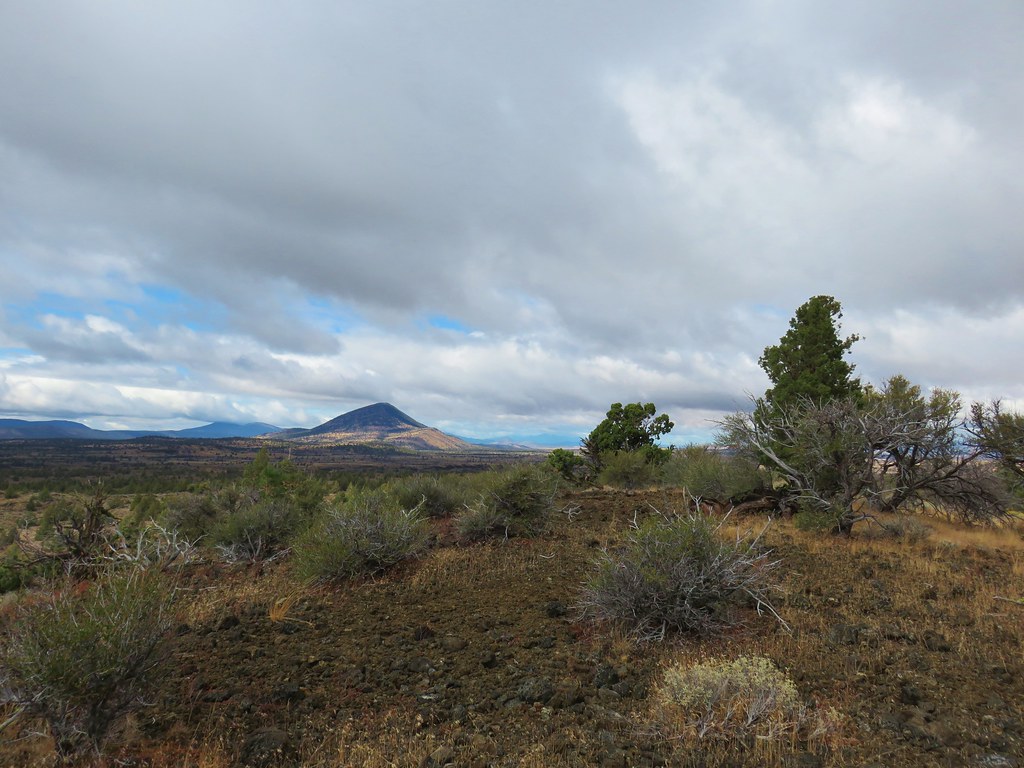
For much of the hike out, Mount Dome lay almost straight ahead and it was still holding onto its cloud cover. The trails namesake, Whitney Butte, stayed hidden for the first mile and a half before revealing itself to the left of the trail.
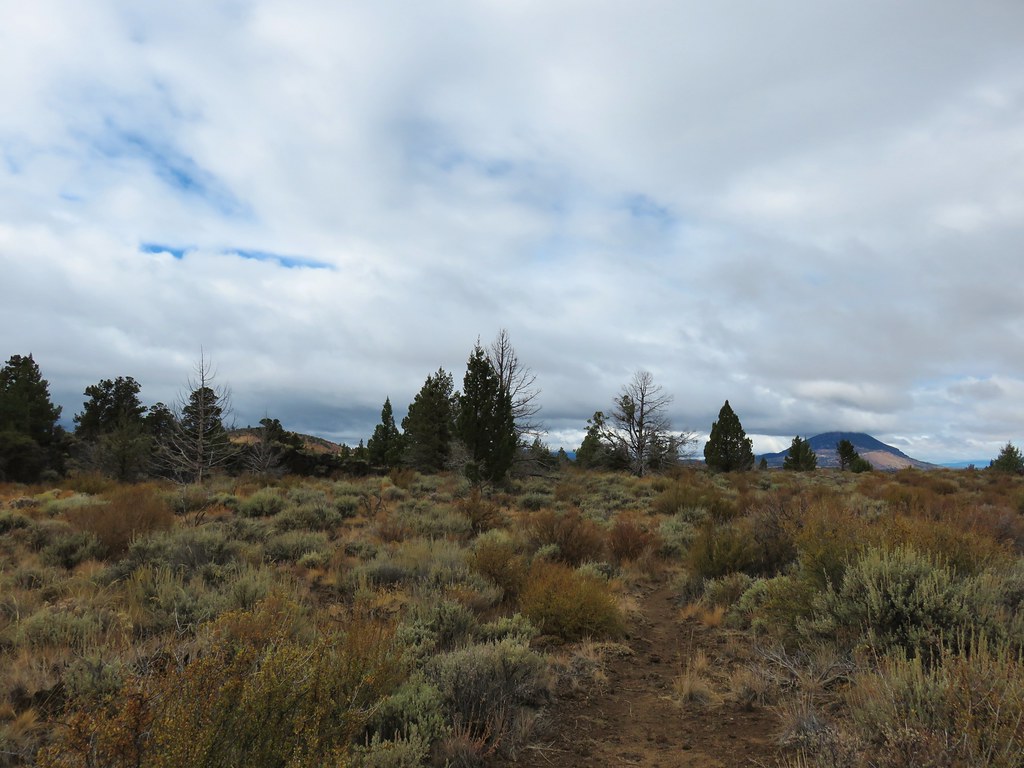 Whitney Butte to the left and Mount Dome to the right.
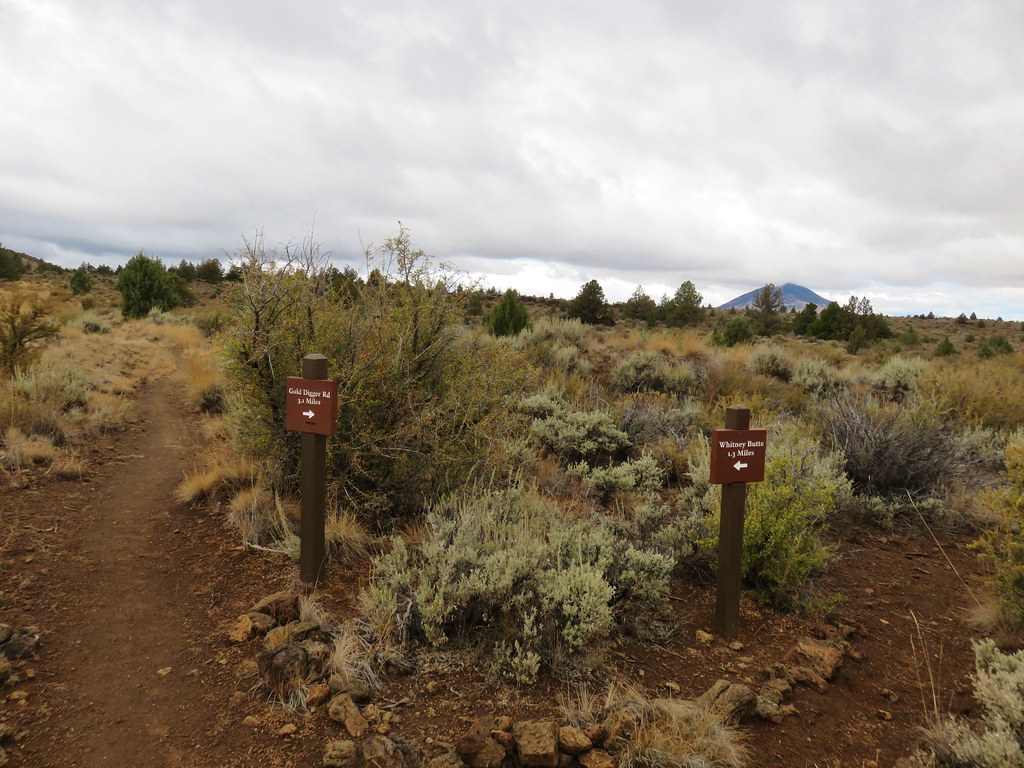
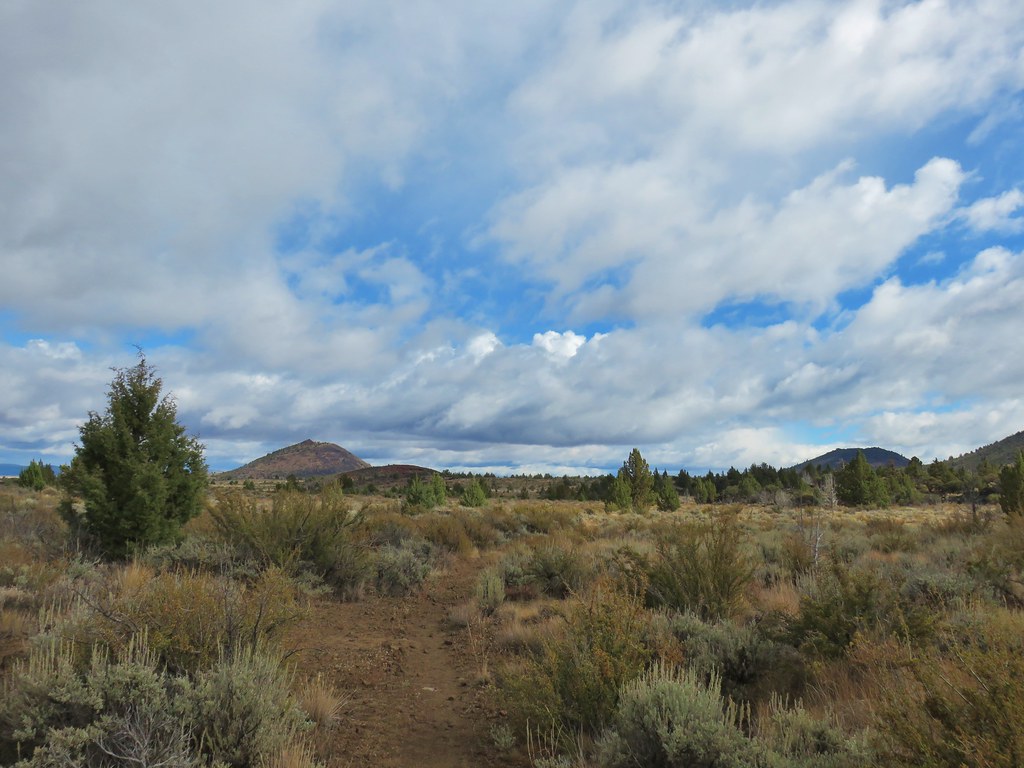
Approximately 2.2 miles into the hike we passed a trail signed for Gold Digger Road.
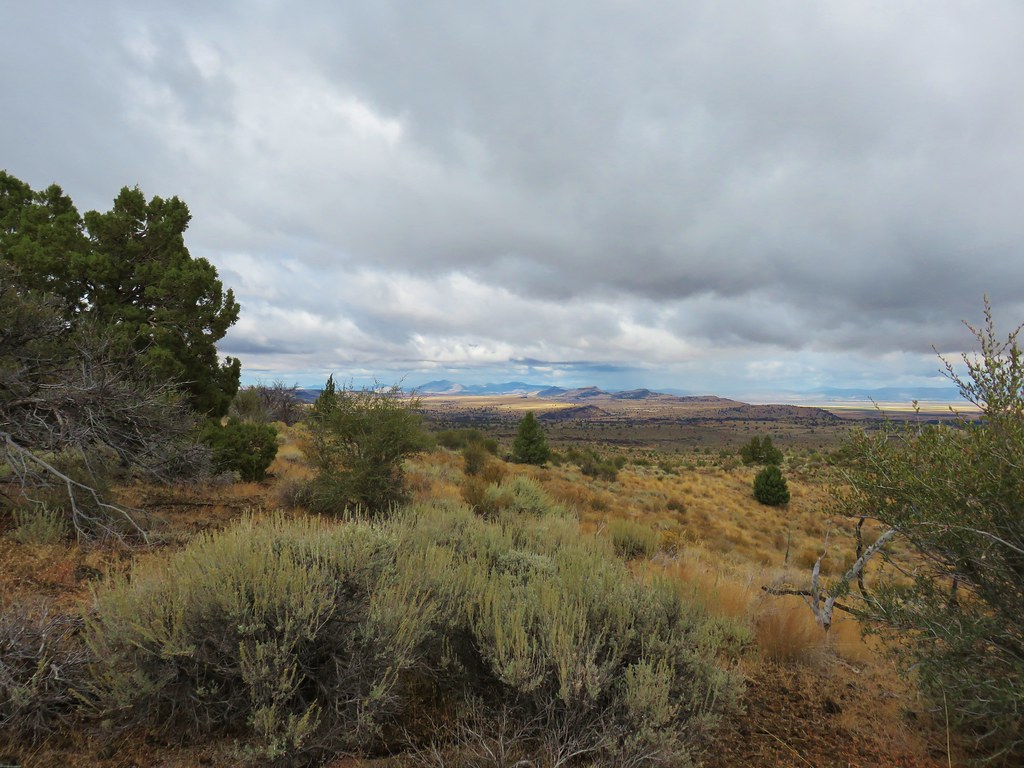
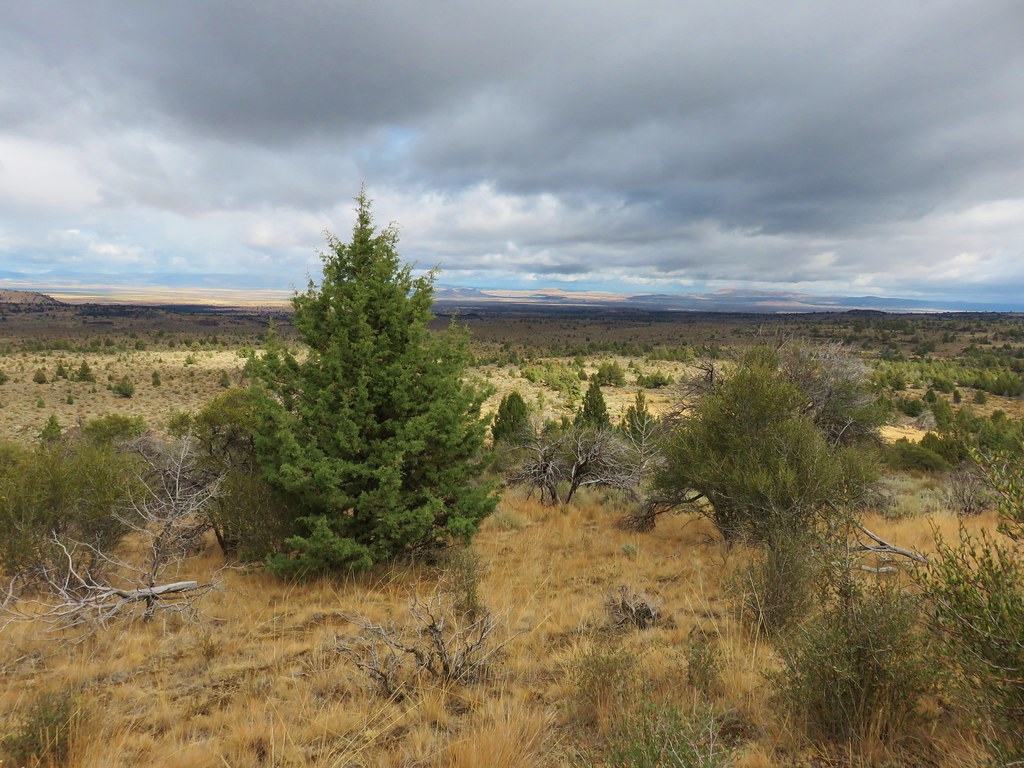
The clouds had actually increased a bit during the day and we were feeling occasional rain drops which weren’t a big deal, but the cloud cover did put a hamper on the views. Many lower buttes were visible but the higher peaks were hidden.
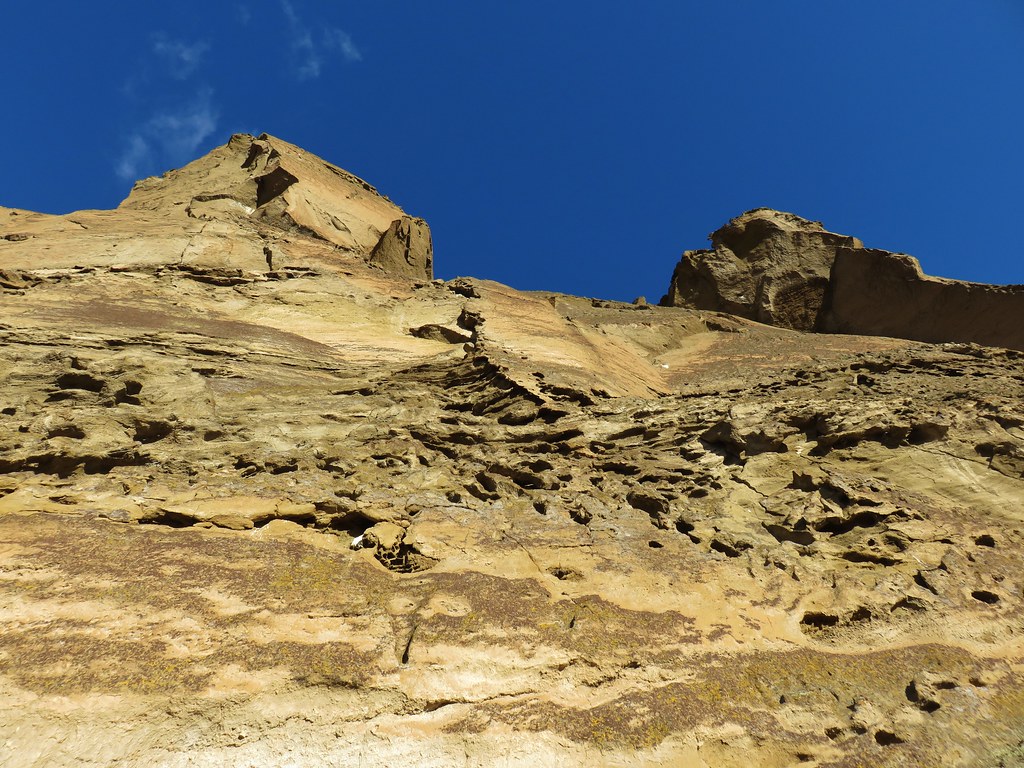
As we passed by Whitney Butte we began scouting out a route down. Our plan was to follow a suggested off trail visit to the top of the butte described in the guidebook. The most gently sloping ridge appeared to come down the eastern side of the butte.
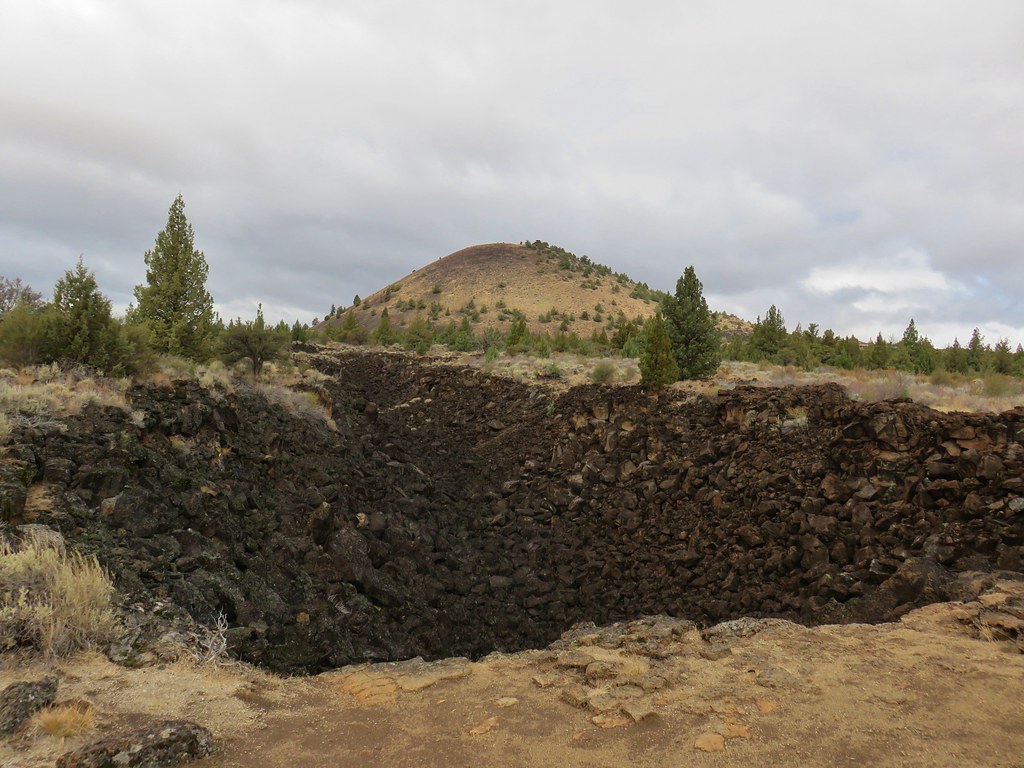
We stayed on the Whitney Butte Trail until it ended at the Callahan Lava Flow.

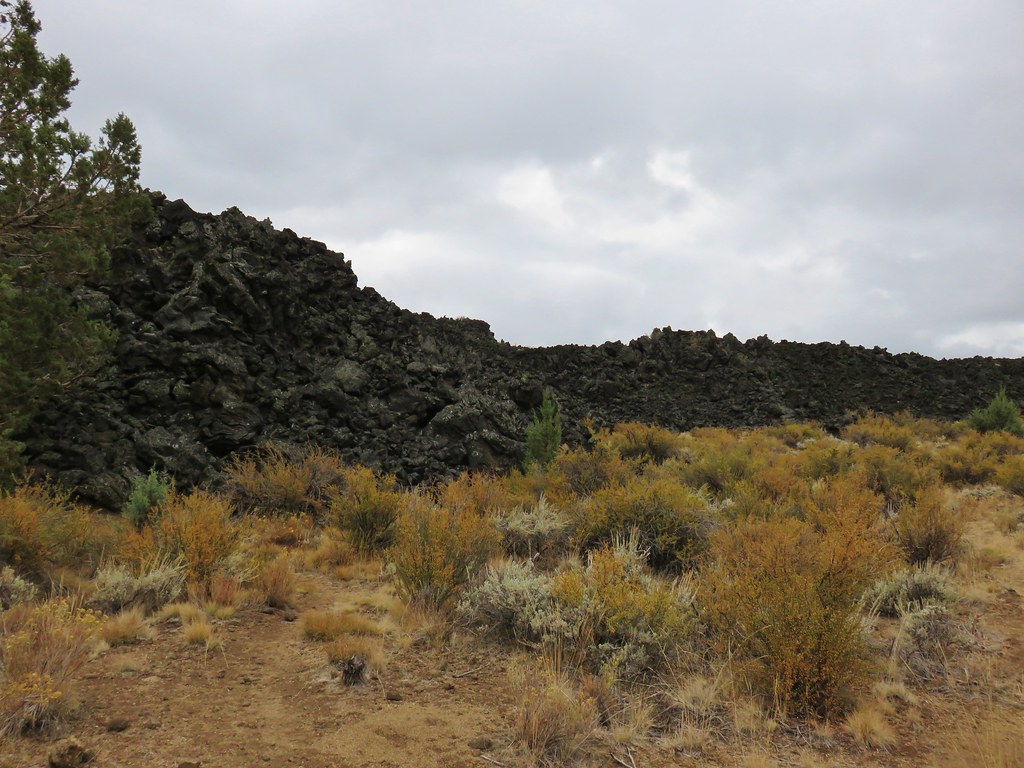
From the lava we turned left and headed up Whitney Butte.
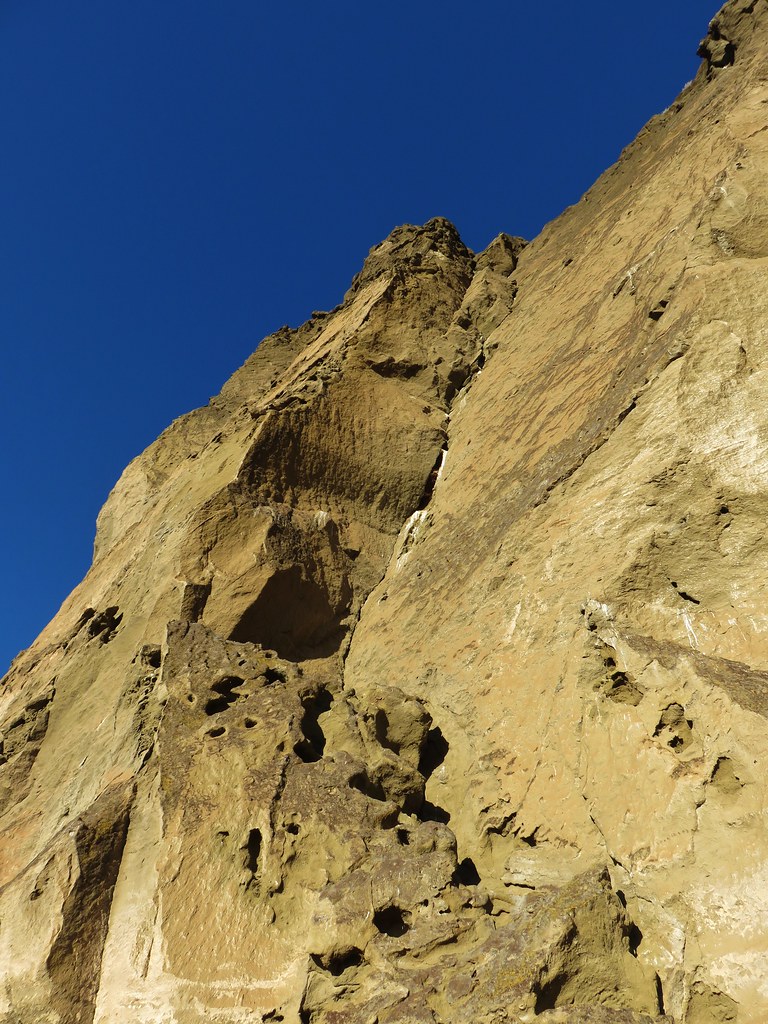
It was a relatively easy scramble which provided some nice views despite not being able to see Mt. Shasta or Mt. McLoughlin due to the cloud cover. On the other hand Mount Dome finally broke free of the last of its clouds.
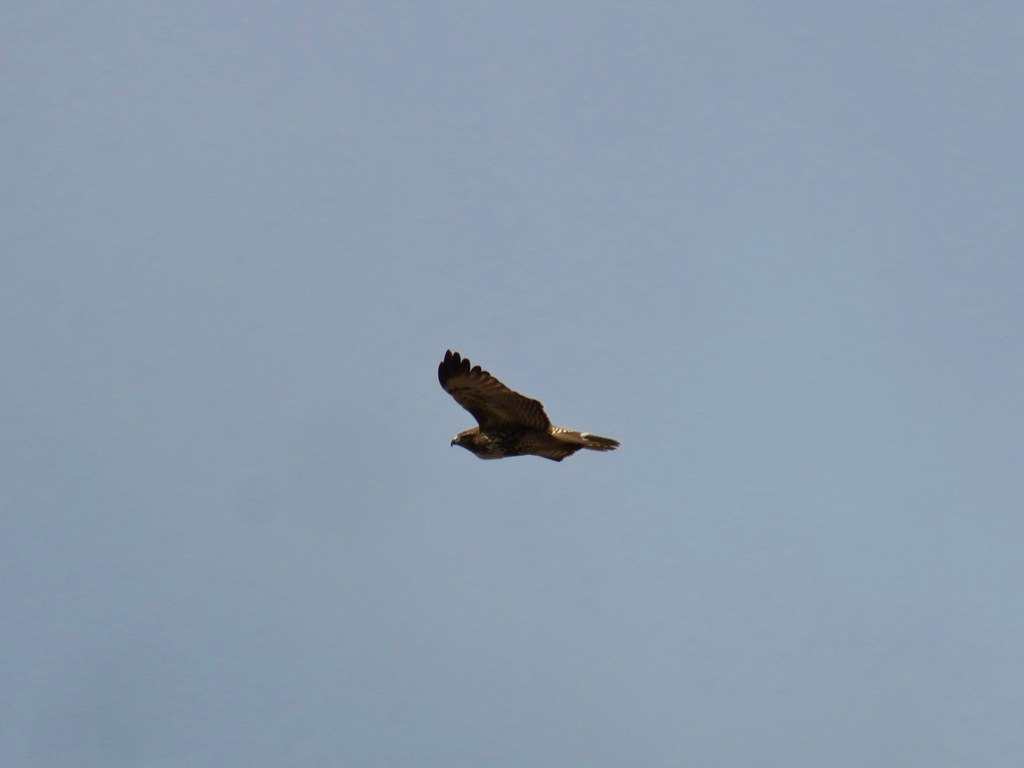
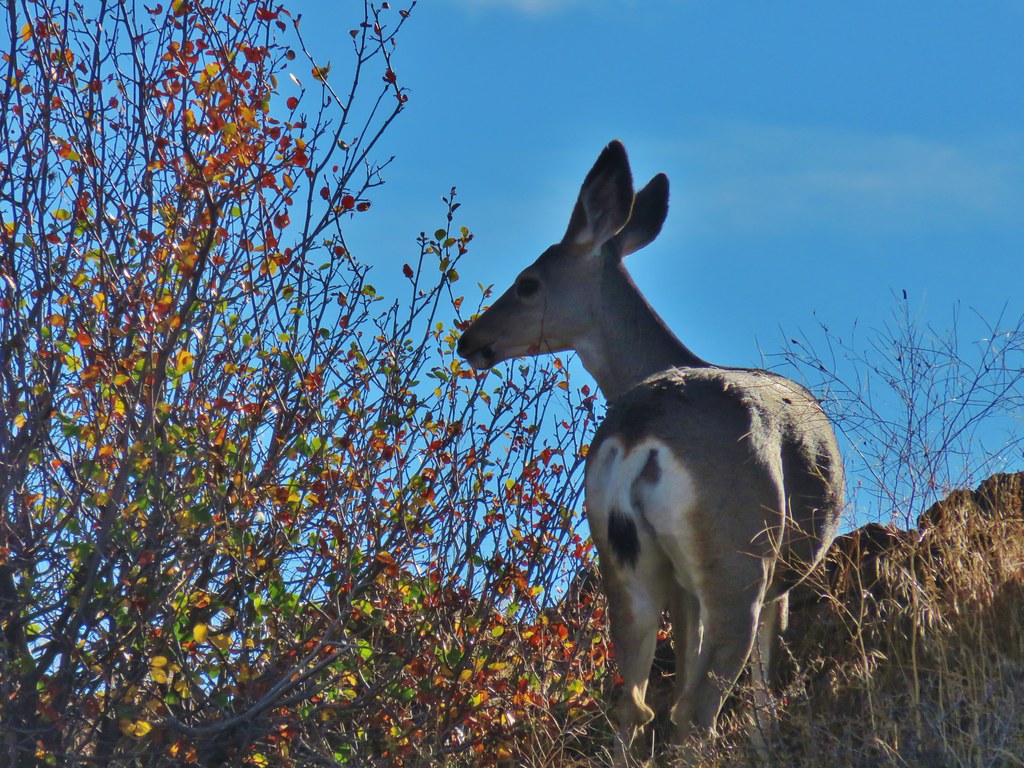
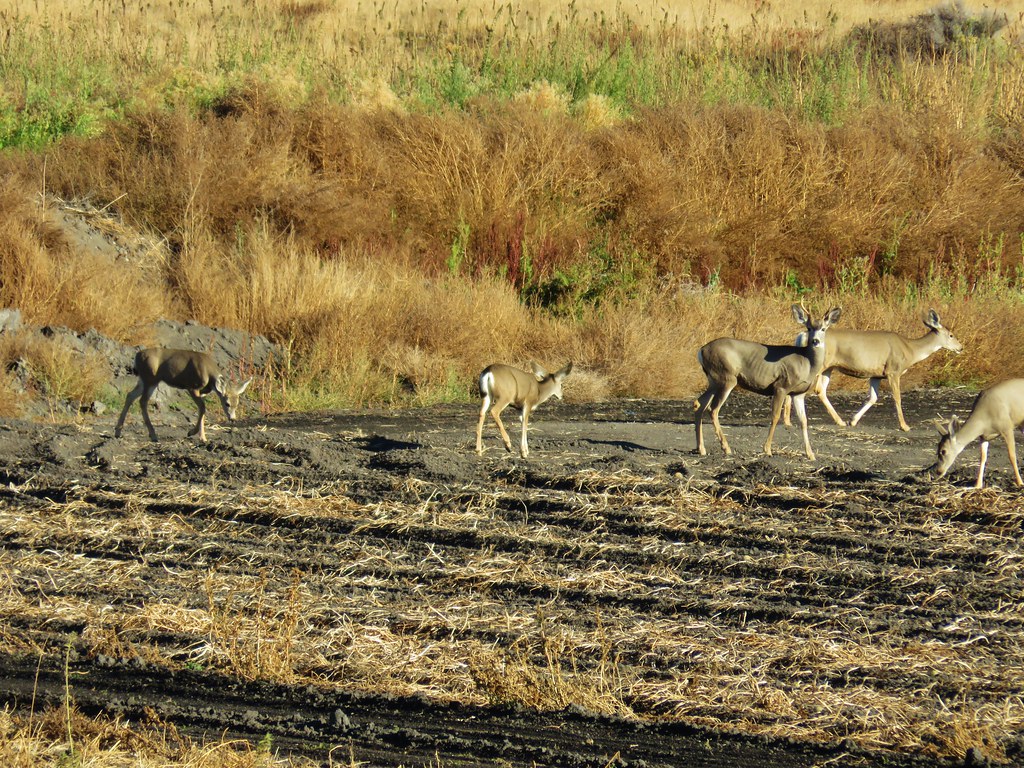
In addition to the views we spotted some wildlife.


On top of the butte we stayed left around a pair of craters and attempted to descend on the ridge we’d picked out on the way by.
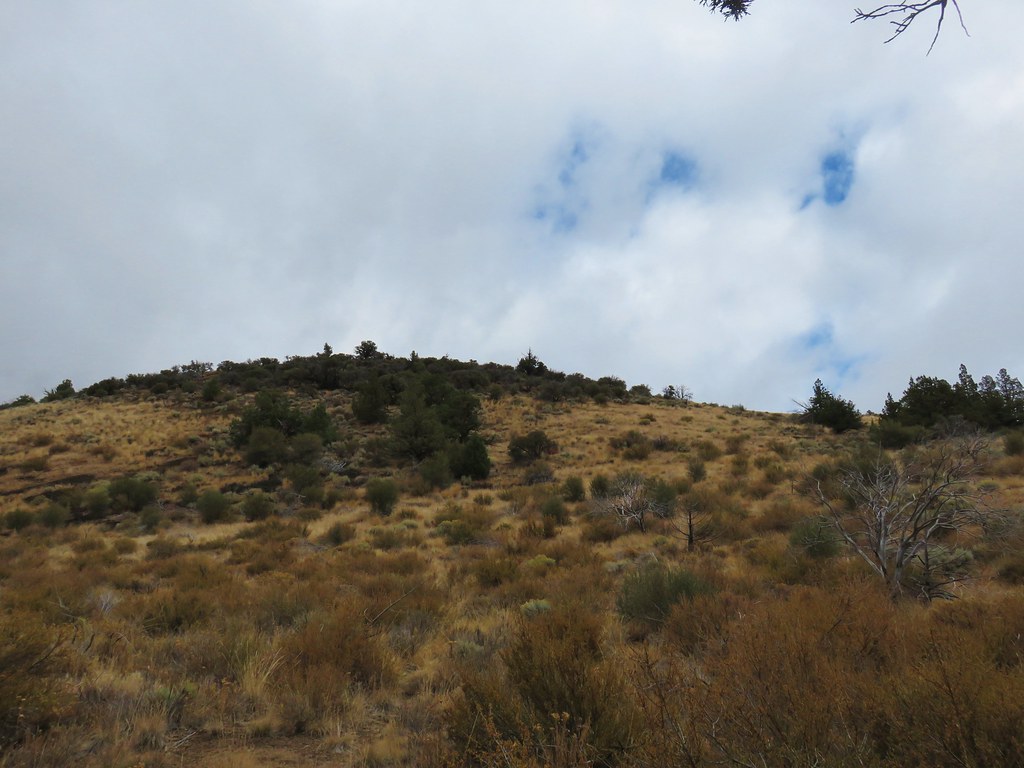
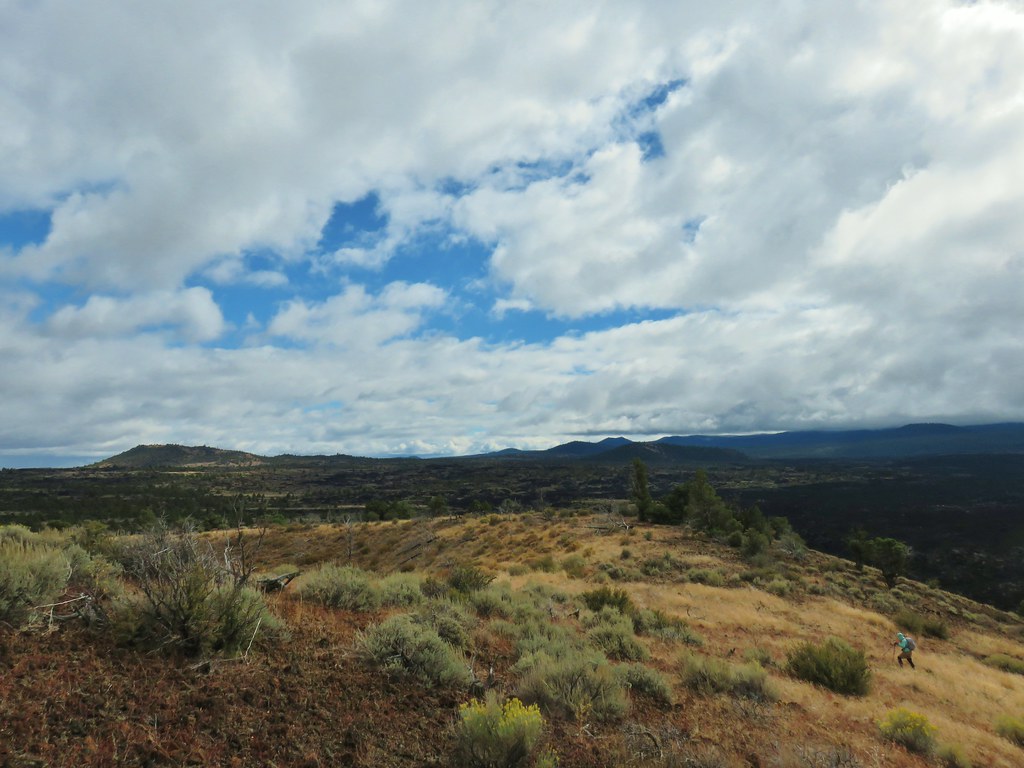
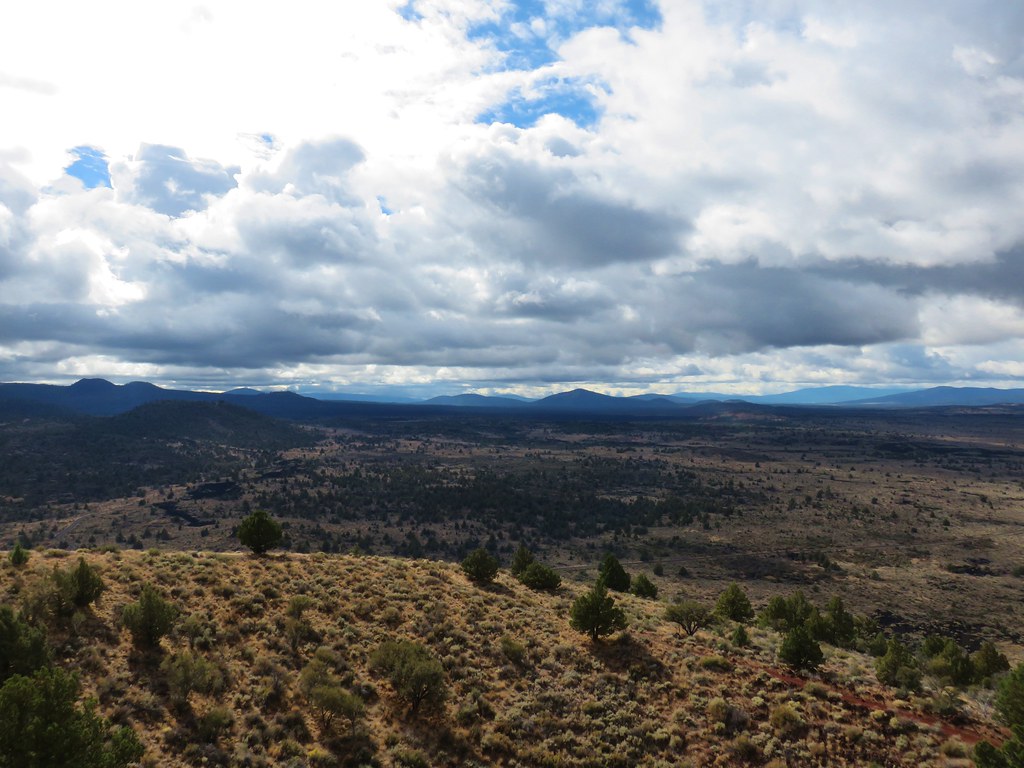
We actually overshot it a bit but still had no problem coming down the old cinder cone and reconnecting with the Whitney Butte Trail. The clouds were now breaking up again as we headed back to the trailhead. Our next destination, Schonchin Butte, was visible for most of the hike back.
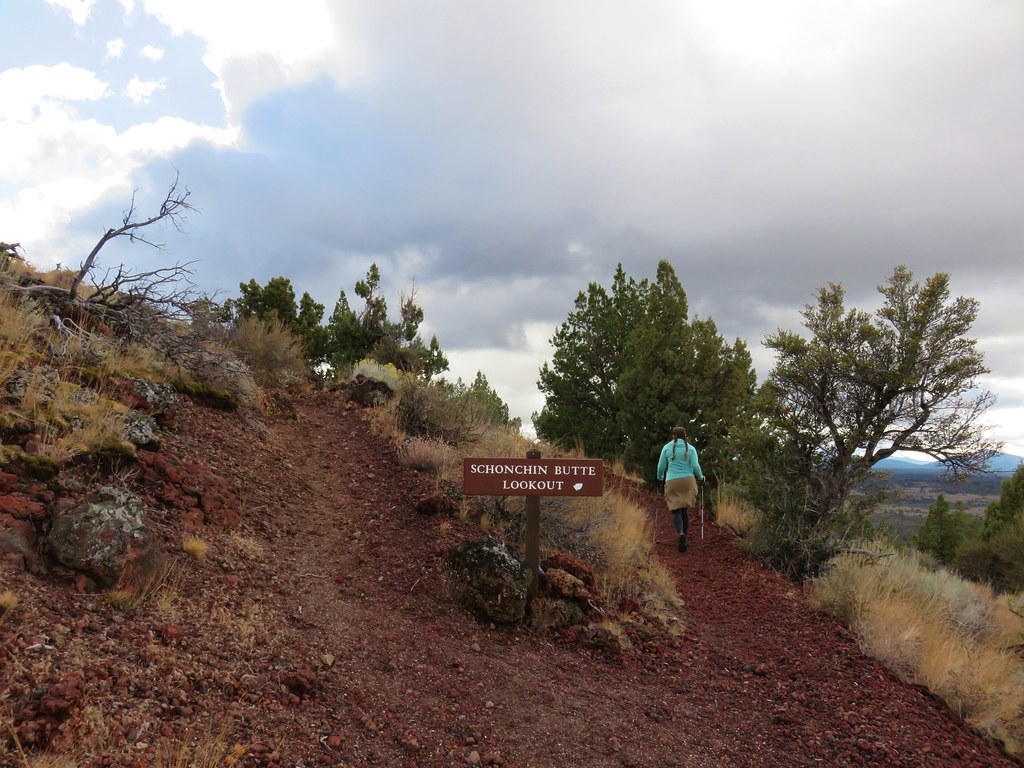
After finishing the hike we once again drove a short distance north to a signed gravel road for Schonchin Butte. After a mile of good gravel we parked at the trailhead and started up the Schonchin Butte Trail.

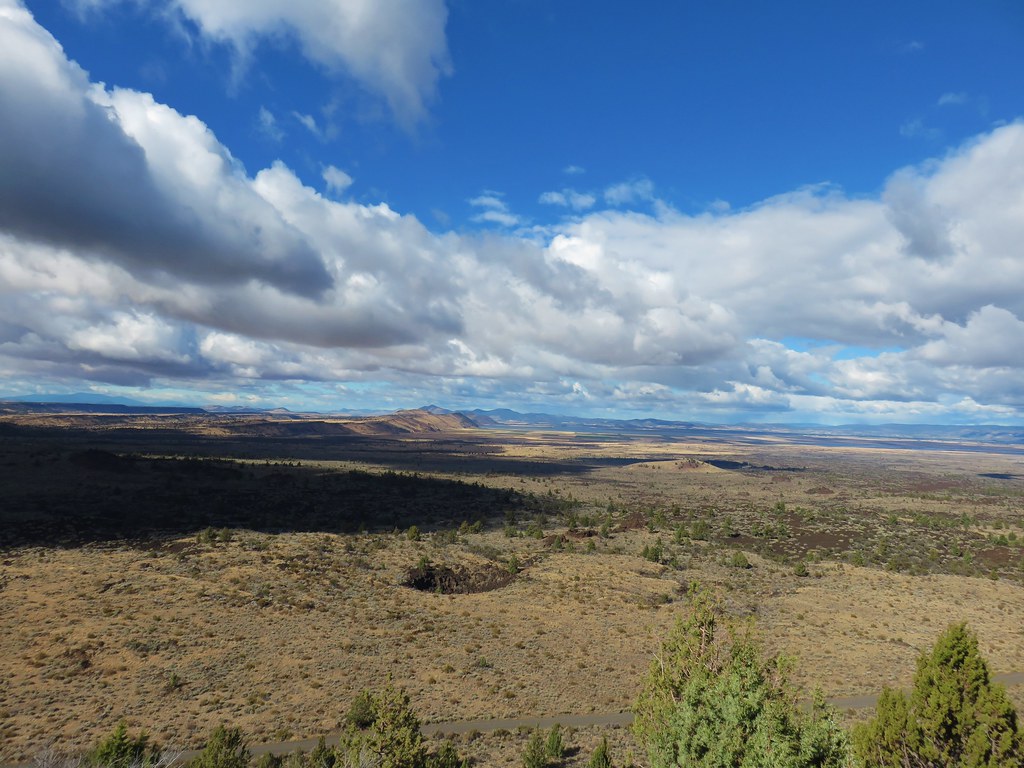
The trail was well graded and the views were great making the climb feel fairly easy.
 Tule Lake
 Whitney Butte and Mount Dome
After .6 miles the trail split allowing for a loop around the crater and past the Schonchin Butte Lookout.
As we made our way around the loop we got a view down to the Symbol Bridge Trail.

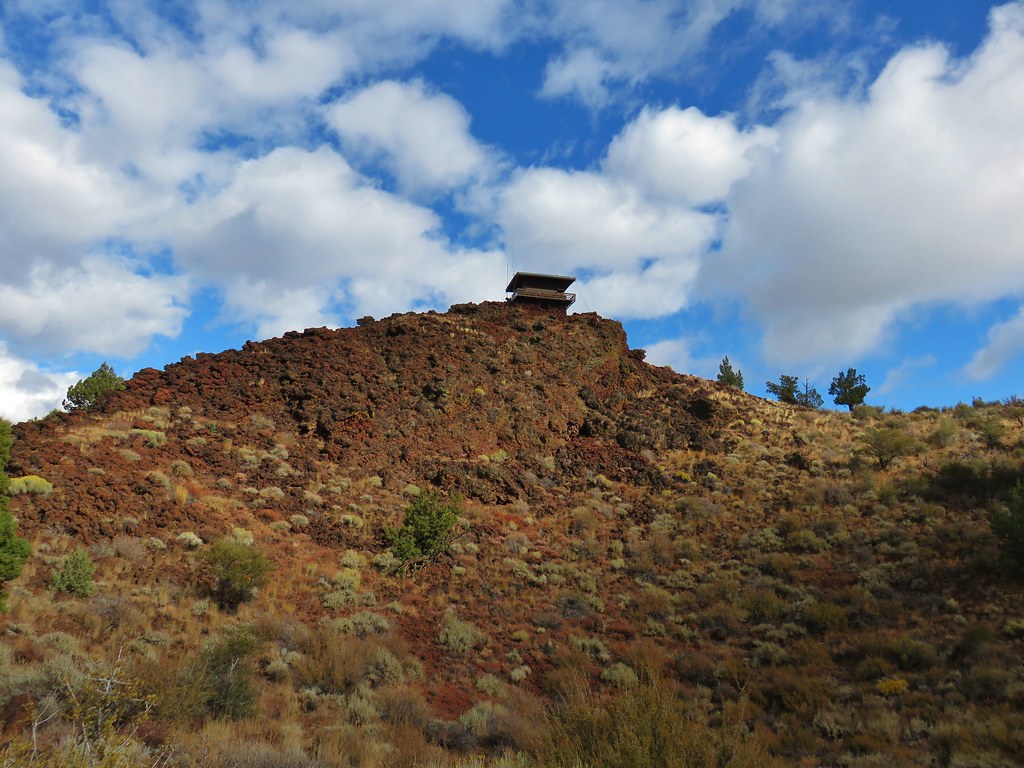
The lookout tower was perched on lava rocks that looked like bricks.
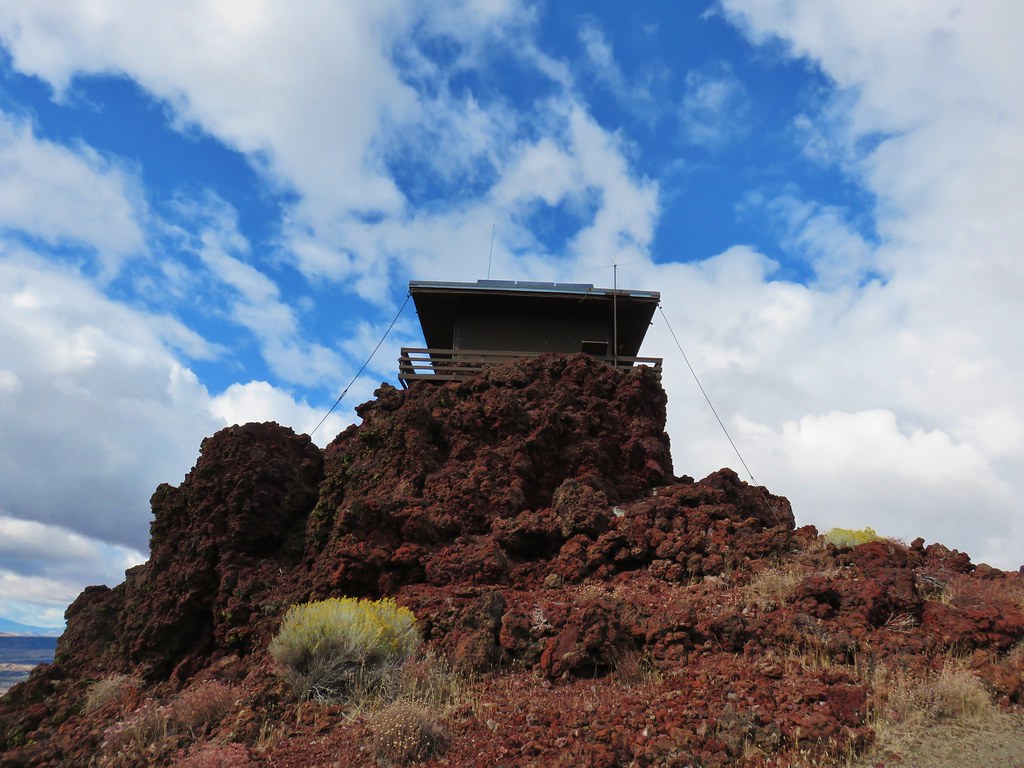

Along the deck were identifiers for the area landmarks, some visible and some not.

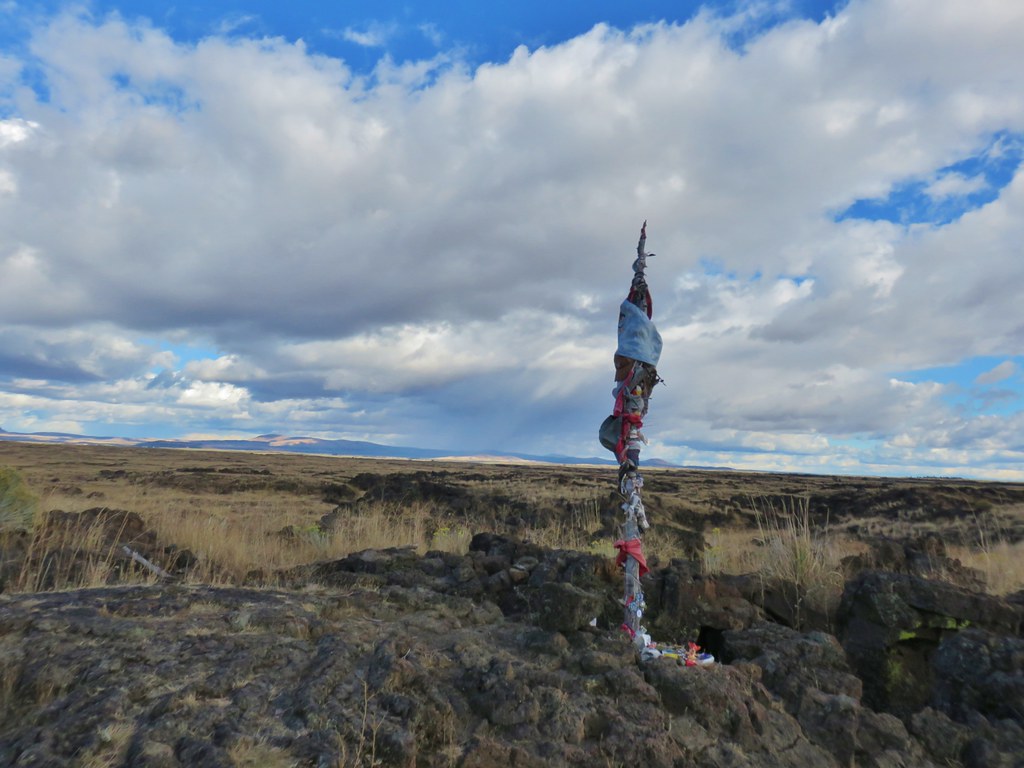
After identifying the landmarks that were visible we completed the loop and returned to our car. From Schonchin Butte we drove back to the fee booth at the northern park entrance and turned right onto Rim Road for 3.2 miles to a signed pullout for Captain Jack’s Stronghold.

Here two loops (short and long) explore the area where a small force of Modoc held out against the U.S. Army in 1872-73.
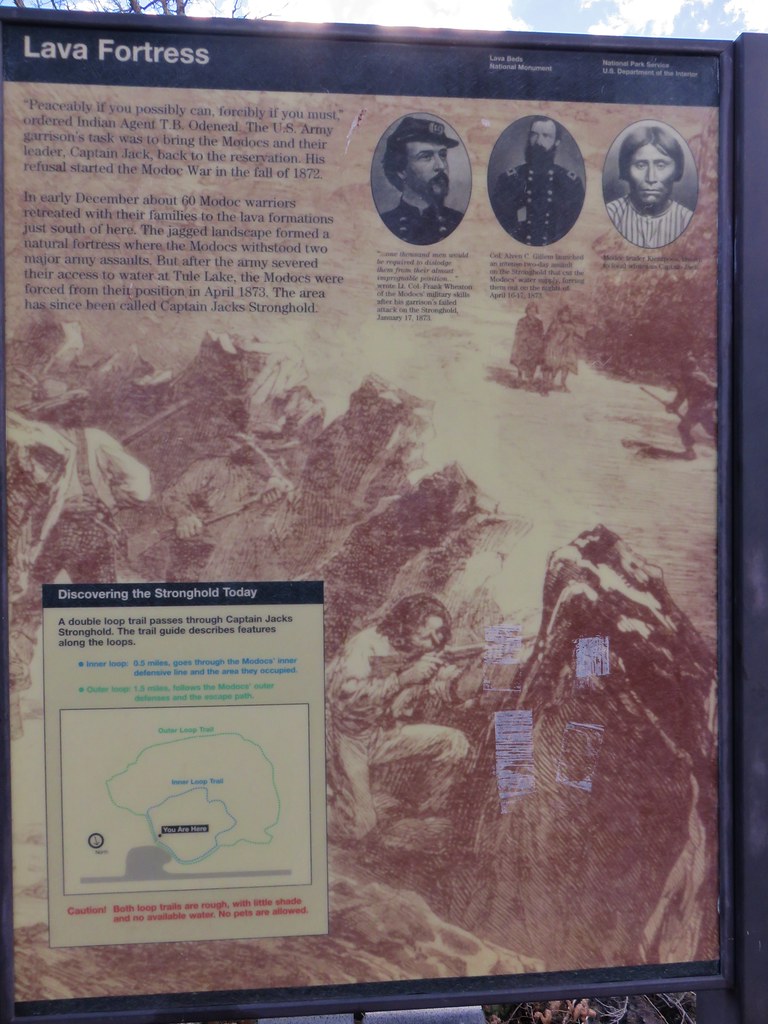
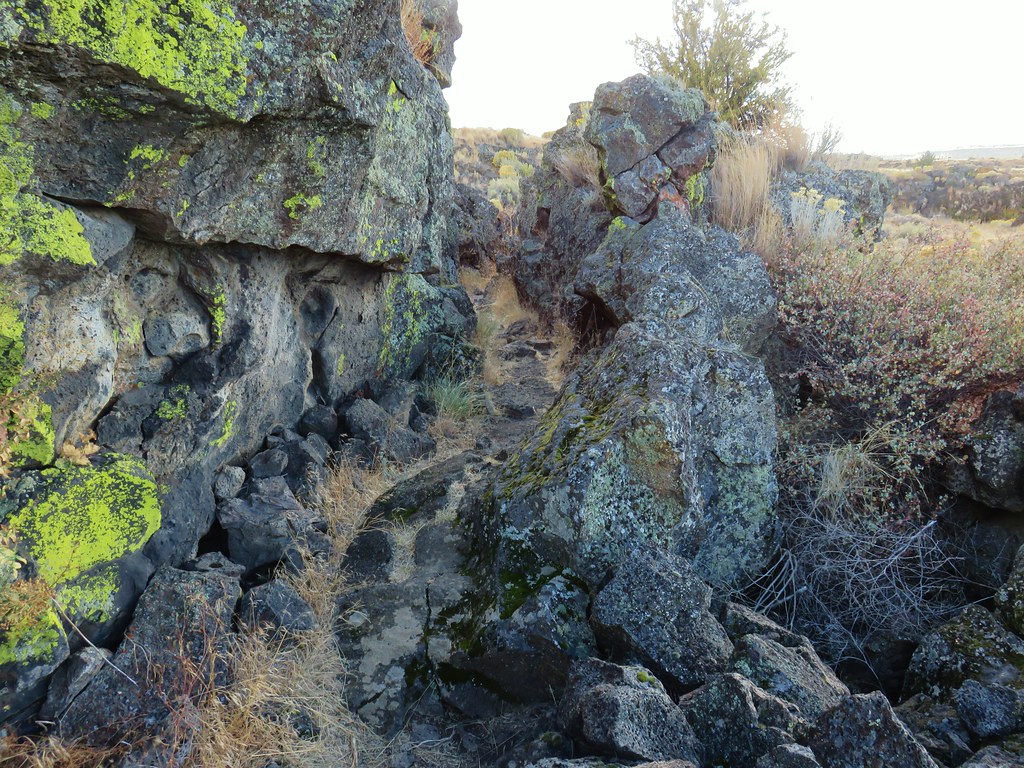
We unfortunately did not grab a trail guide for the interpretive trail which we greatly regretted. After climbing a small hill a trail sign pointed out the shared beginning of both loops.

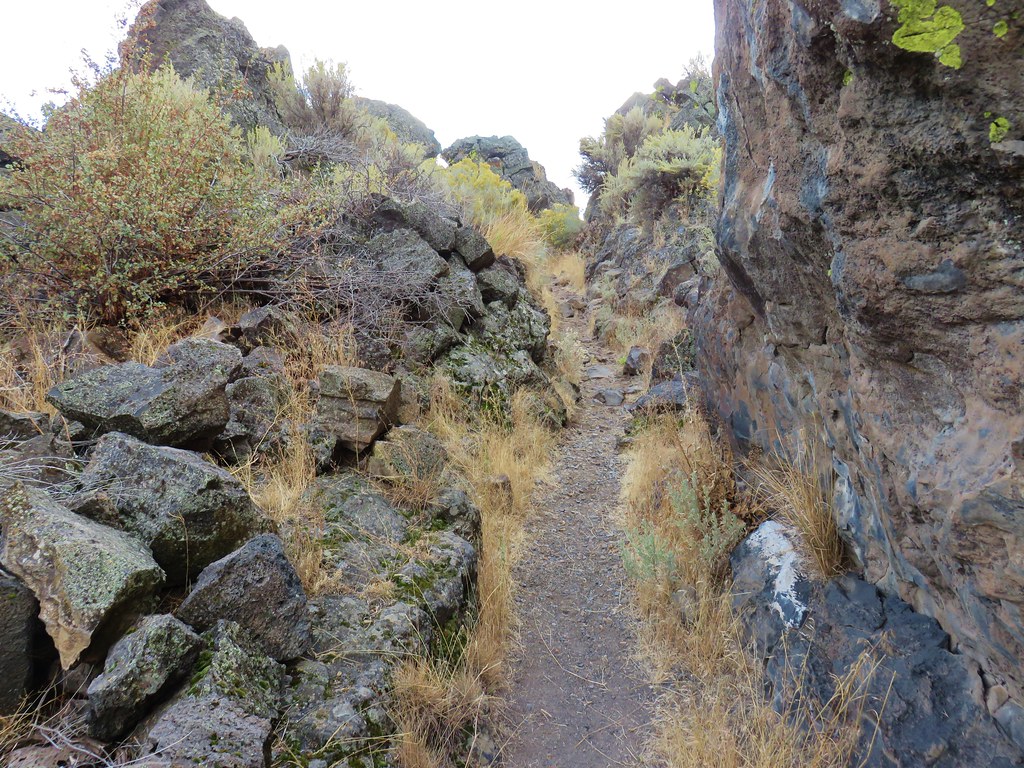
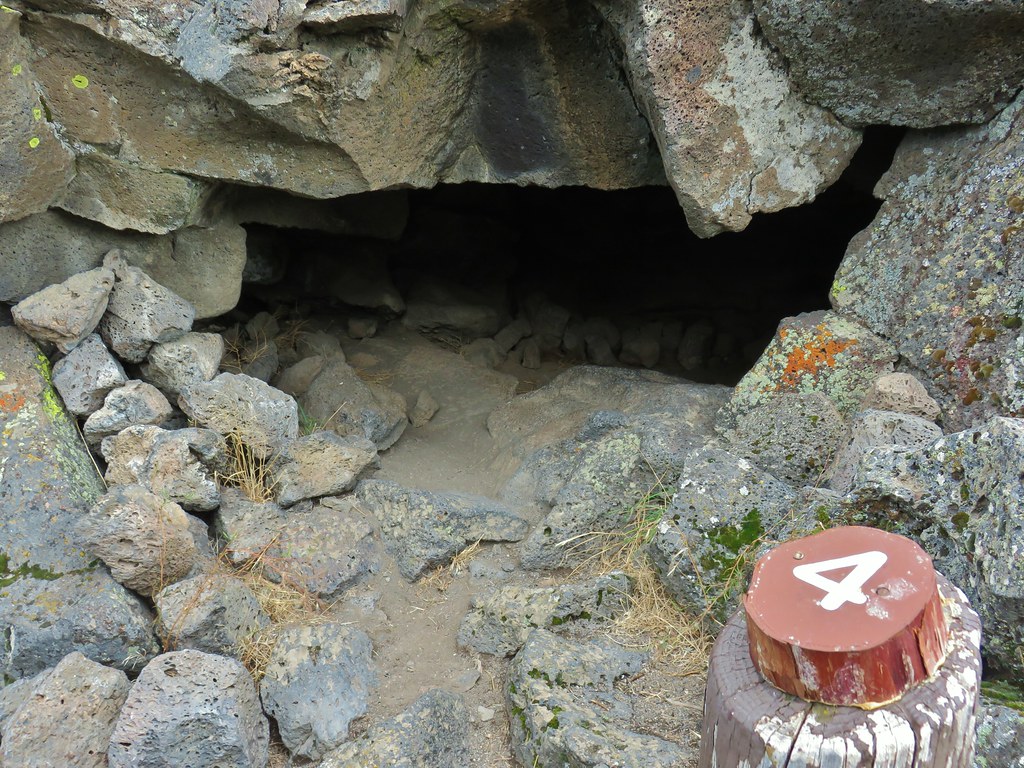
The trail led through lava formations with narrow passages and small caves. Numbered signs along the way marked items that we could have read about if we had grabbed a guide.
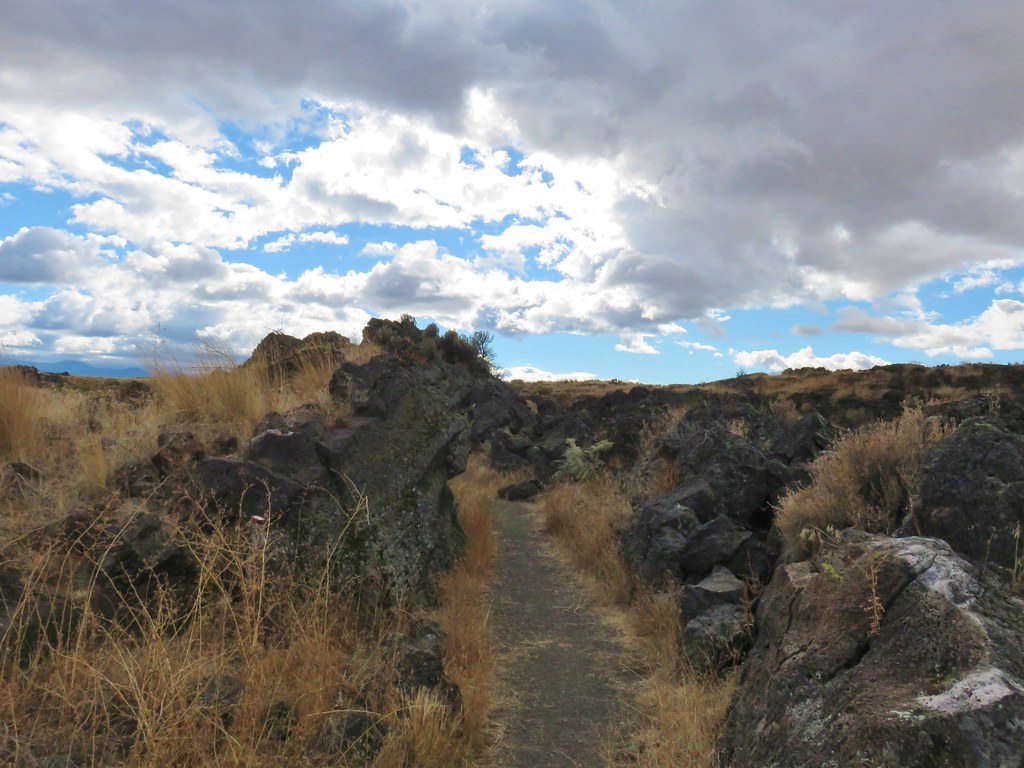
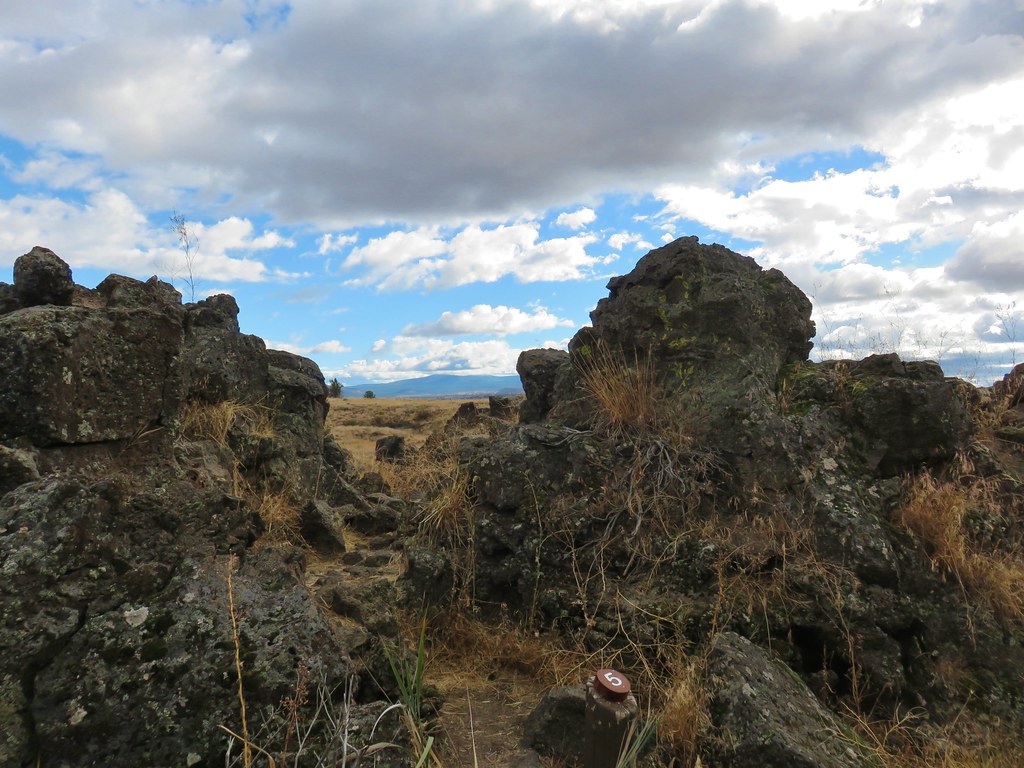


At the .3 mile mark the loops split with the shorter return route to the right and the longer loop to the left. We went left.

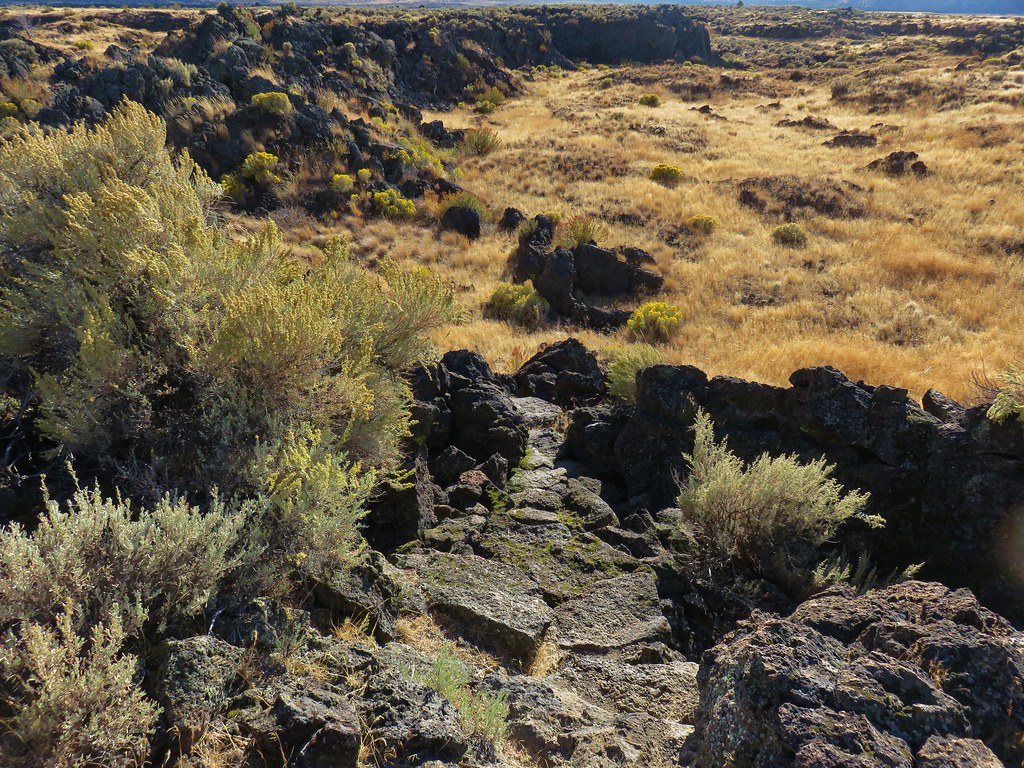

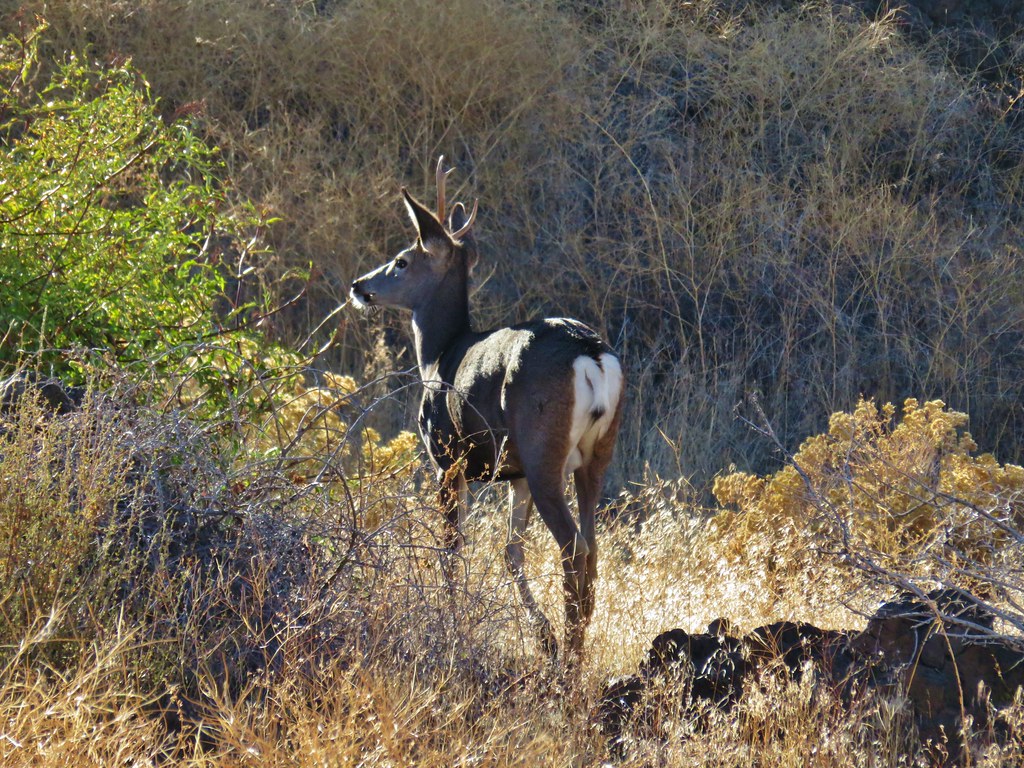
The long loop was a mile and a half versus a half mile for the short loop option. The extra mile was well worth it even without the companion trail guide. Near the end of the loop we spotted a pair of deer munching on some leaves.
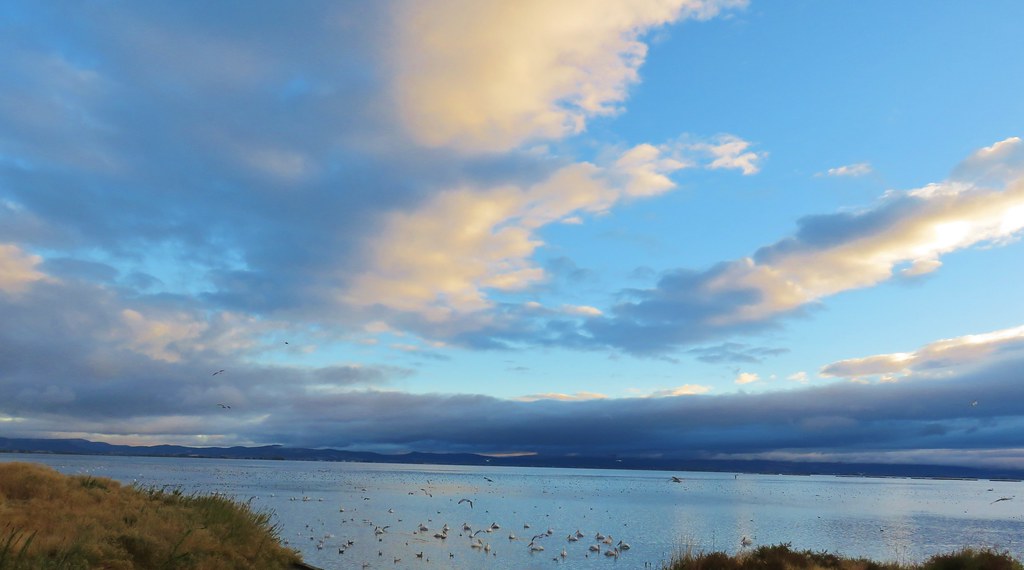
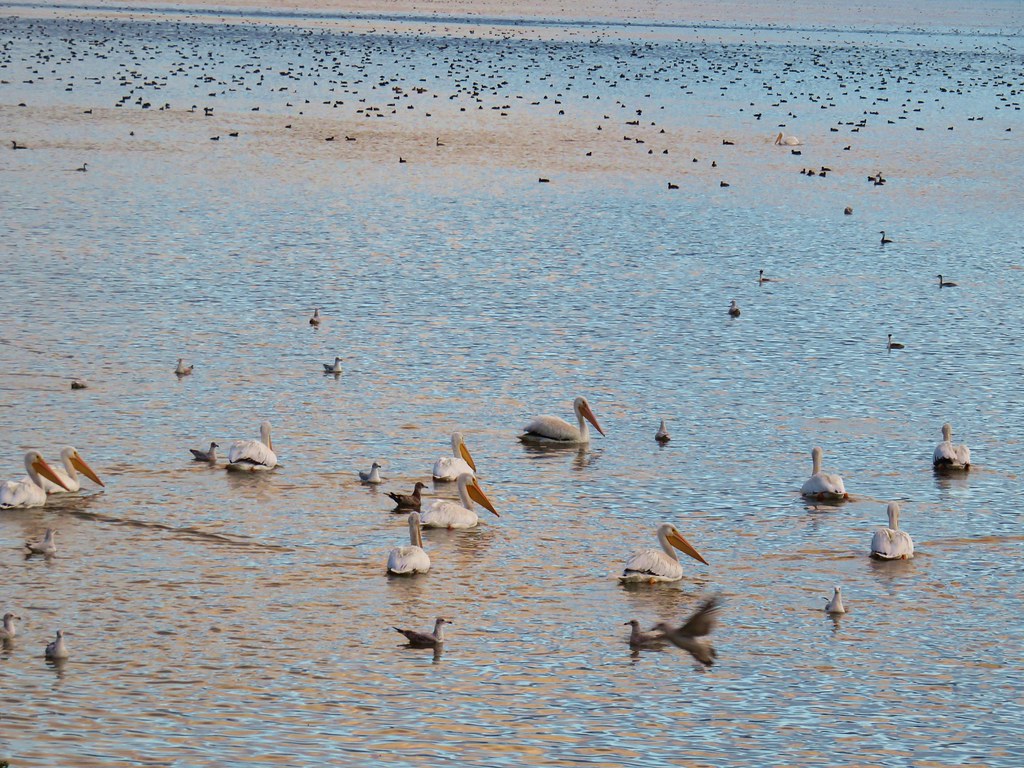
We had one final stop planned before leaving the Monument for good so when we got back to our car we continued east on what became County Road 120 following signs for Petroglyph Point. Along the way we briefly reentered the Tule Lake National Wildlife Refuge where we wound up stopping again to gawk at the wildlife.

We left County Road 120 when prompted by the signage and soon found ourselves pulling into a large parking area near the base of Petroglyph Point.
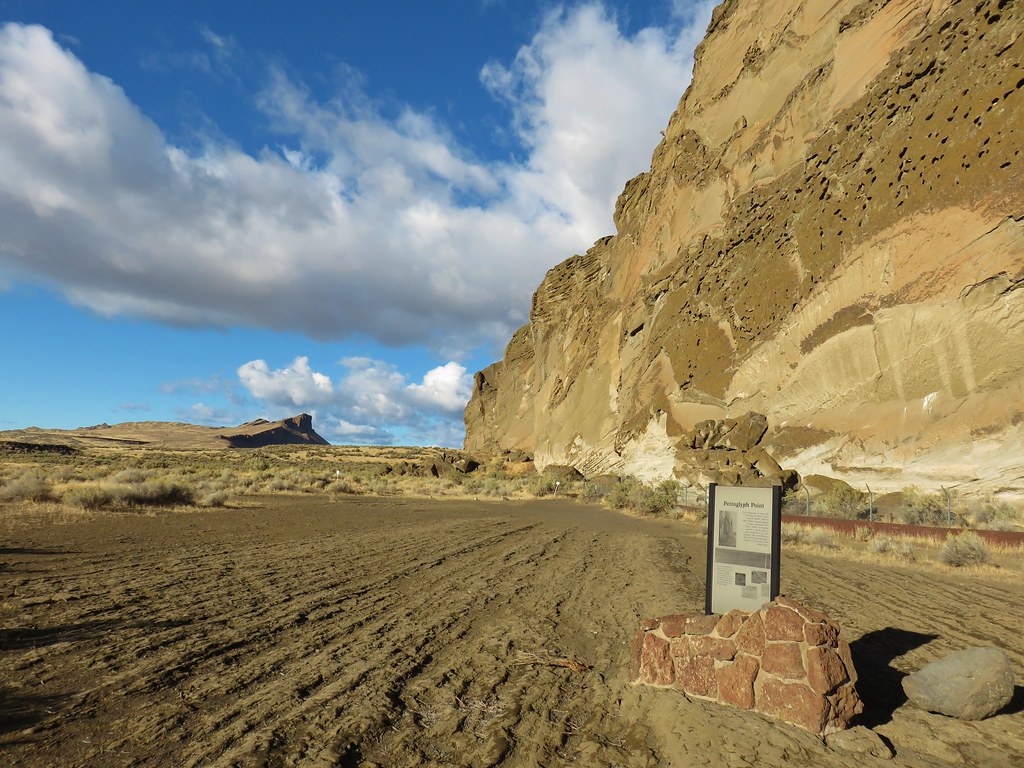
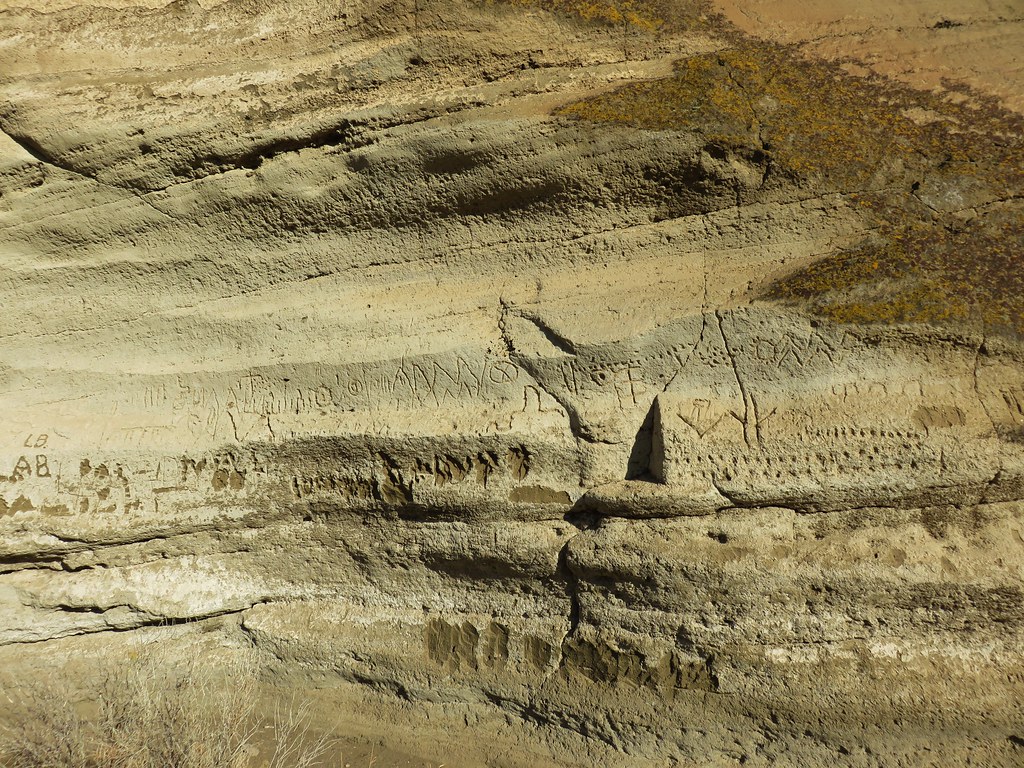
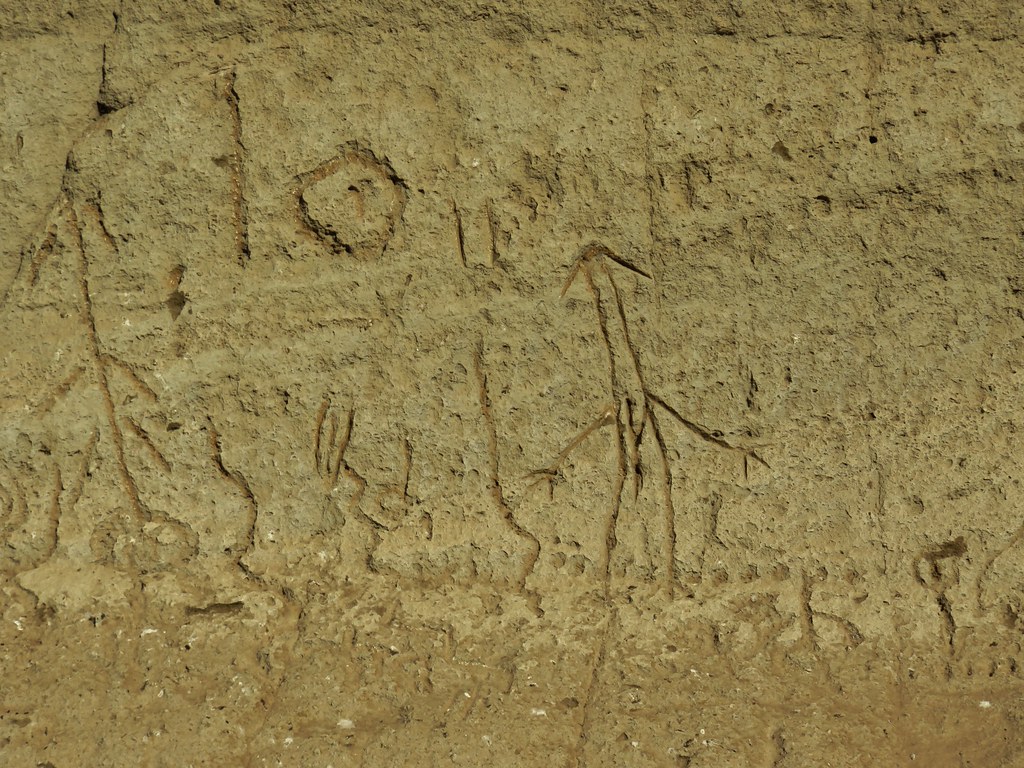
Here we walked along a fence (to protect the thousands of petroglyphs)for .3 miles marveling at all the designs.
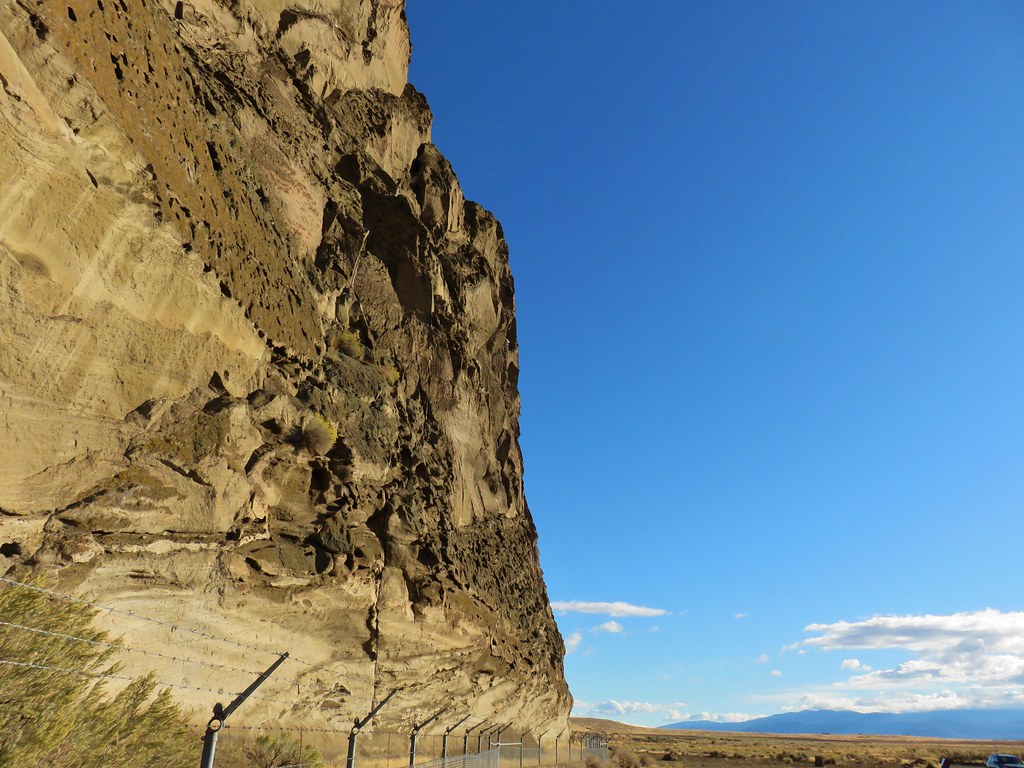
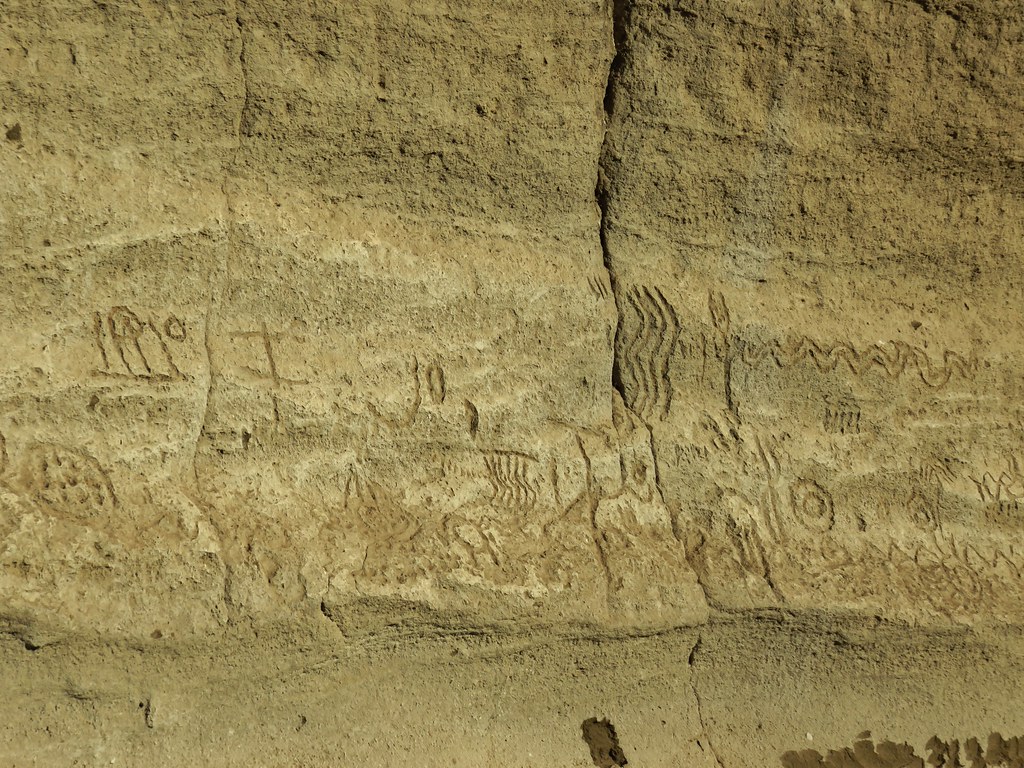
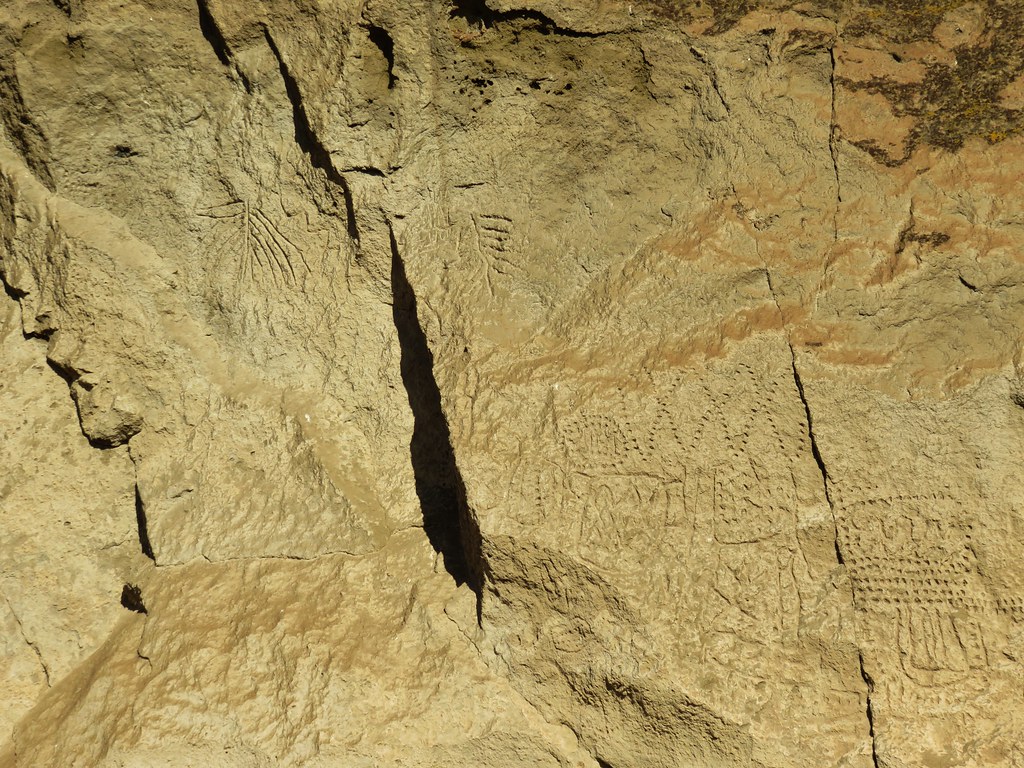
The cliffs above were fairly impressive on their own.
After spending quite a while contemplating the art we headed back to Klamath Falls. It was a full day for sure having spent over 10 hours in the Monument and logging around 16.5 miles but well worth the time and effort. Even with all of that there is still much left there to explore on our next visit. Happy Trails!
Flickr: Lava Beds National Monument

8 replies on “Lava Beds National Monument”
You certainly packed almost everything the Monument has to offer into a single day. Reminds me of those European tours where you get to spend 2 hours in Paris before moving on. 😉
We’d like to get back there sometime earlier in the year to see some more of it and at the different time of year.
Very interesting blog. Great detail.
Can’t imagine Pa in any of those caves though 🙂
I can and it isn’t pretty. 😉
[…] week after spending a day hiking in California at the Lava Beds National Monument (post) we visited our neighbor to the north, Washington. On our itinerary for the day were a pair of […]
[…] done in Oregon we did manage to spend one day each in Washington (Falls Creek Falls), California (Lava Beds National Monument), and for the first time Idaho (Jump Creek […]
[…] We were long overdue for a visit to California, our last hike in the state was way back in 2018 at the Lava Beds National Monument (post). […]
[…] #85 Modoc Lava Beds – Hiked 10/6/2018 […]