After spending the night in Burns it was time for the featured hike that had brought us here. Threemile Canyon was a recent edition as a featured hike after switching editions on our quest to finish the 100 featured hikes in each of William L. Sullivans guidebooks (post). We got a little later start than typical for us opting to stick around long enough to take advantage of the 6am full breakfast at our motel. After eating we made the hour and a half drive South on Highway 205 (County Road 202) to the Threemile Creek Trailhead.


We’d driven through a couple of rain showers but we had a bit of blue sky overhead at the trailhead (for now).
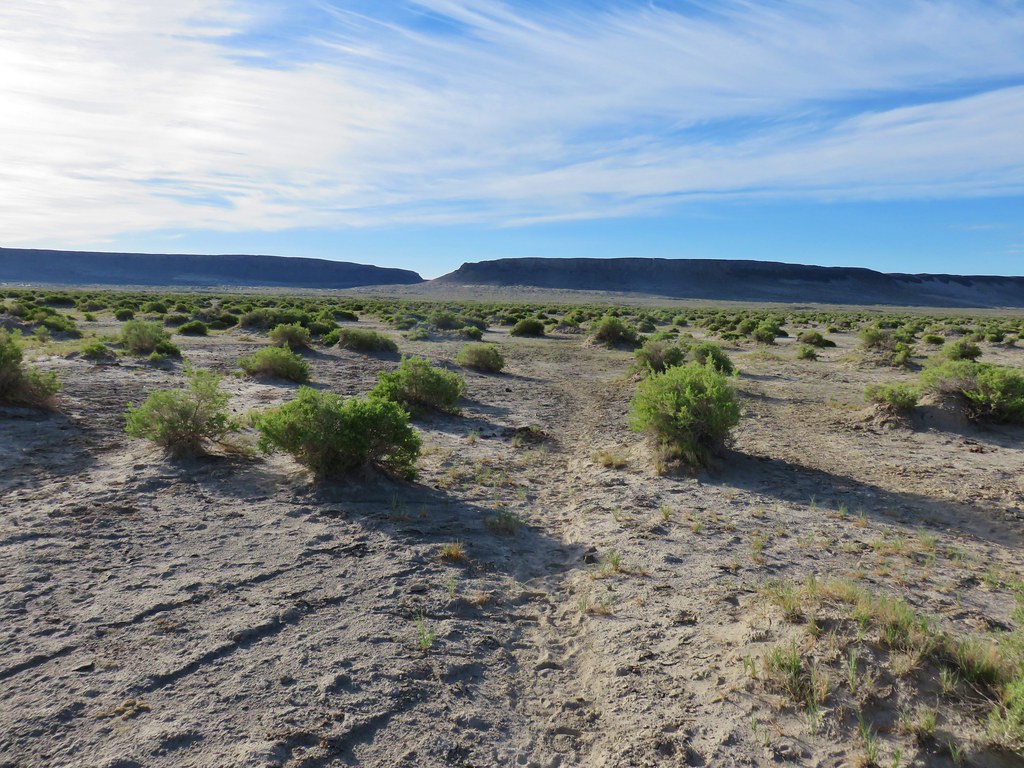
 Beatys Butte to the SW.
 Rain to the SW as well.
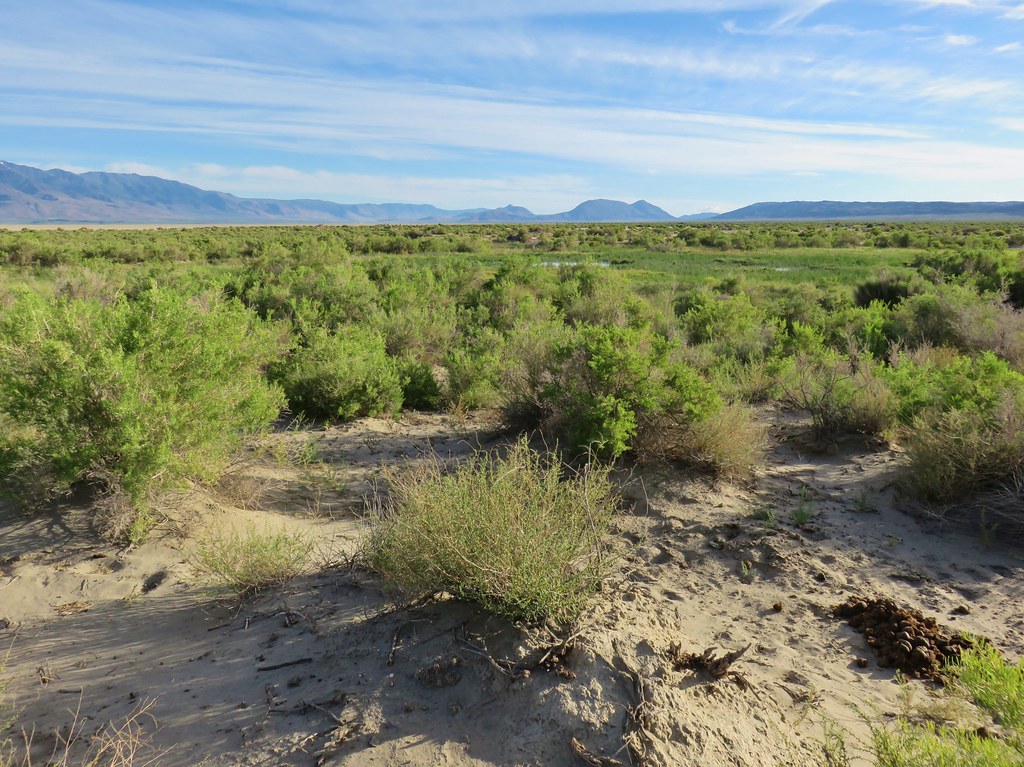
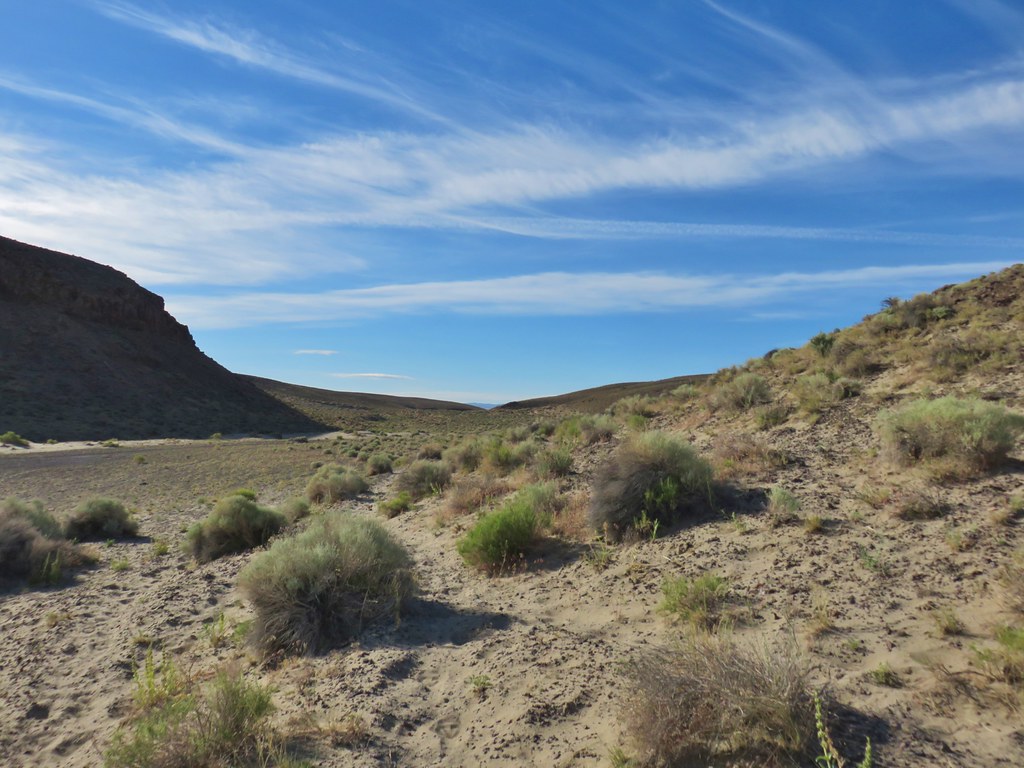
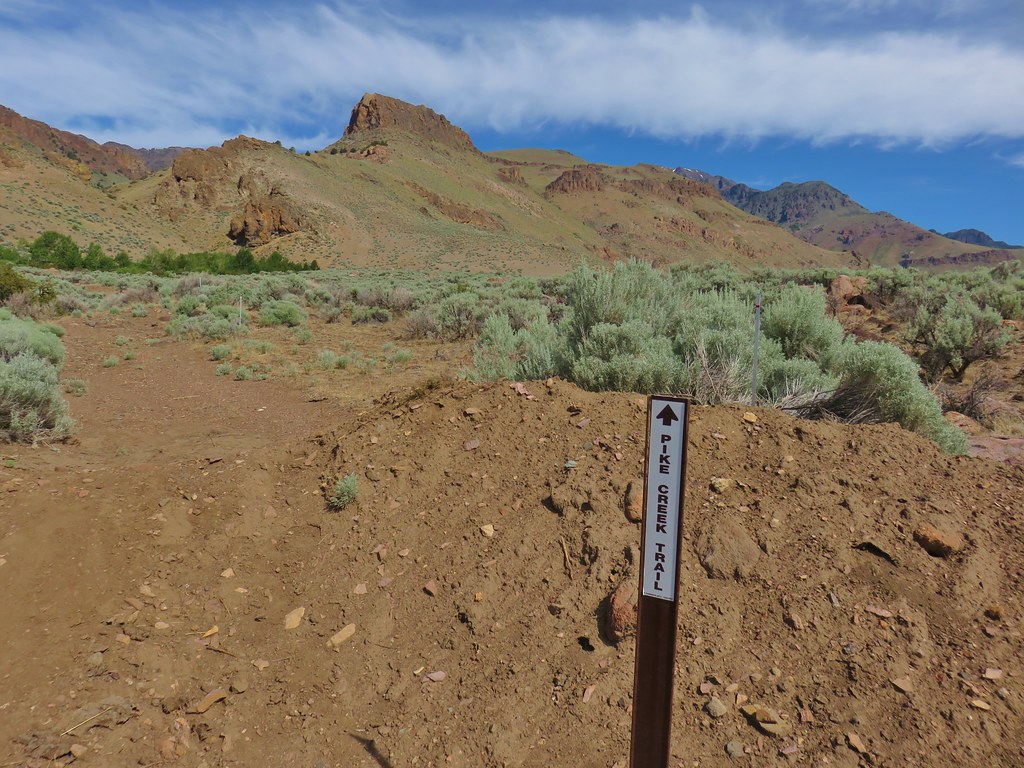
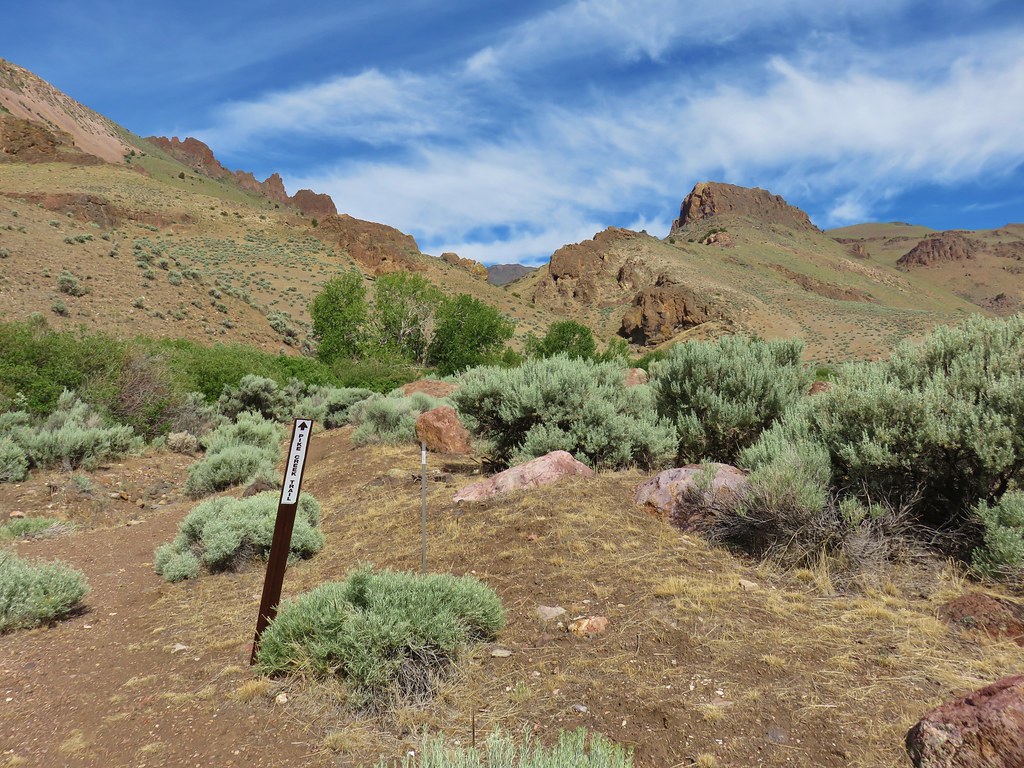
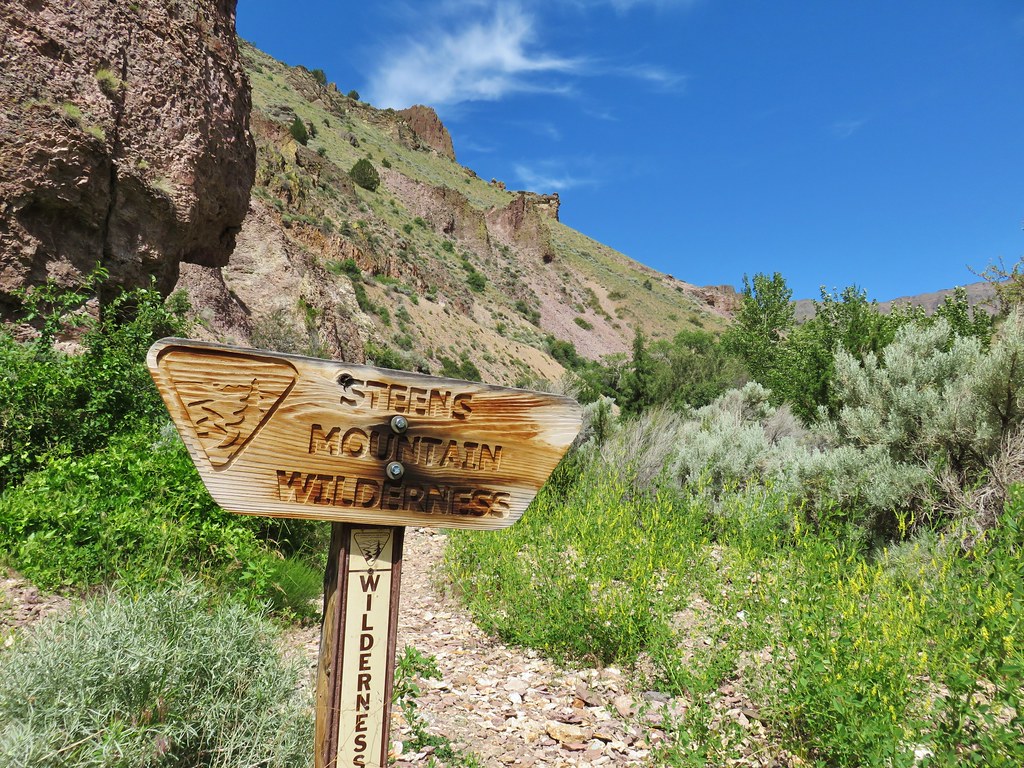
We followed the Threemile Creek Trail into the Steens Mountain Wilderness and Threemile Canyon.


Earlier rains had left the vegetation that crowded the trail rather damp which quickly left our pant legs wet.

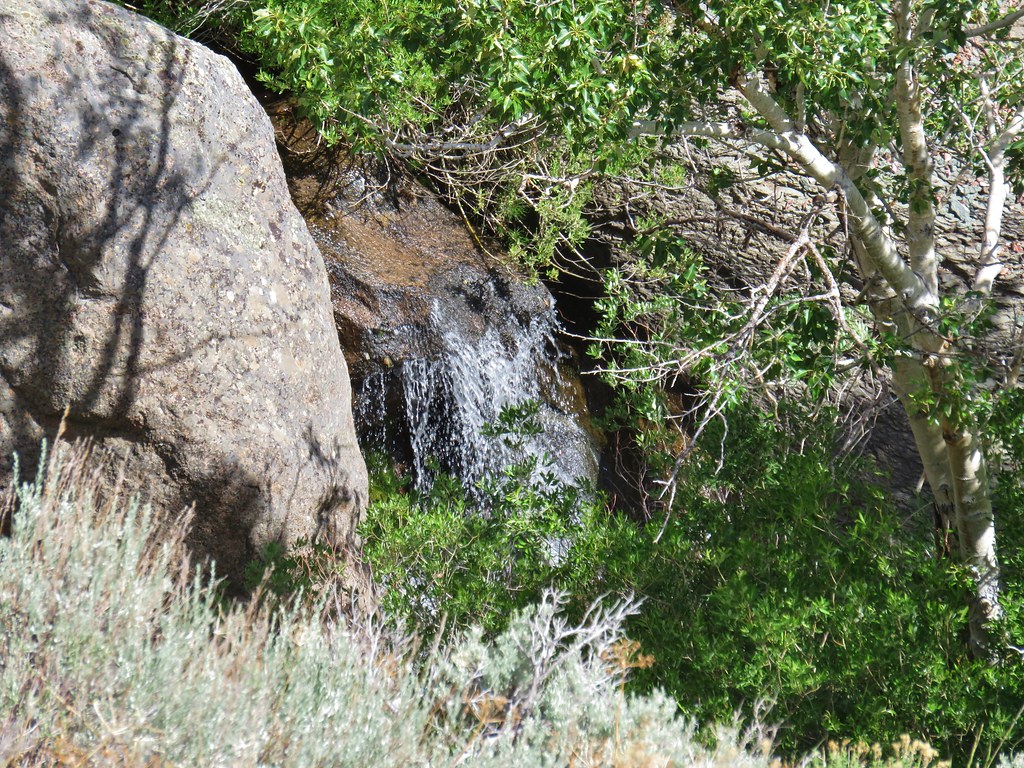
 Threemile Creek could be heard but not seen through the thick brush.
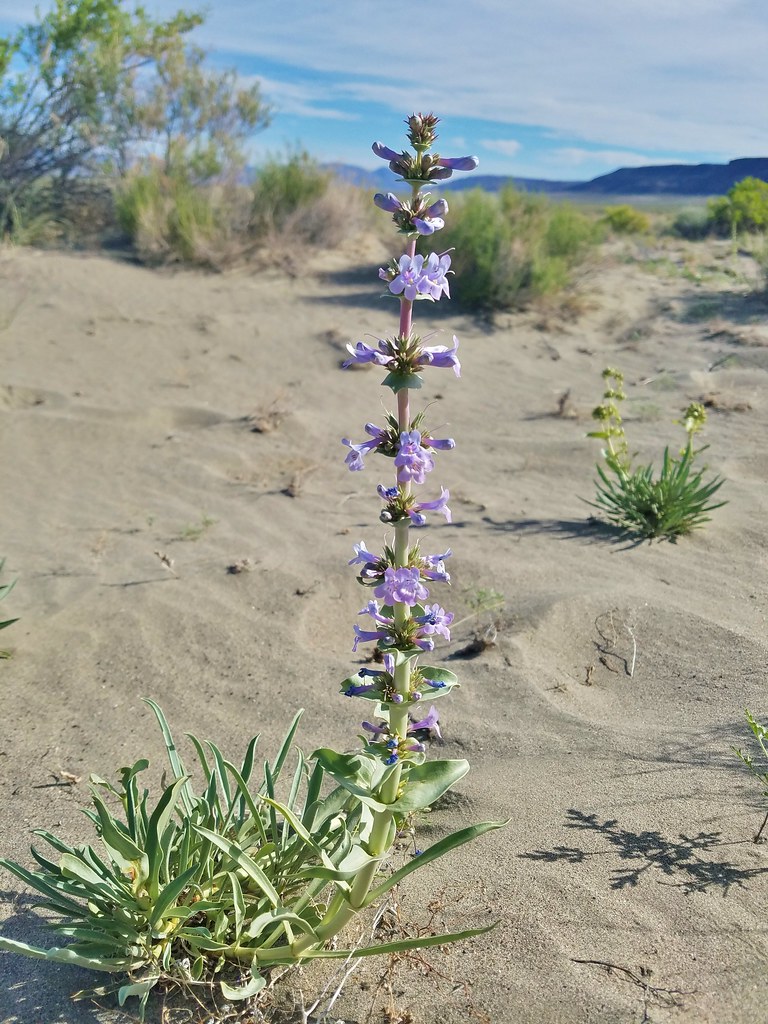
 Lupine
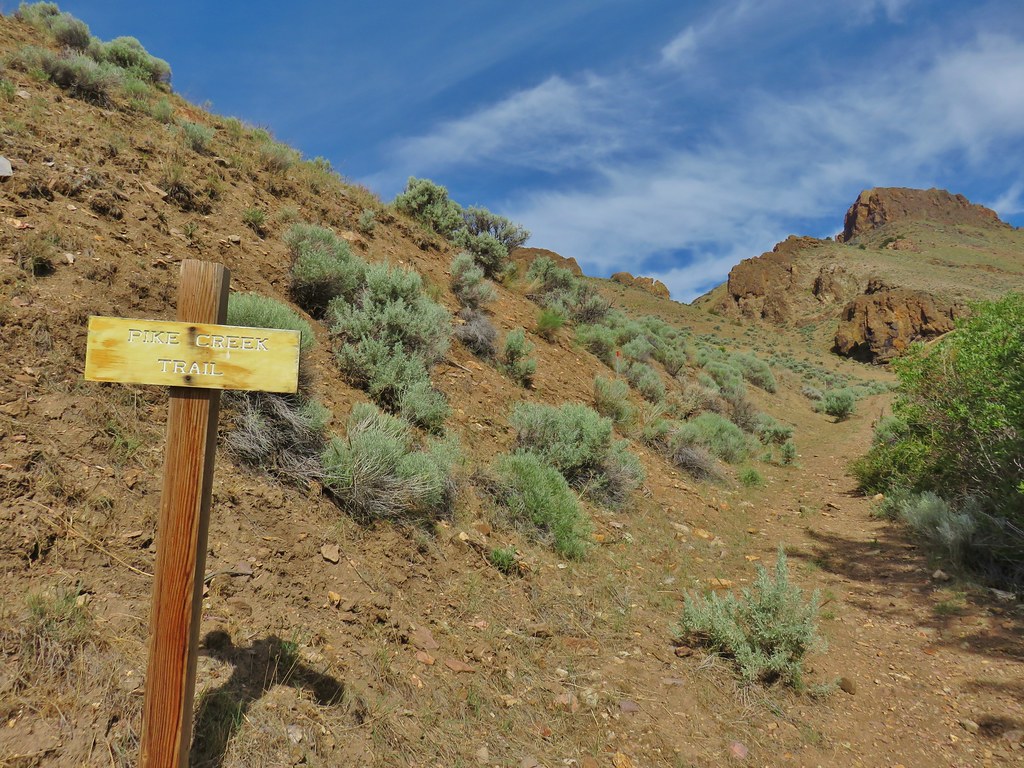
At the 3/4-mile mark we arrived at a junction with Huffman Trail.
 There was a post but no sign at the junction.
Our plan was to take the Huffman Trail uphill to its end on a plateau. If the weather was decent we would then take the Threemile Creek Trail further up Threemile Canyon before returning to the car. We turned left at the junction and began a steep climb, nearly 1100′ in 1.7-miles.

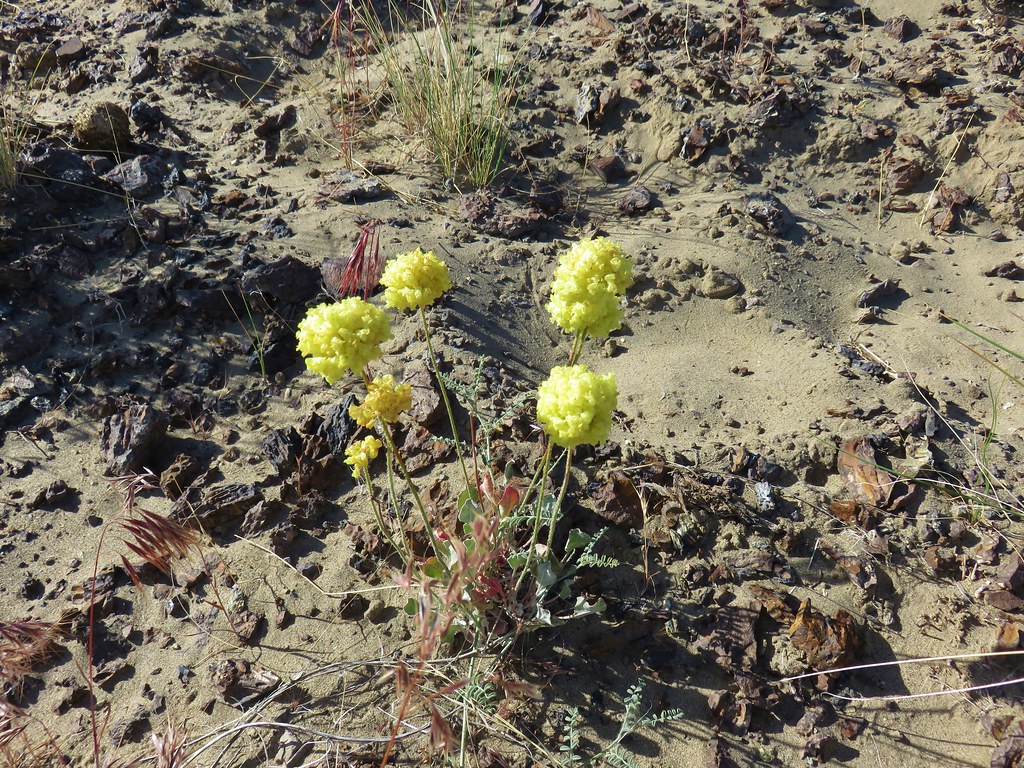
 Wickerstem buckwheat
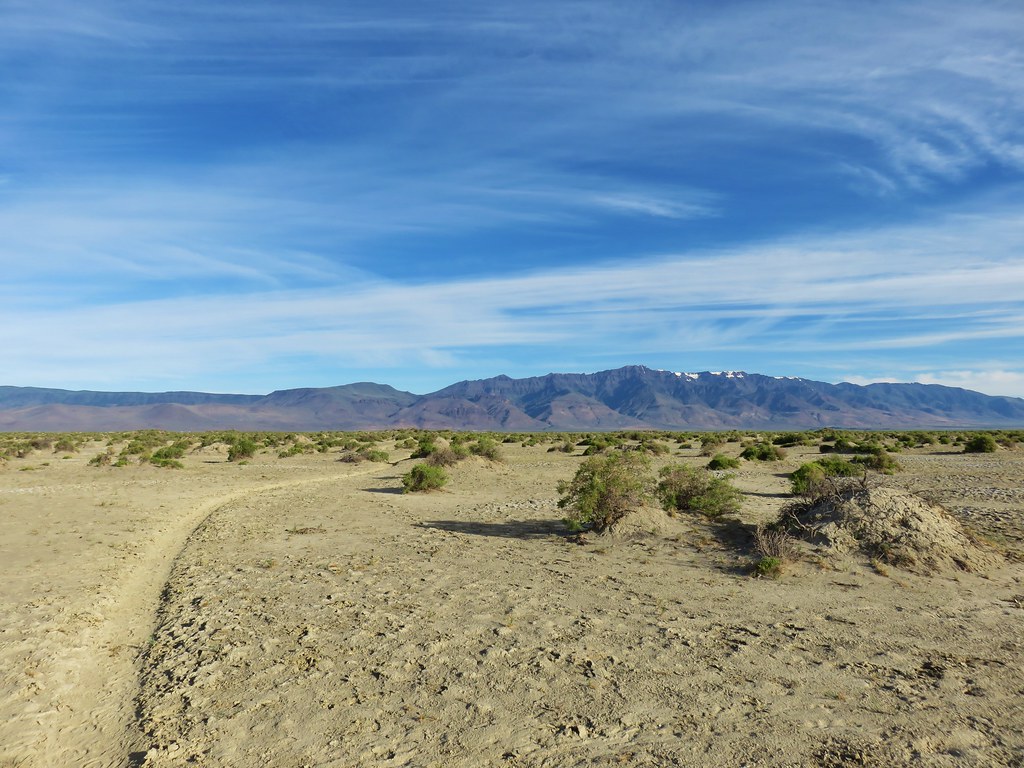
 The Pueblo Mountains (post) in the distance including the domed Pueblo Mountain.
 Clouds and rain showers to the SW.
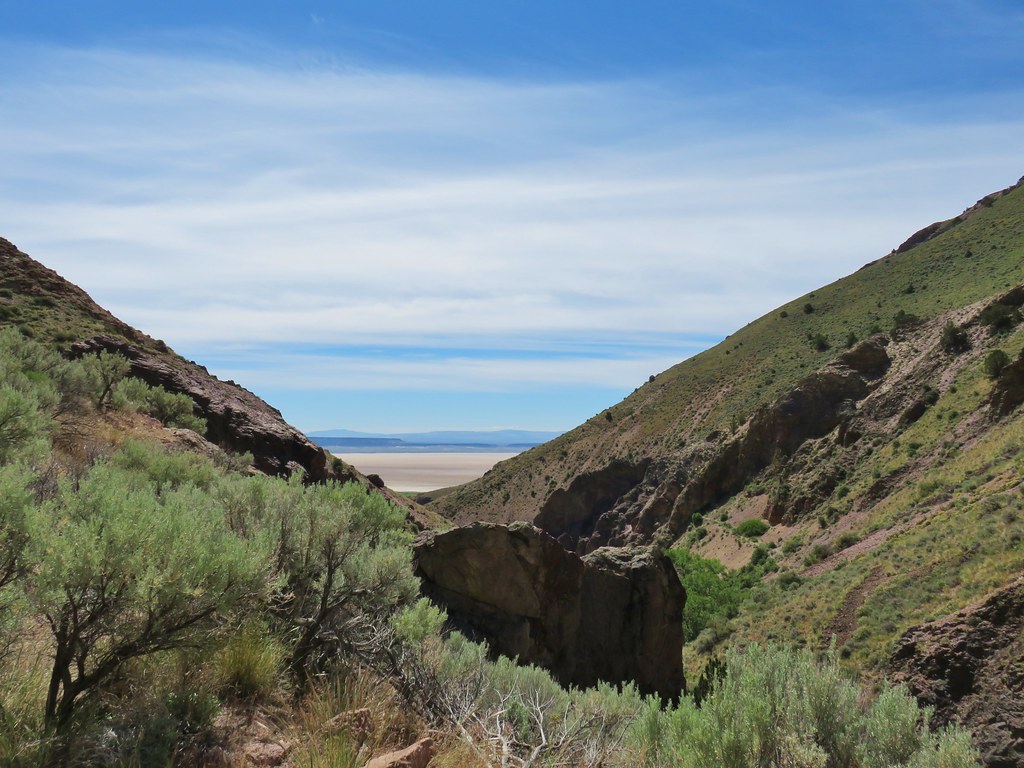
 Threemile Canyon
 The faint Huffman Trail.
 Alvord Peak in the center distance with Pueblo Mountain to the far right.
 Closer look at Alvord Peak in the center.
 Still a little blue sky to the NW.
 Not sure where the fog below came from but it was on a mission to beat us up to the plateau.
 Here comes the fog and some rain.
 Just moments later.
 And here is the fog.
We put our rain covers on at a switchback and continued uphill with a light rain falling through the fog.

The fog had moved on by the time we arrived at the plateau, but the rain lingered.

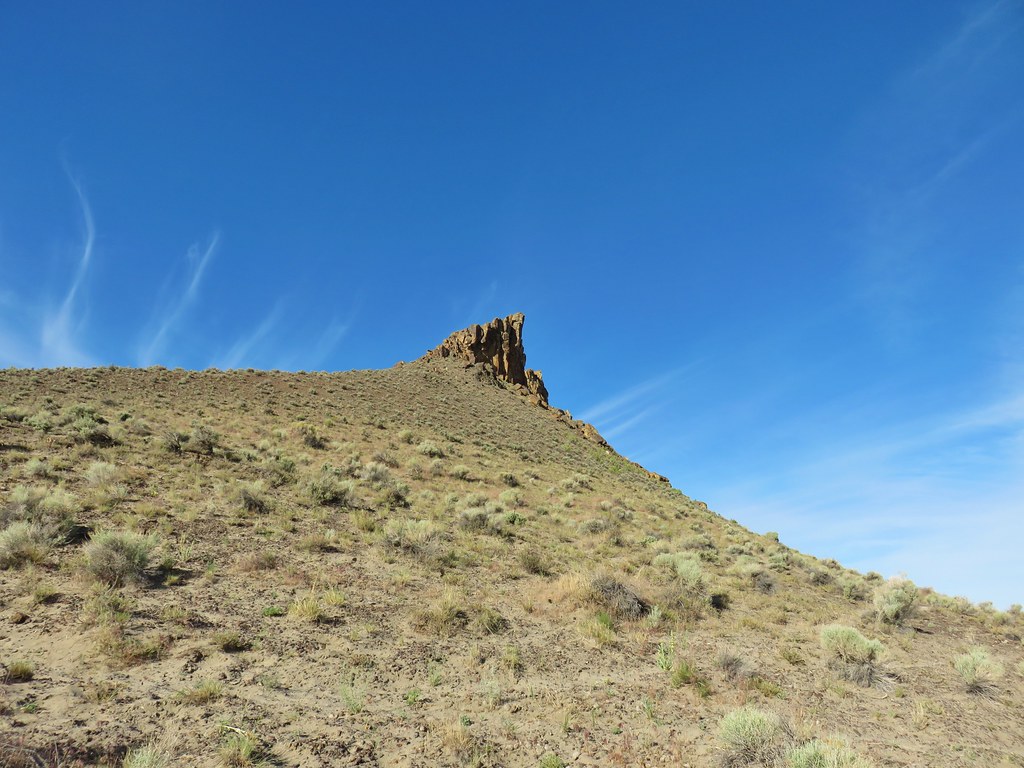
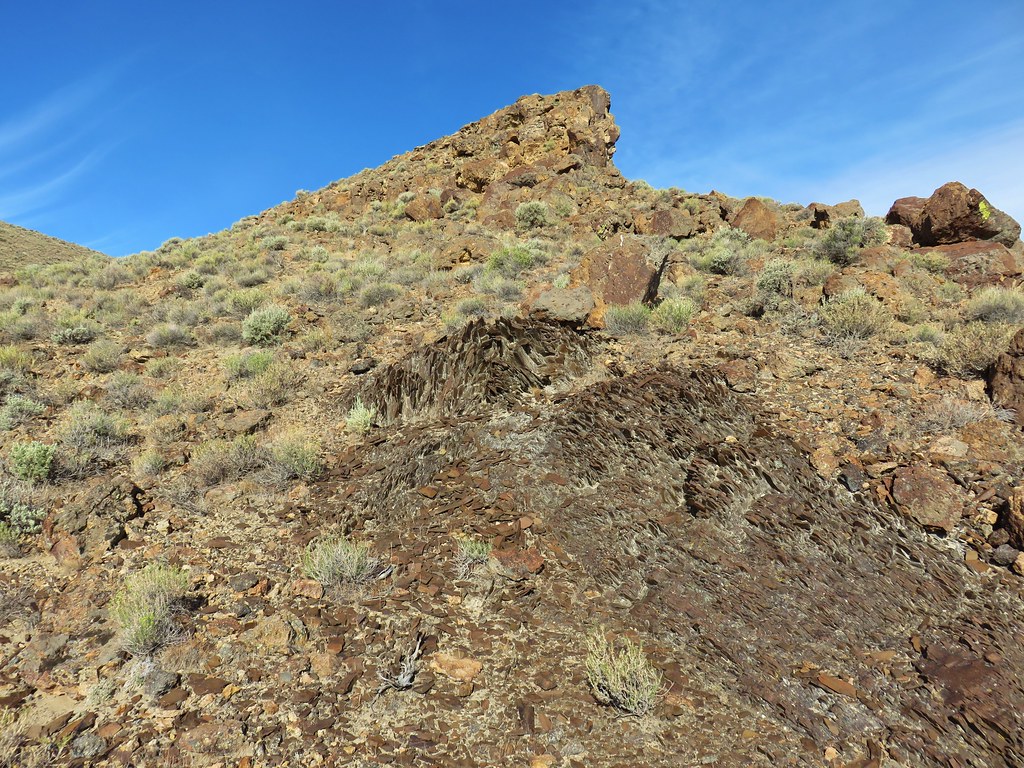
 The final pitch to the plateau.
 Cairn at the end of the trail.
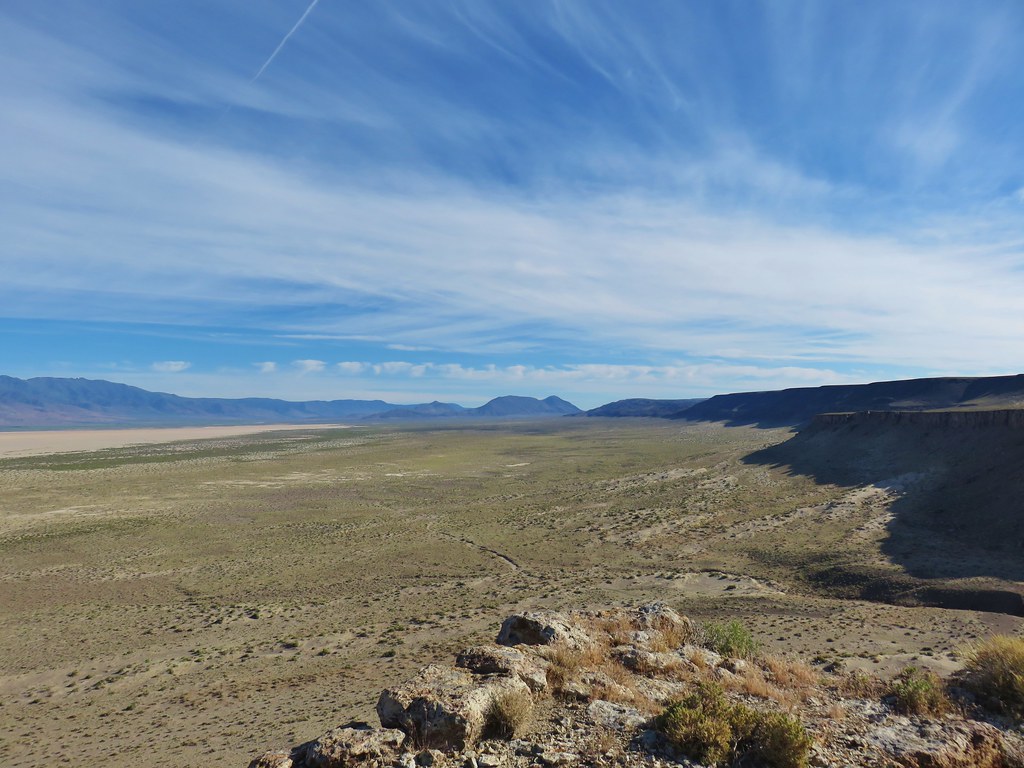
 Exploring is possible as long as you remember where you came up.
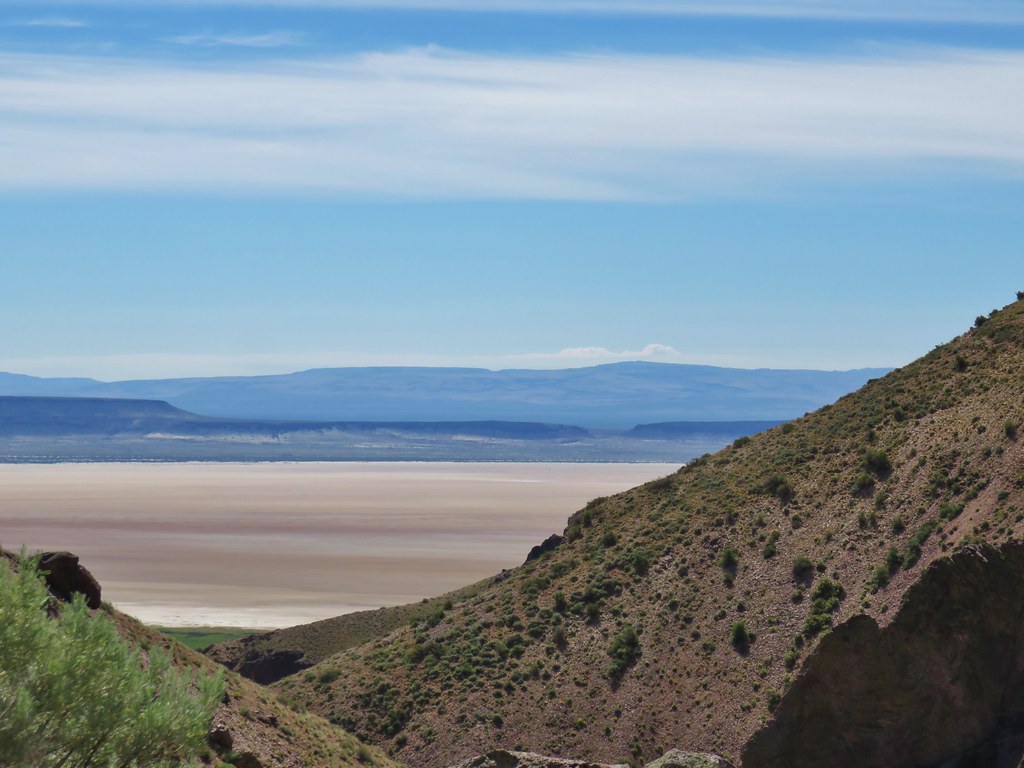
 Looking West.
 Looking toward Threemile Canyon.
The rain let up around the time we started back down and the clouds soon began to break up.

 Beatys Butte at center with the long fault block of Hart Mountain (post) to the right partly behind the clouds.


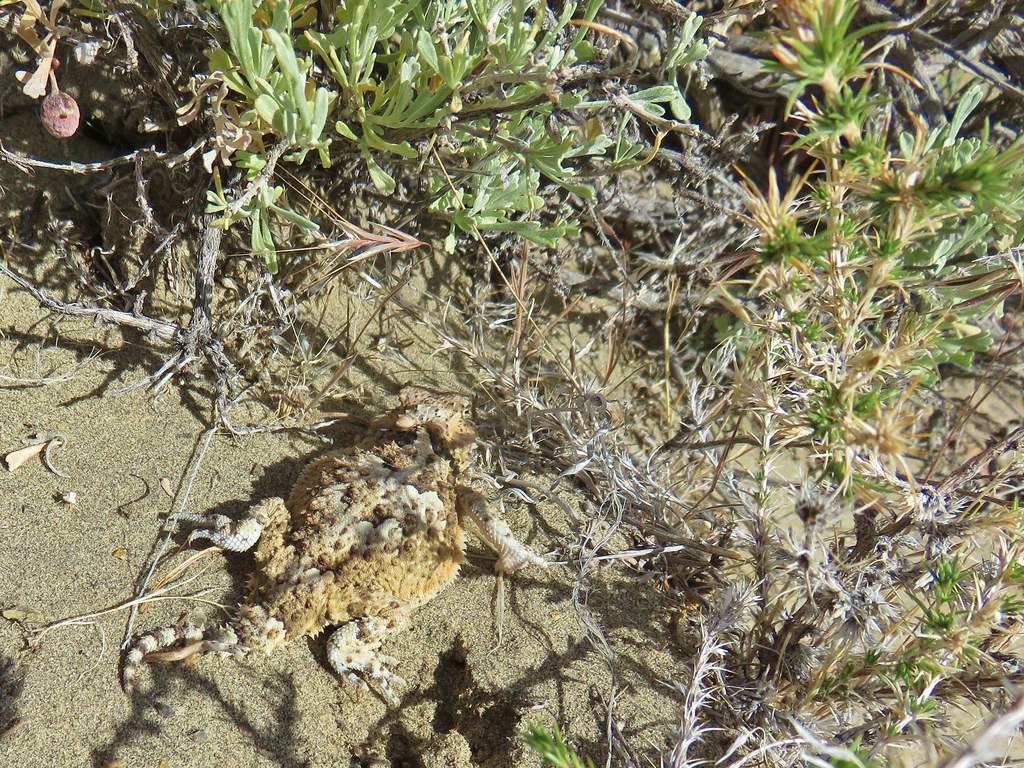
 This frog seemed to enjoy the damp weather.
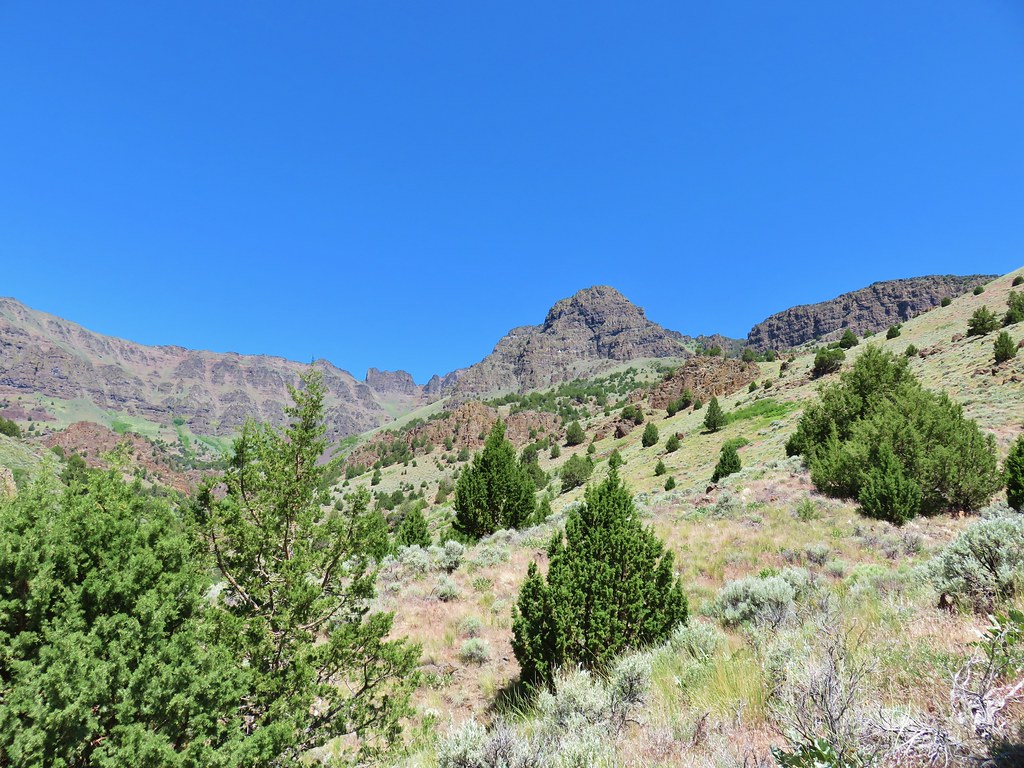
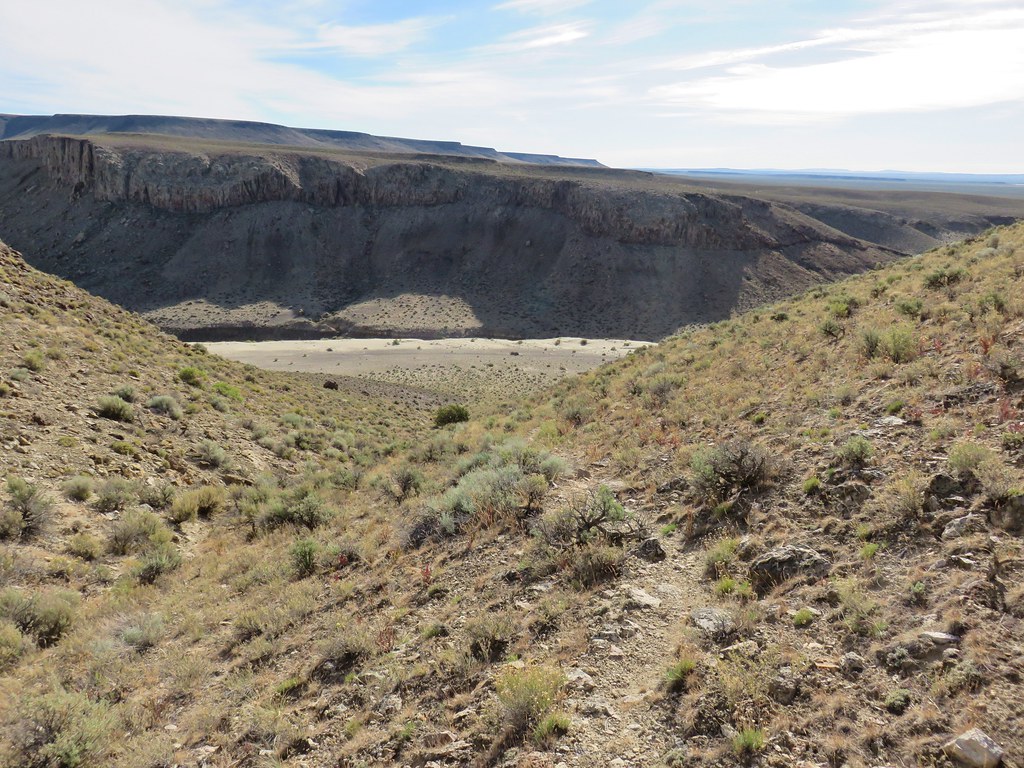
 Cliffs across Threemile Canyon
 Arriving back at the junction with the Threemile Creek Trail.
With the weather improving and the Threemile Creek Trail continuing less than a mile beyond the junction we decided to give it a go. Heather told me to go on ahead and to turn around when I was ready and she would just turn around when she felt like it or we met up again. The Huffman Trail had been faint in places and a bit rough, but the remainder of the Threemile Trail took these to a different level.
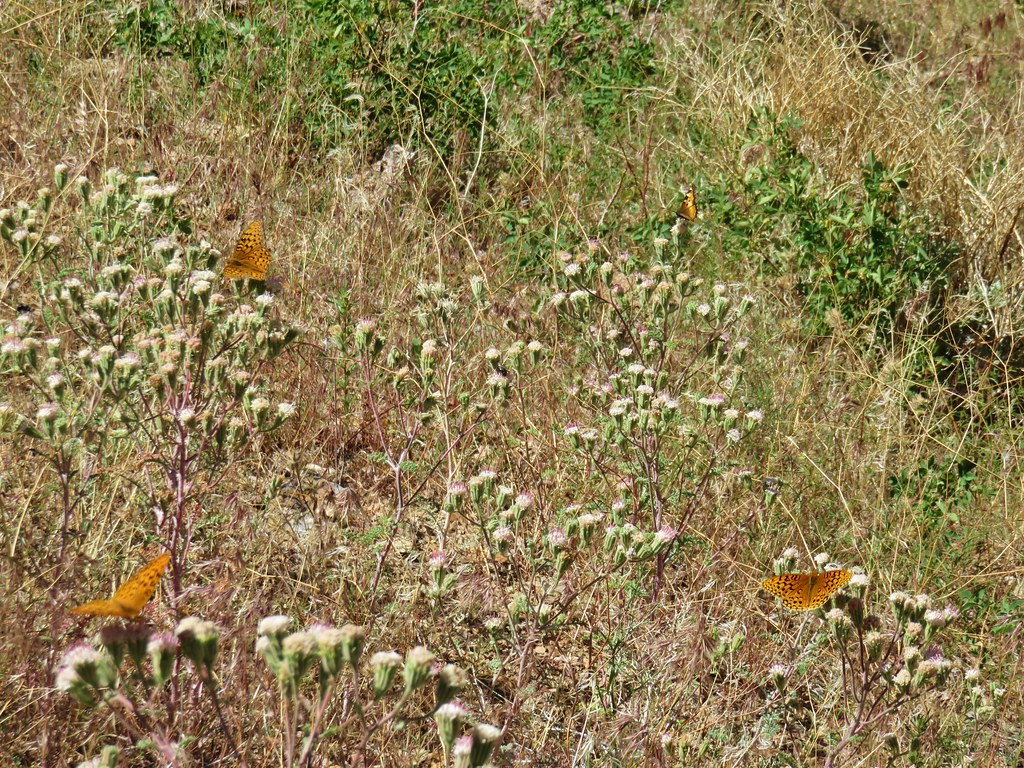
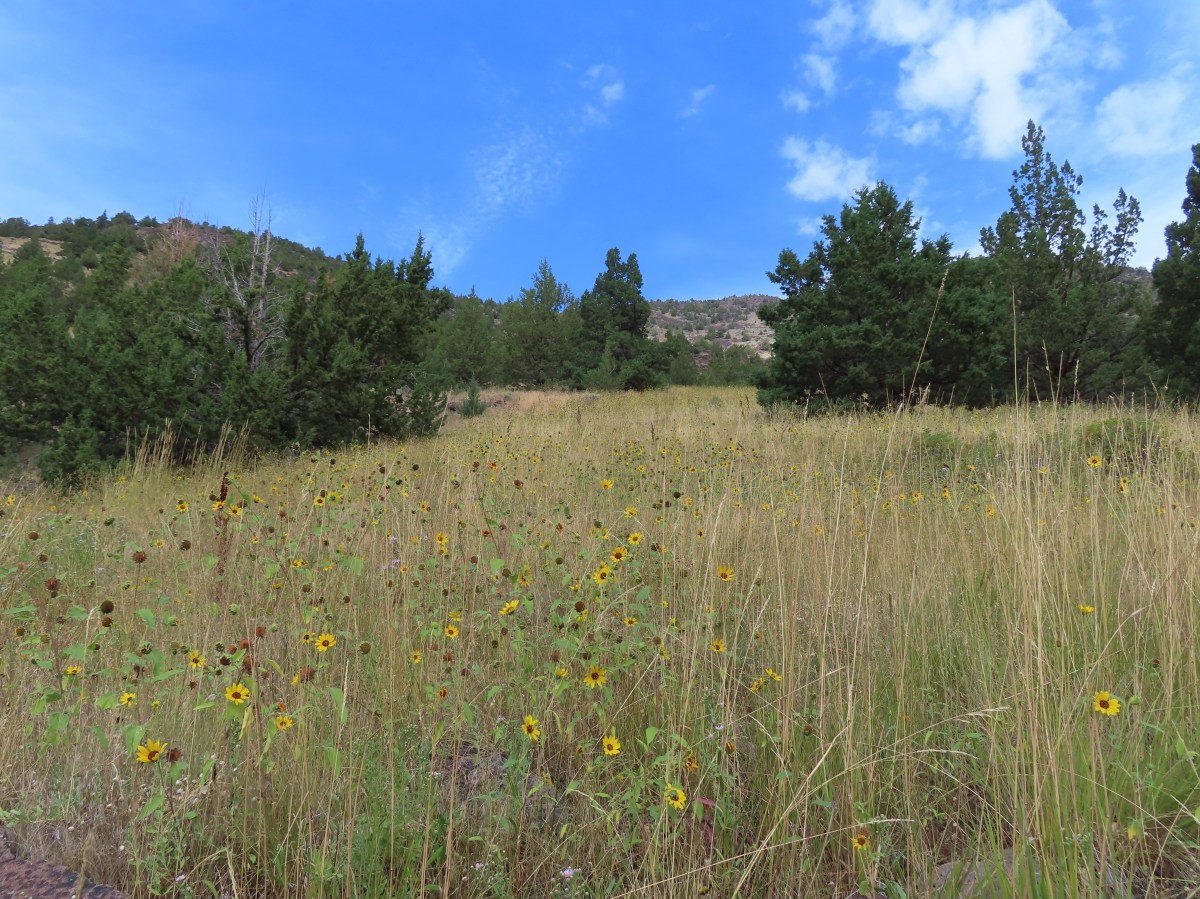
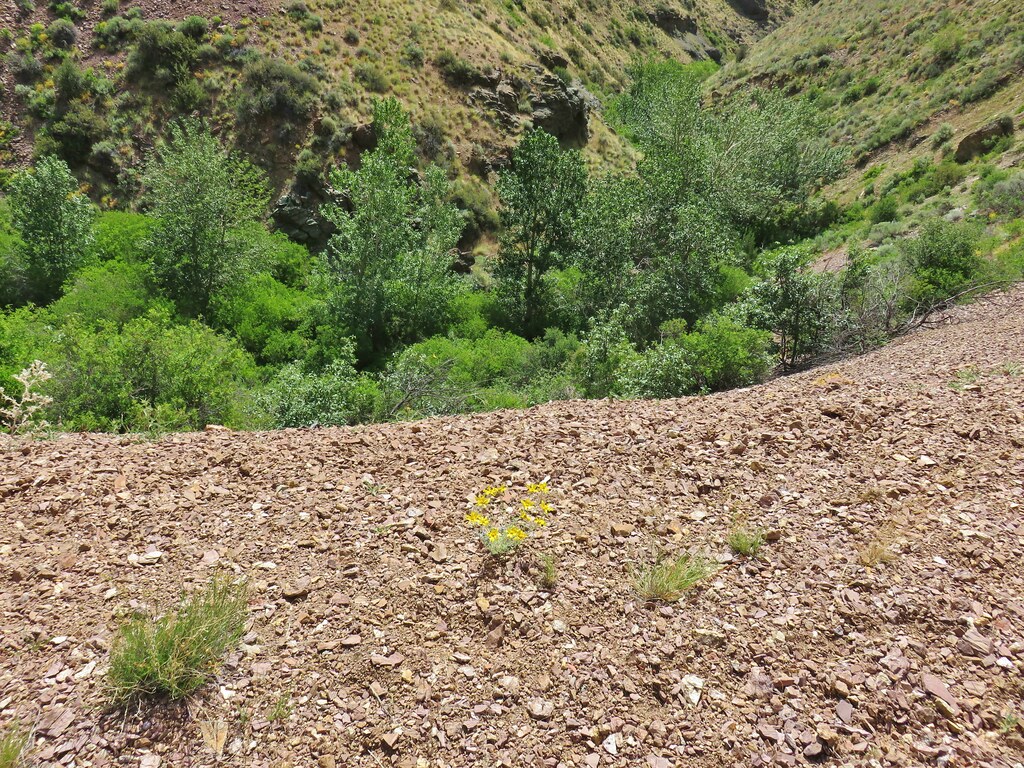
It started out nicely passing a hillside covered in sunflowers, a few aster, and some curlycup gumweed.


 Curlycup gumweed

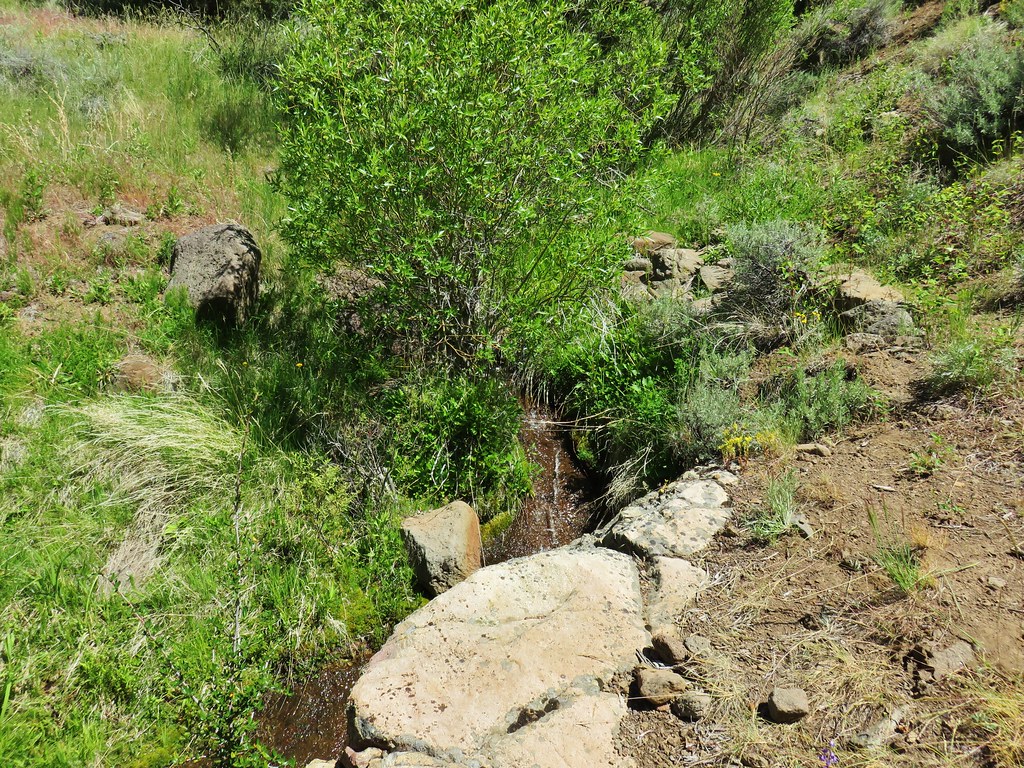
 The trail crossed and at times used dry creek beds and also crossed Threemile Creek several times.
 The easiest crossing of Threemile Creek. Several of the others were not obvious until I pushed through the brush and then the footing was often tricky due to large, slick rocks needing to be navigated (at least in order to stay out of the creek).
 On the trail, I think.
 Elderberry
 Hard to tell by the photo but this puffball was a little bigger than a softball.
The trail was described as ending in a meadow just under a mile from the junction with the Huffman Trail. I lost the trail at what appeared to be a post, but it also may just have been a snag.
 I wouldn’t really describe the area as a meadow but I was 0.9 miles from the junction.
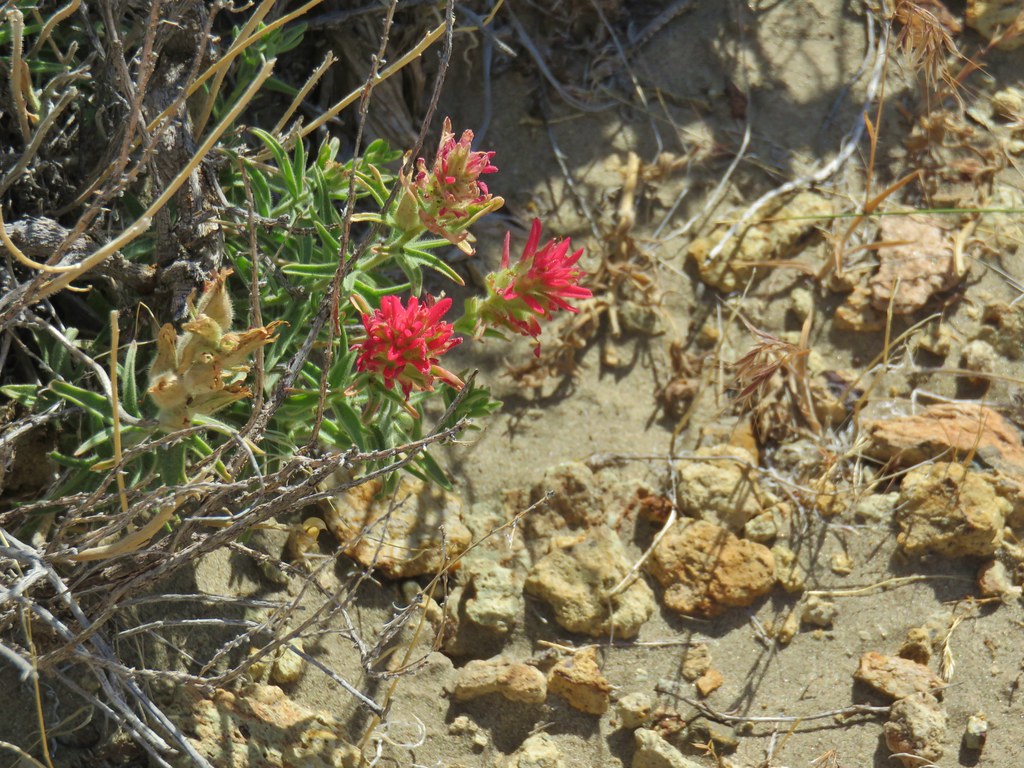
Since I was uncertain if this was the “meadow” I scrambled over a few rocks looking to see if I could find a continuation of the trail. I couldn’t but I did spot a lone red paintbrush.

 Looking down at the meadow and post/snag (lower right) from the rocks.
I turned around here and headed back. I met Heather on the far side of the first really tricky creek crossing where she had decided to stop. We hiked out together as the clouds continued to break up overhead.
 Sometimes the trail was really only identifiable by which junipers had had limbs cut.

 The drop to the creek here was approximately 2′ and the pool in Threemile Creek was fairly deep making this crossing a bit of a challenge not to slip and fall in.
 Aster
Aster


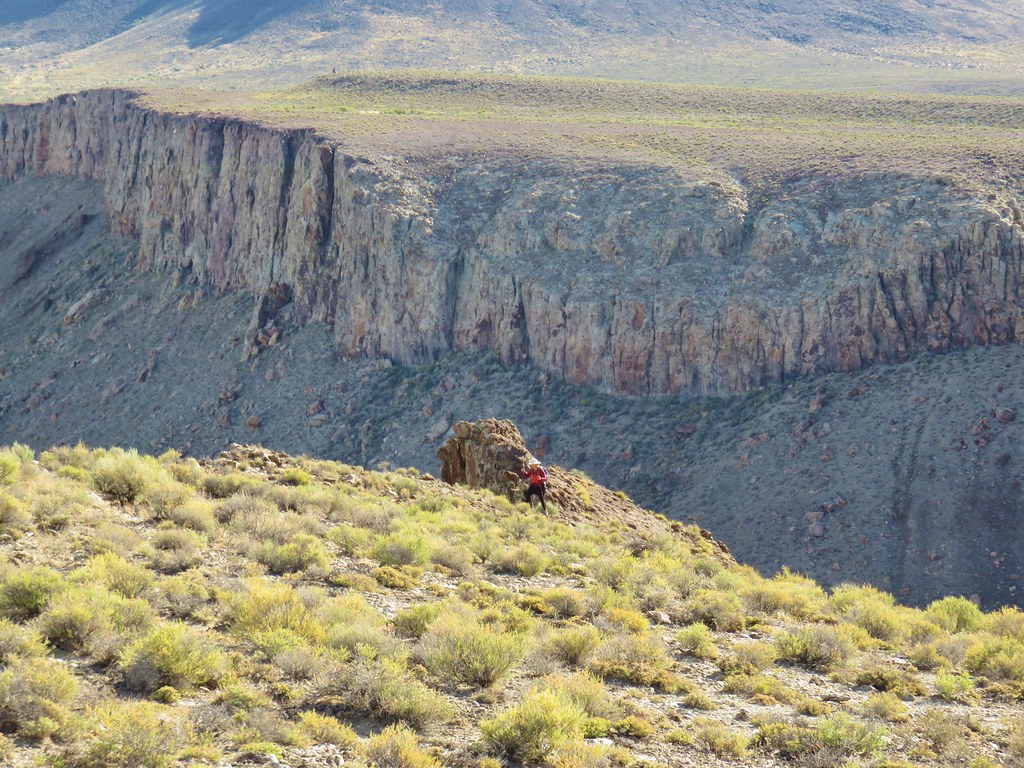
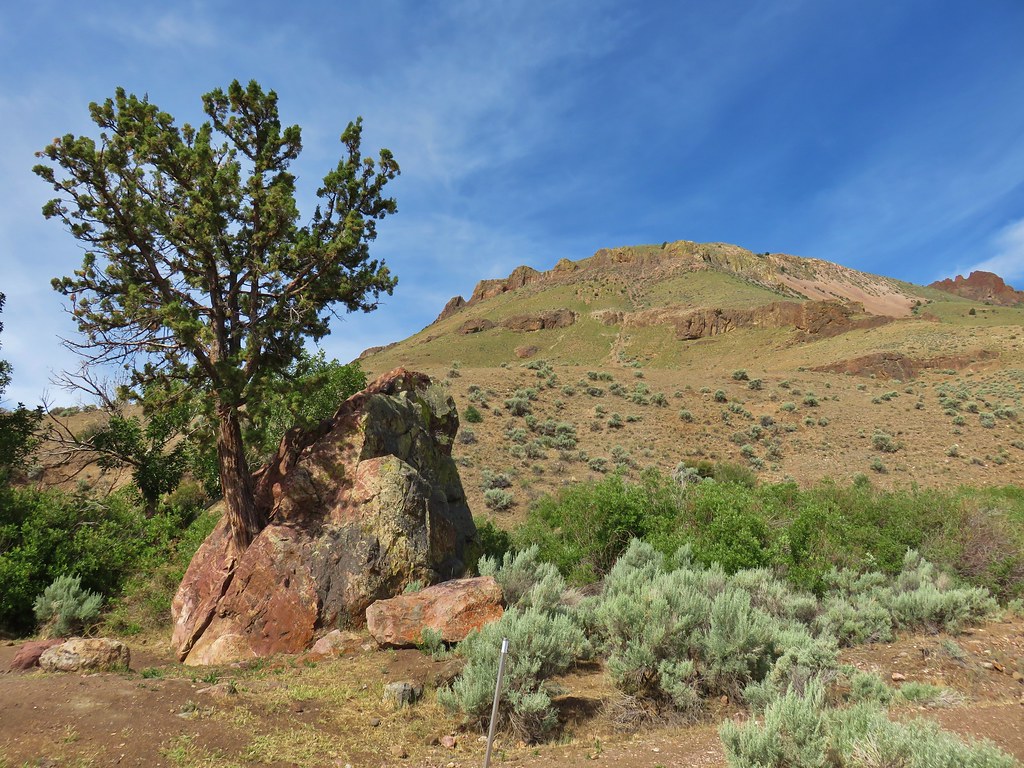
 Sullivan’s map showed a “Bart Simpson Rock” which we believe was this one.
 Nearing the sunflower hillside and trail junction.
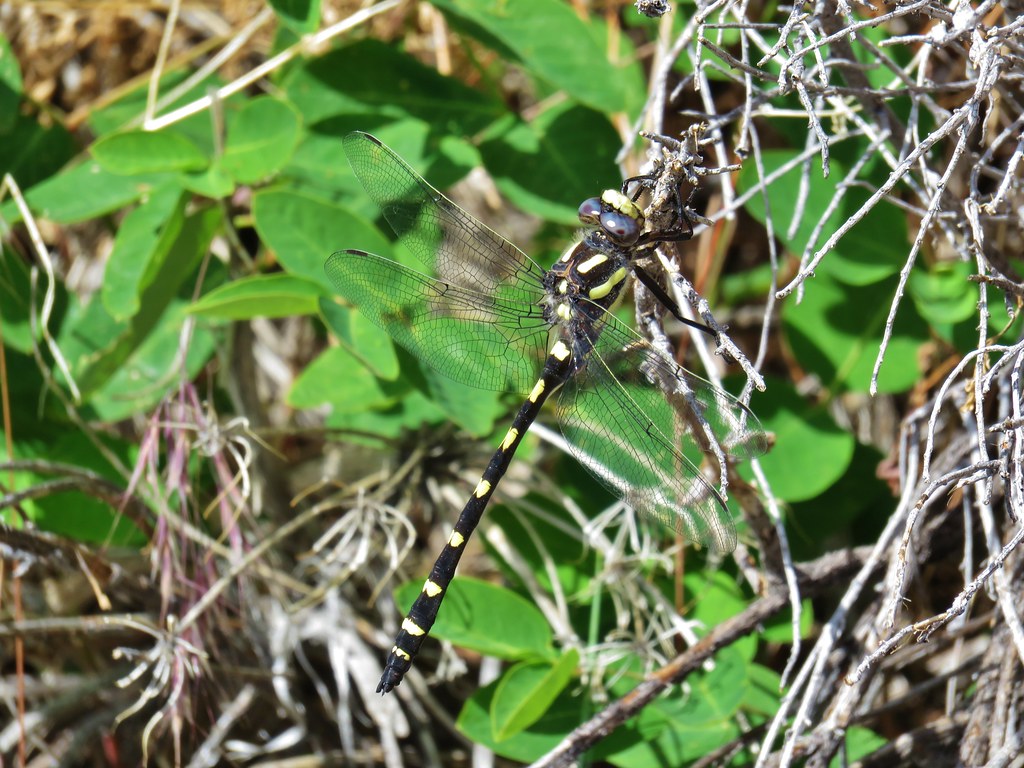
 Dragonfly
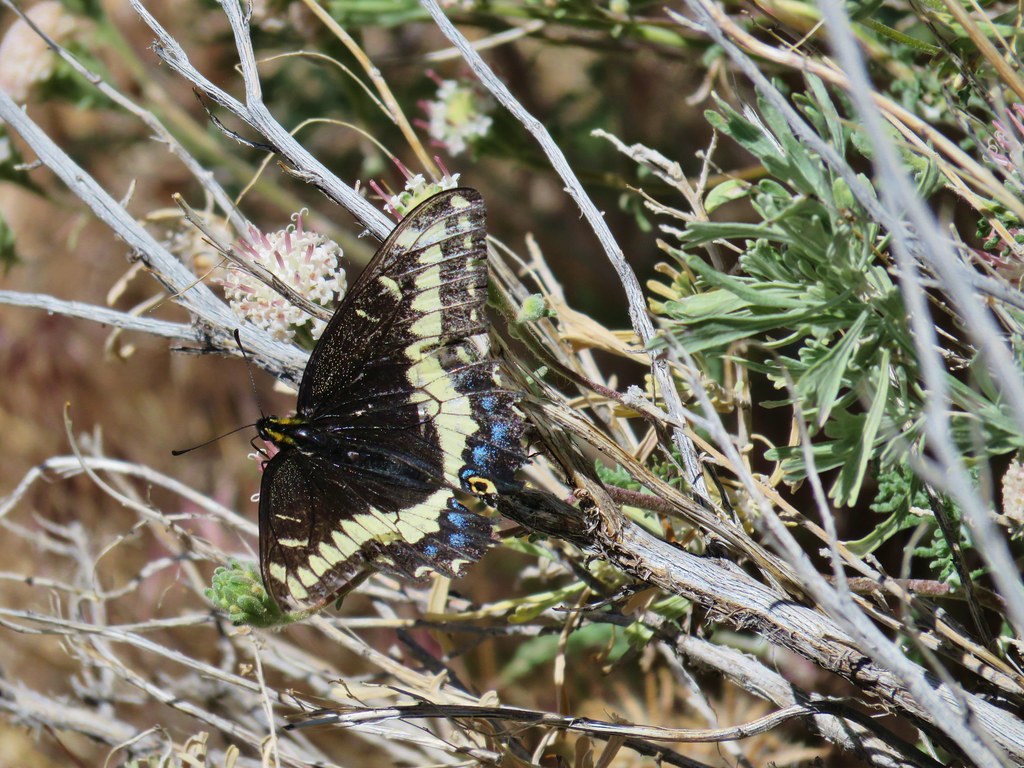
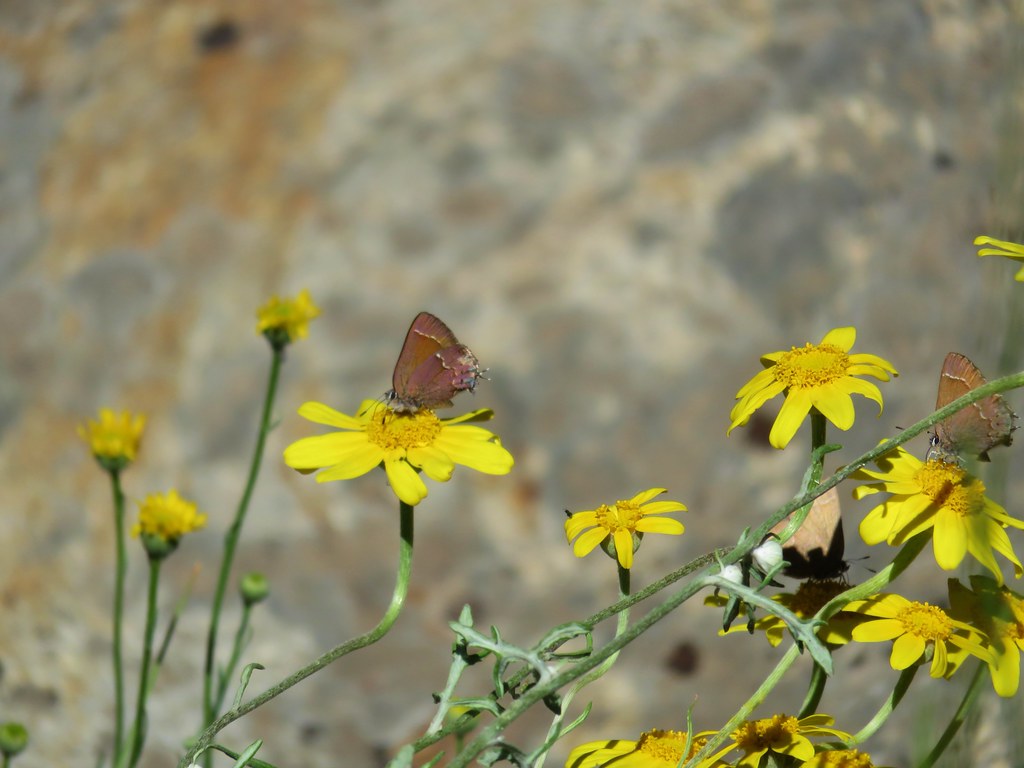
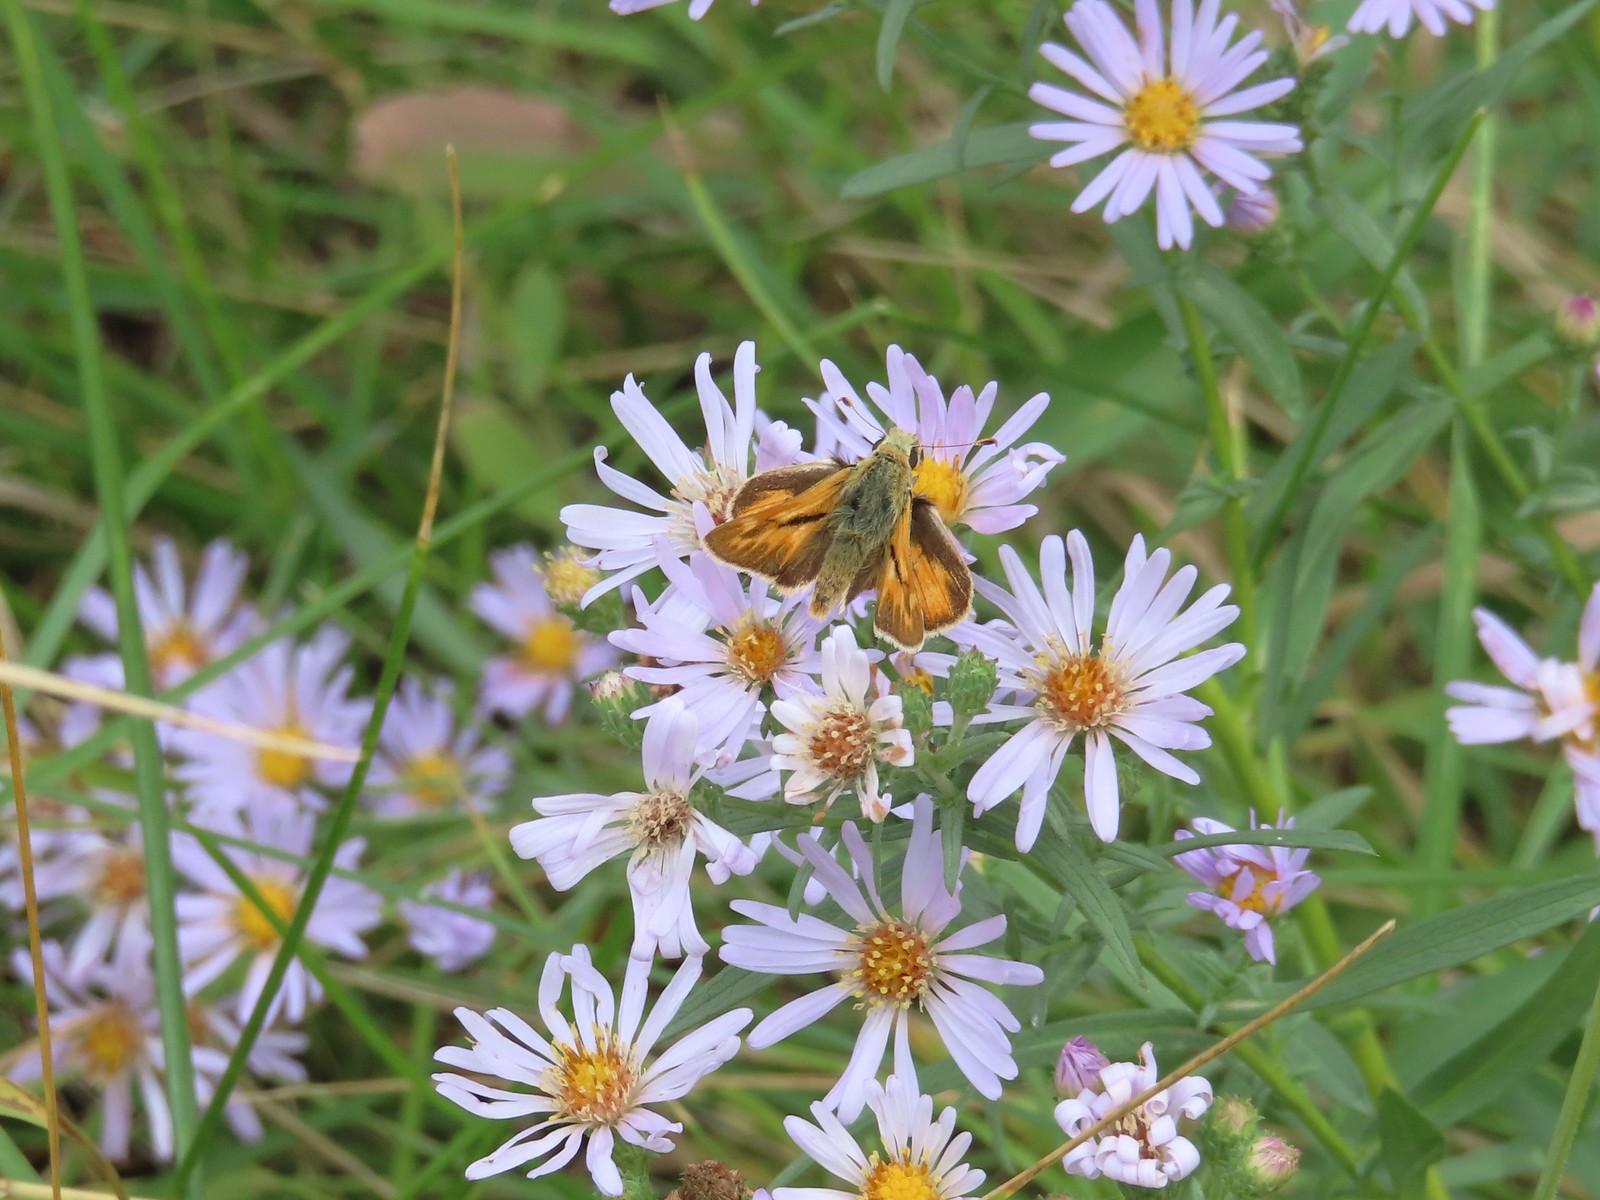
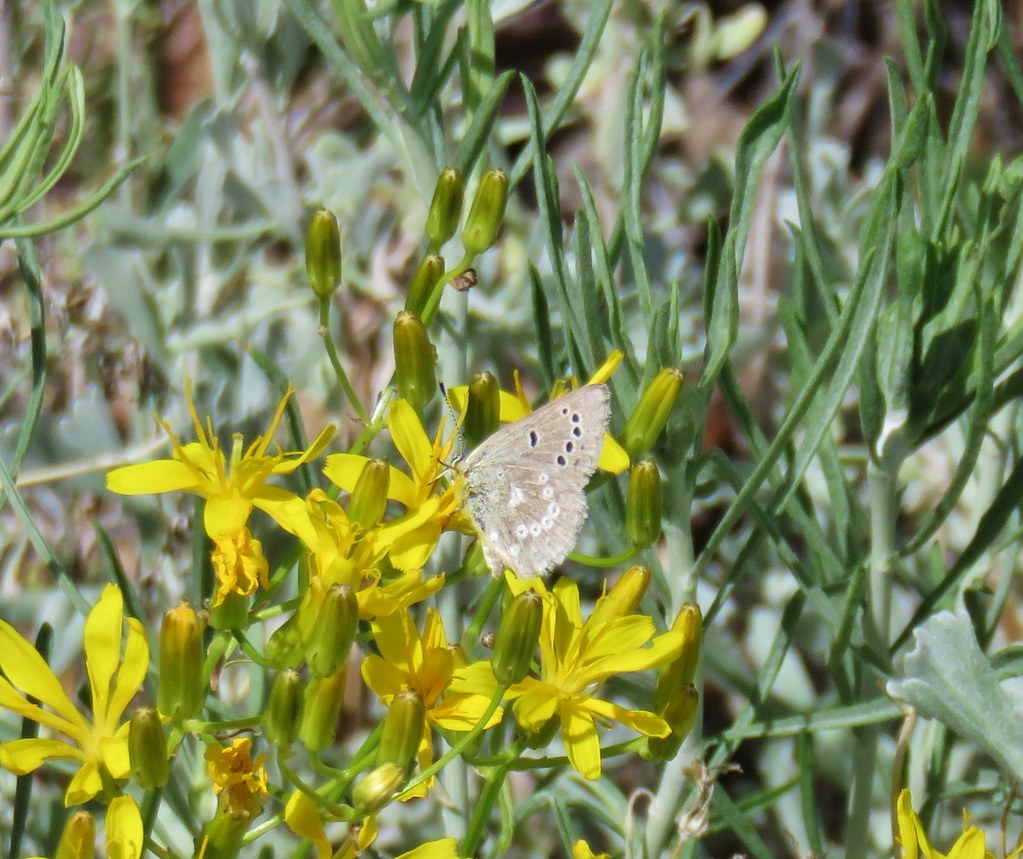
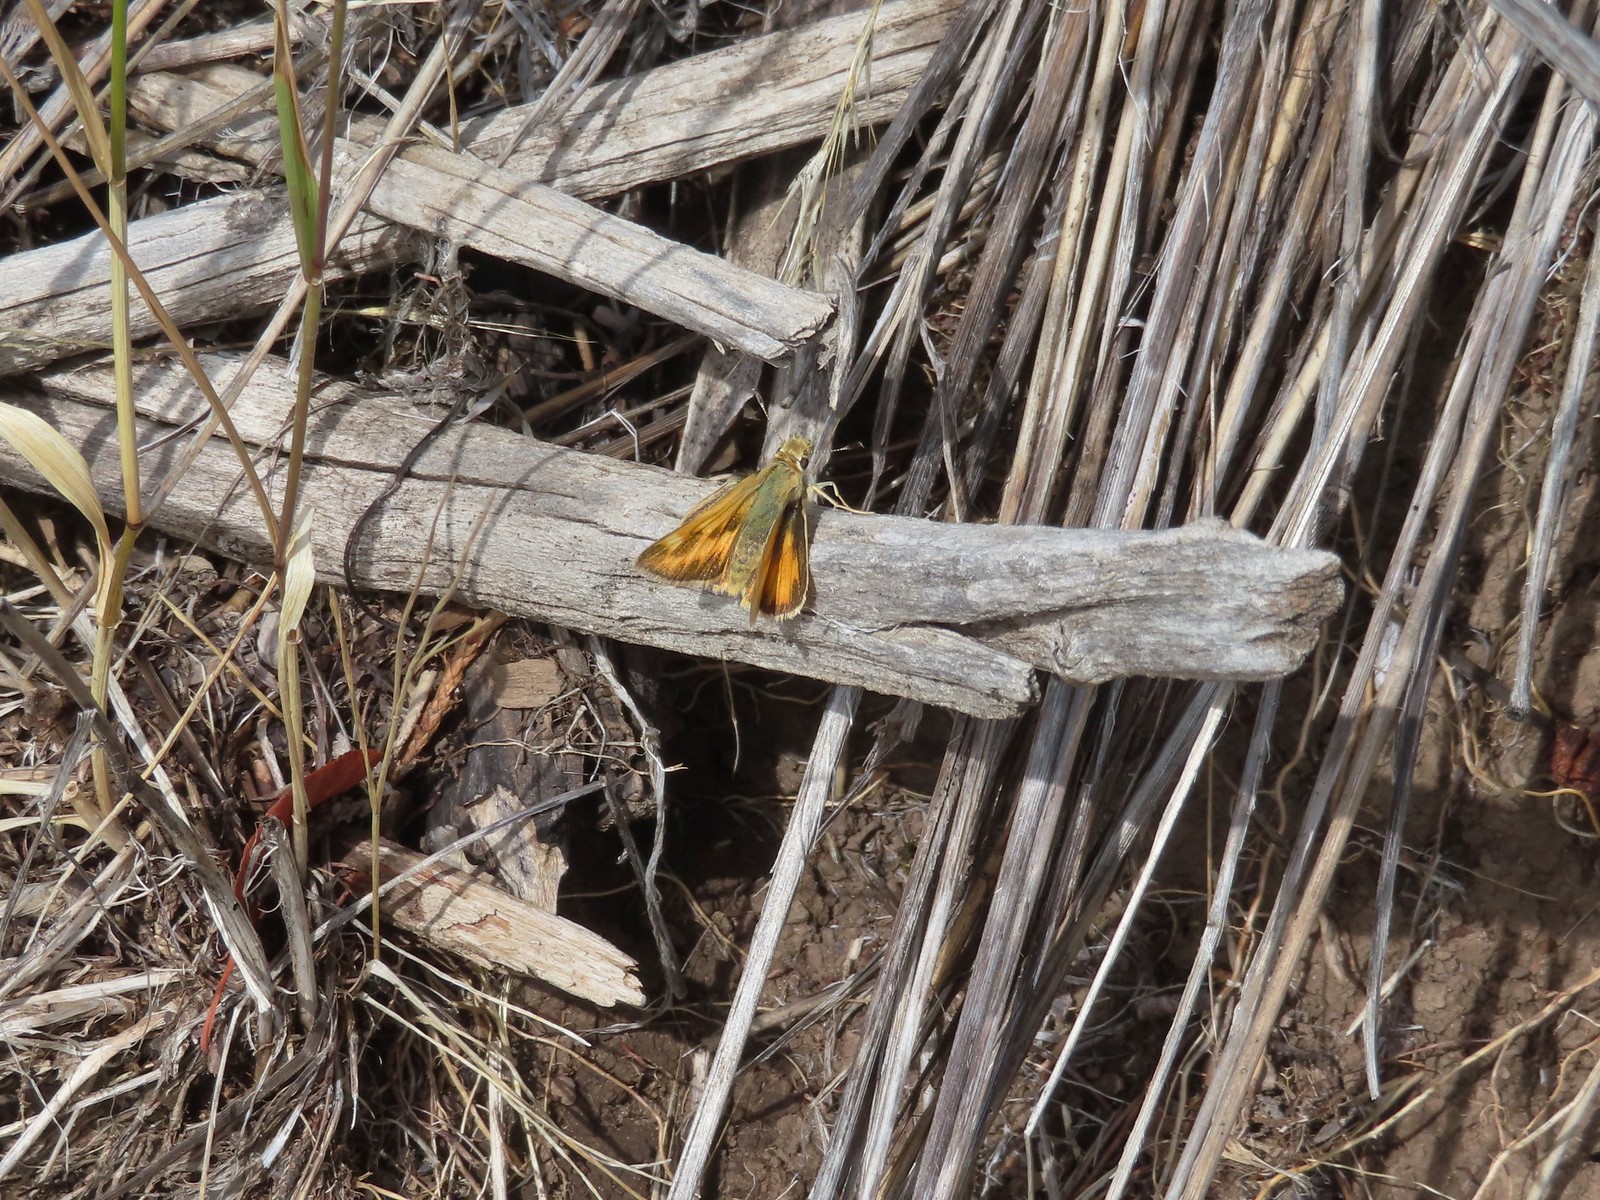 Skipper

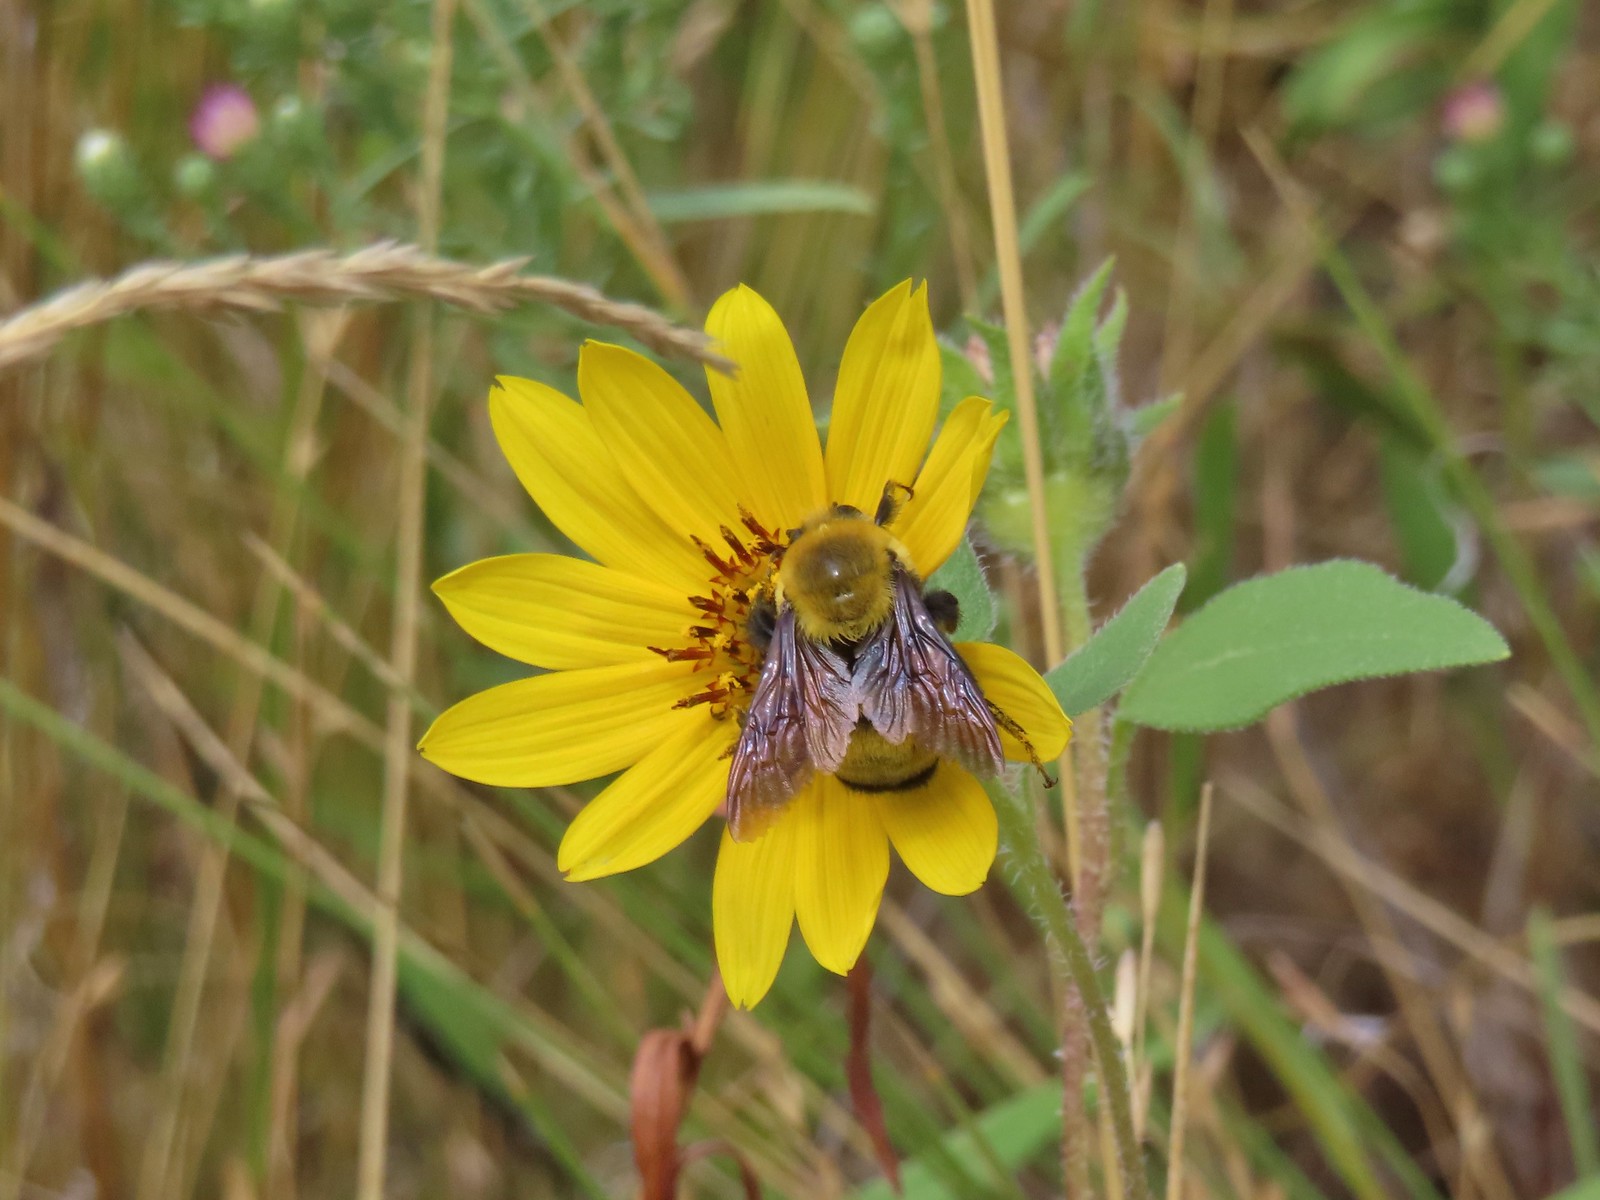 Big bumblebee


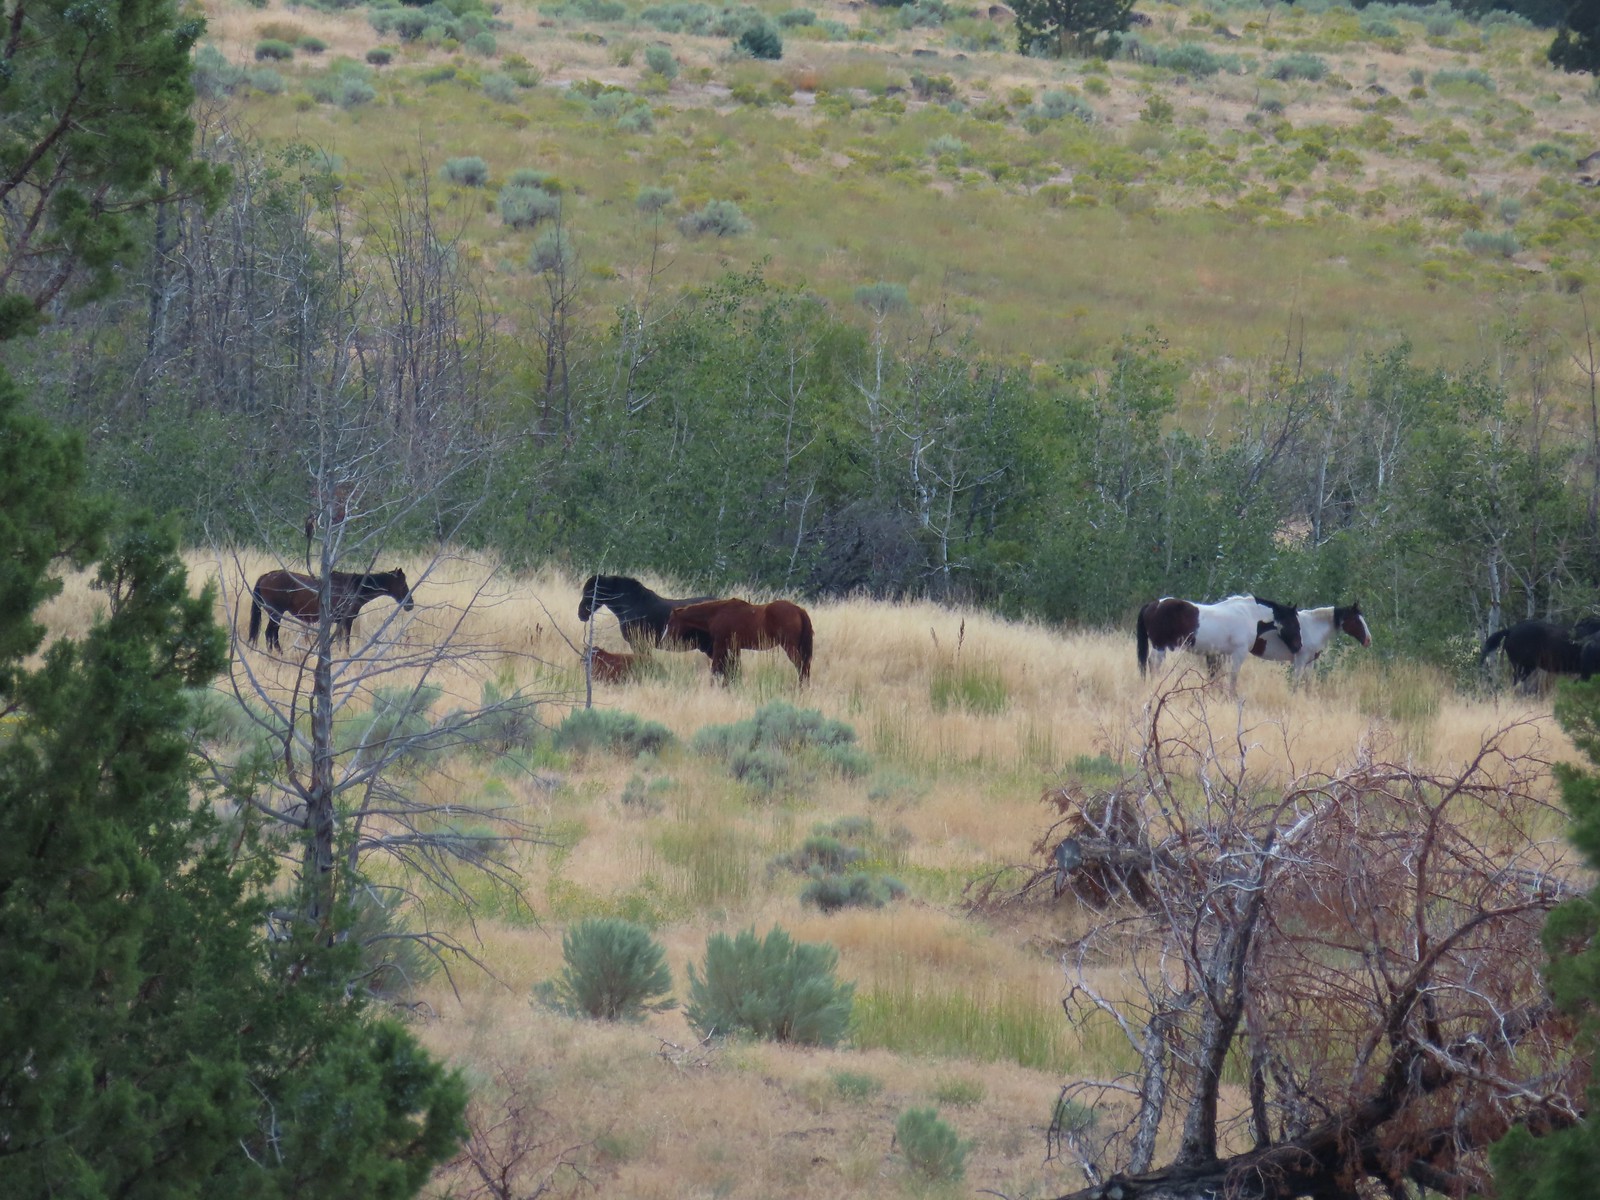
On our way out of the canyon we spotted some horses on the hillside to the south. We don’t know if these were part of the South Steens HMA herd or if they belonged to the ranch but they were pretty.


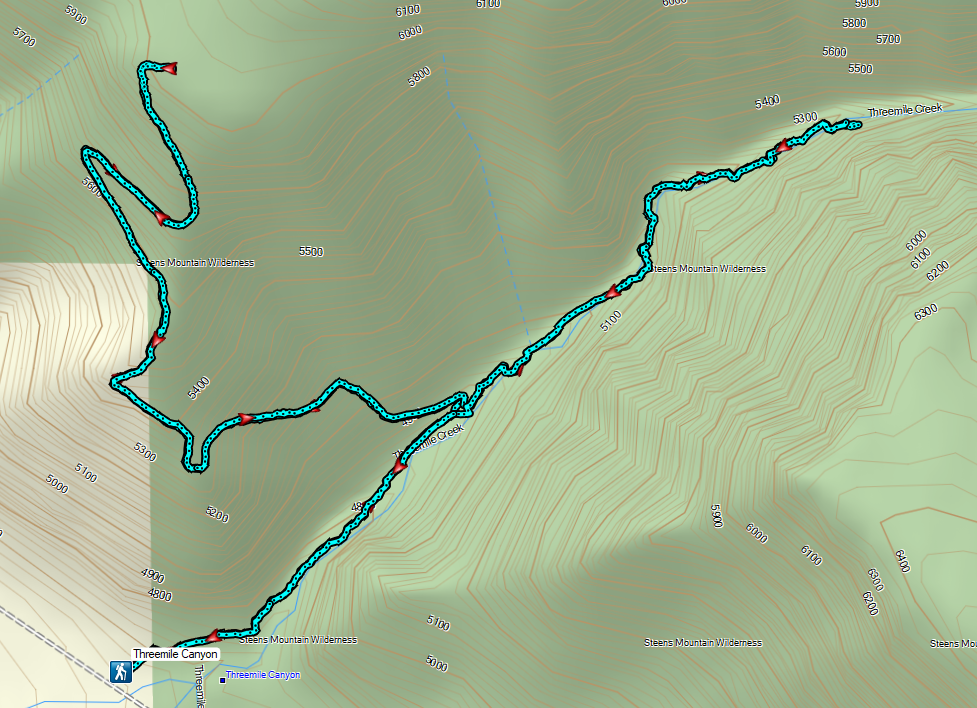
The hike to the ends of both trails came to 6.7 miles with approximately 1900′ of elevation gain.
With our featured hike complete we headed back for Burns. It was just after 12:30pm so we had plenty of day left and couldn’t pass up the chance to once again drive the Malheur National Wildlife Refuge’s auto tour route. We’d last driven the route in 2021 (post) and both times we’d visited we’d seen abundant wildlife. In addition to the auto tour there are numerous short trails and hiking opportunities along the way. We hiked several of the trails before but had yet to visit the historic P Ranch near Frenchglen or Krumbo Reservoir which is just under 4 miles from the auto tour route.
Just before reaching Frenchglen we turned off Highway 205 onto Steens Mountain Loop Road and followed it 1.5 miles to Central Patrol Road where we turned left. A third of a mile later we turned left again into the P Ranch and in a large gravel parking area.

We hadn’t seen anyone else all day until now. A couple was just returning from the River Trail. Amazingly Heather knew them so we had a nice chat before we set off on the same trail. They also let us know to look for an owl in the long barn when we got there later.
 Sign for the River Trail.
The River Trail is 2-miles long and can be connected to several other trails to make a decent sized loop. We weren’t up for that kind of distance today so we simply followed the Donner und Blitzen River for 0.3 miles before turning back.

 The long barn where we’d be heading next.
 We turned around here where the tread became rougher.
 Interpretive signs were scattered along the trails at the P Ranch.

 Lorquin’s admiral and a grasshopper.
 Skipper on aster.
Once we were back at the parking area we took the left trail down to the Long Barn Trail (another service road).


 History of the P Ranch which at one time covered 140,000 acres.

 The owl inside the barn.
 Other structures from the ranch.

We covered a mile between the two trails and then continued on the auto tour keeping watch for any wildlife as we headed north toward Krumbo Reservoir Road which was just over 10 miles away.
 The gravel road is in good shape but you don’t want to drive any faster than about 10mph so you don’t miss any wildlife.
 Fawns
Fawns
 Common nighthawk
 So many red-winged blackbirds.
 Hawk (northern harrier?) in a field.
 More fawns and birds.
 Finch?
As we neared Knox Pond we spotted something coming up Central Patrol Road. Just a bit earlier Heather had mentioned that the area we were in looked like where my parents had seen a badger on a visit last year.

It turned out that this was indeed a badger. Only the second we’ve seen.

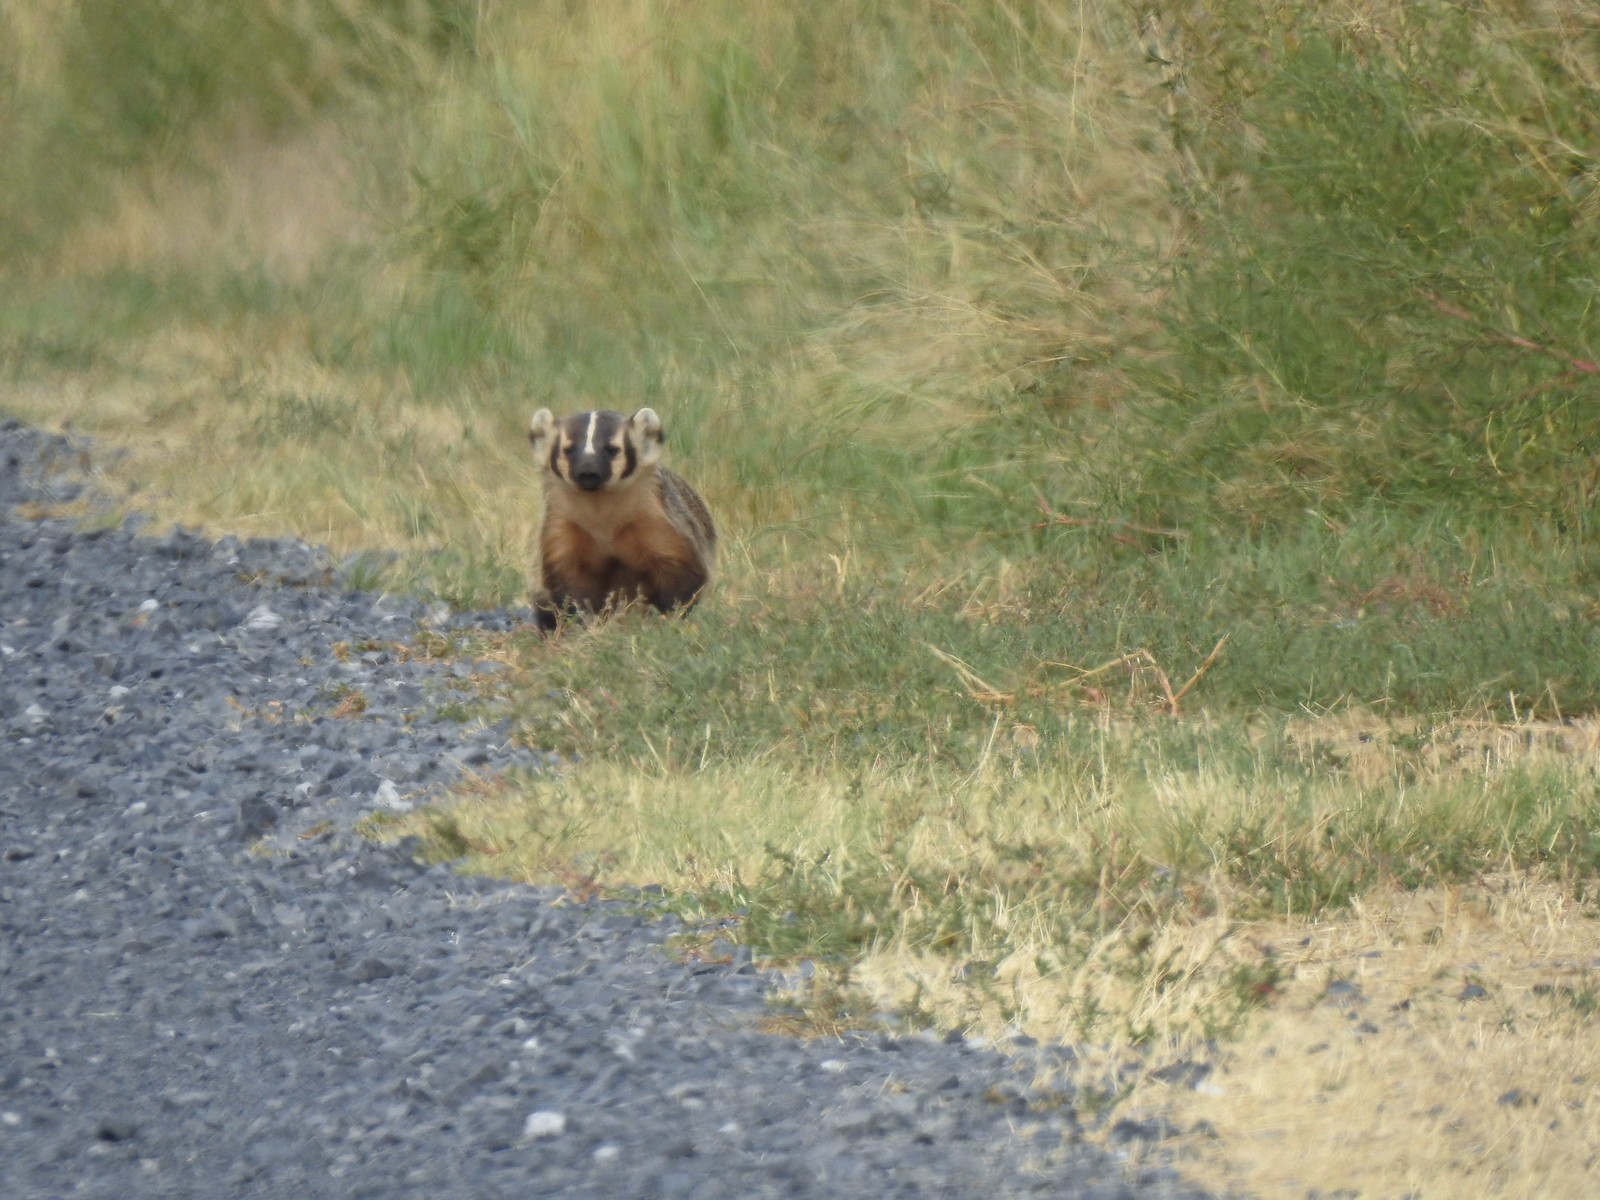
 It disappeared in the grass moments later.
 Another hawk
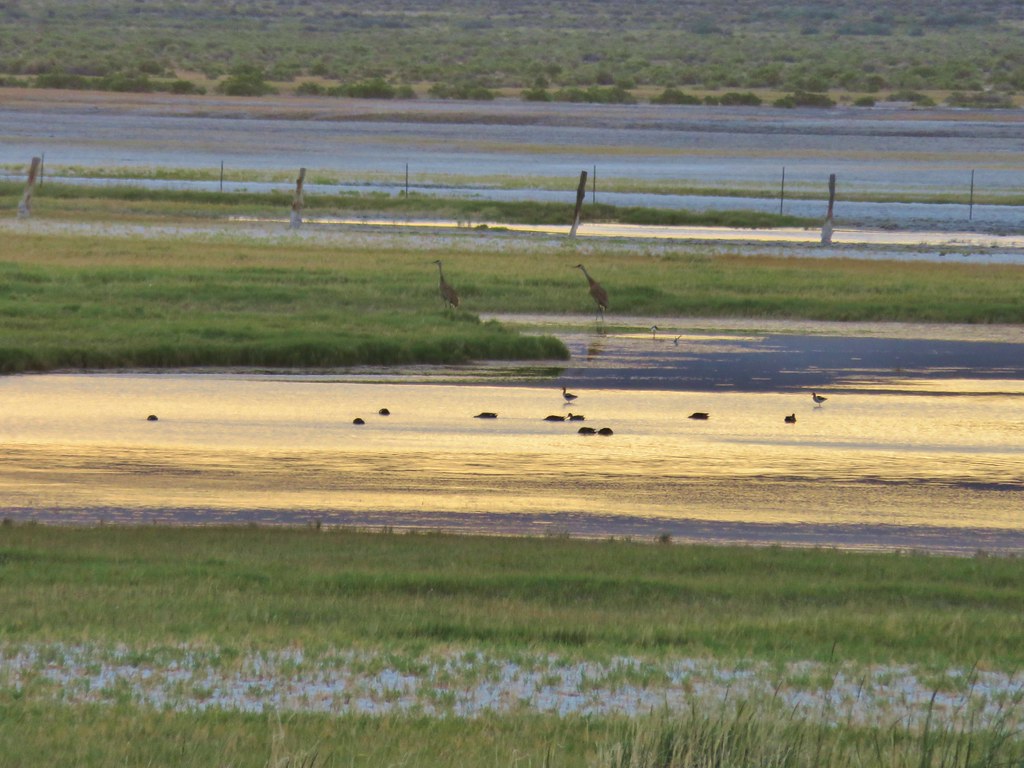
 Sandhill cranes in the field.
 Sandhill cranes

We turned right onto Krumbo Reservoir Road and parked at the Krumbo Reservoir Dam Trailhead.

We followed a trail across the dam then hiked through the sagebrush a bit further to get a good view of the reservoir.

 Crossing the dam.
 Kiger Gorge (post) in the distance.
 Kiger Gorge

 Blurry due to distance but there were several deer at the far end of the reservoir.
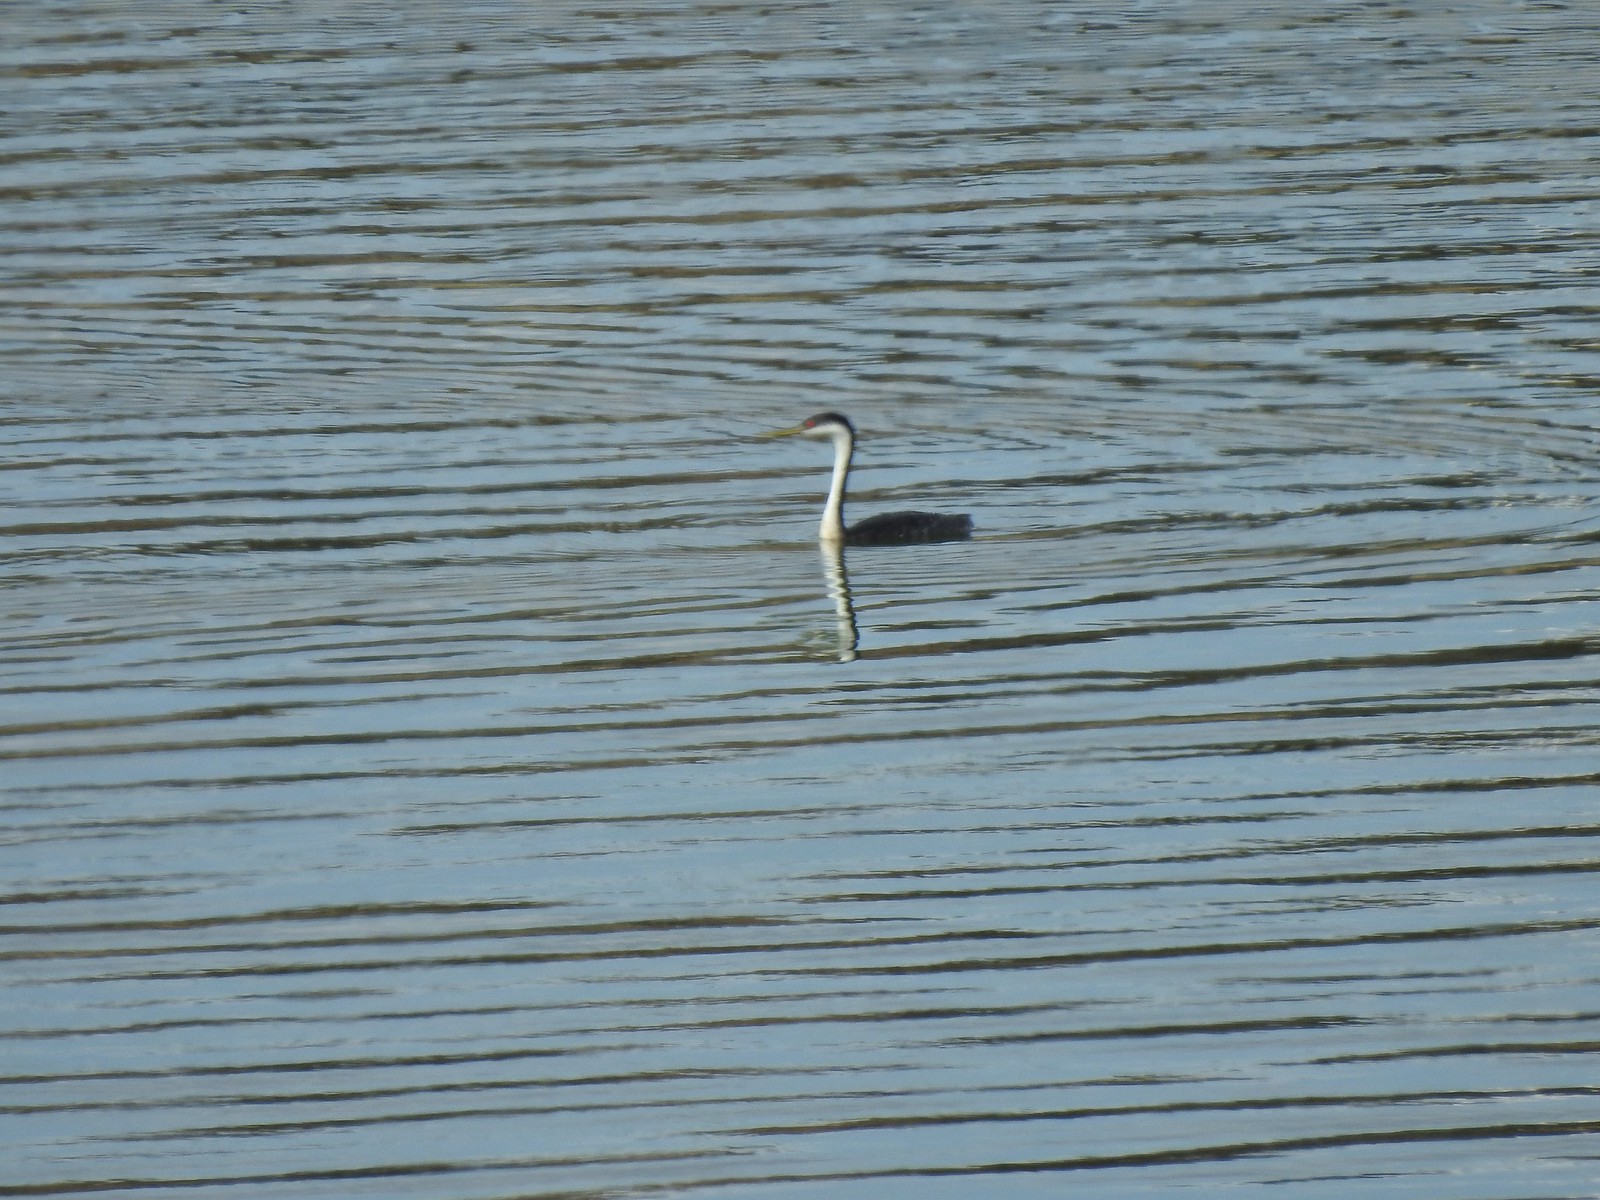 Another long shot, a western grebe.
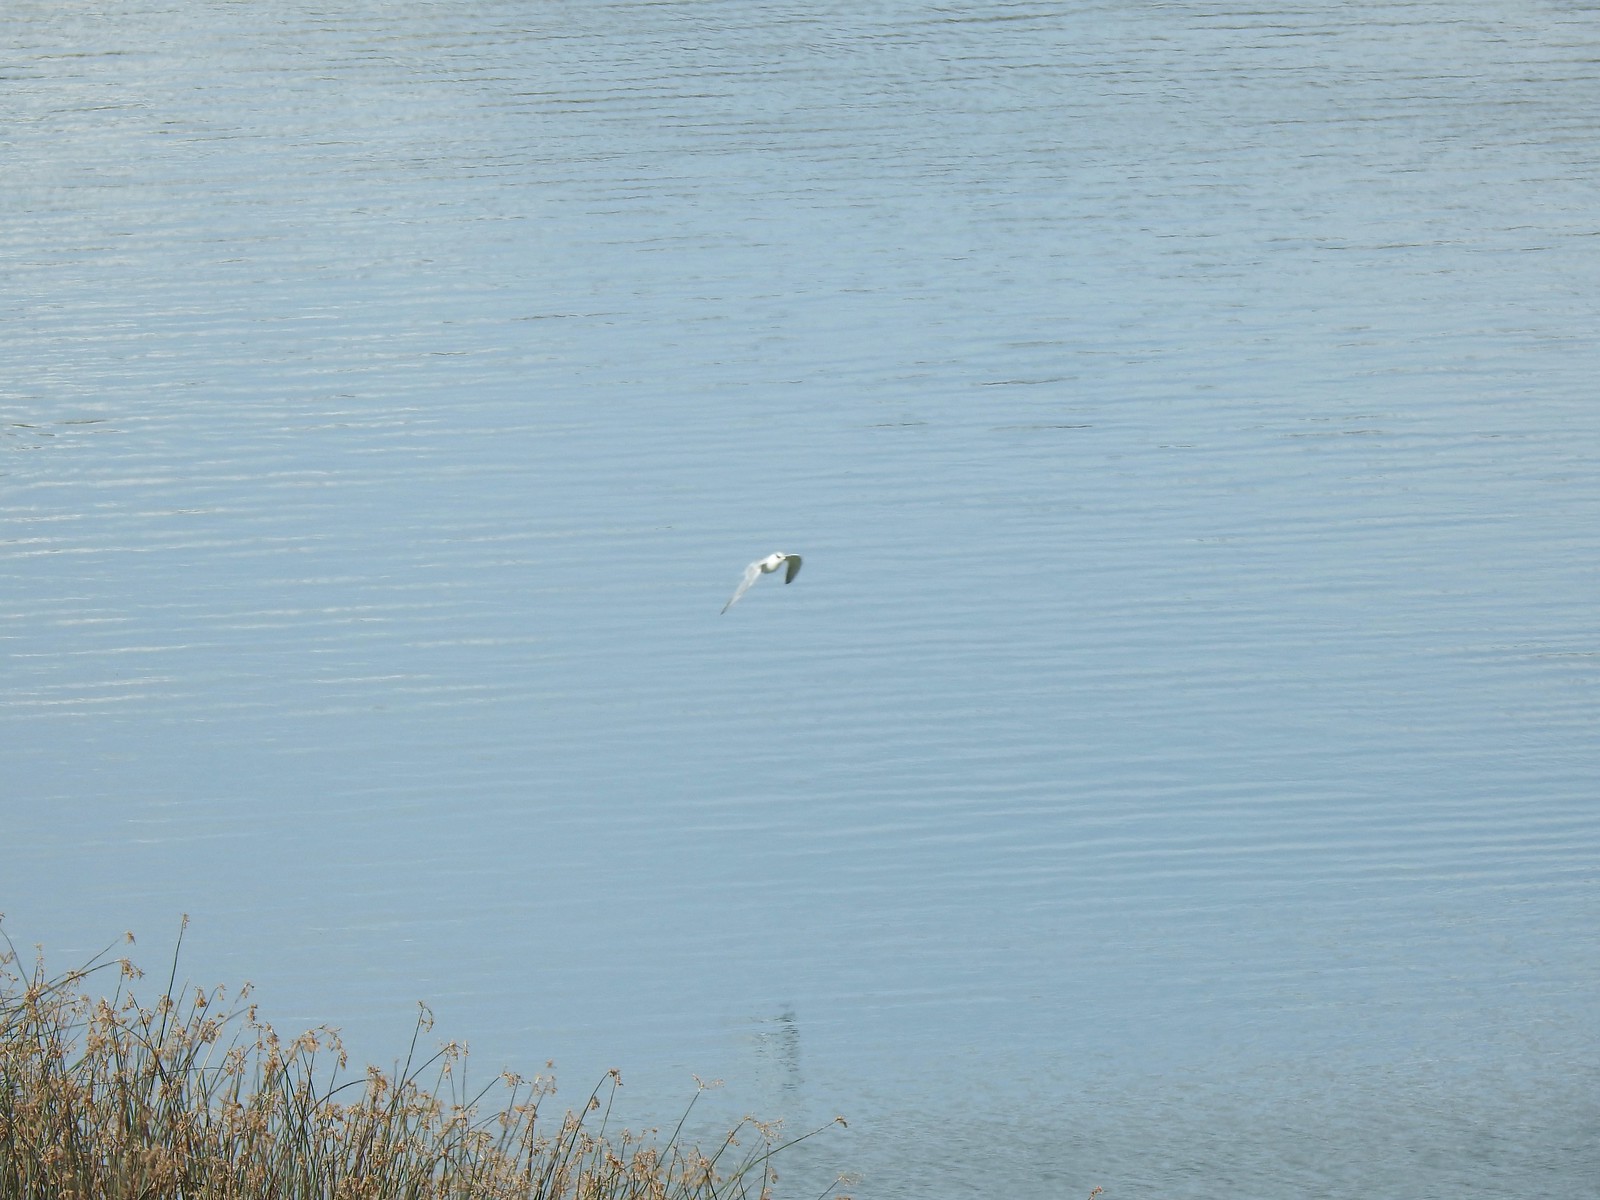 Not certain what this bird was but it dove into the water a couple of times.
 The deer, some ducks, the western grebe and a cormorant were all that direction.
It’s possible to bushwack around the reservoir but again we weren’t up for anything that long, so we turned back after just a quarter mile.
 It also appeared that some rain was on the way.
 Recrossing the dam.
We returned to Central Patrol Road and continued the auto tour and the wildlife sightings.

 Pheasant family
 There were at least 5 deer out there.
 Two
Two
 Three more
 White faced ibis
 California quail
 Pheasant
 A few of at least 10 turkey vultures in the trees above the Refuge Headquarters.
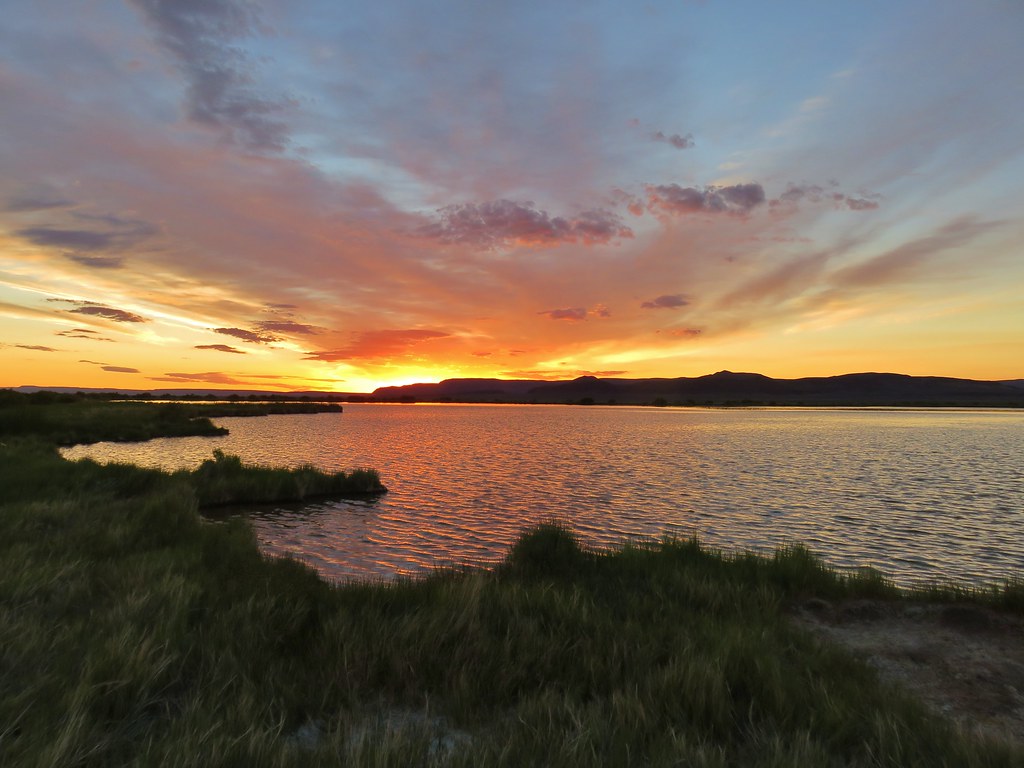
 Malheur Lake from the end of the auto tour.
After completing the auto tour we returned to Burns for another night. It had been a great day for wildlife and nice to once again have all of the featured hikes in SE Oregon completed. We’re now down to 16 Eastern Oregon featured hikes. If things work out we could be finished with those by the end of next year. Happy Trails!
Flickr: Threemile Canyon and Malheur National Wildlife Refuge


 Steens Mountain from a horse trail.
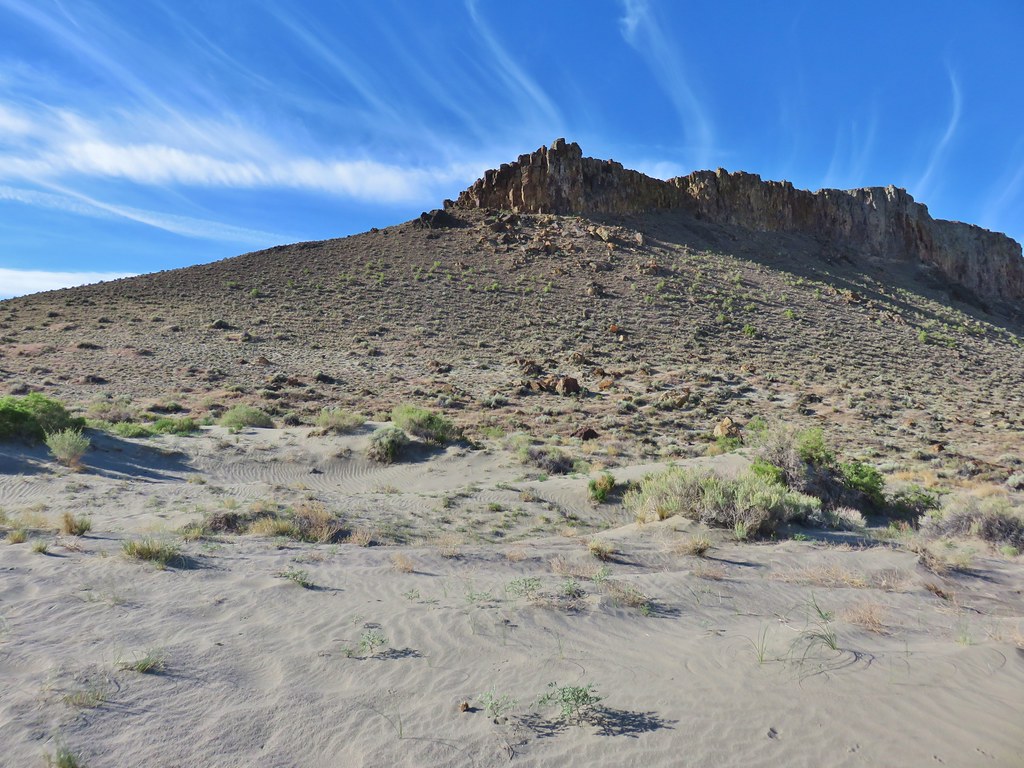


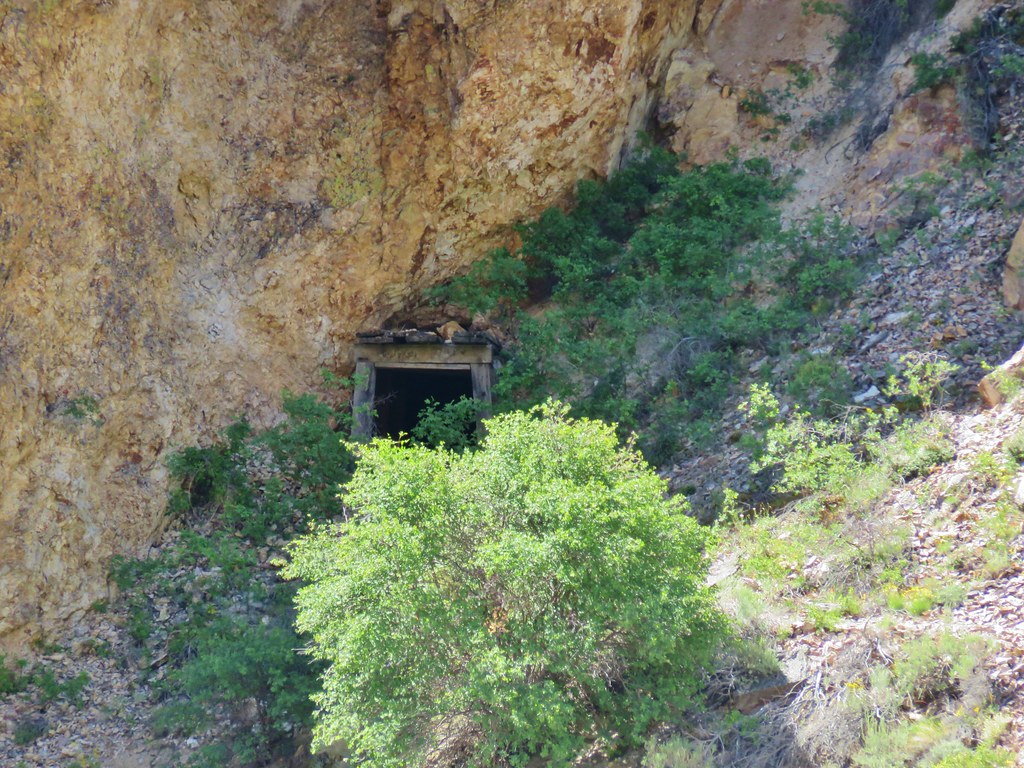 Mine shaft
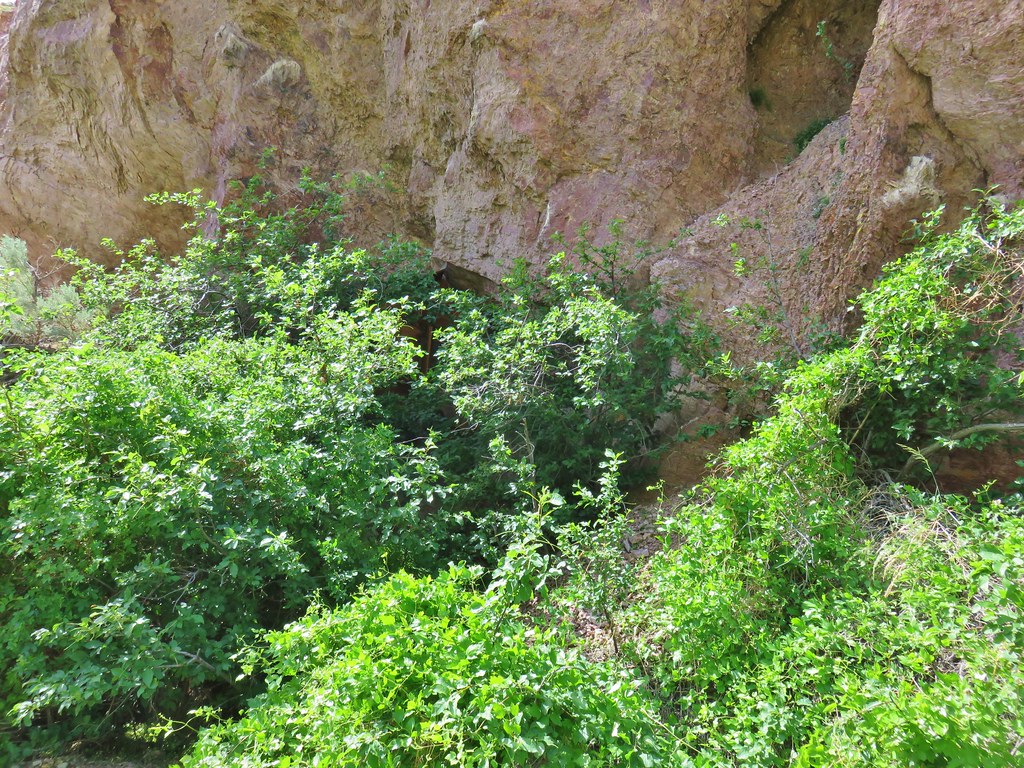 Hidden dynamite shed