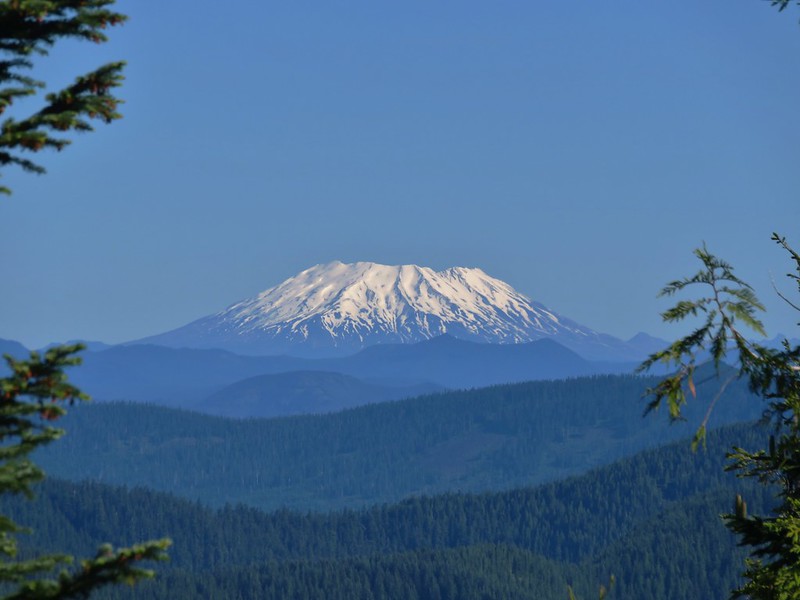
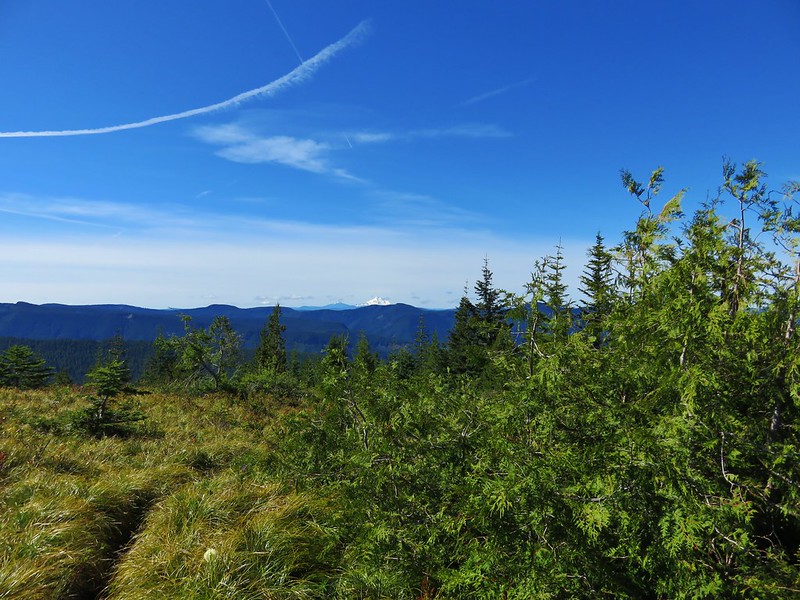
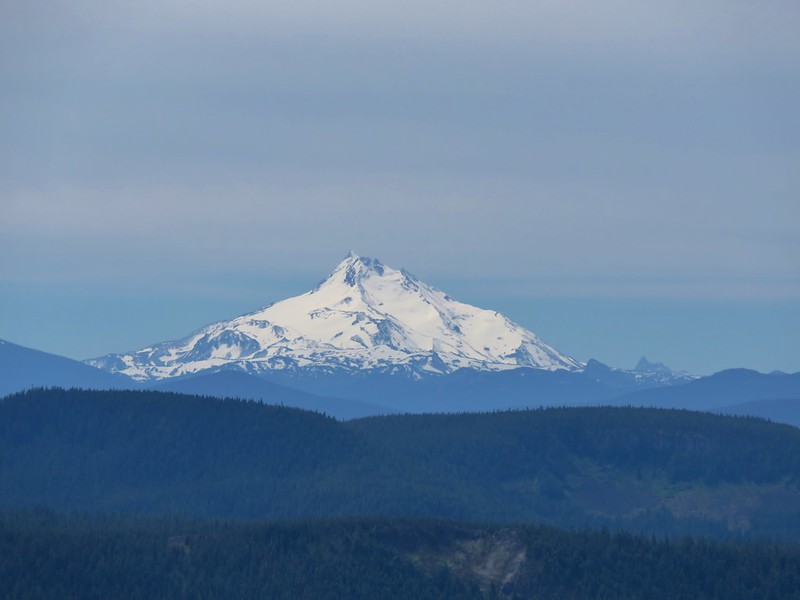
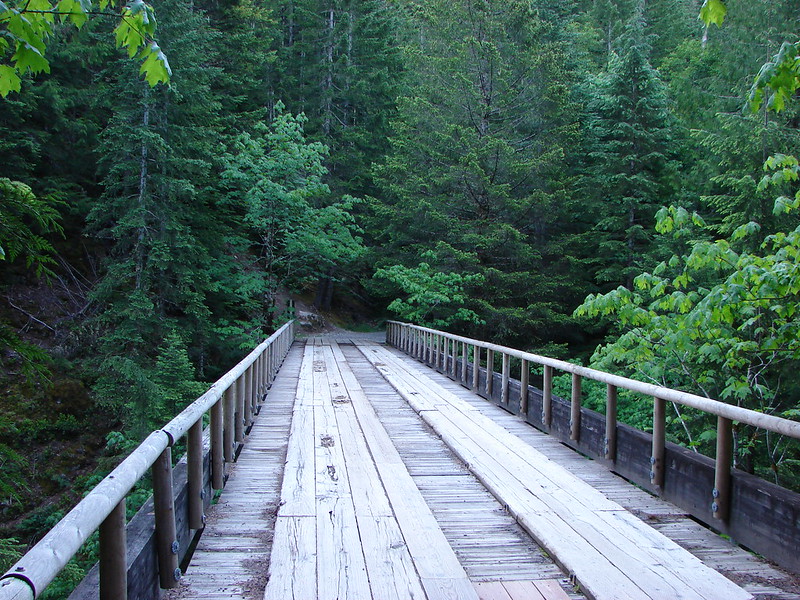
Some much-needed rain was forecast to arrive by Saturday afternoon. That combined with the presence of haze from the lingering wildfires had us looking for a shorter day that wasn’t focused on big views. We turned to a pair of hikes in the direction of Mt. Hood. (Originally the plan was for a third stop at Barlow Wayside Park, but it is currently closed due to the Camp Creek Fire.)
To start our day we drove to the West Zigzag Mountain Trailhead for the short, but steep, Castle Canyon Trail.
We’d parked here in 2020 when we hiked up to West Zigazag Mountian (post).
We could have parked at the Castle Canyon Trailehad but this trailhead was a bit closer and it allowed us to hike another portion of the Barlow Wagon Road.

We followed the Barlow Wagon Road Trail until we spotted a barricade. Just before the barricade we spotted a trail heading into the forest on our left.

 The barricade ahead.
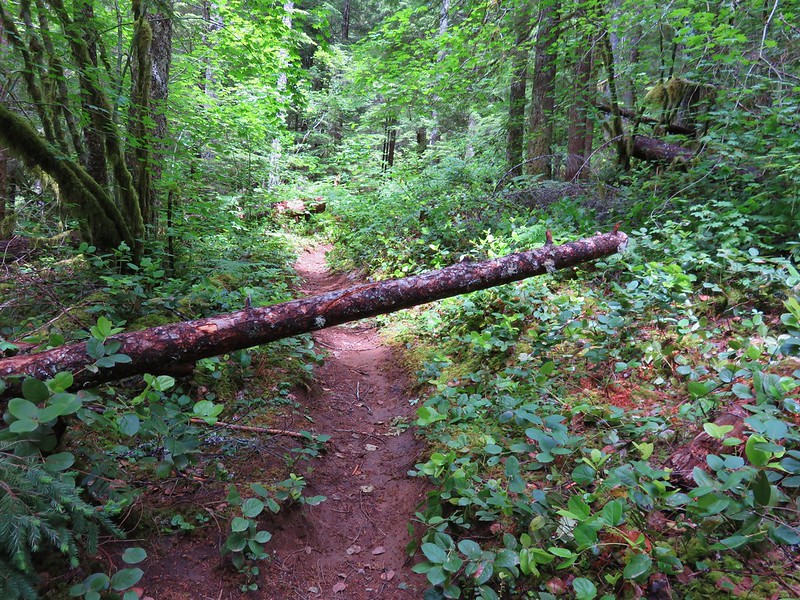
 The trail before the barricade.
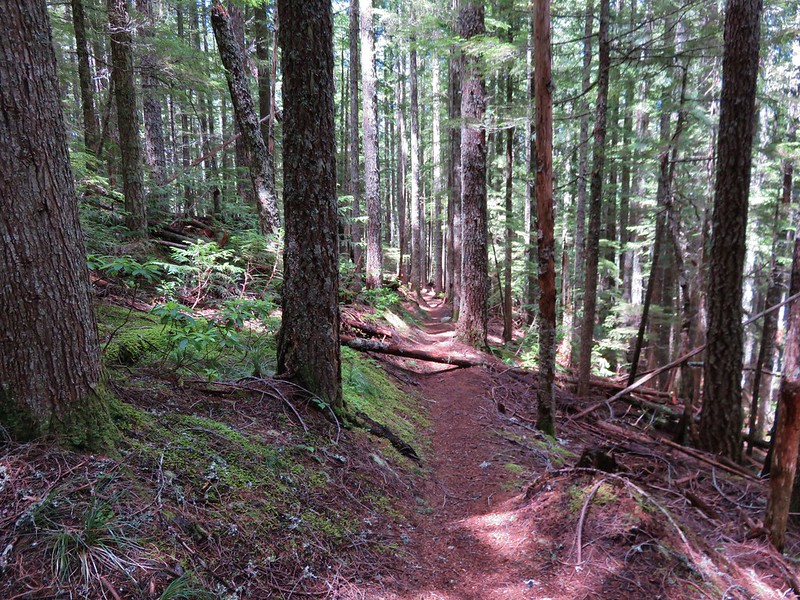
We mistakenly turned up this use trail which sported clear tread but also a good deal of blowdown.

 This trail had seen maintenance at some point.
As we picked our way over and around the obstacles it became clear that we were not on the Castle Canyon Trail. A quick check of the GPS unit showed that we had turned off the Barlow Road too early. Luckily this trail crossed the Castle Canyon Trail after 0.2-miles.

There was no signage at the junction and the map on the GPS showed the Castle Canyon Trail further ahead, so we turned right on this new trail and followed it back 400′ to the Barlow Road where we confirmed that it was indeed the Castle Canyon Trail.
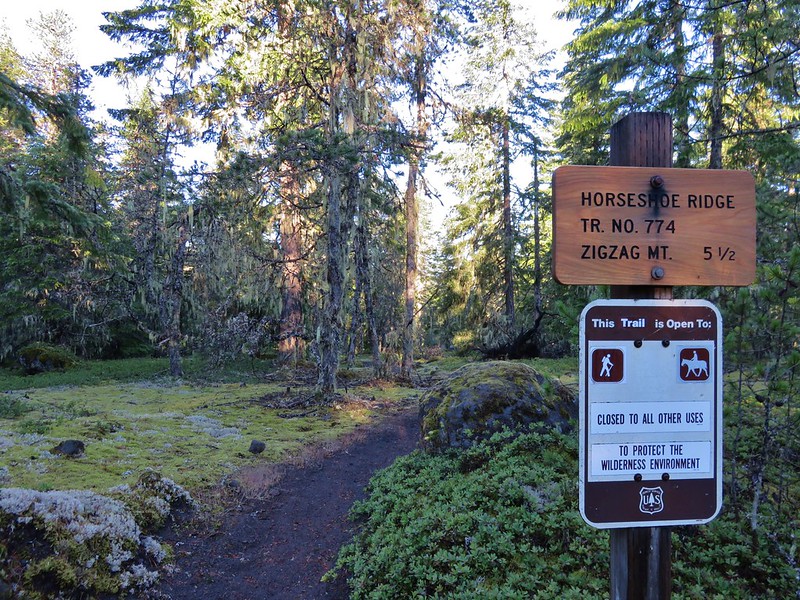
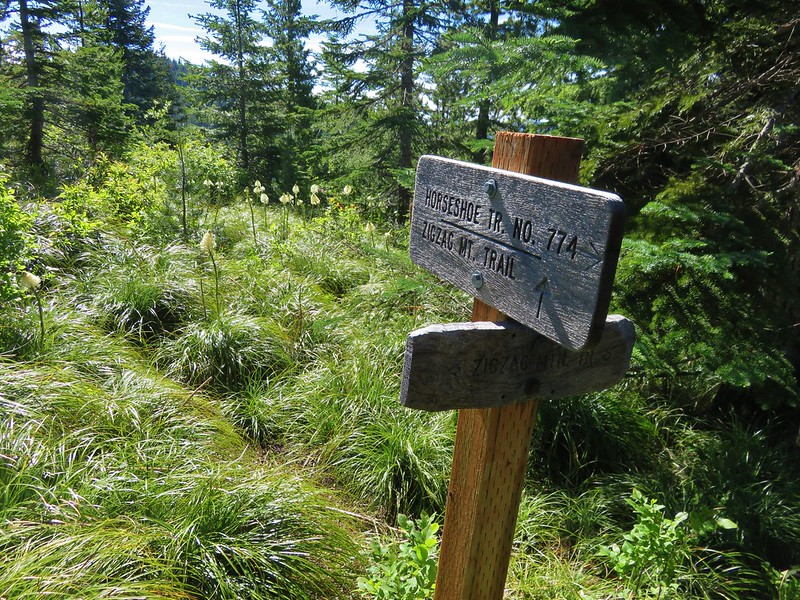
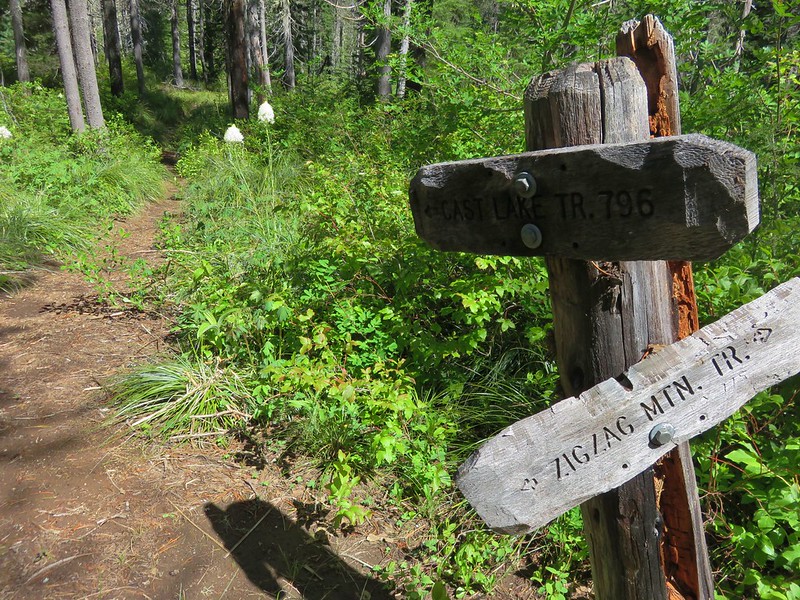
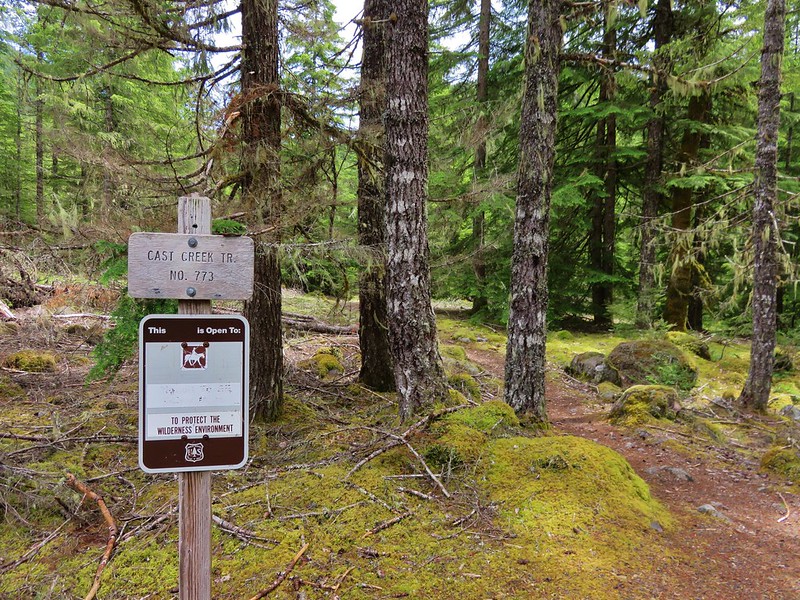
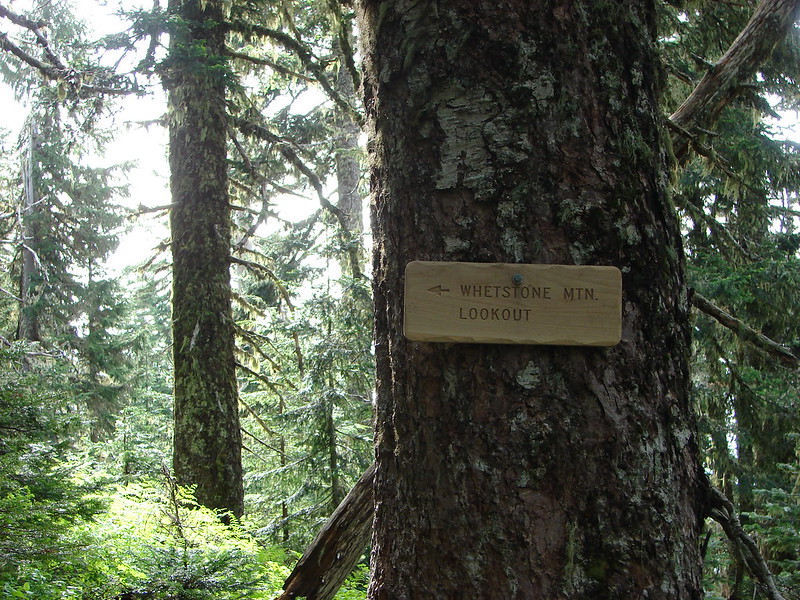
 Trail sign along the road.
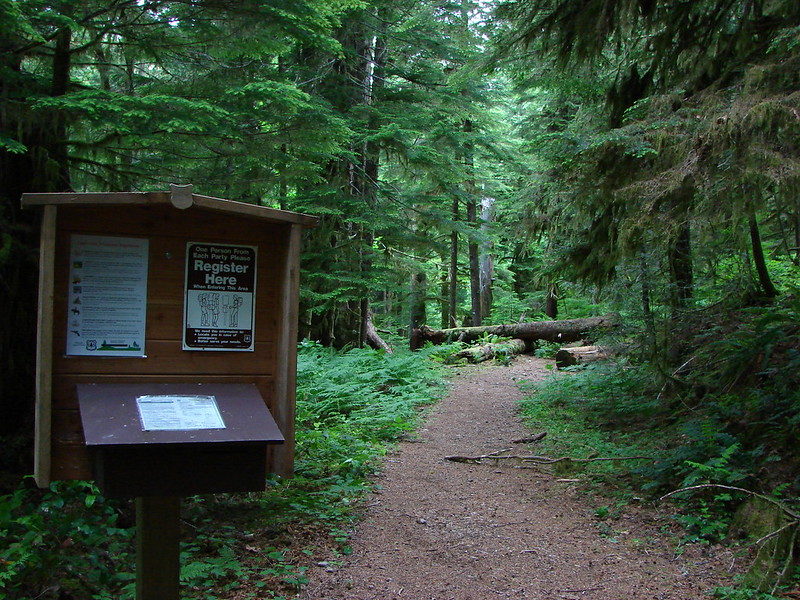
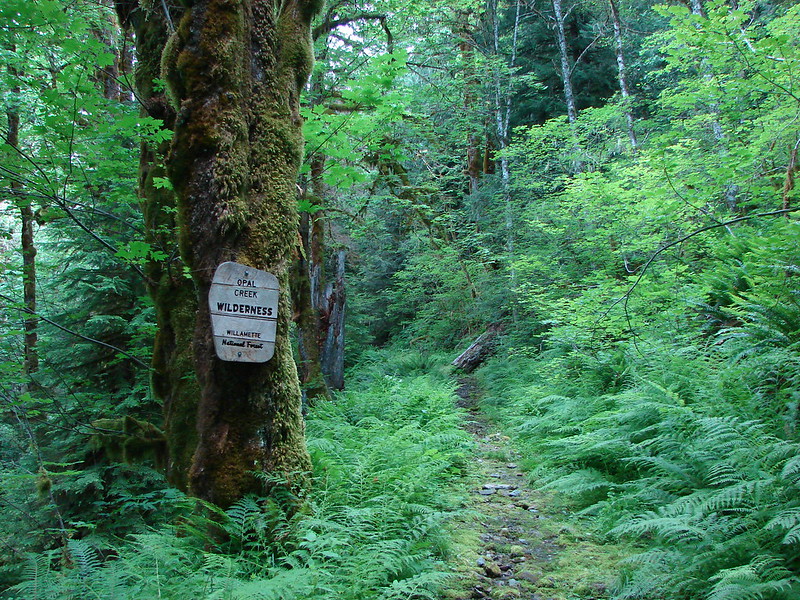
We turned around and headed up the Castle Canyon Trail arriving at signboard and wilderness registration box not far beyond the junction with the use trail.

 Mt. Hood Wilderness map and information.
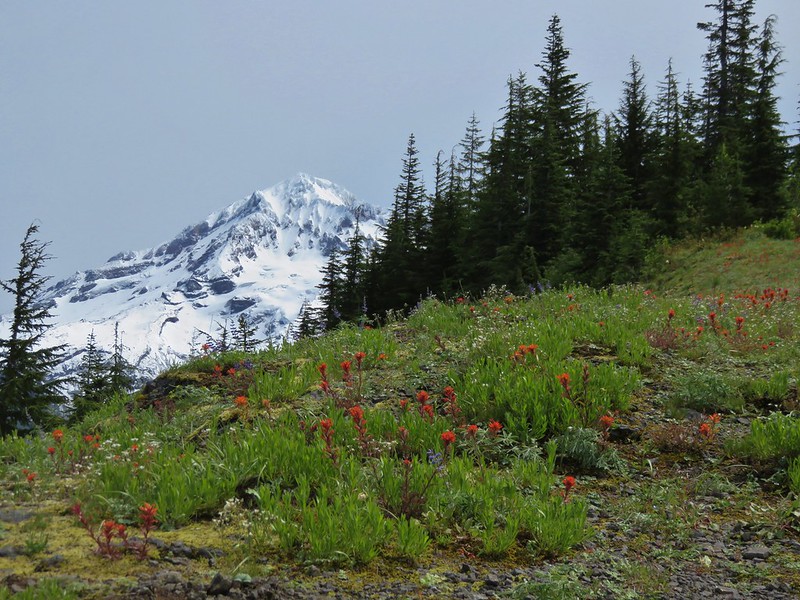
While the Castle Canyon Trail is only about a mile long it gains over 800′ most of it over the final three quarters of a mile.


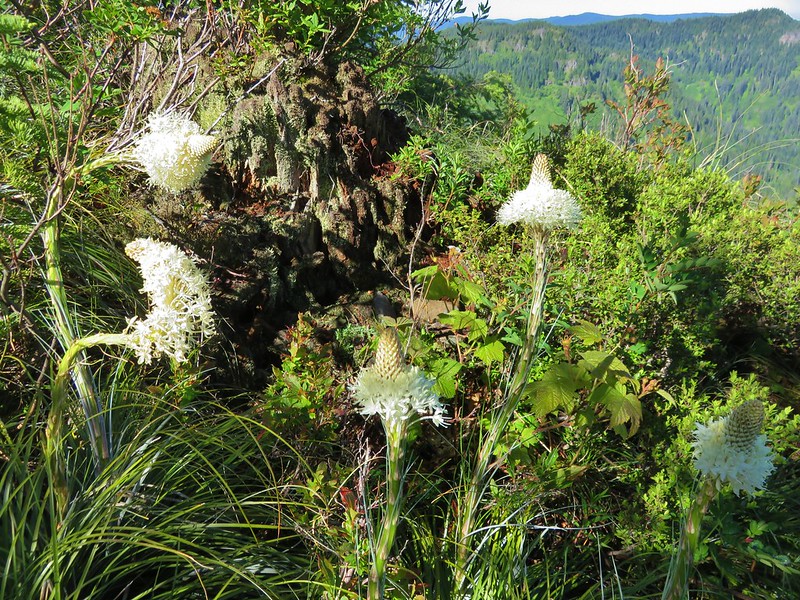
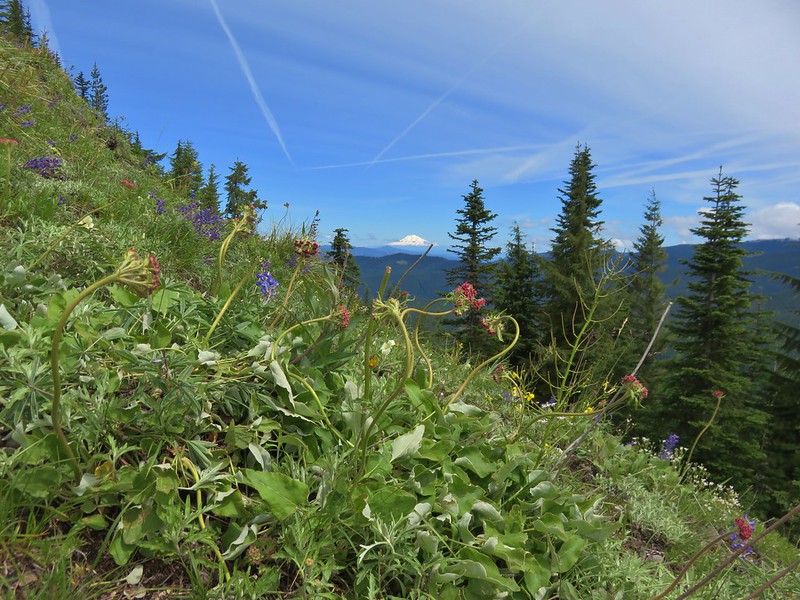
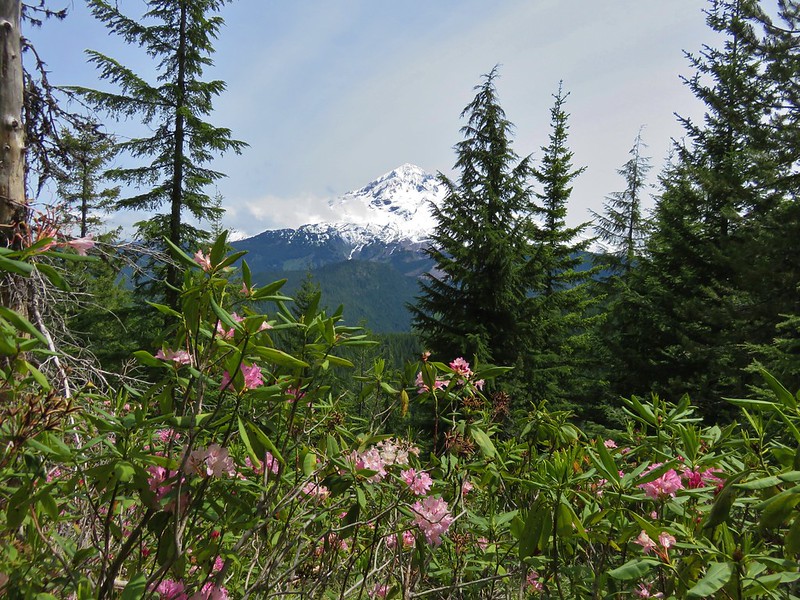
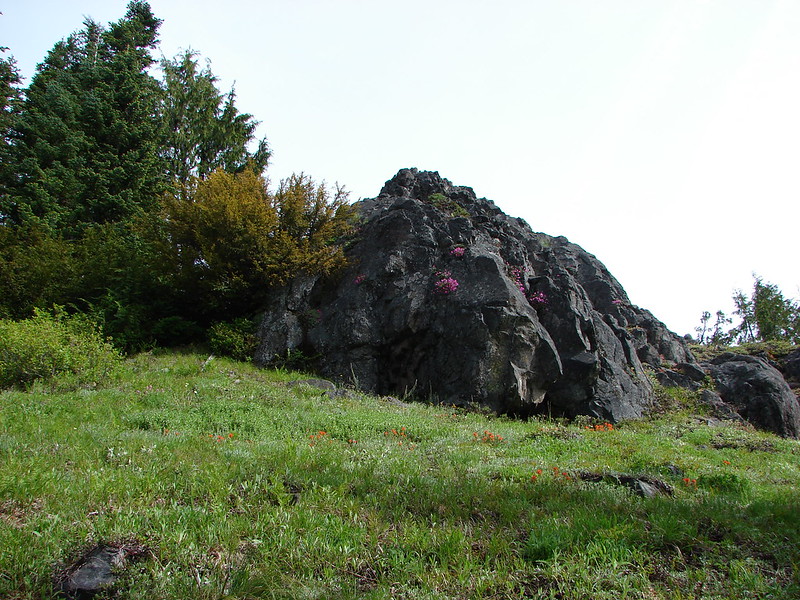
 Toward the end of the trail, we began to pass a series of volcanic rock formations.


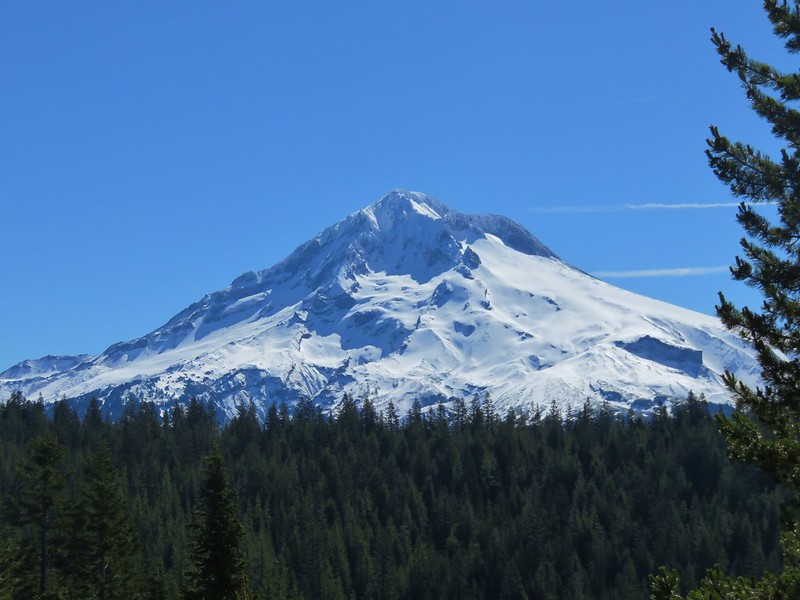
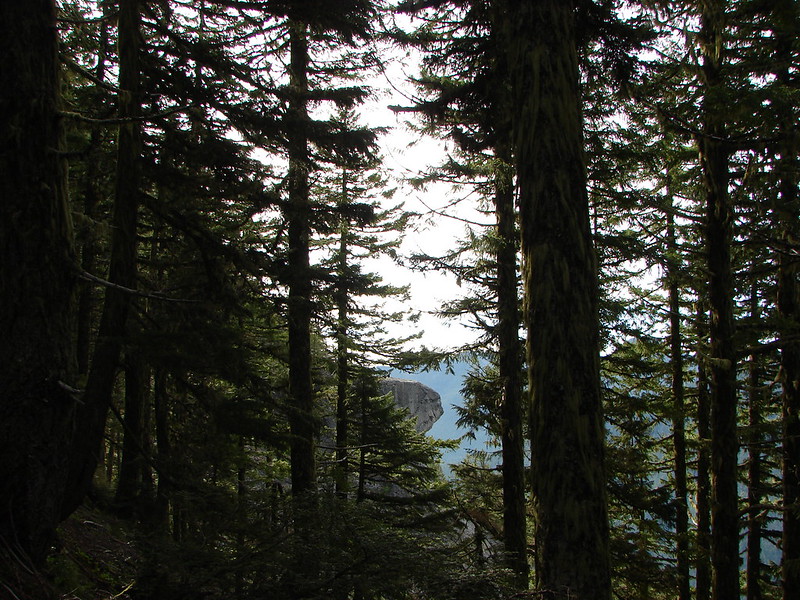
The official trail ends at the top of a rock fin with a partially obstructed view called the Pinnacles Viewpoint.

Another use trail headed left (West) from the top of the fin passing through the forest for approximately 300′ to a second rock fin with a better view but unbeknownst to me it was home to some rather inhospitable yellow jackets.
 The western fin.
 Use trail along the western fin.
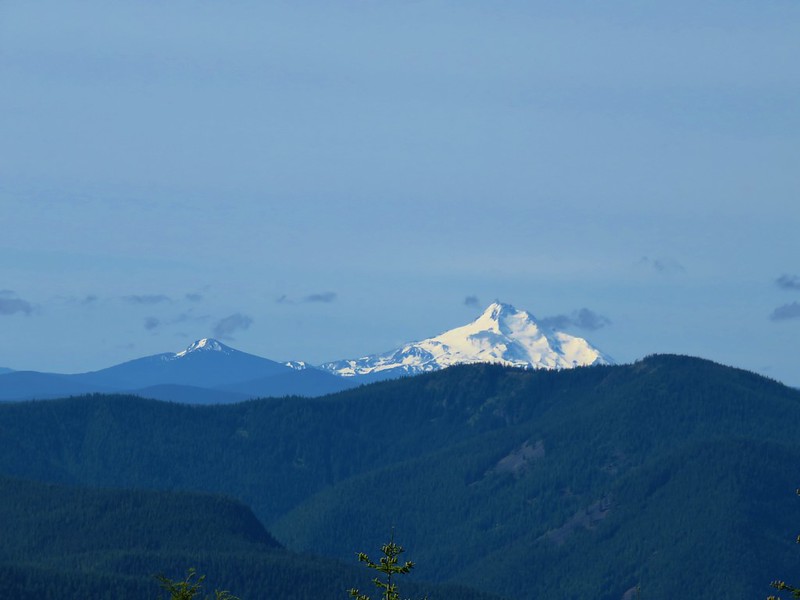
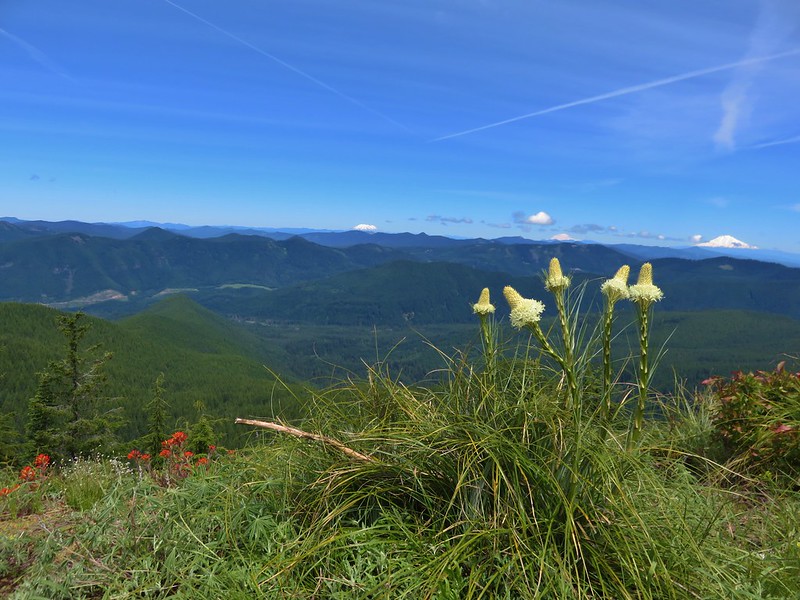
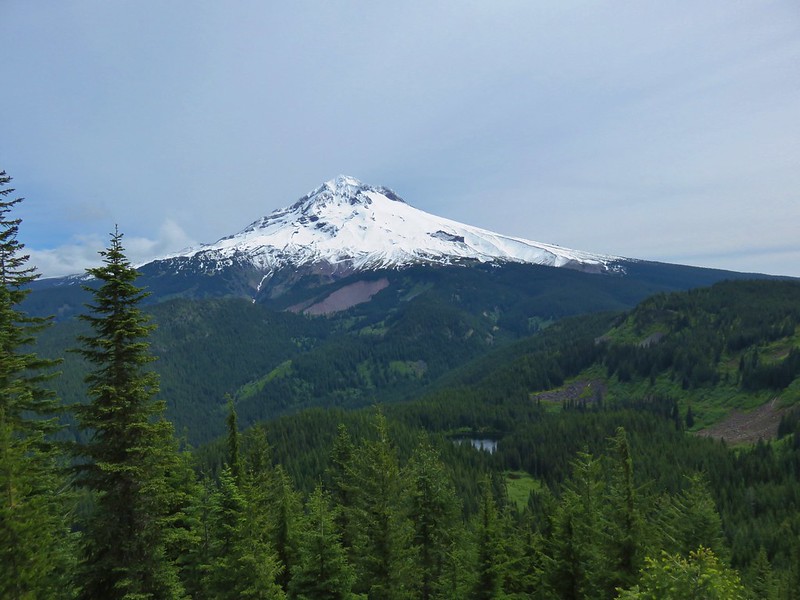
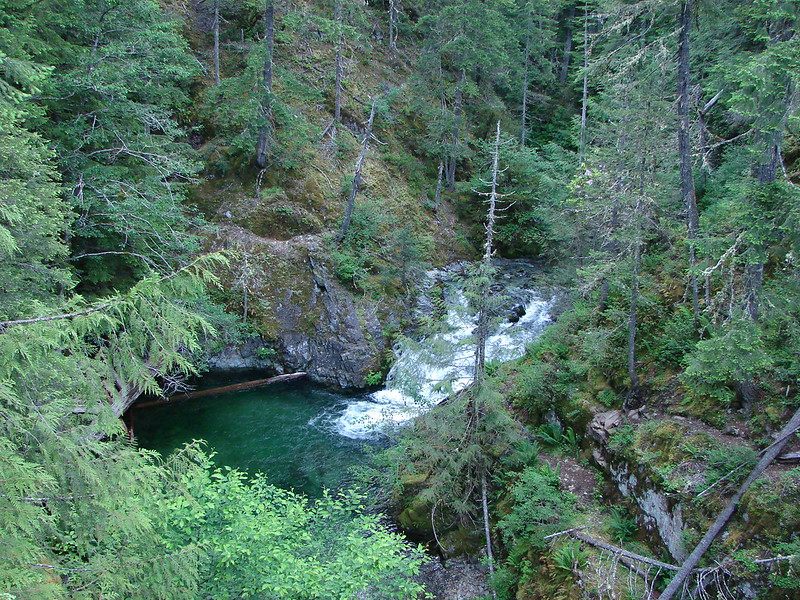
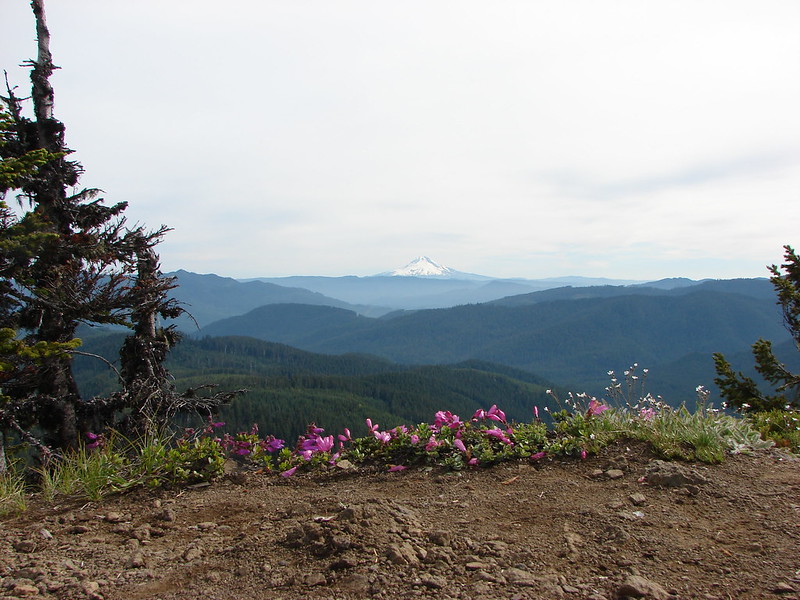
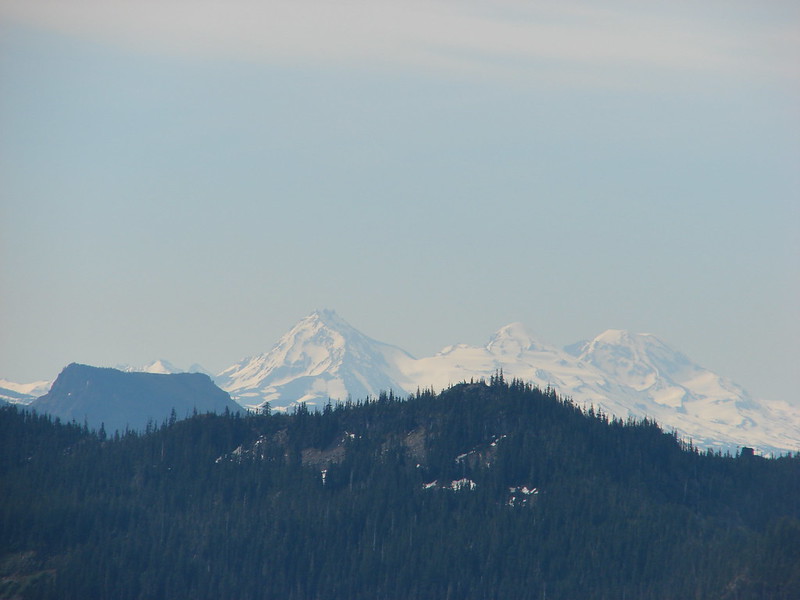
 View up Castle Canyon.
 Rock pillar across Castle Canyon.
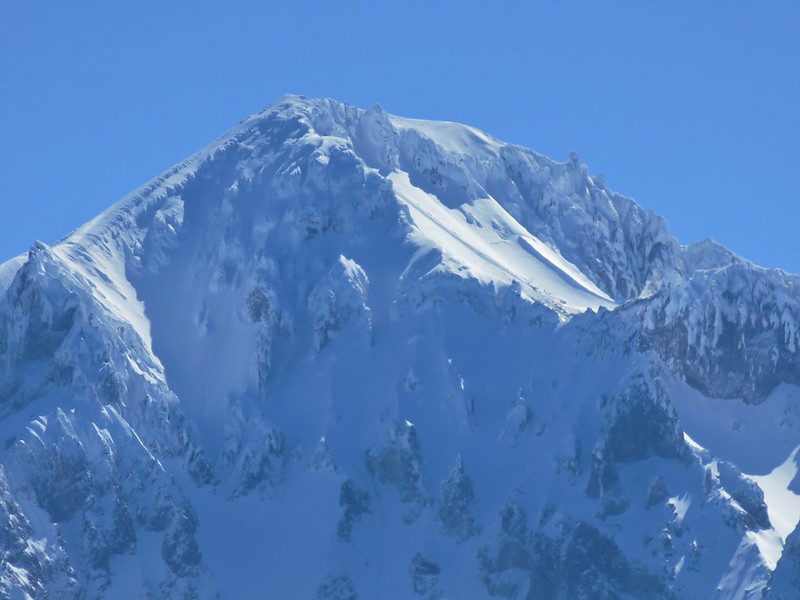
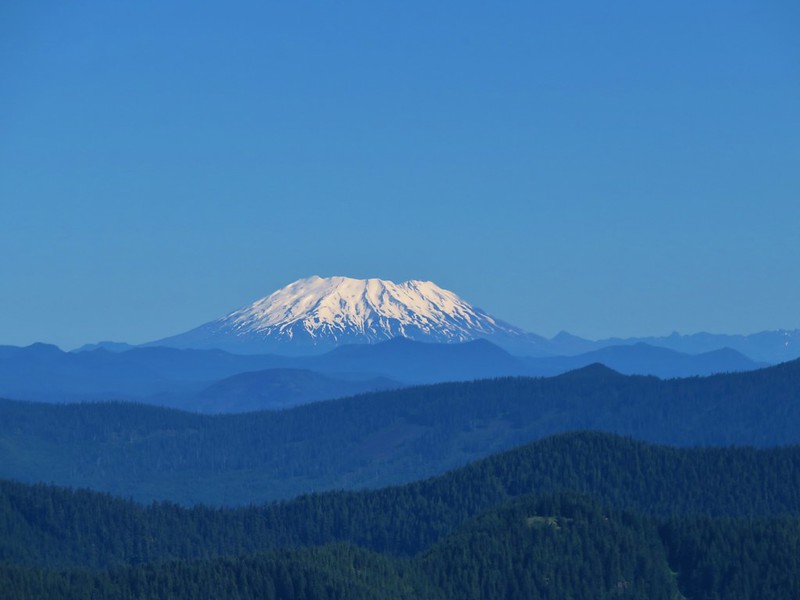
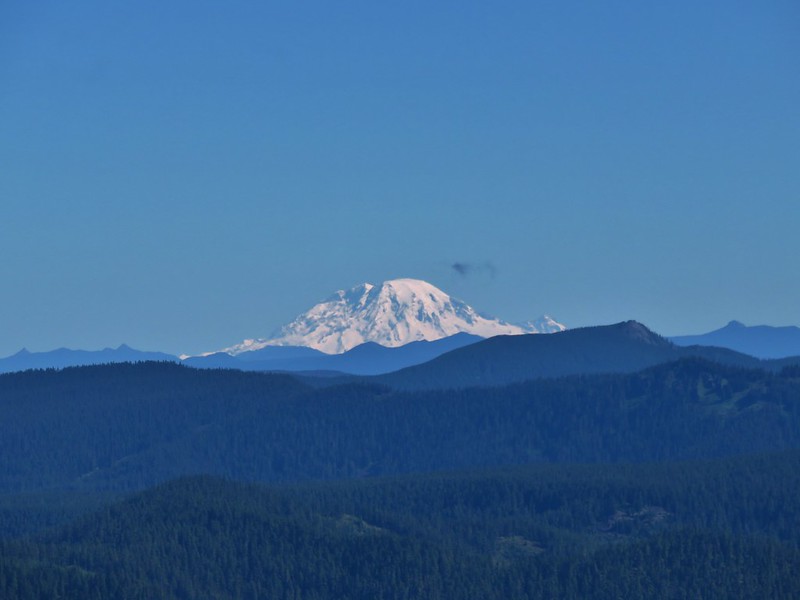
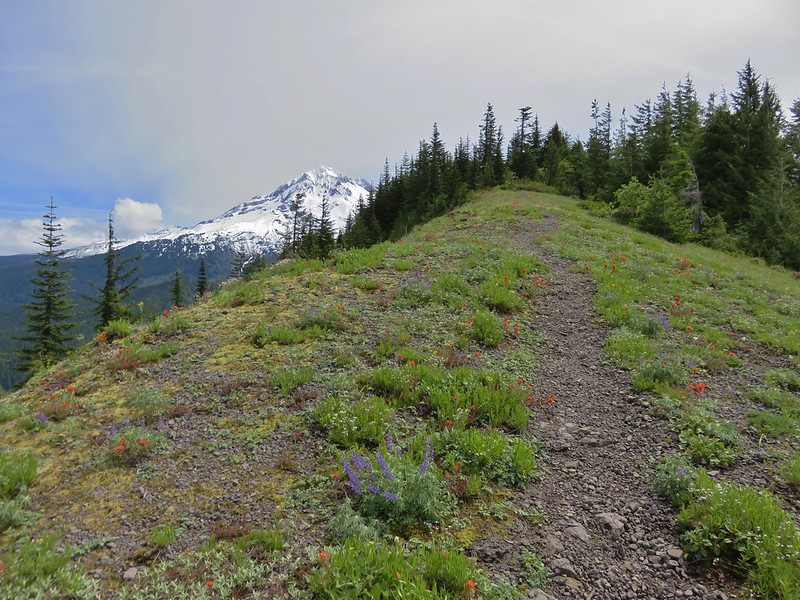
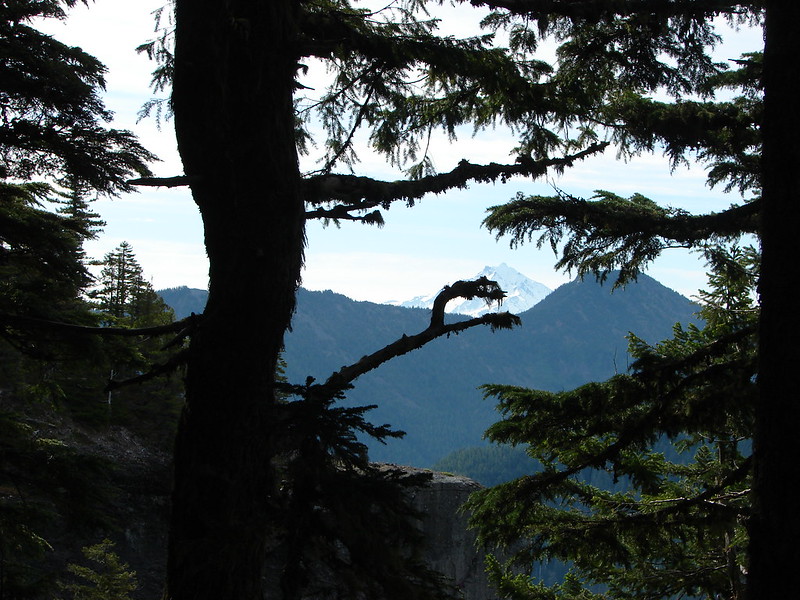
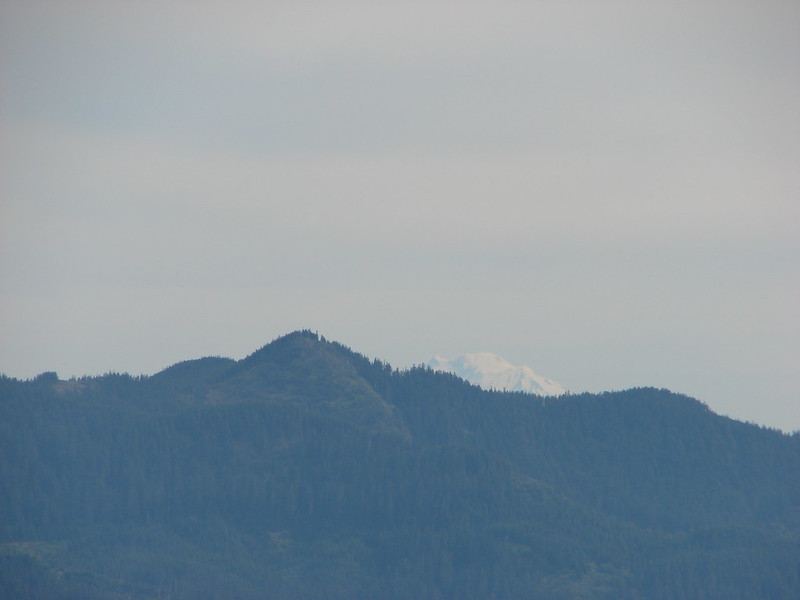
 Devil’s Peak (post) and Hunchback Mountain (post)
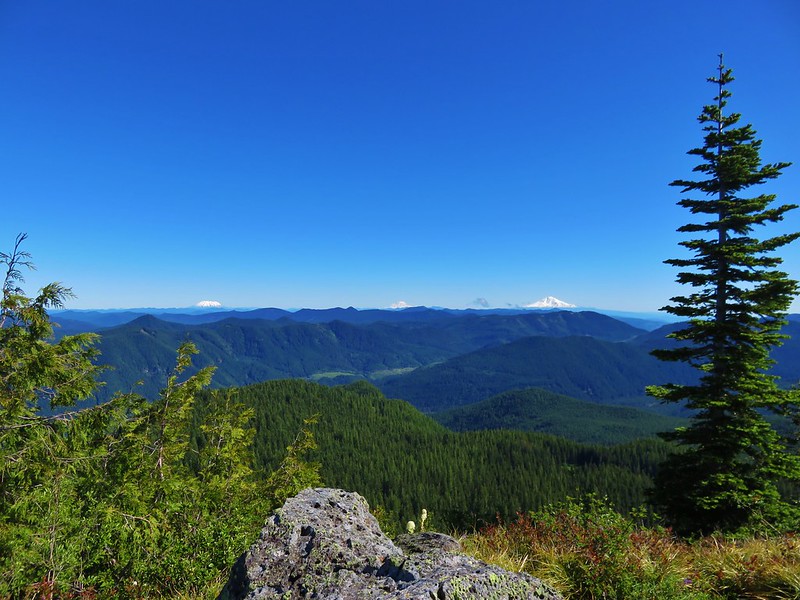
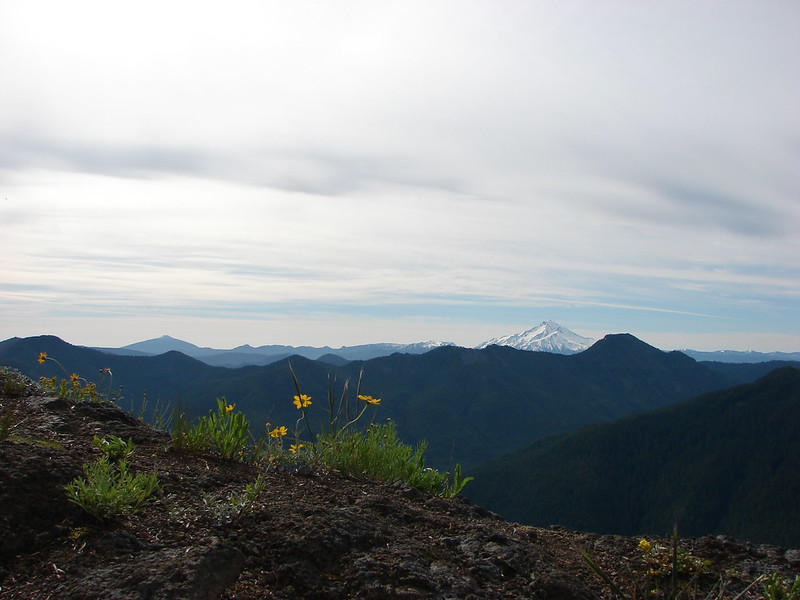
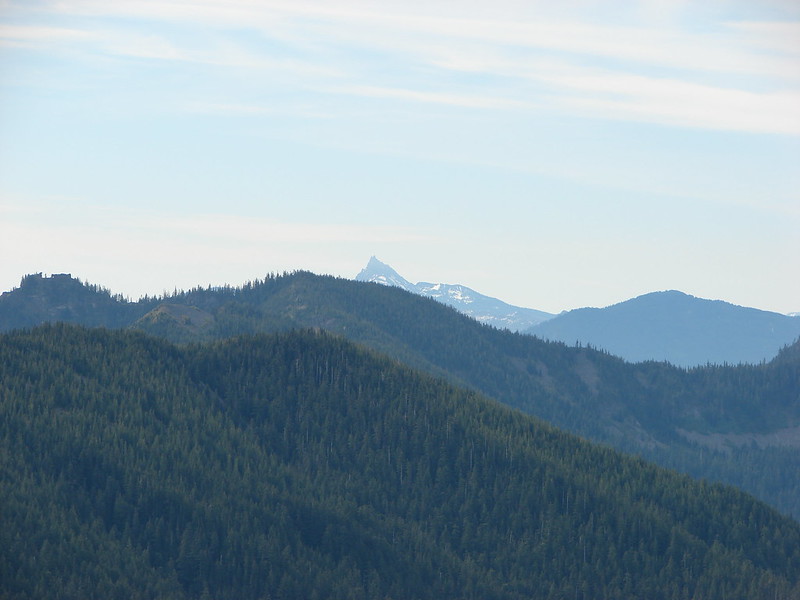
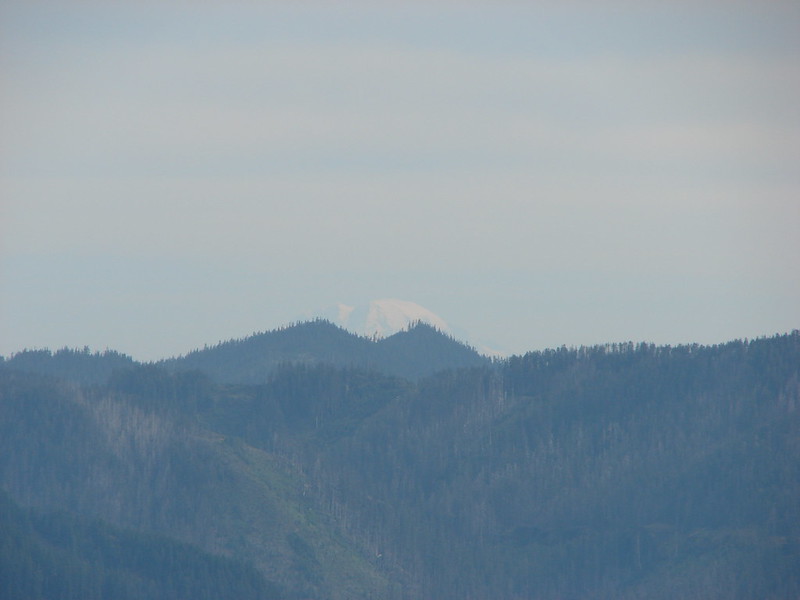
 Looking down from the end of the rock fin.
Everything was fine while I was taking in the view but as I started back along the fin I felt a sharp prick on the back of my right hand. It took a moment to realize what had happened, but I quickly realized it was a ticked off yellow jacket. Given the terrain I was on I couldn’t move too quickly despite needing to get away from whatever nest was about. A second sting followed, this one on my calf and I was afraid one had gotten up may pant leg so I was now slapping my leg as I carefully (but quickly) retreated along the trail. By the time I’d made it back to the end of the official trail the pursuit seemed to have been abandoned and I took a moment to catch my breath.
 Just after taking this picture on my way back I received my first sting.
 I actually followed a use trail several yards above the end of the trail just to make sure I wasn’t being followed.
I could see Heather on the trail below so I made my way out onto the other fin which was yellow jacket free and waited for her to make her way up.

 The trail on the other fin.
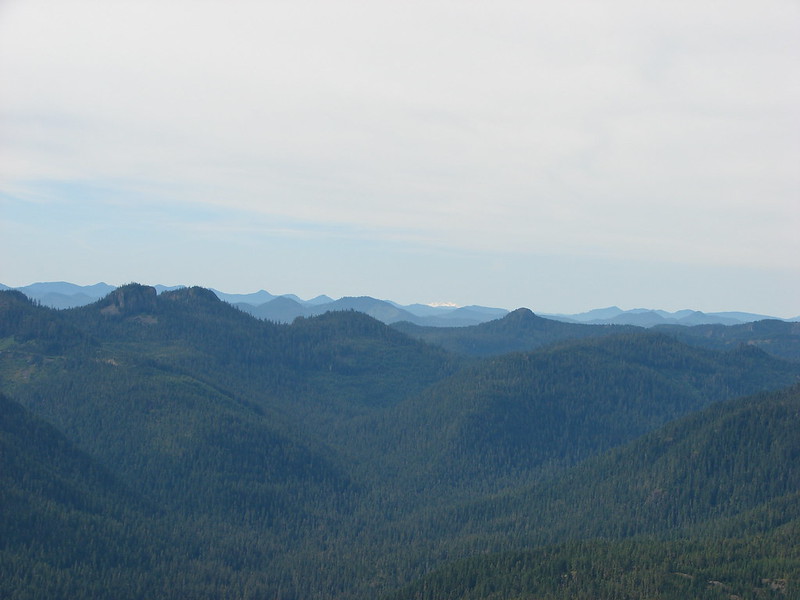
 The Castle Canyon Trail below the rock fin.
After taking in the view from this fin we headed back down to the Barlow Wagon Road Trail and followed it back to our car.

 <
<
 One of two red-breasted sapsuckers on the tree.

 The Castle Canyon Trail was approximately 0.2-miles East of the barricade that we’d seen from the use trail we turned up.

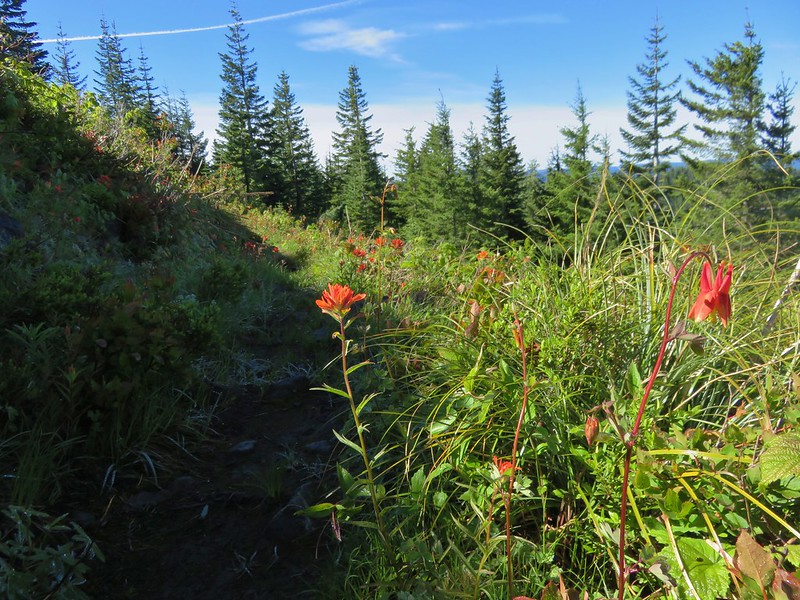
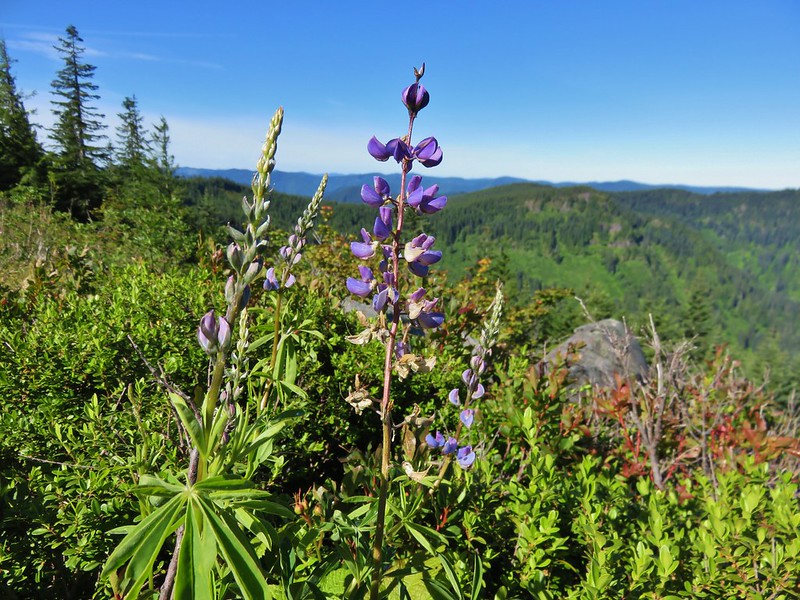
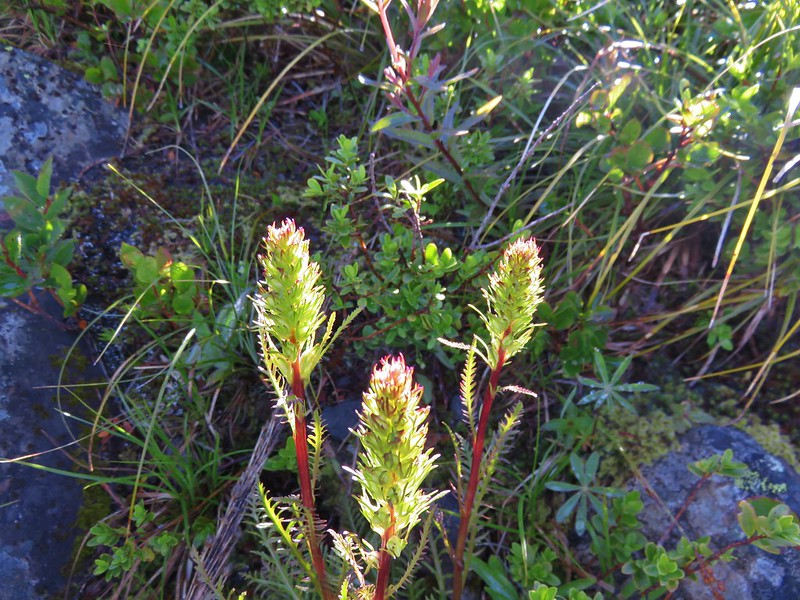
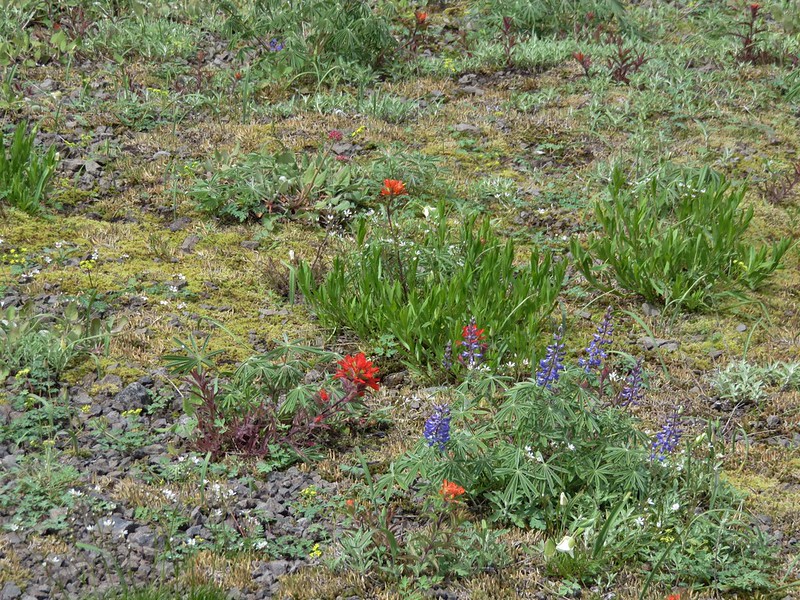
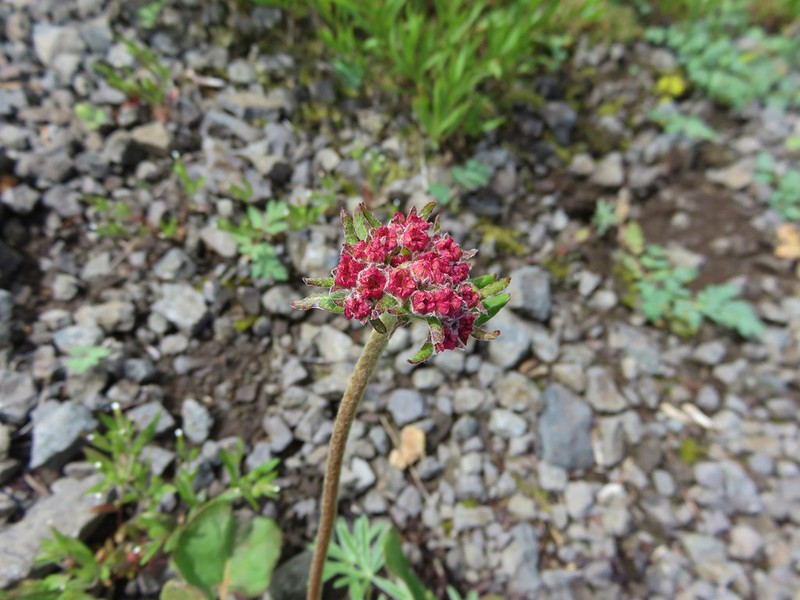
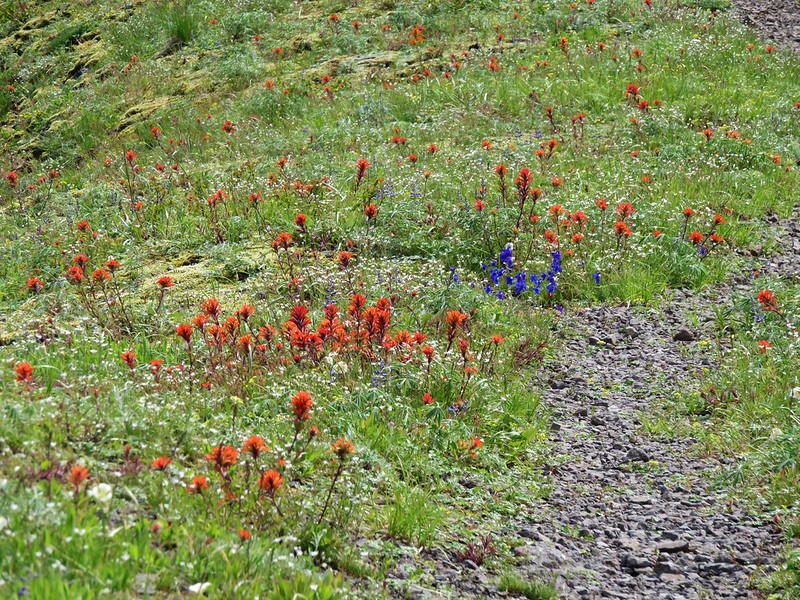
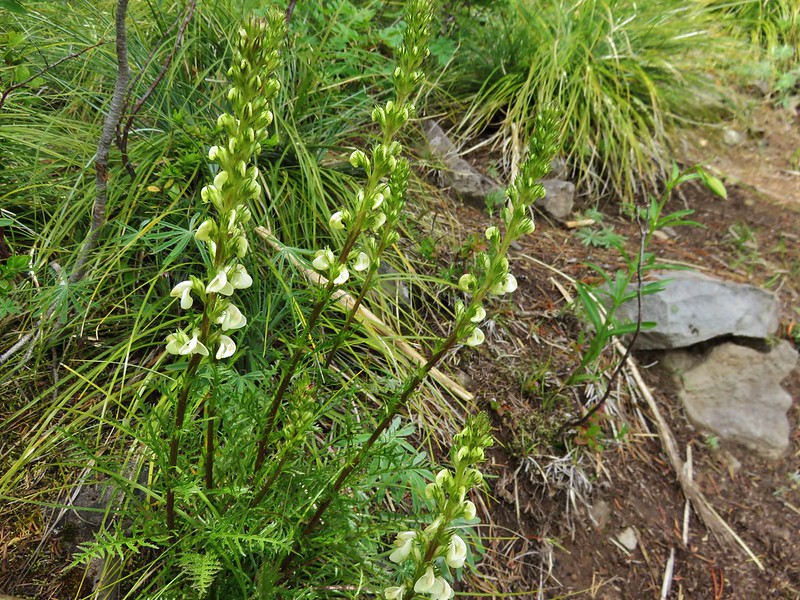
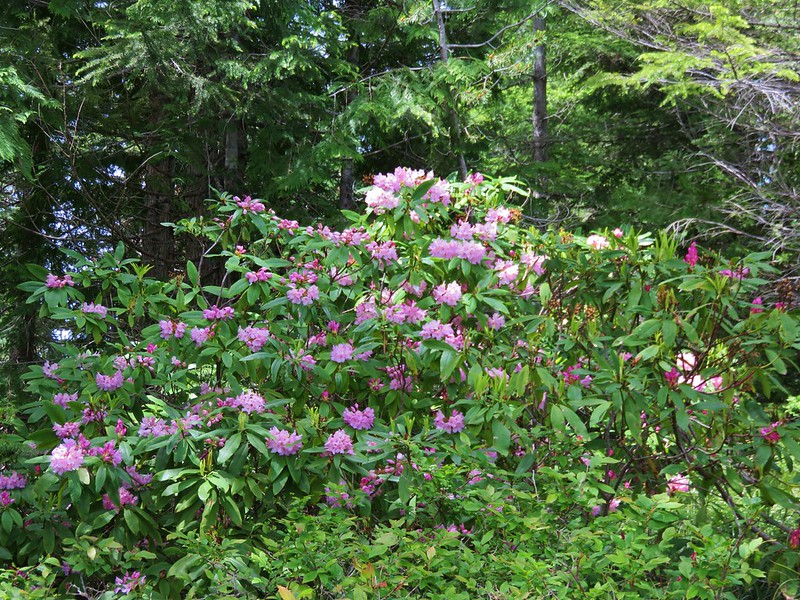
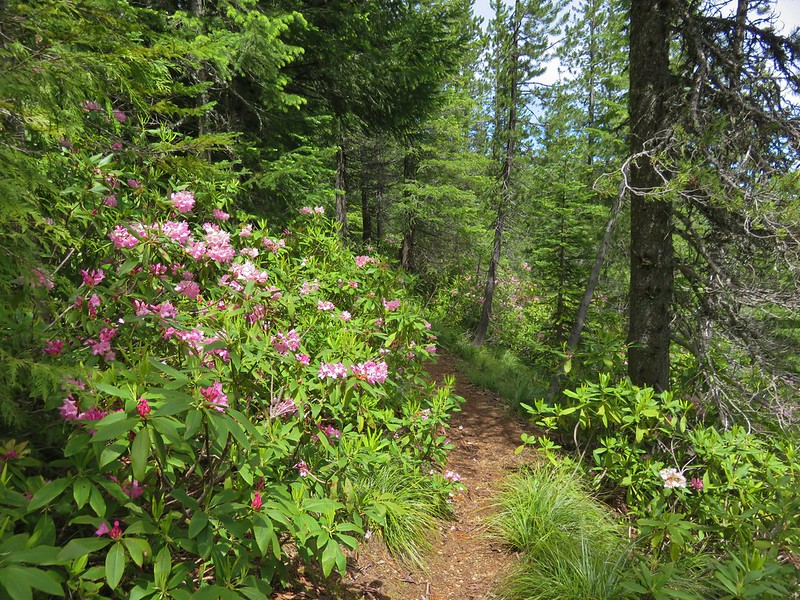
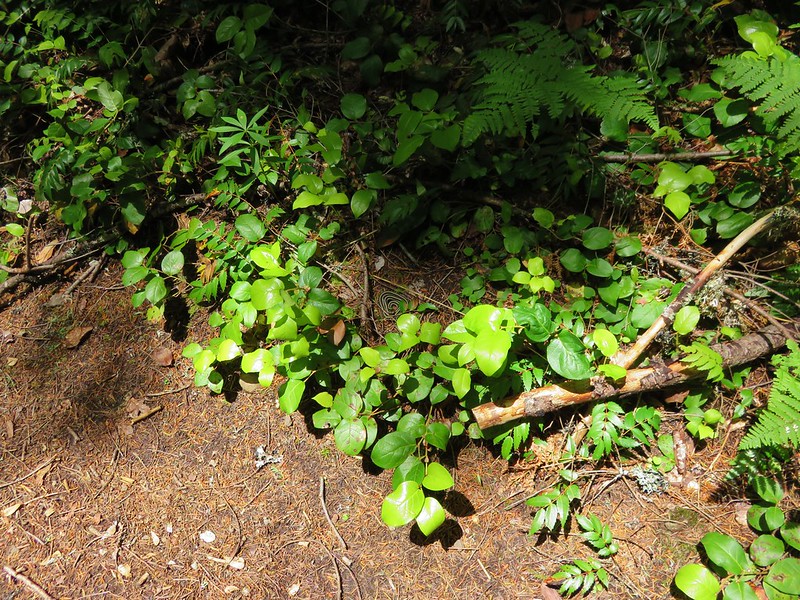
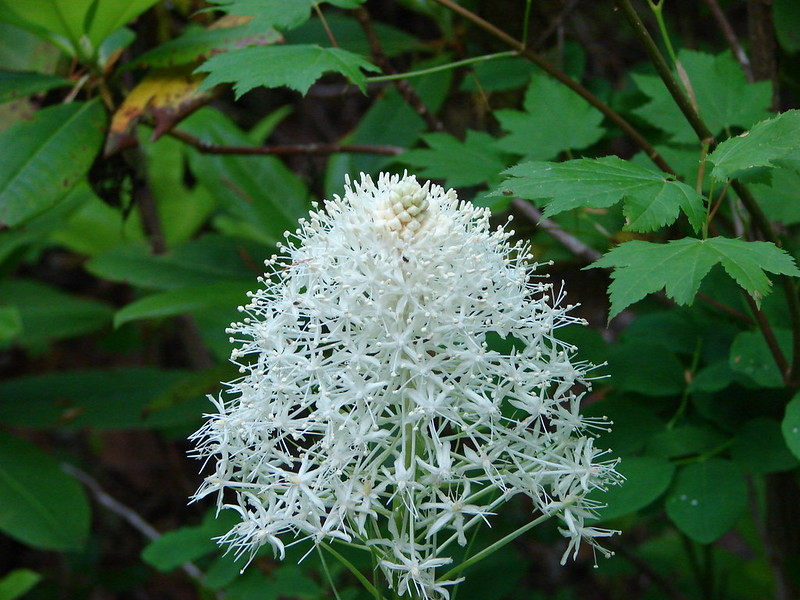
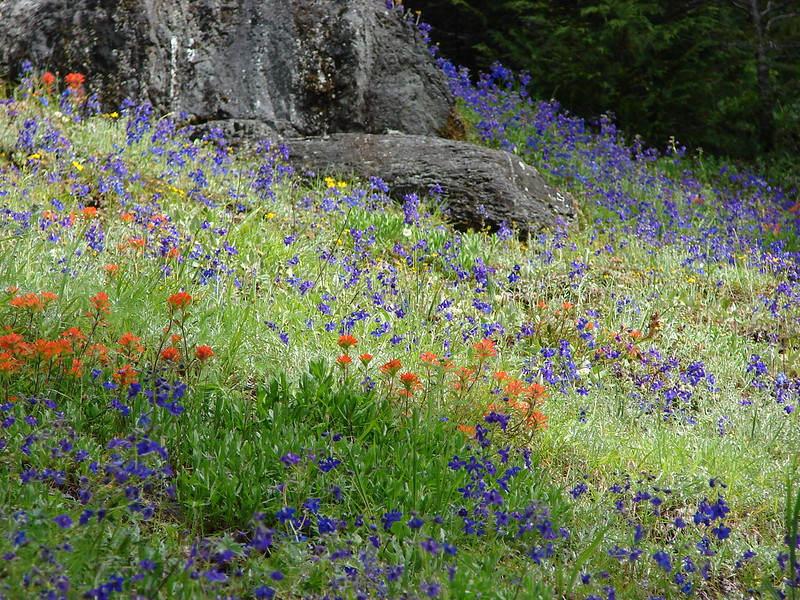
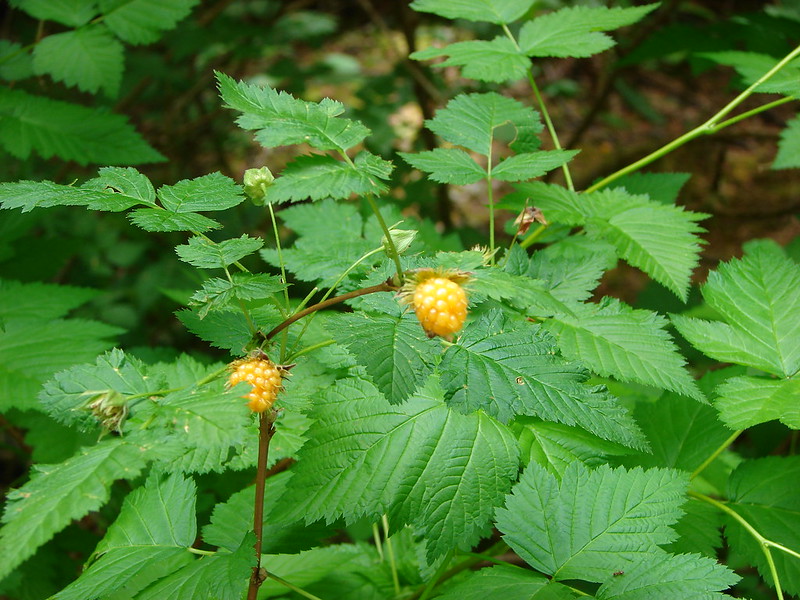
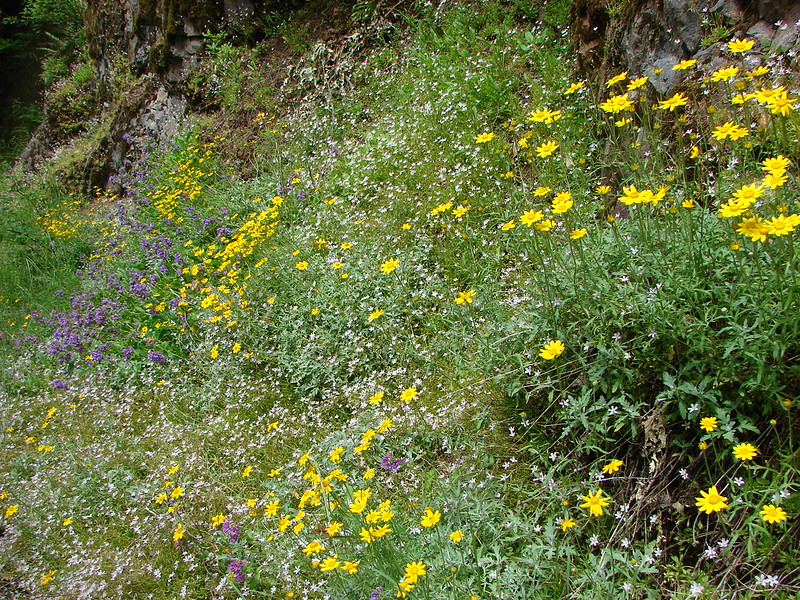
 We liked the colors of this plant carpeting the ground along the road.
 Back at the West Zigzag Trailhead.
From the trailhead we headed back to Highway 26 and followed it West into Sandy and made our way to the Sandy River Trailhead.
There isn’t much parking here but it is possible to park at nearby Sandy High School.
The Sandy River Trail follows an old roadbed downhill for a mile to the Sandy River in this undeveloped park. The Jim Slagle Loop Trail allows for an optional loop.
 The upper junction with the loop trail was just 0.2-miles from the trailhead.
 We stuck to the Sandy River Trail on the way down.
 The Sandy River Midway Trail on the left was about 0.4 of a mile from the upper junction making a shorter loop (or figure 8) possible.

 The lower junction with the Jim Slagle Trail was 0.6-miles from the upper junction.
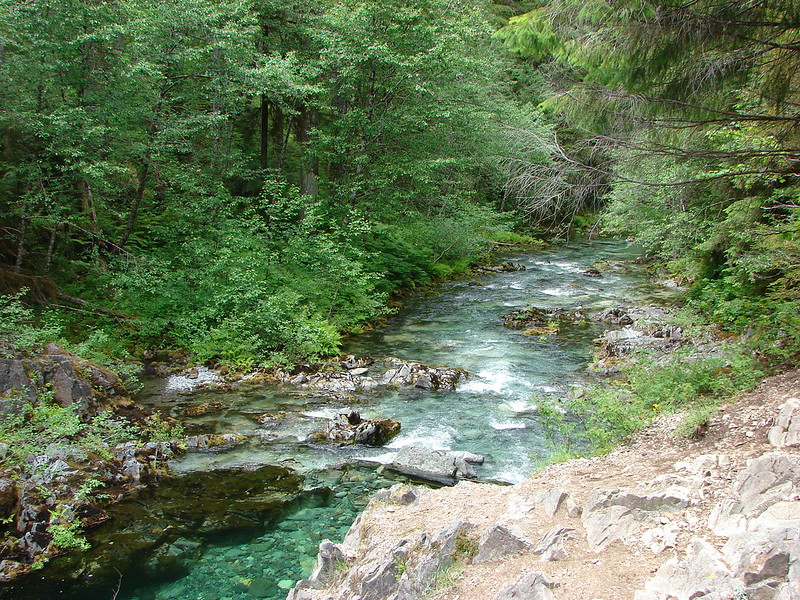
Approximately 500′ from the lower junction we came to a trail pointer for a viewpoint.

We figured why not and followed the short path to the left to a rather obstructed view of the Sandy River.
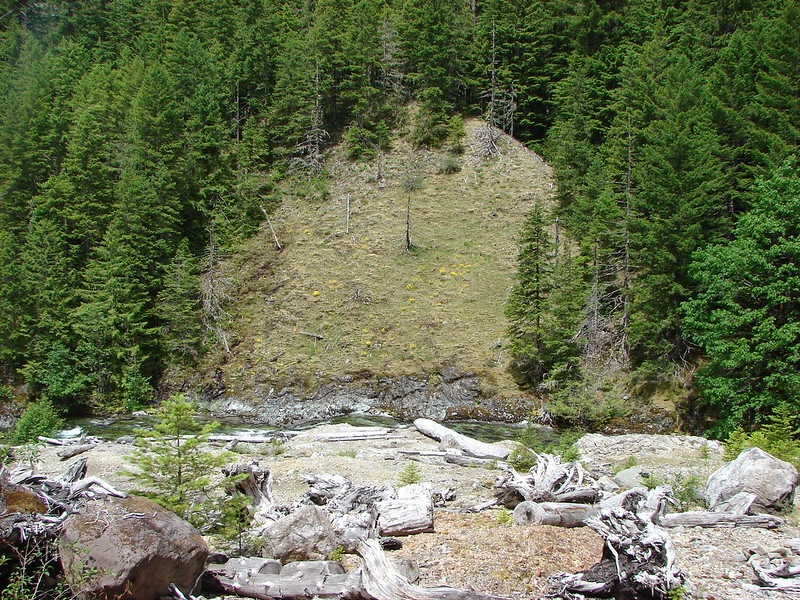
 The river is behind the trees at the top while the Sandy River Trail is clearly visible below.
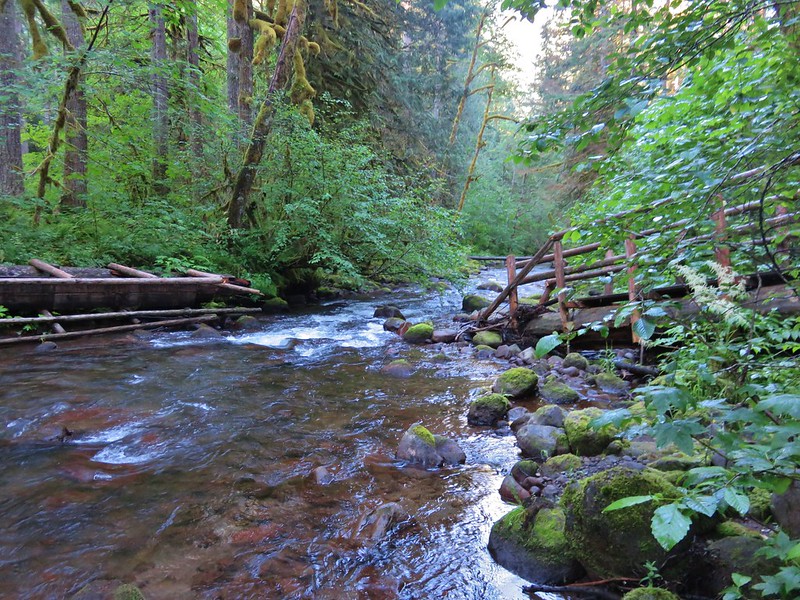
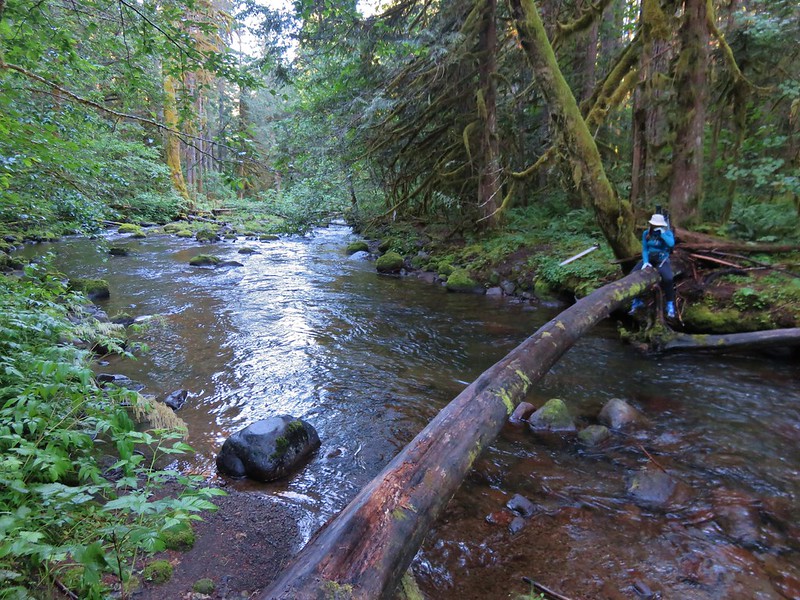
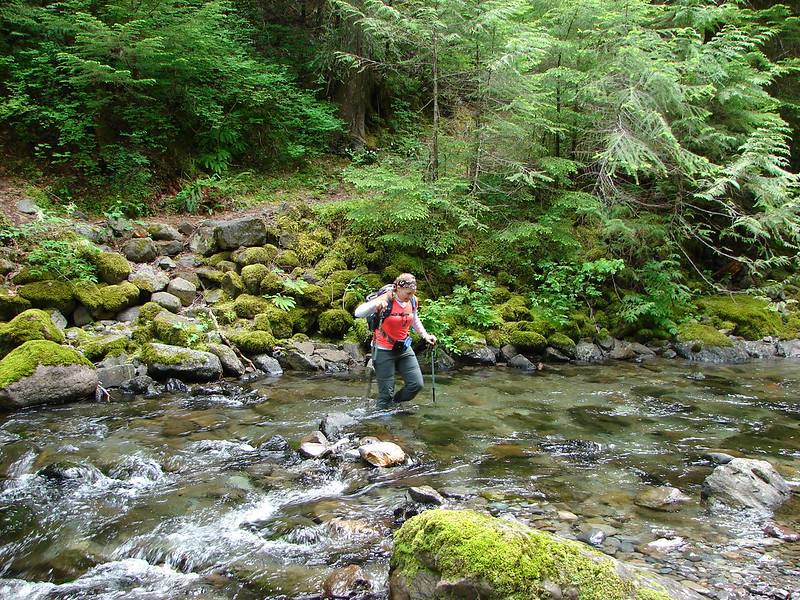
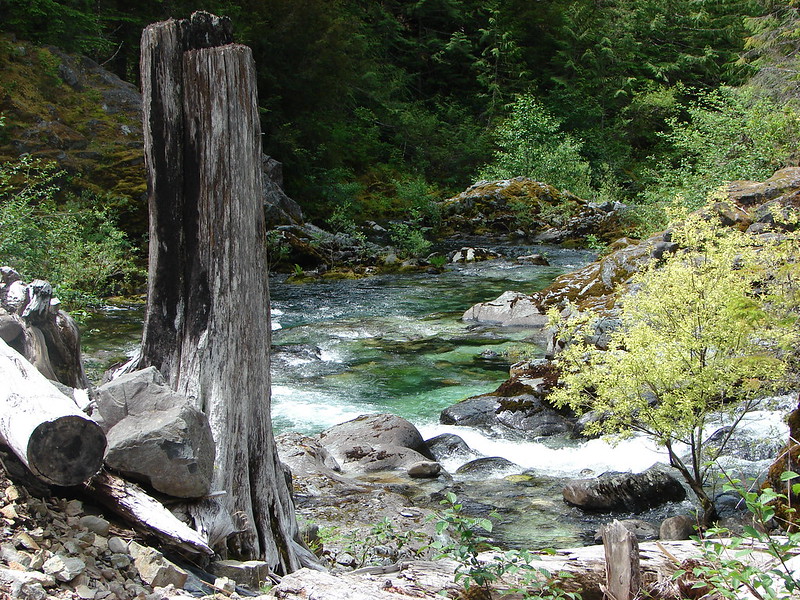
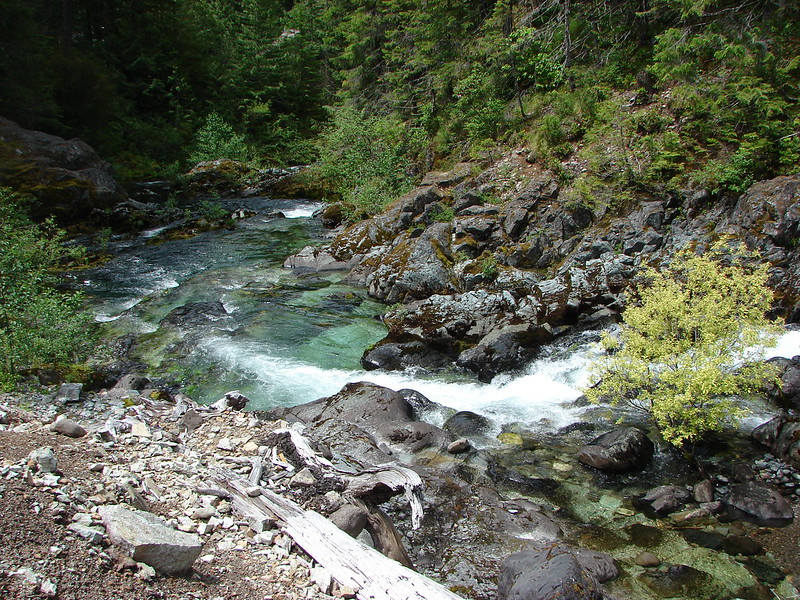
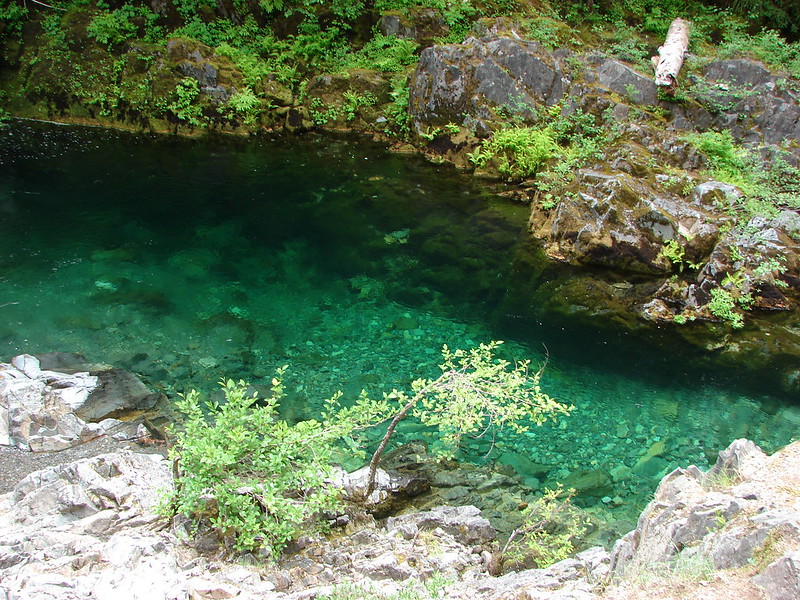
After the short detour we continued down to the river where trails went in either direction. There were numerous use trails down to the riverbank, all of which were occupied by fishermen.


Since there was no open space along the river we quickly turned around and started back up to the loop trail where we turned right.

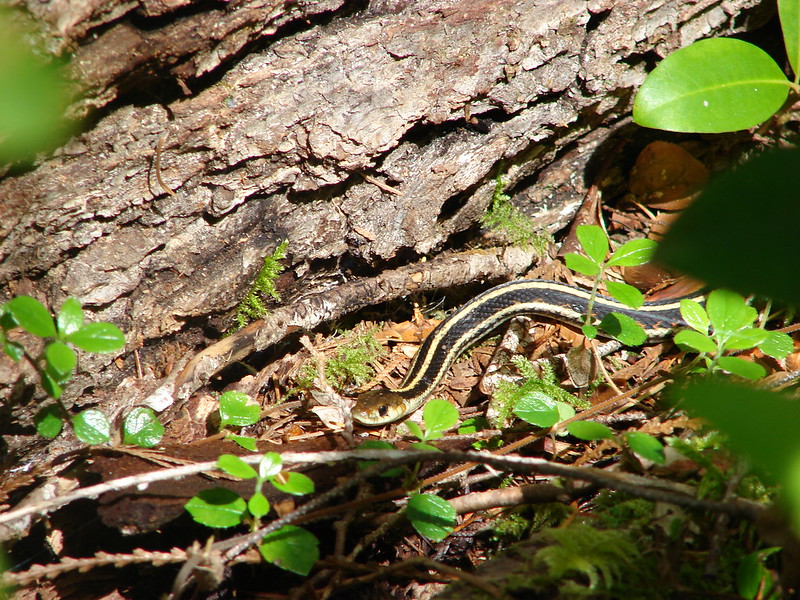
This trail climbed through the forest for almost a mile to the upper junction. The forest was nice and we spotted a large frog along the way.


From the upper junction it was just a short climb back to the trailhead.

The two hikes combined were a just under 7-miles (4.3 & 2.5 respectively). Perhaps not the most exciting trails we’ve hiked. The scenery was nice and they had enough to offer for their lengths.
 Castle Canyon
 Sandy River Park
I could have done without the stings, but it was a nice outing on a day when rain would finally be arriving. Hopefully it extends into Northern California to help with some of the fires down there. Happy Trails!
Flickr: Castle Canyon & Sandy River Park