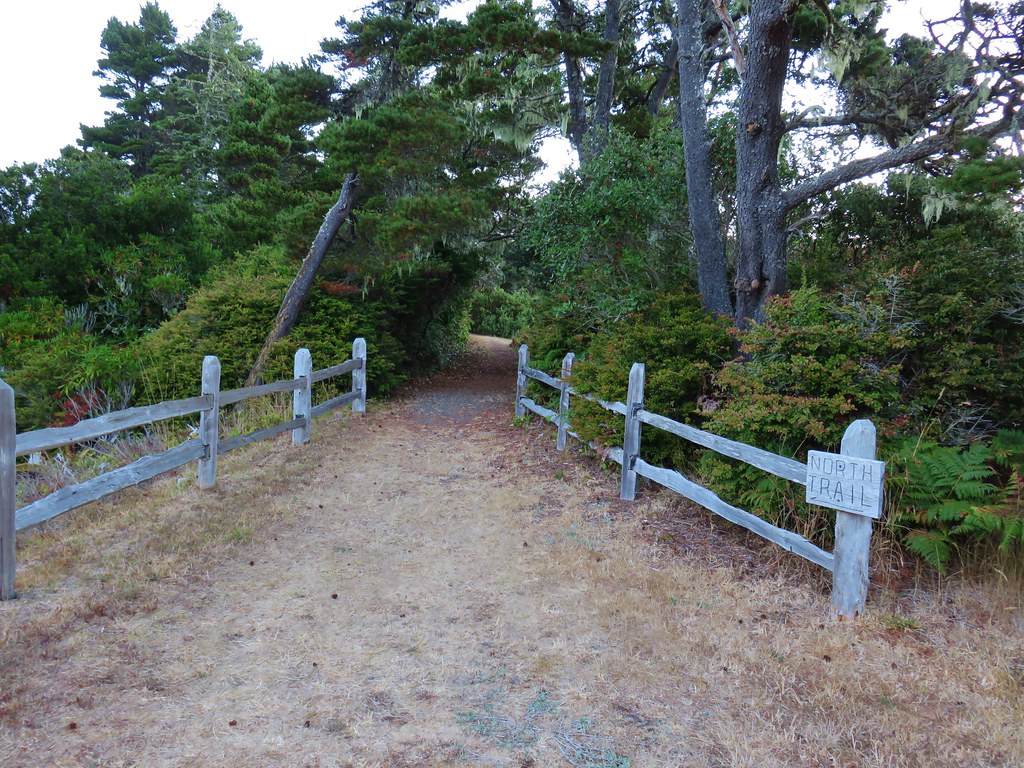
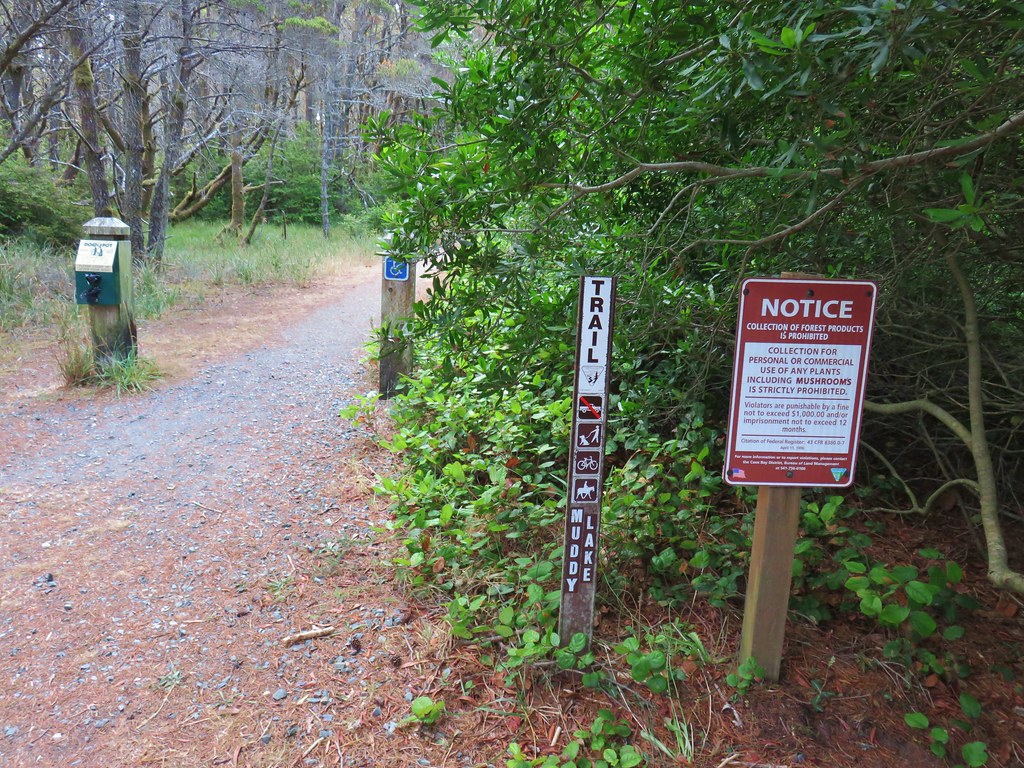
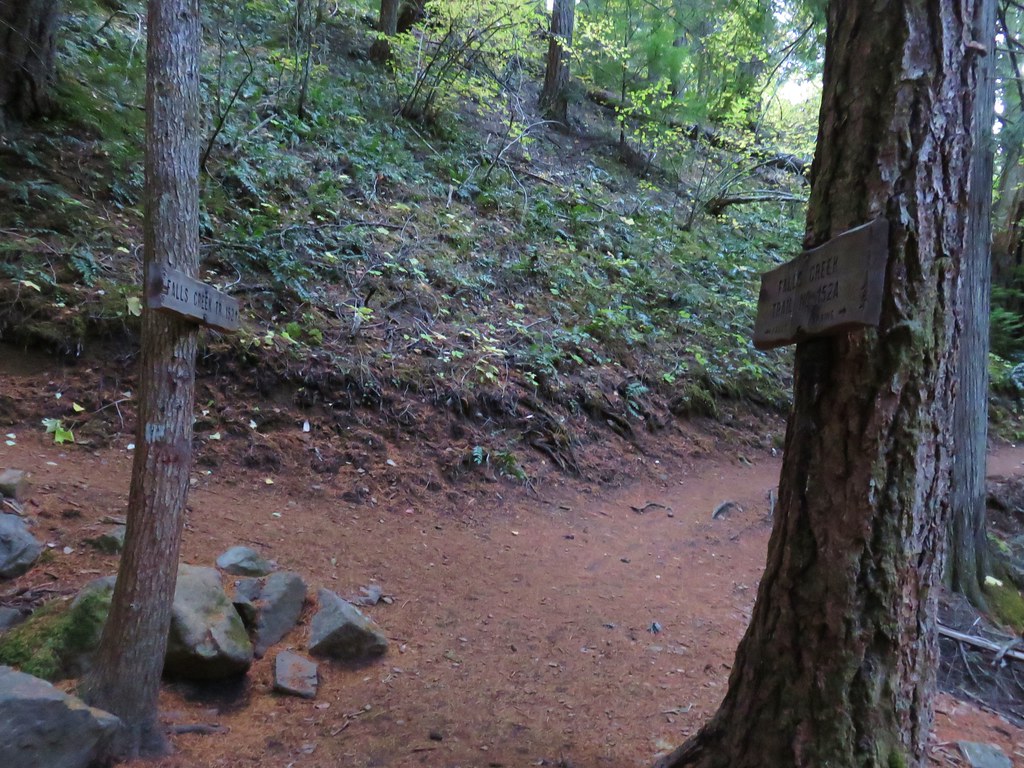
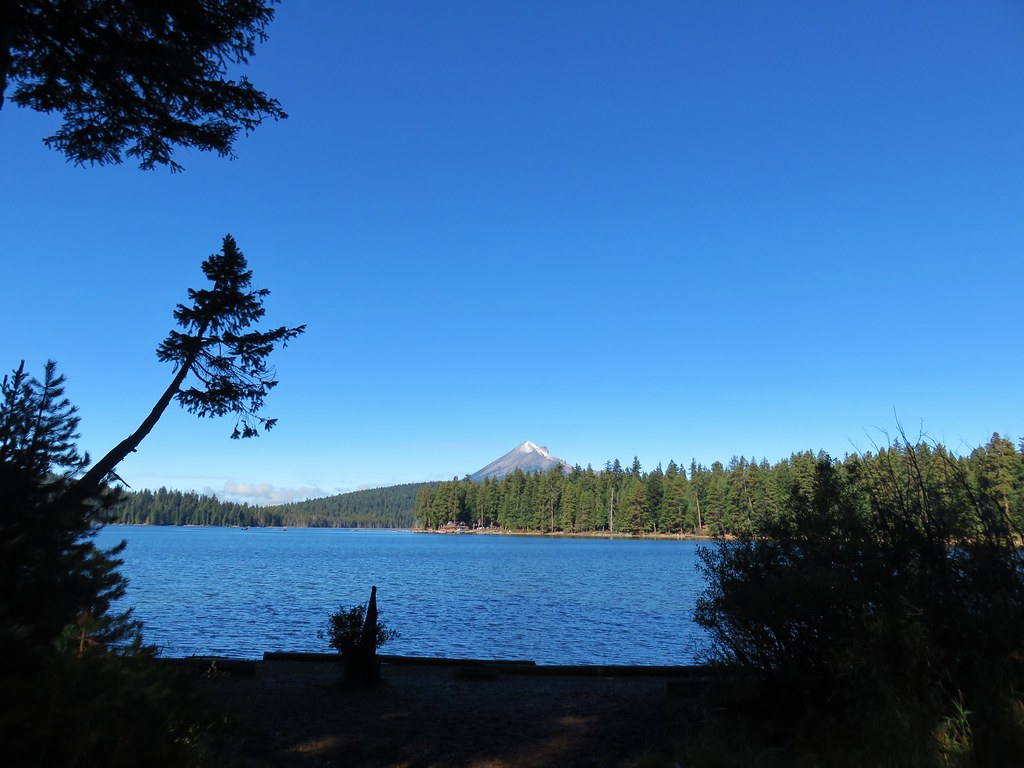
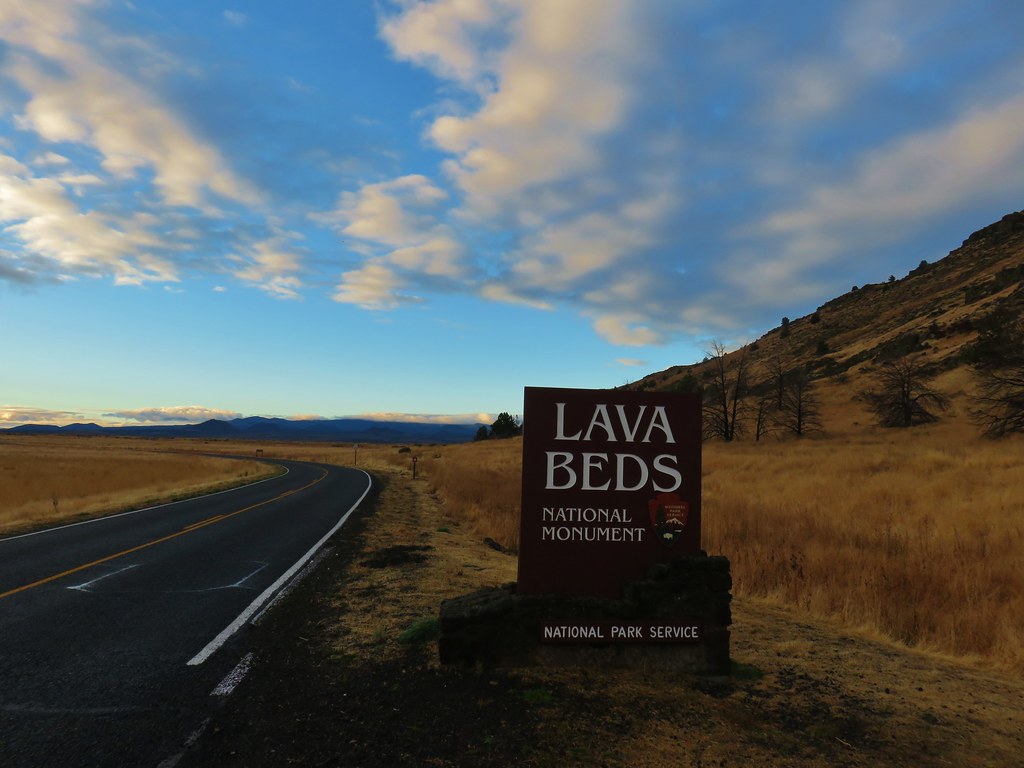
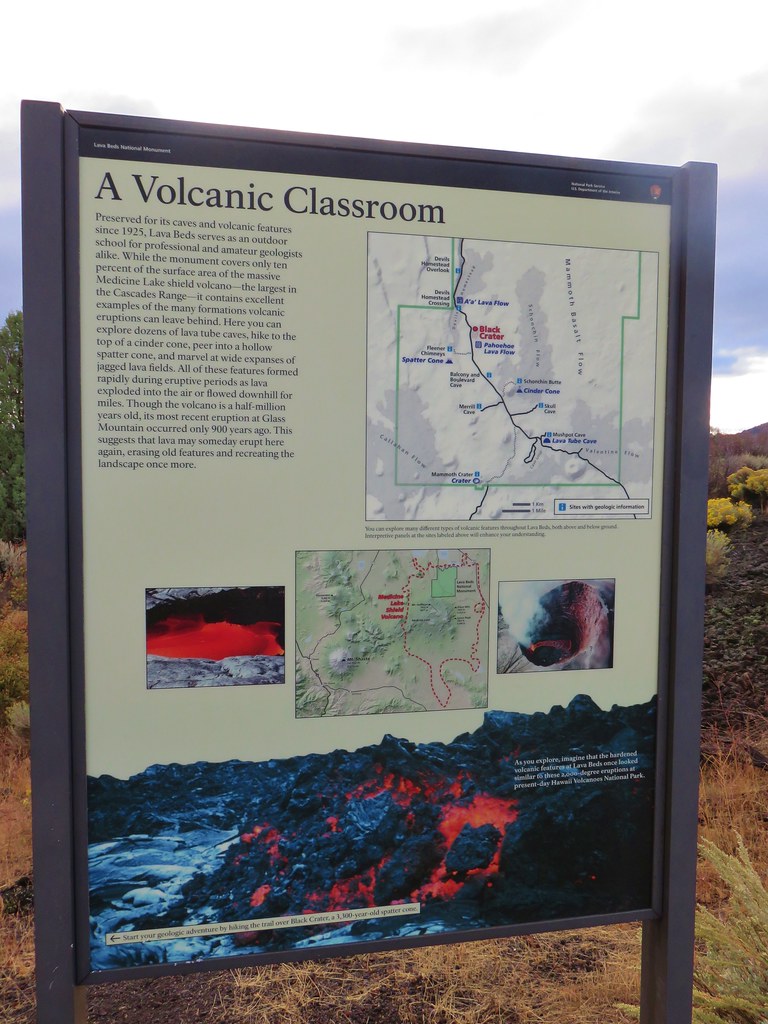
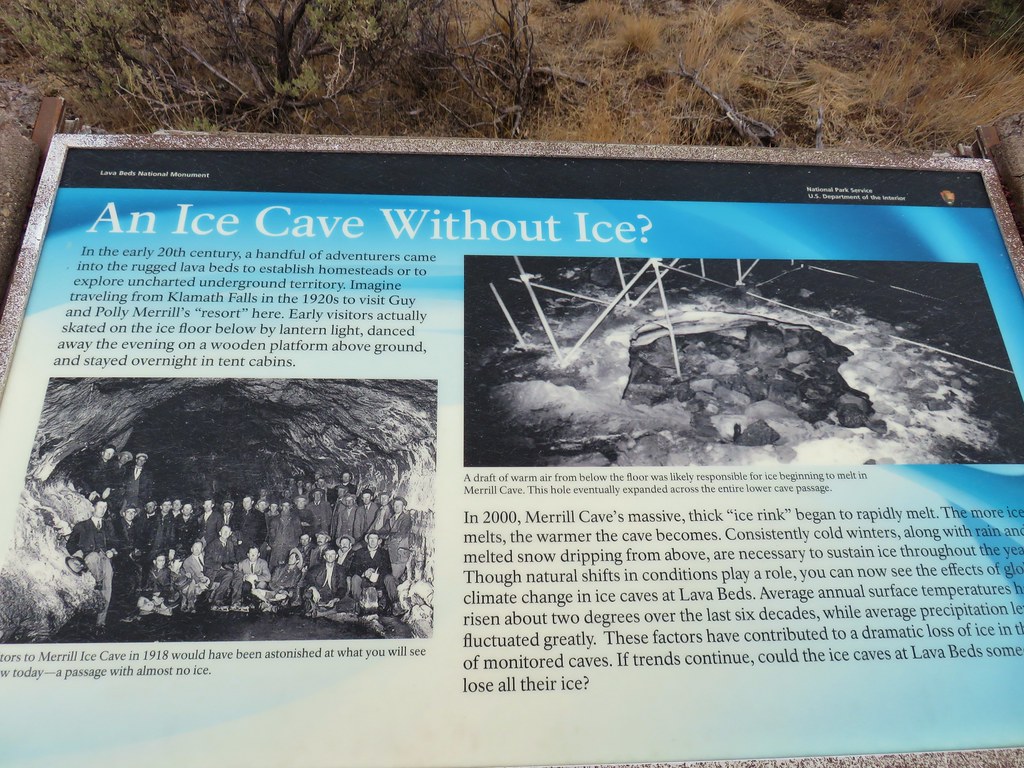
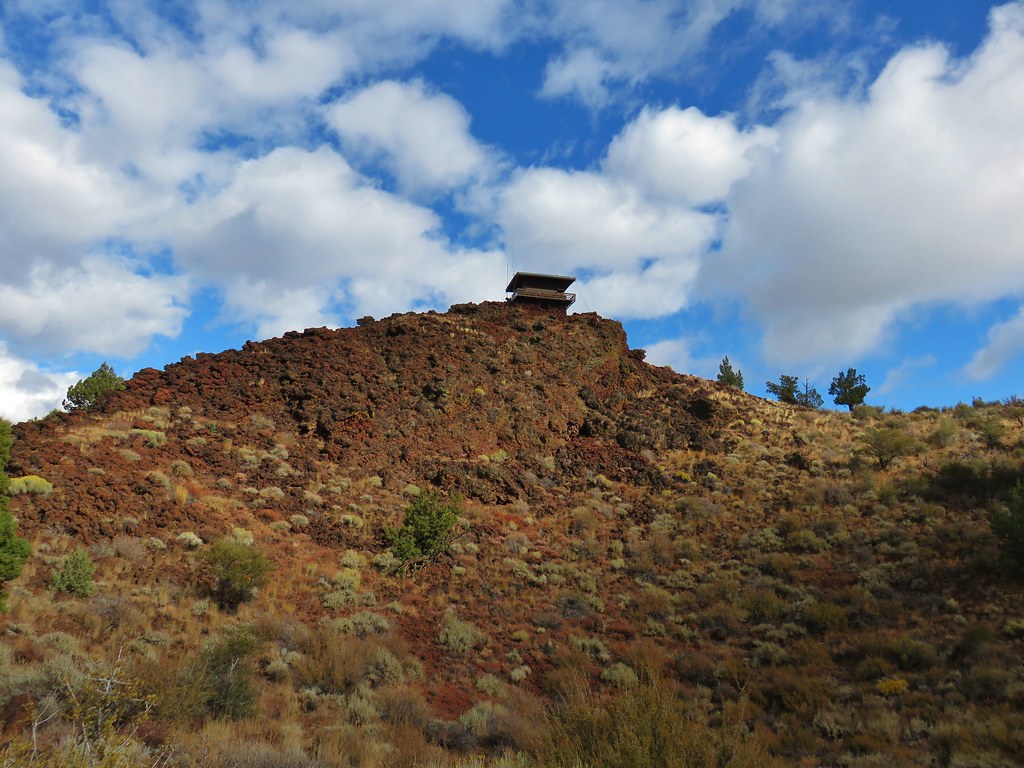
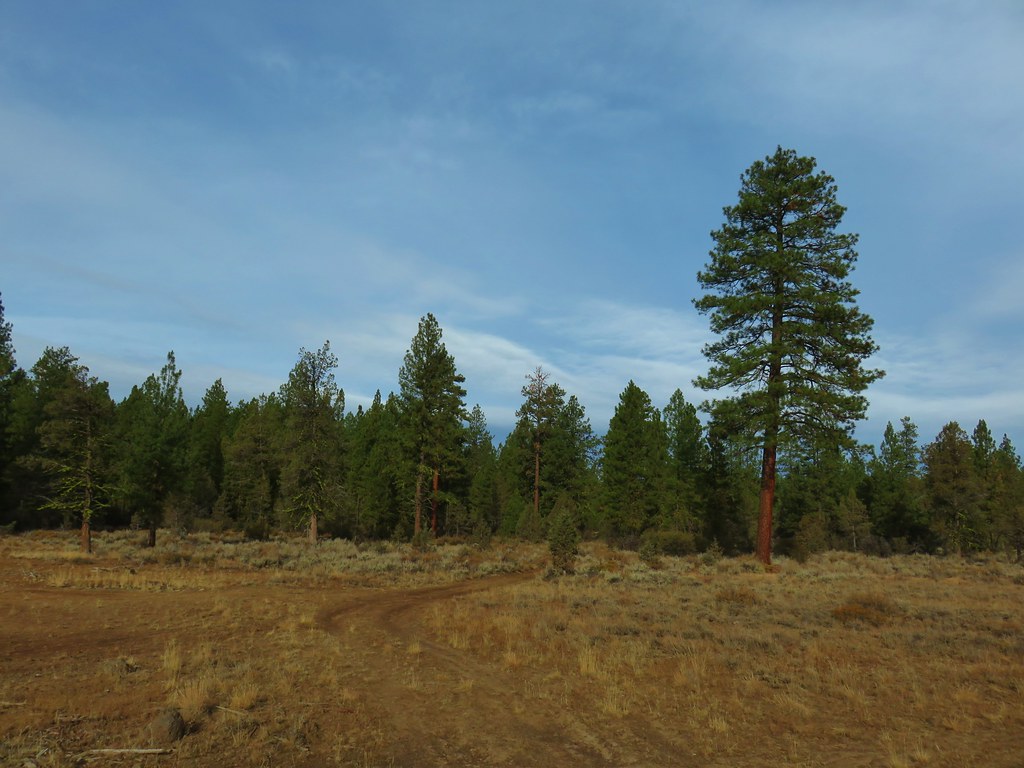
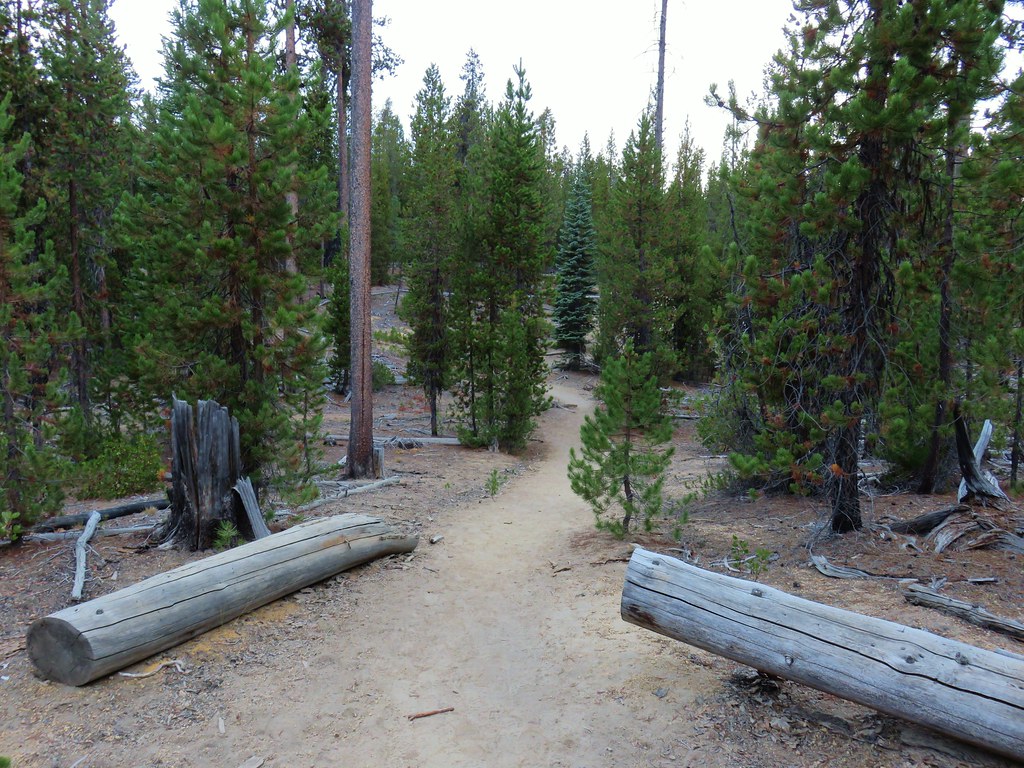
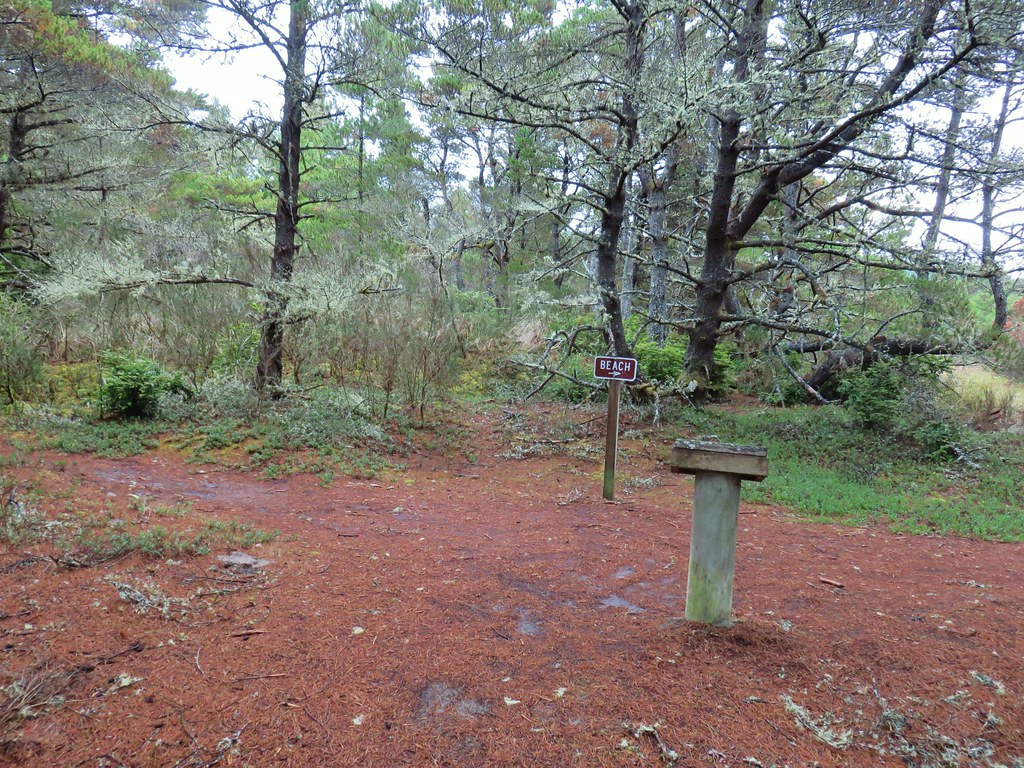
One week after spending a day hiking in California at the Lava Beds National Monument (post) we visited our neighbor to the north, Washington. On our itinerary for the day were a pair of hikes north of Carson, WA. We started with a visit to Falls Creek Falls.
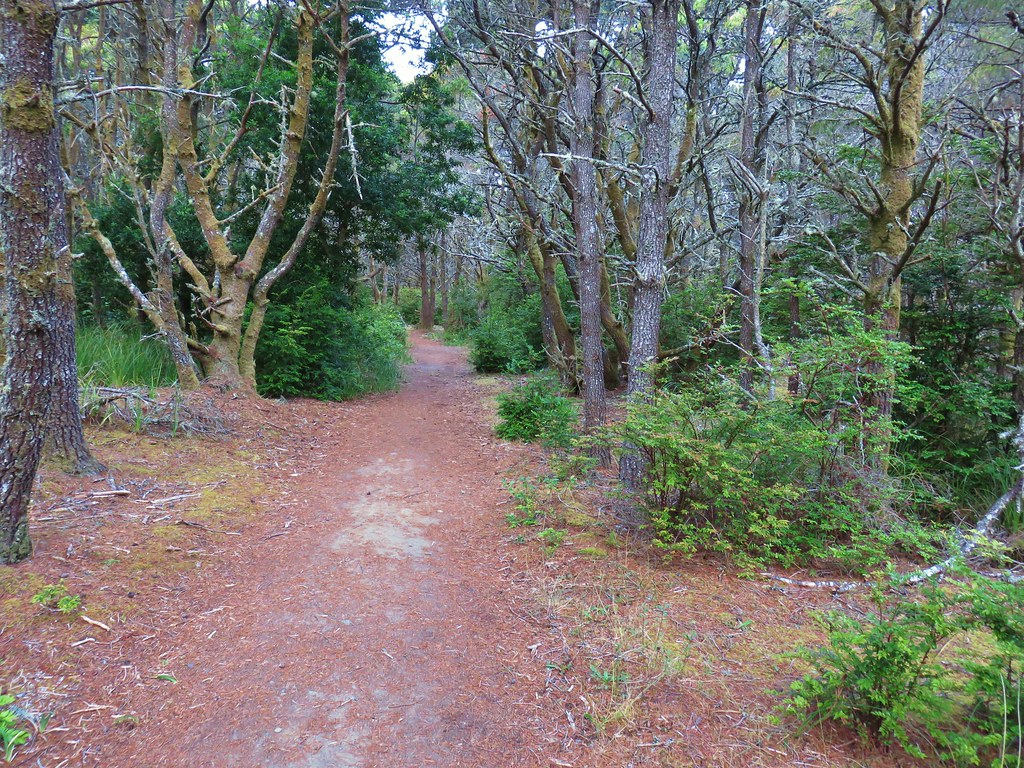
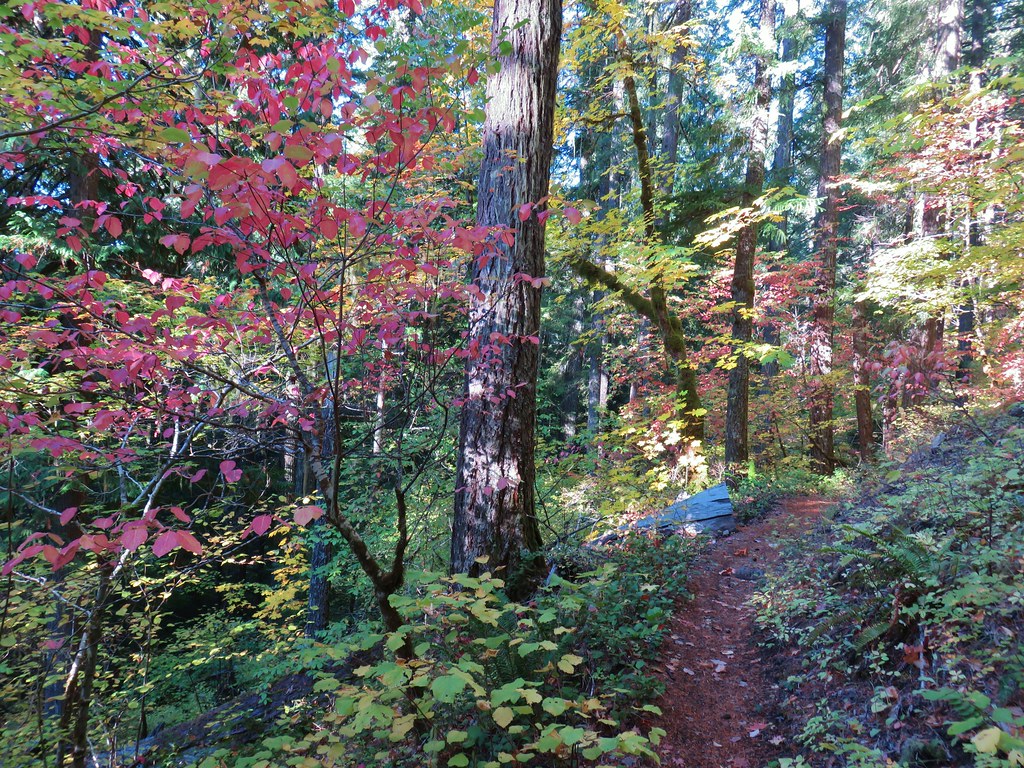
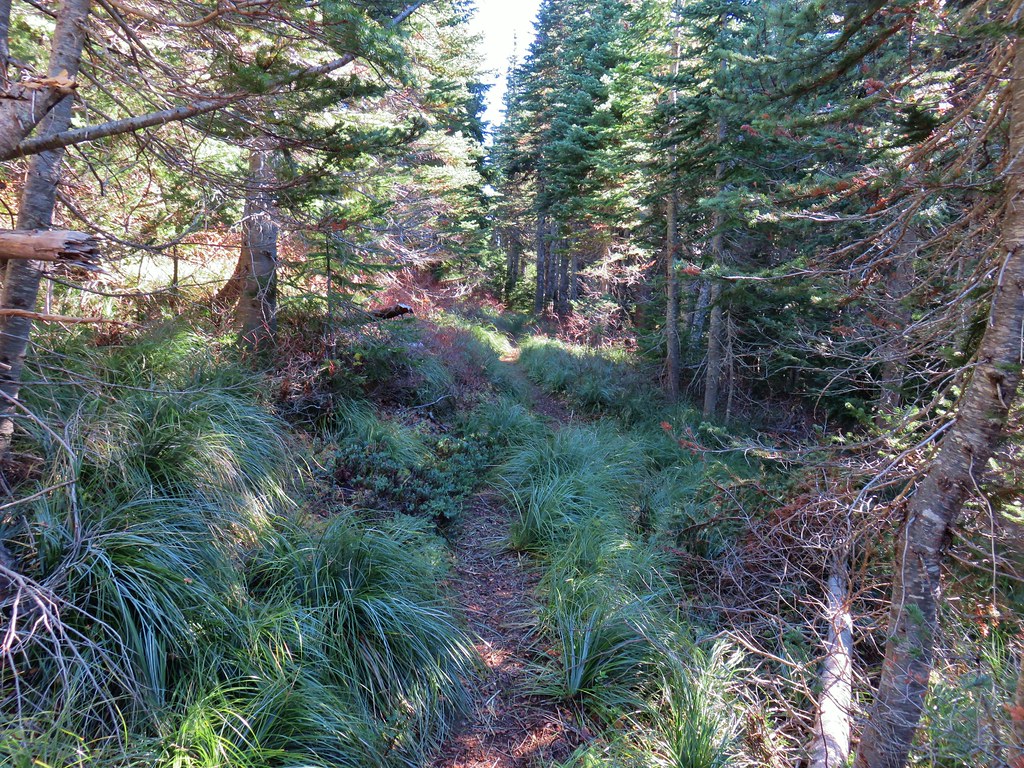
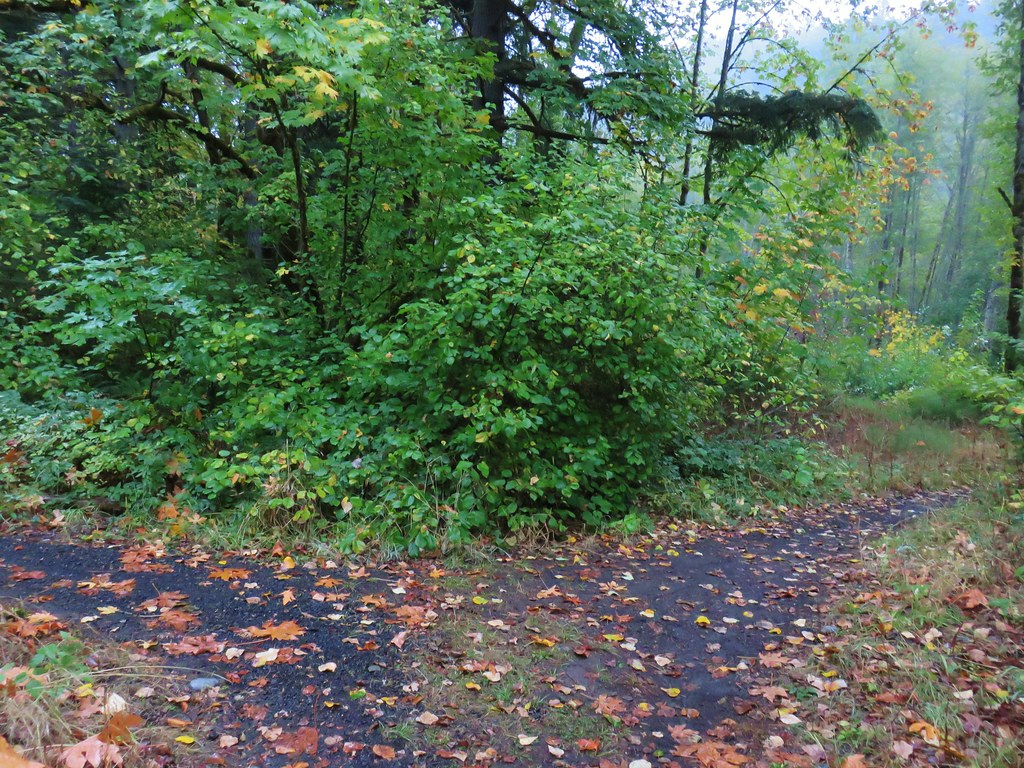
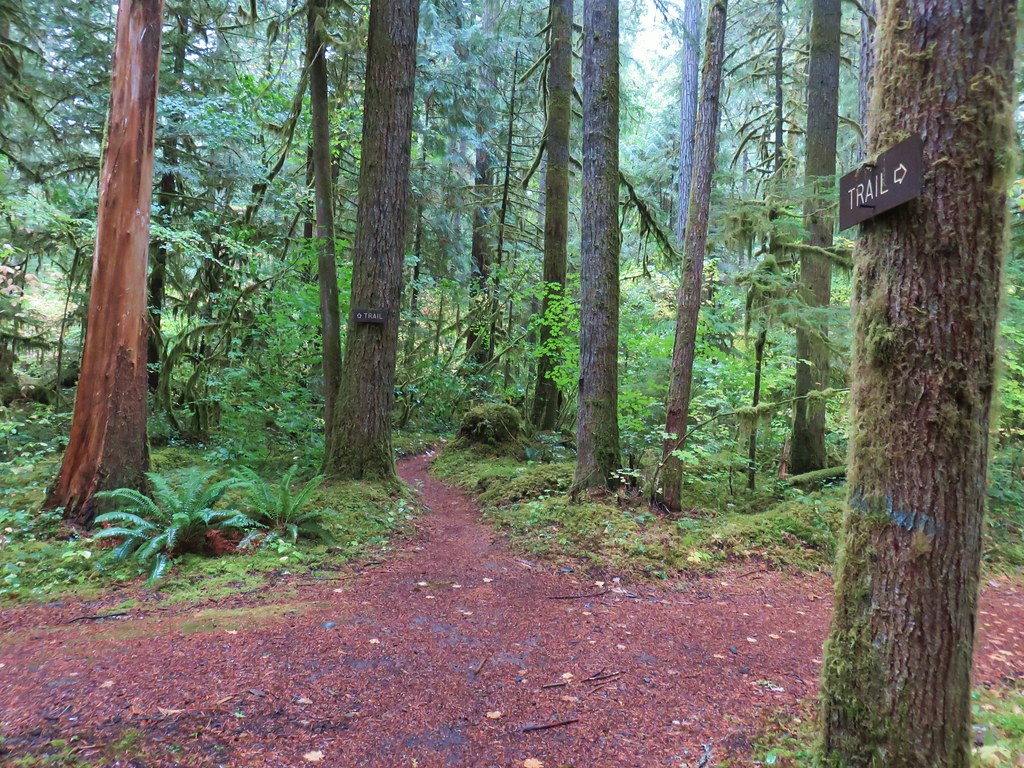
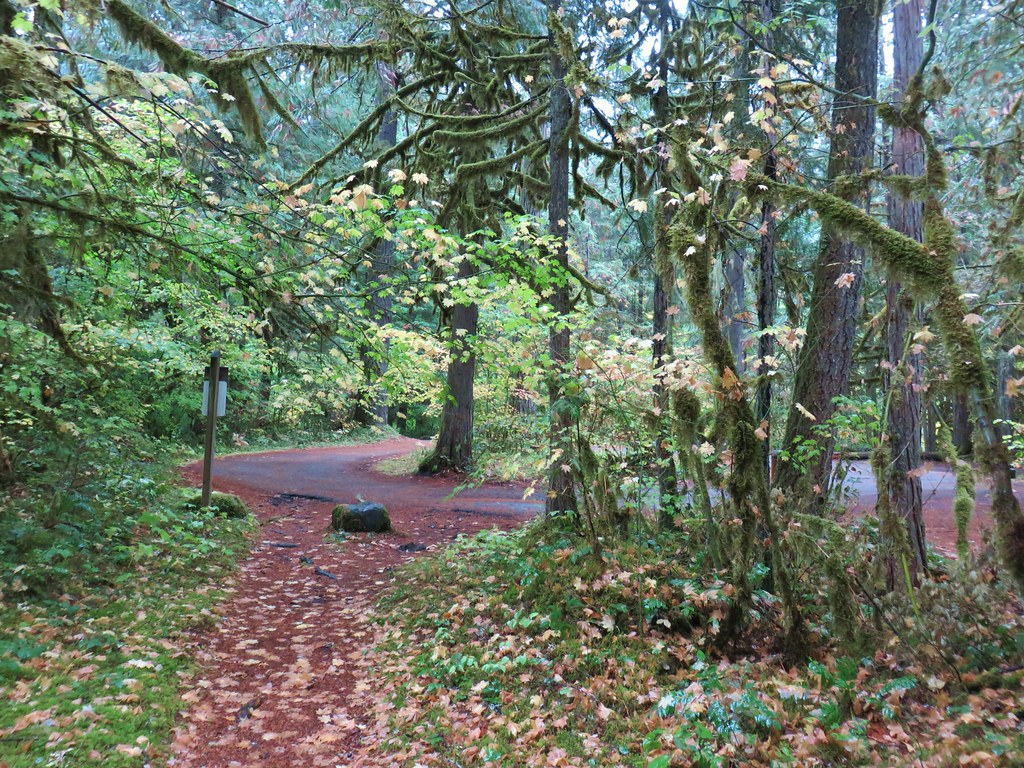
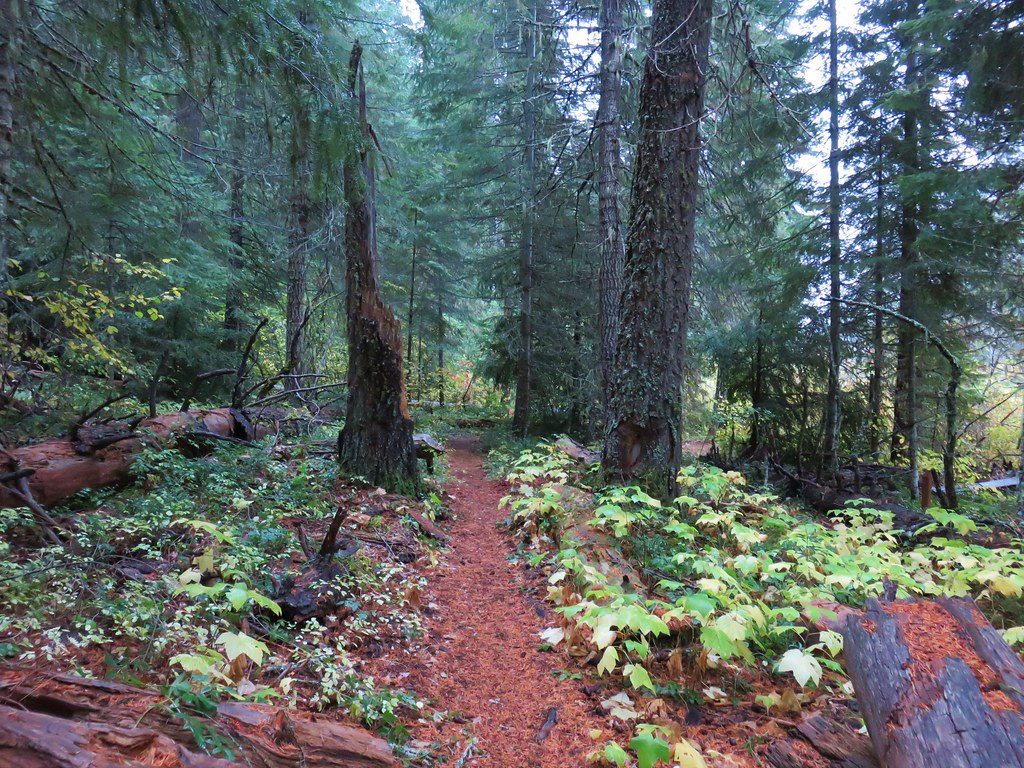
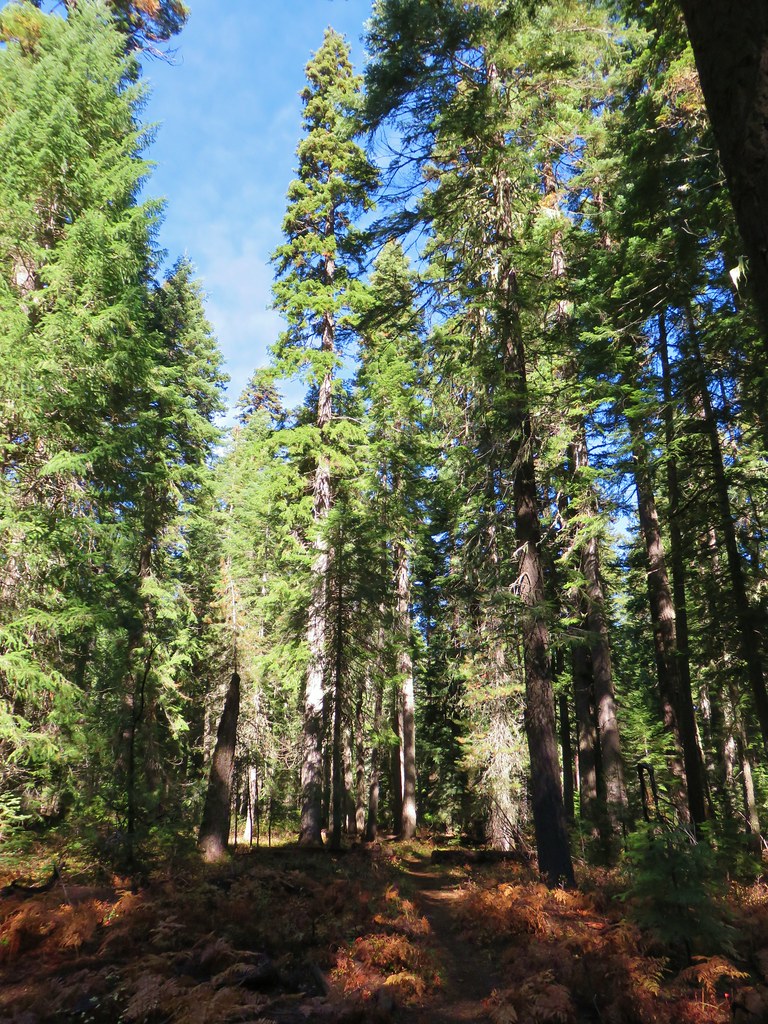
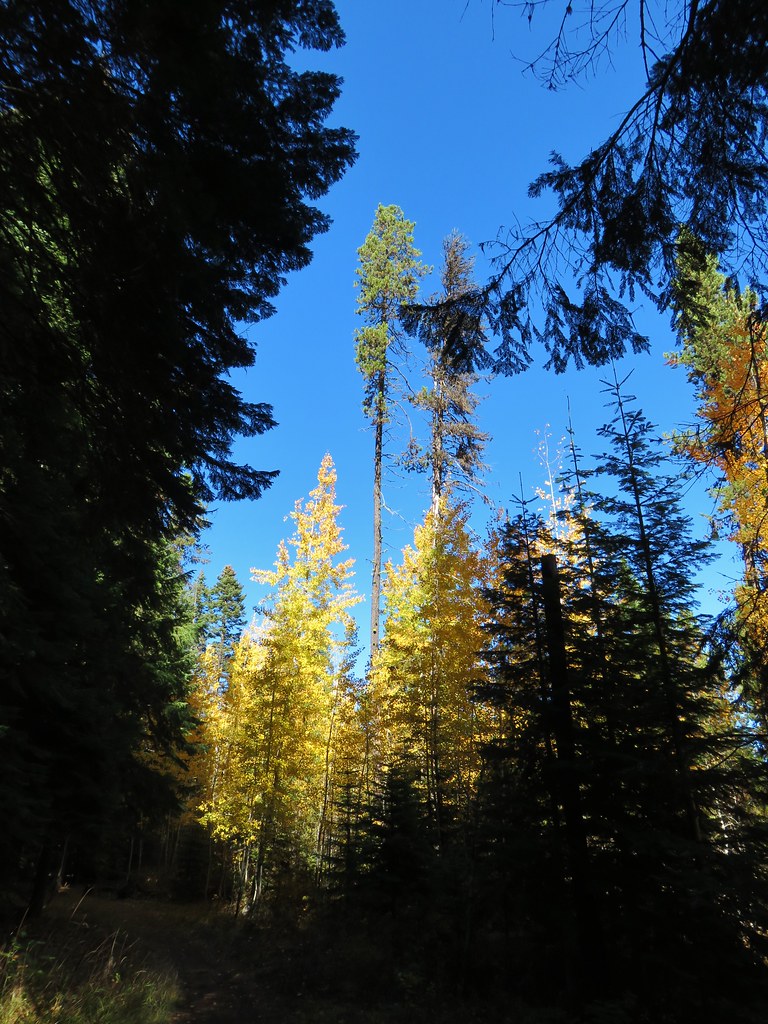
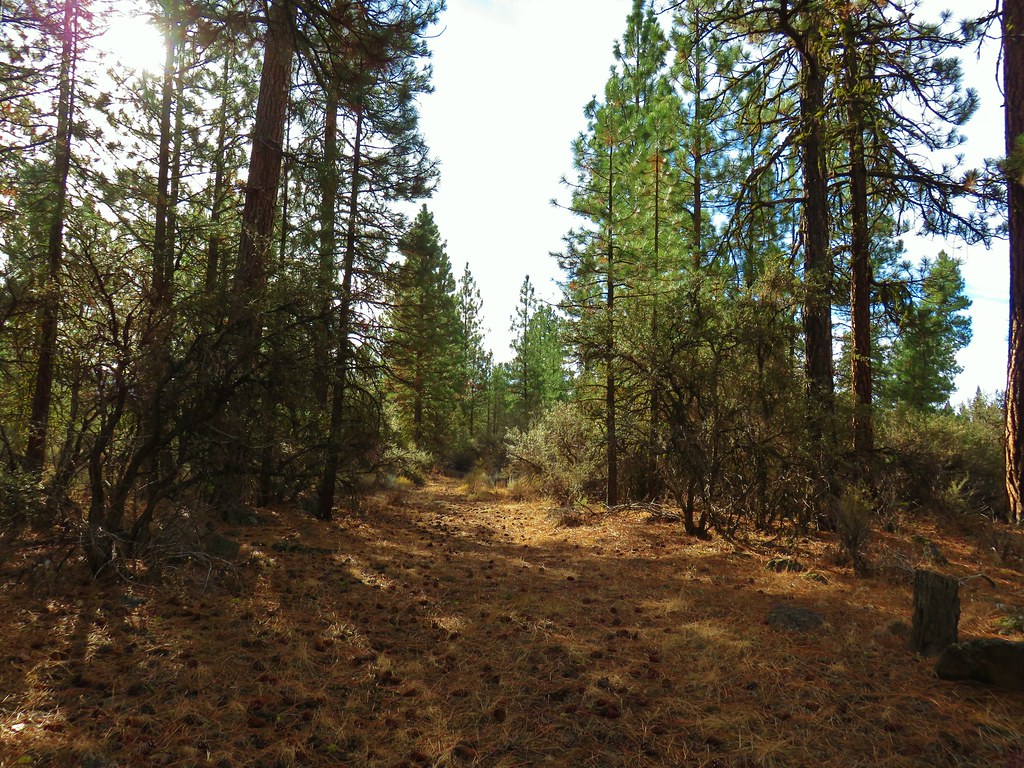
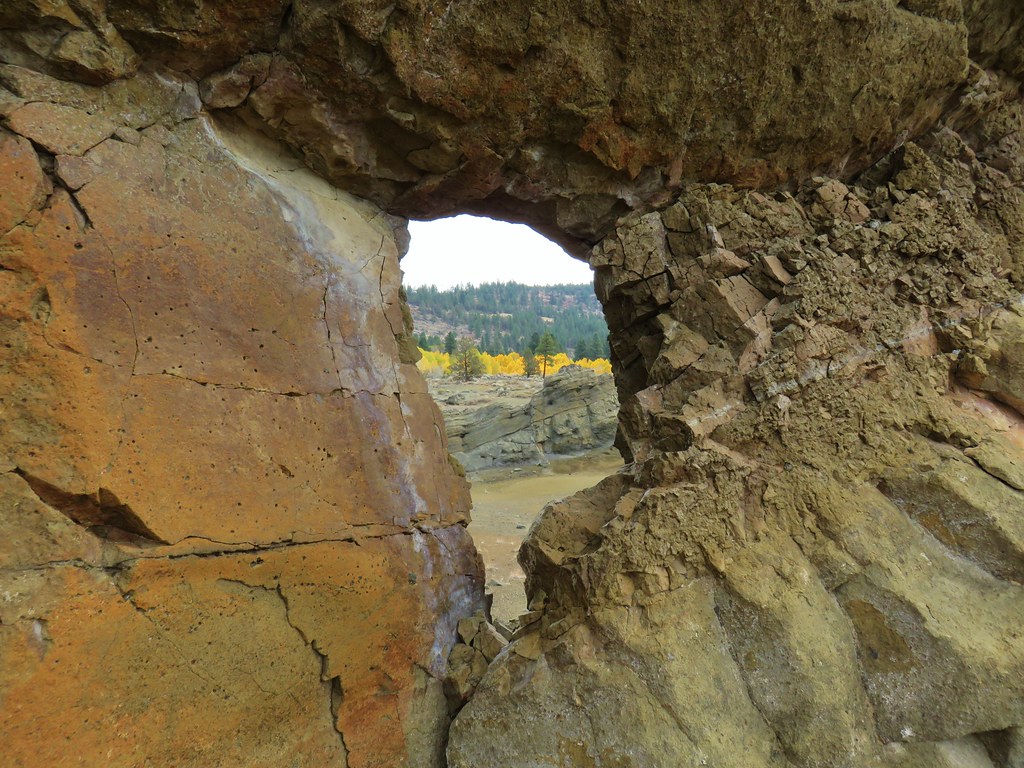
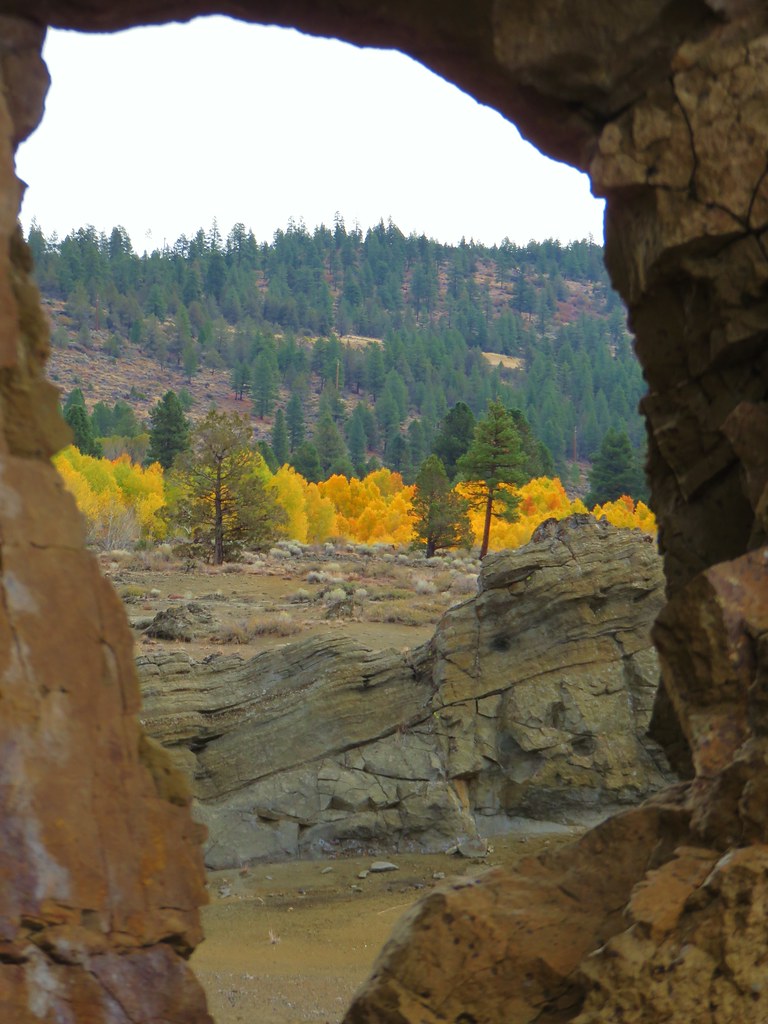
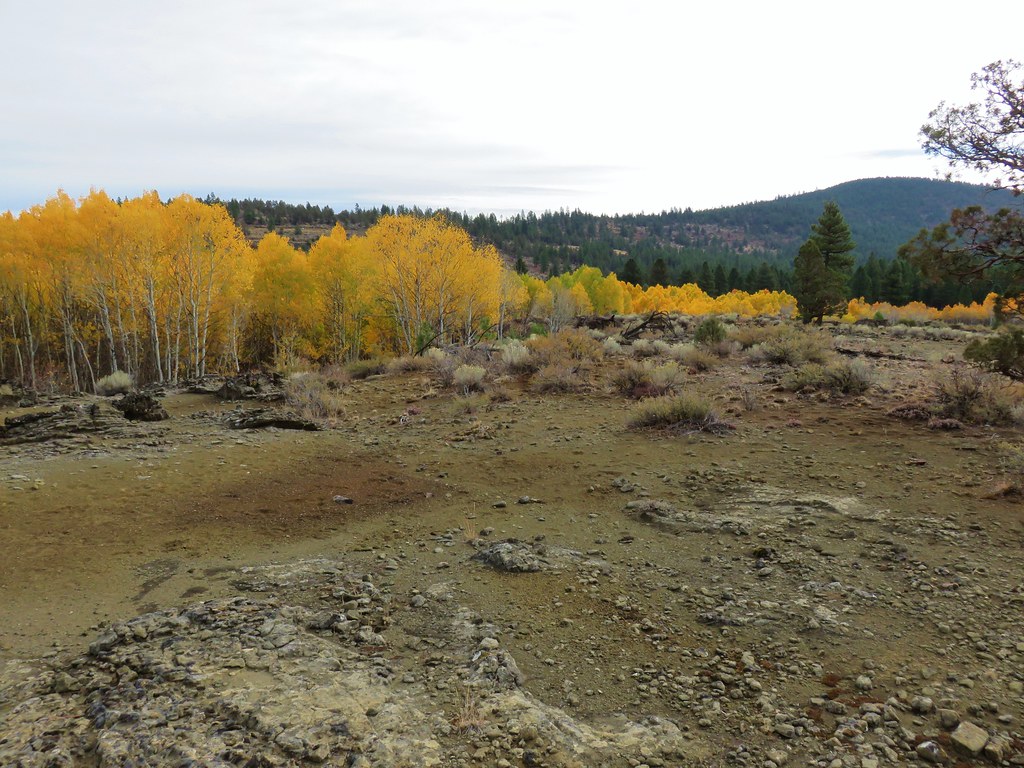
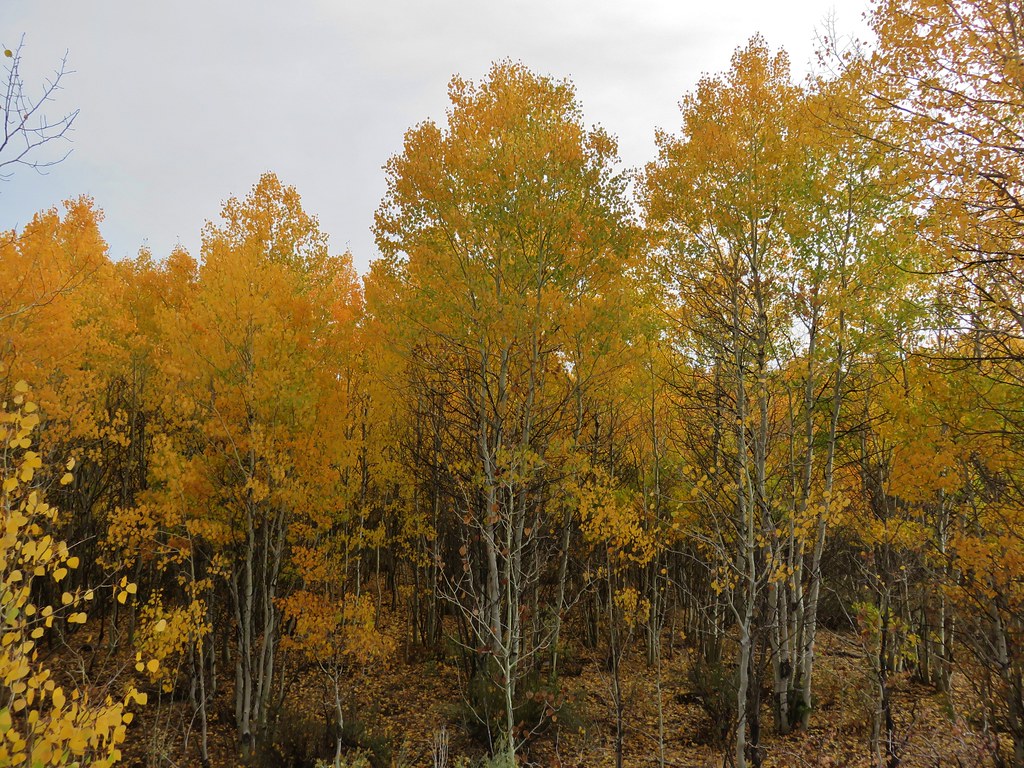
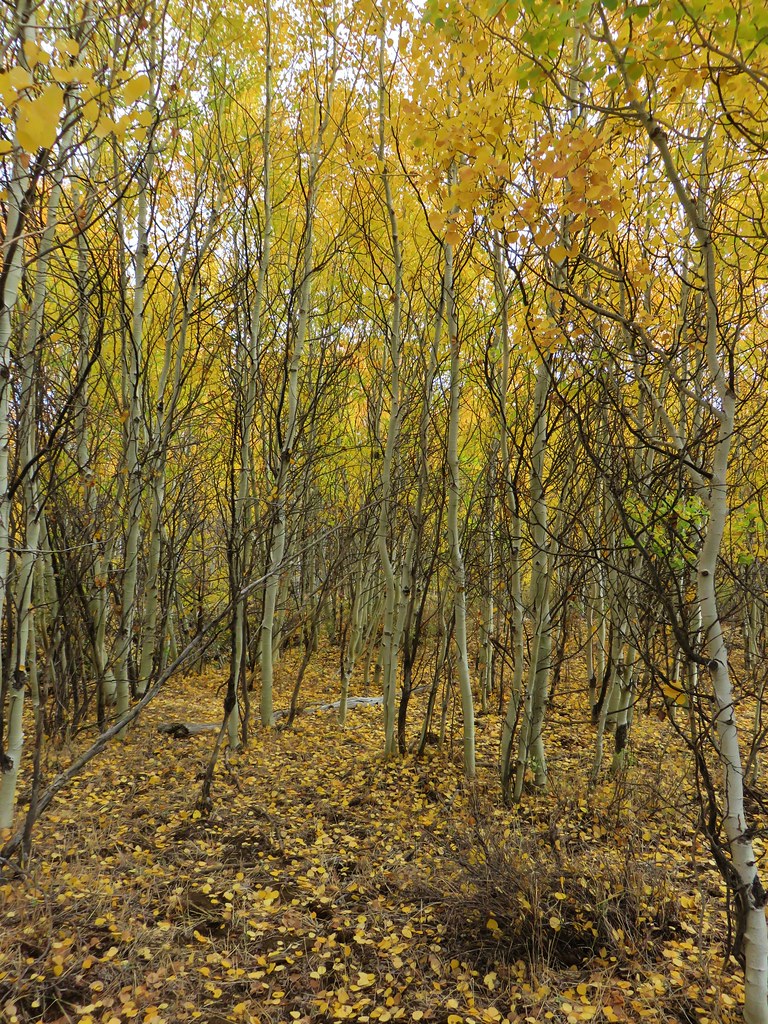
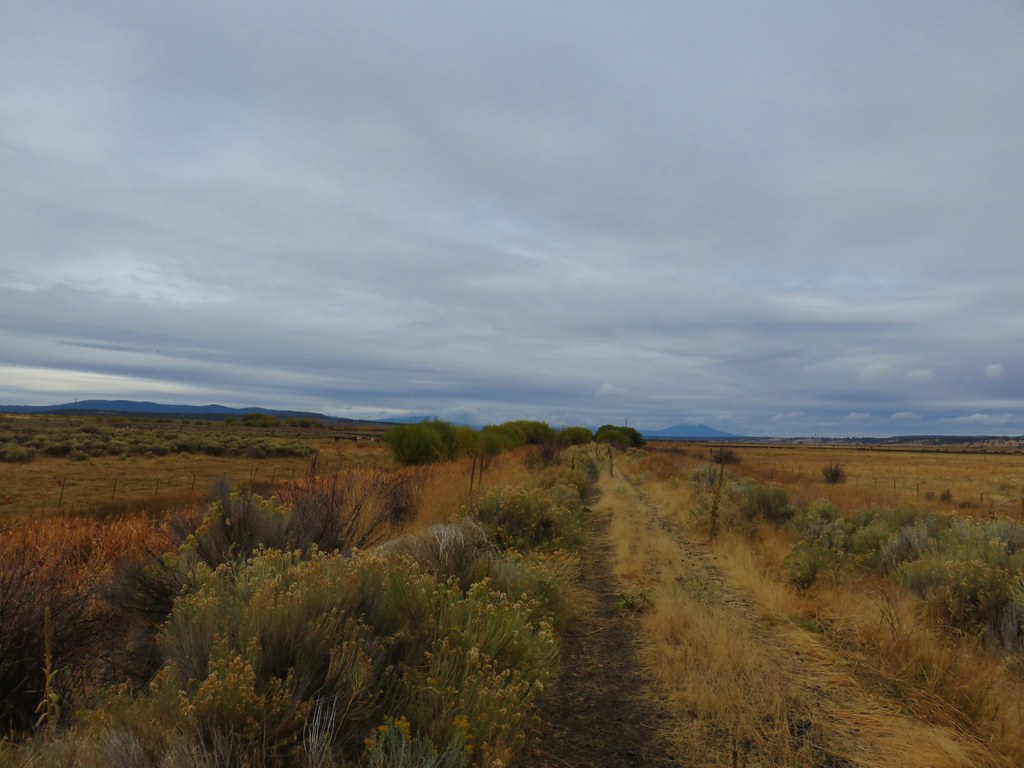
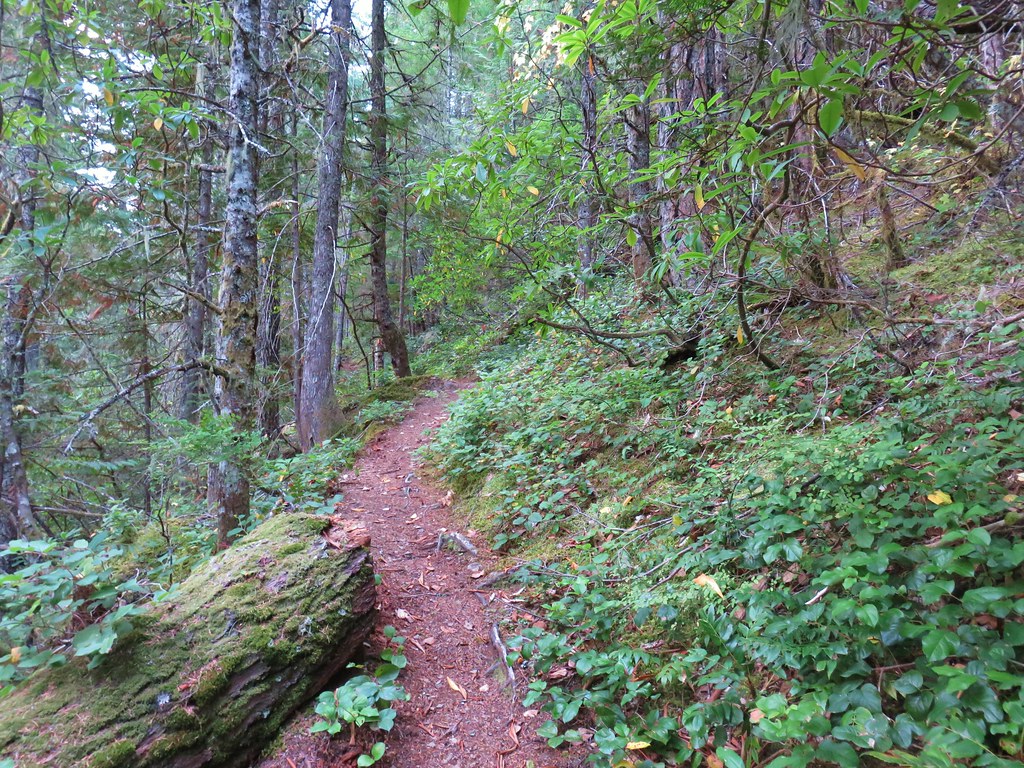
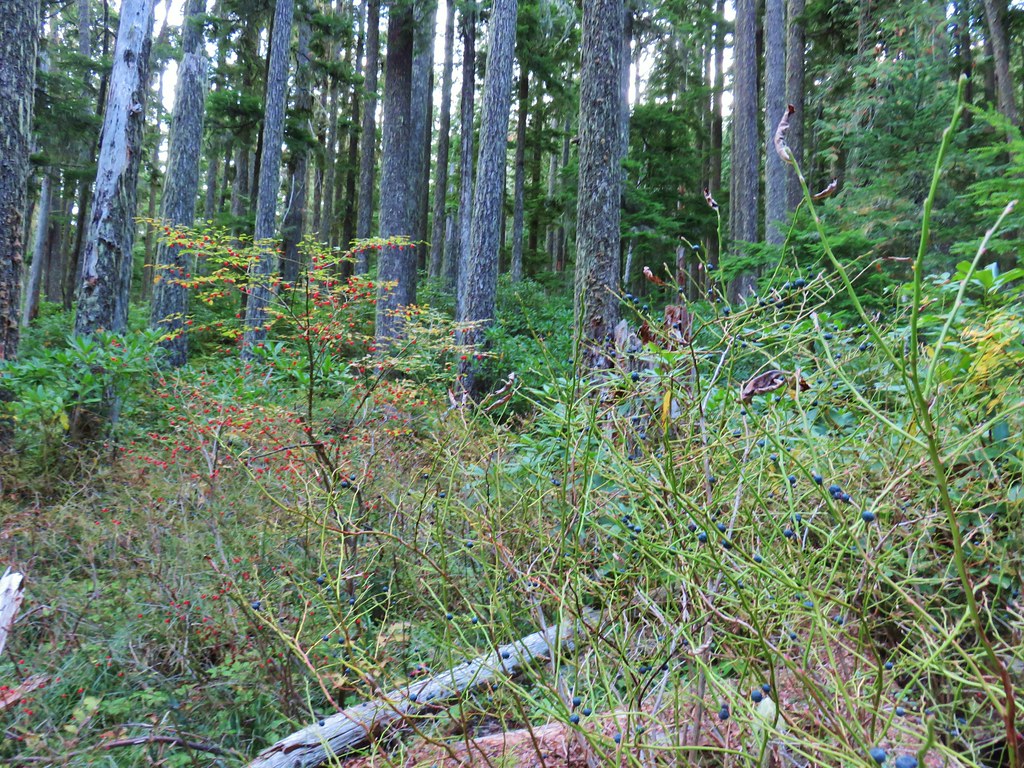
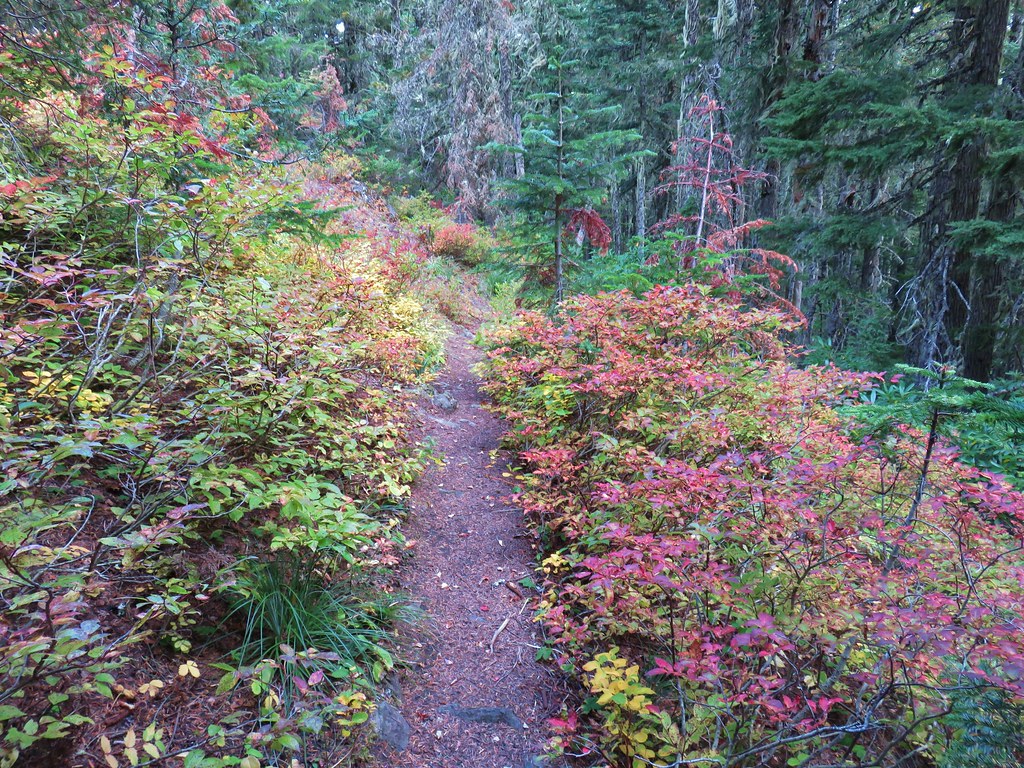
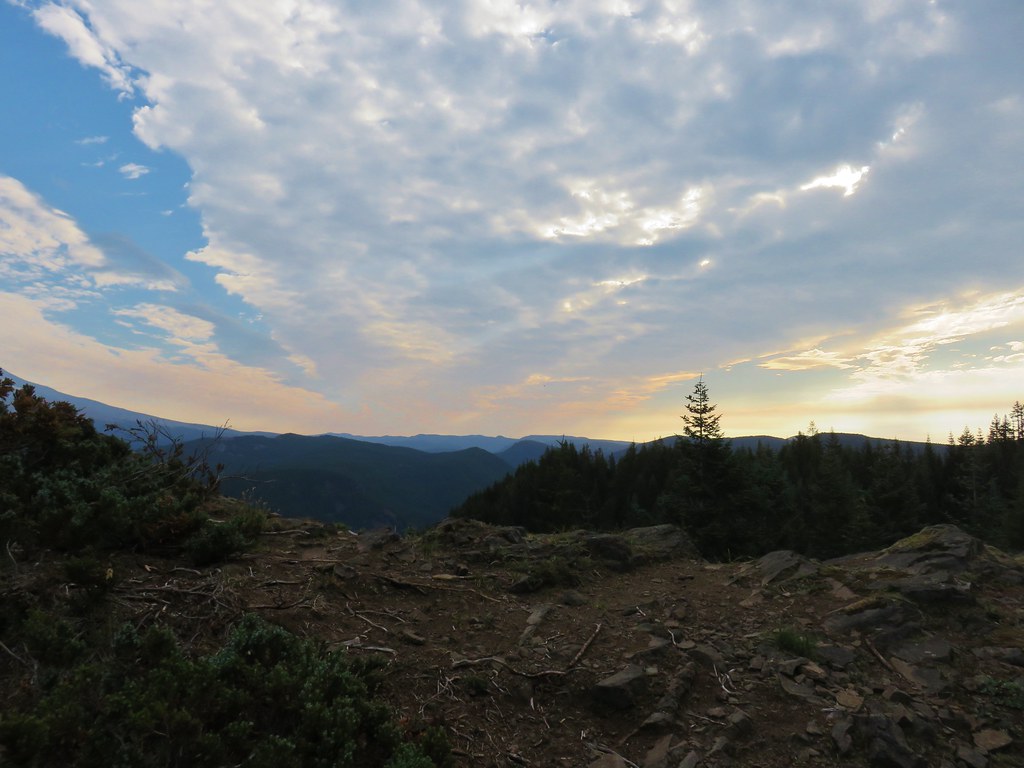
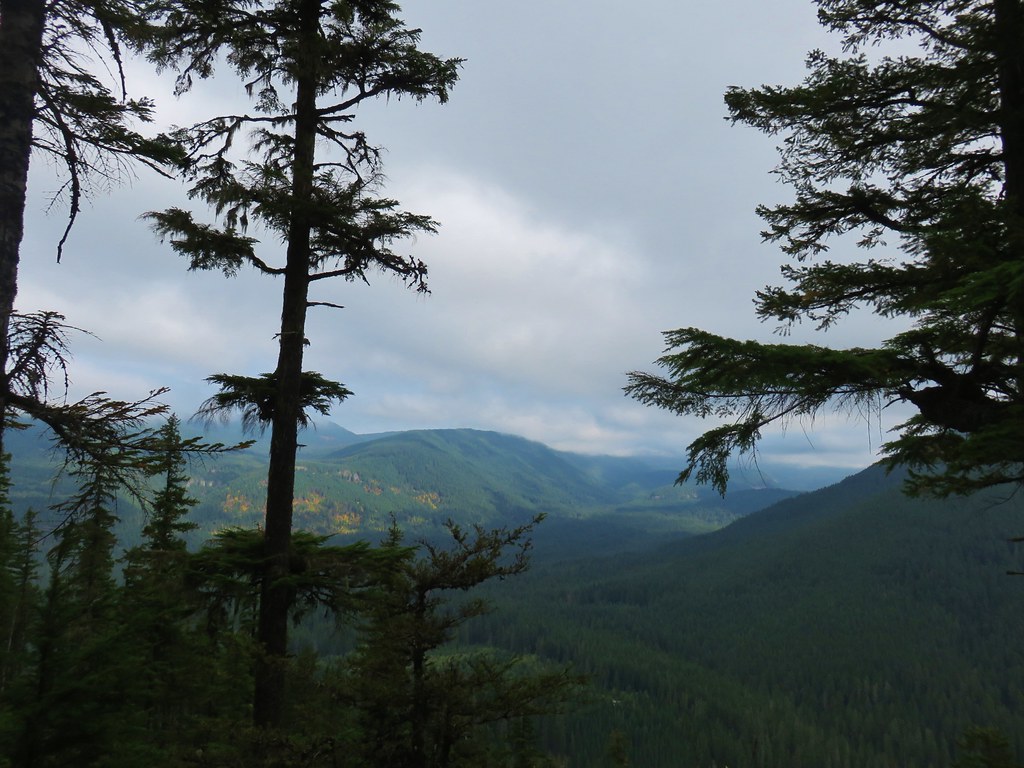
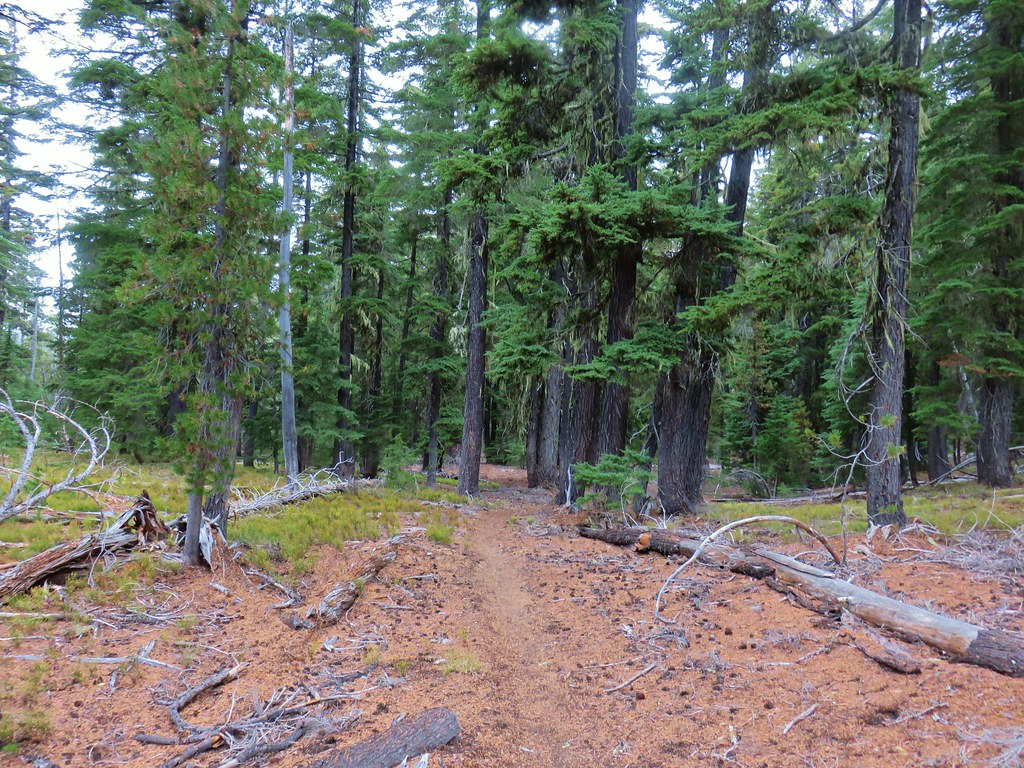
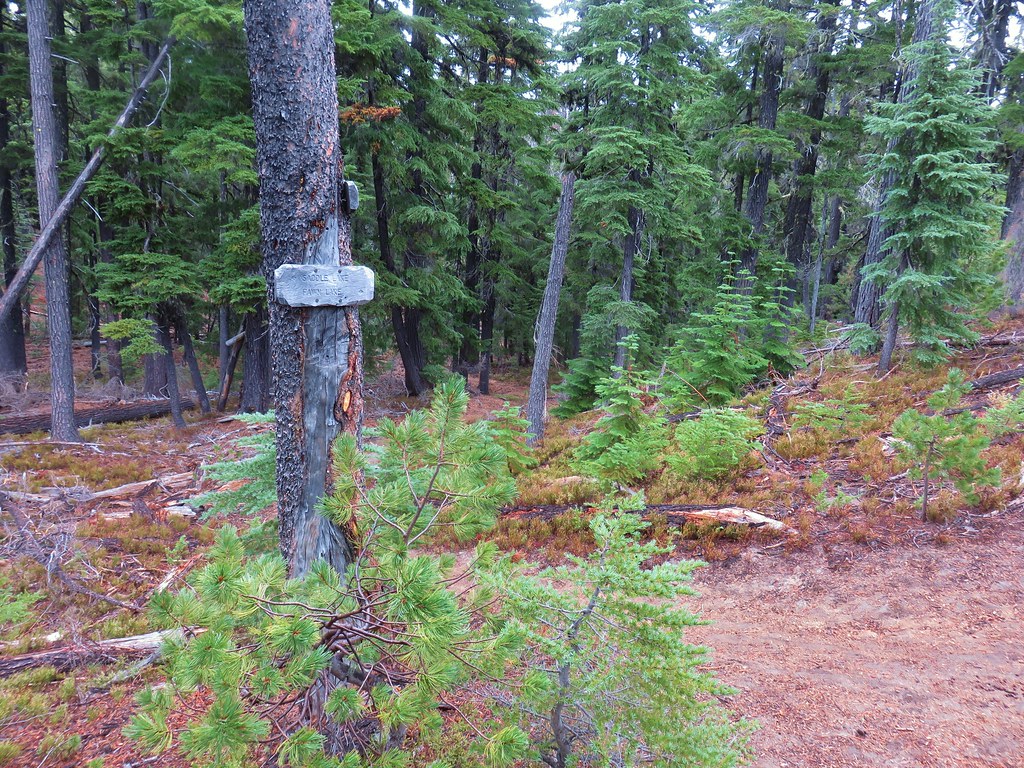
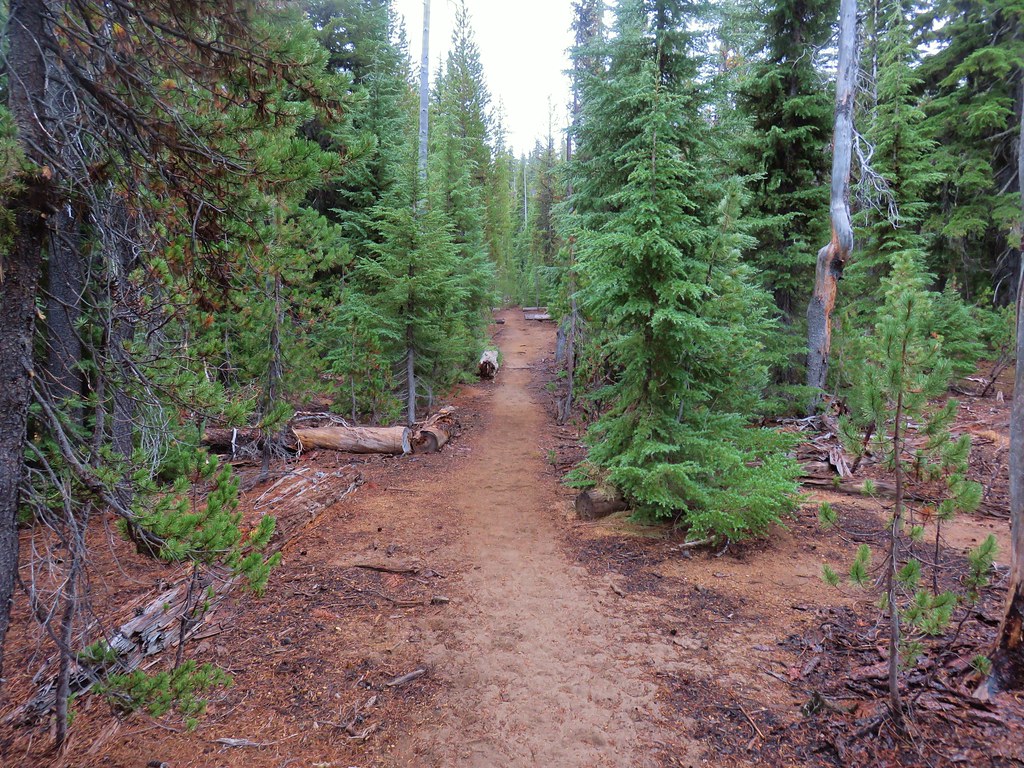
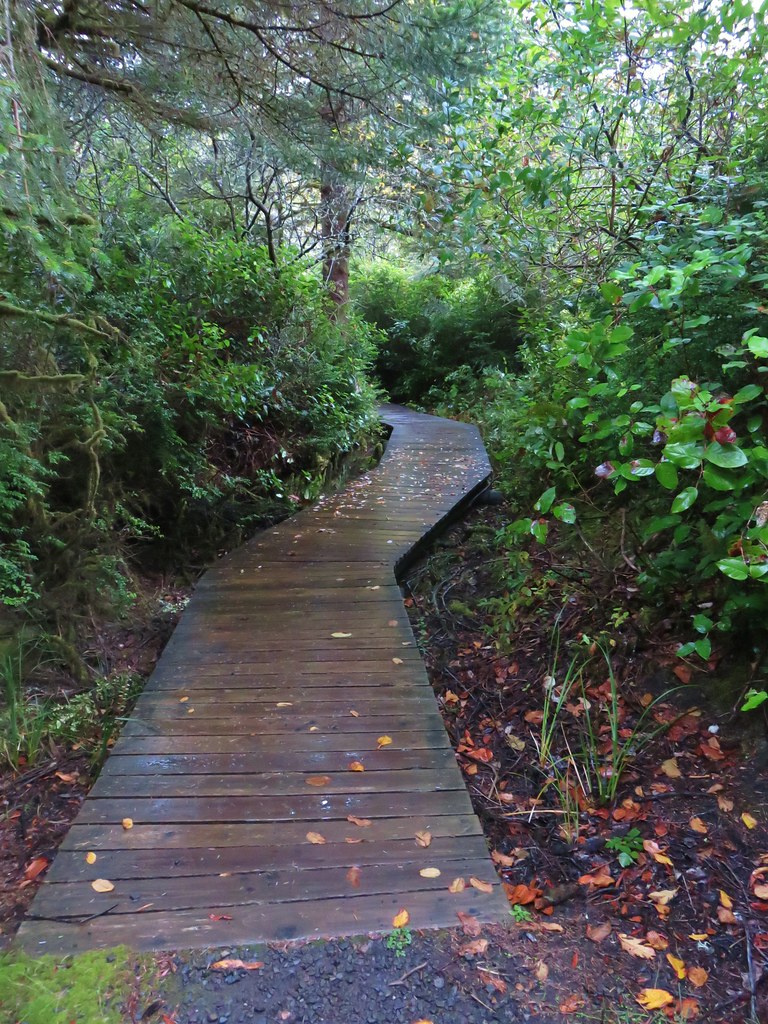
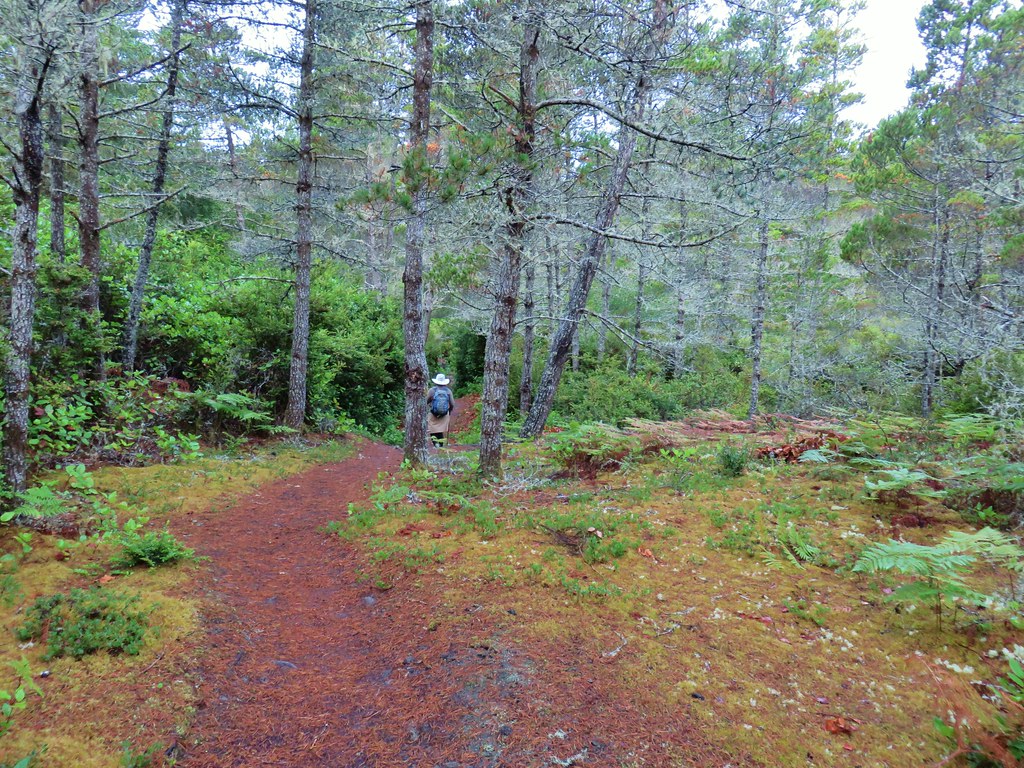
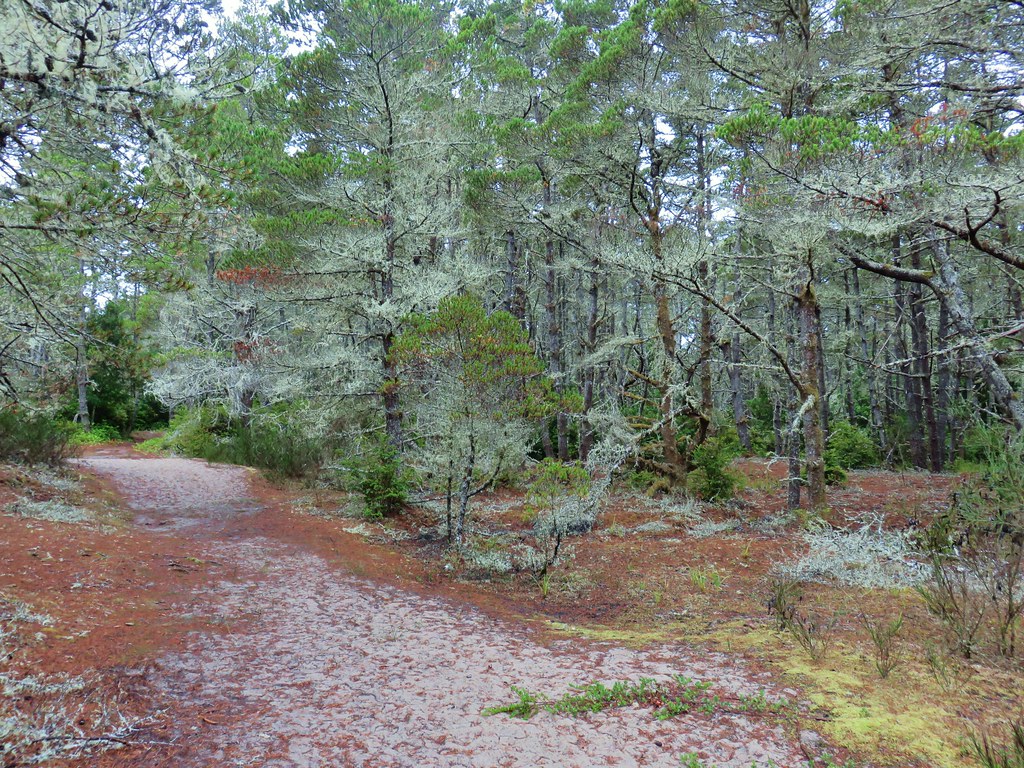
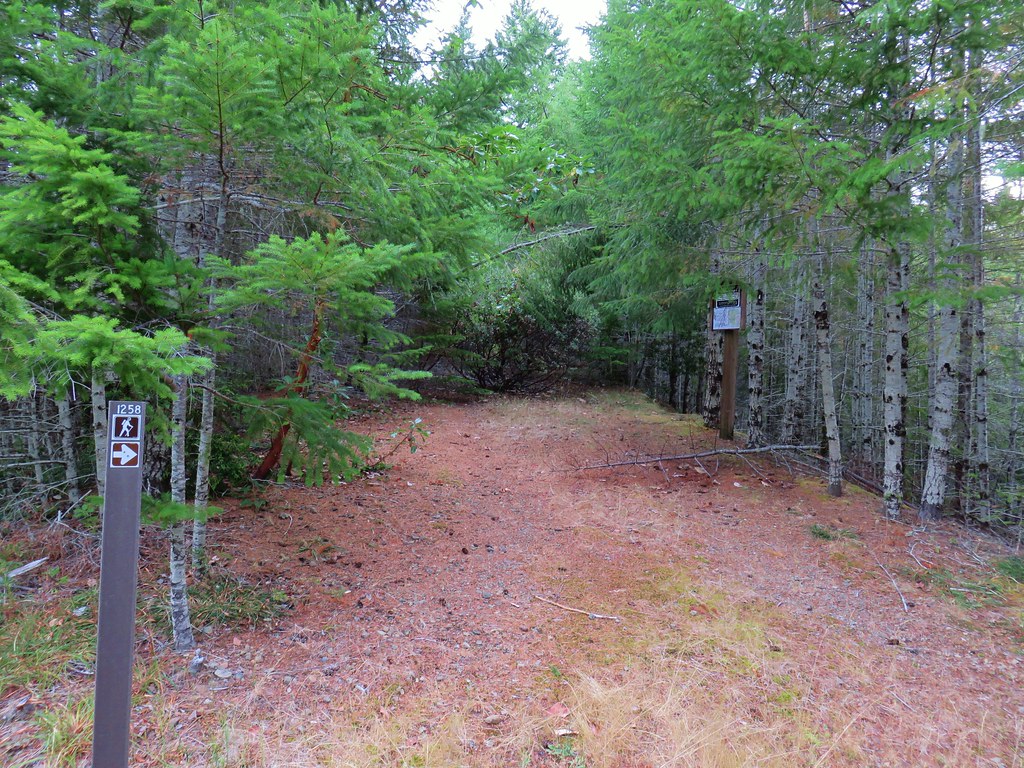
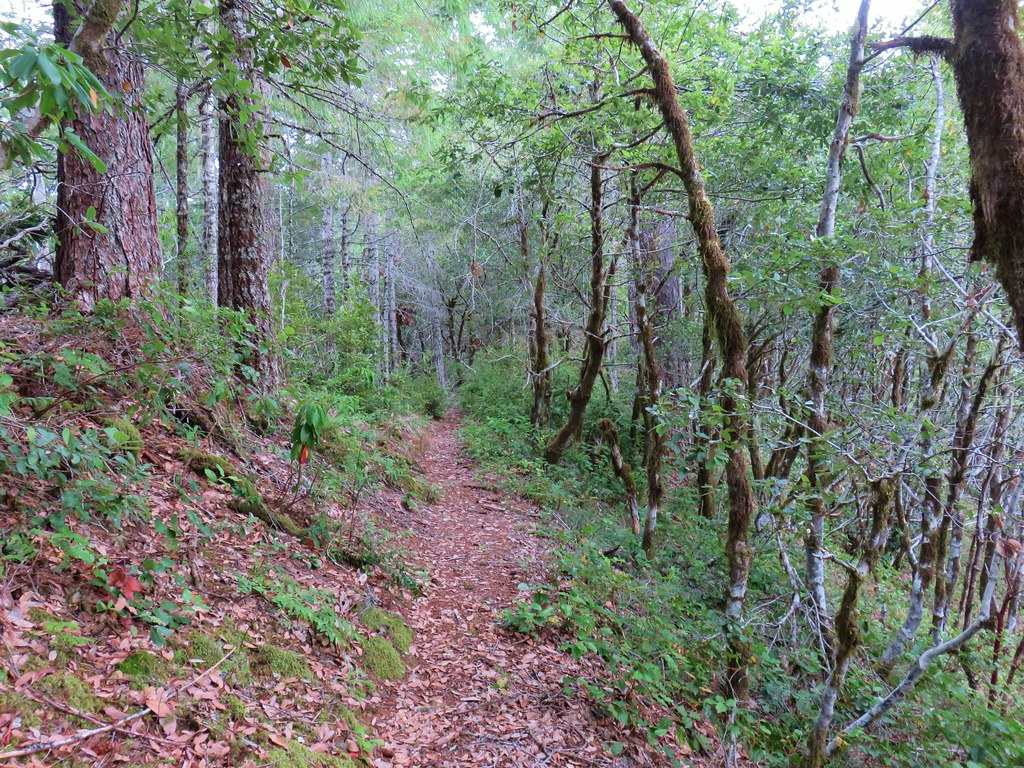
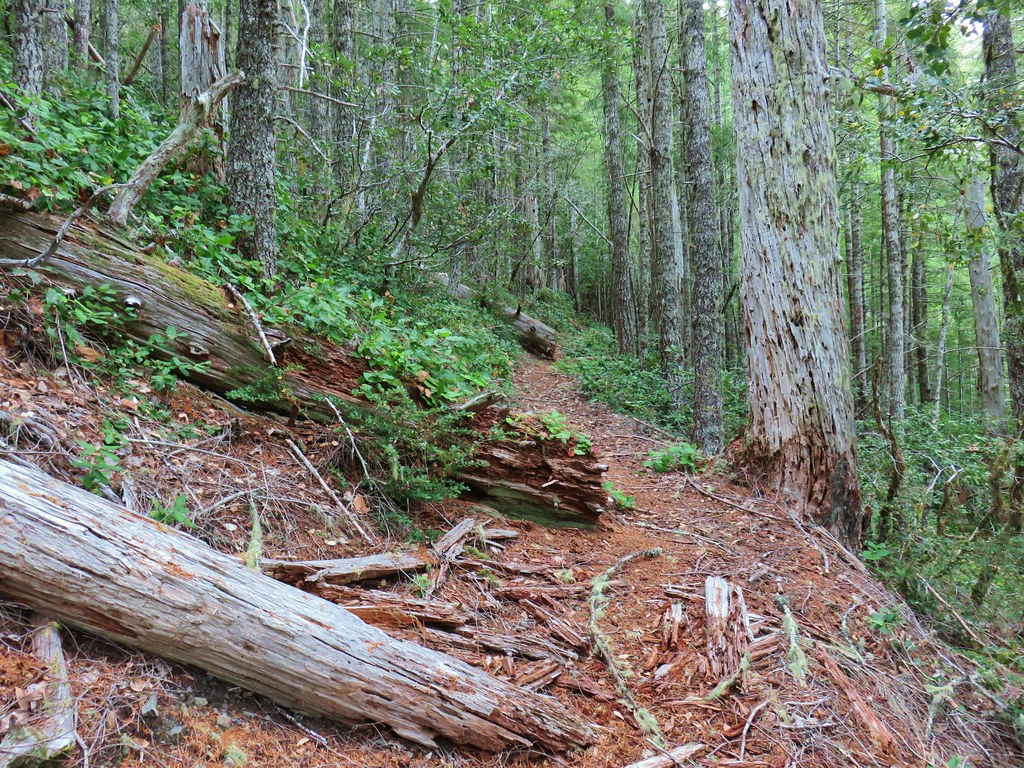
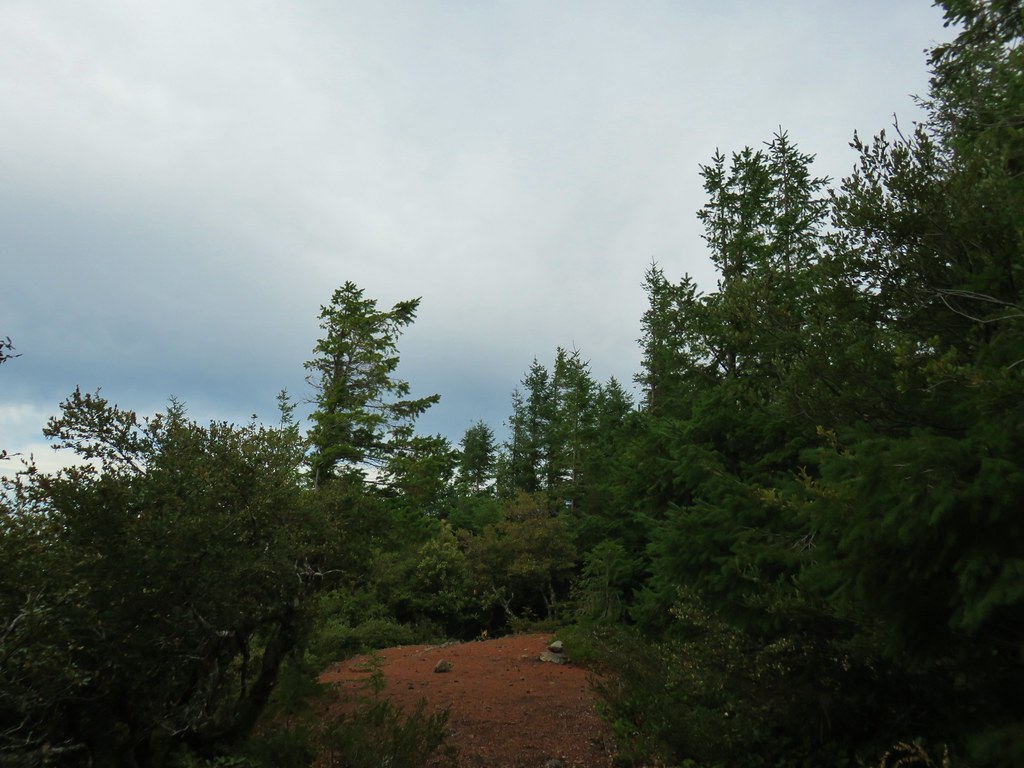
We parked at the trailhead at the end of Forest Road 57 where only one other car occupied the large parking area at 7:15am. The dim morning light coupled with some low clouds made it hard to capture the fall colors with the camera but our eyes had no problems appreciating them as we set off on the trail.

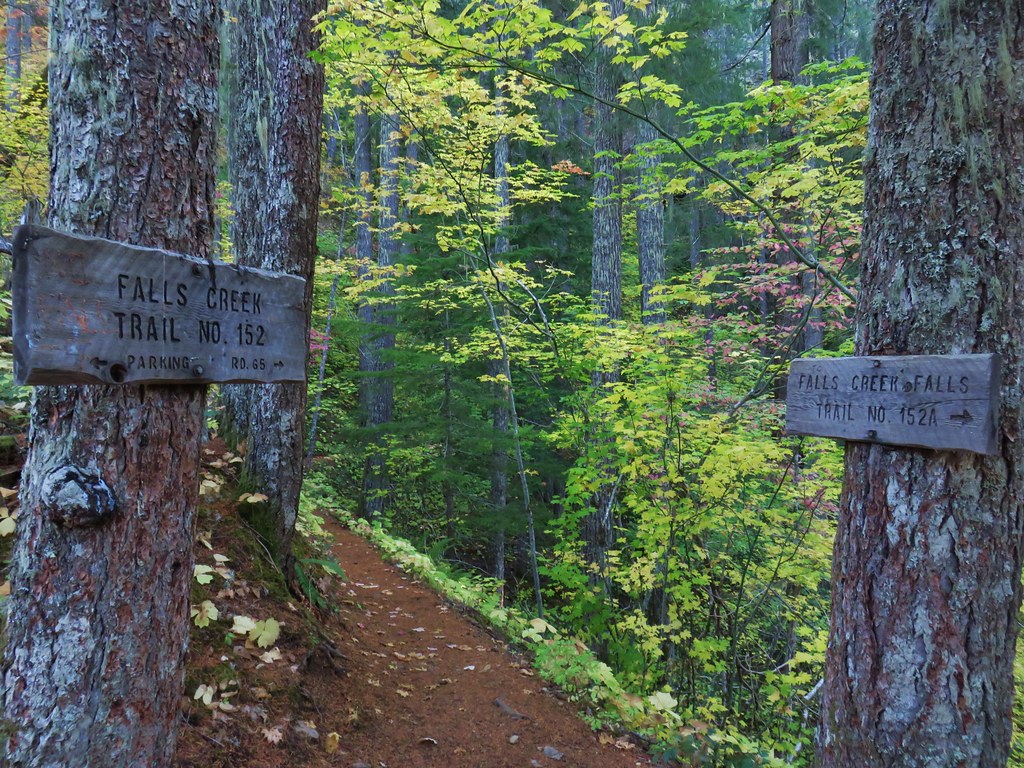
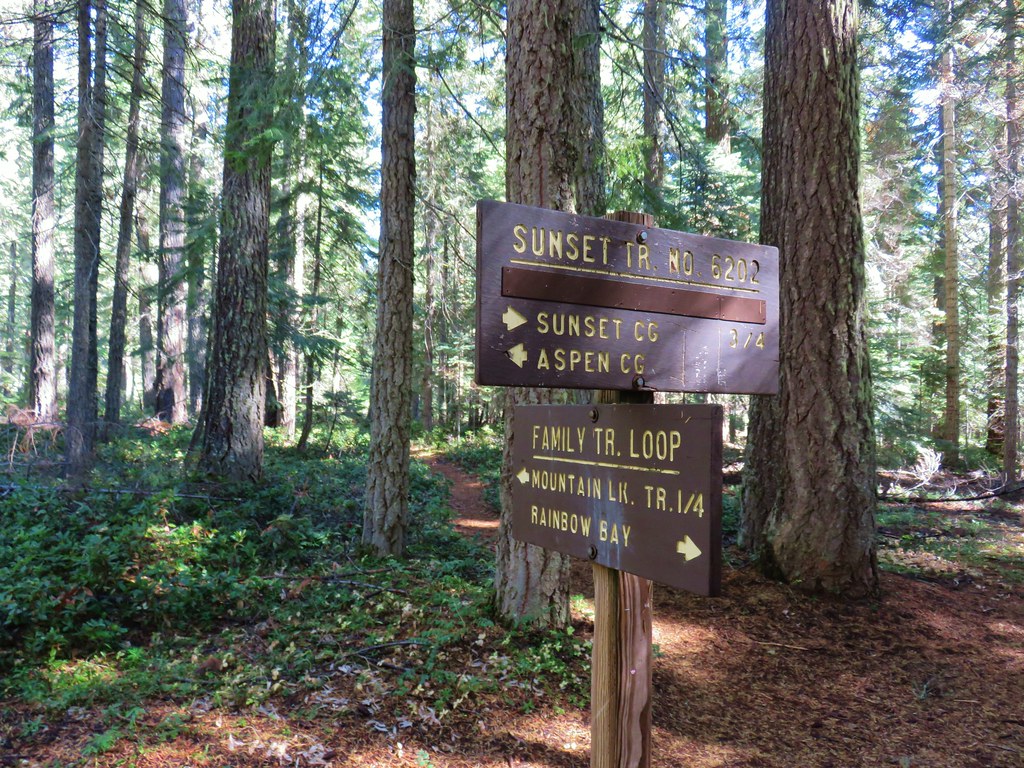
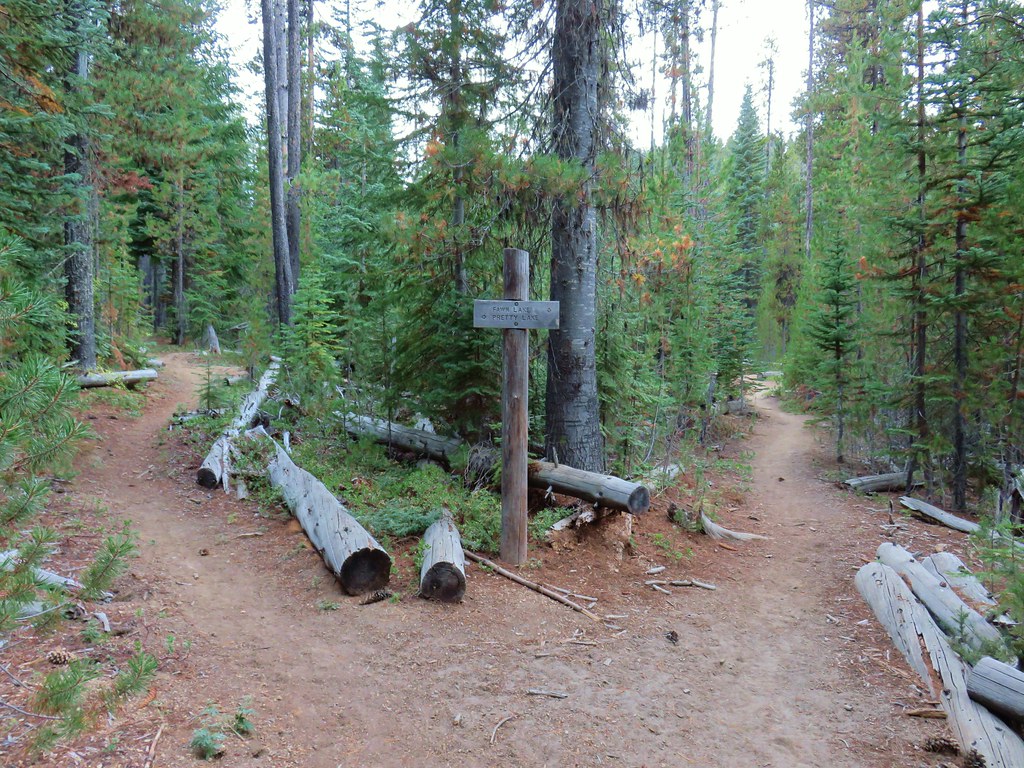
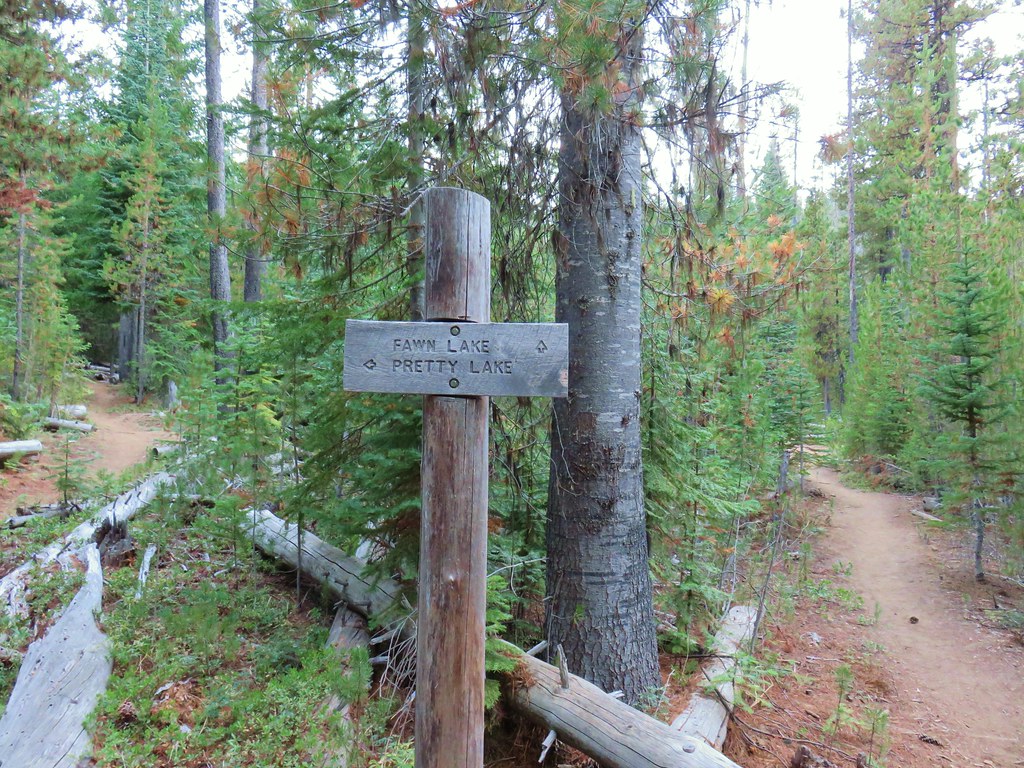
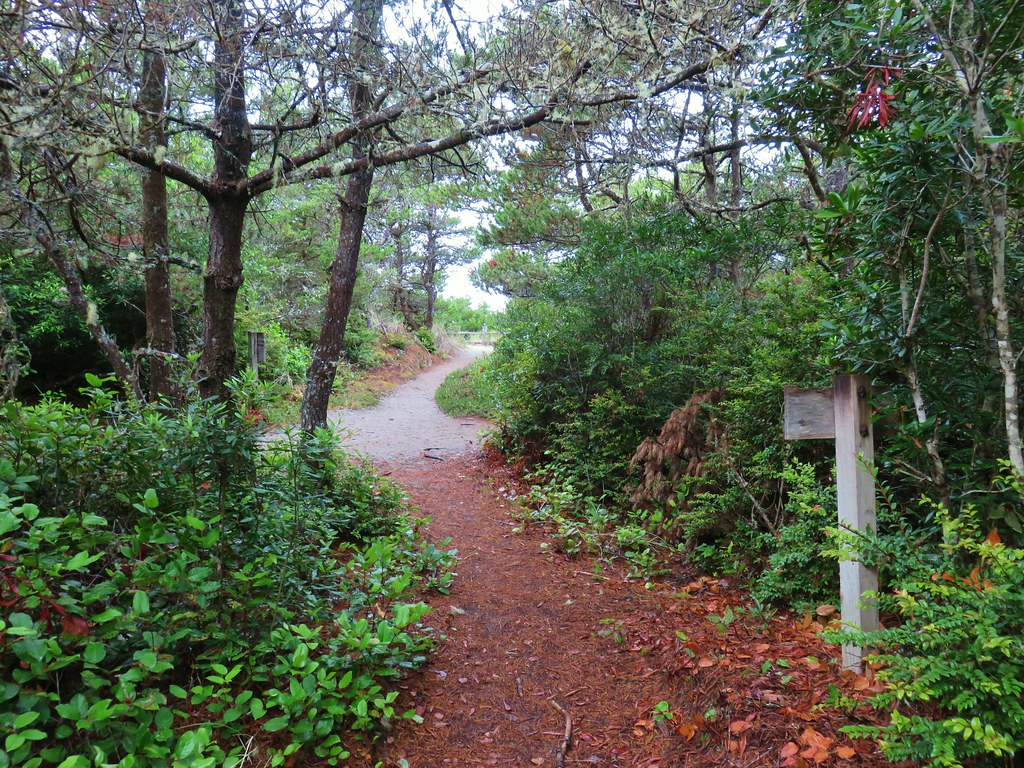
We quickly passed a trail on the left which would be part of the loop we were planning on doing here and stayed straight toward the falls.

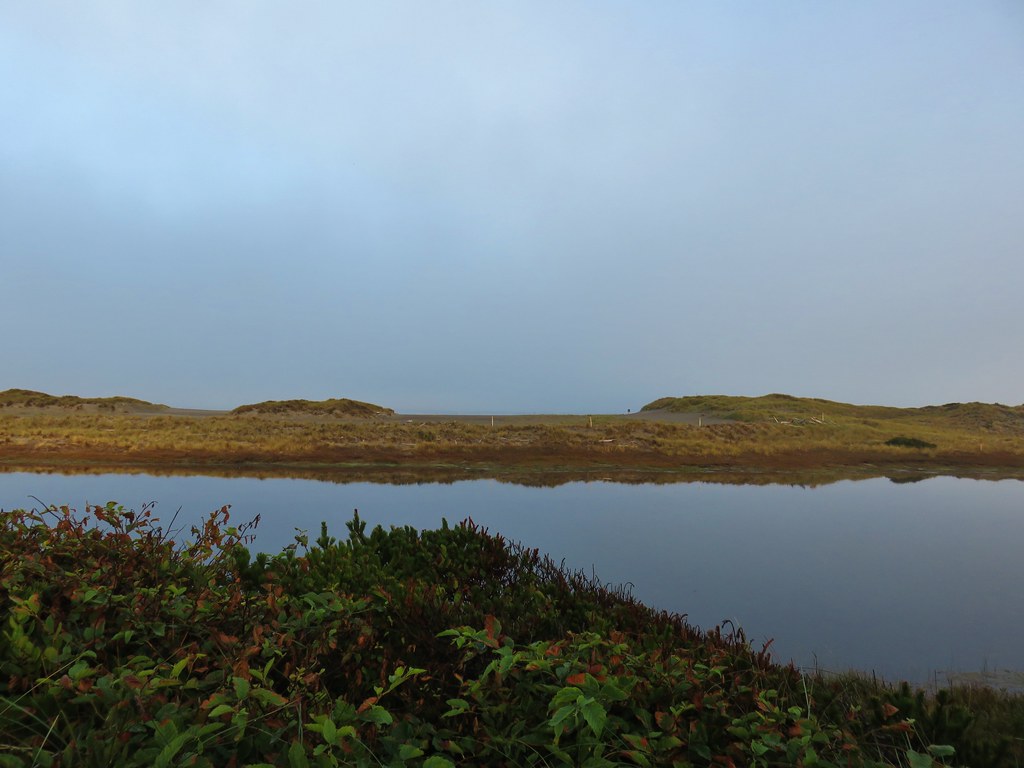
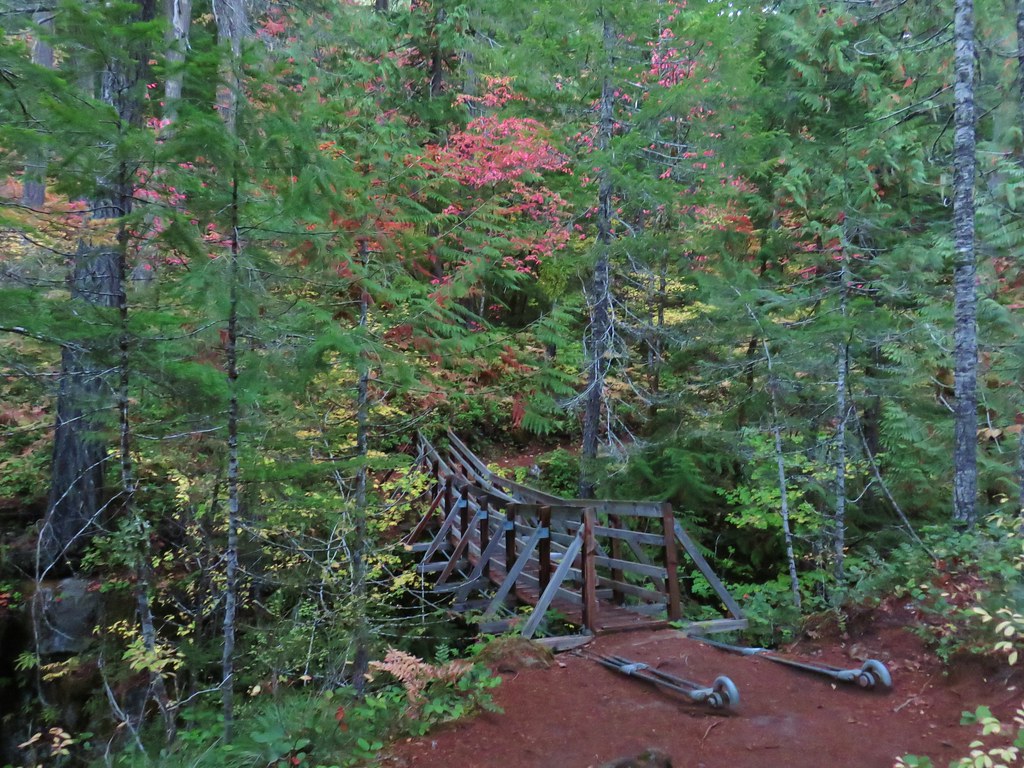
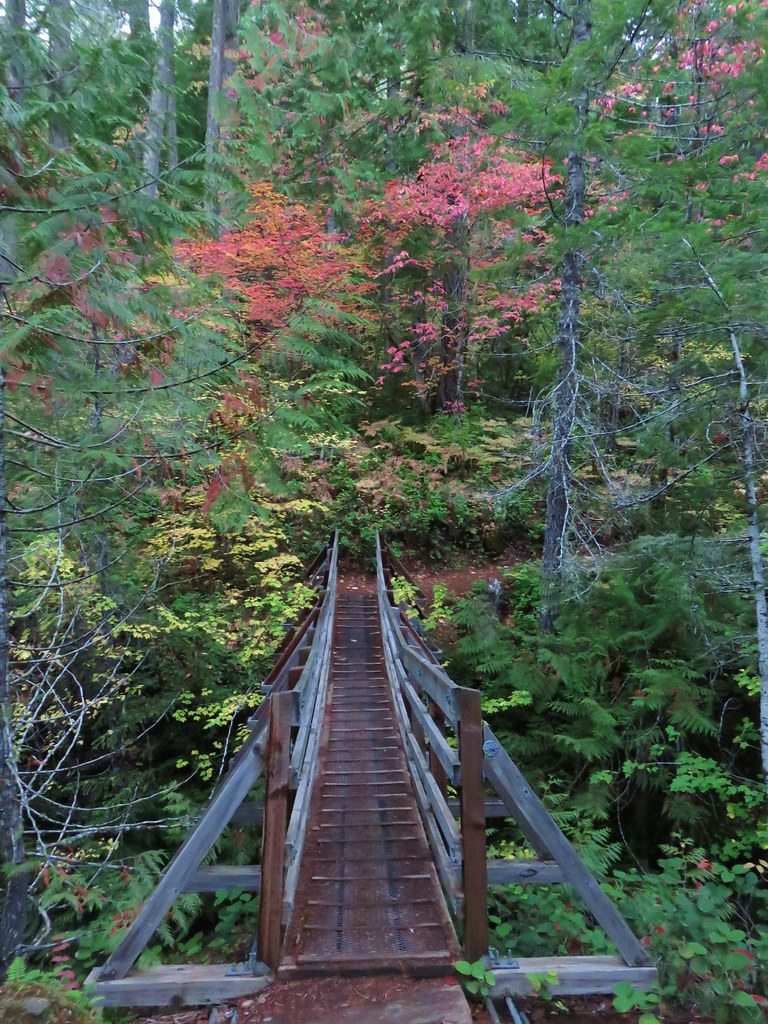
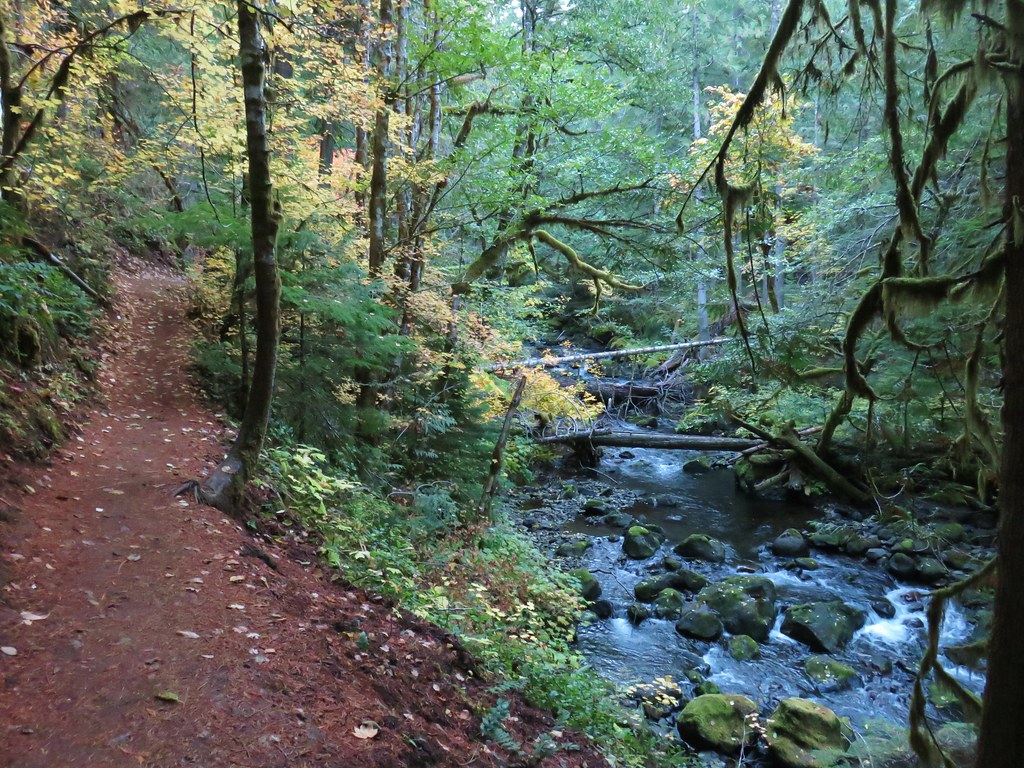
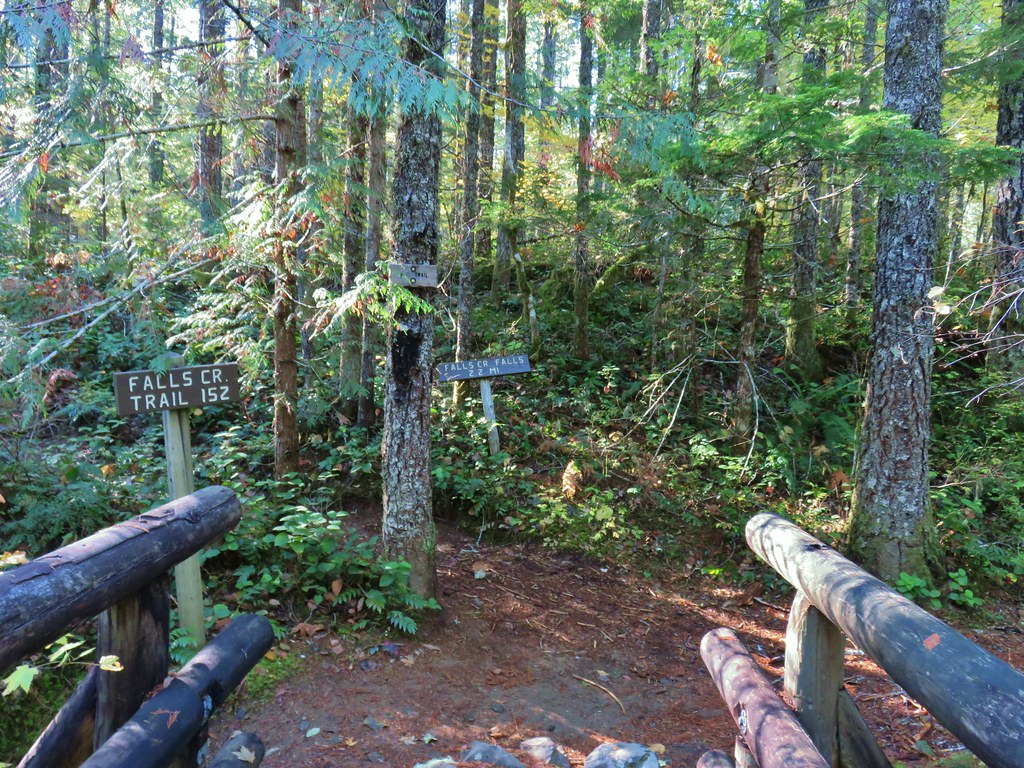
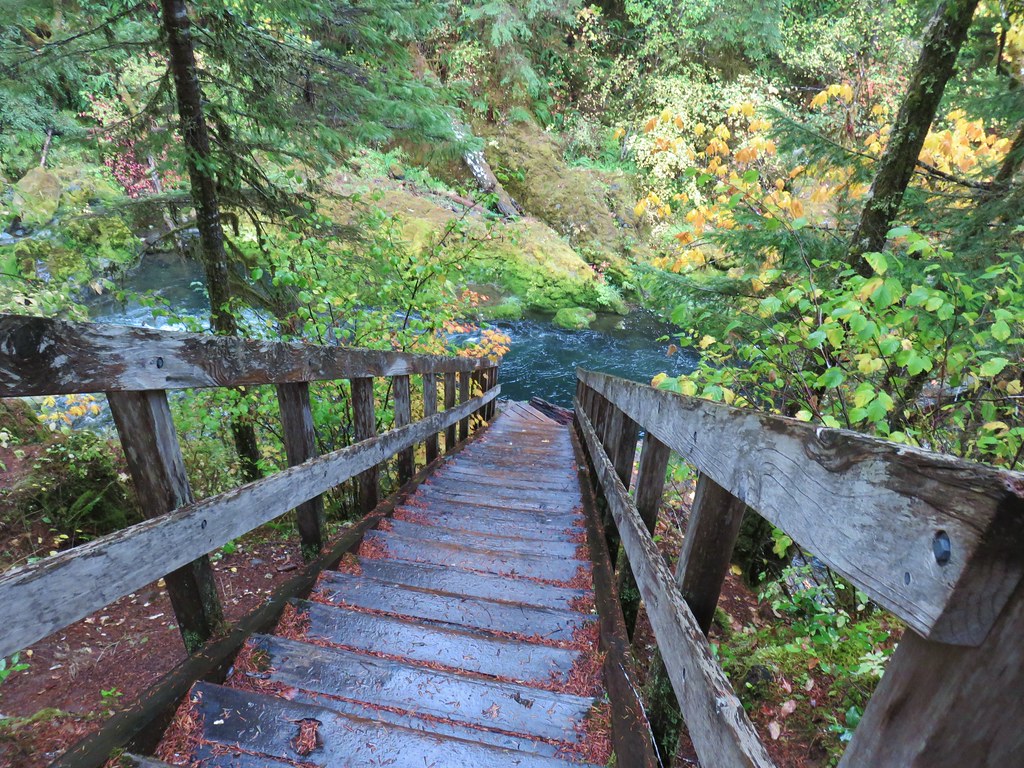
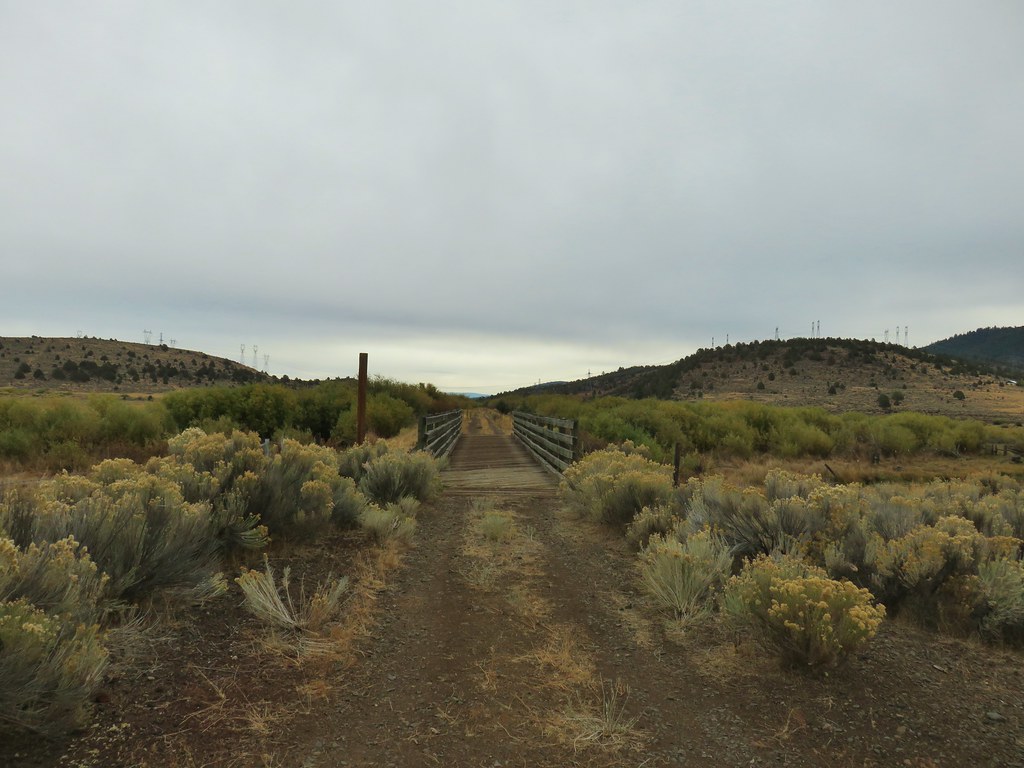
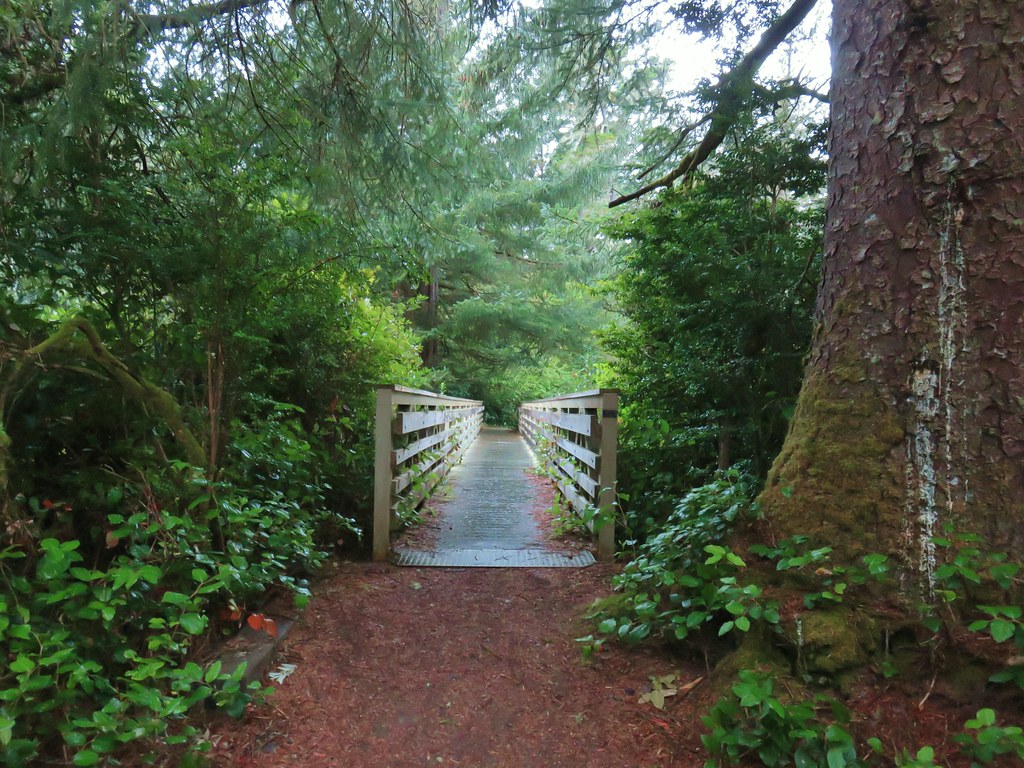
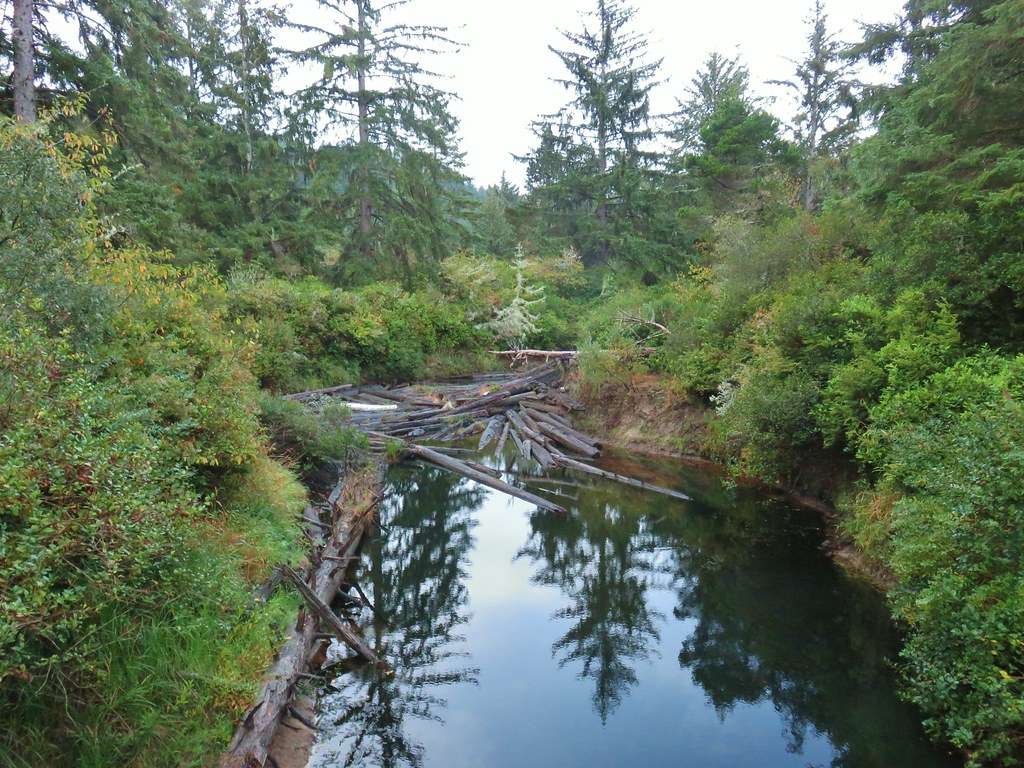
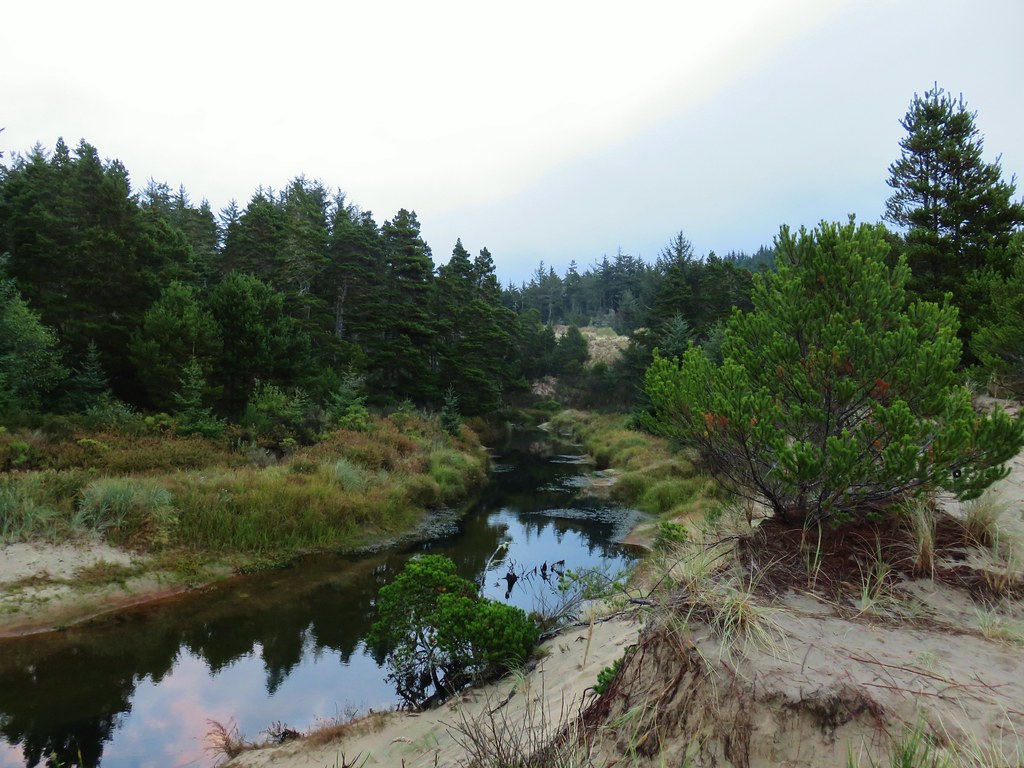
At the .4 mile mark we arrived at a short suspension bridge over Falls Creek.
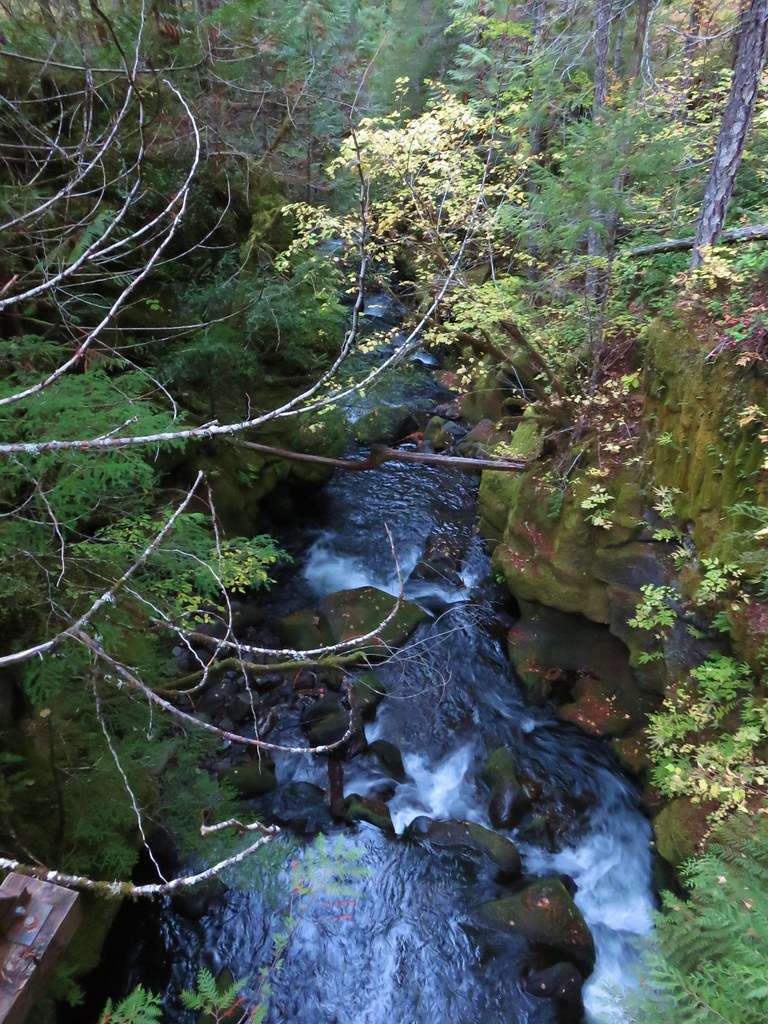
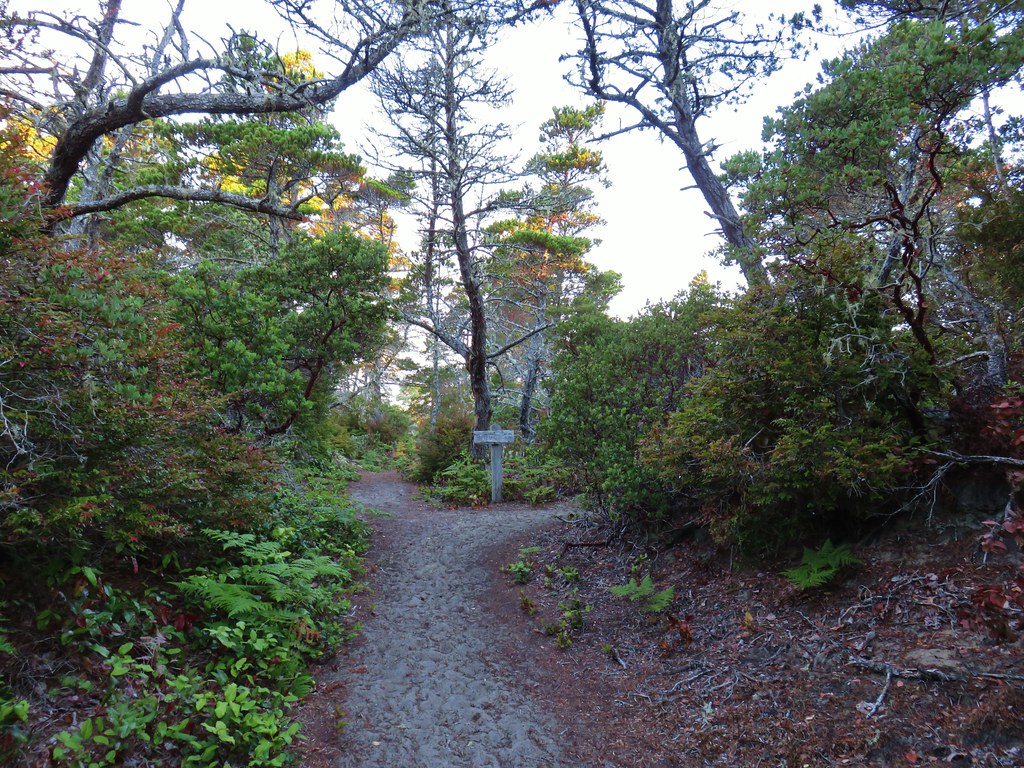
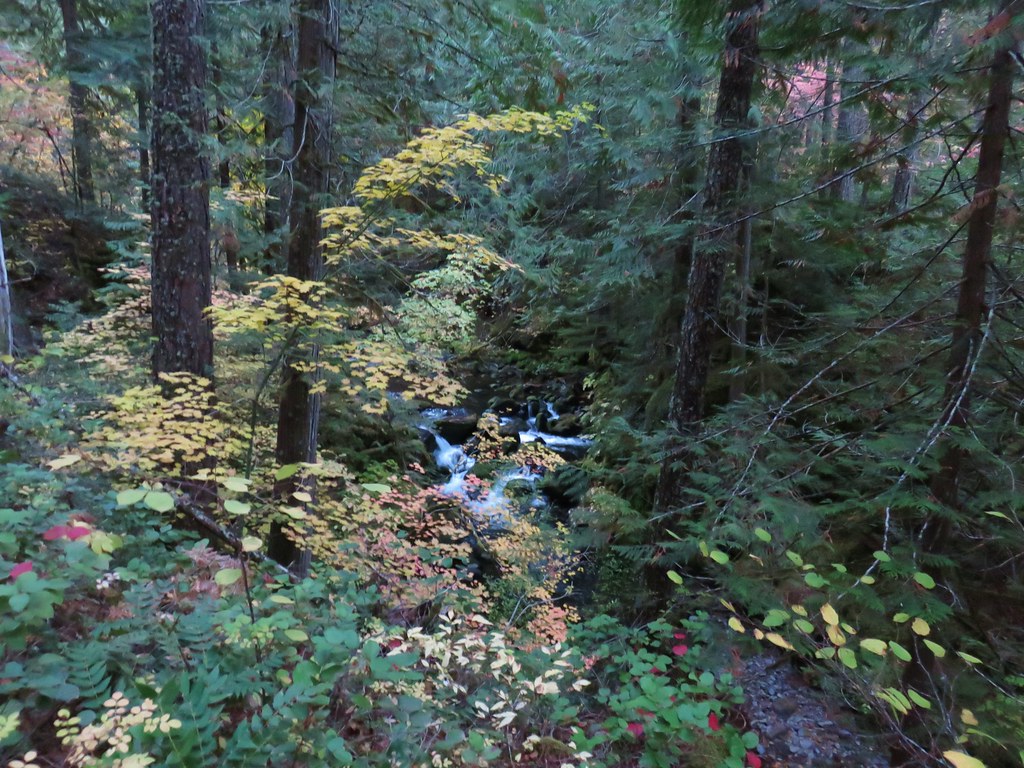
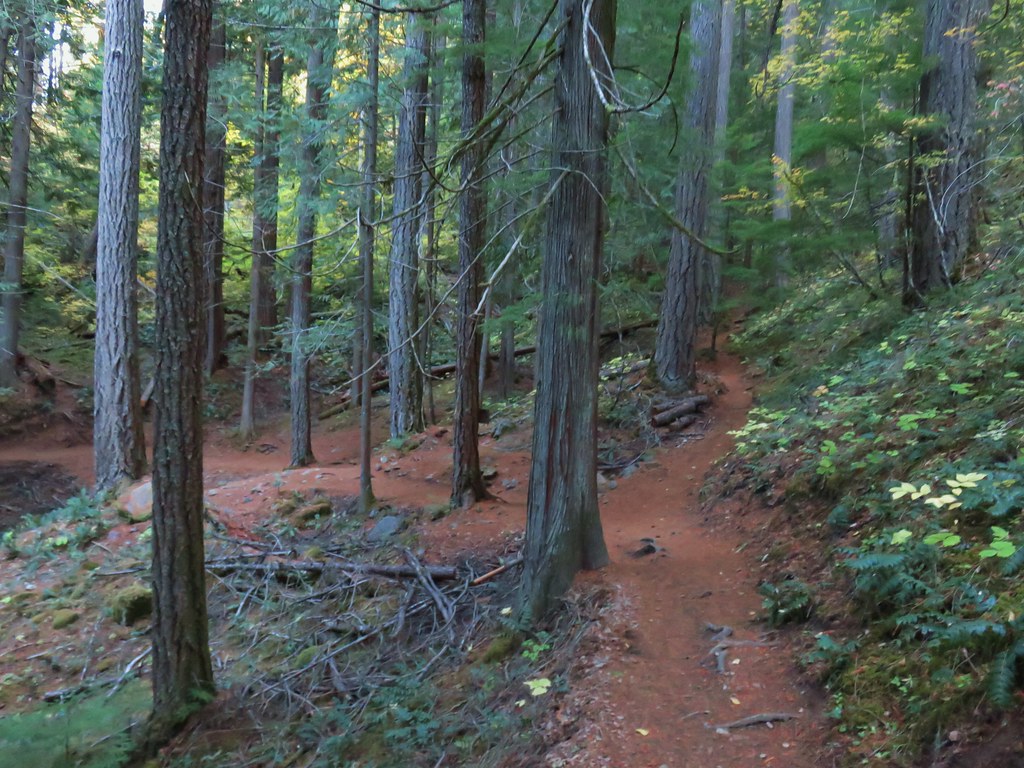
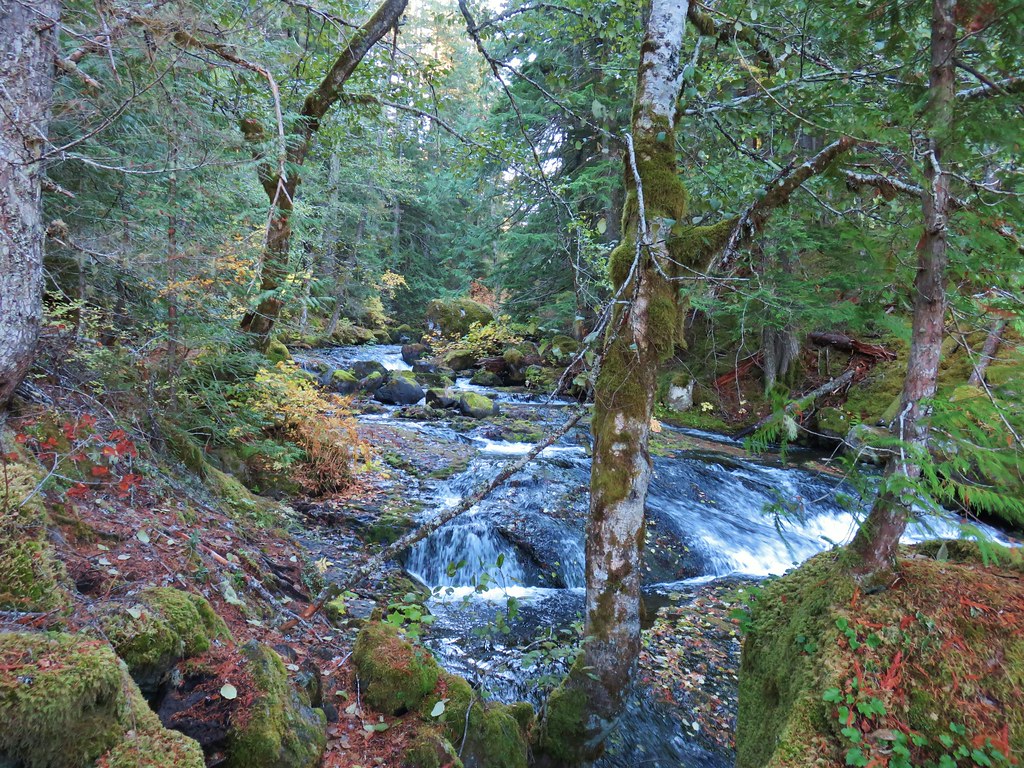
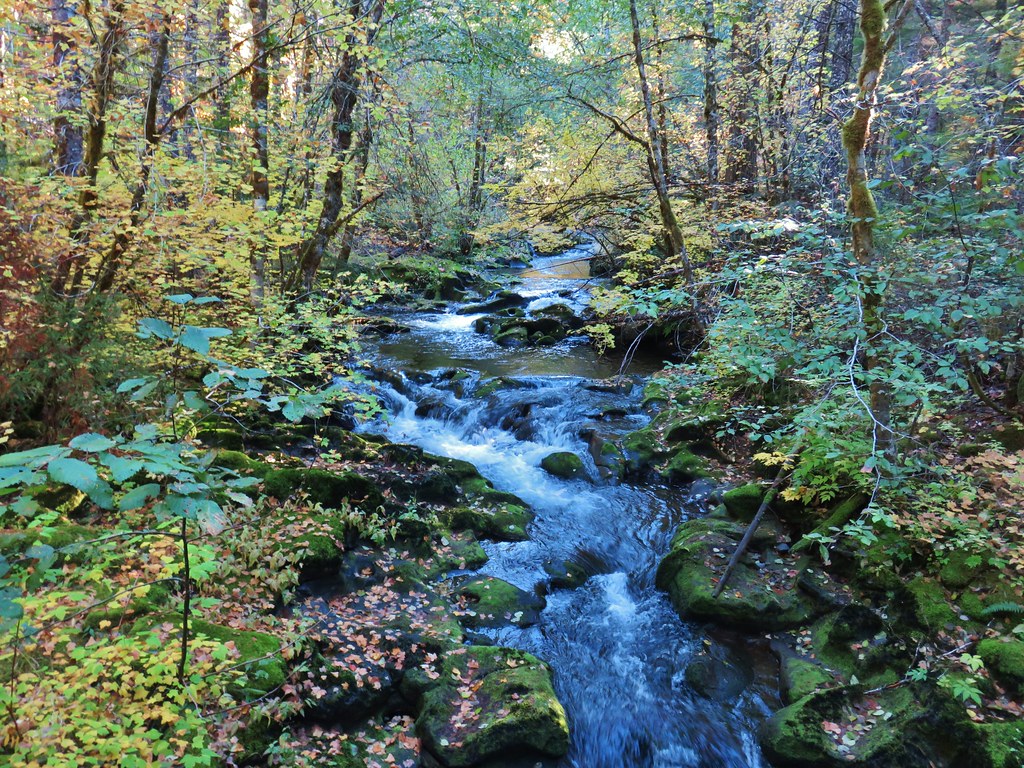
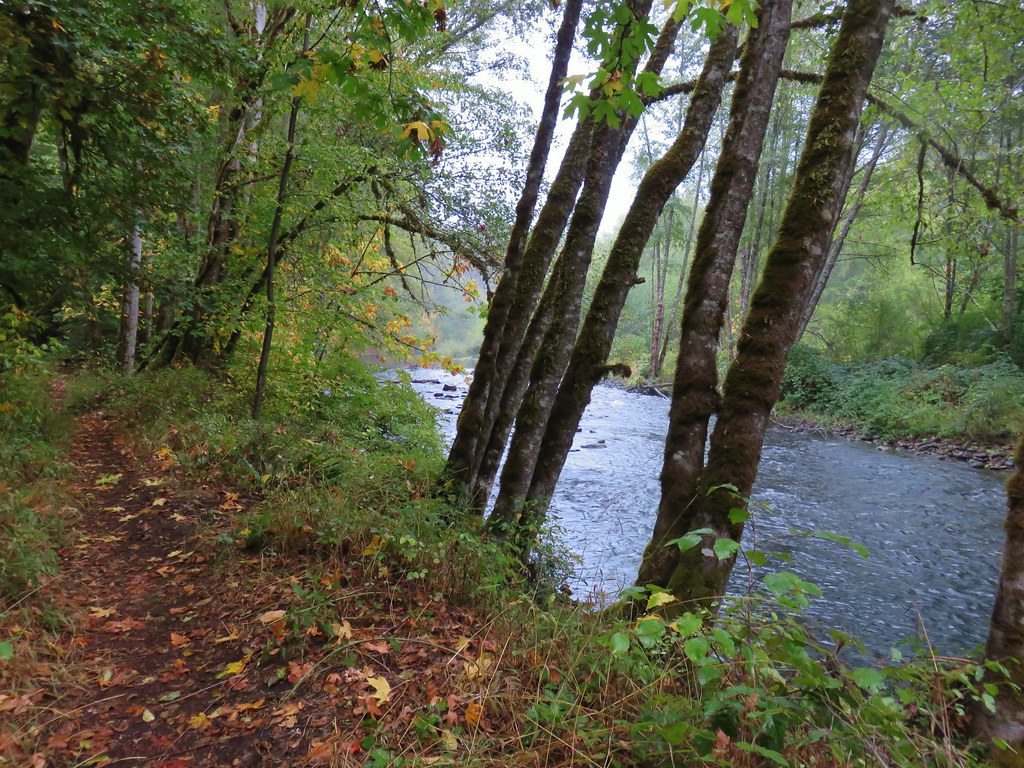
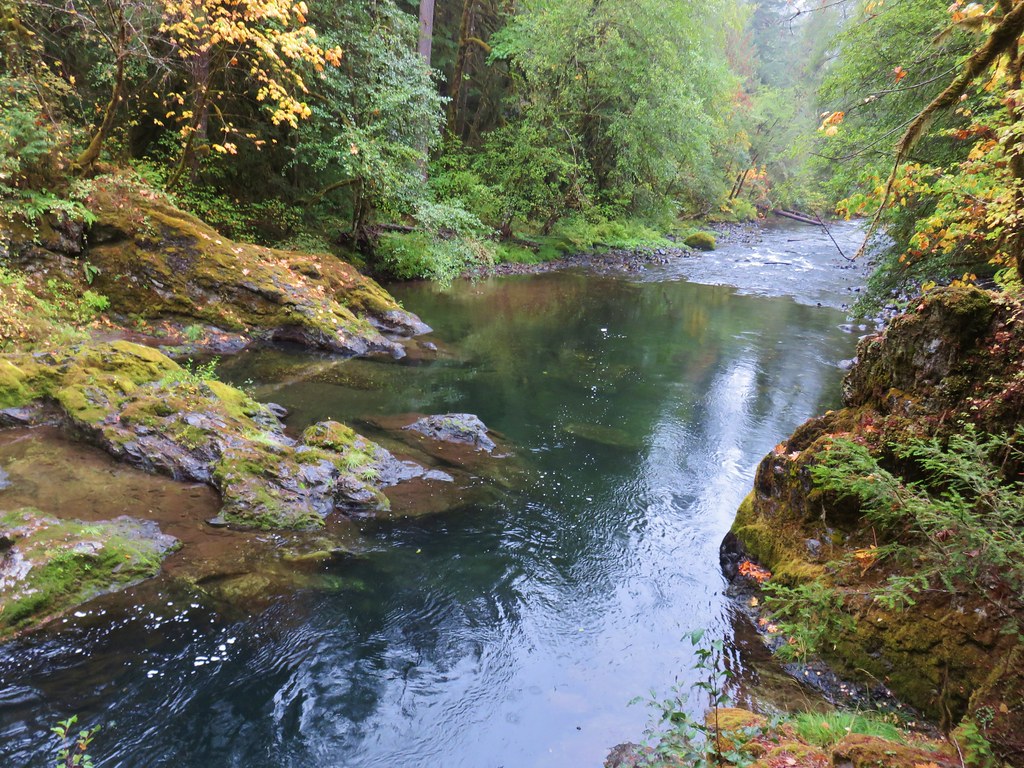
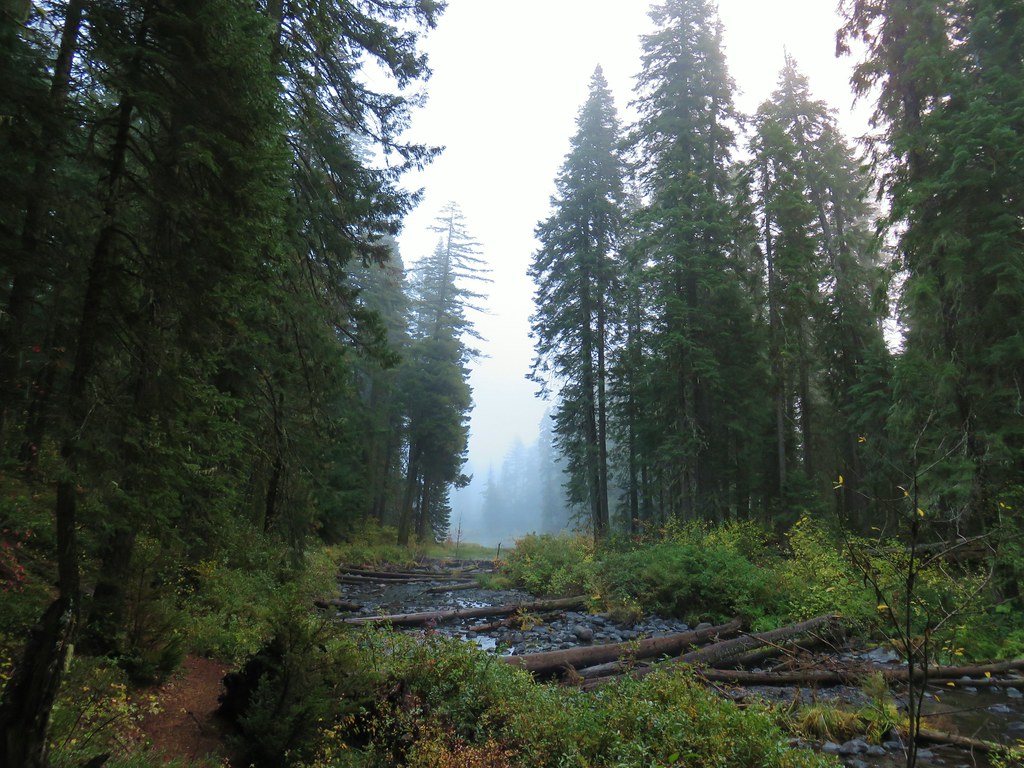
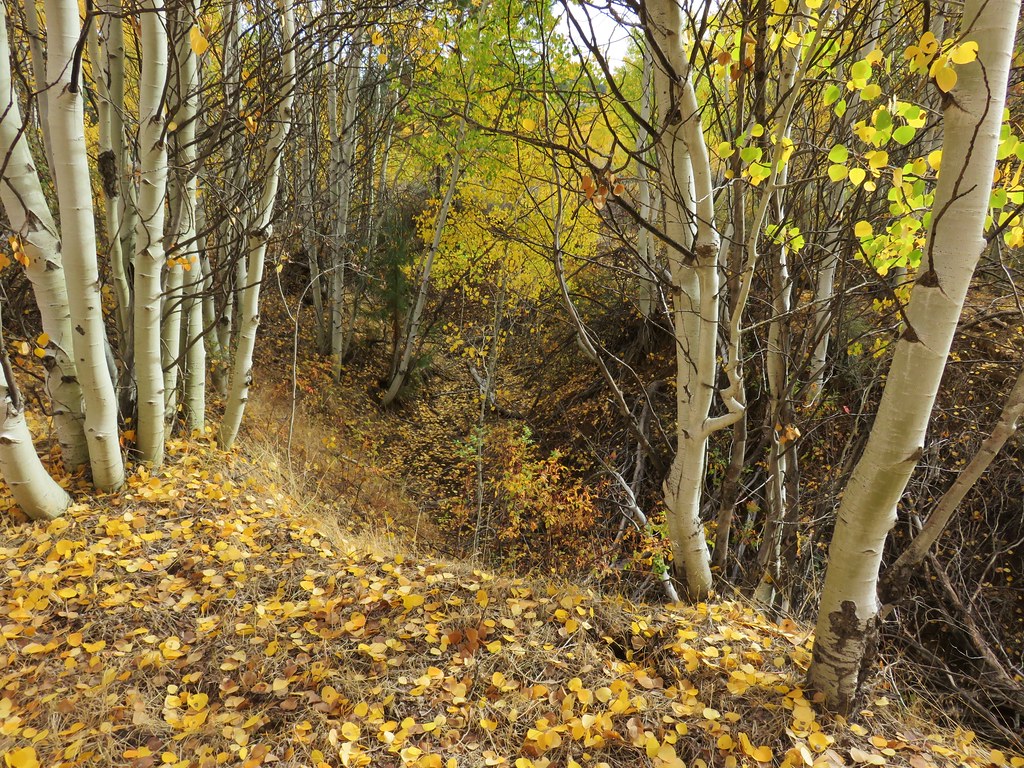
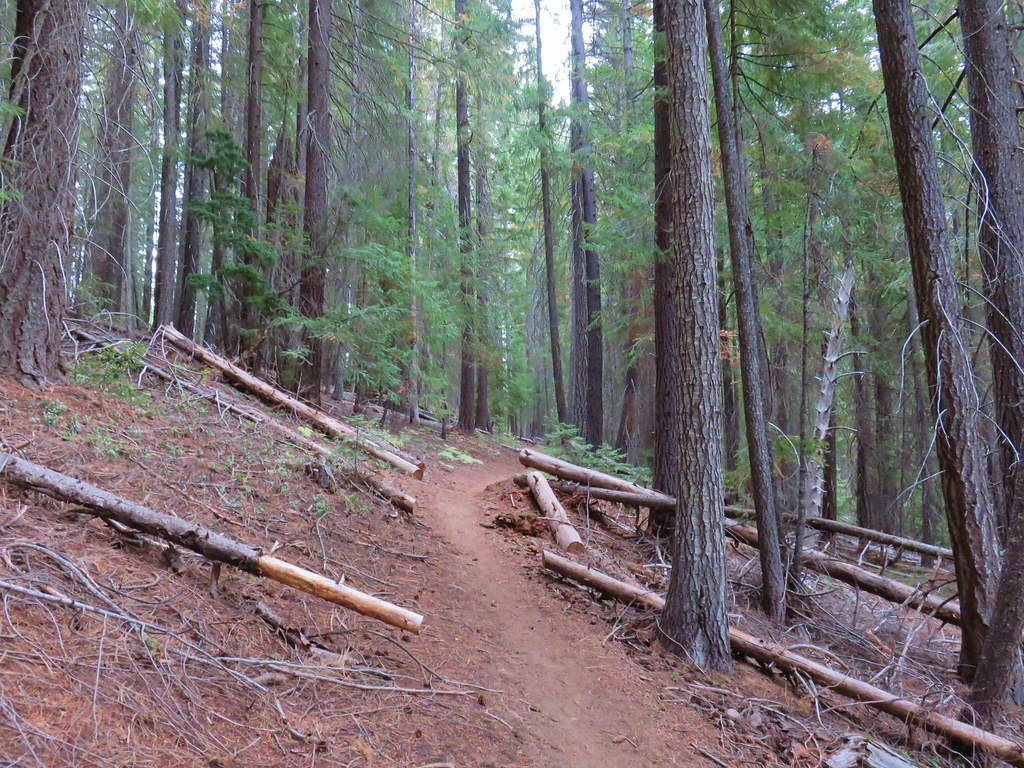
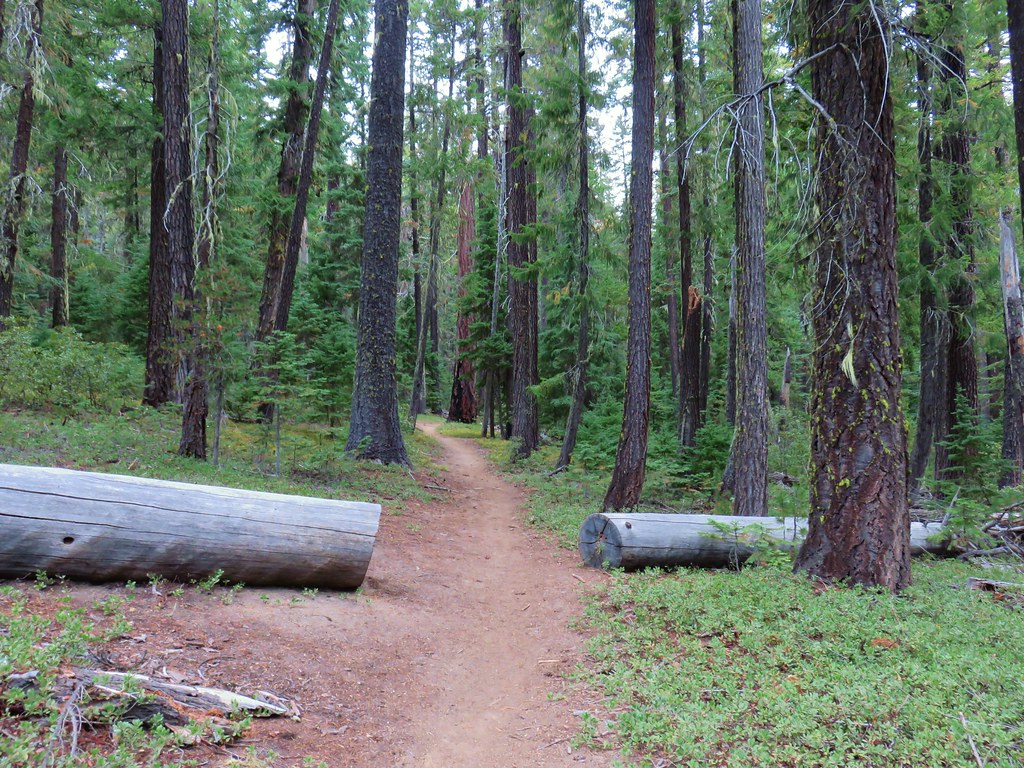
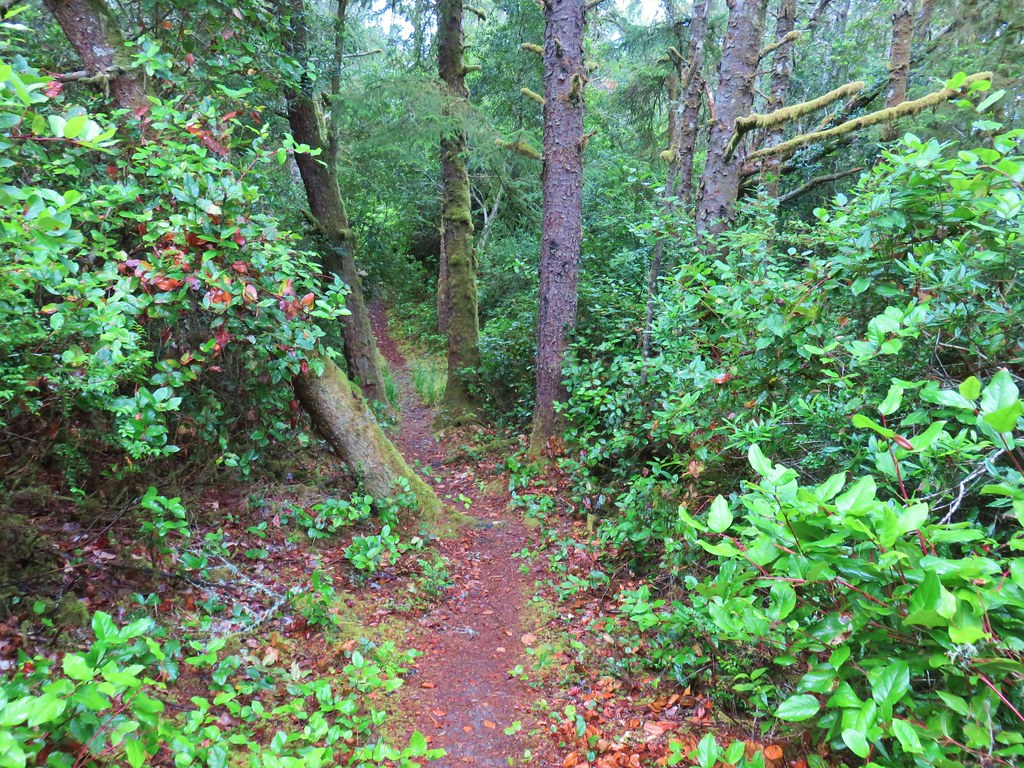
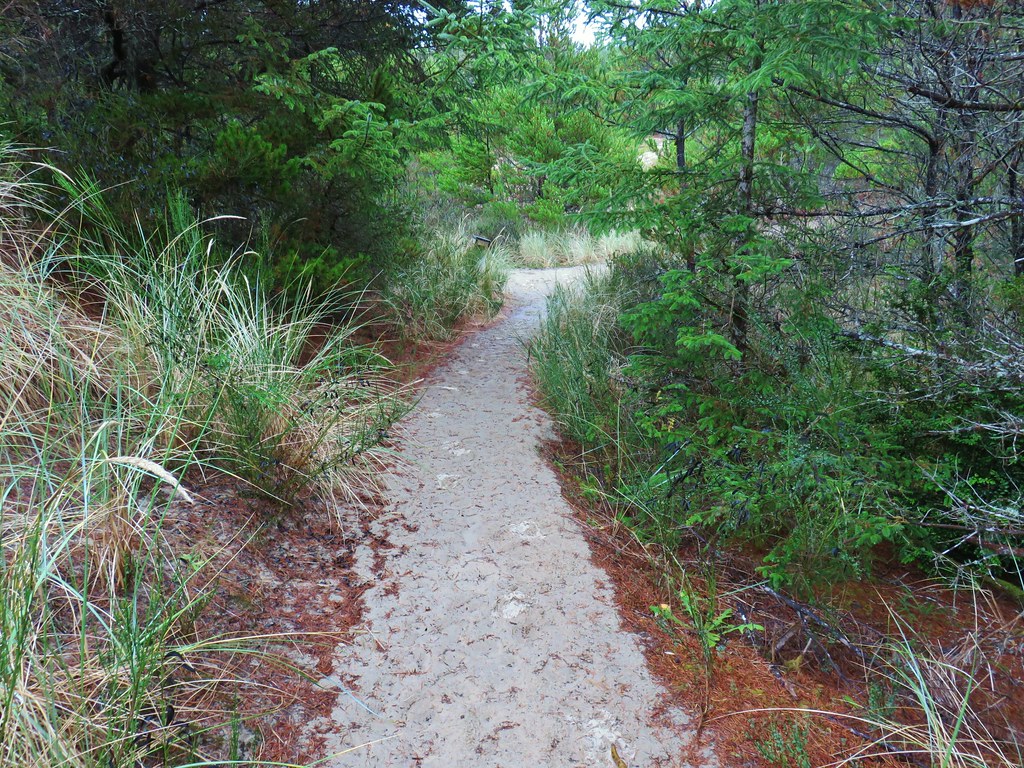
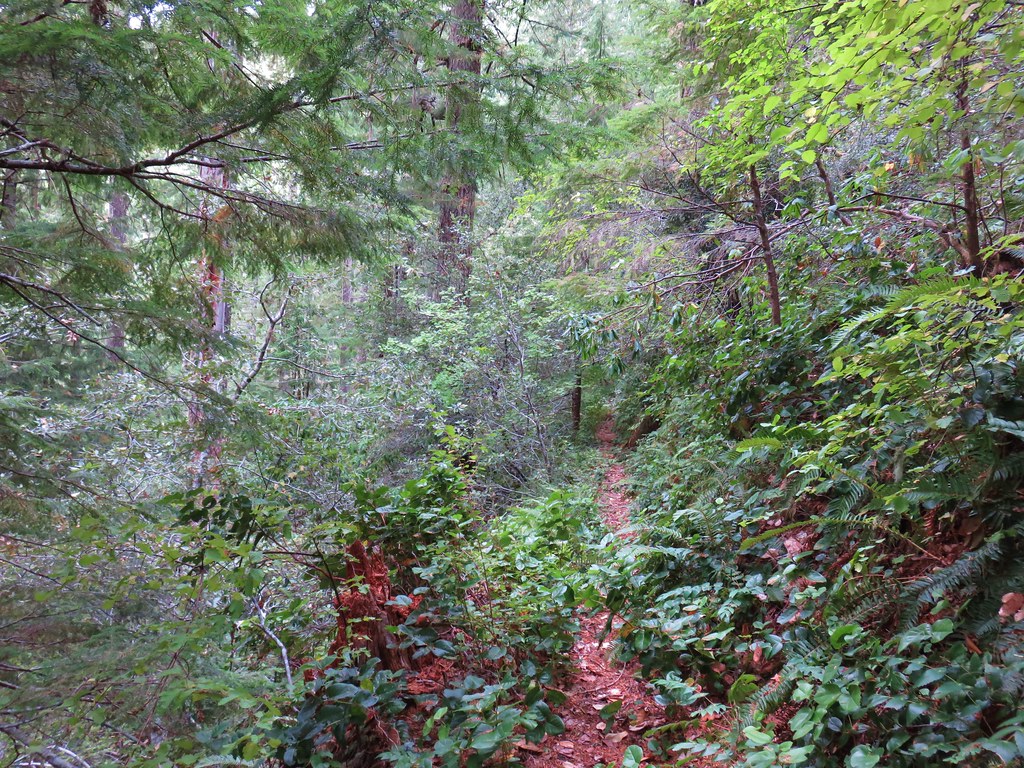
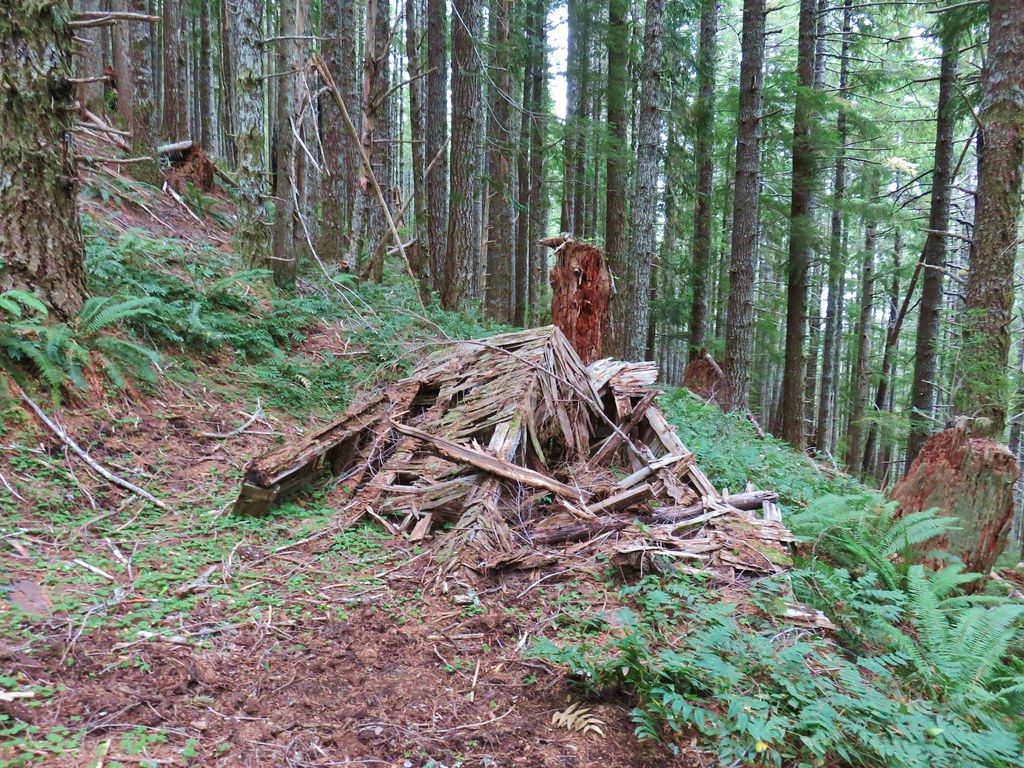
Beyond the bridge the trail climbed gradually for a mile to a junction. Along the way there were several views of the creek.

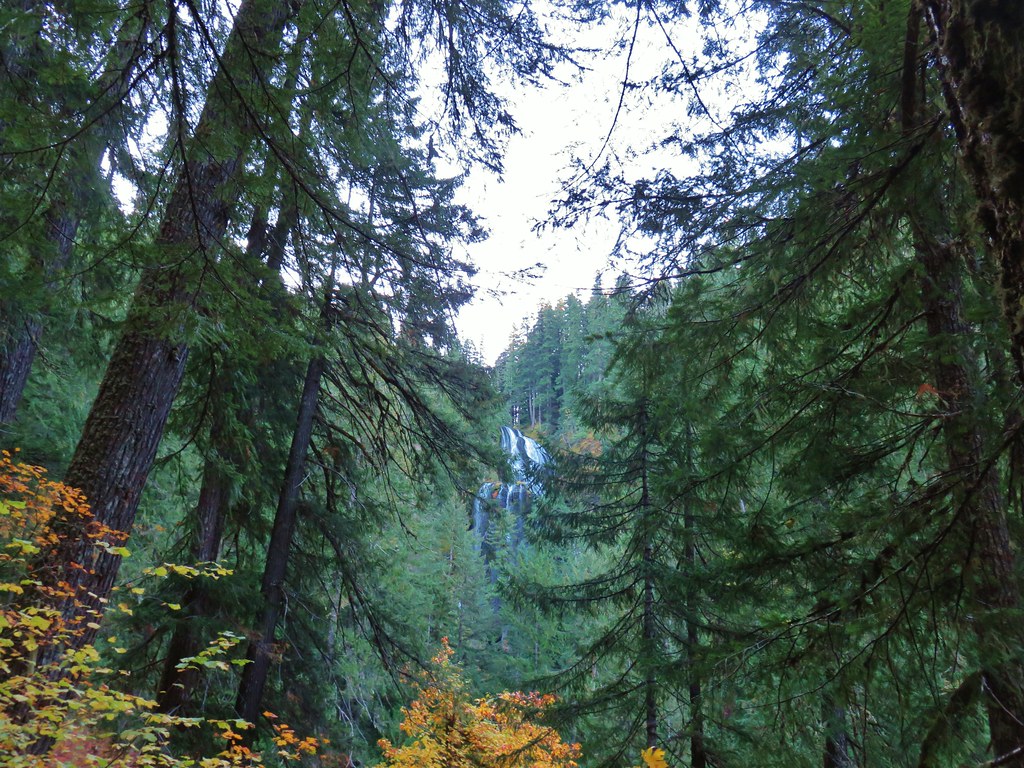
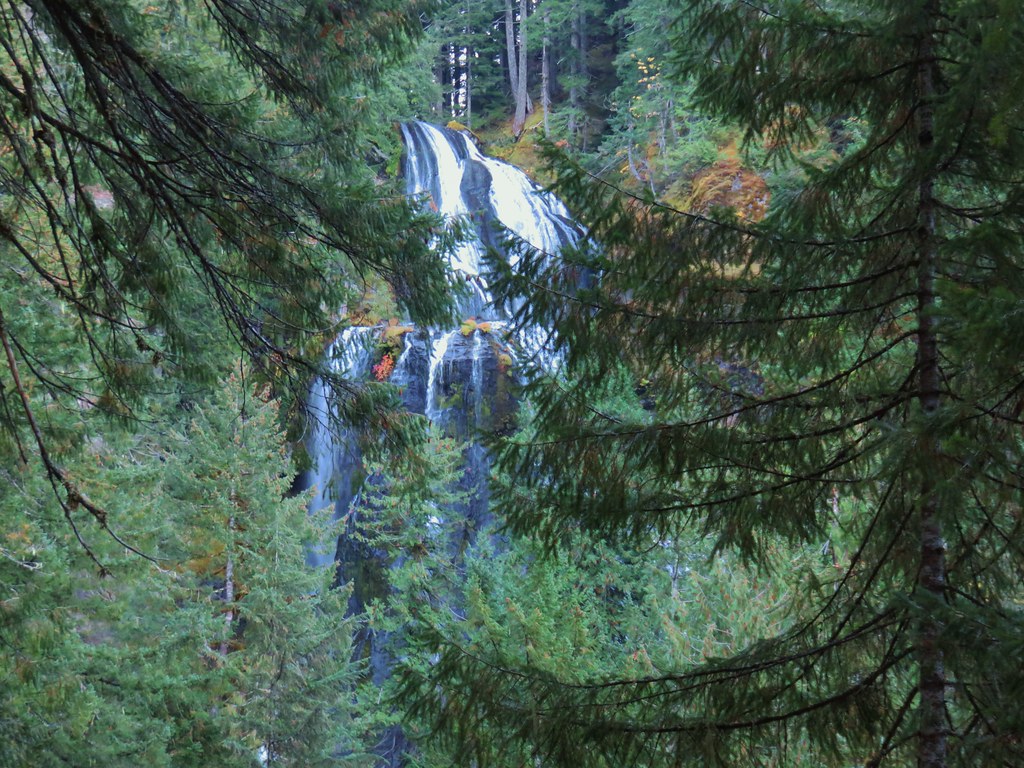
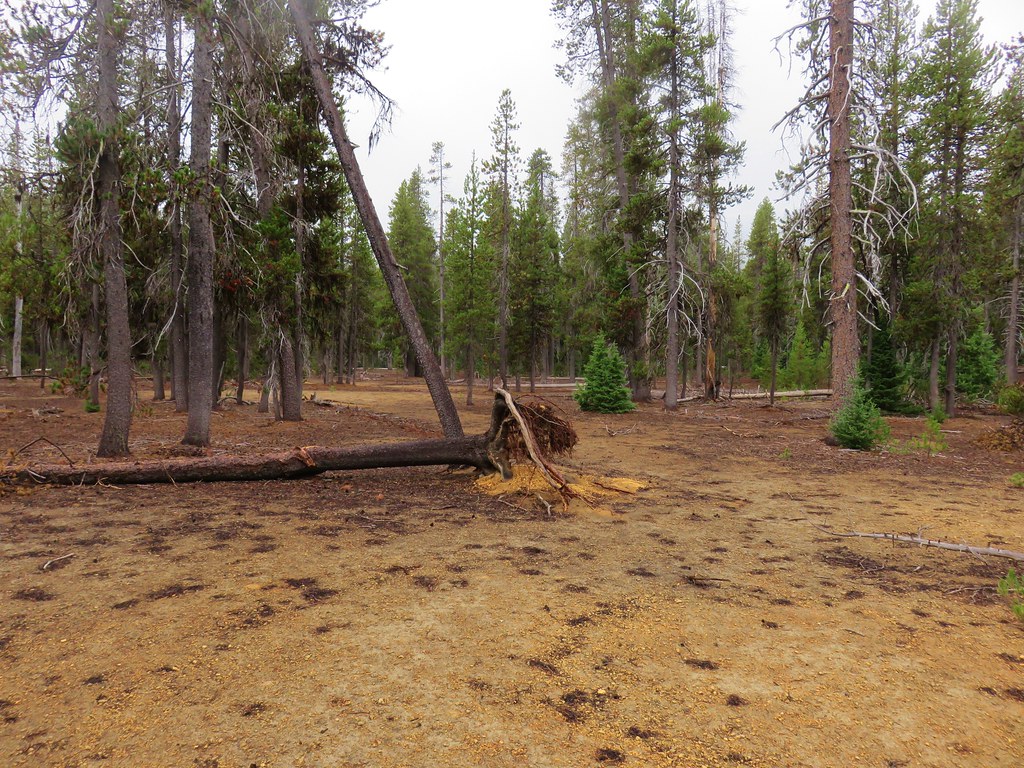
At the junction we stayed right and continued to gradually climb for another .3 miles to three tiered Falls Creek Falls. The first views are of the upper and middle tiers through some trees.
The lower tier comes into view near the end of the trail at which point most of the upper tier is lost due to the angle.
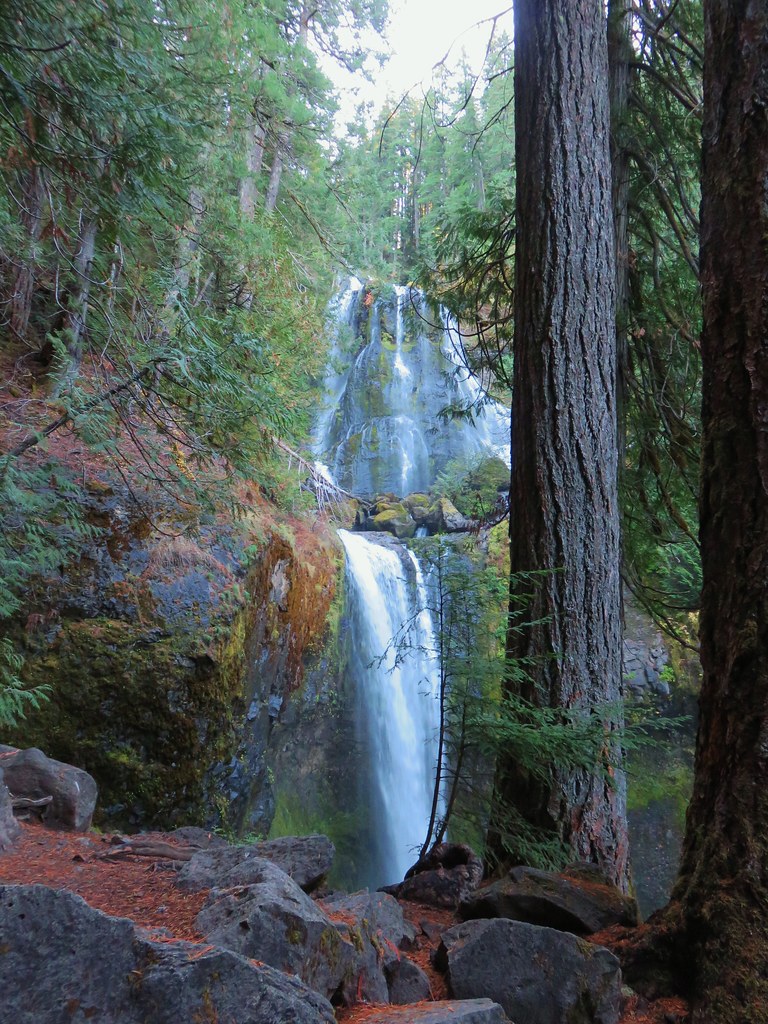
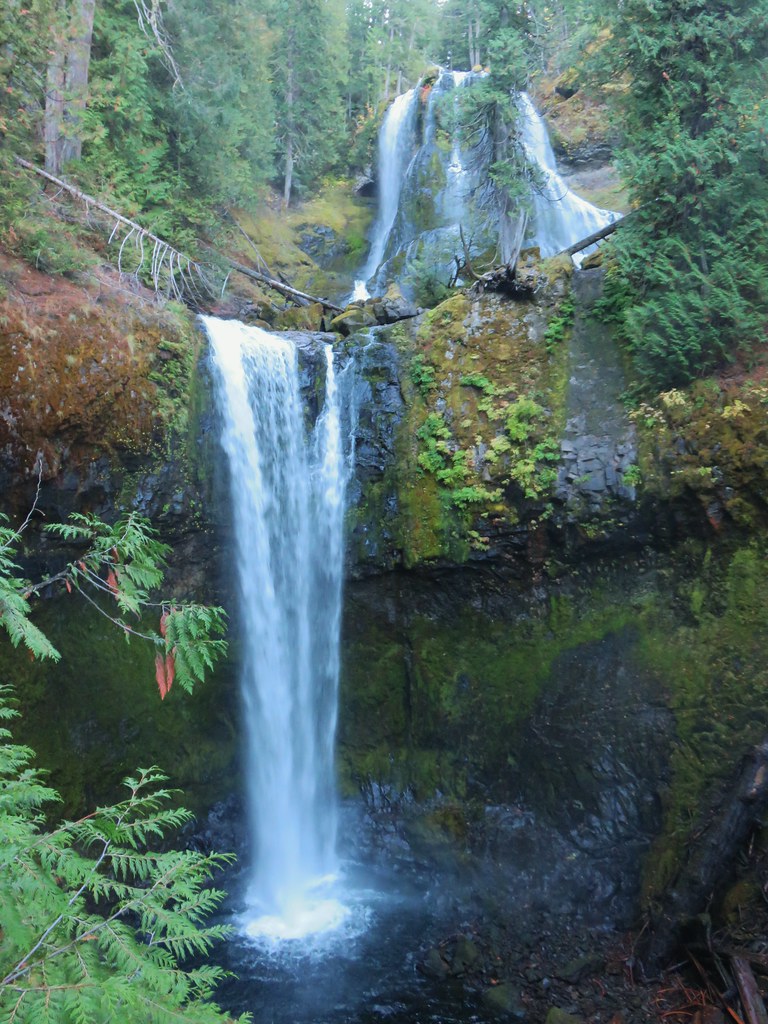
We spent a few chilly minutes admiring the falls before heading back to the junction.
Here we veered uphill to the right climbing fairly steeply for about two tenths of a mile to the Falls Creek Trail.

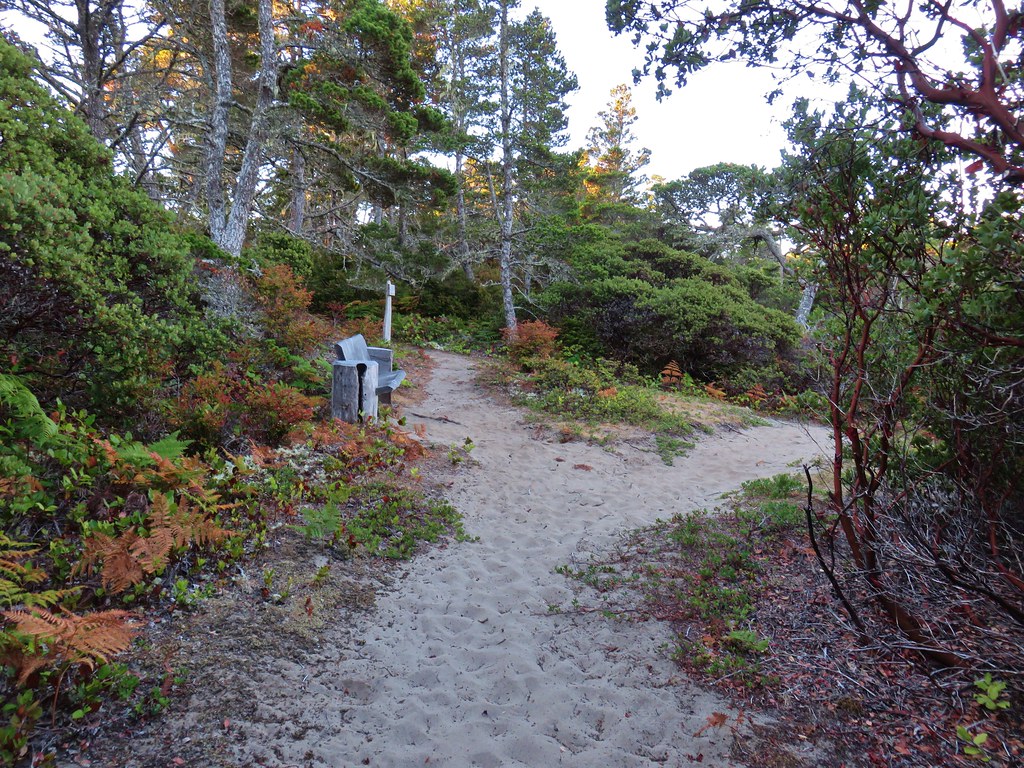
Before continuing on the loop we turned right on the Falls Creek Trail to visit a viewpoint or two above the falls. After .6 miles on this fairly level trail we spotted a side trail heading out to the first viewpoint. We started to head out this spur but then noticed a tent set up there (we found the owners of the other car) so we continued another quarter mile to the second viewpoint.


The view from the top was just out over the valley, but a steep scramble trail led down to the top of the falls from here. We checked to see if the ground seemed muddy or slick, but it turned out to be in good shape so we made our way down to the creek just above the falls.

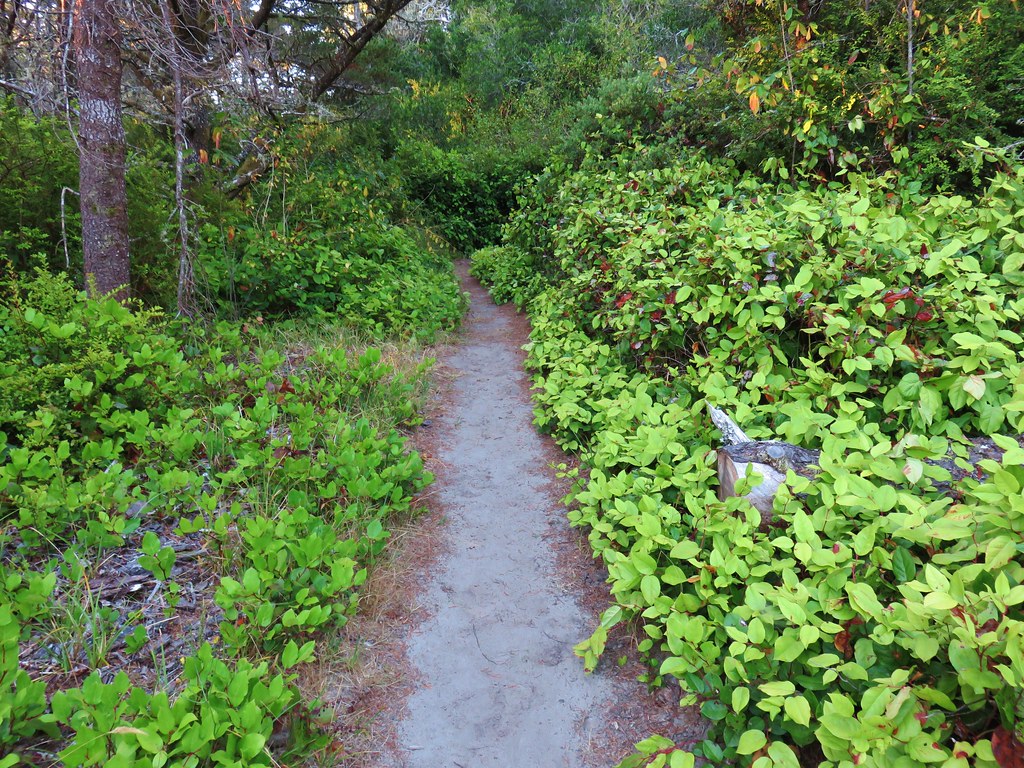
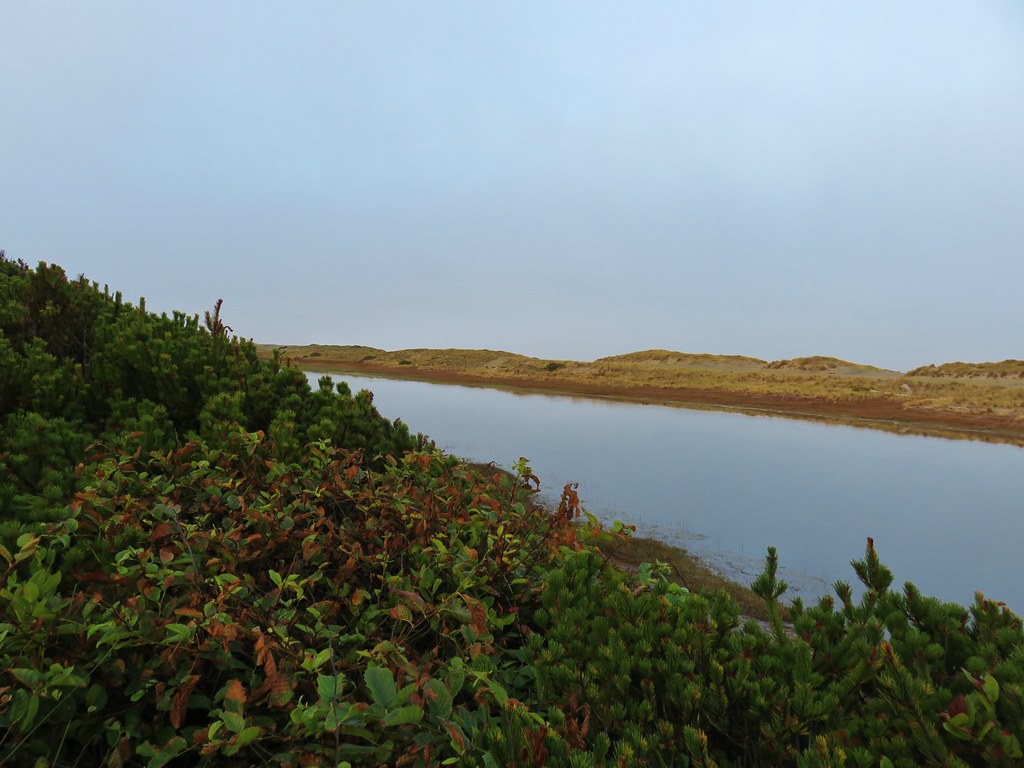
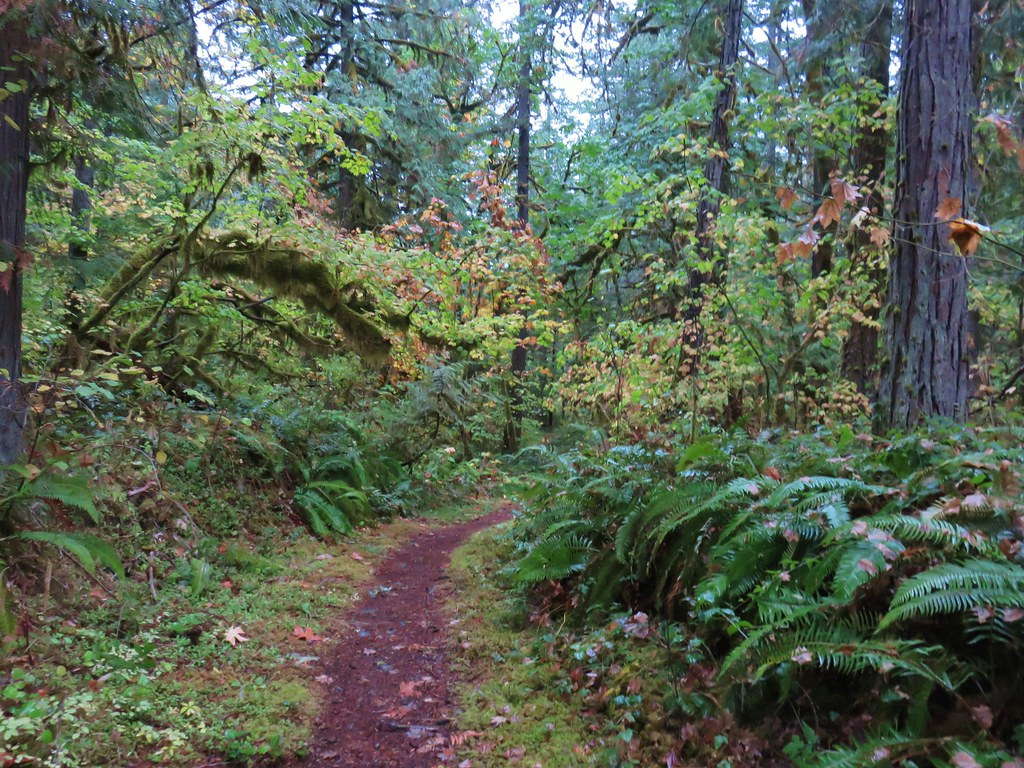
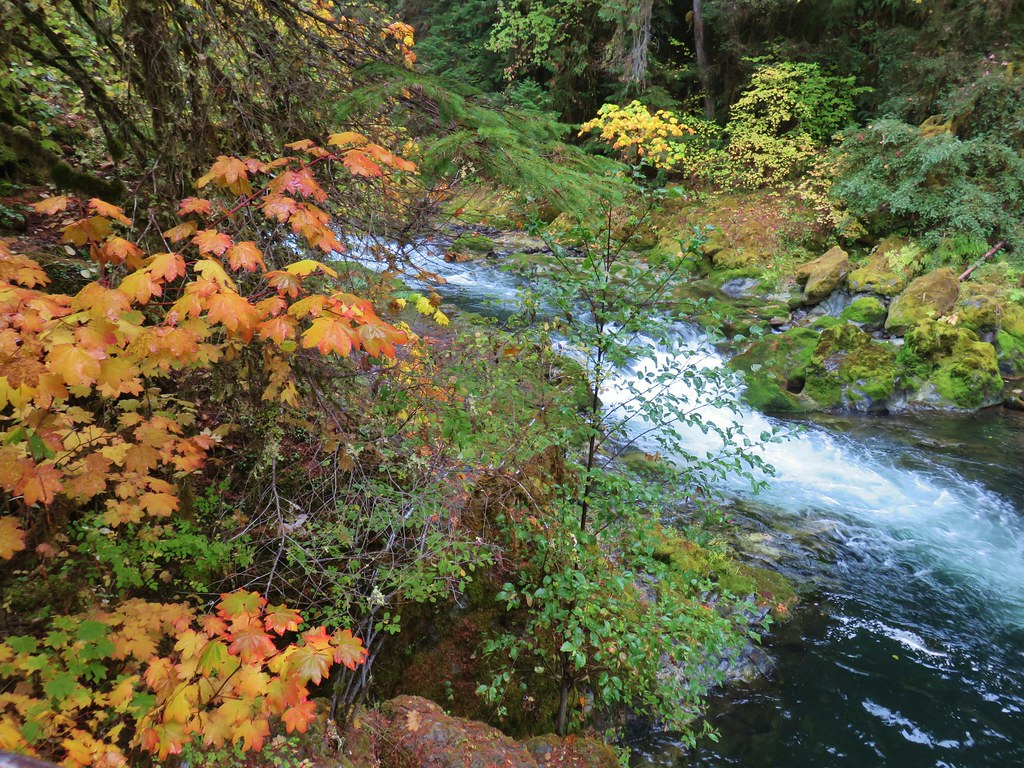
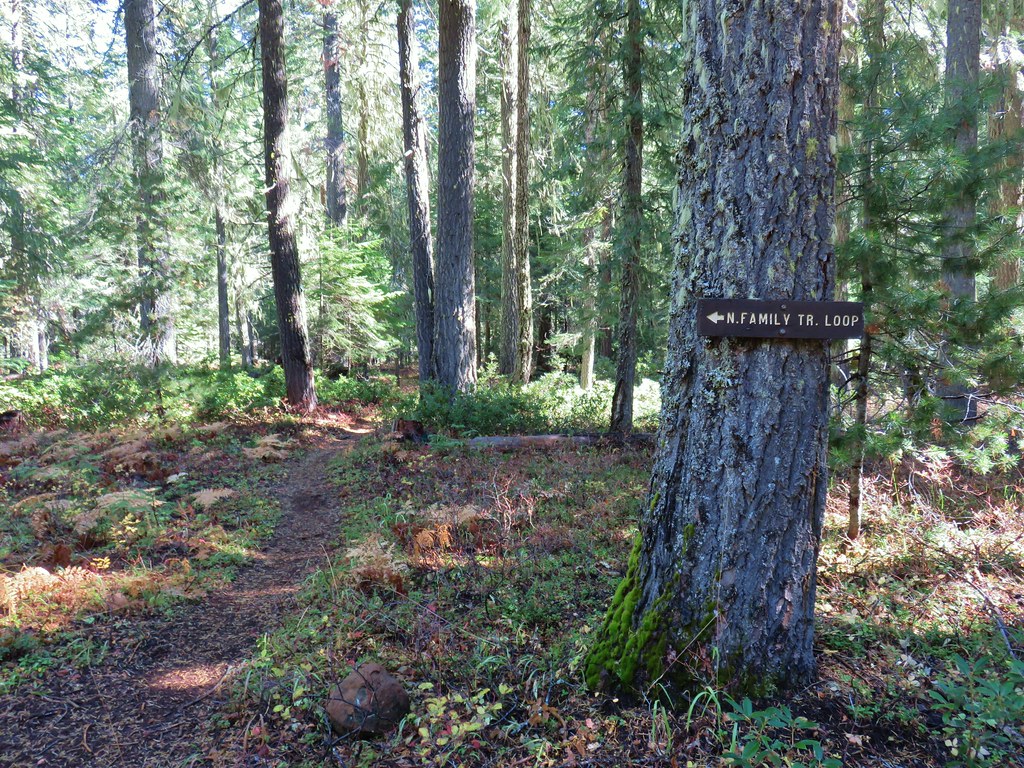
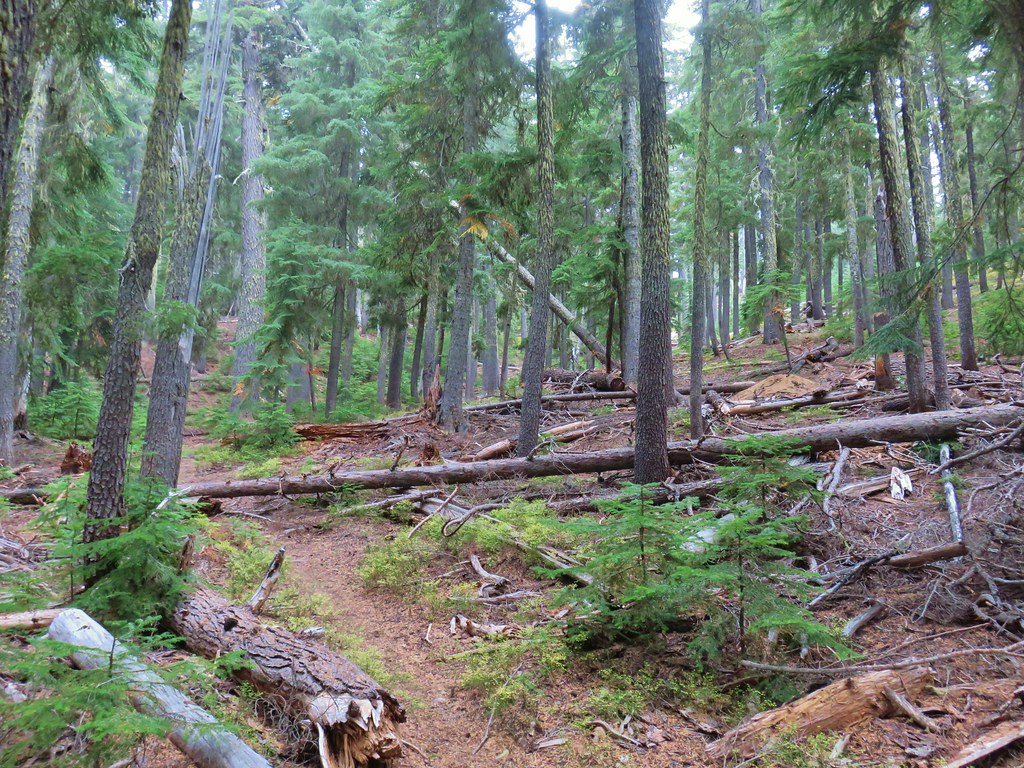
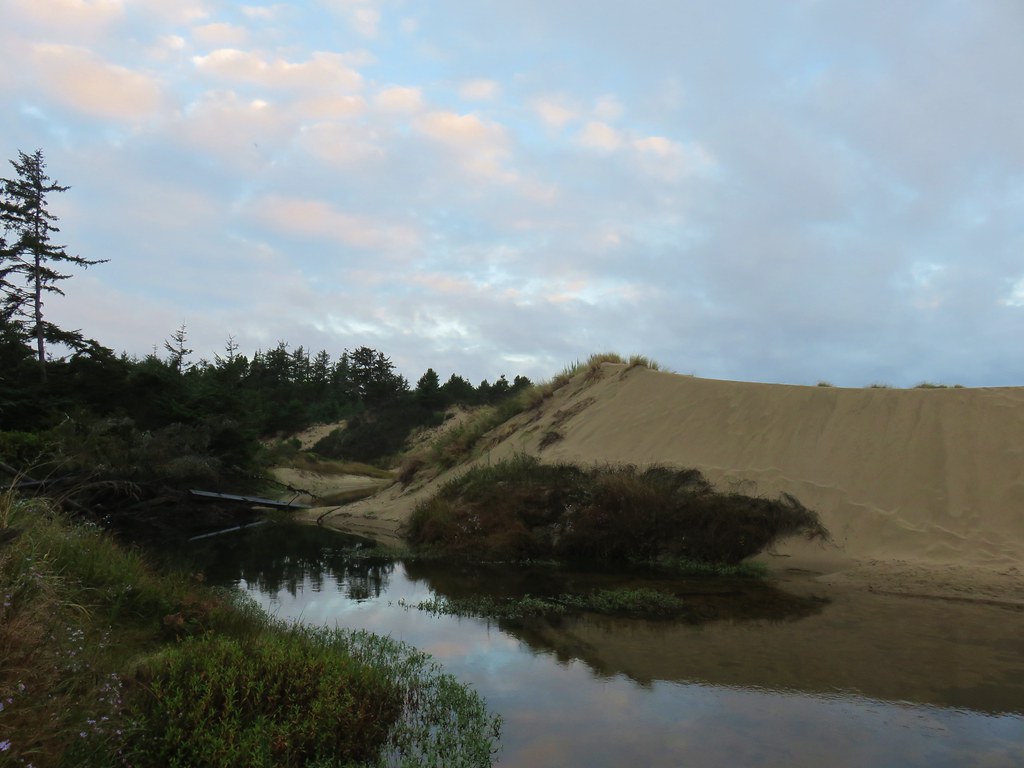
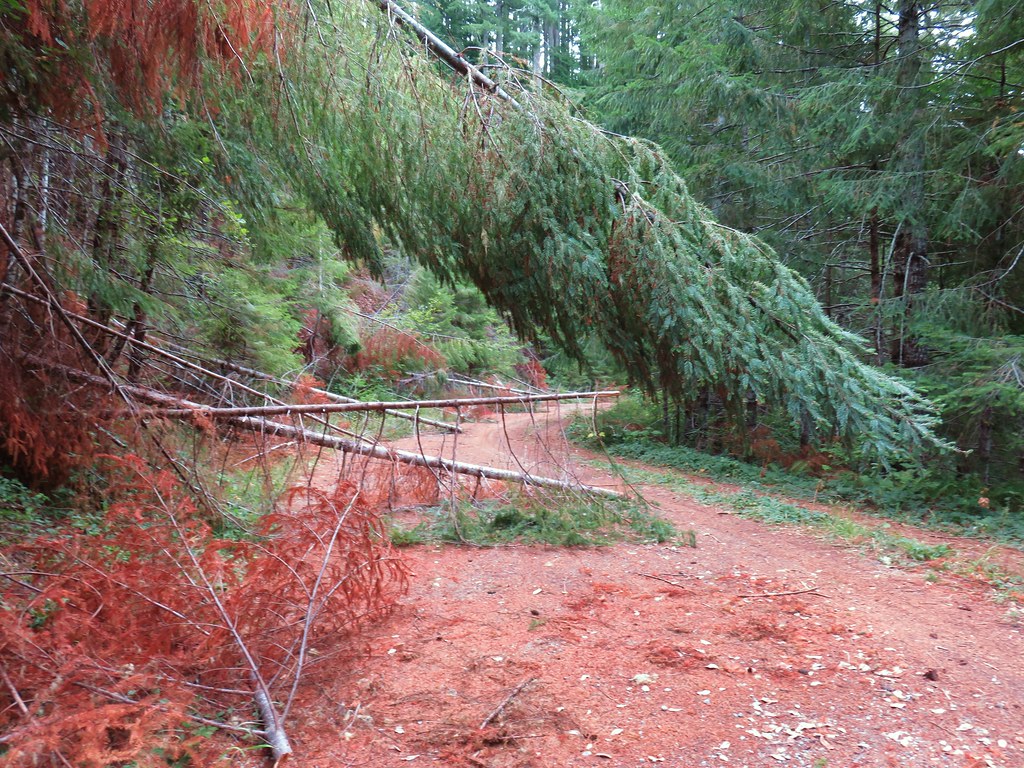
From the viewpoint we returned to the loop and continued down the Falls Creek Trail 1.7 miles to another bridge over Falls Creek which we hadn’t seen since the viewpoint. Despite the creek not being visible from the trail the scenery was not lacking due to the surrounding forest and fall colors.


At the far side of the bridge we turned left for a little over half a mile completing the loop and returning to our car, and a much fuller parking lot.
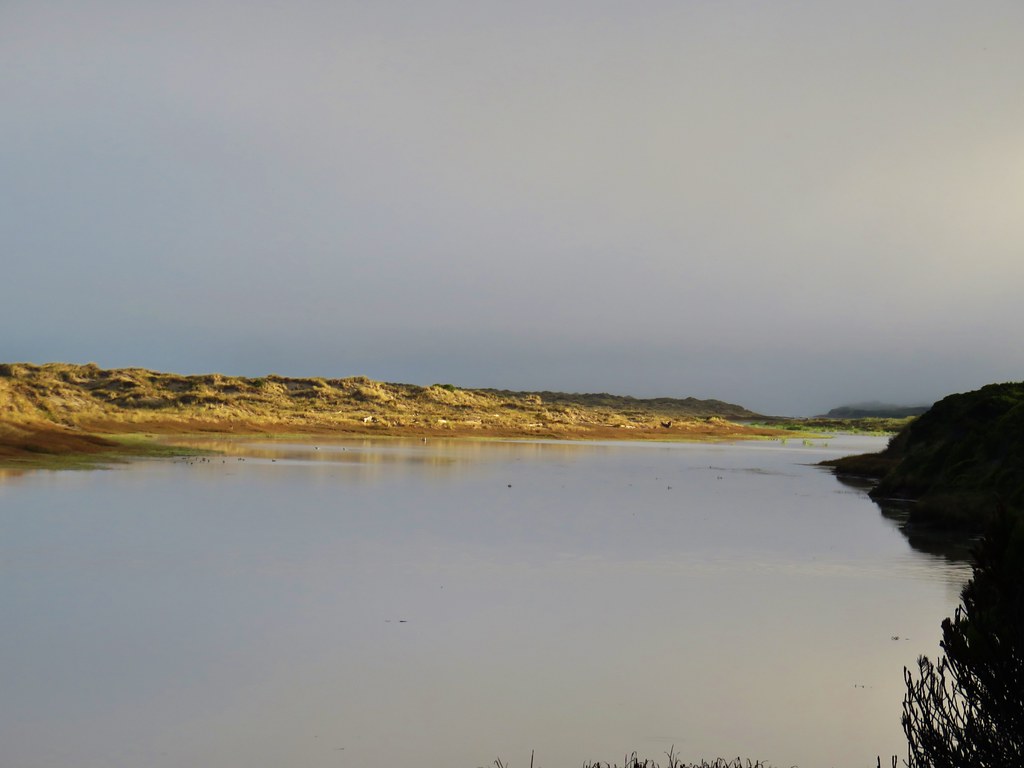
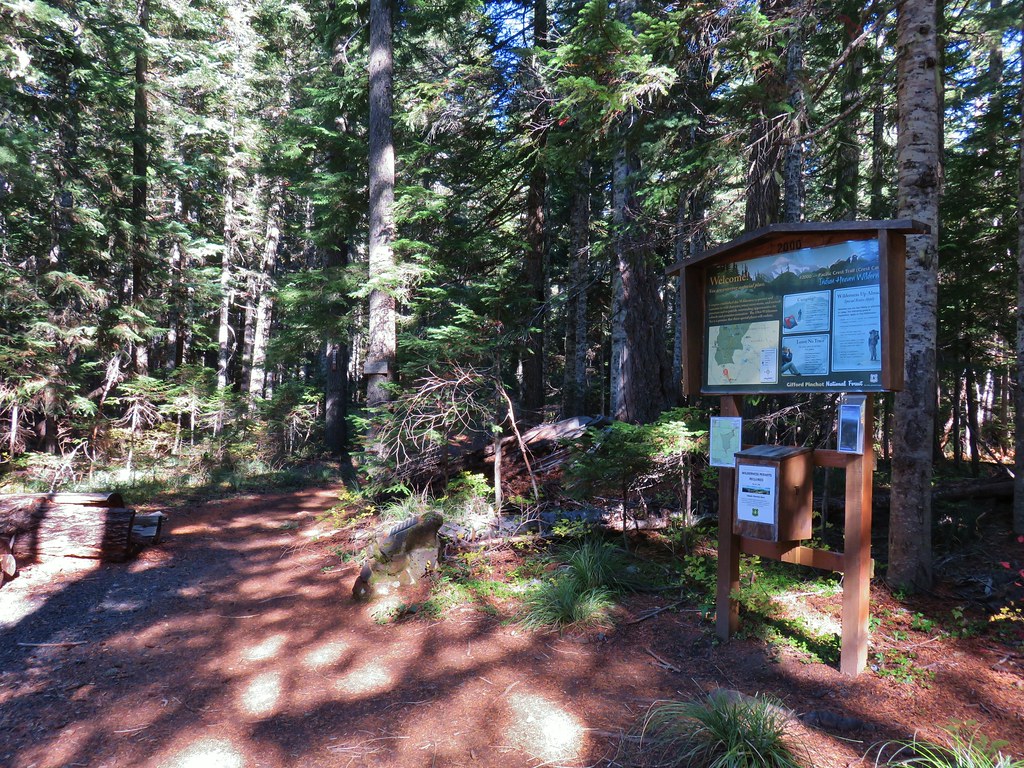
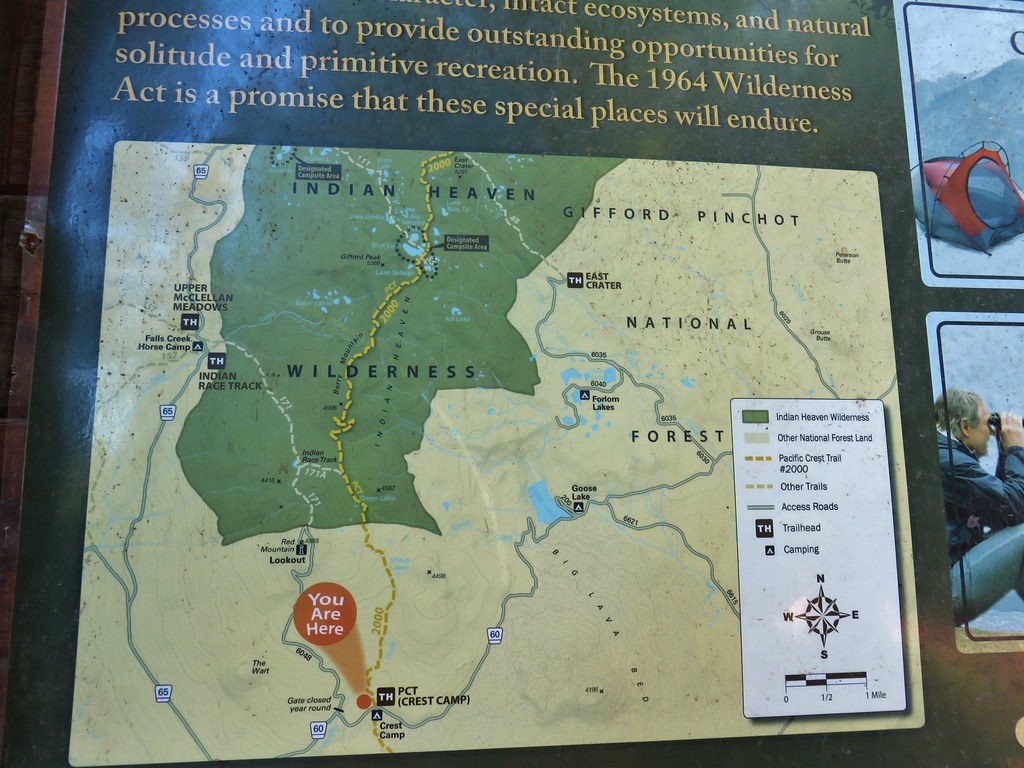
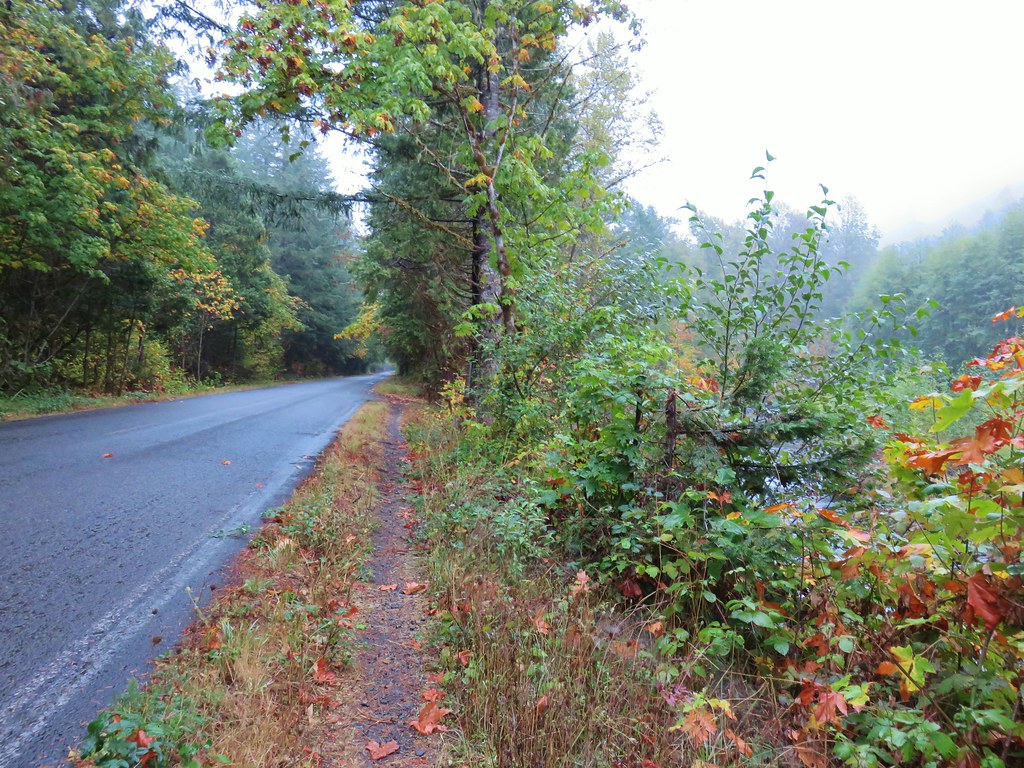
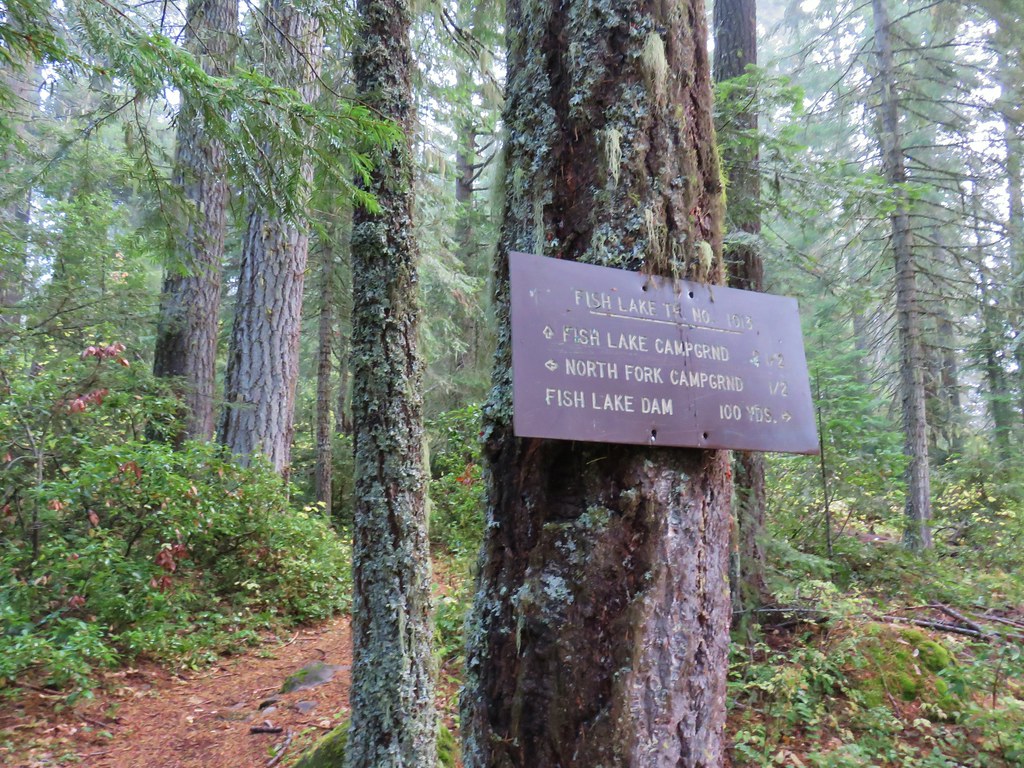
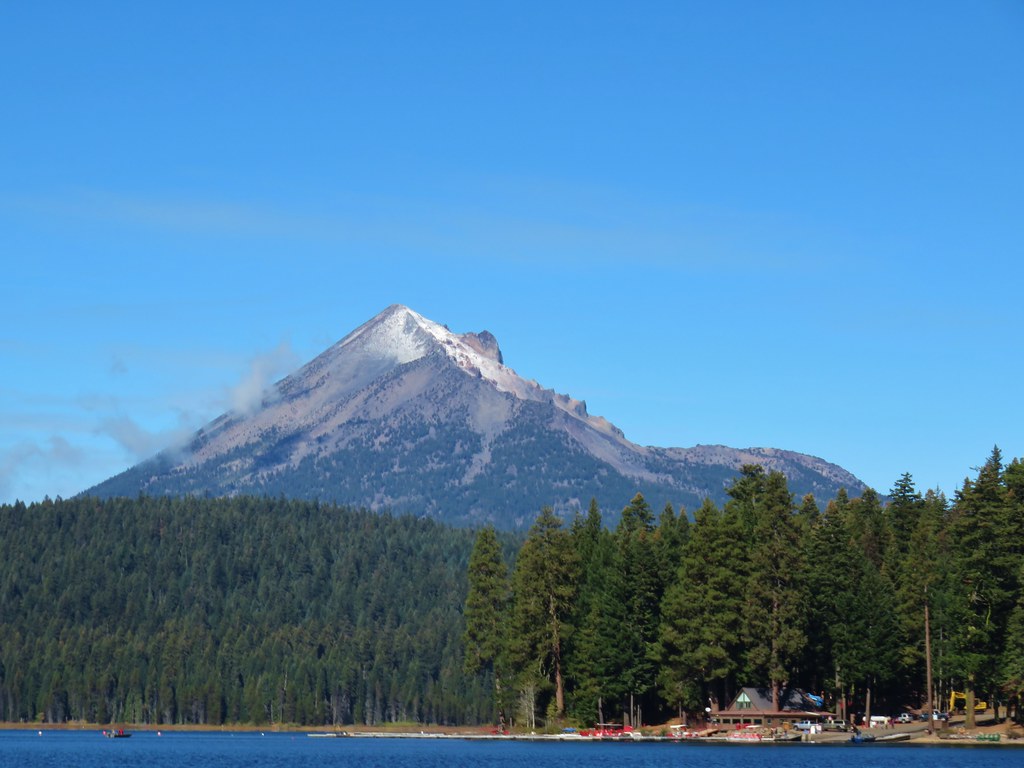
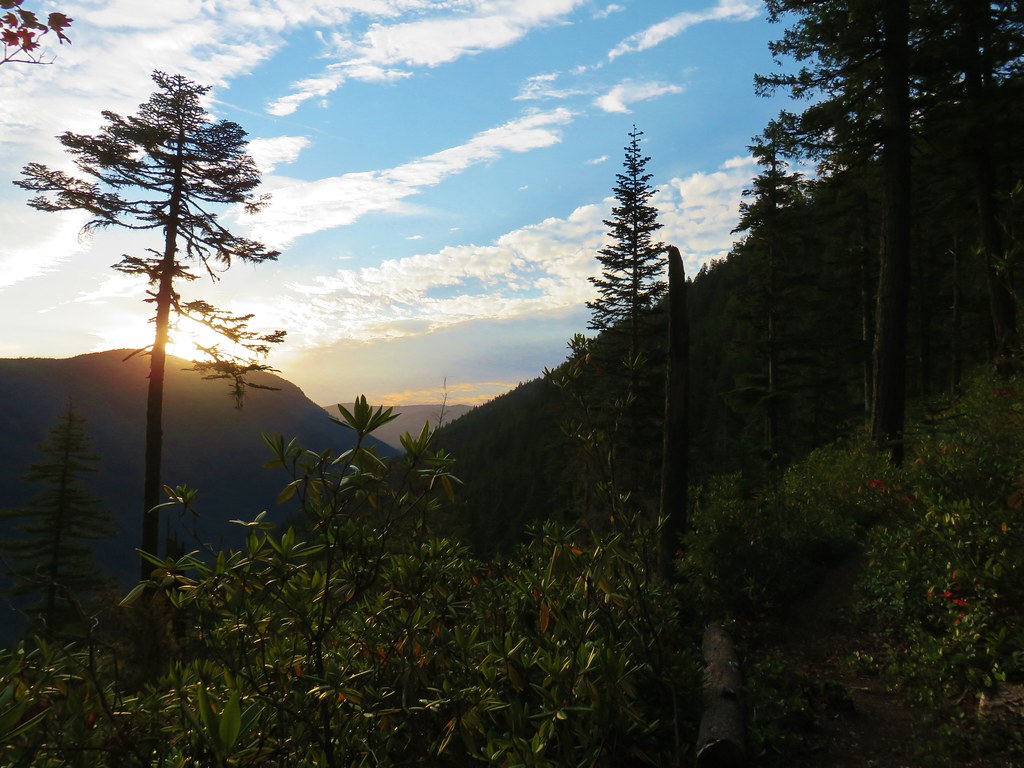
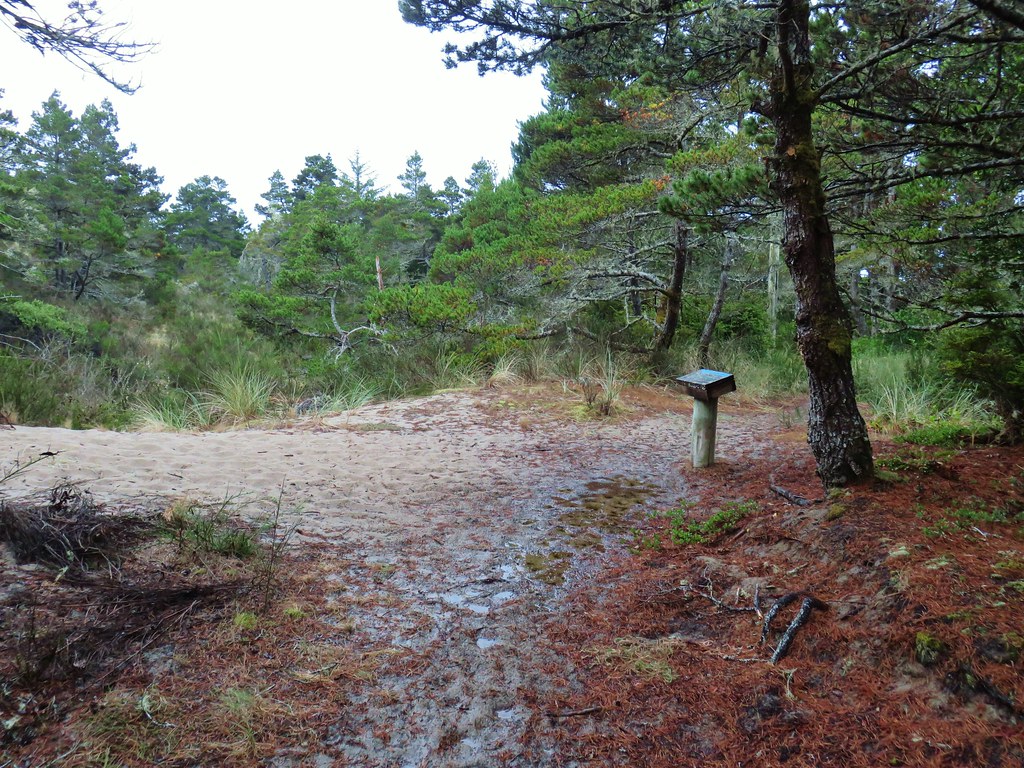
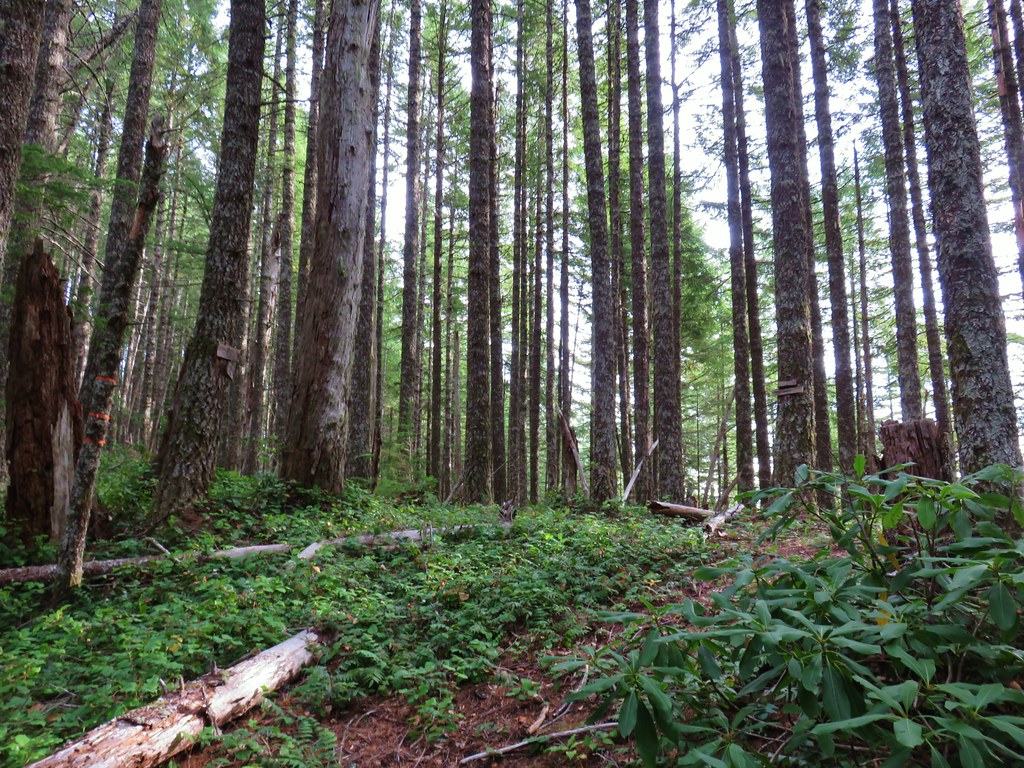
After the 6.3 mile hike here we were ready for the second hike of the day to the Indian Heaven Wilderness and Red Mountain. We drove back toward Carson and eventually (after missing the turn the first time) turned east on Warren Gap Road (Road 405) at a pointer for the Panther Creek Campground. We followed this road for a little under two miles to Forest Road 65 where we turned left for 8 miles, passing the parking area for Panther Creek Falls (post) along the way, to a junction with FR 60. We turned right here and followed this road for two miles to the Pacific Crest Trail and a small campground.
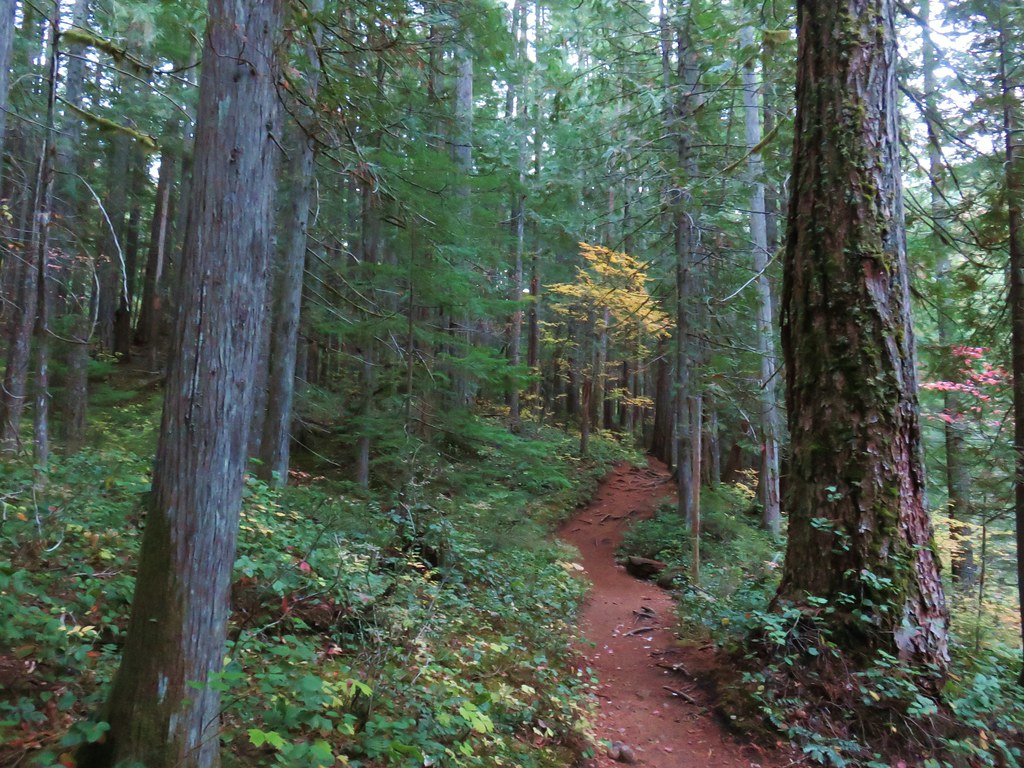
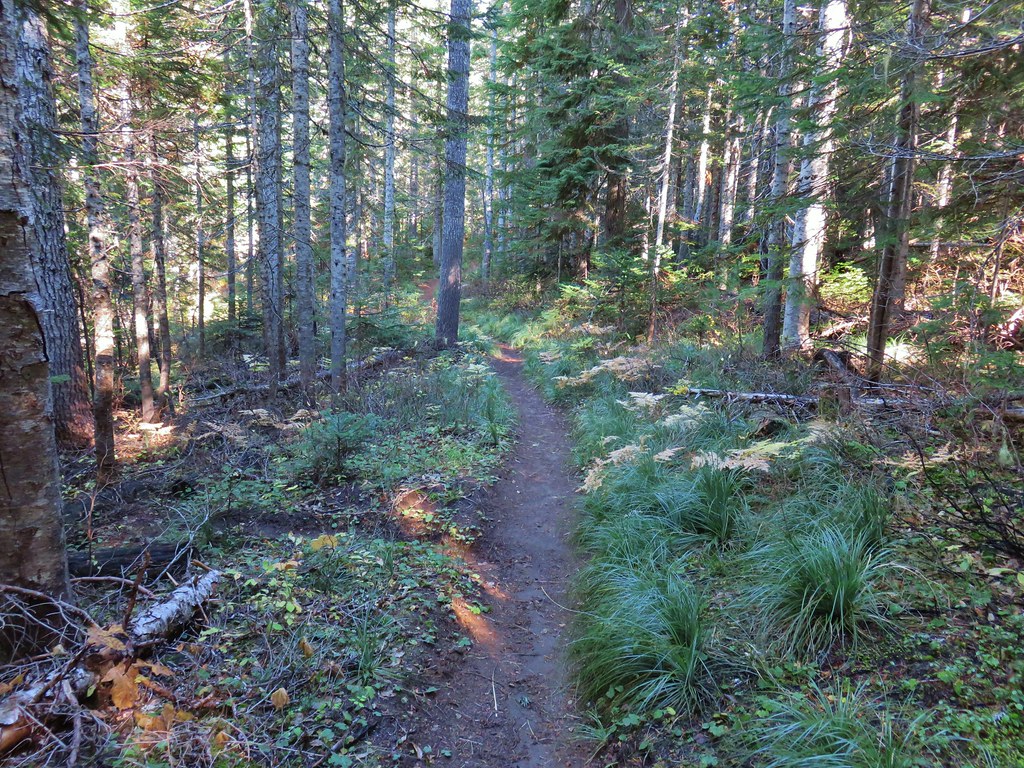
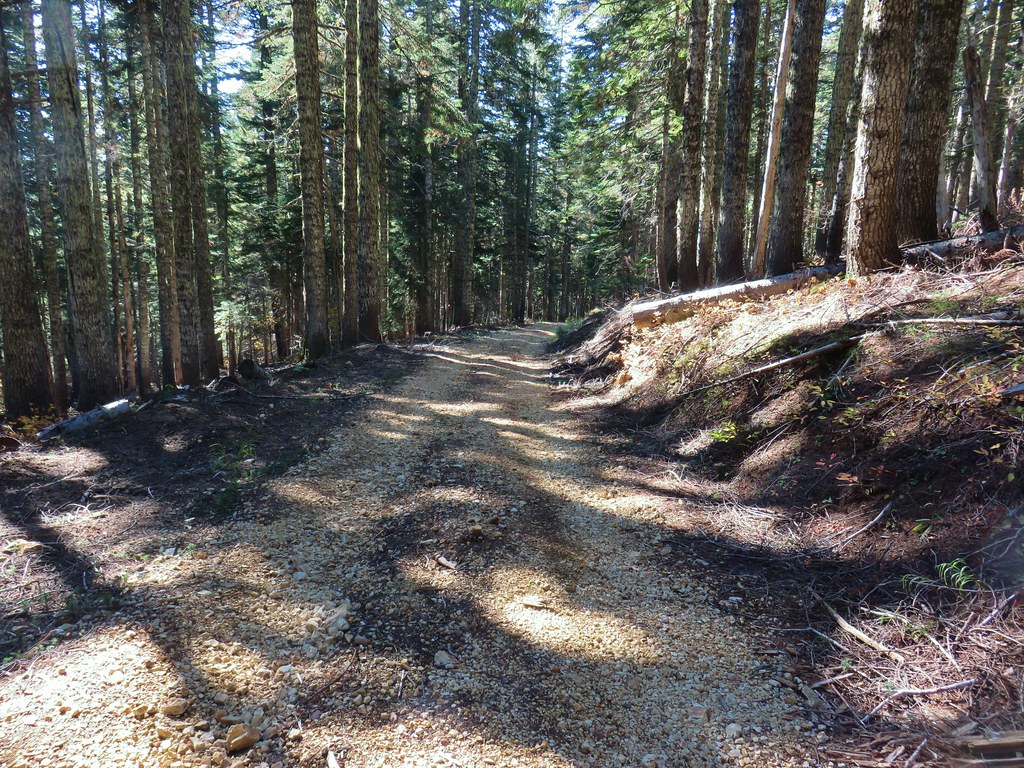
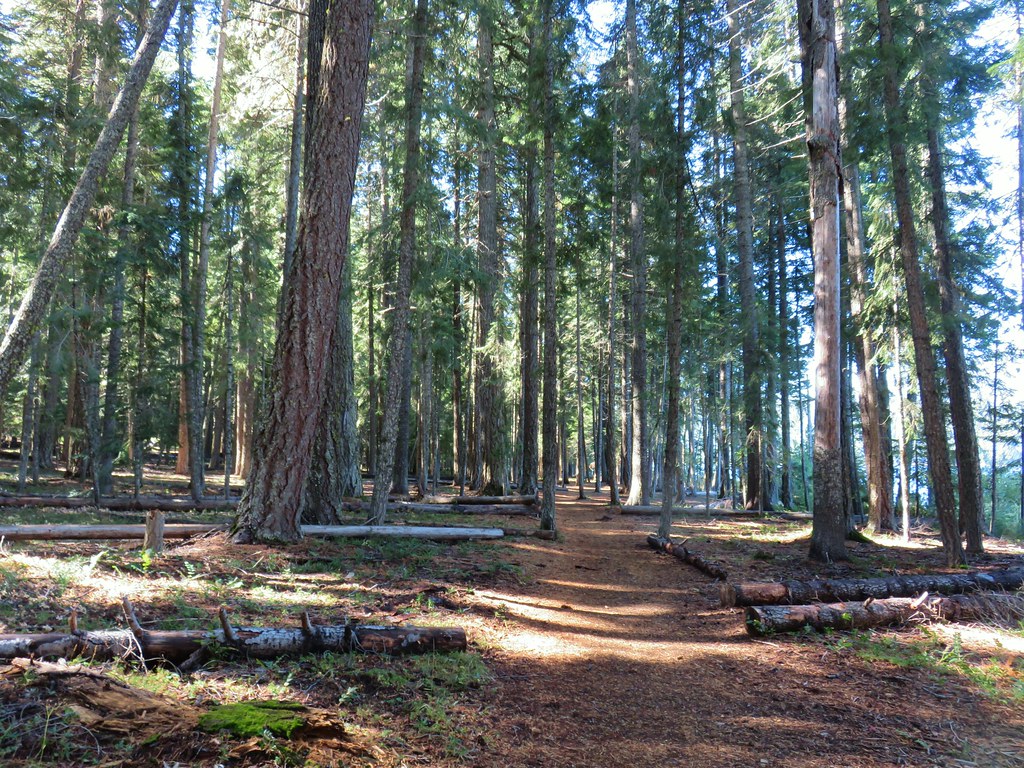
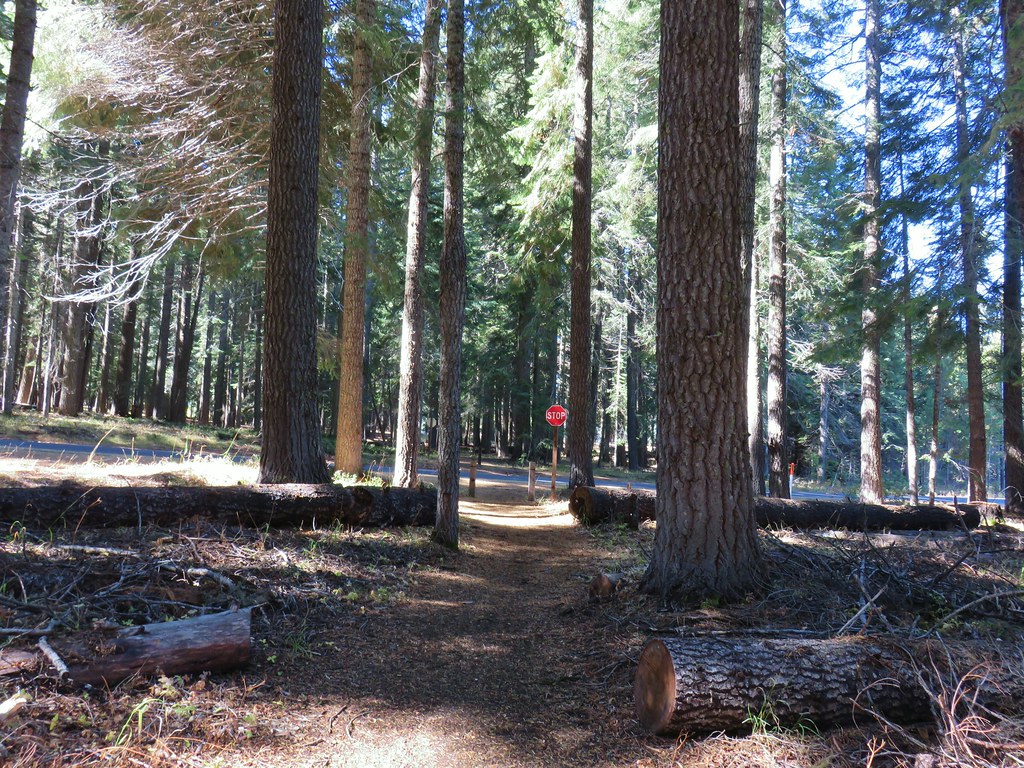
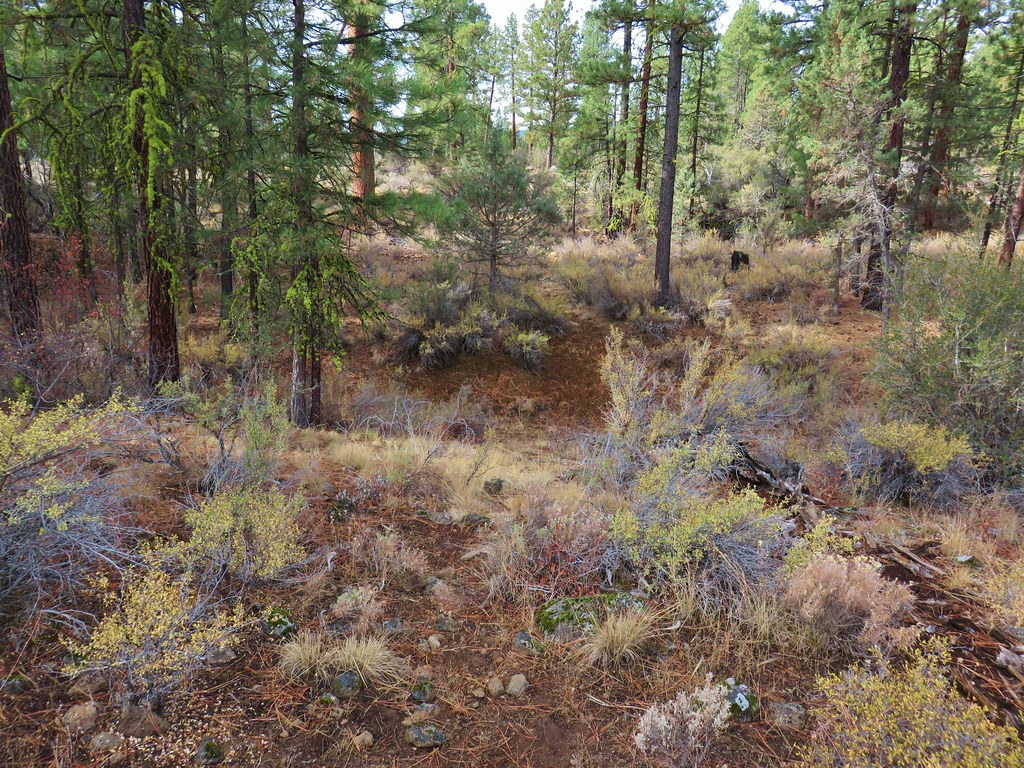
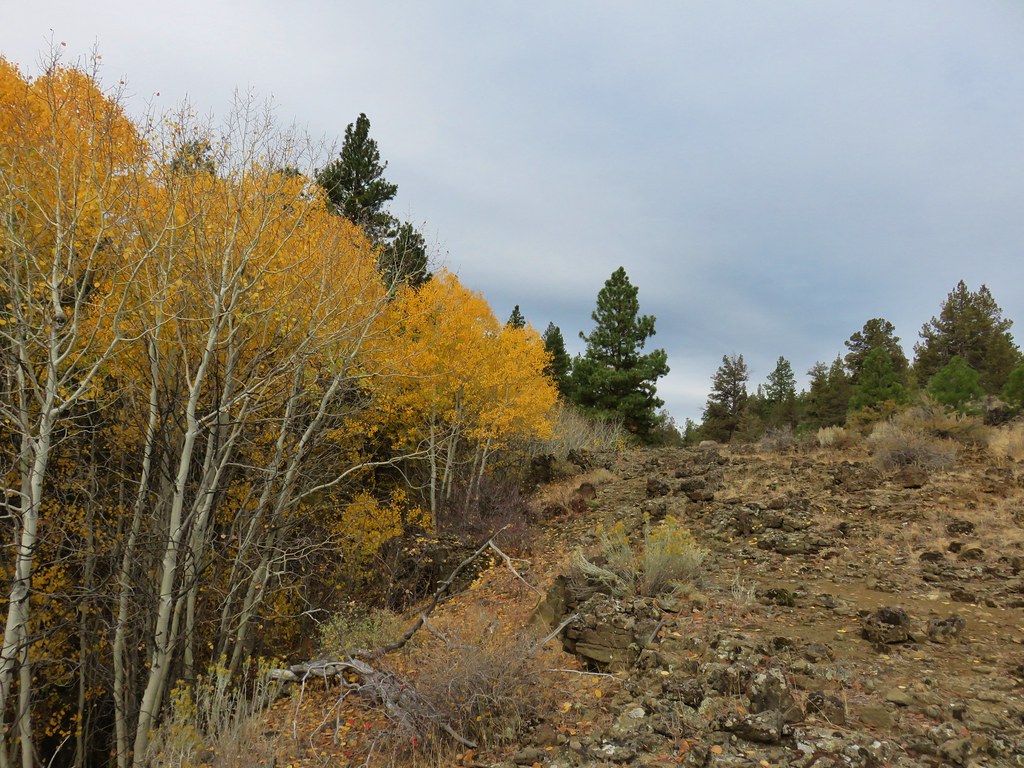
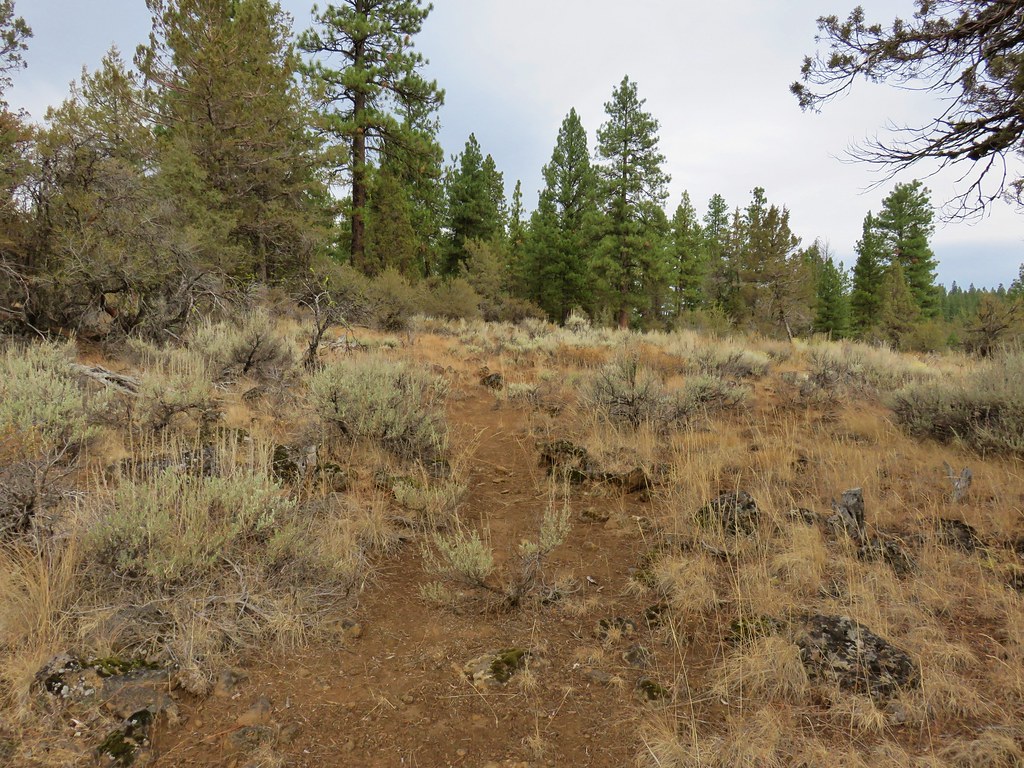
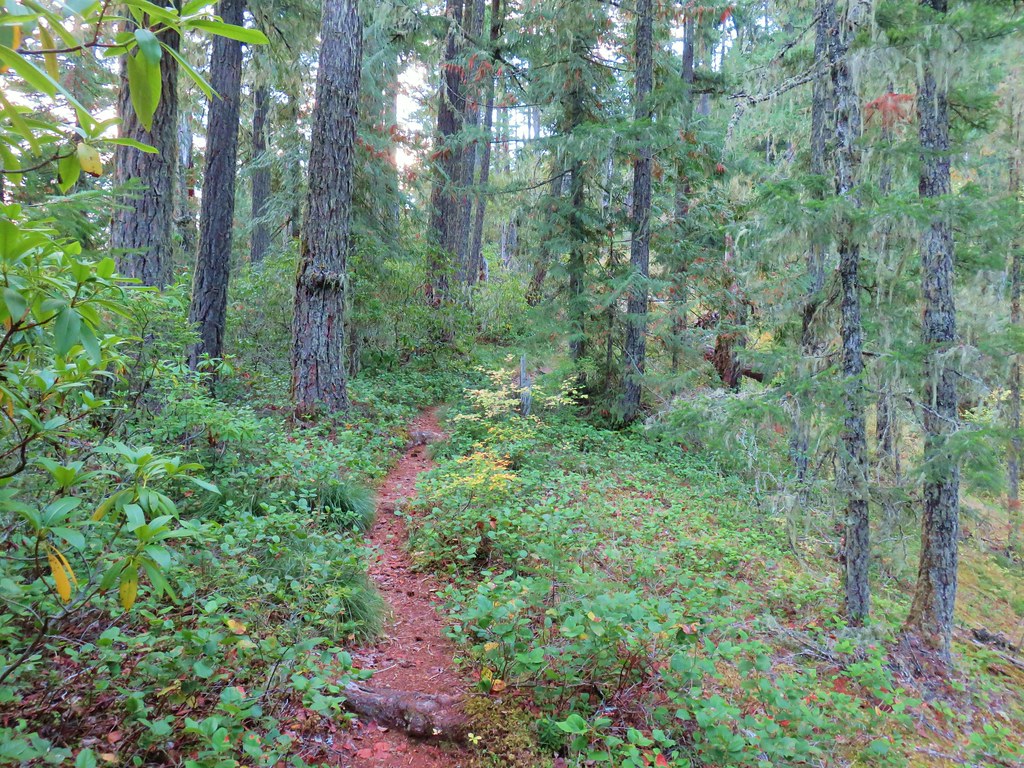
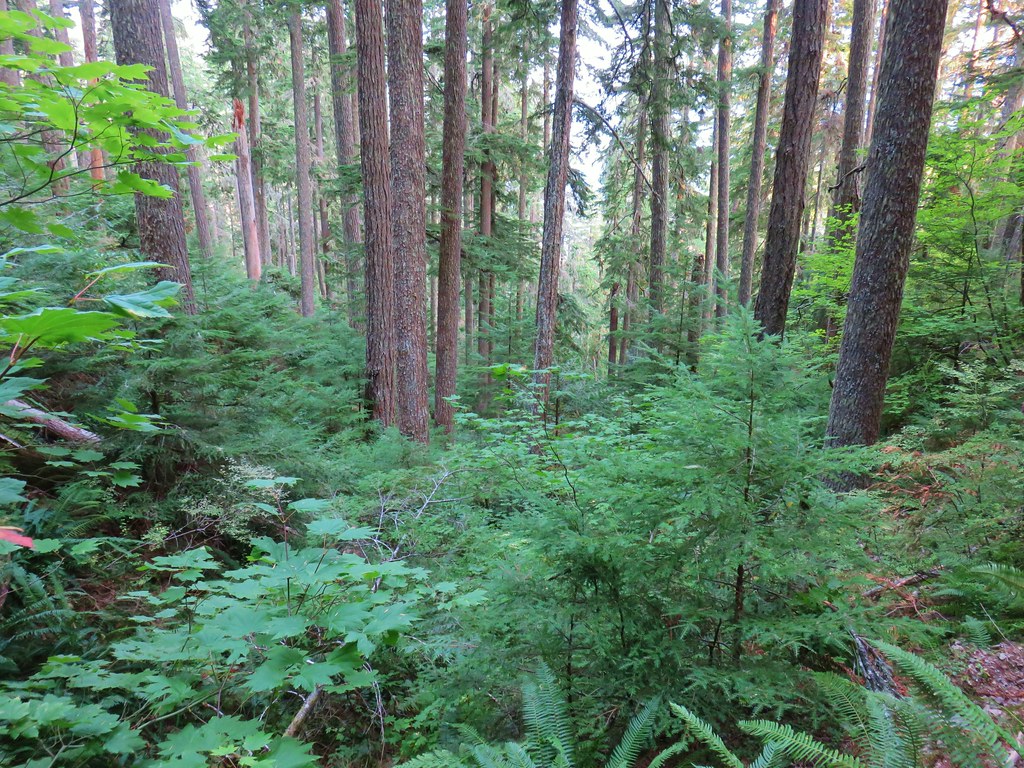
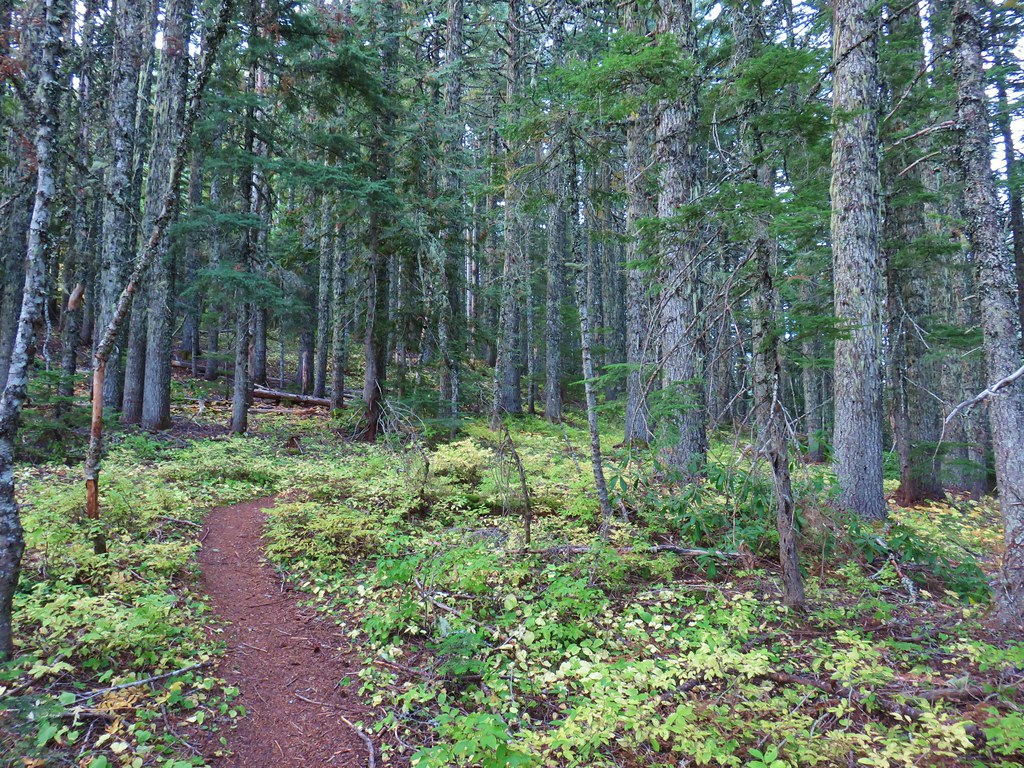
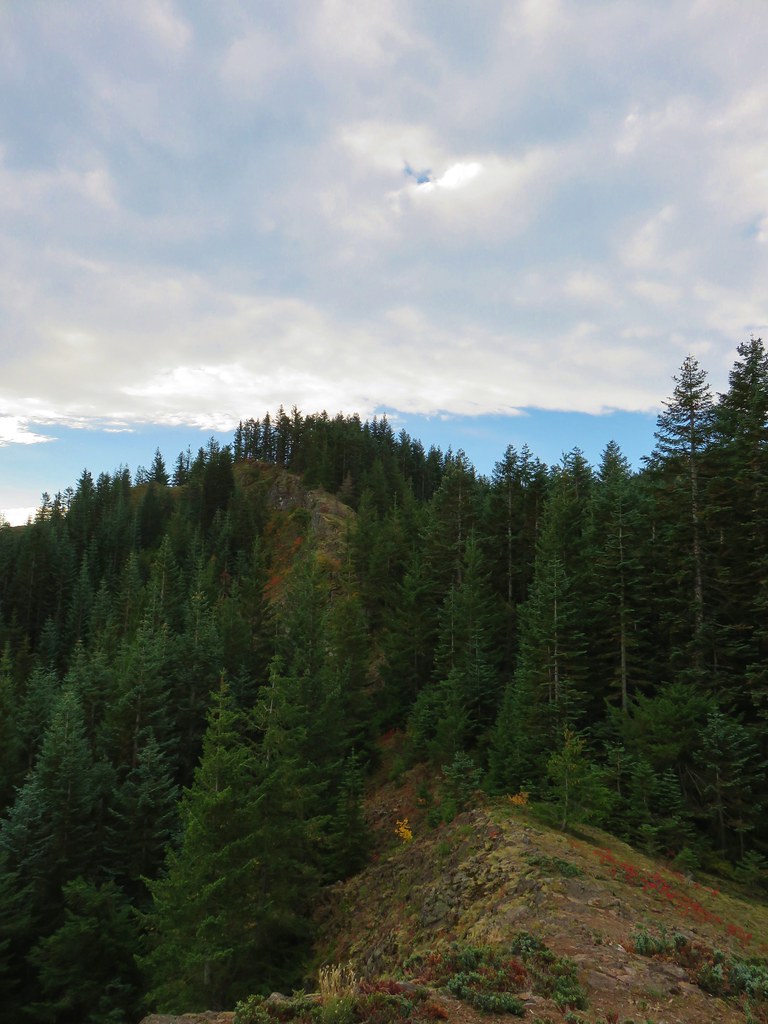
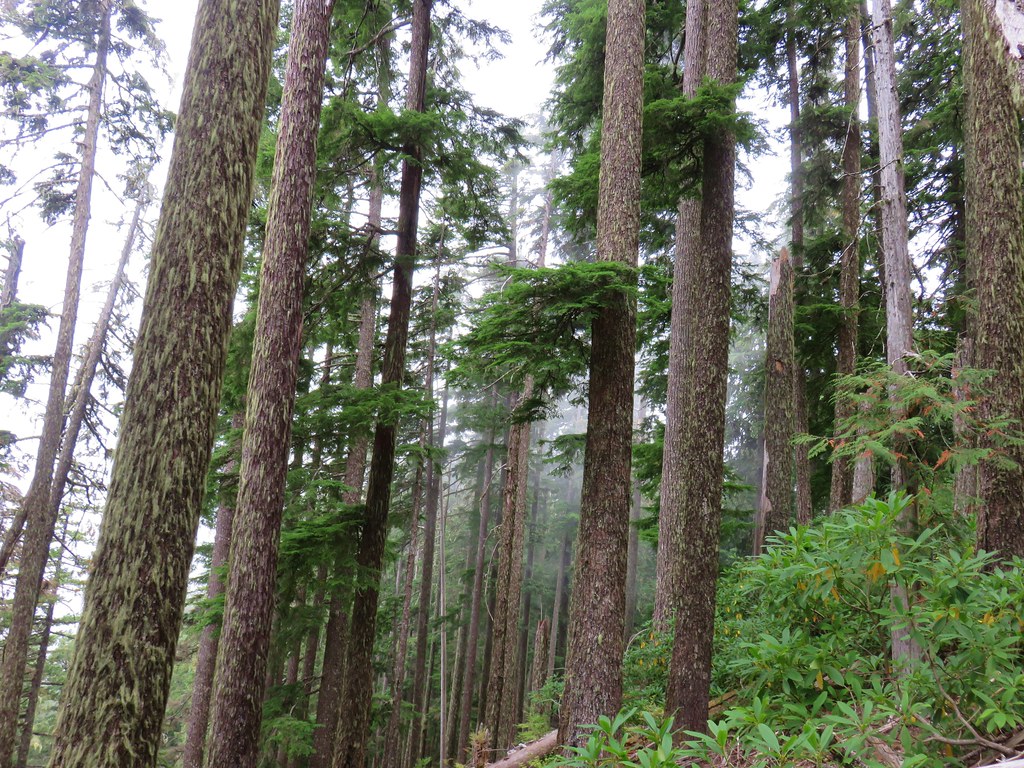
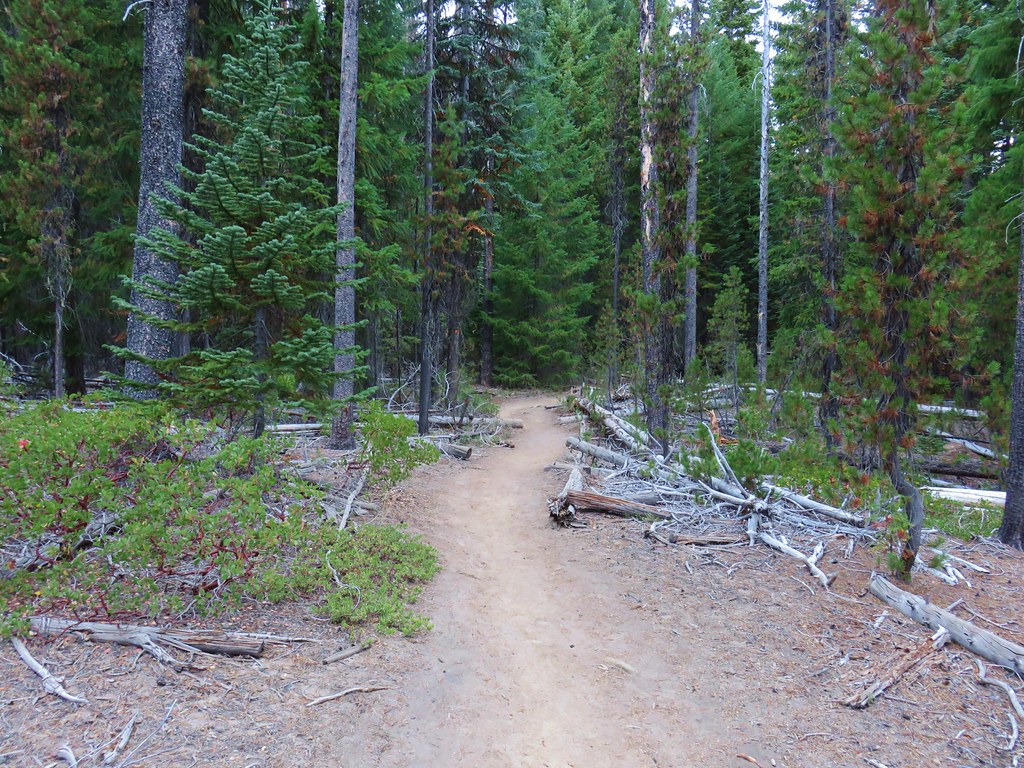
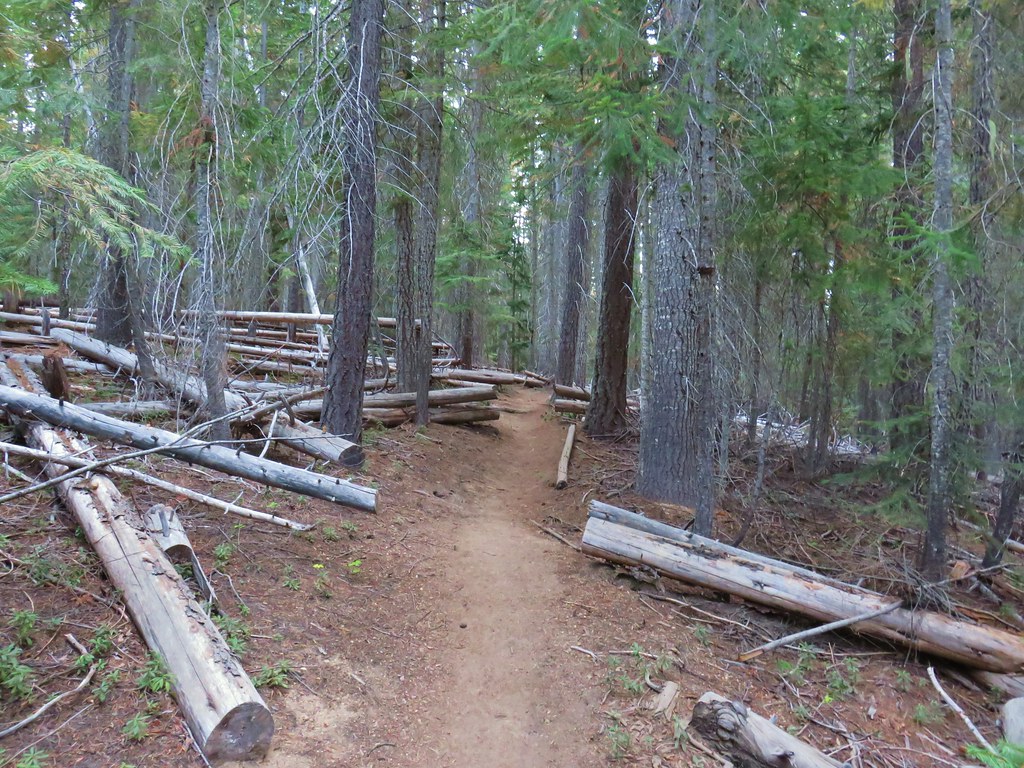
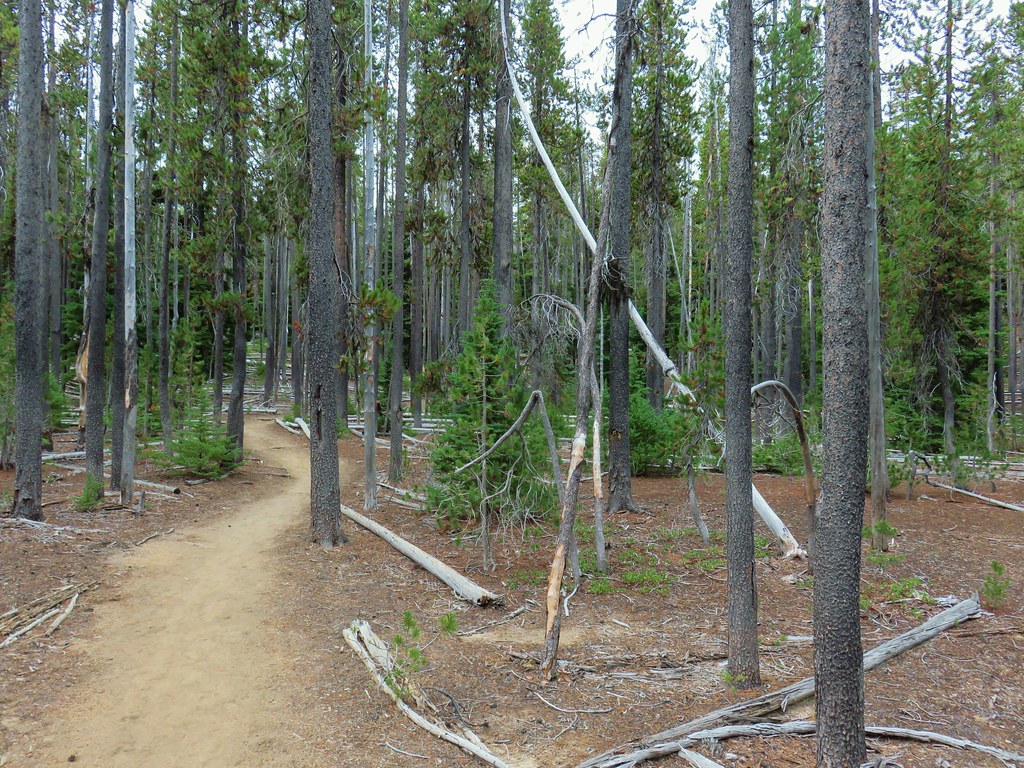
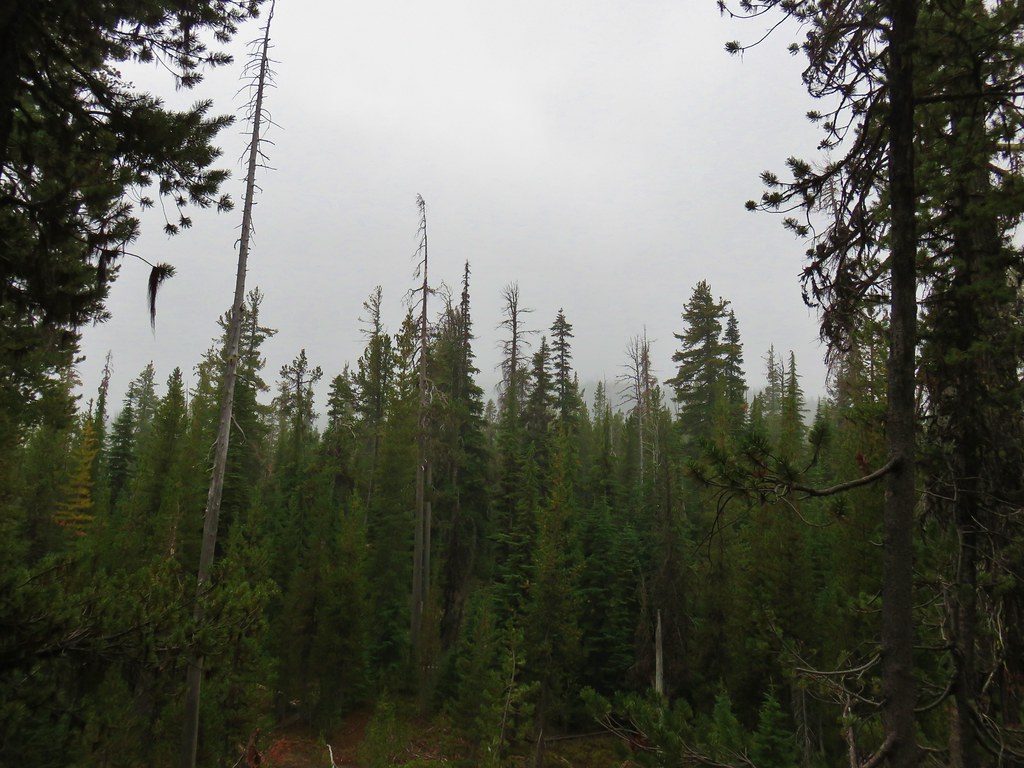
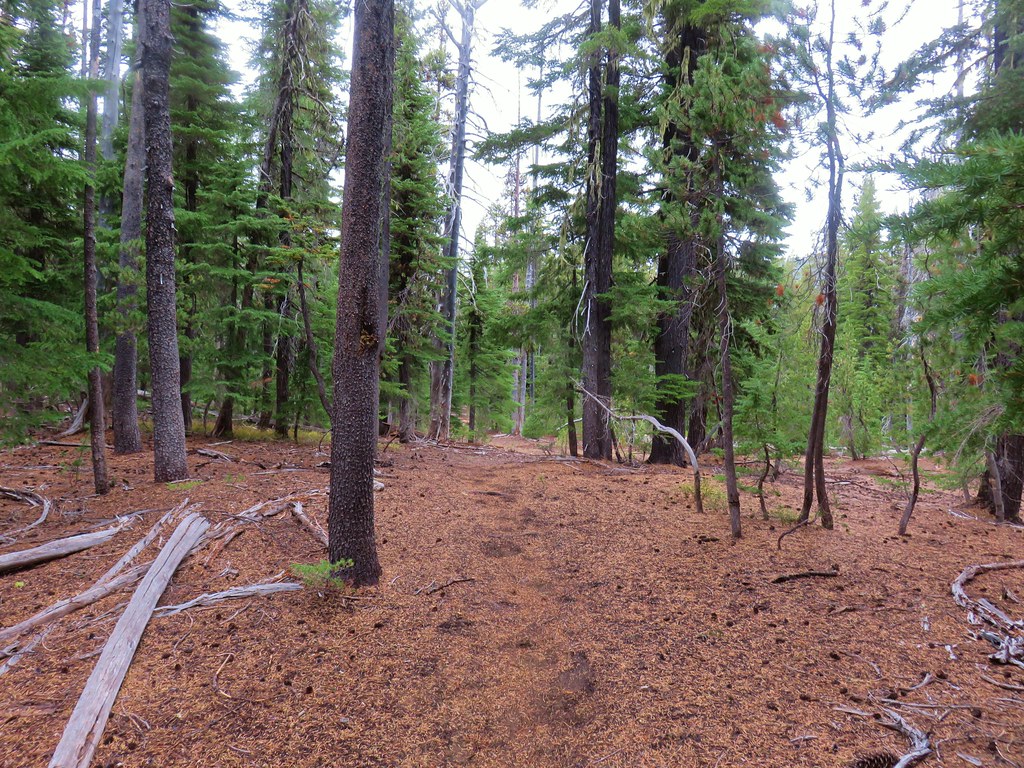
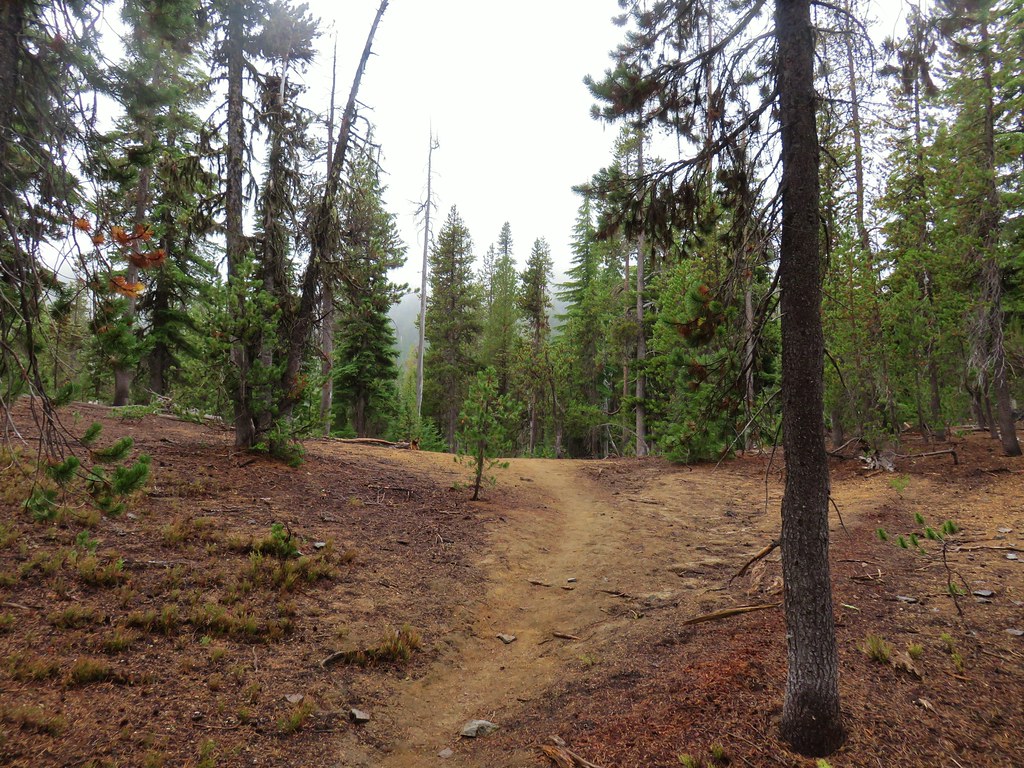
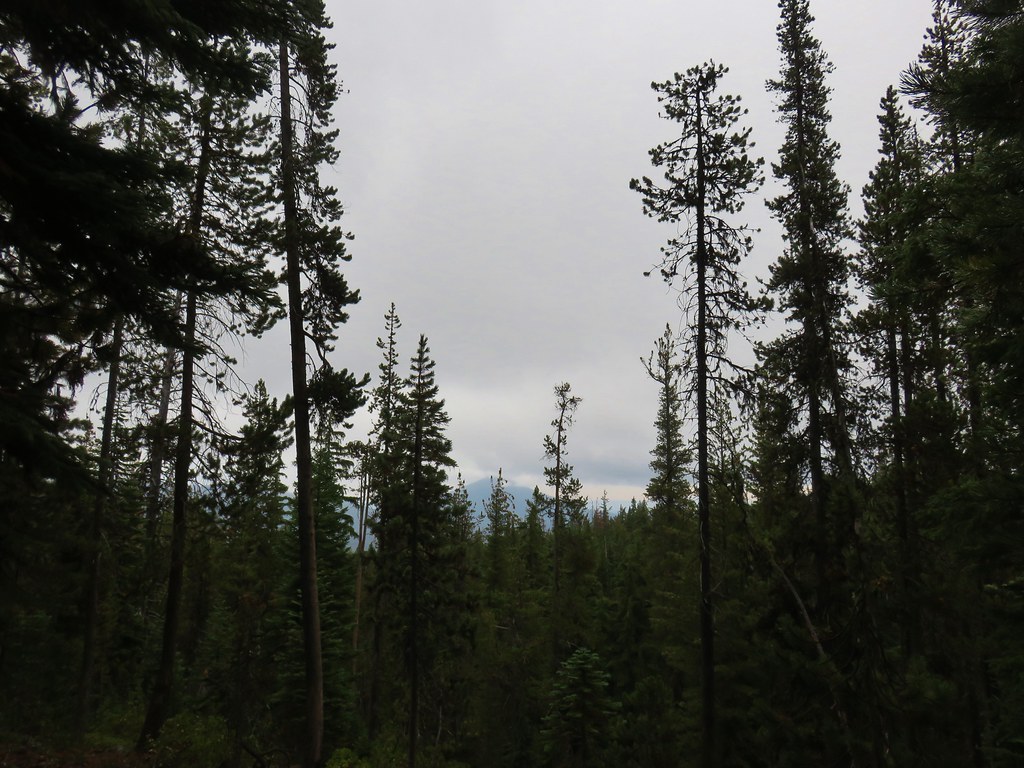
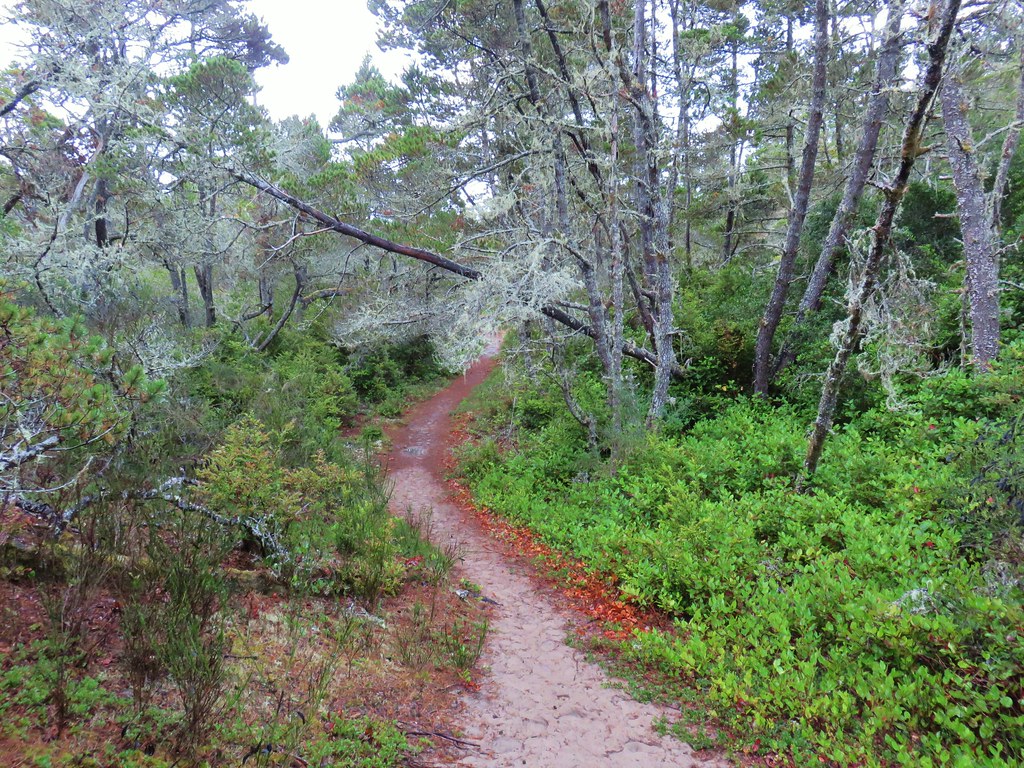
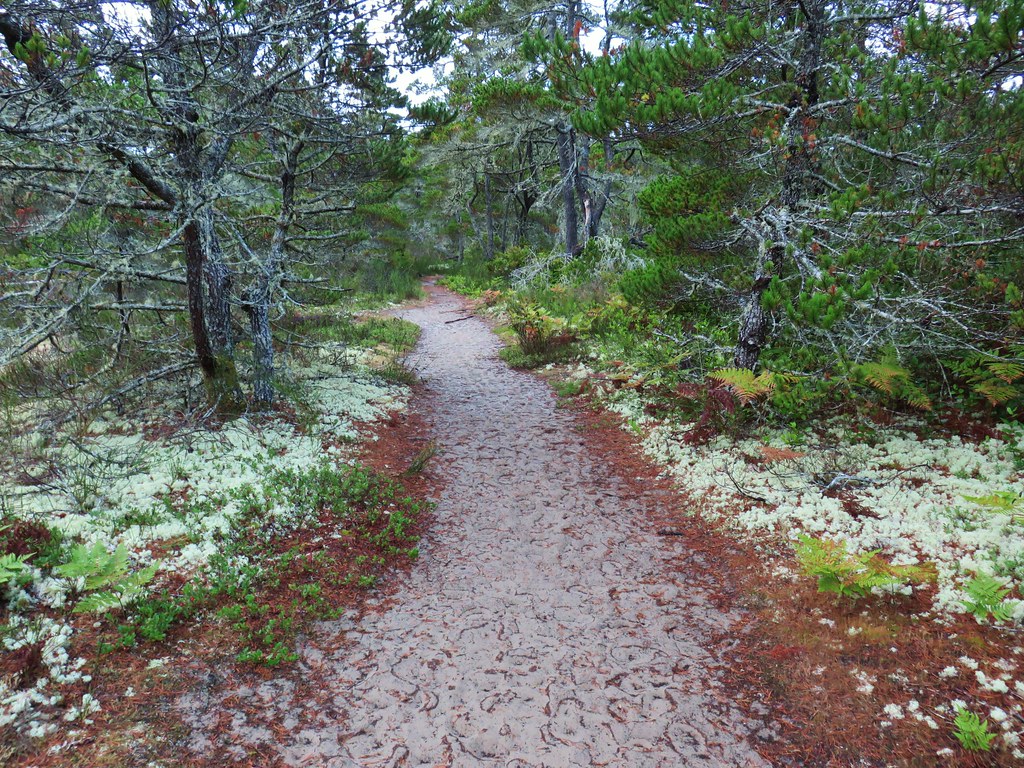
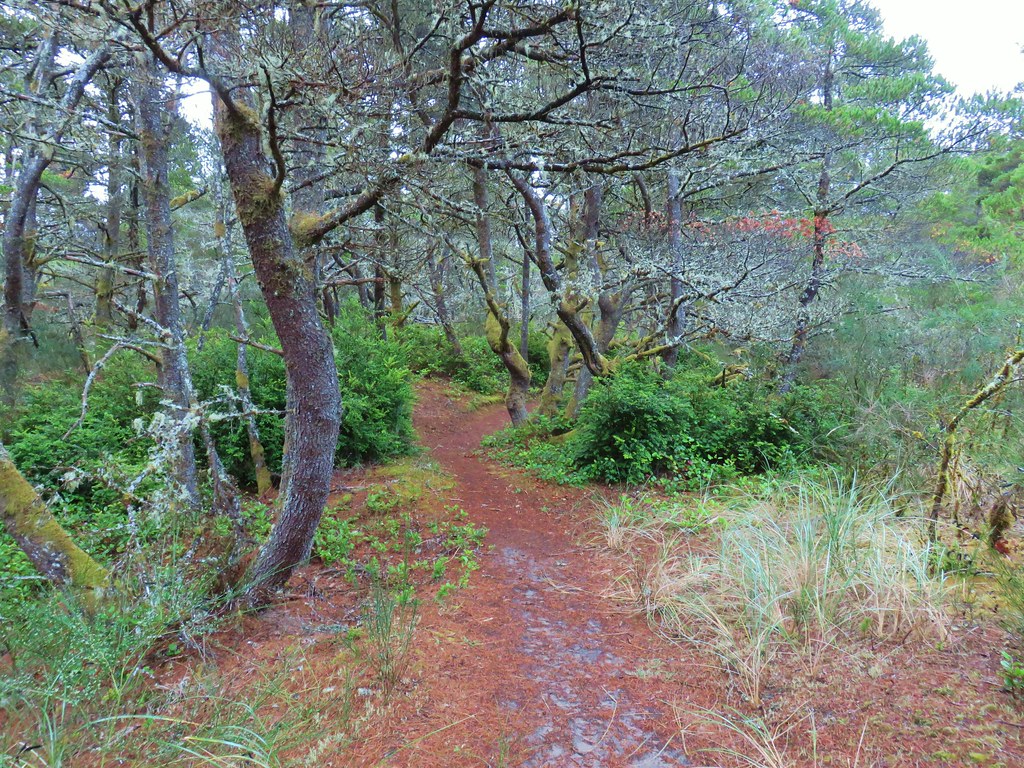
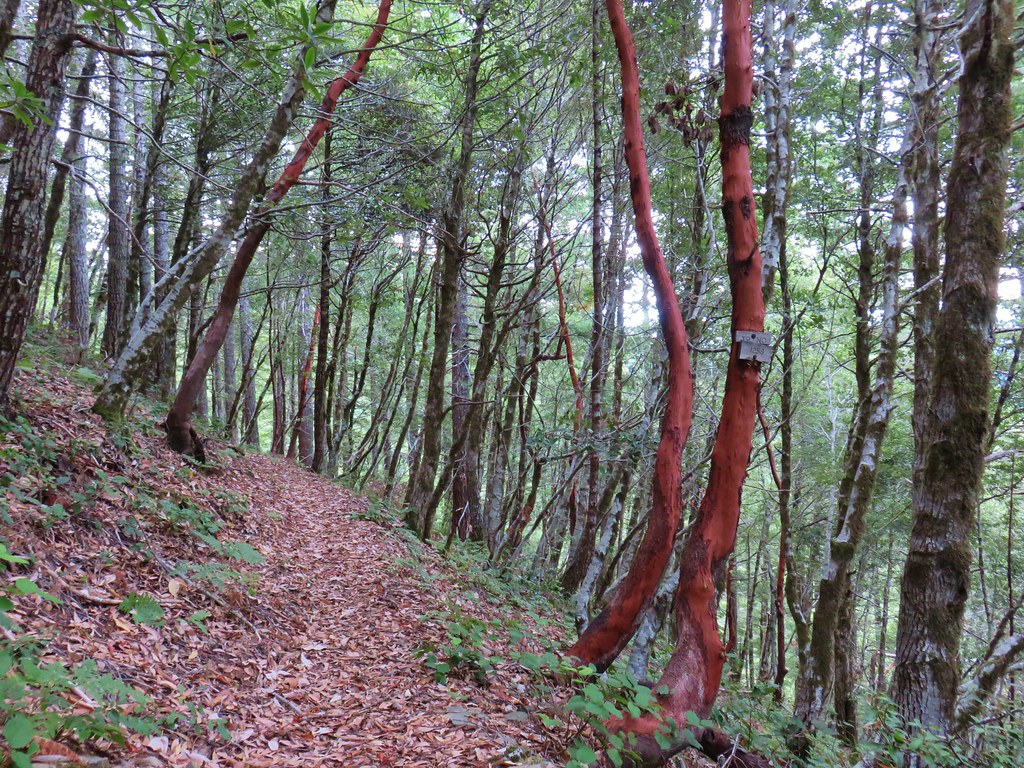
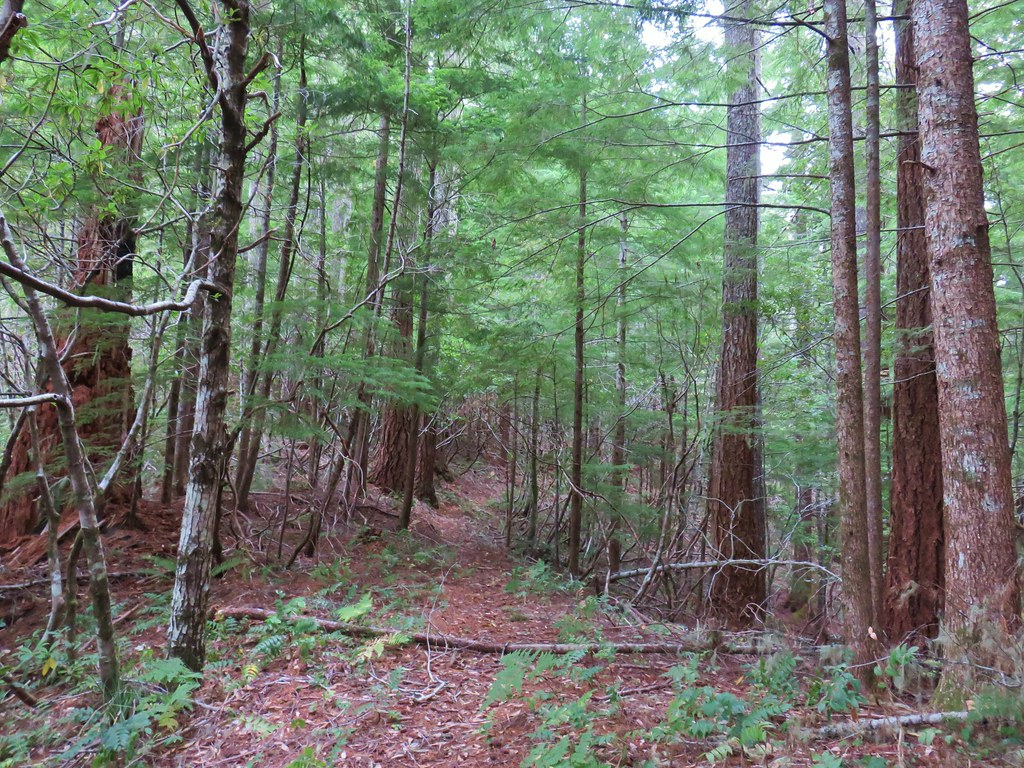
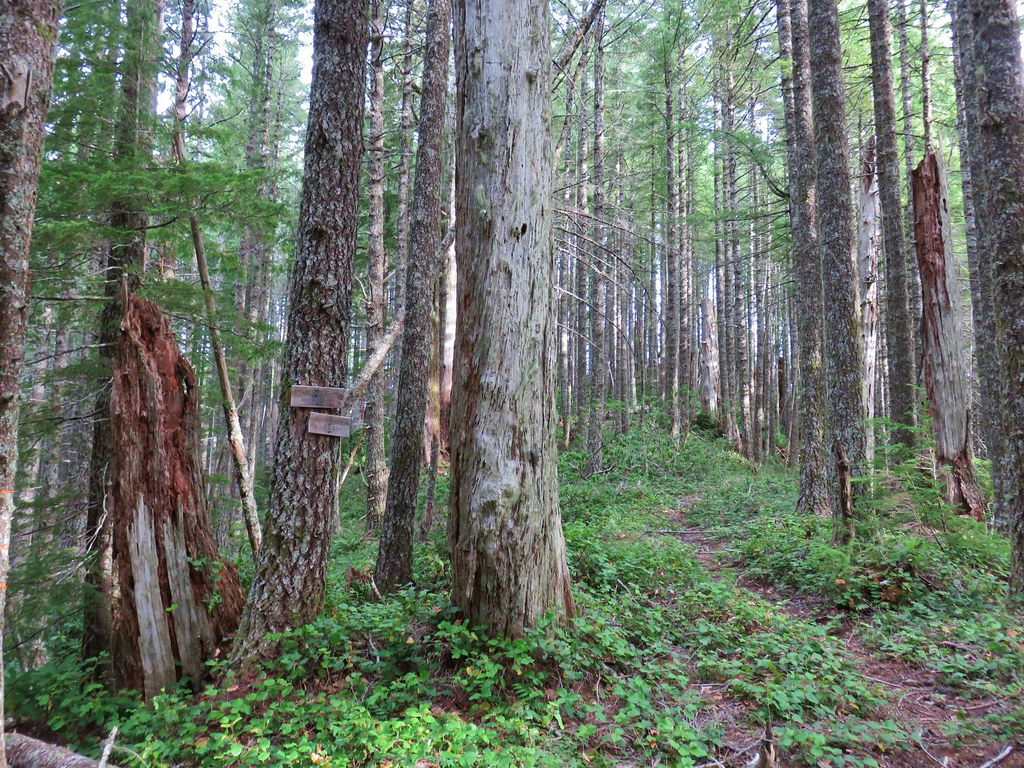
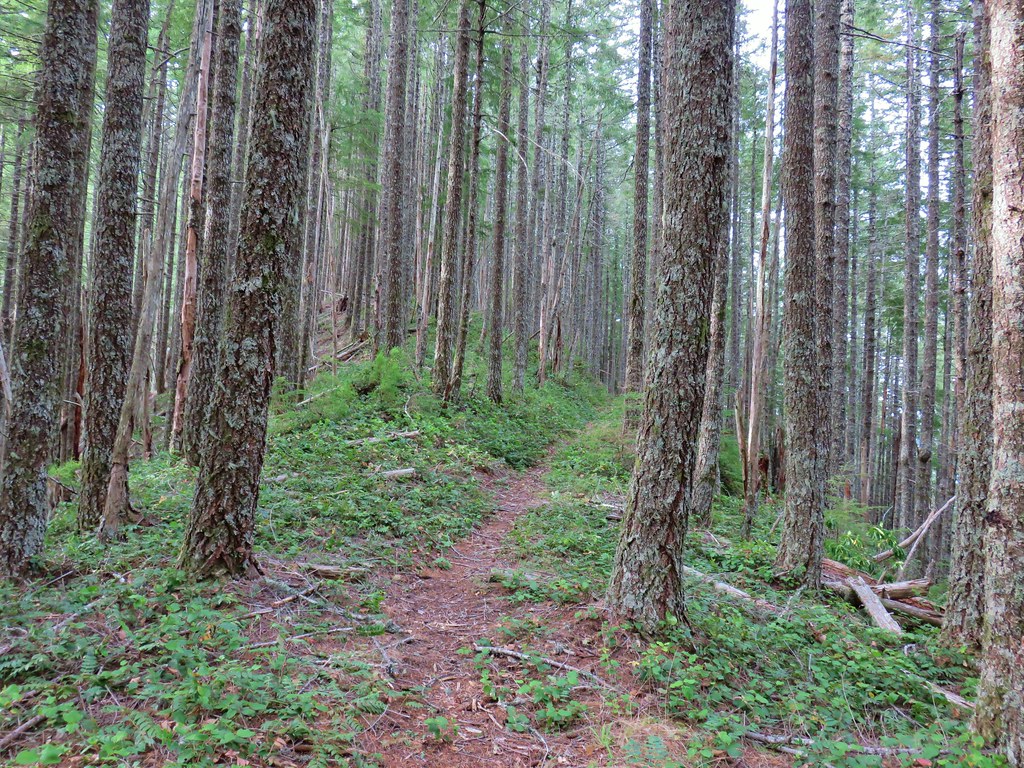
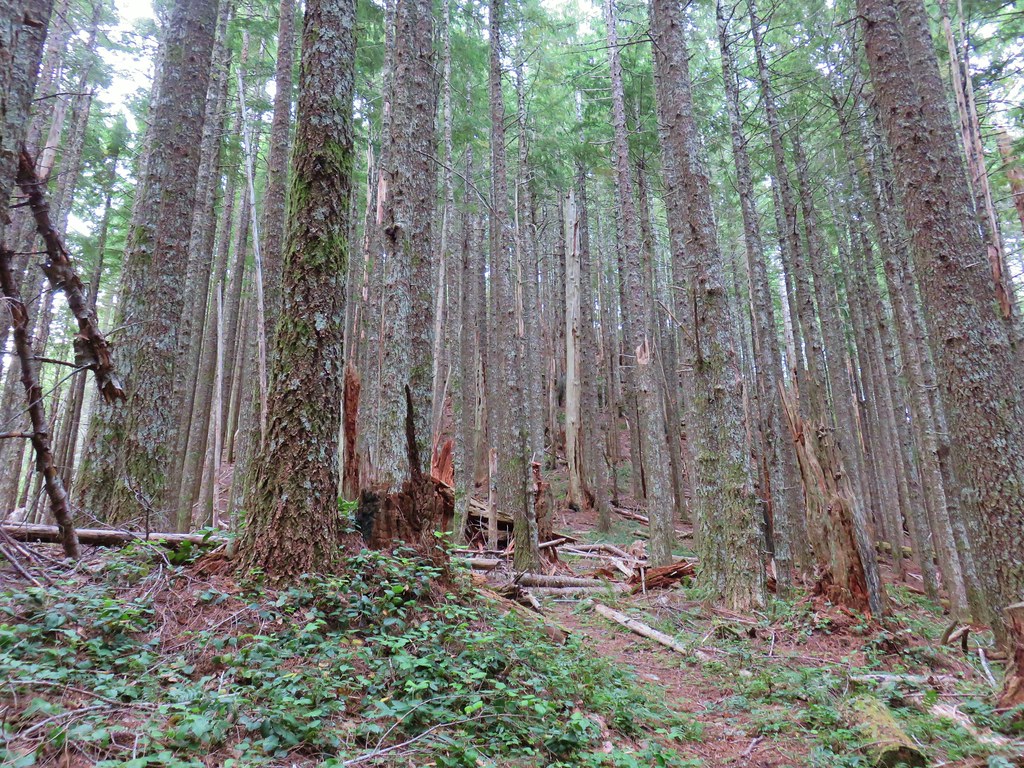
We followed the PCT north climbing gradually through the forest which looked quite different from the forest along Falls Creek just a few miles away.

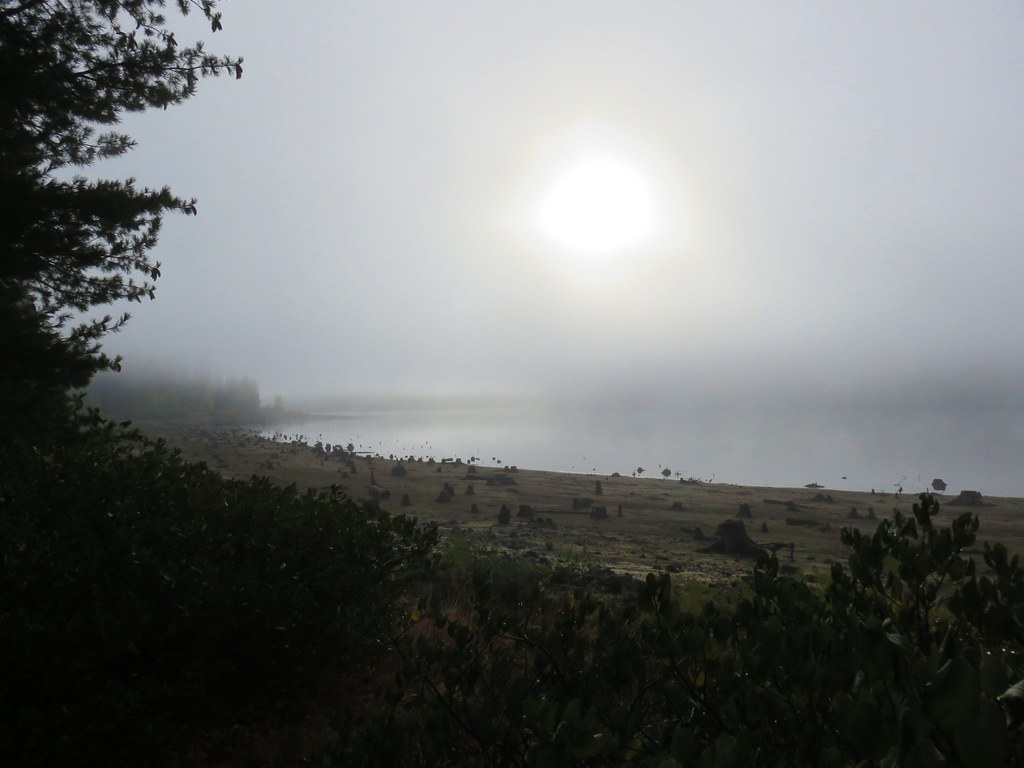
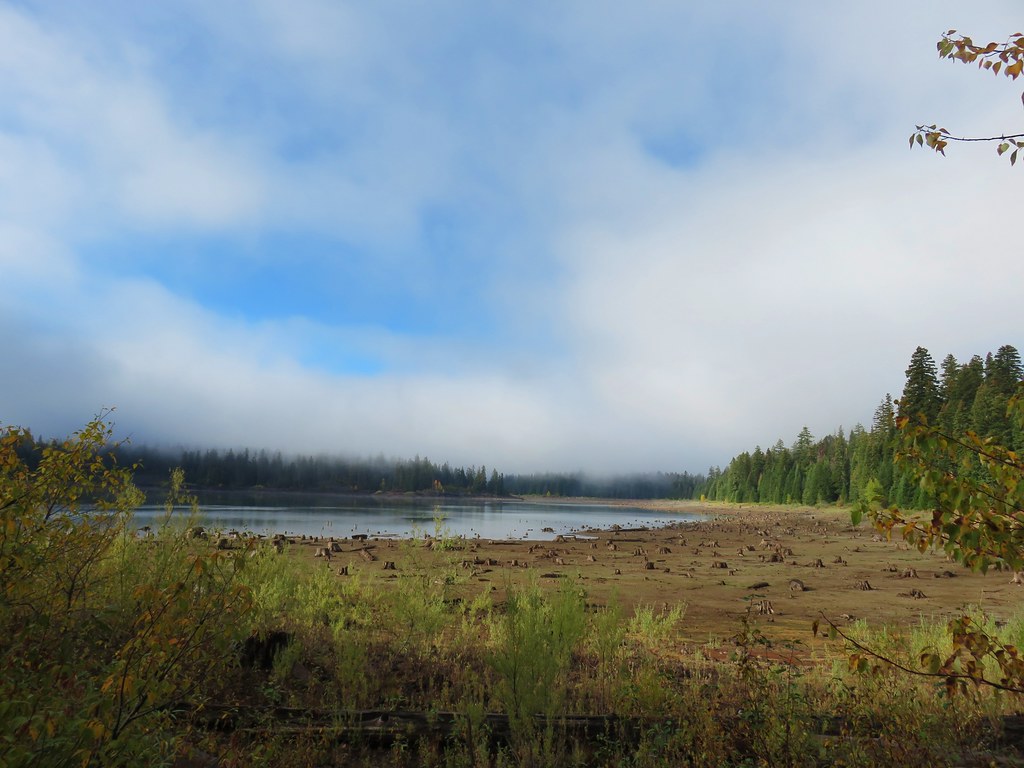
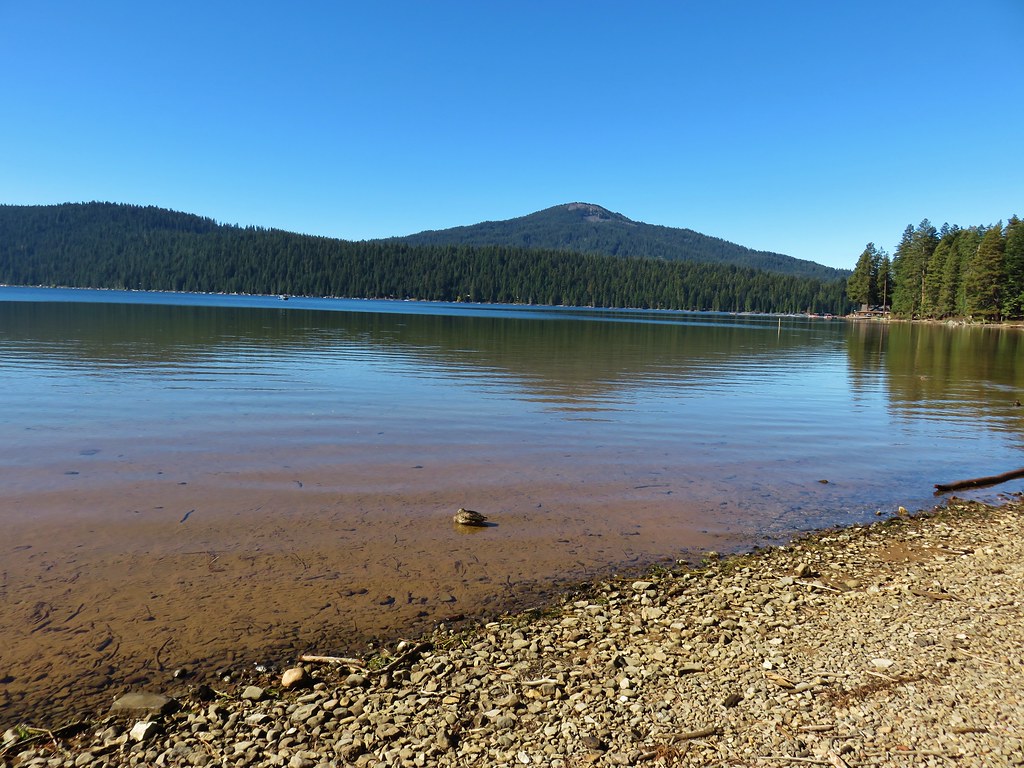
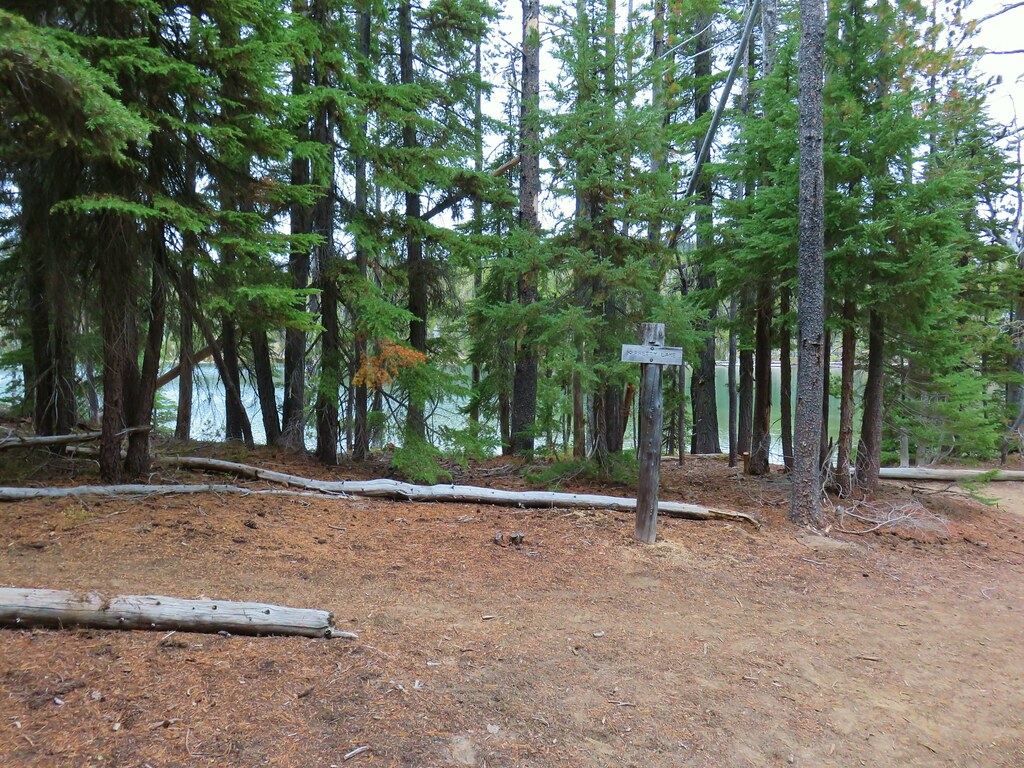
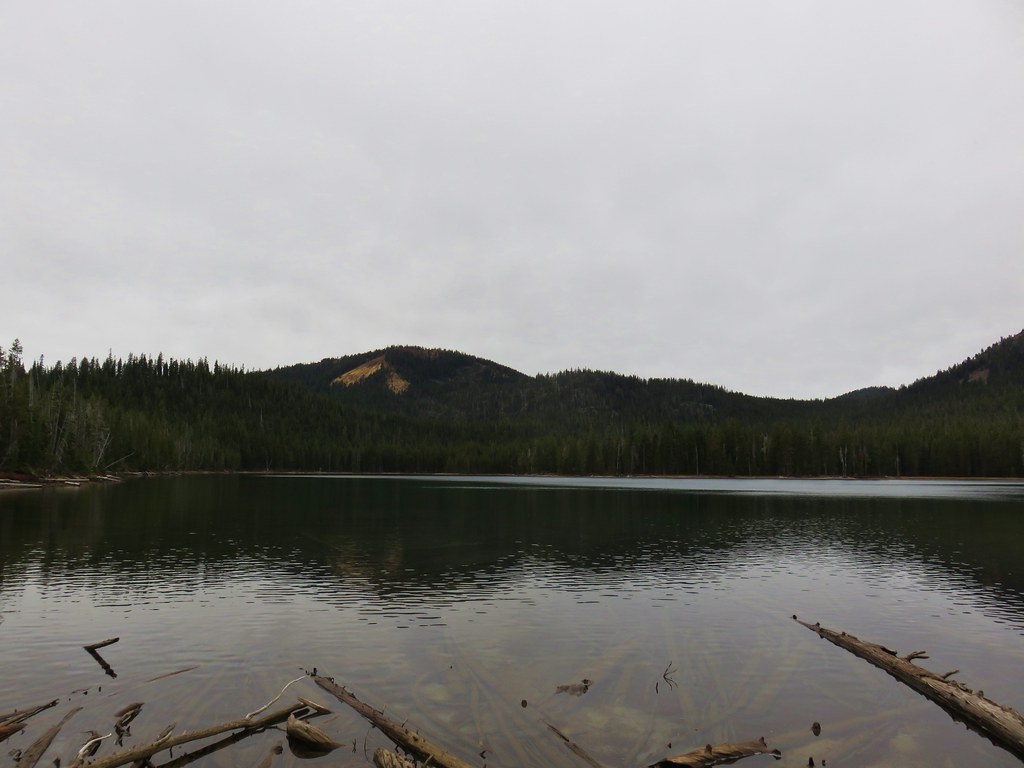
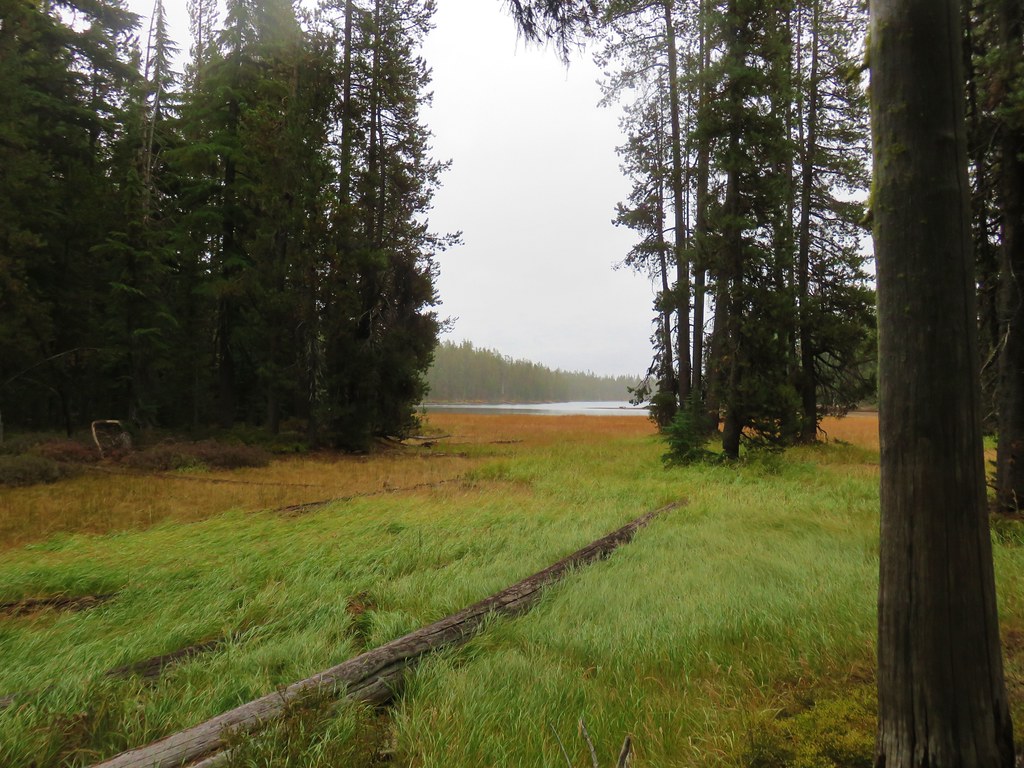
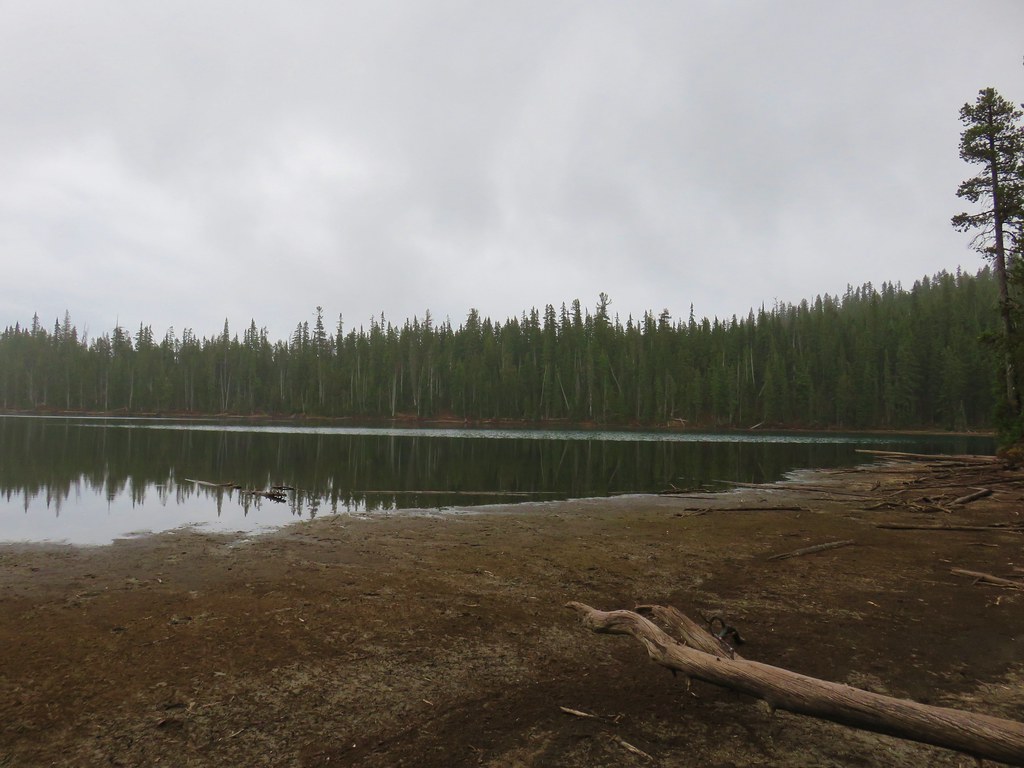
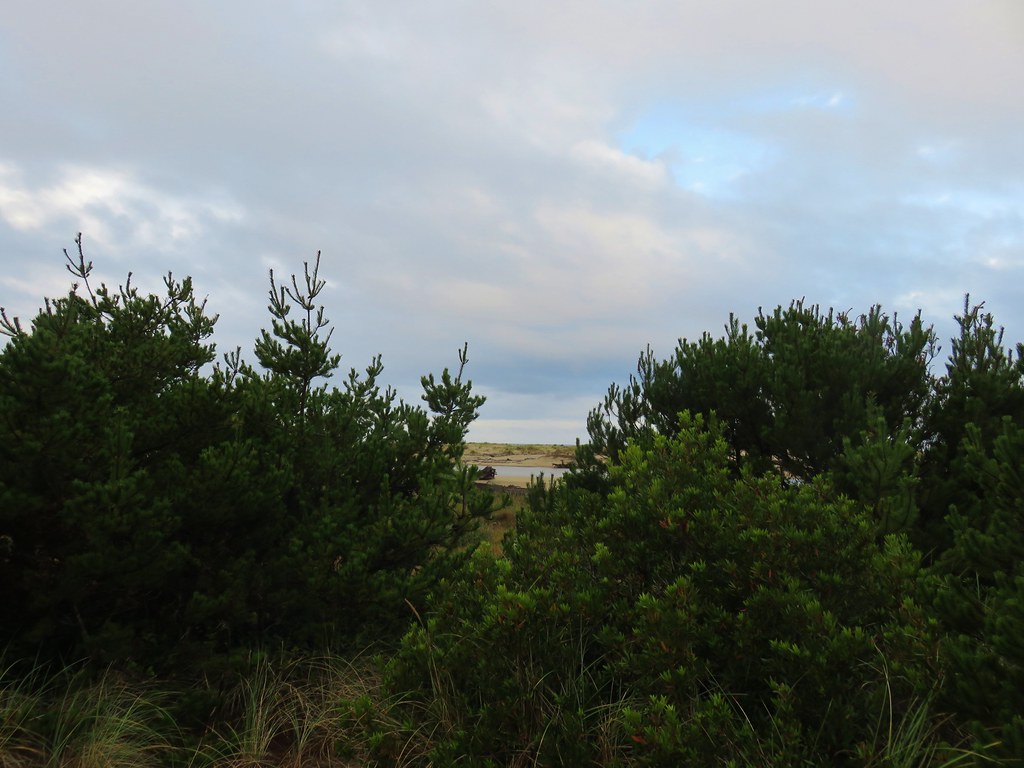
A little over 1.75 miles from the trailhead we passed one of the small Sheep Lakes.

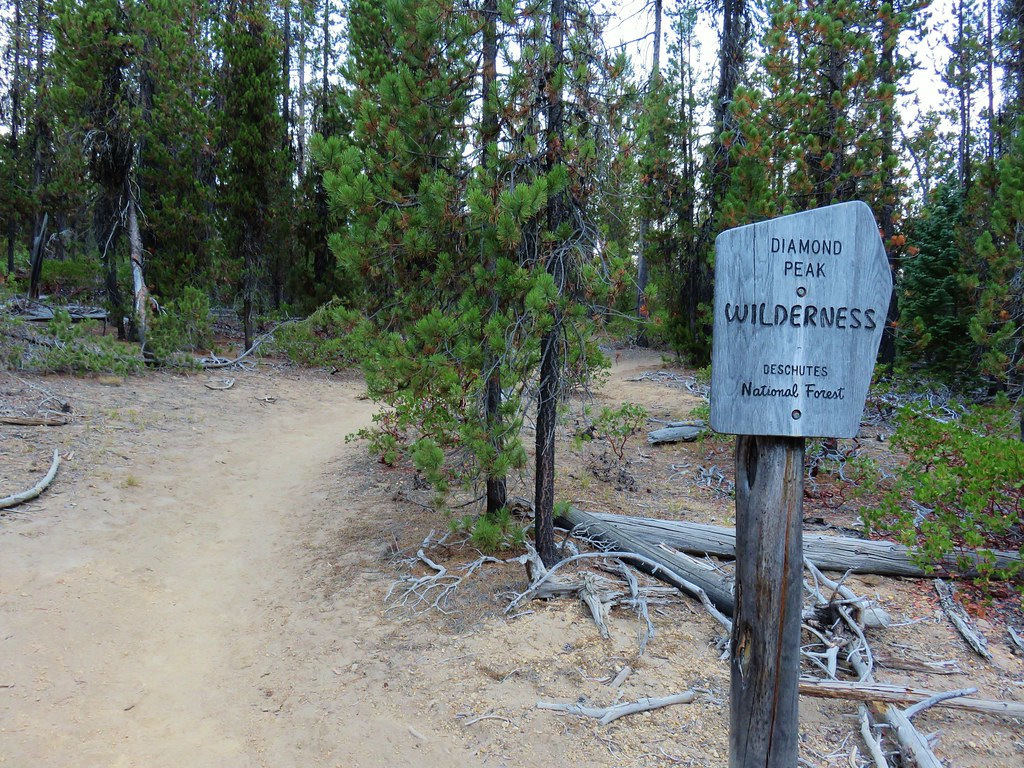
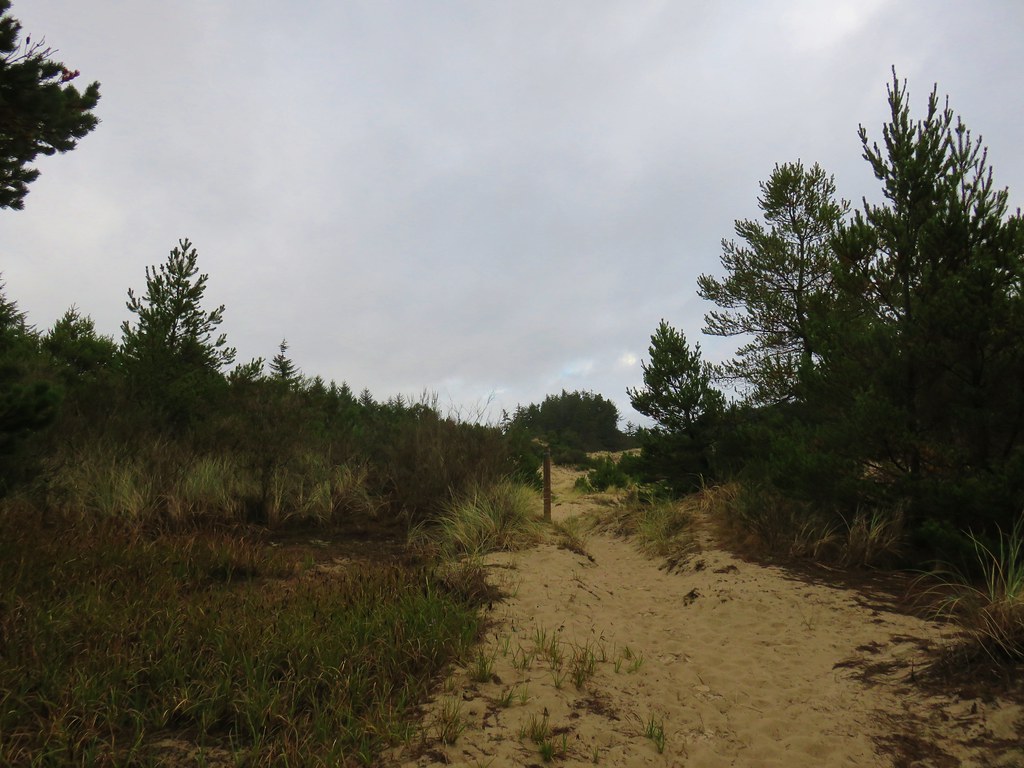
A quarter mile later we entered the Indian Heaven Wilderness.
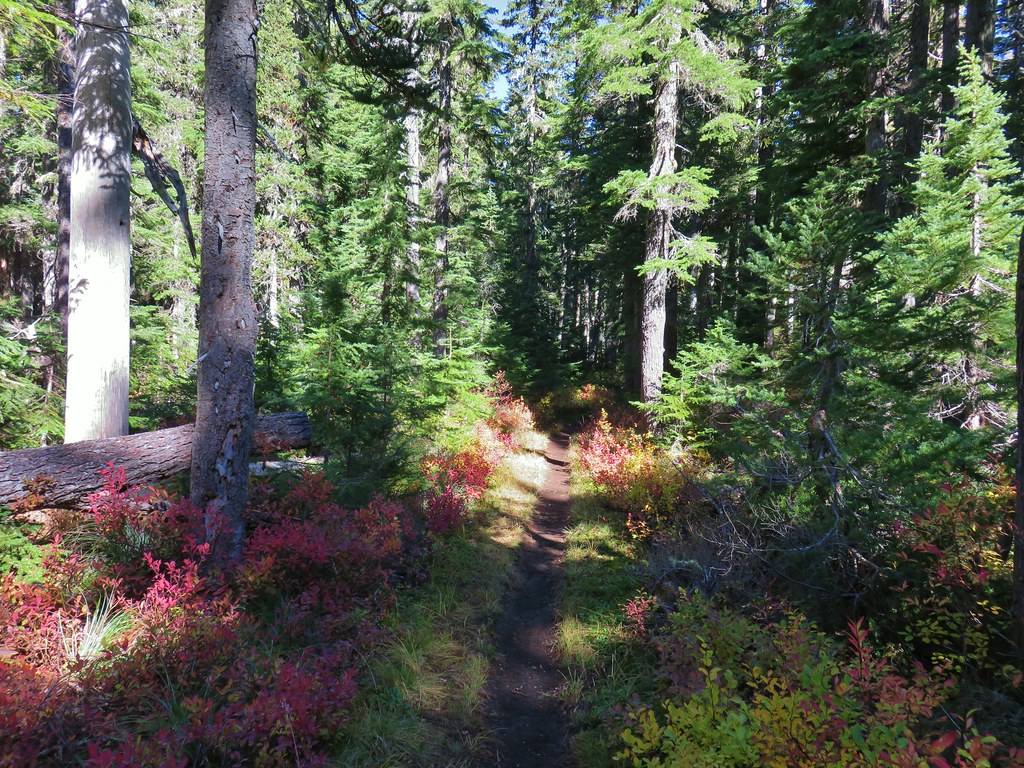
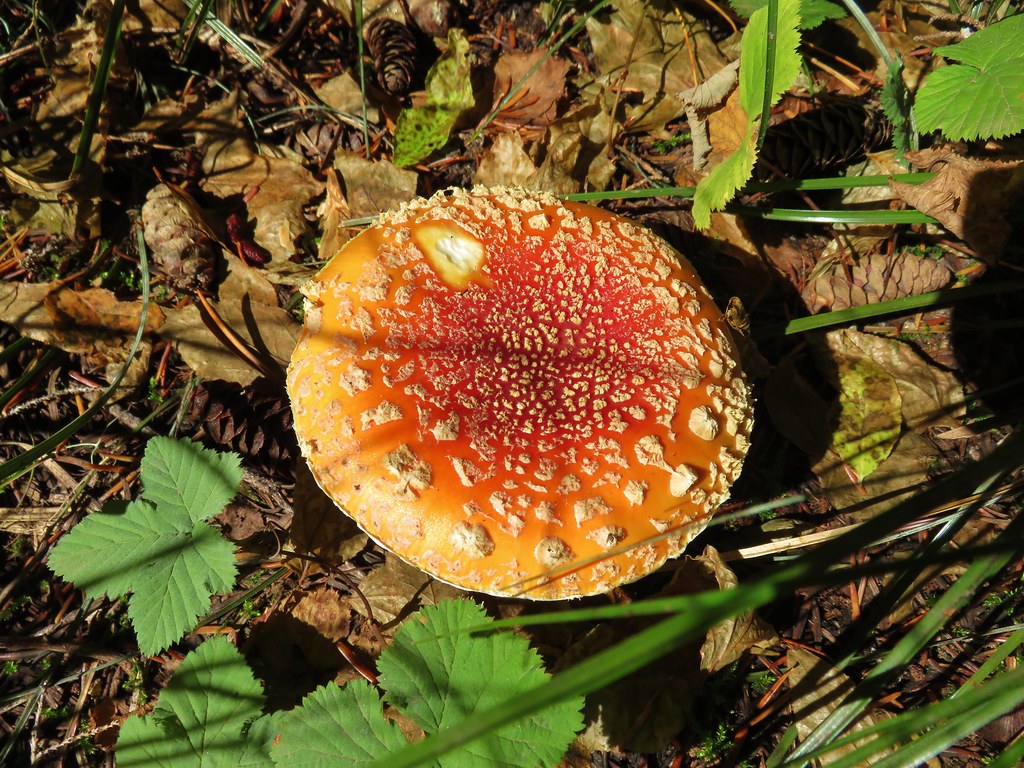
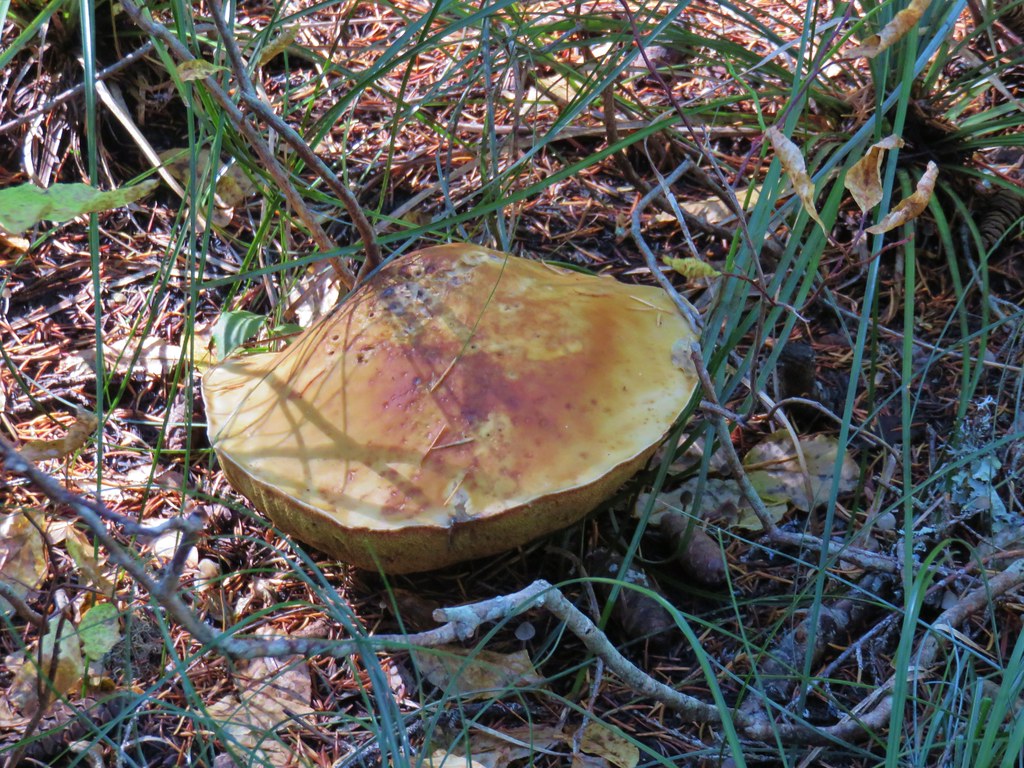
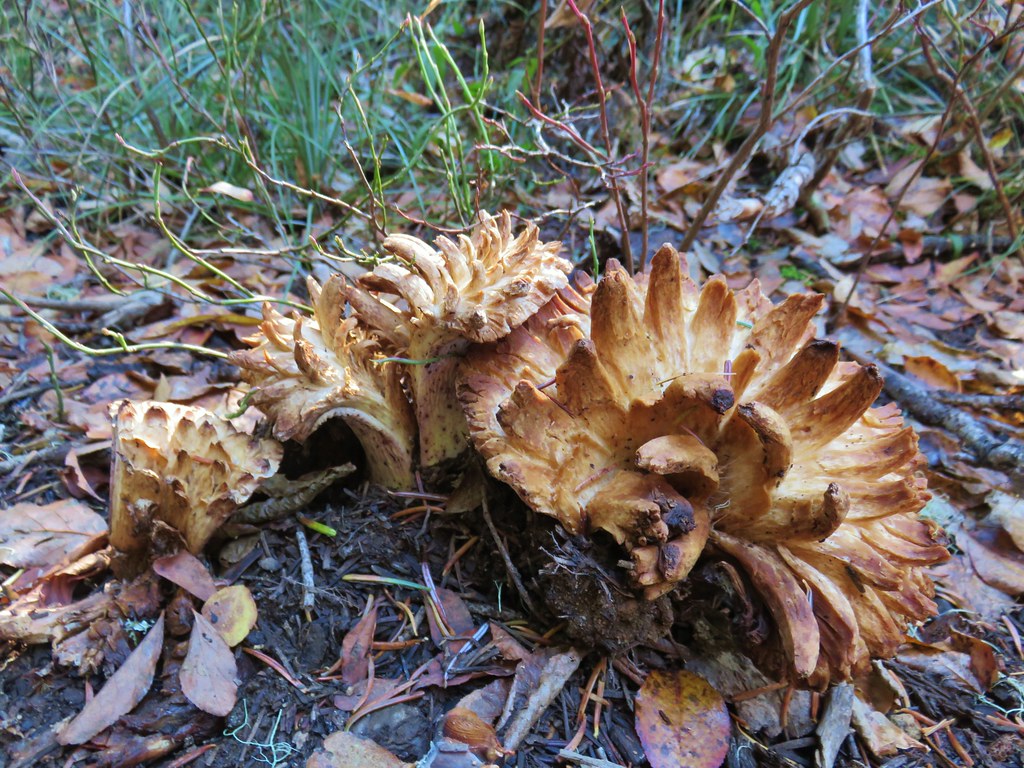
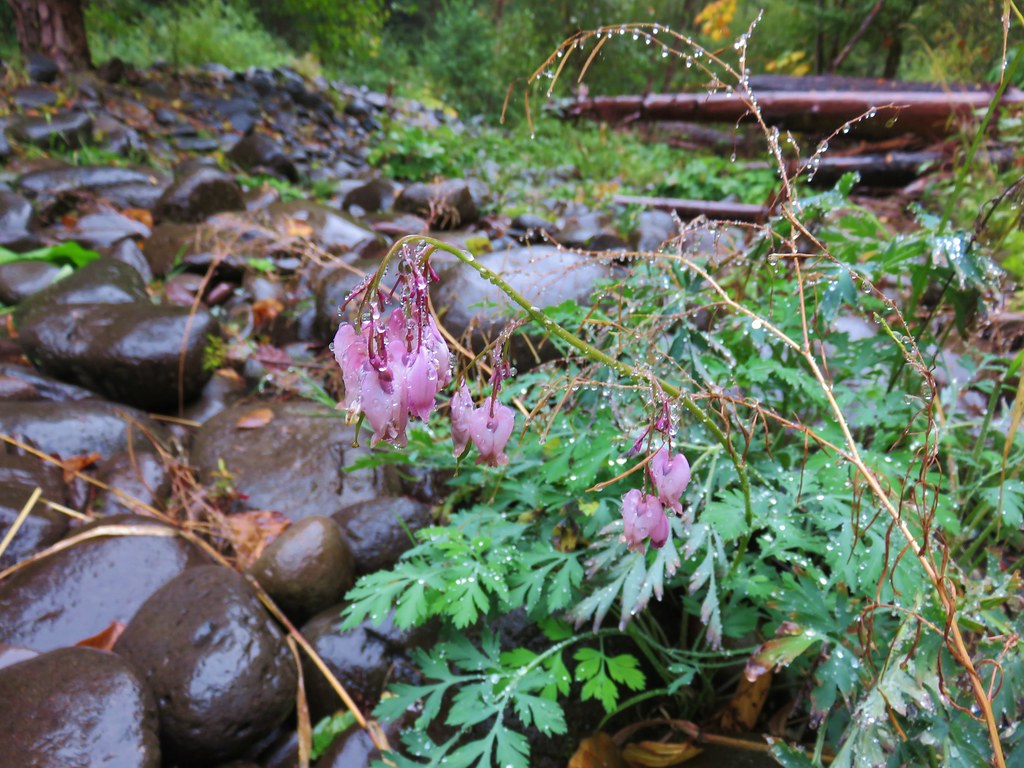
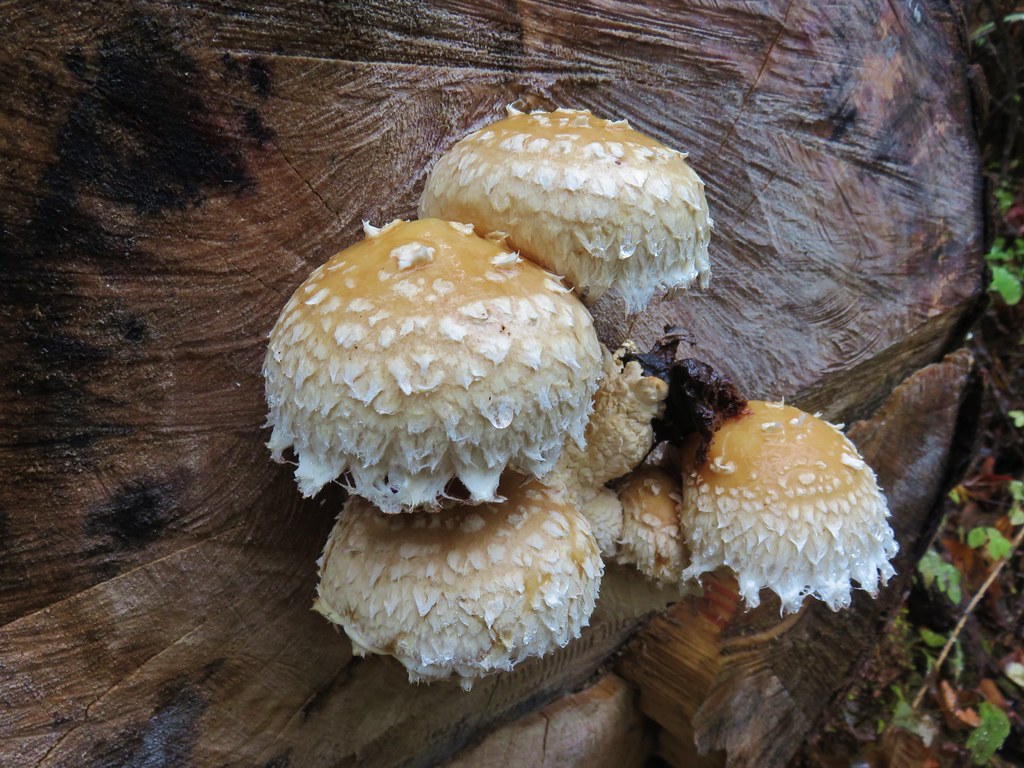
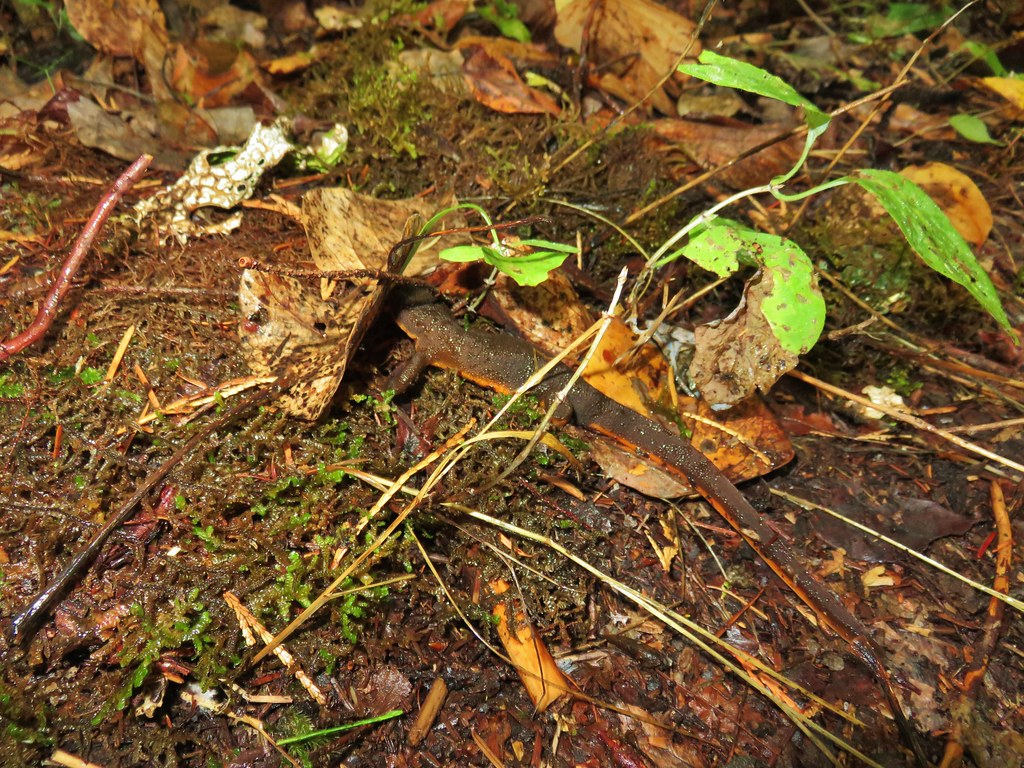
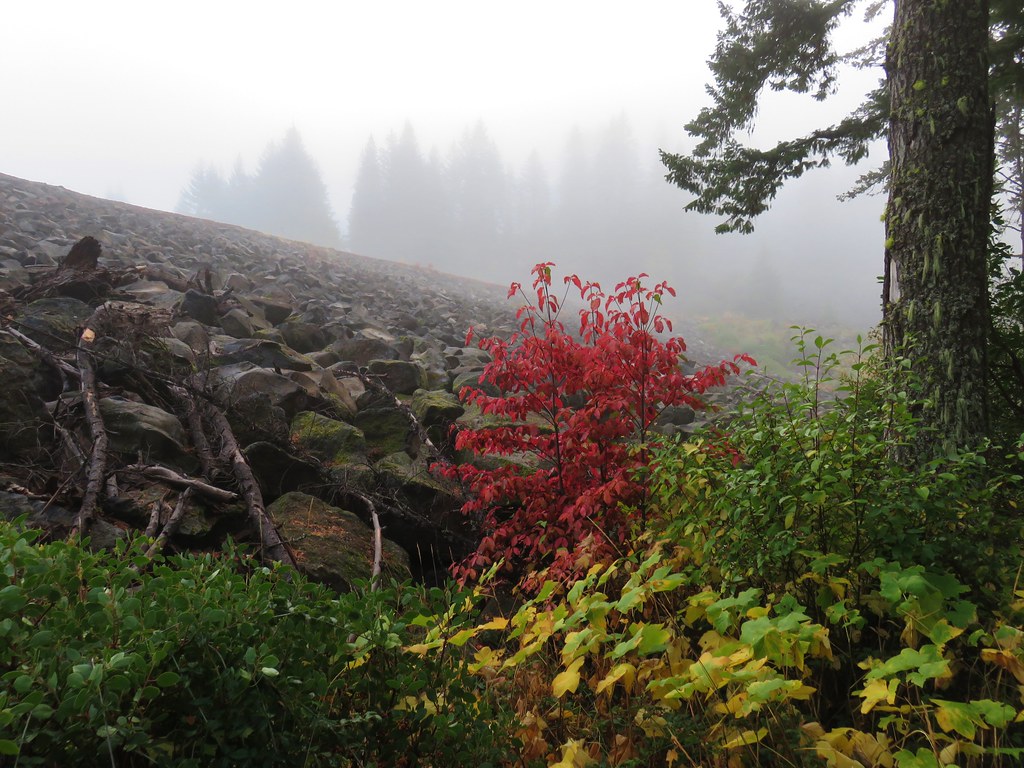
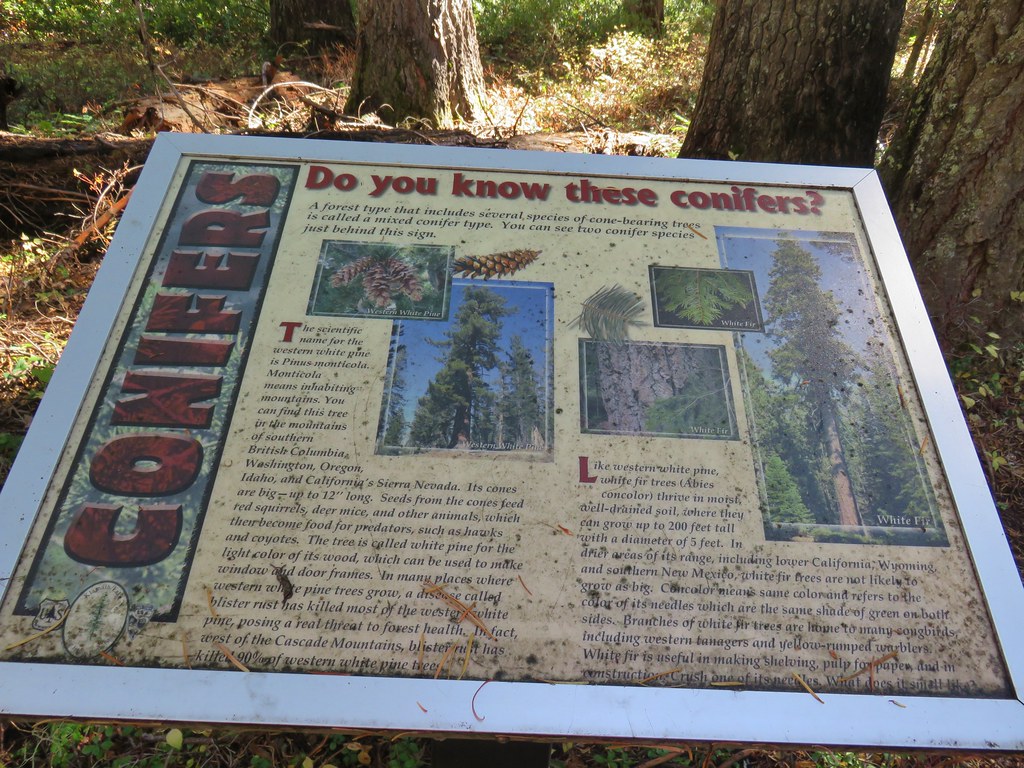
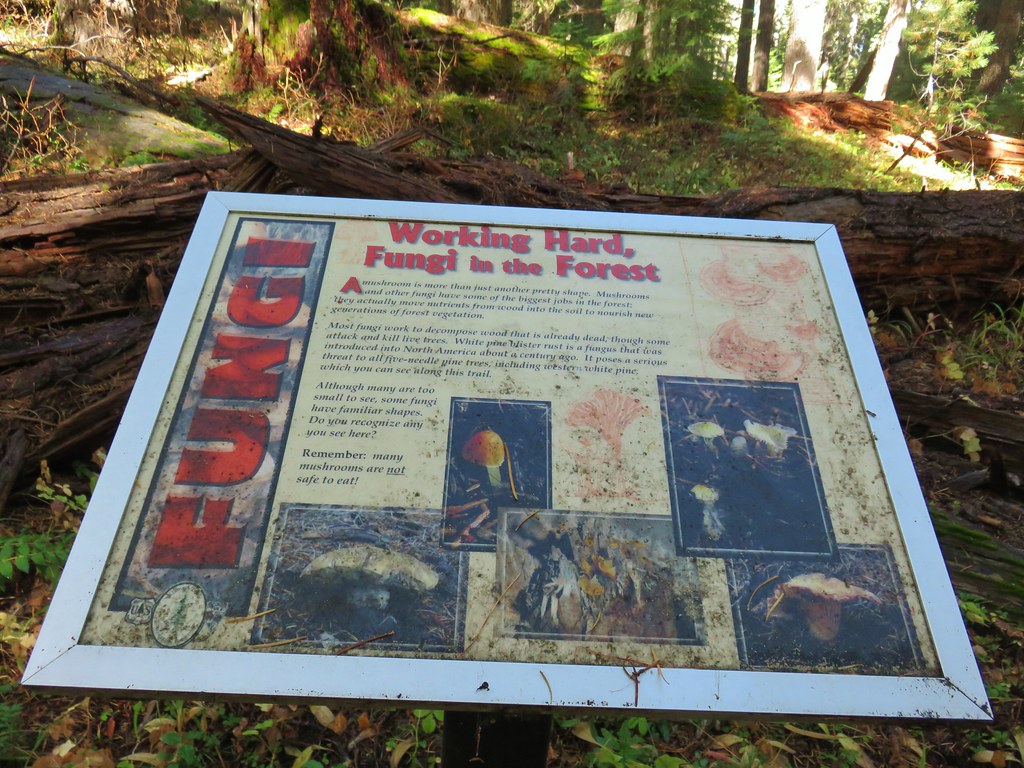
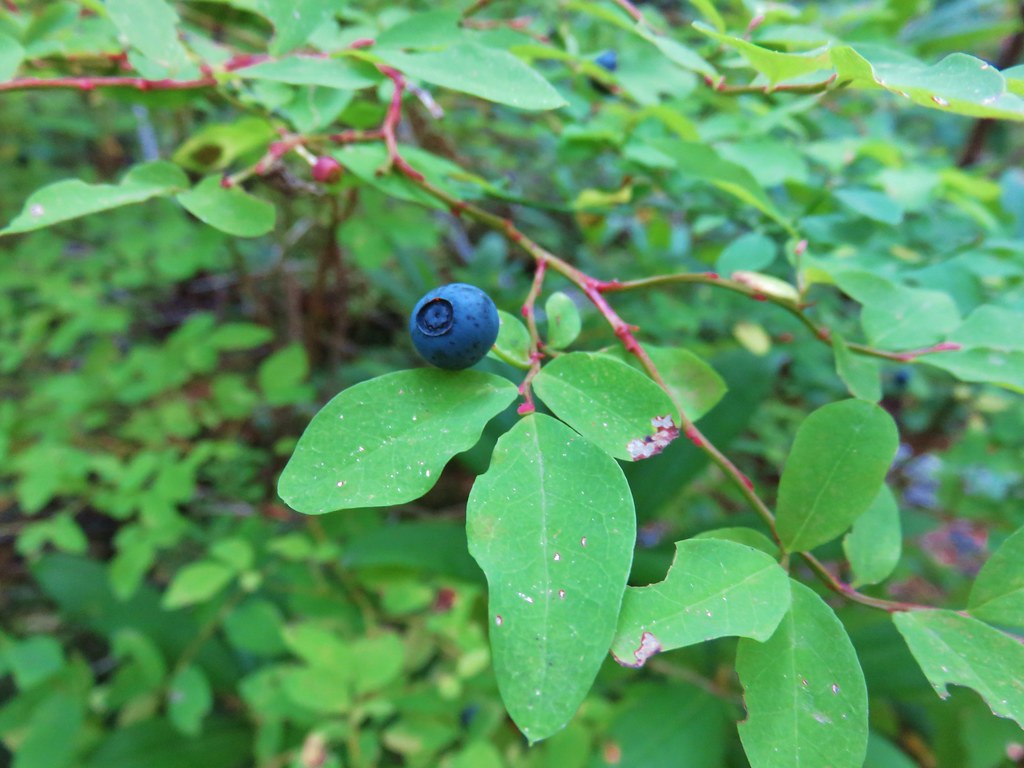
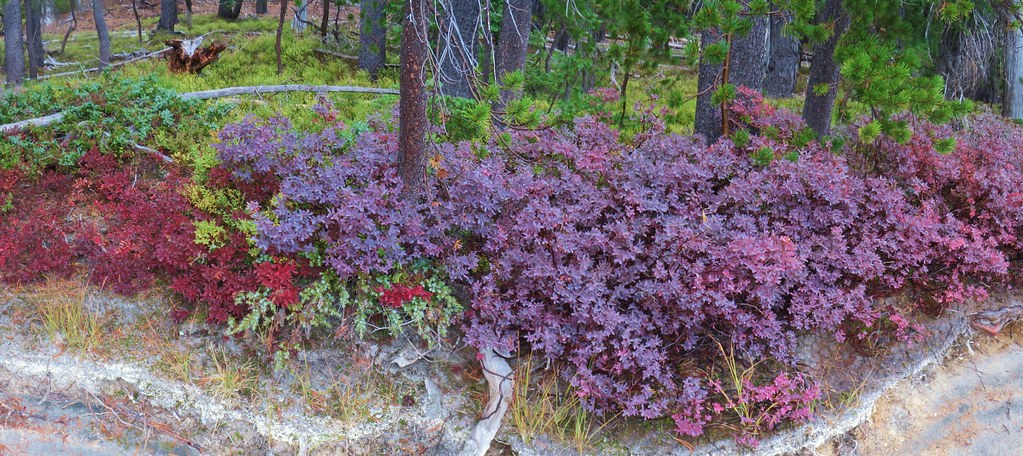
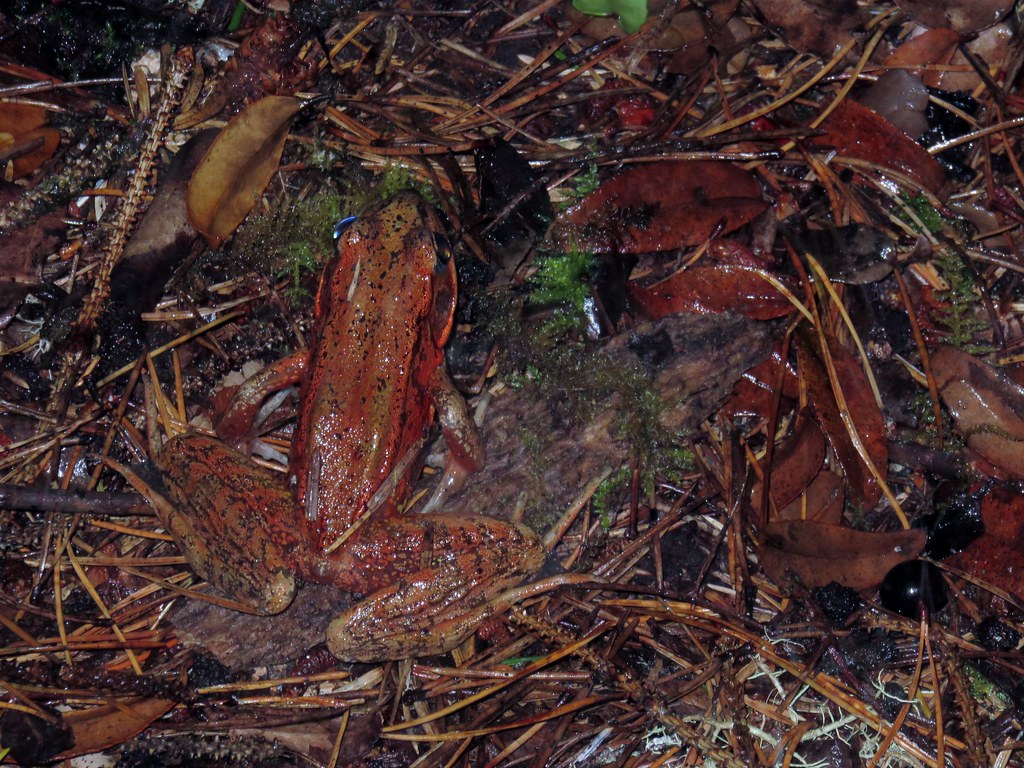
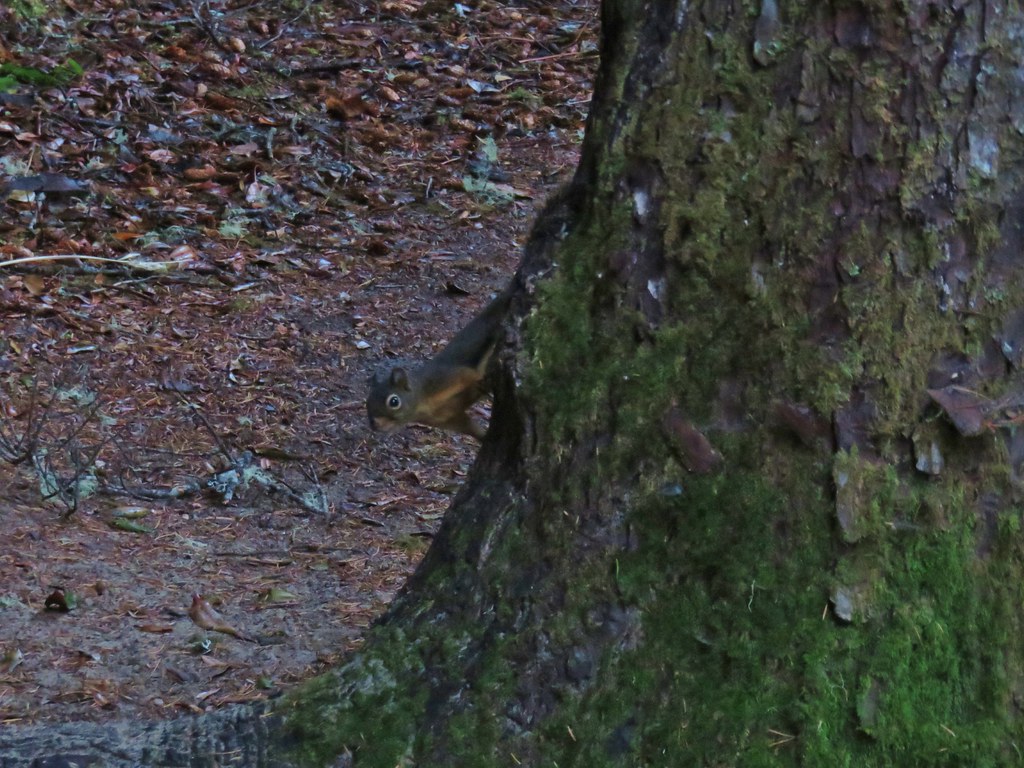
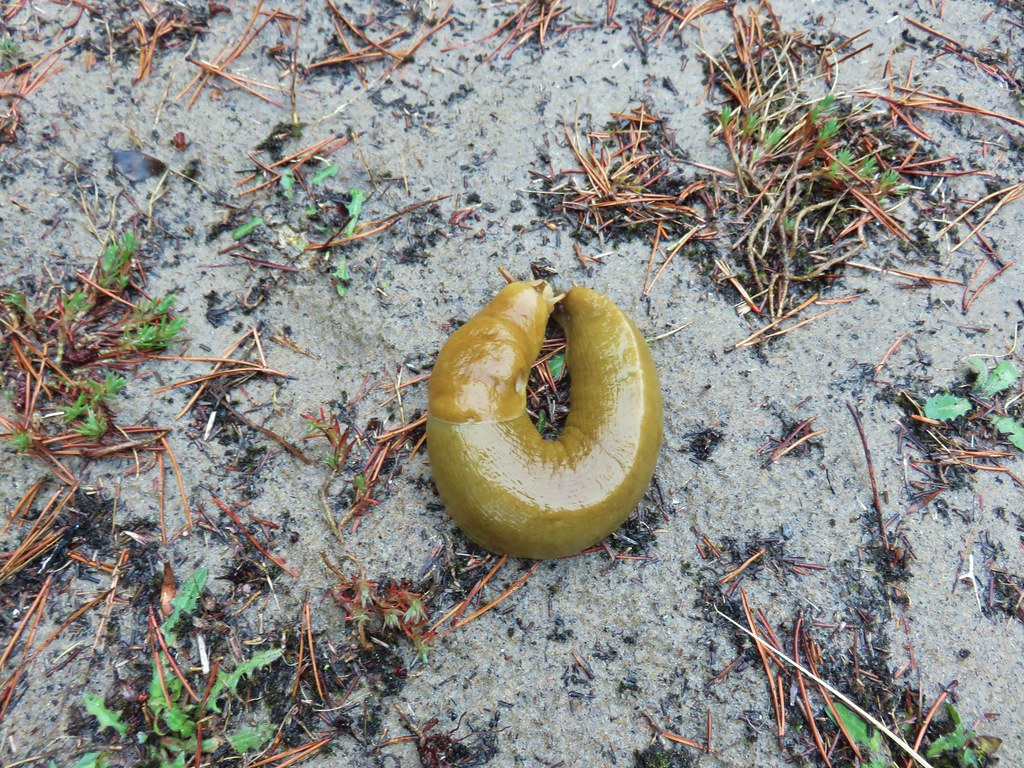
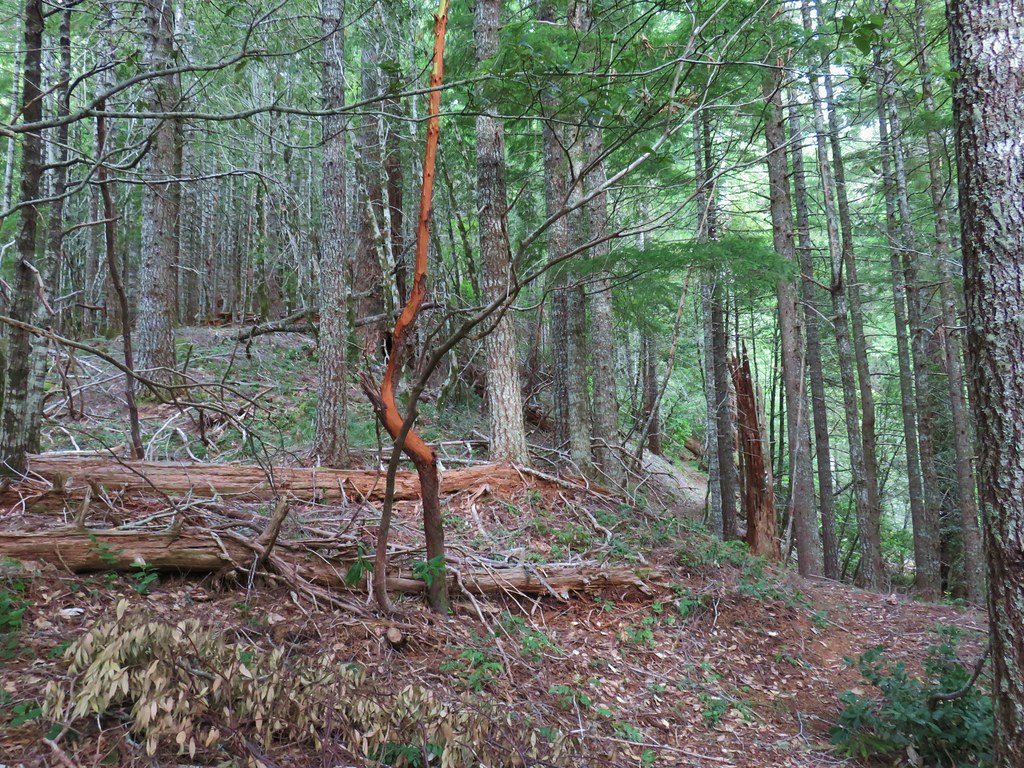
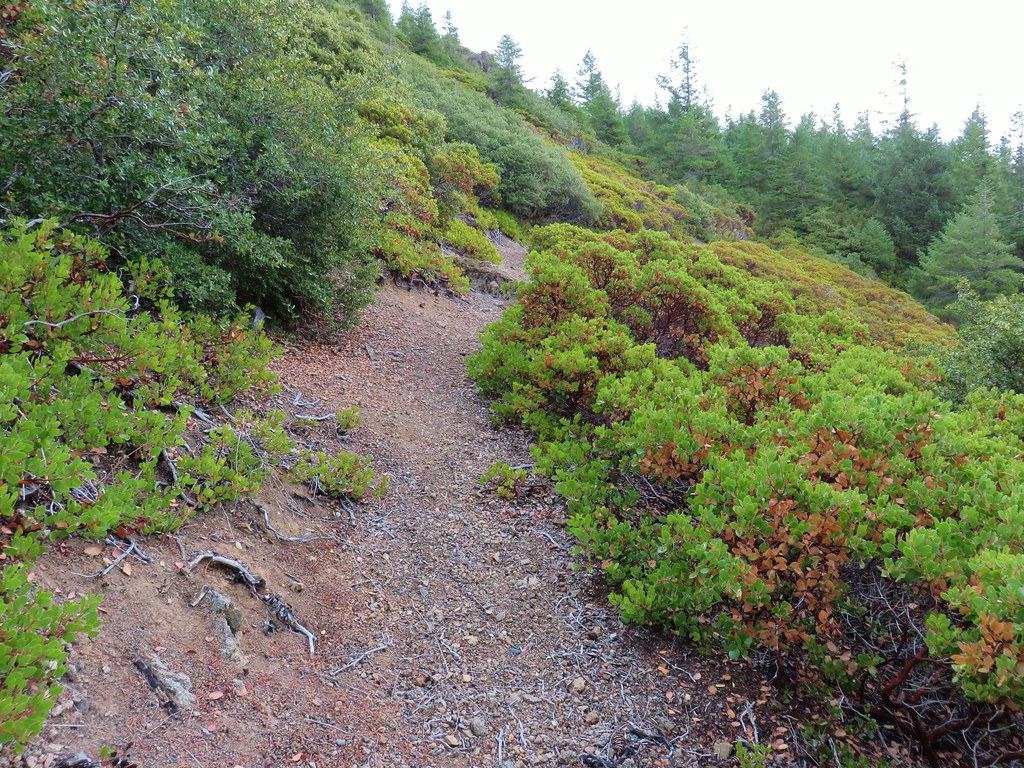
Although there wasn’t as much fall color along this trail as there had been along the trails at Fall Creek there was some and there were also some interesting mushrooms to be seen.
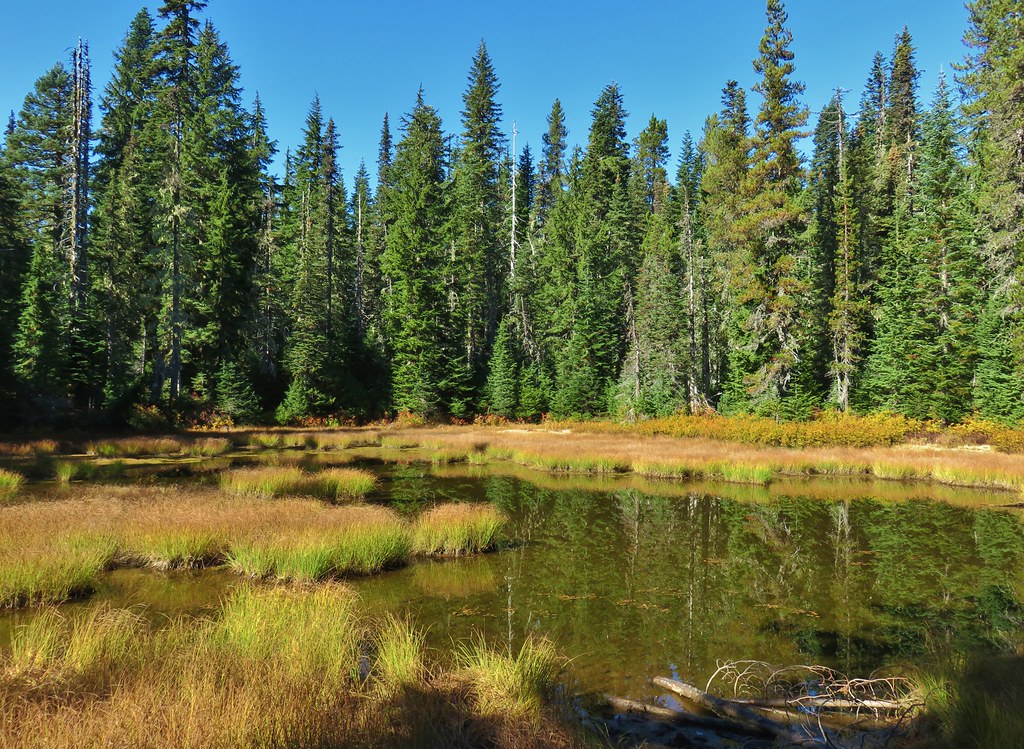
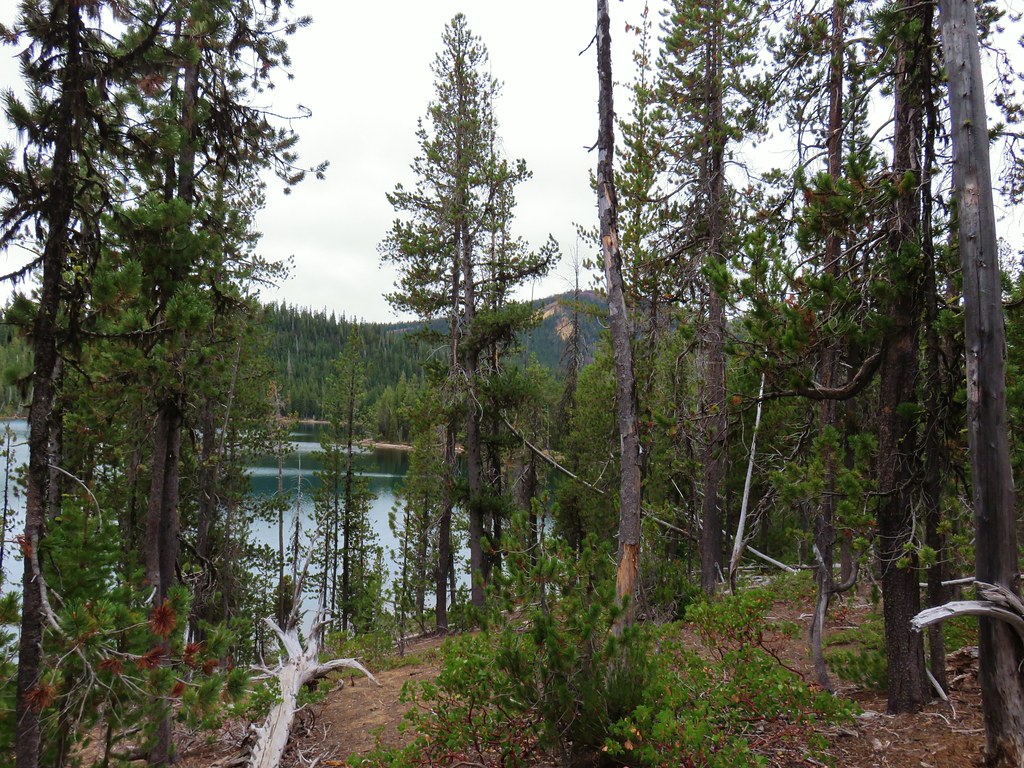
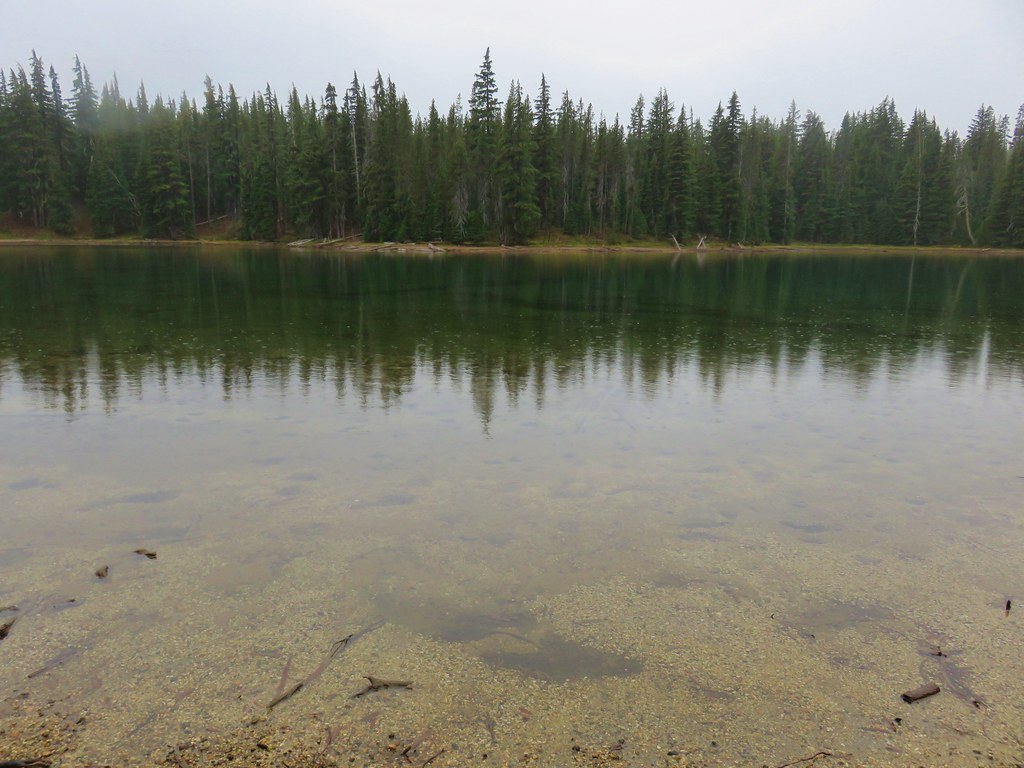
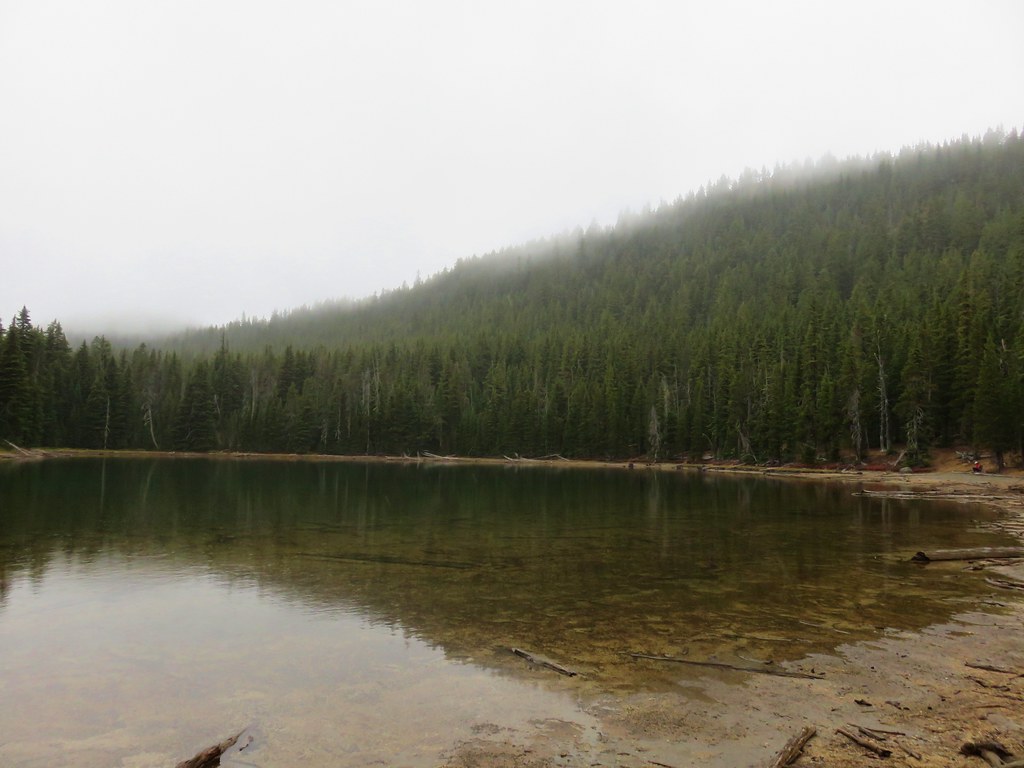
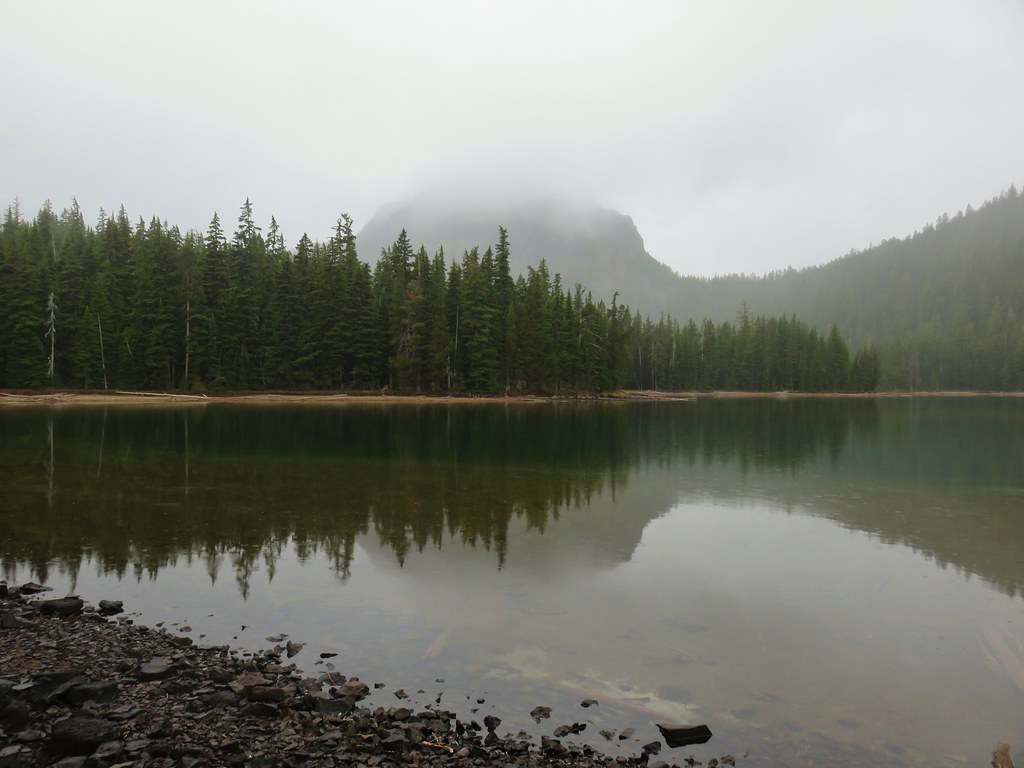
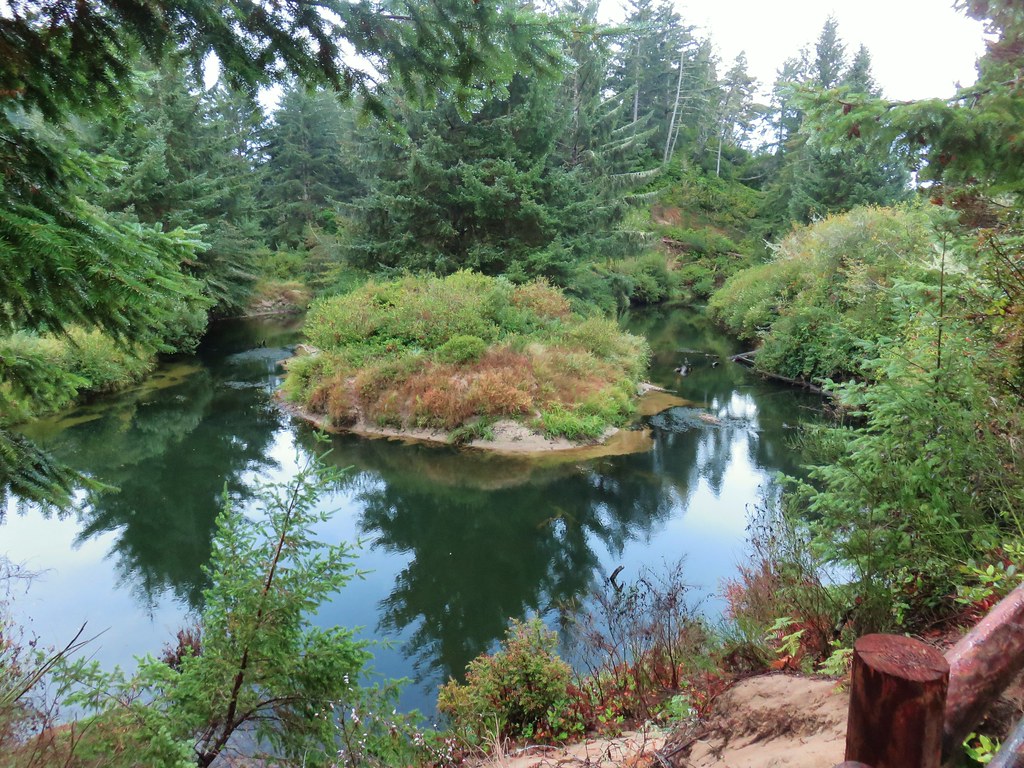
 This may named be Green Lake

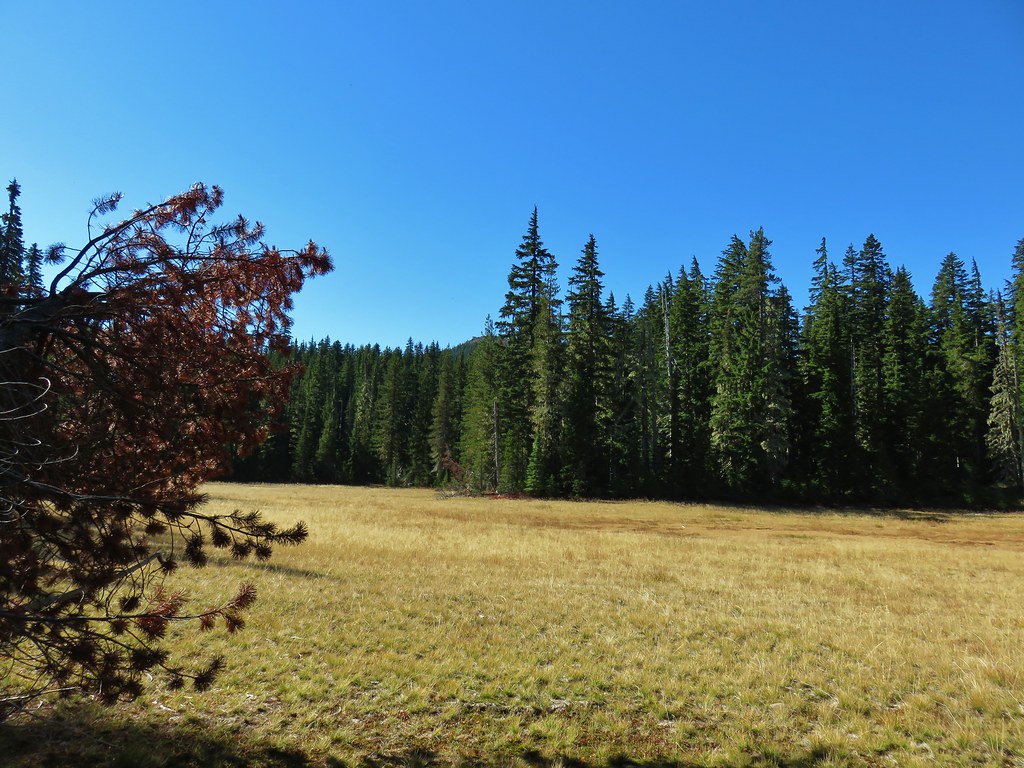
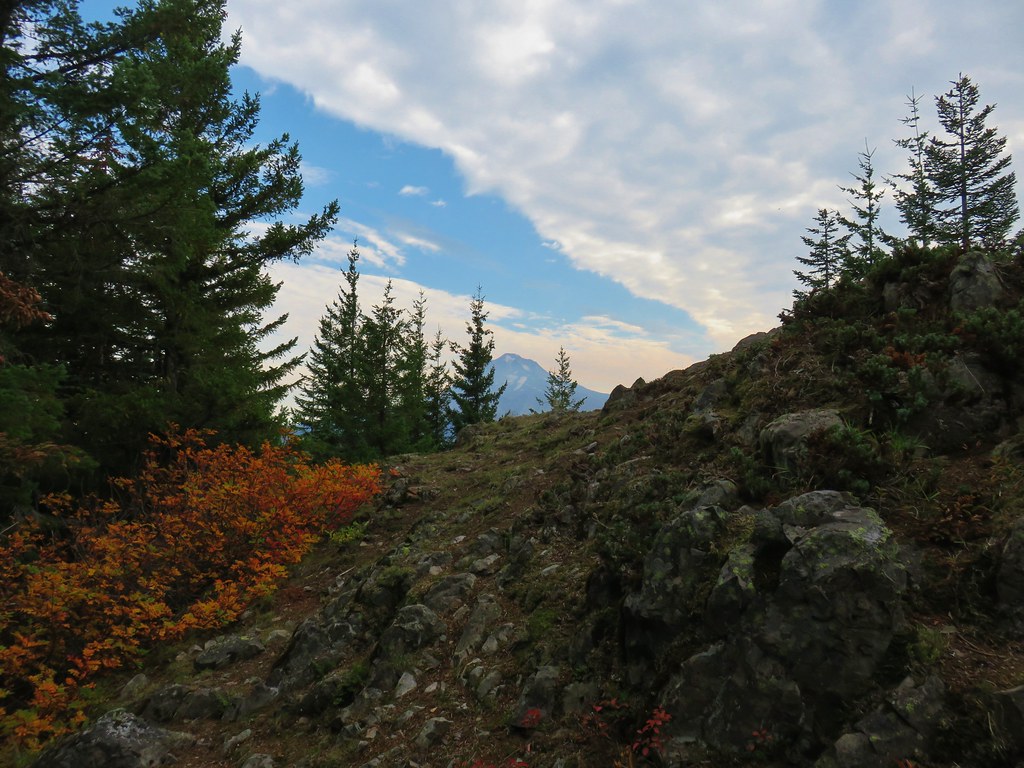
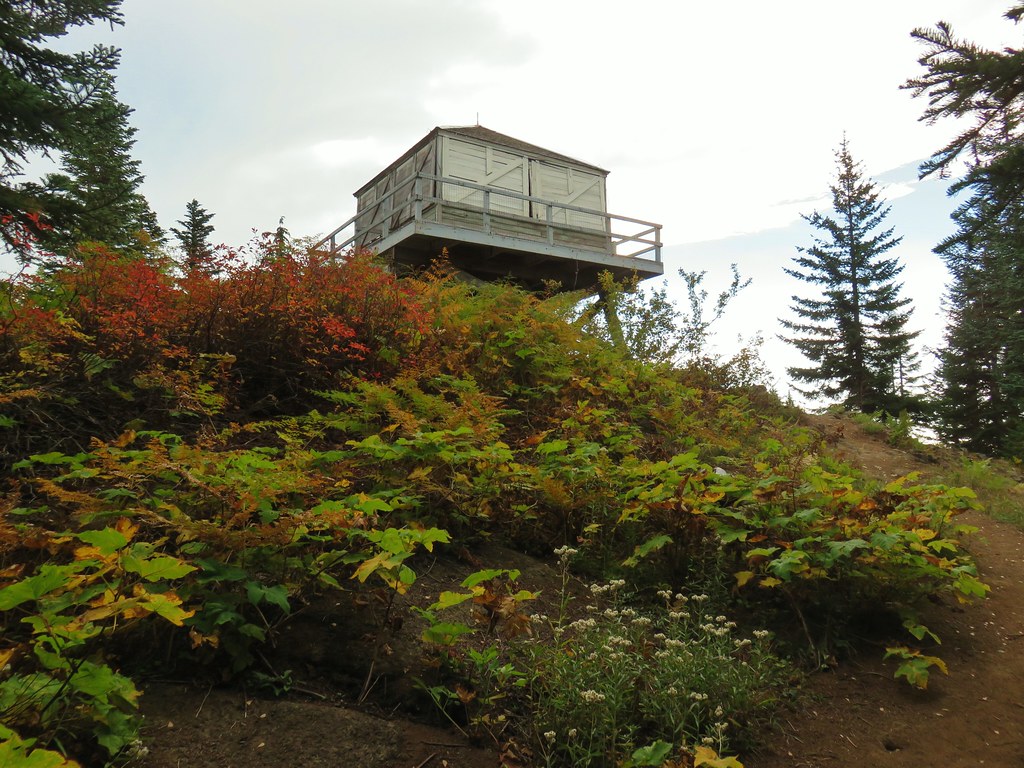
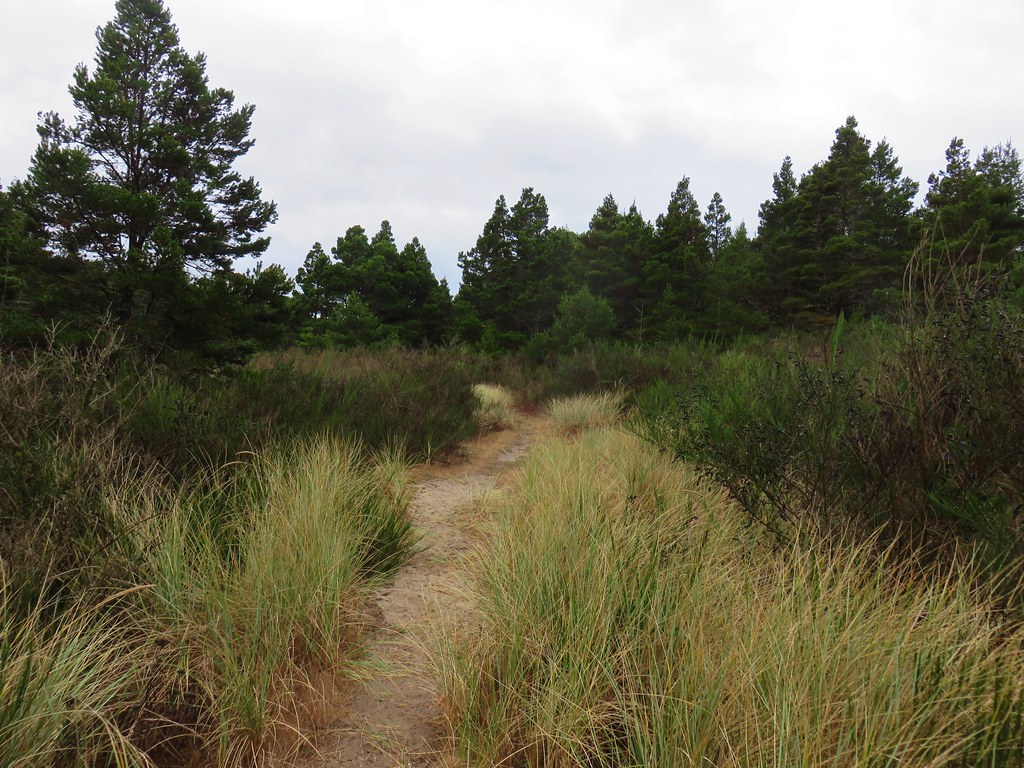
As we hiked through a meadow we spotted the lookout tower on Red Mountain to the SW which was to be one of our stops on the hike.

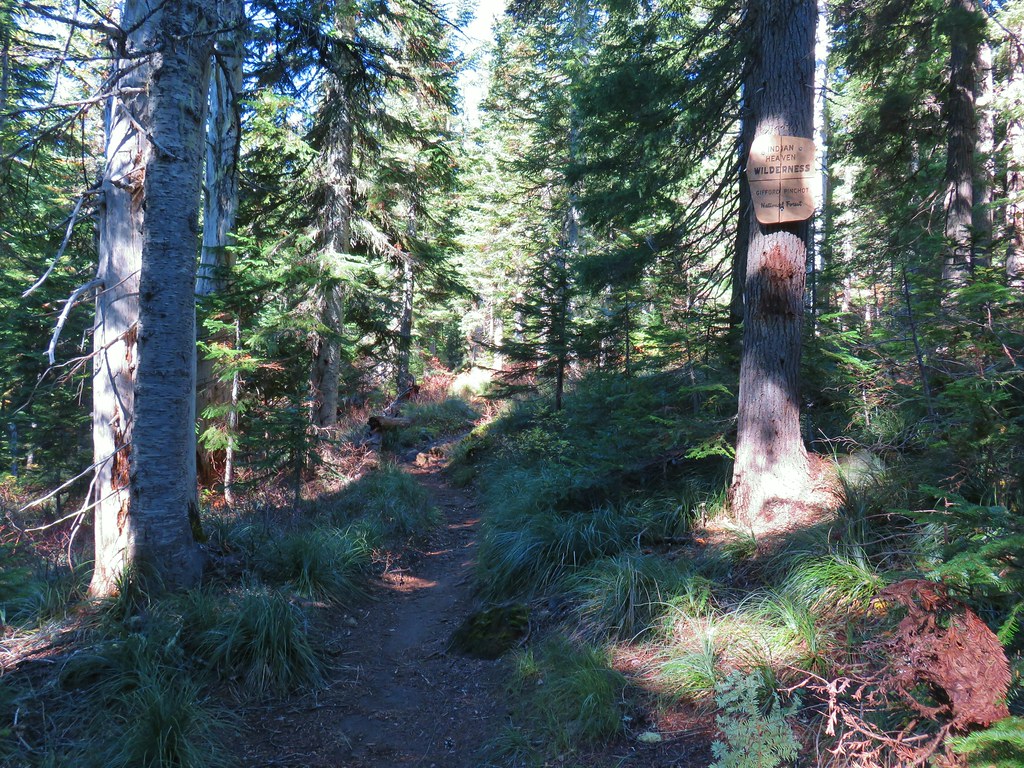
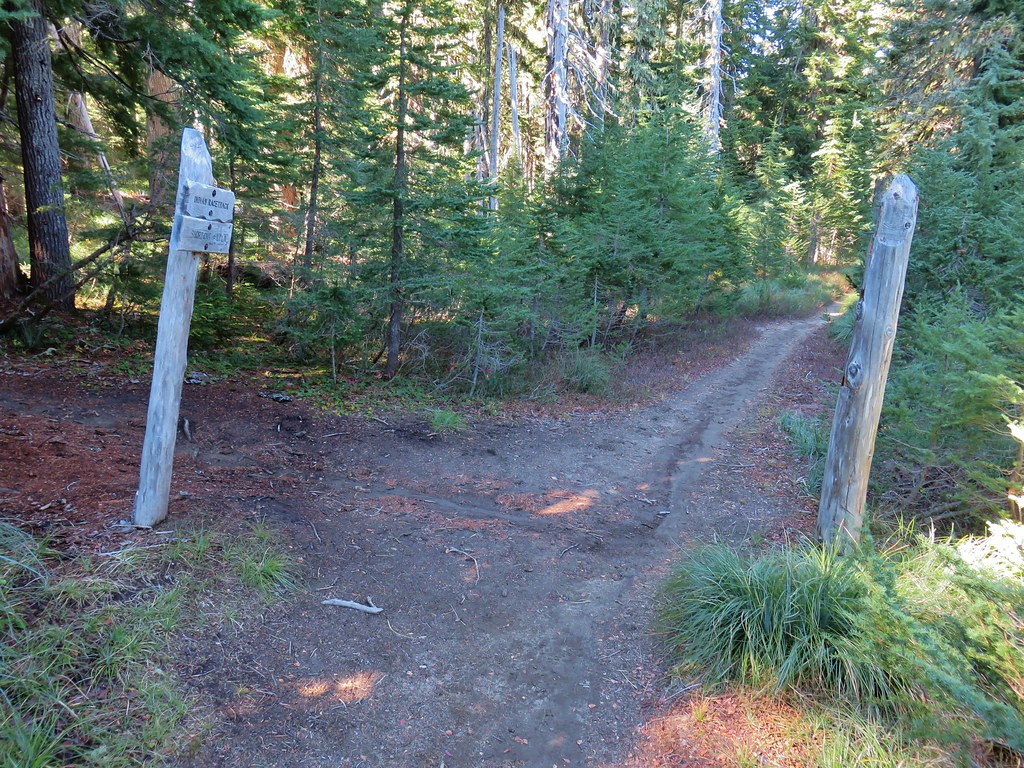
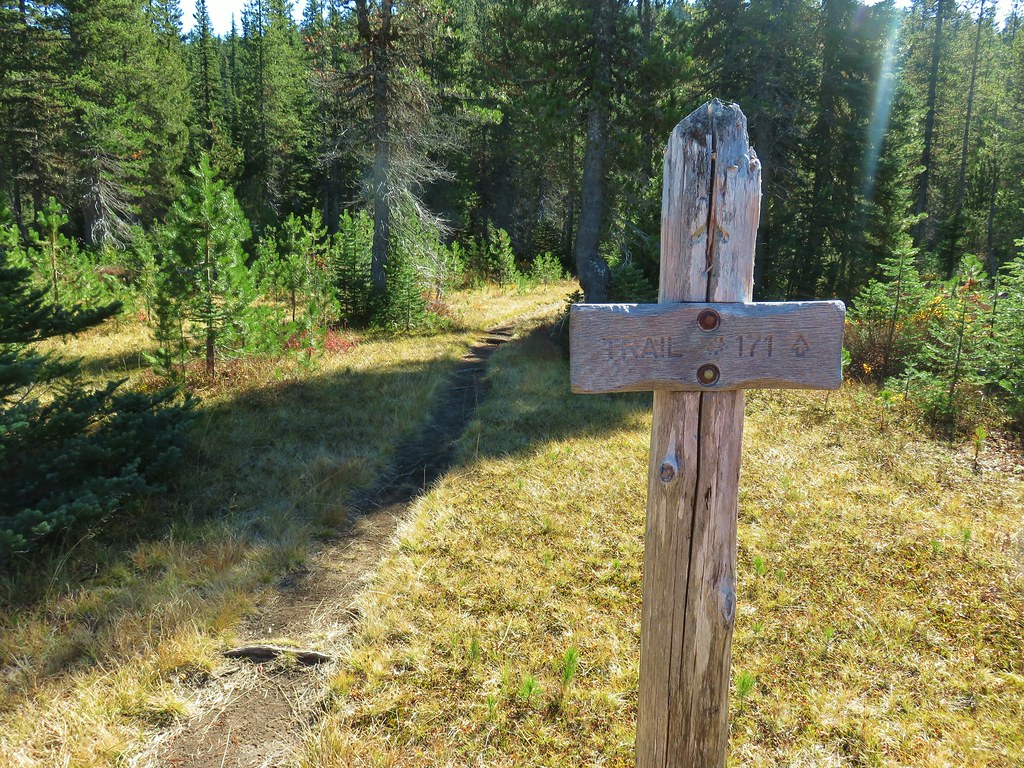
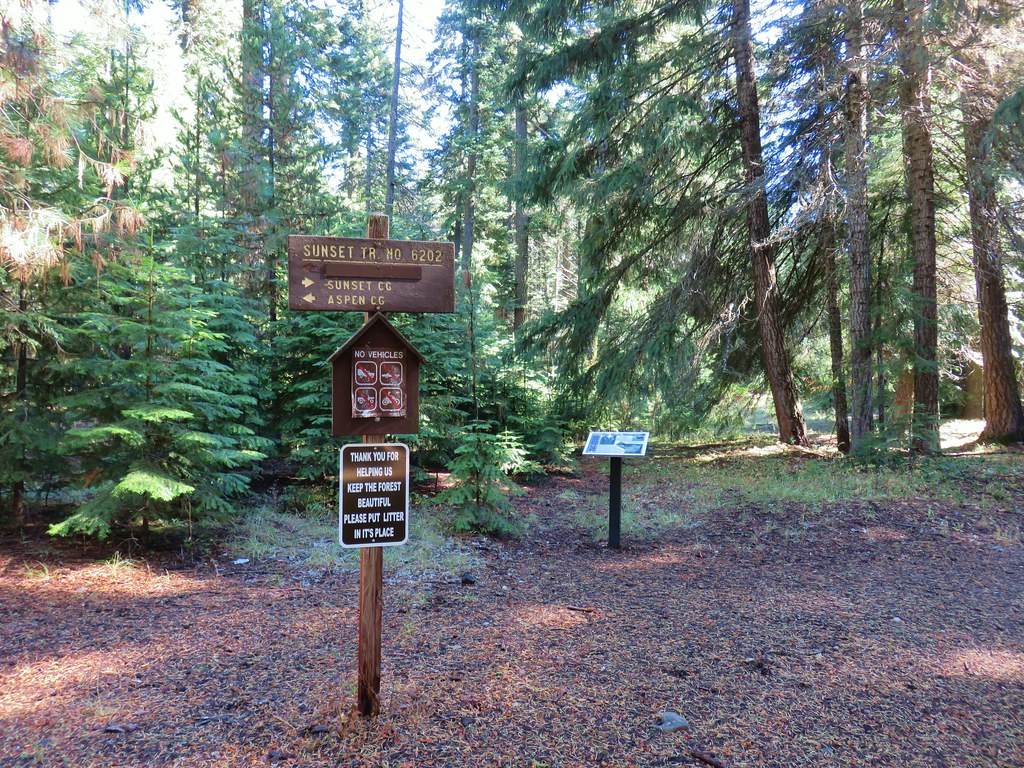
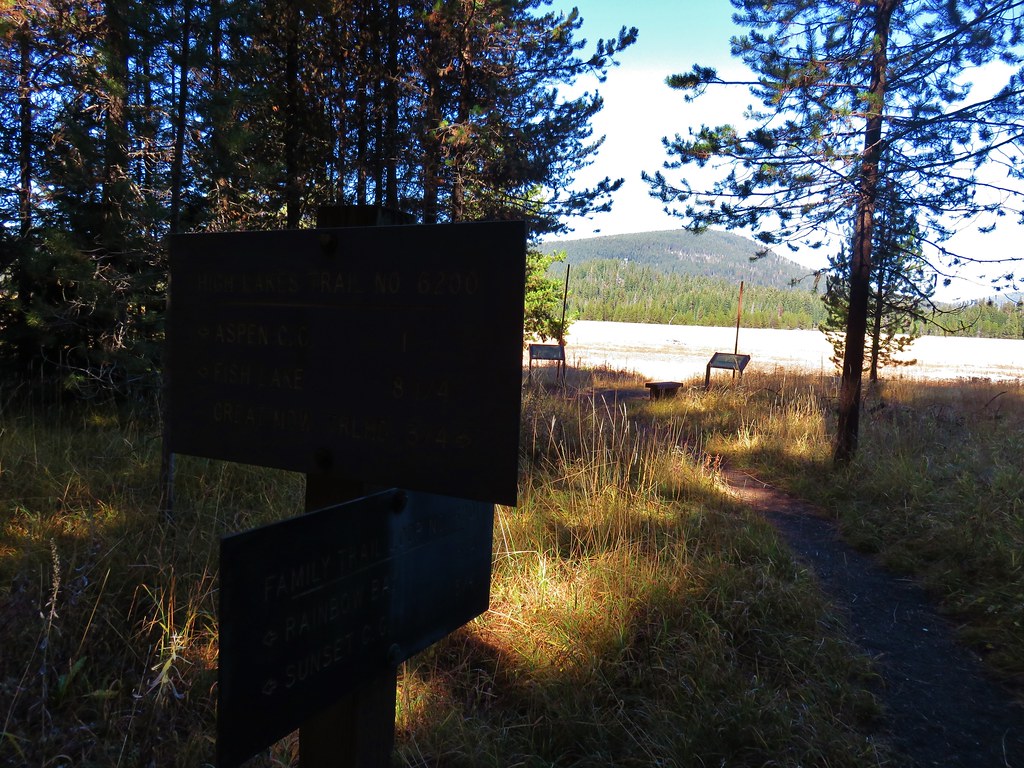
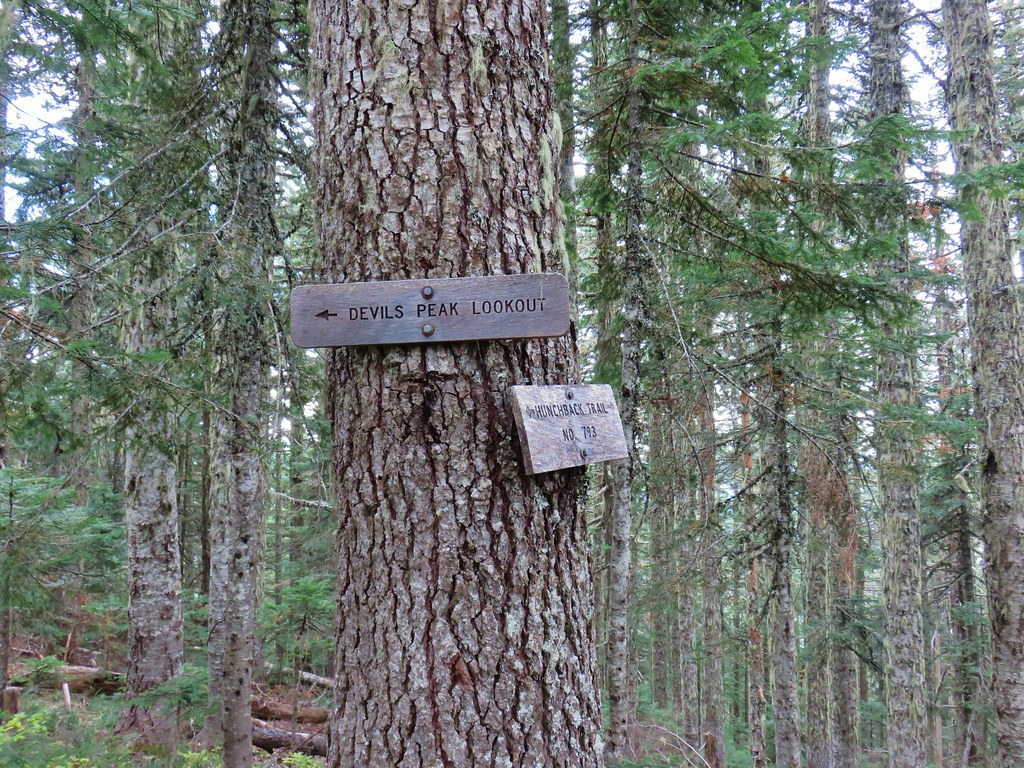
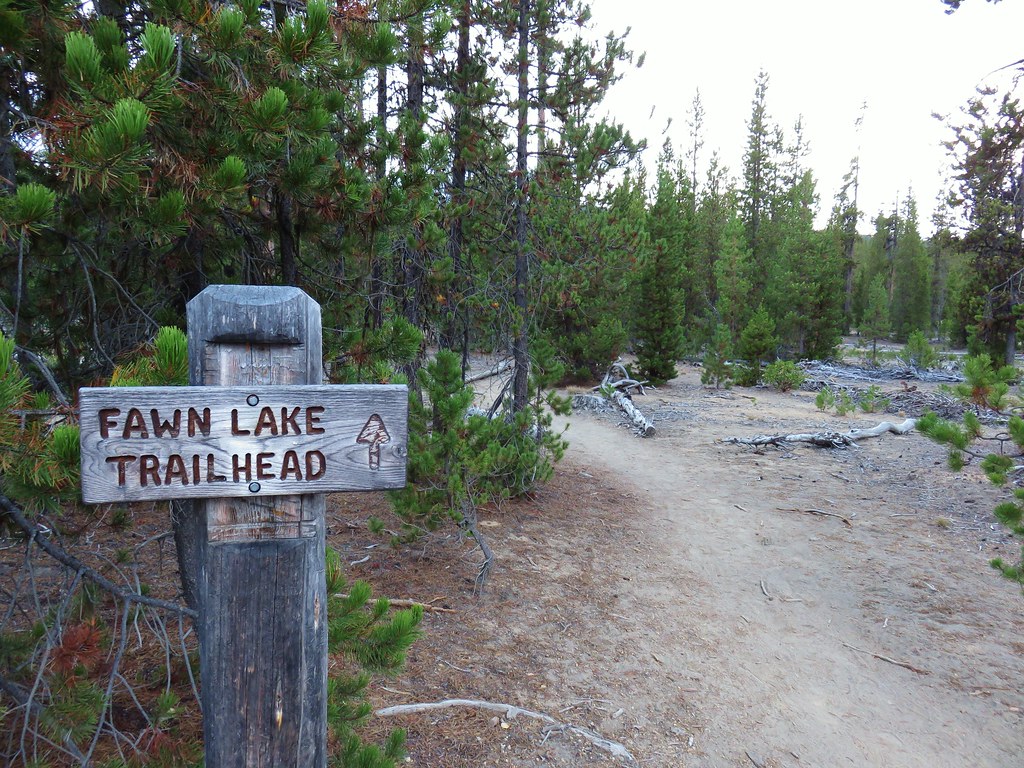
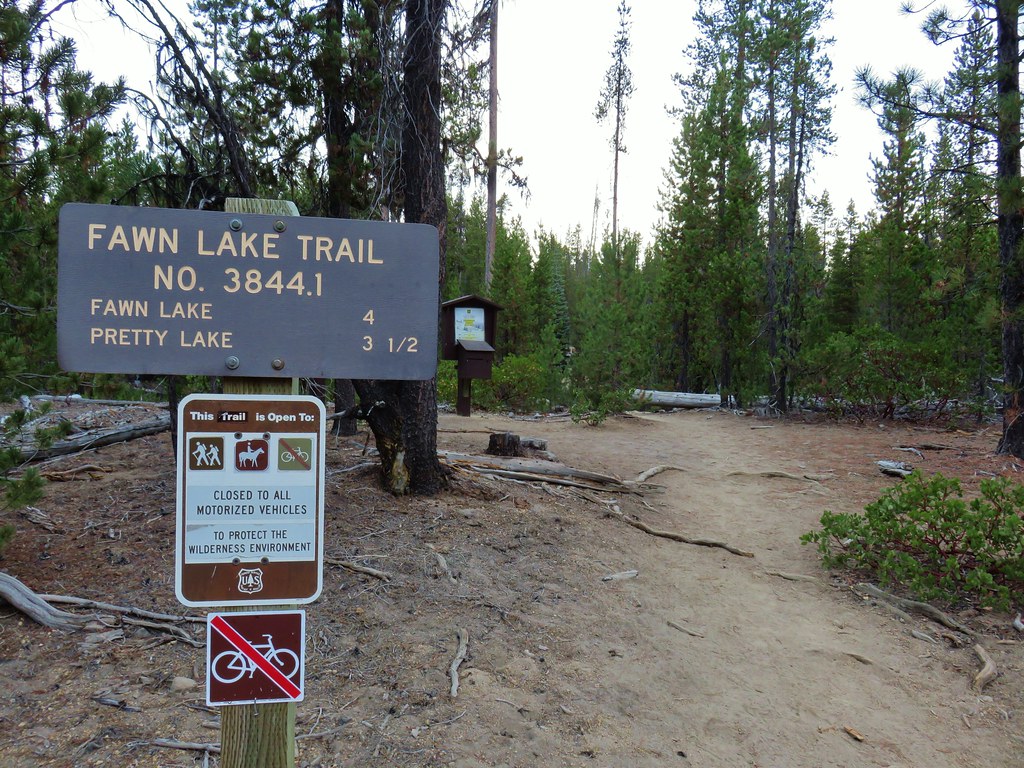
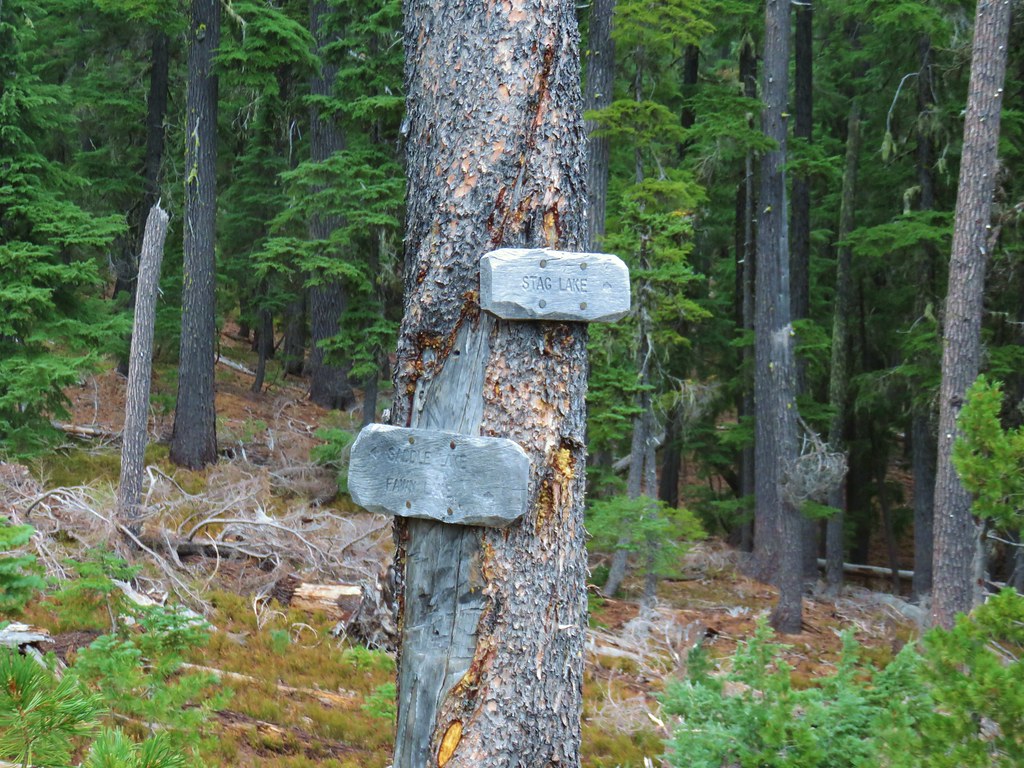
We turned left off of the PCT 1.2 miles after entering the wilderness at a sign for Indian Racetrack.

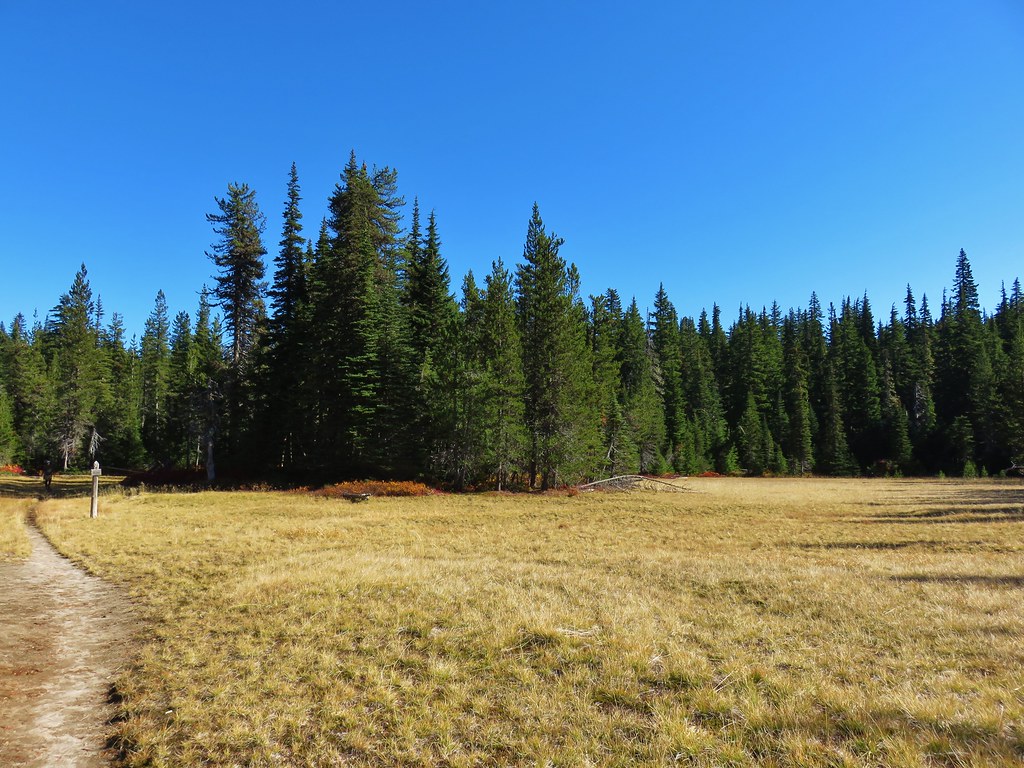
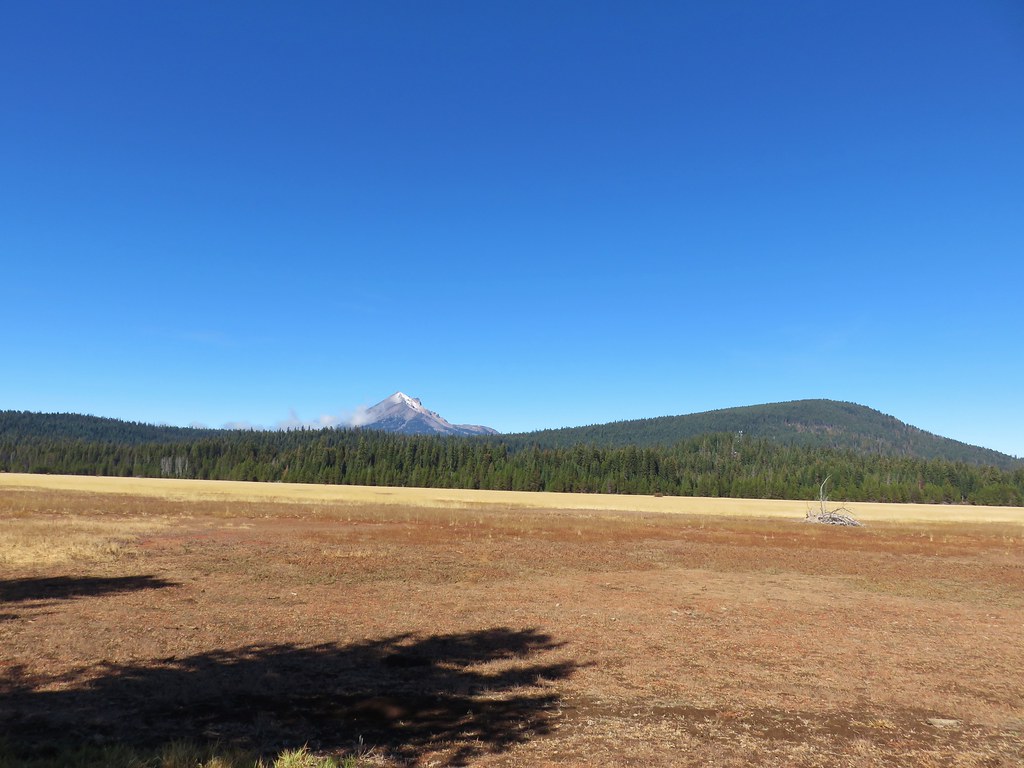
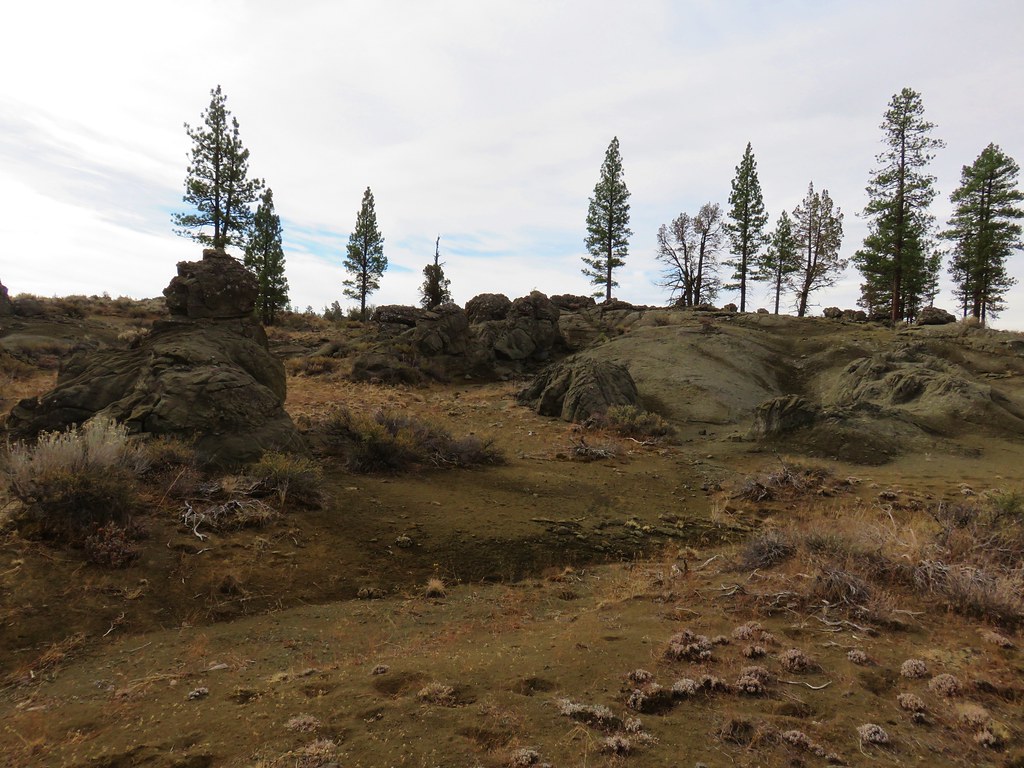
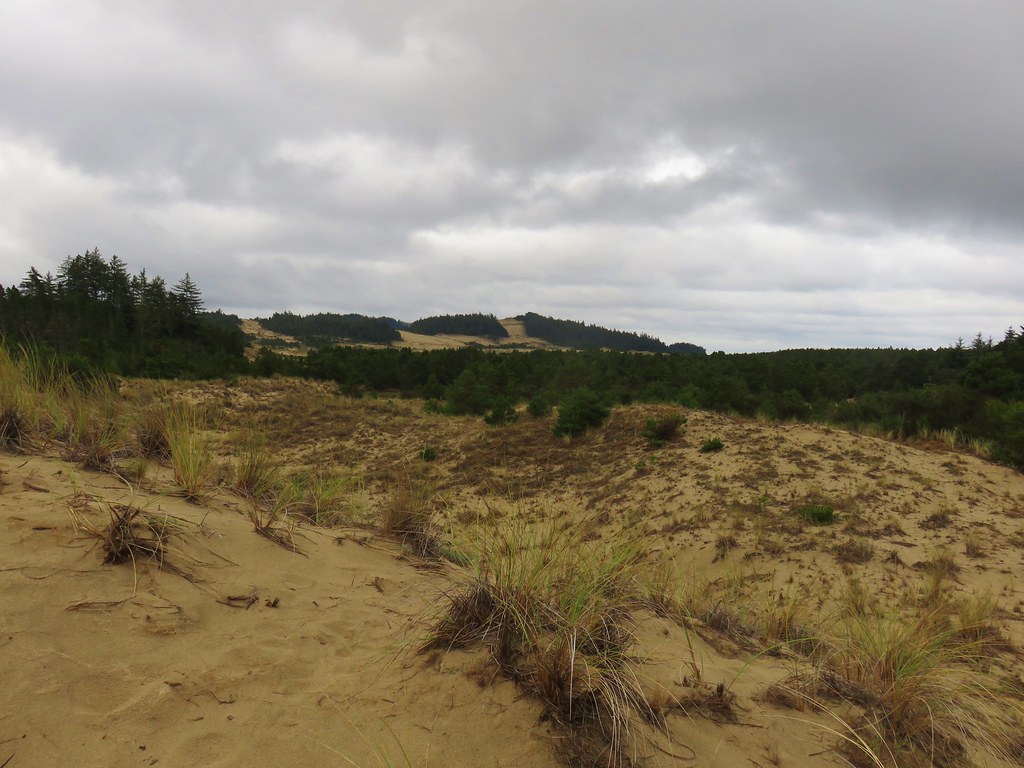
This trail led a half mile through the forest to the large meadows at Indian Racetrack where up until 1928 tribes indeed raced horses.

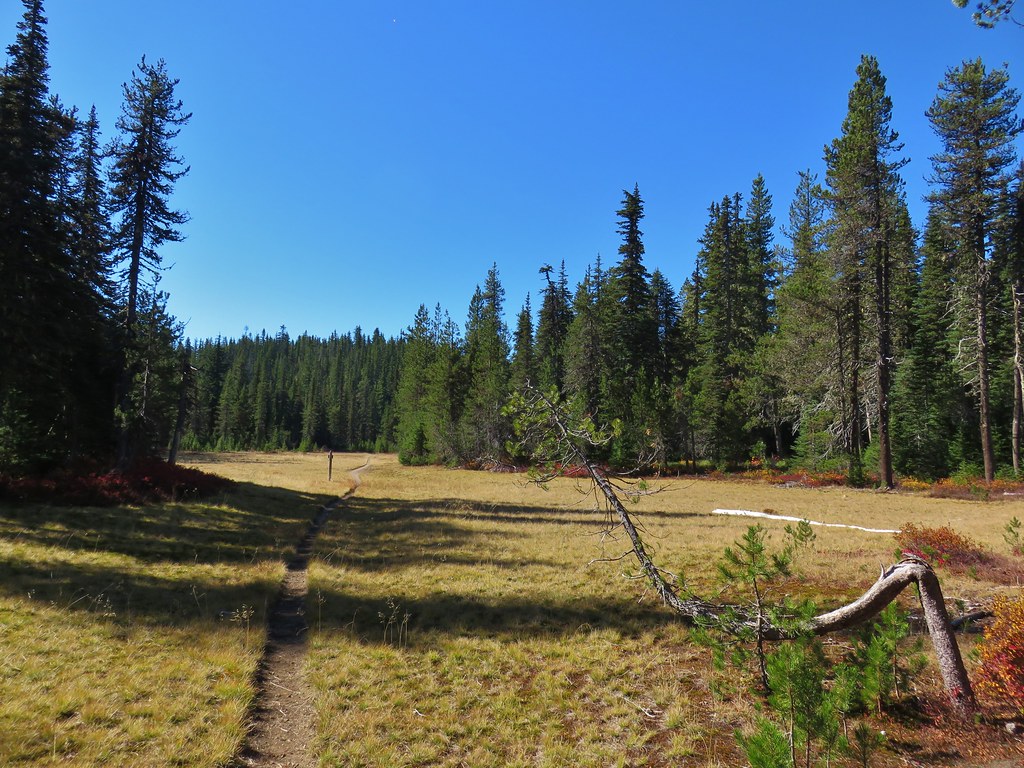
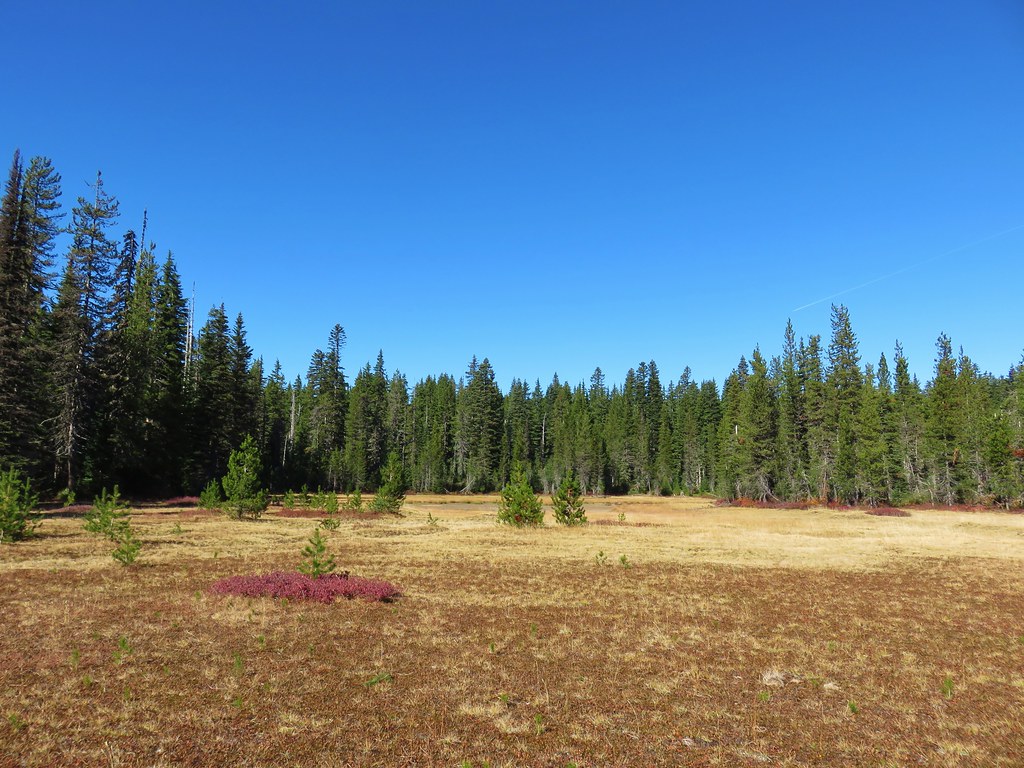
We turned left in the middle of the meadows toward a trail sign for the Indian Racetrack Trail.
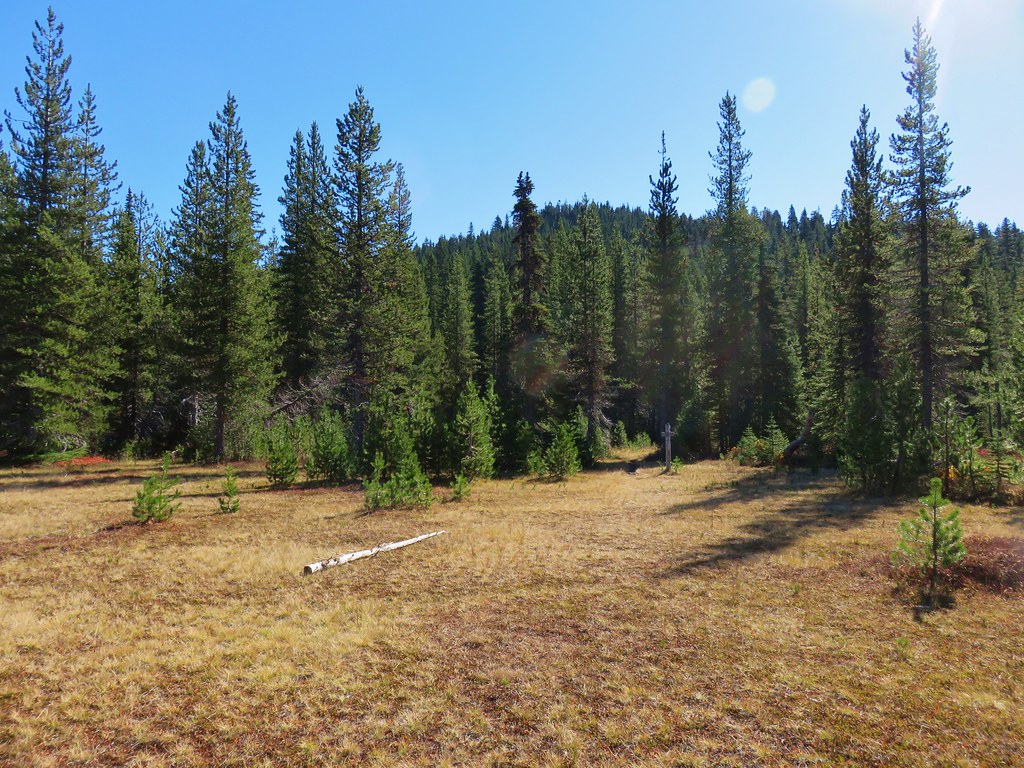
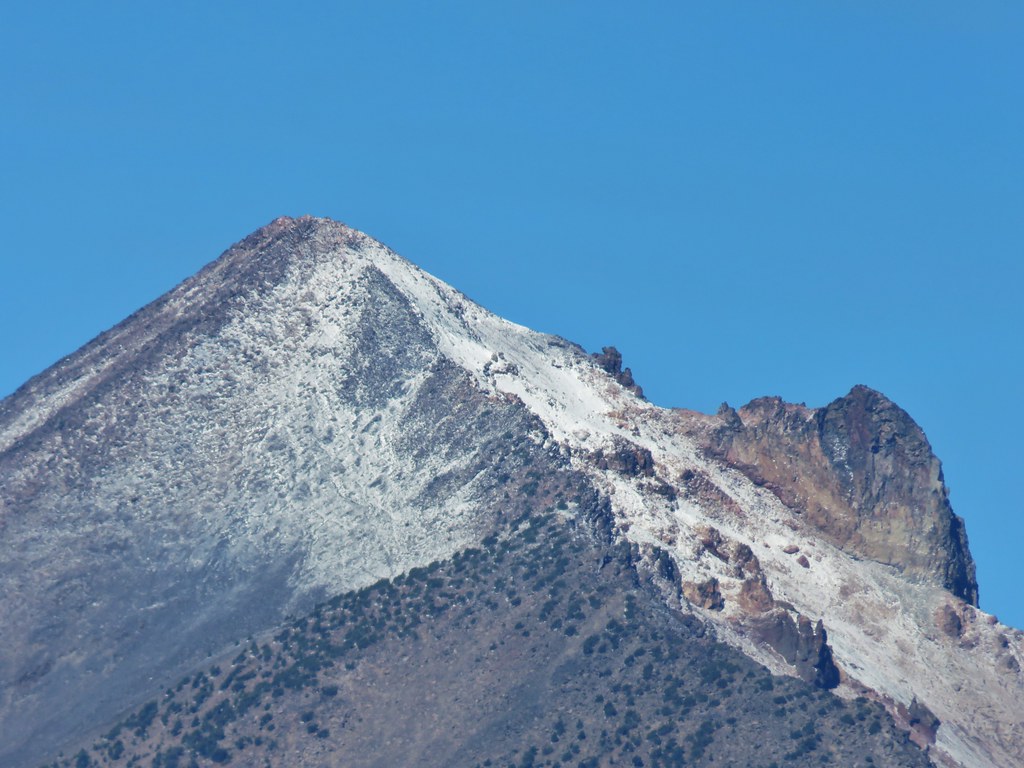
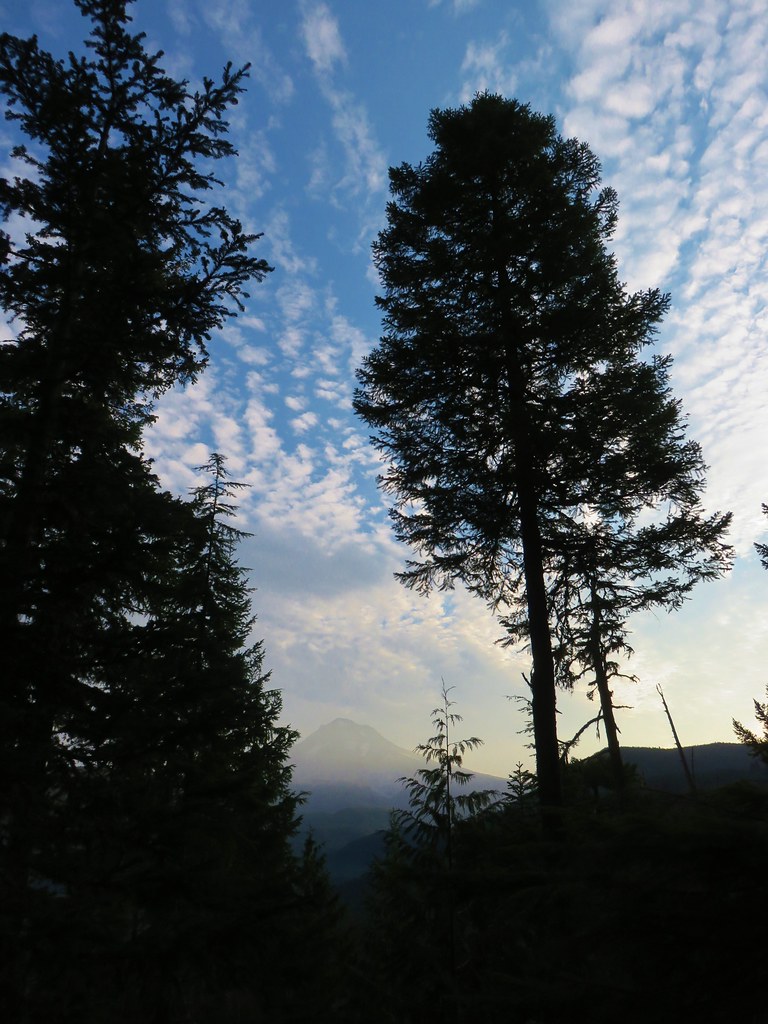
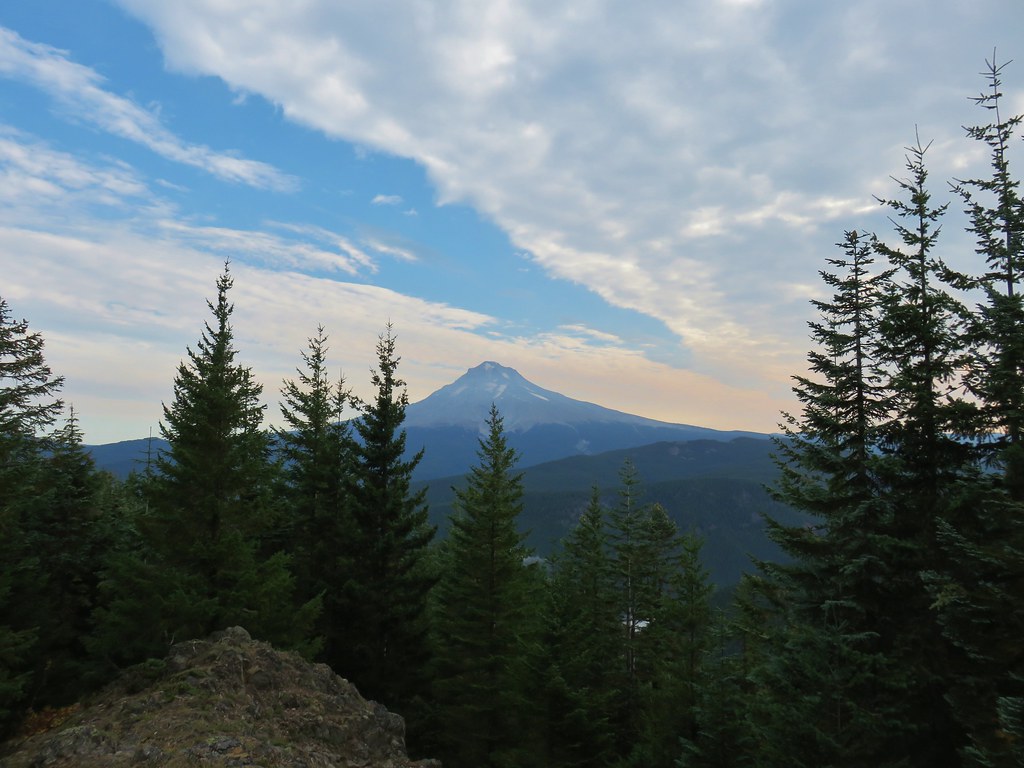
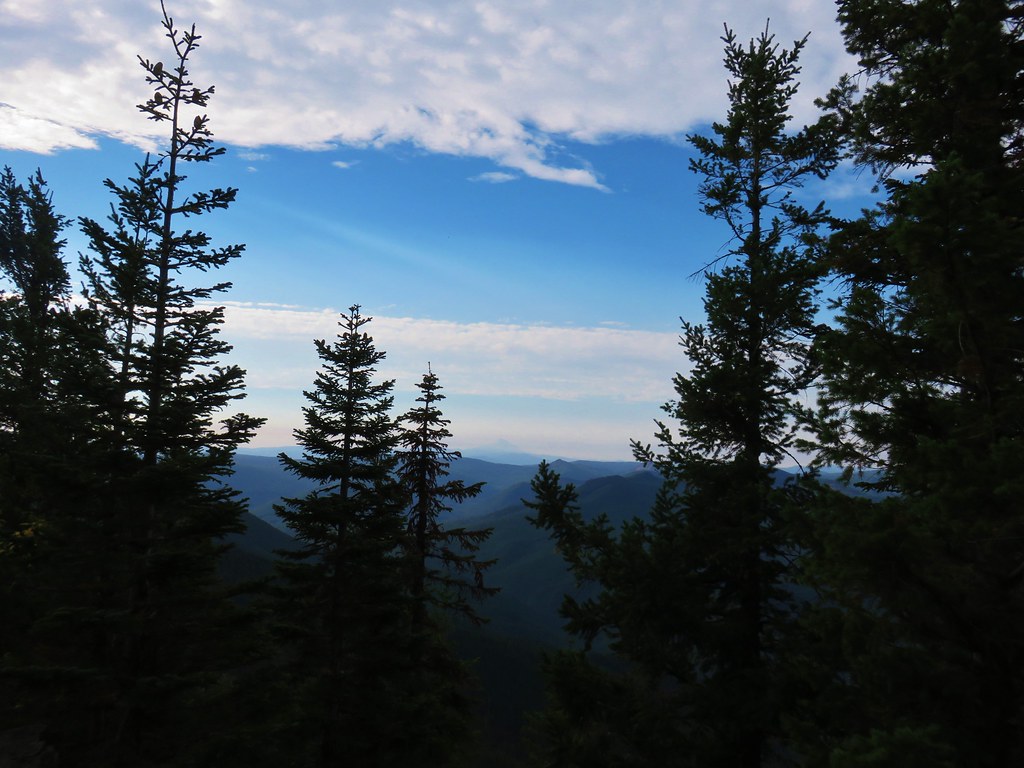
This trail climbed for .8 miles, steeply at times, to a road on the shoulder of Red Mountain. An opening just above a saddle along the way provided a nice view of Mt. Adams to the NE.
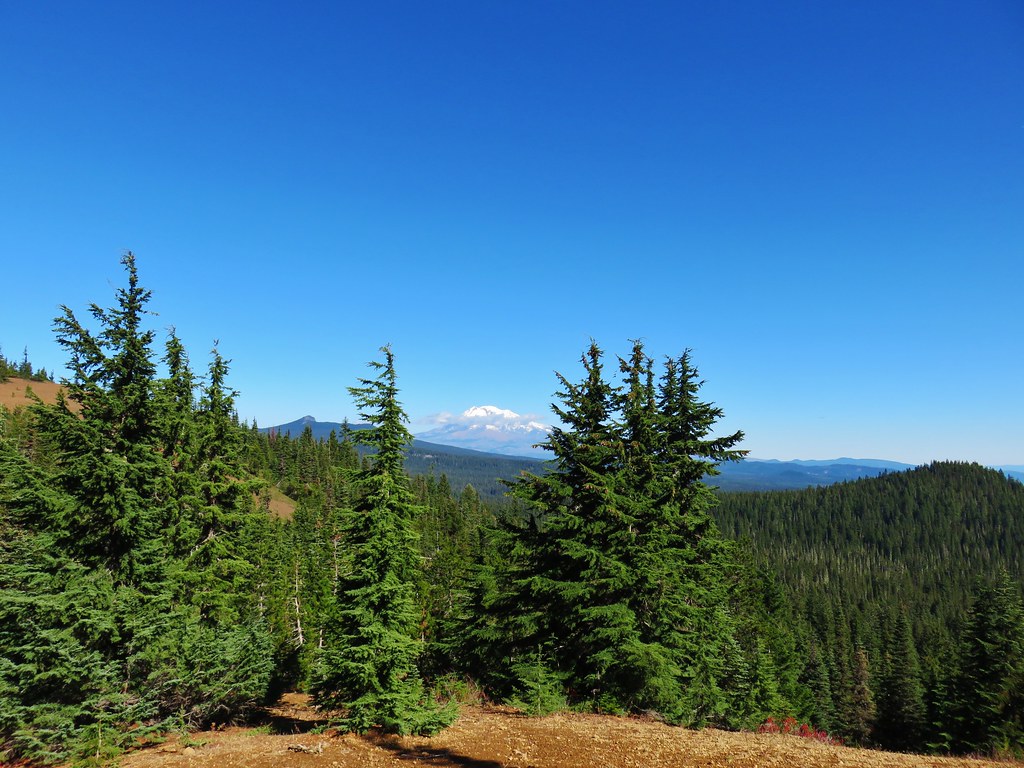

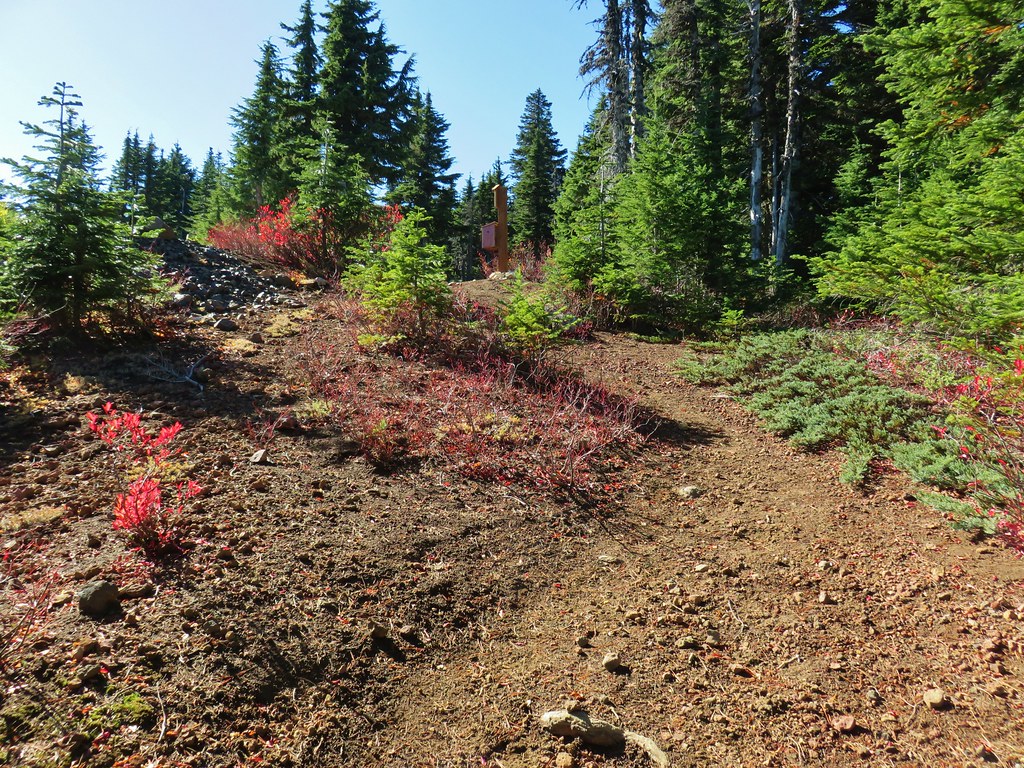
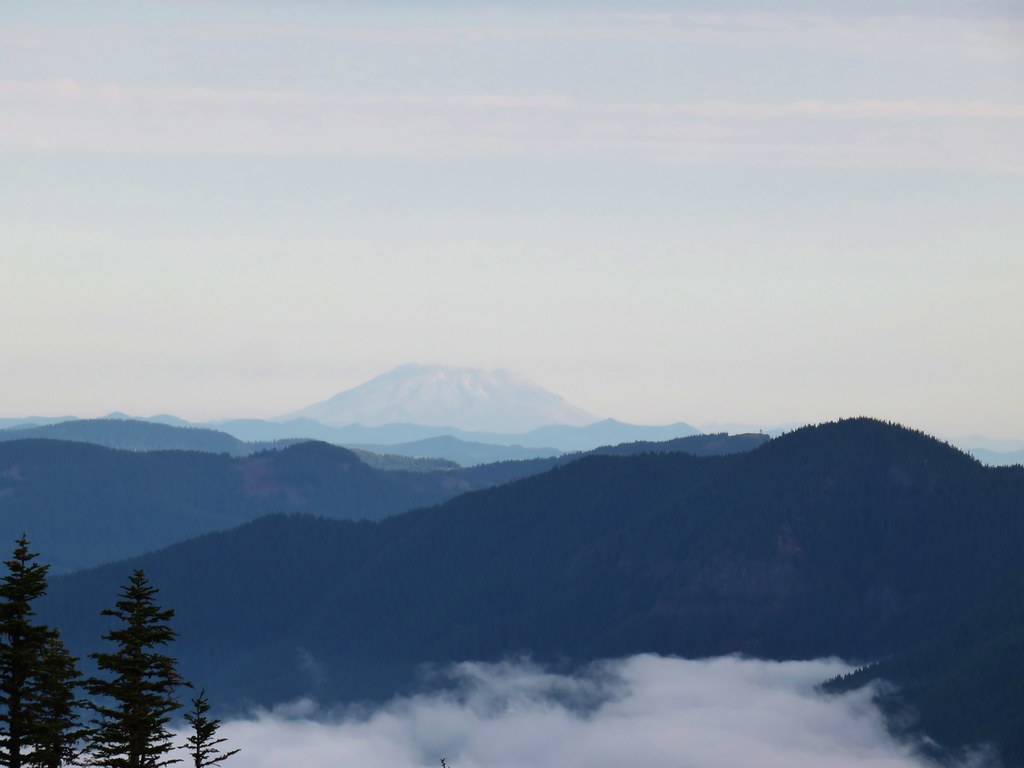
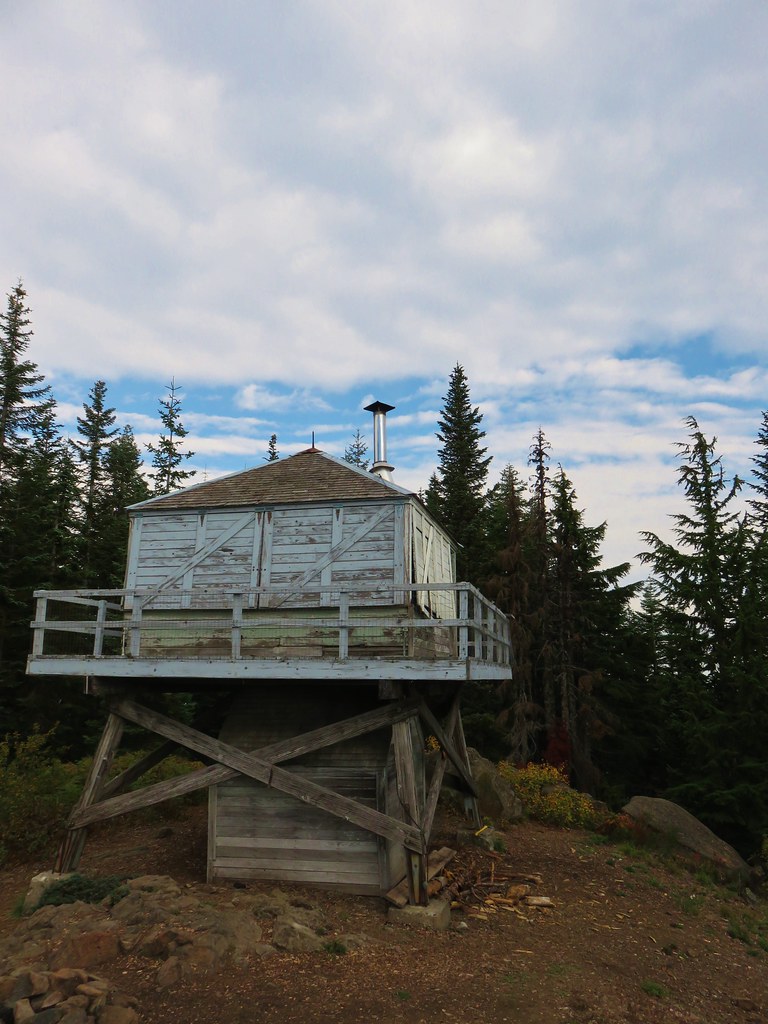
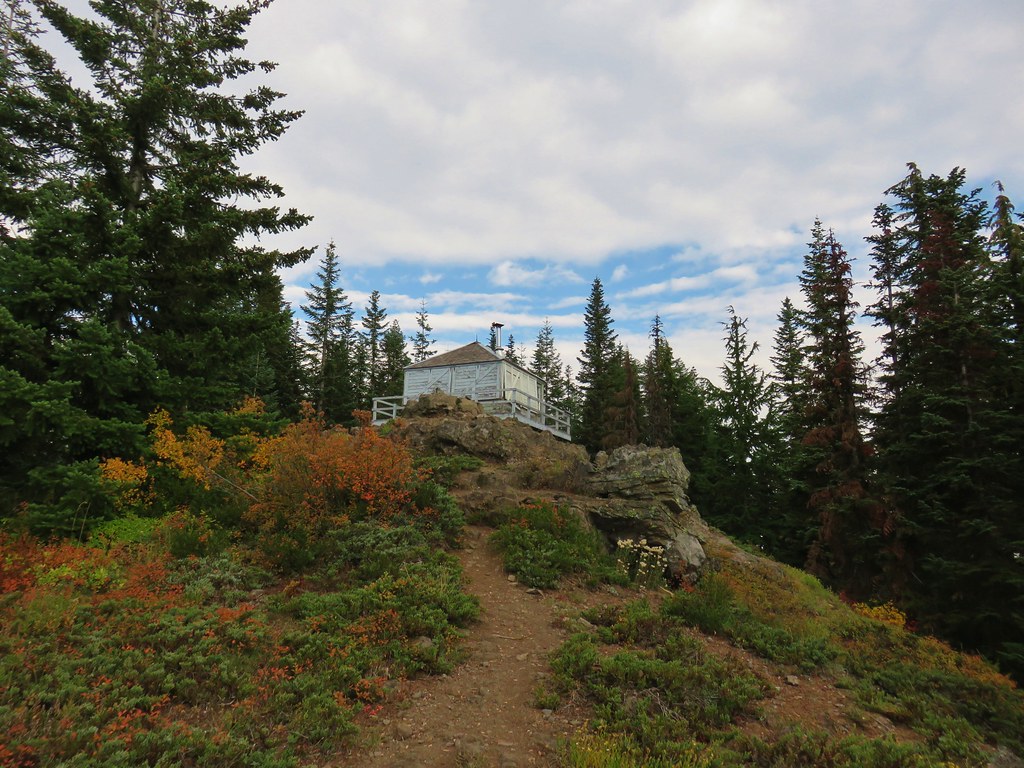
We followed the road uphill for .3 miles to the lookout gaining views of Mt. St. Helens and Mt. Rainier along the way.


 Lemei Rock and Mt. Adams
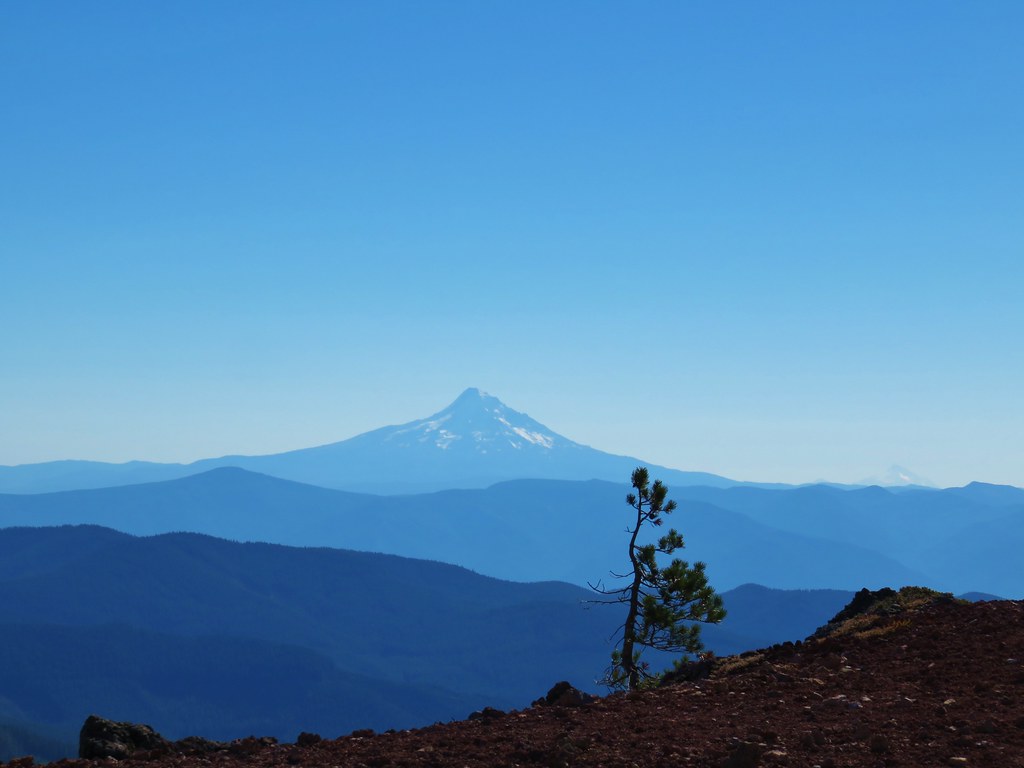
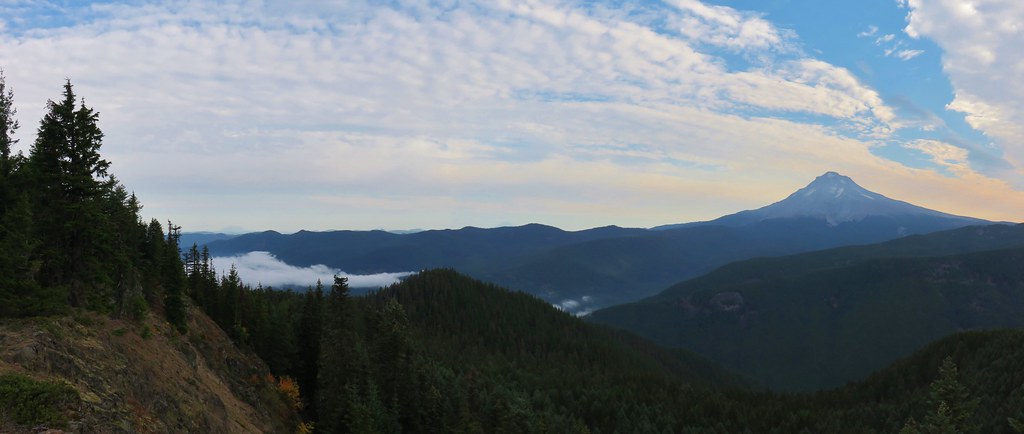
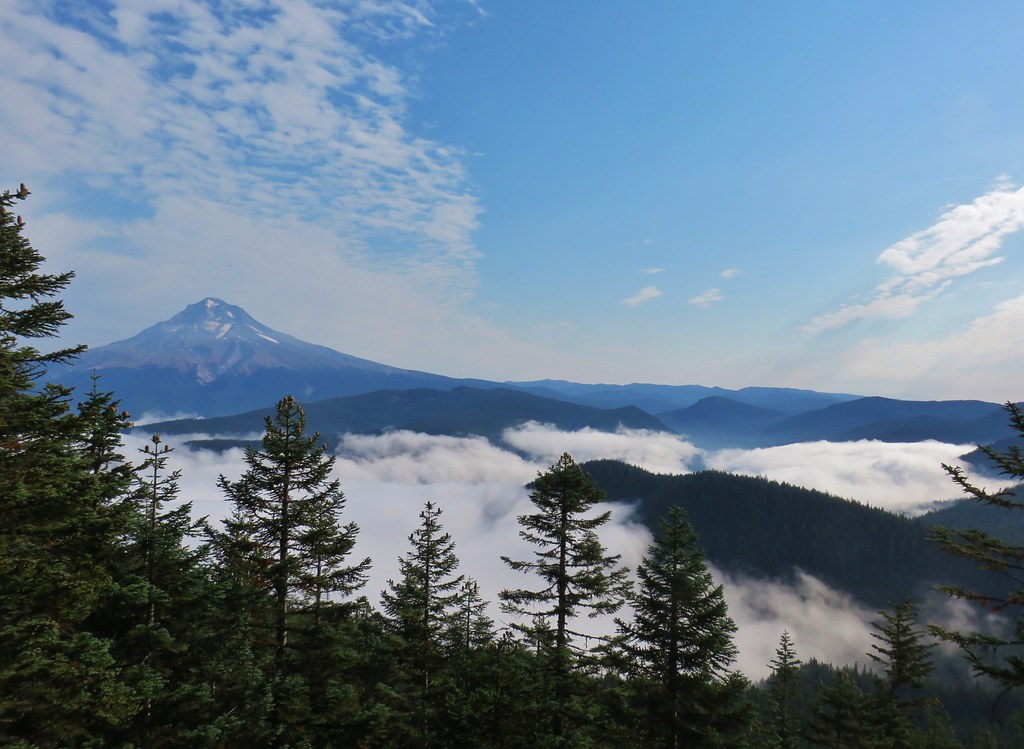
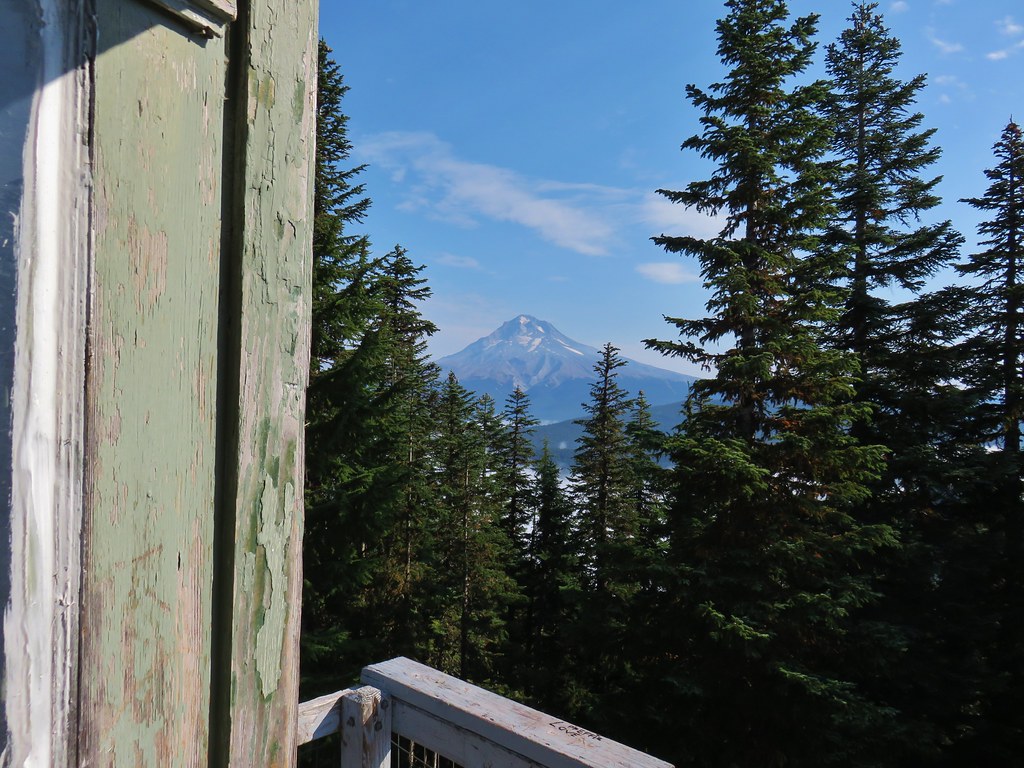
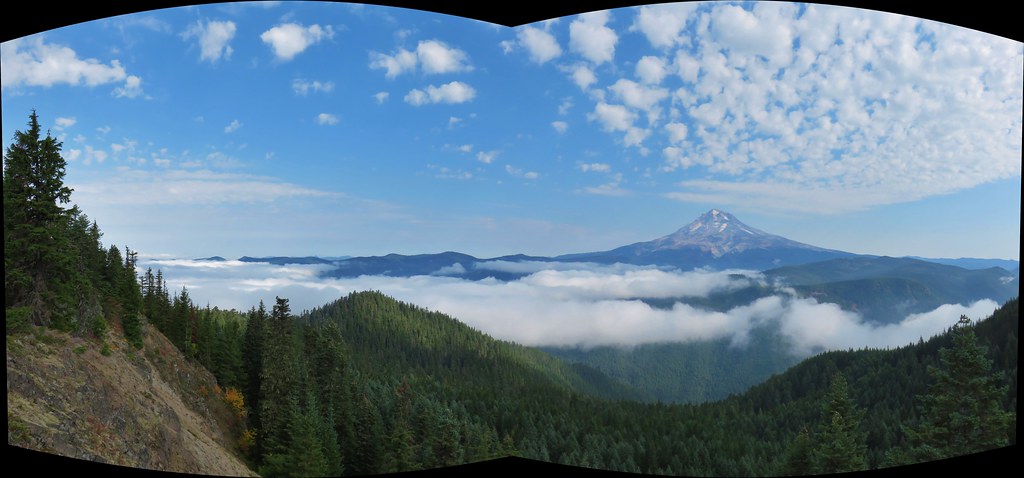
Near the lookout Mt. Hood and Mt. Jefferson could be seen to the south in Oregon.
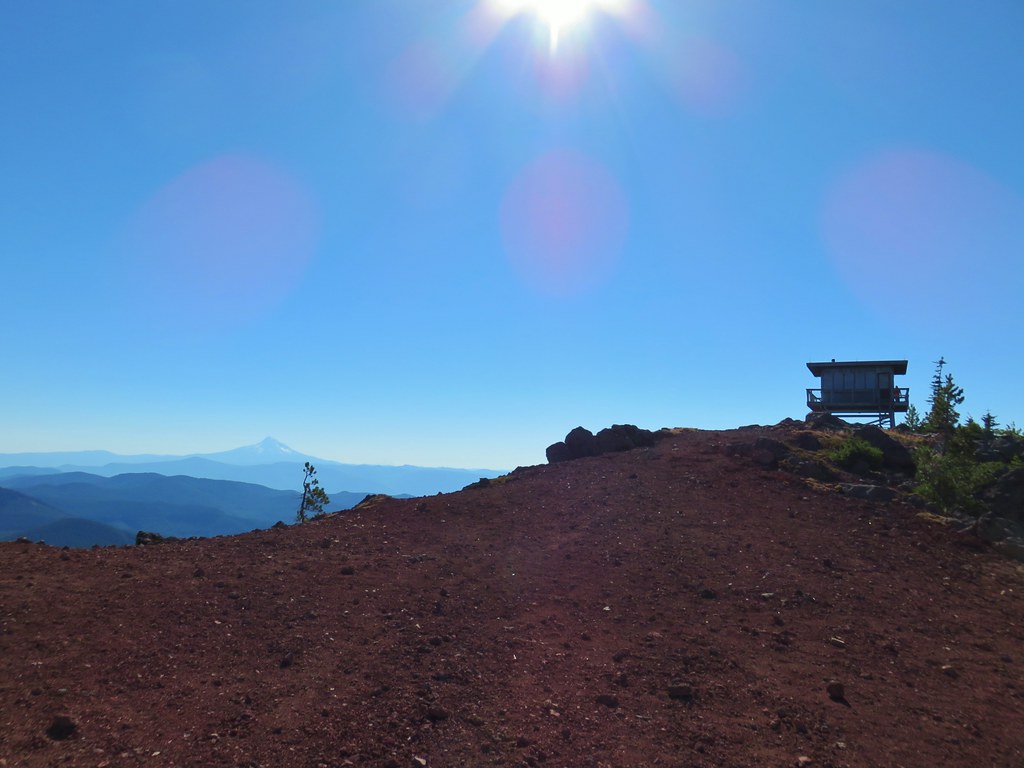
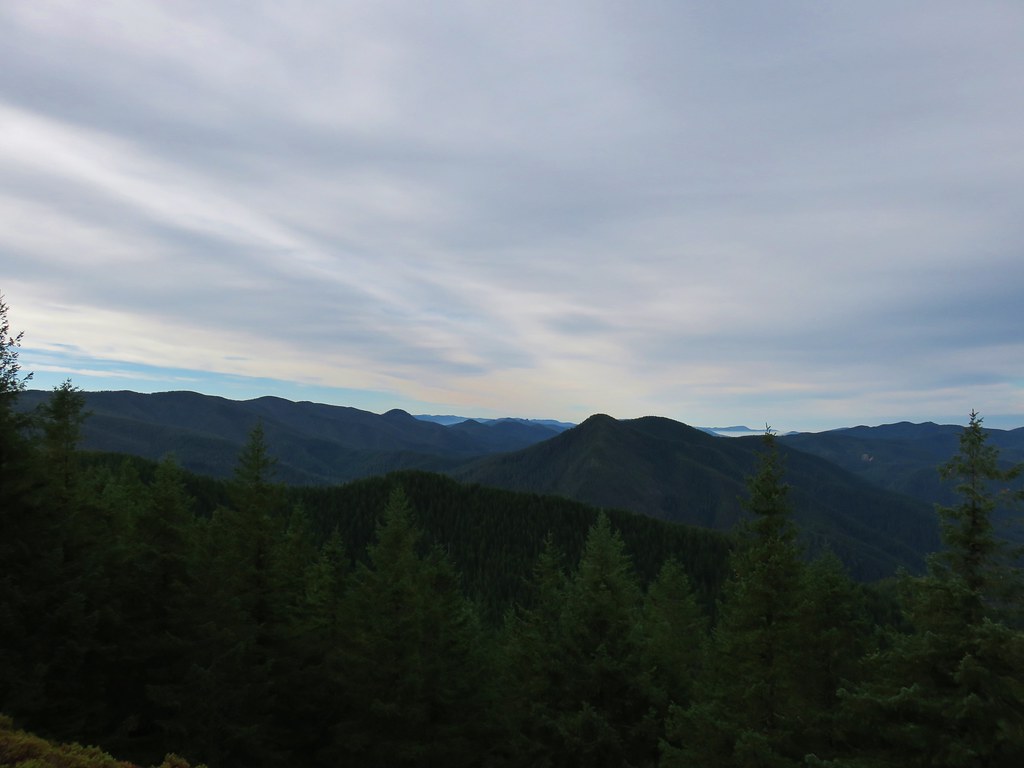
We took a nice long break at the summit gazing at Washington’s trio of volcanoes and talking with a fellow hiker from Vancouver who had tried to reach the lookout earlier in the year but had been turned back by snow.

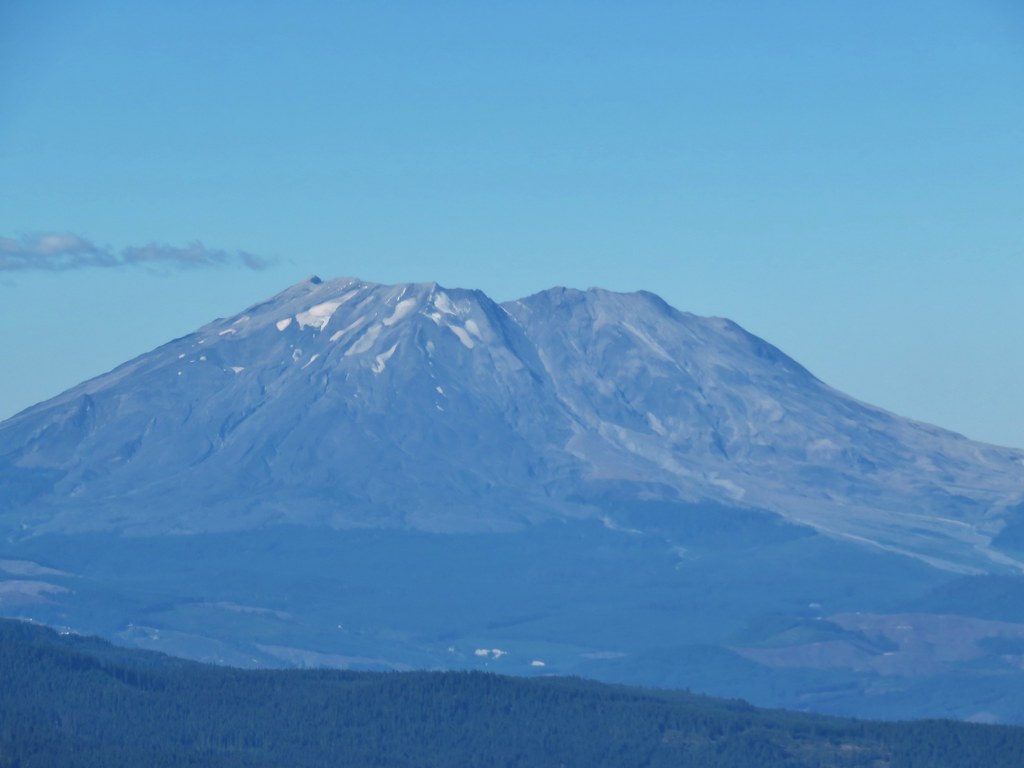 Mt. St. Helens
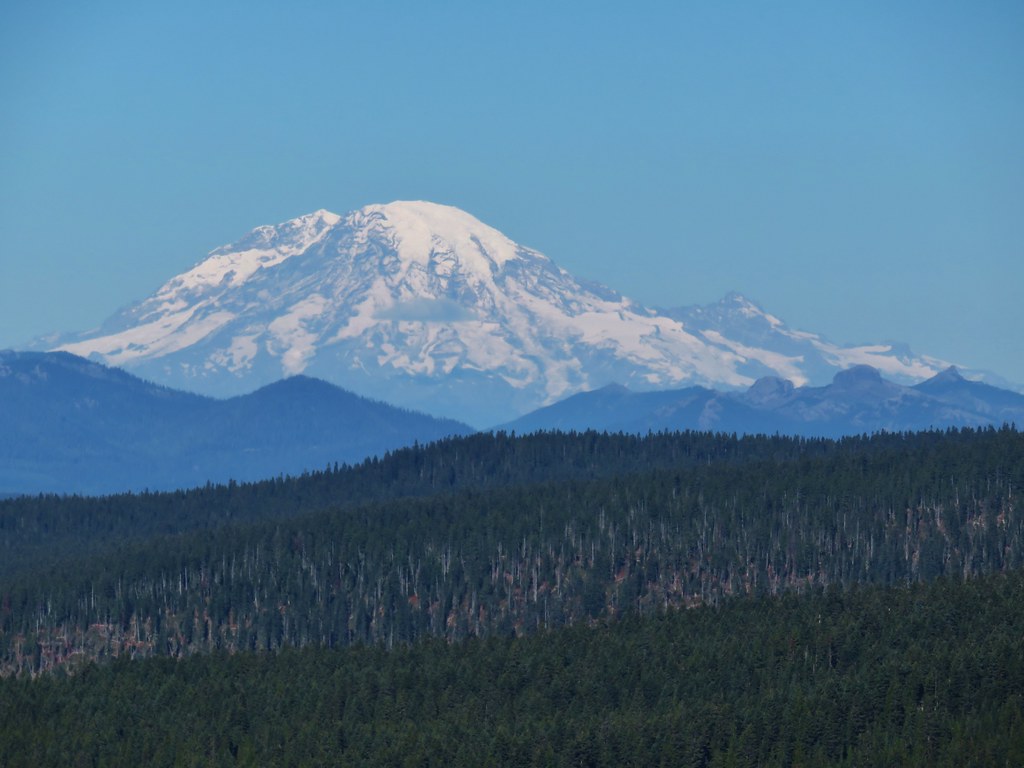 Mt. Rainier
 Mt. Adams
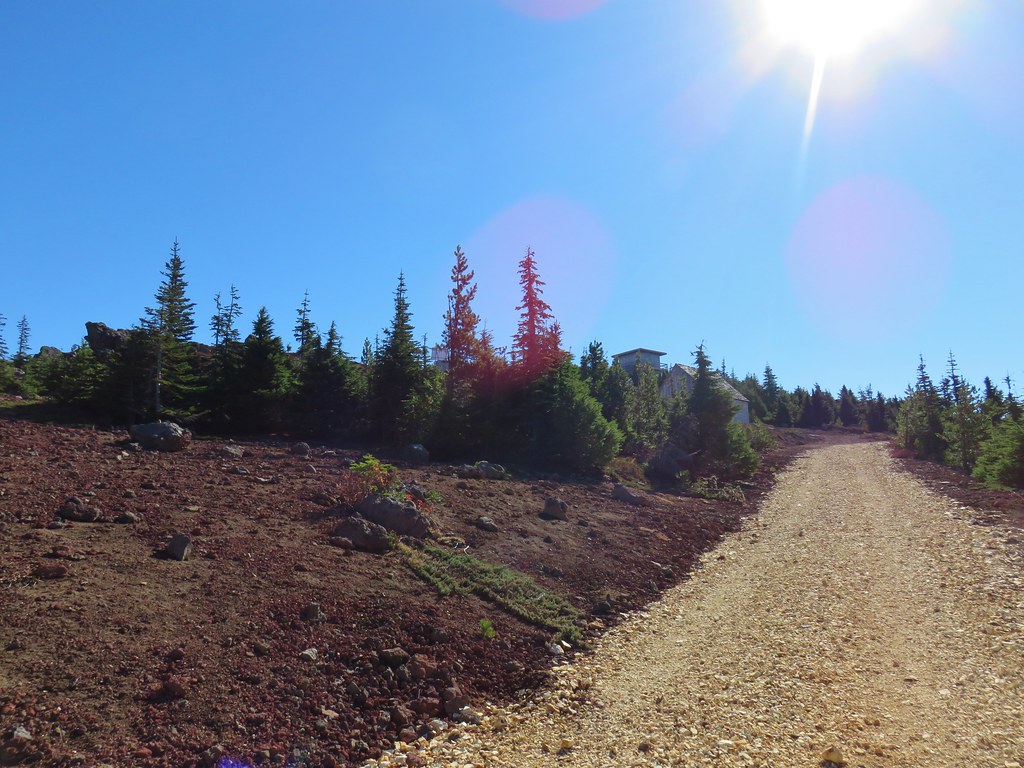
From the lookout we headed back down the road and followed it all the way back down to FR 60 a total of 3.4 miles from the tower.
We were a half mile from the Pacfic Crest Trail so we road walked, uphill, back to our car. In hindsight it might have been nicer to do the loop in reverse in order to start with the road walks and finish the hike with a gradual descent. Either way it was a great hike, but we had been expecting it to be a 7.5 mile loop based on our guidebook, but our GPS (and our legs) put it at 9.2 miles. Happy Trails!


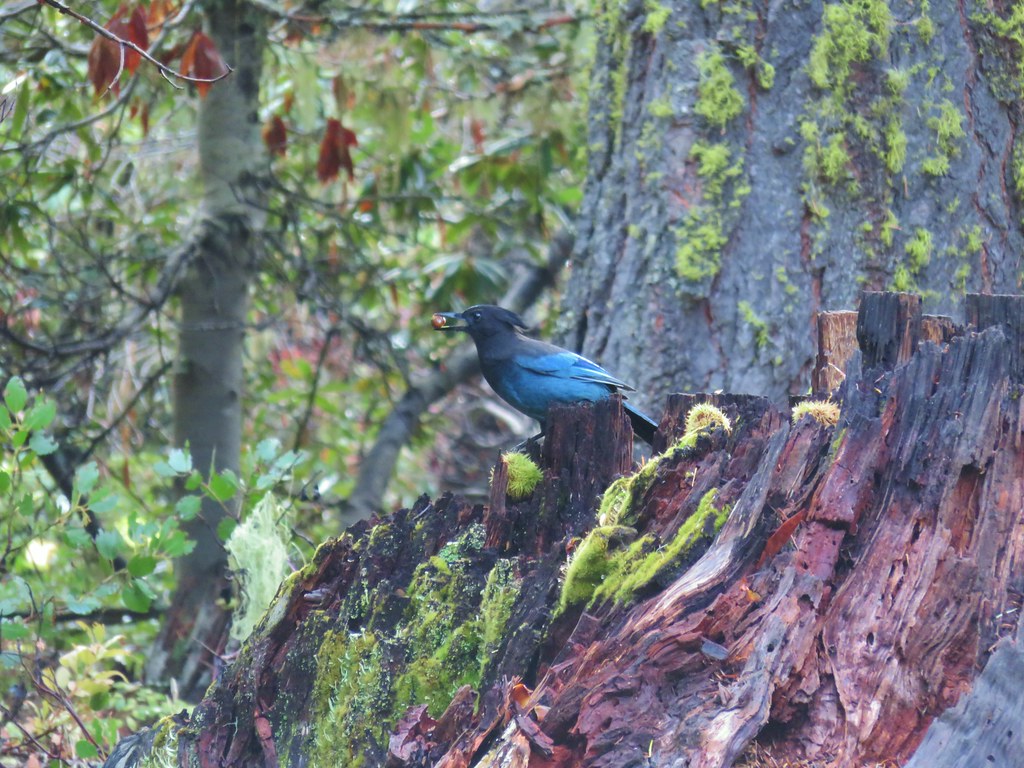 Stellar’s jay
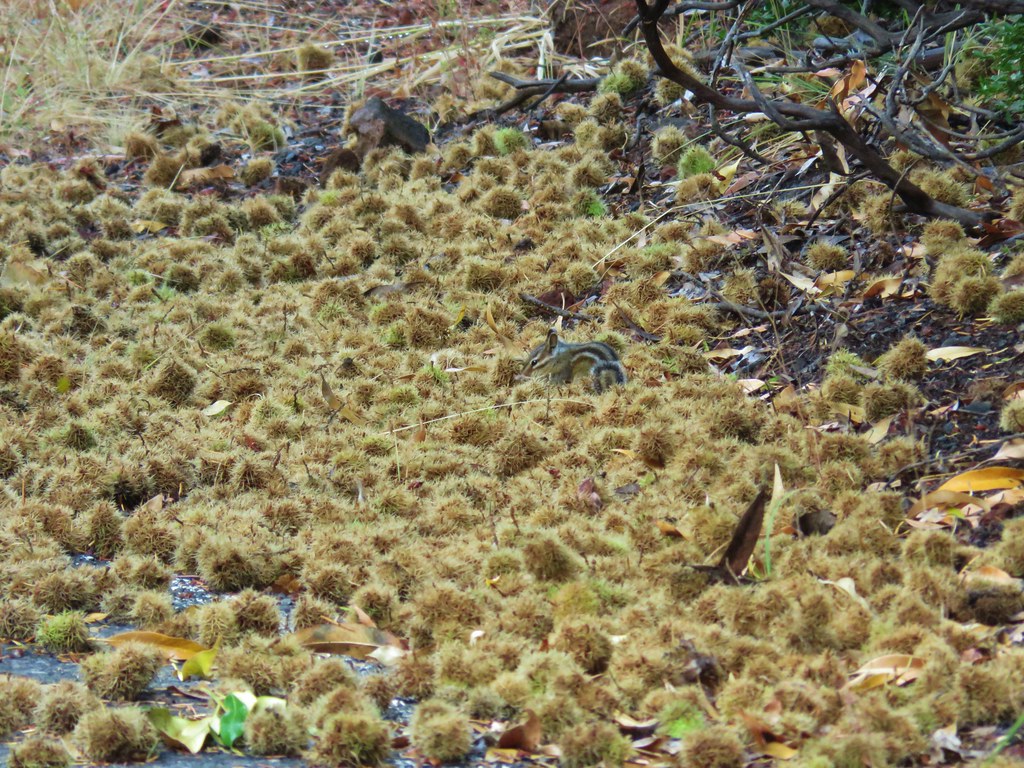 Chipmunk
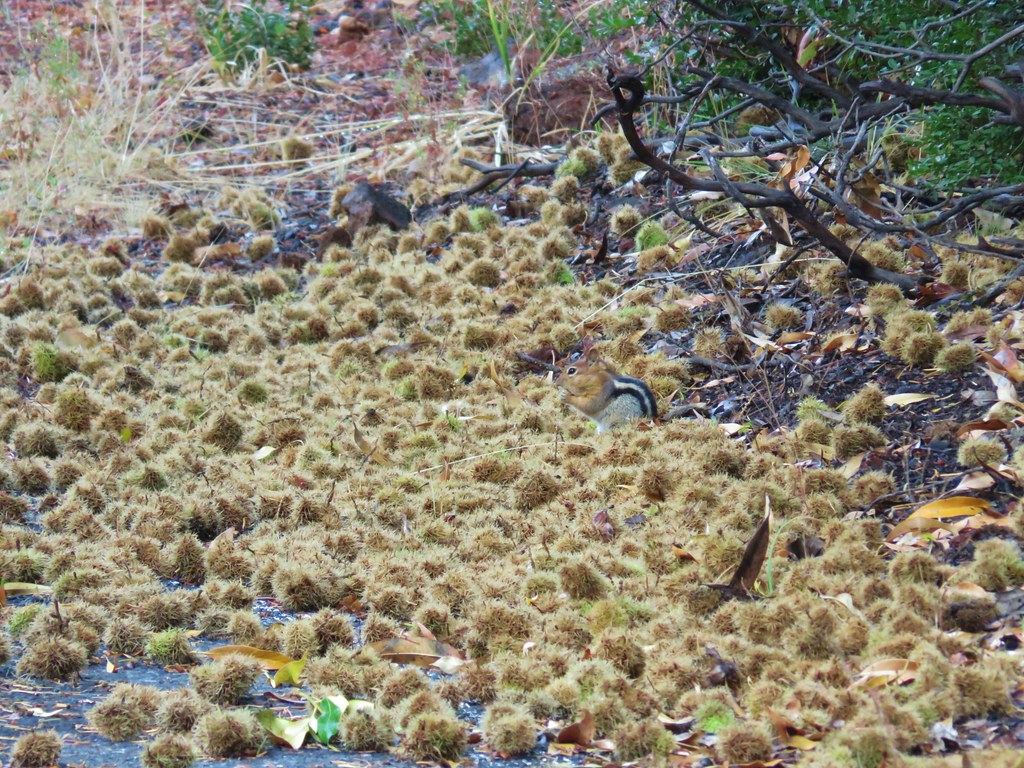 Golden-mantled ground squirrel


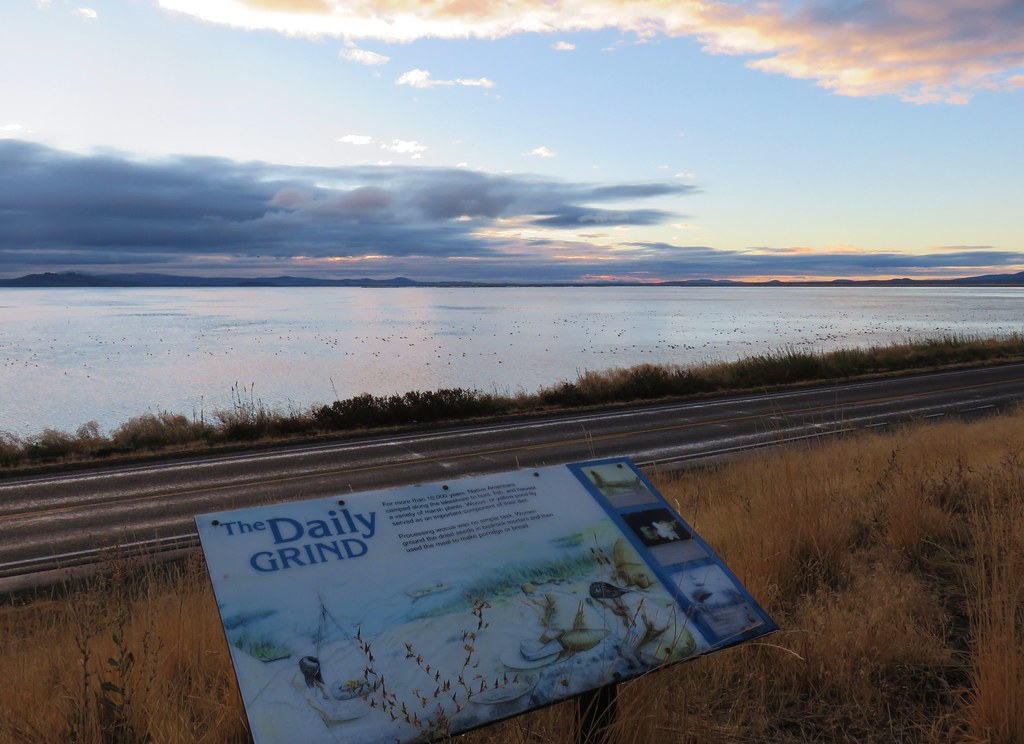

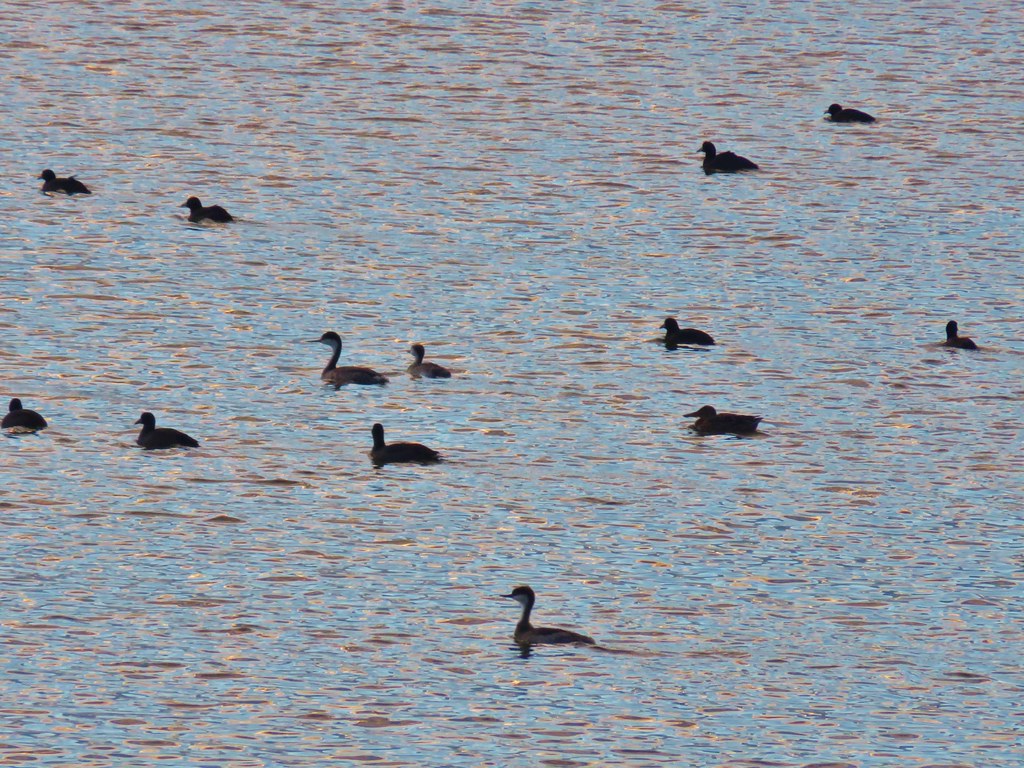
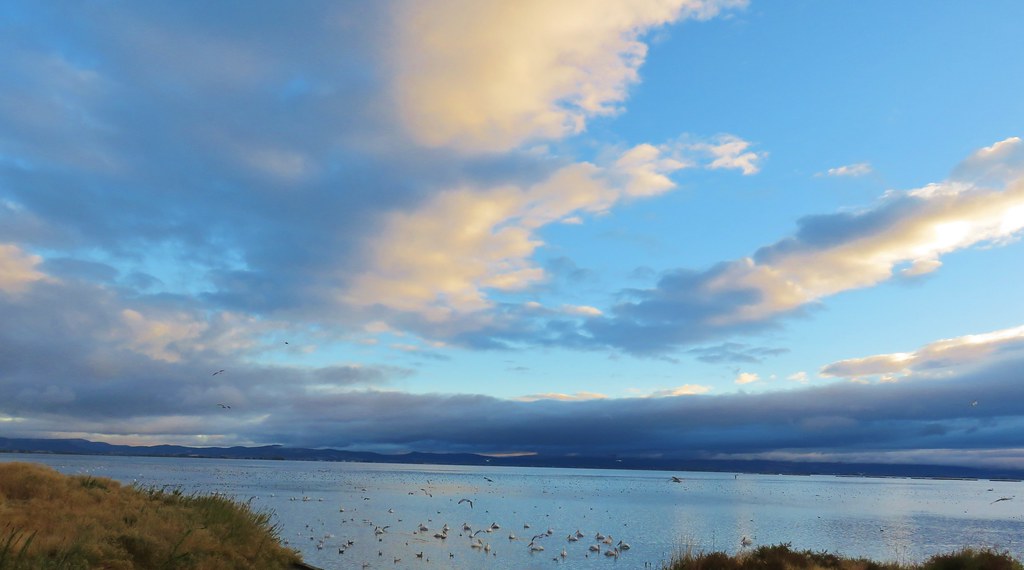
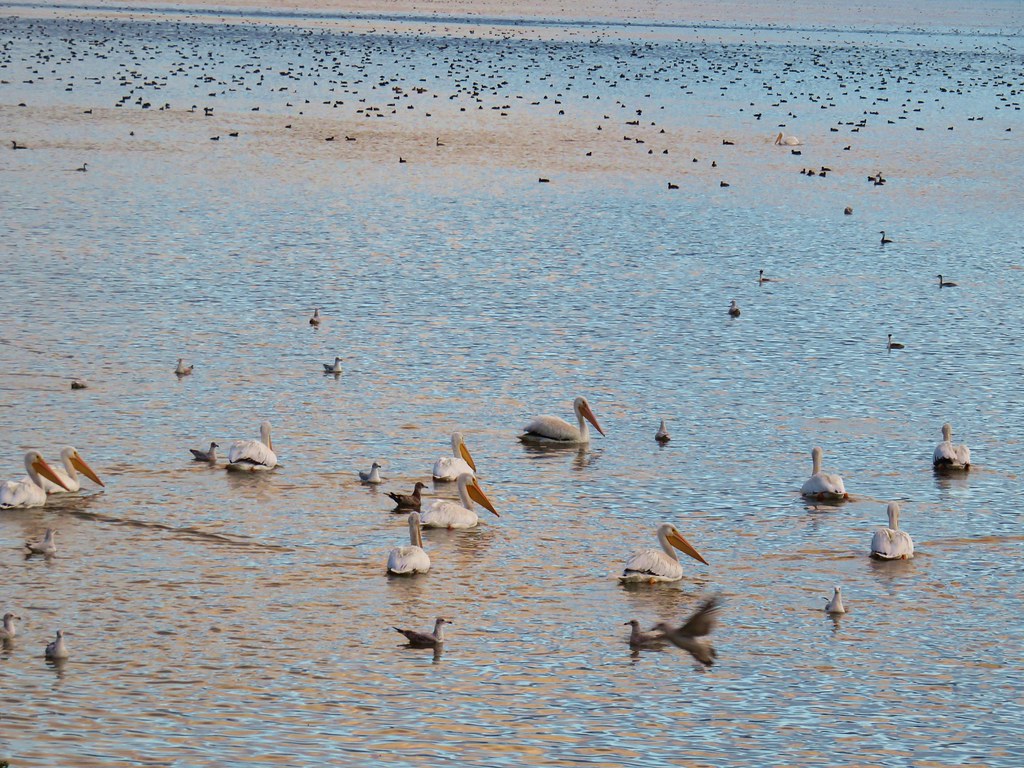

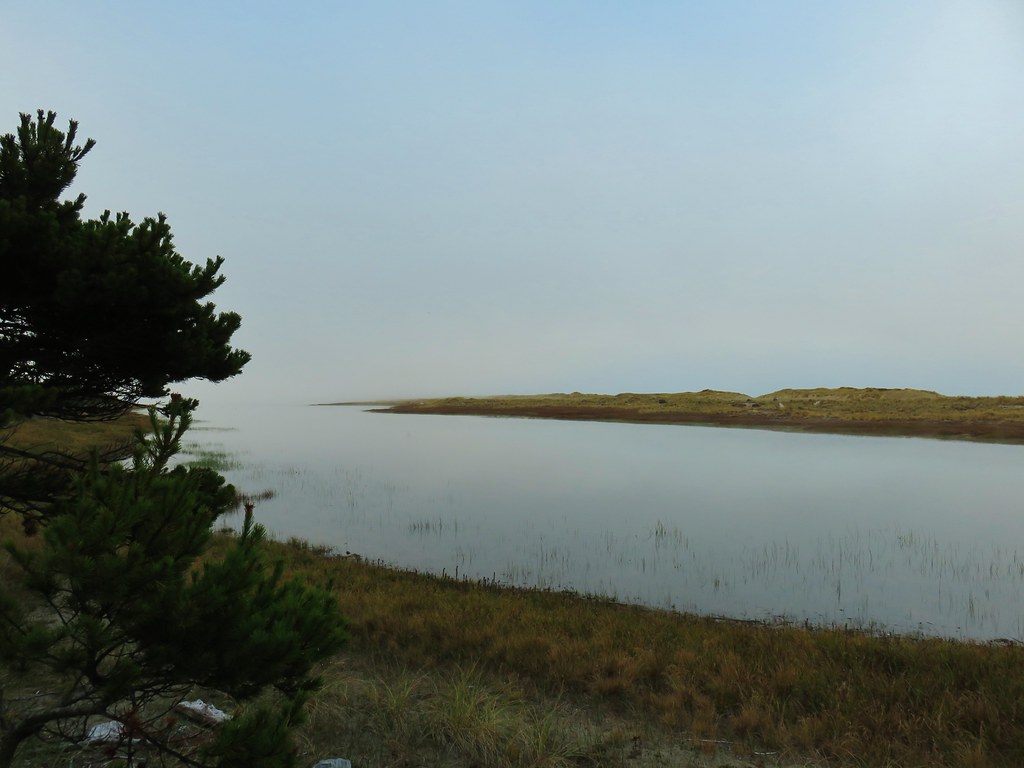
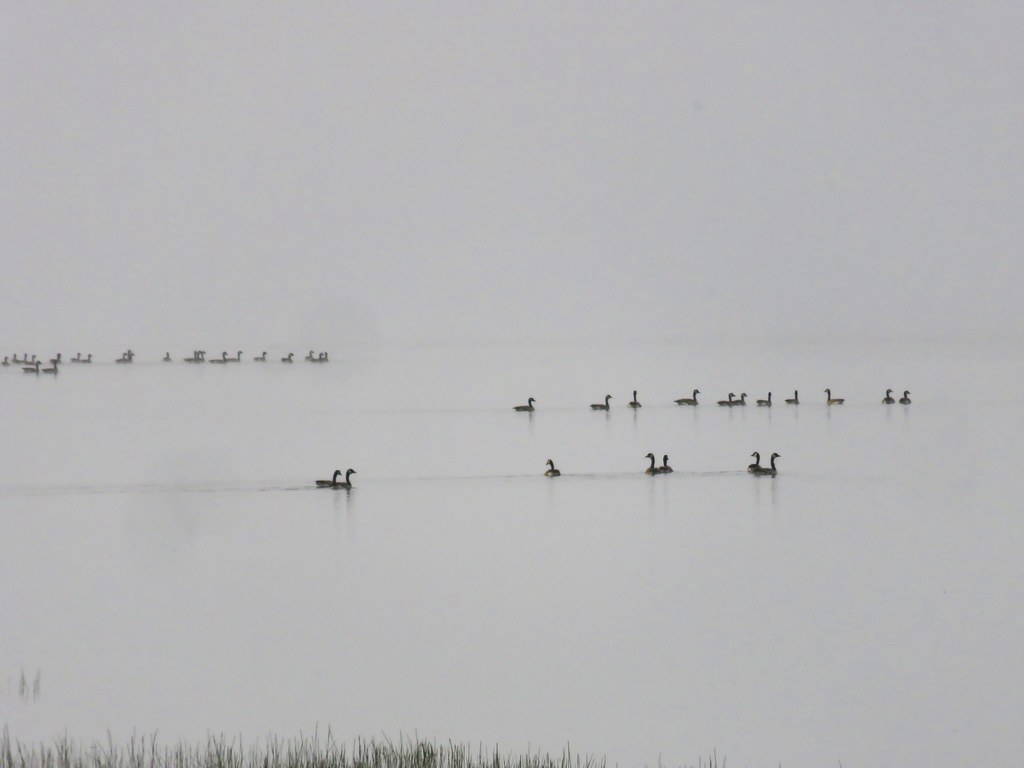
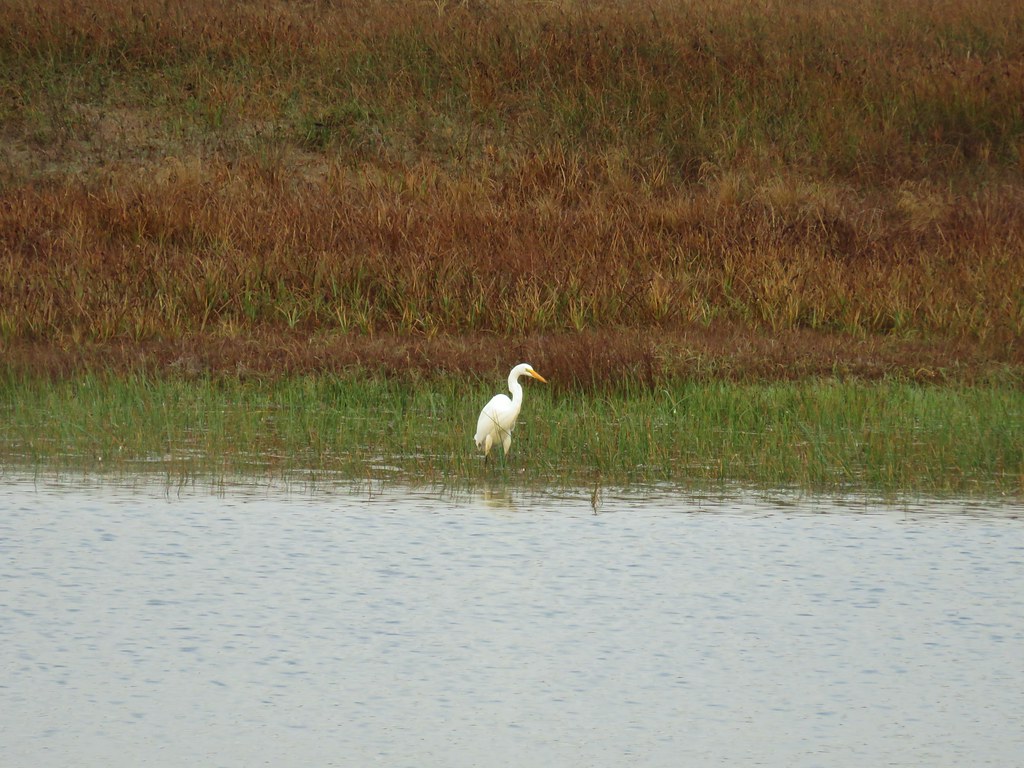
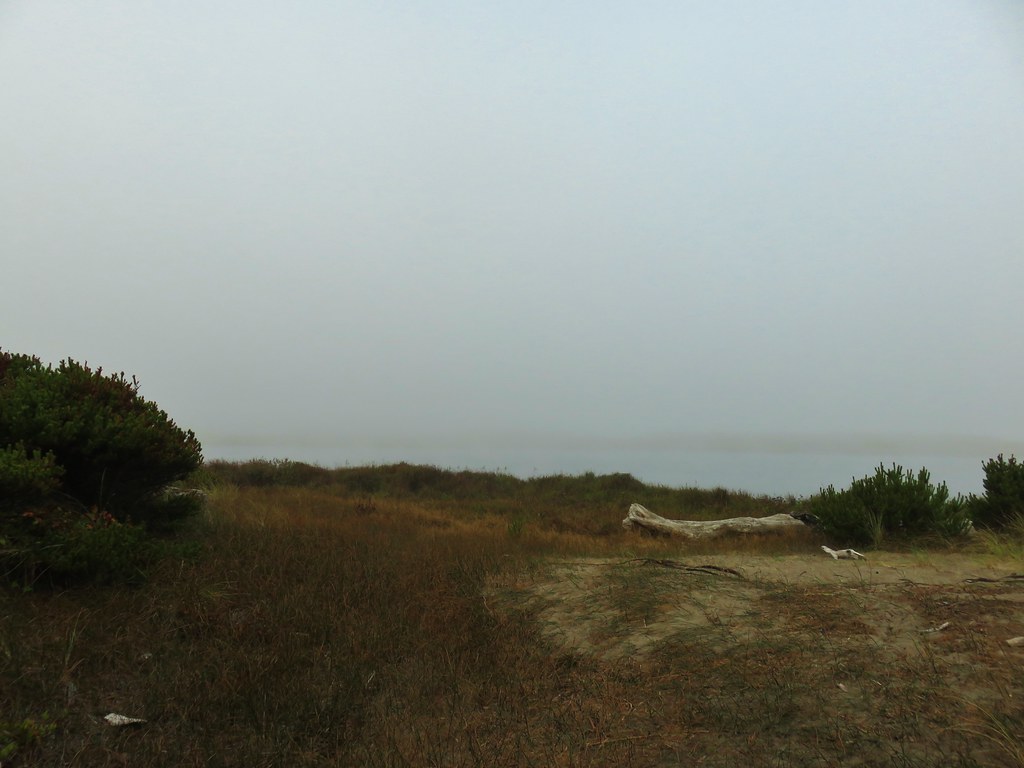
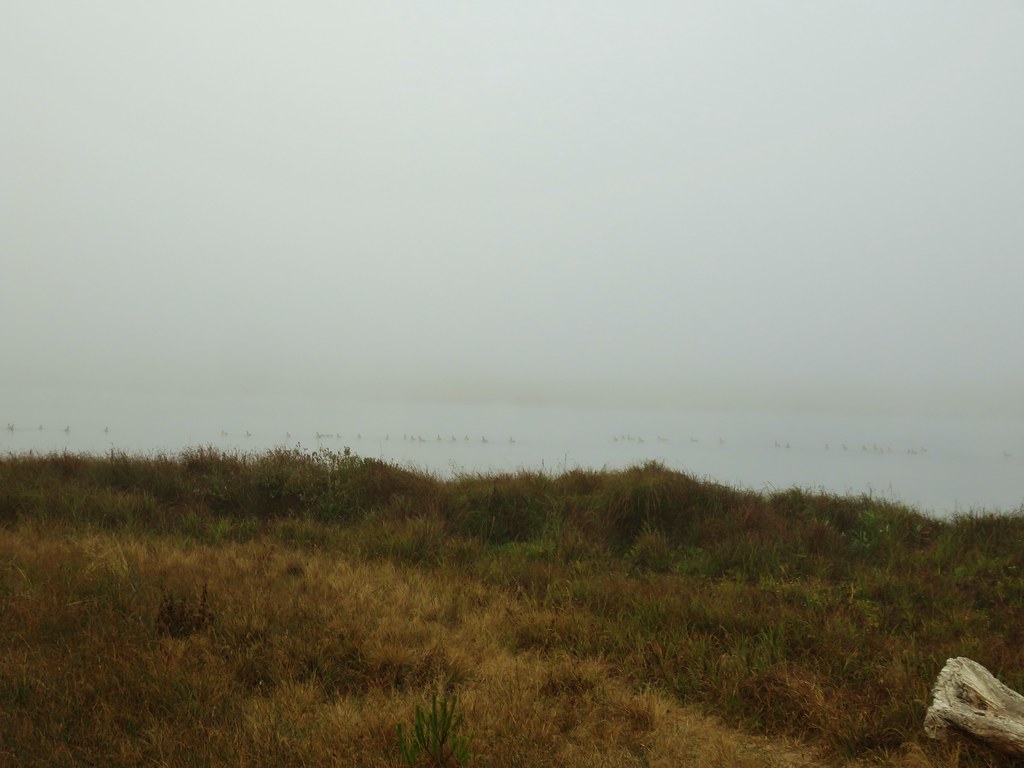
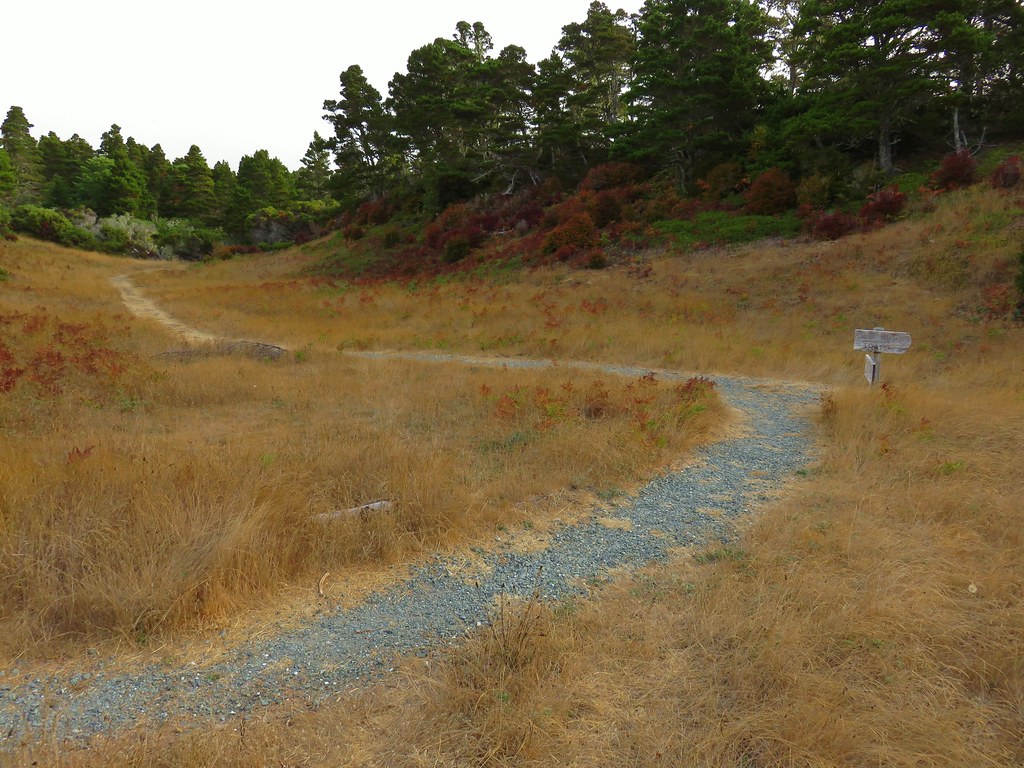
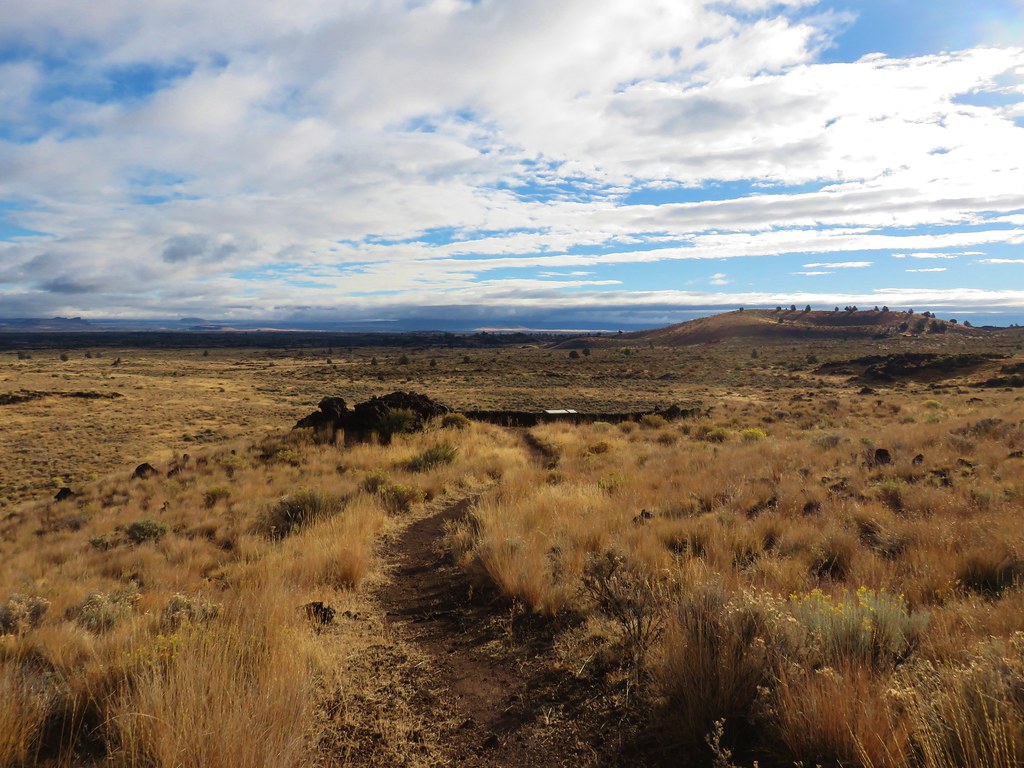
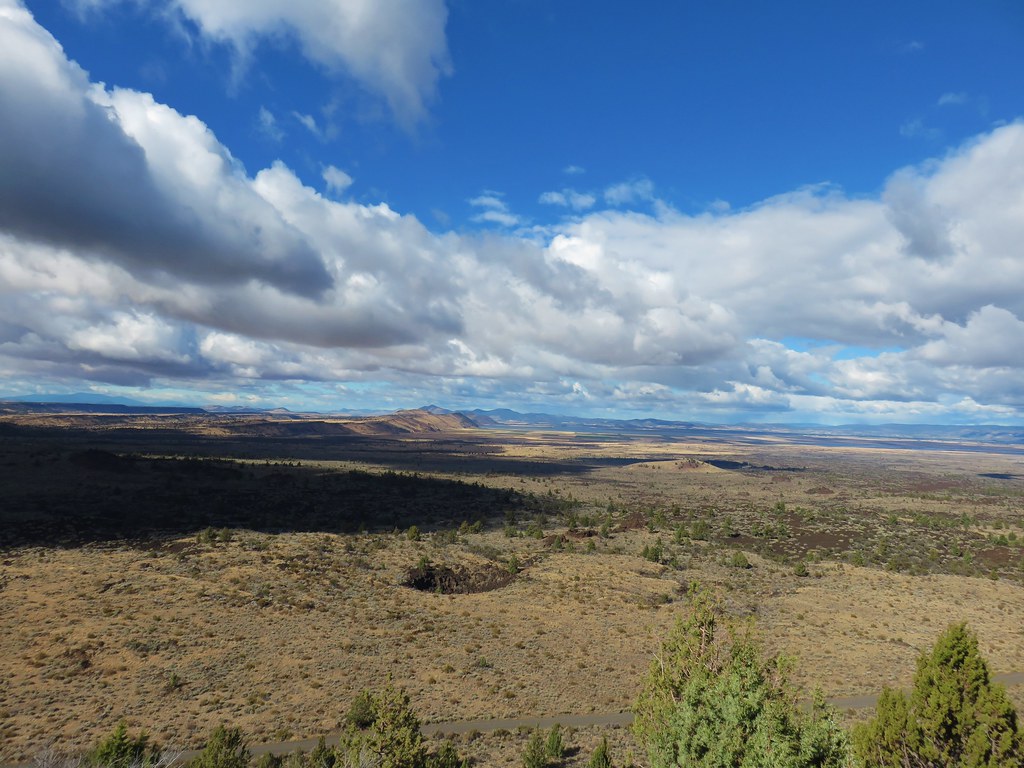
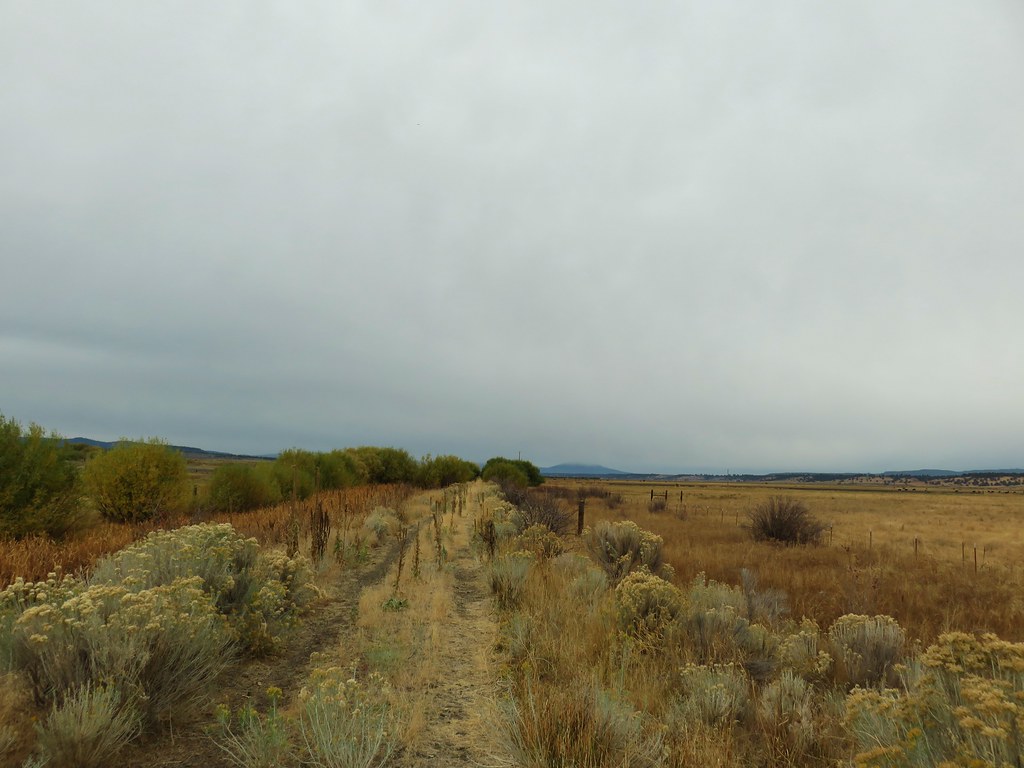
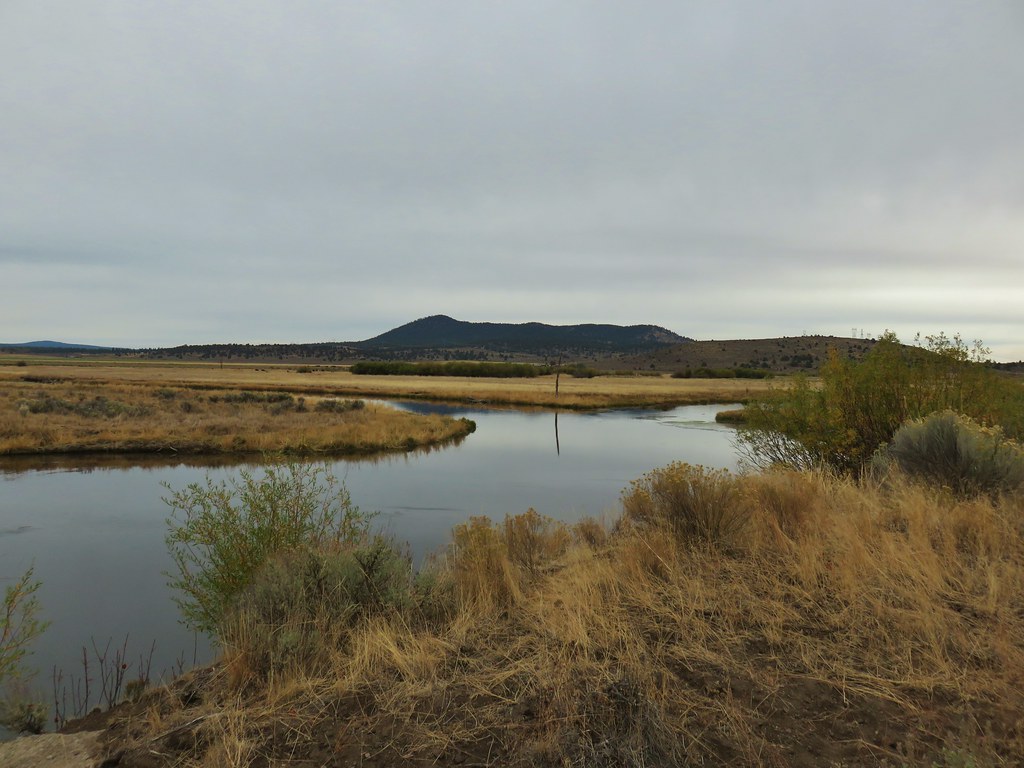
 Tule Lake
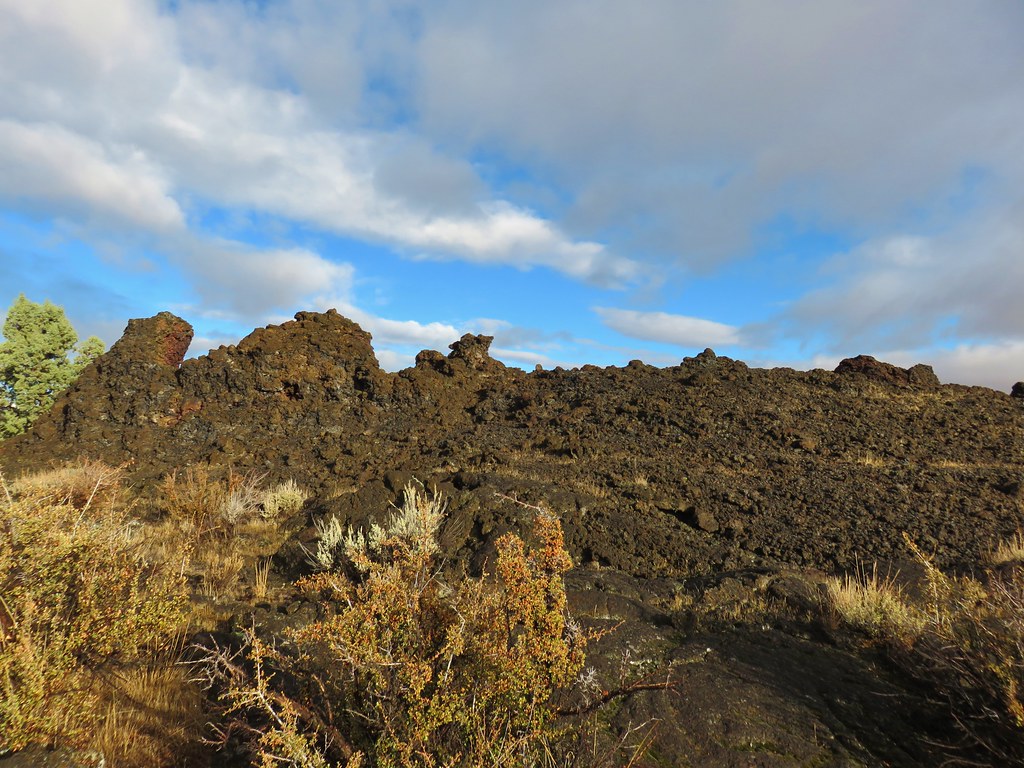


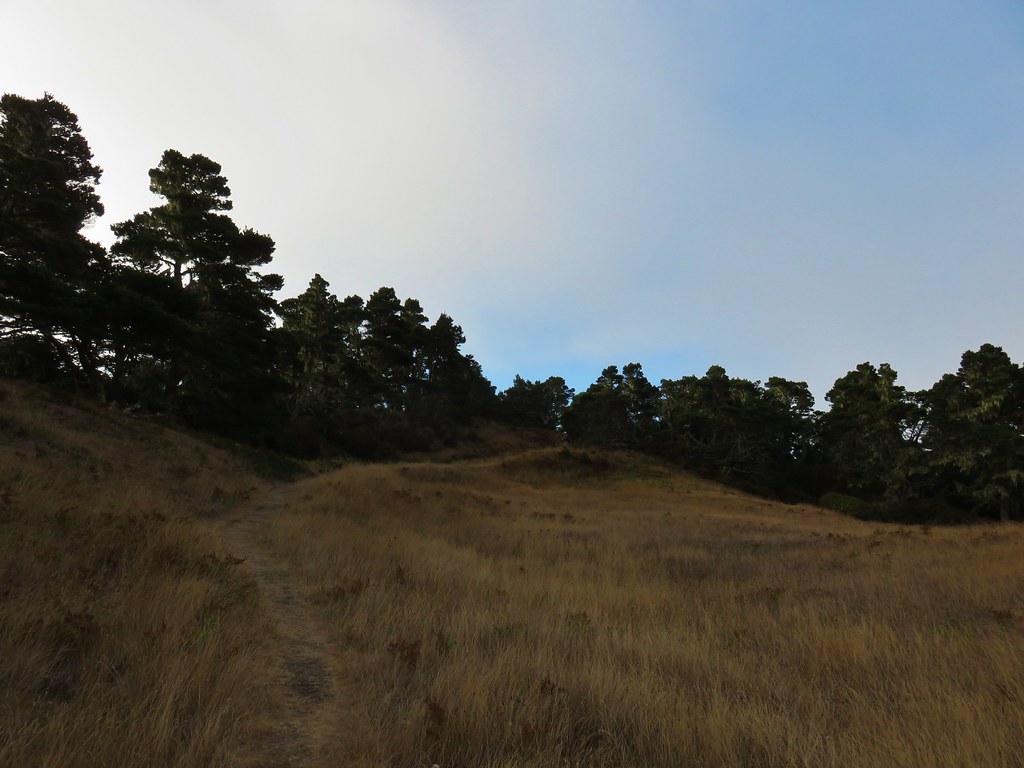
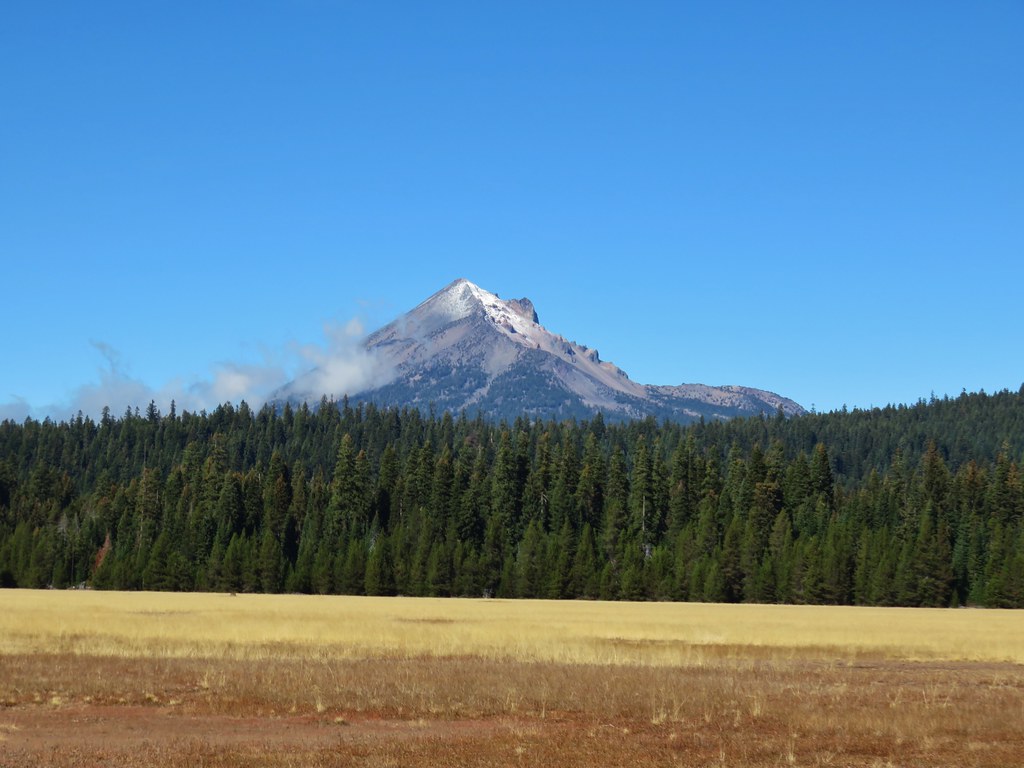
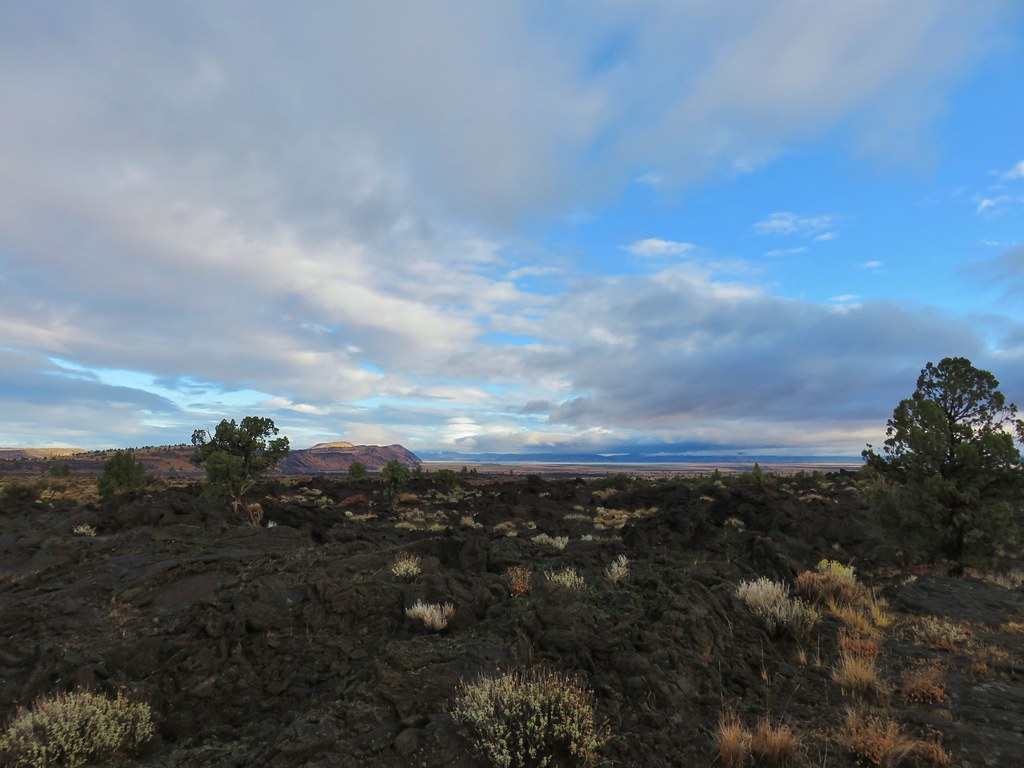
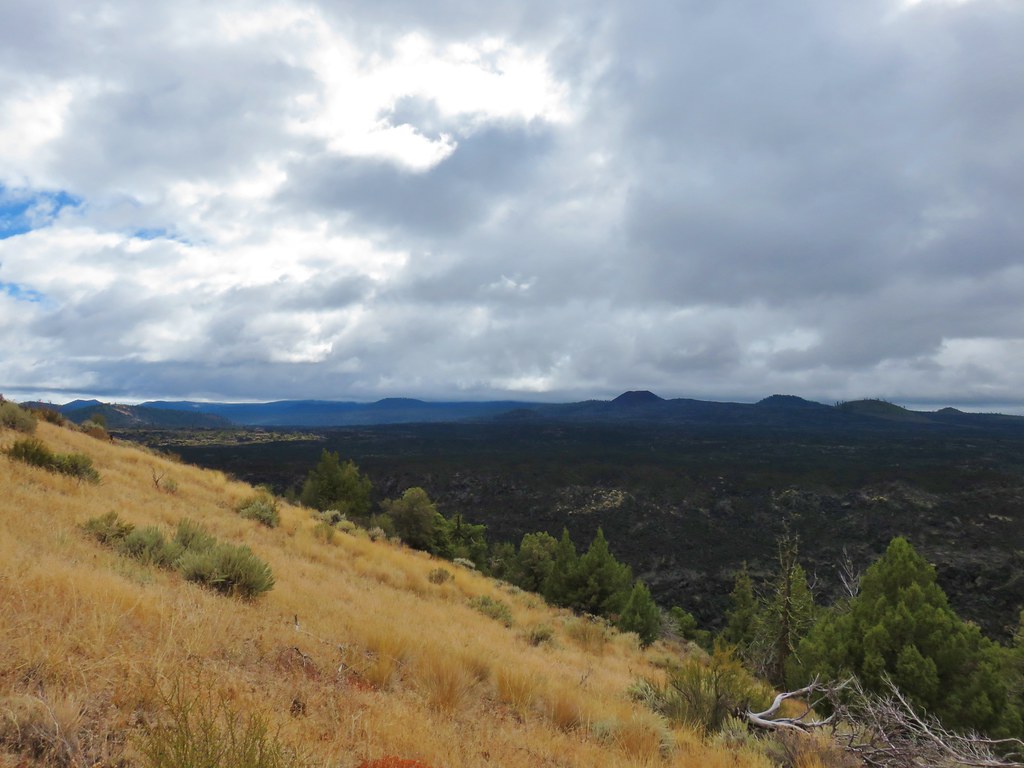
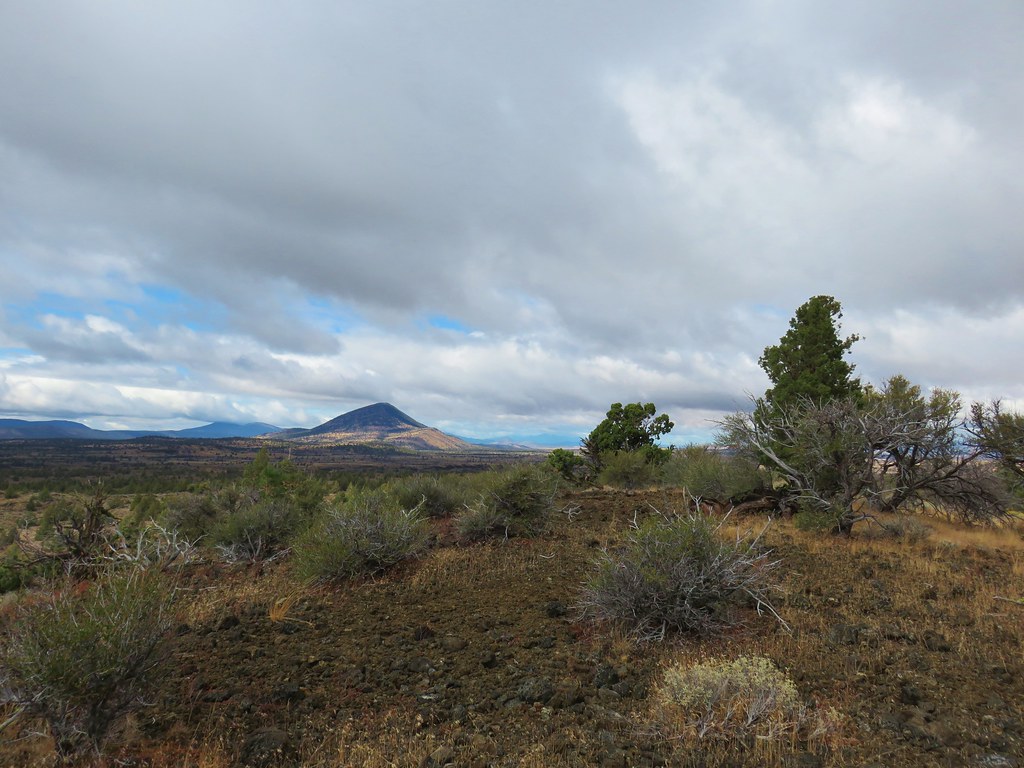
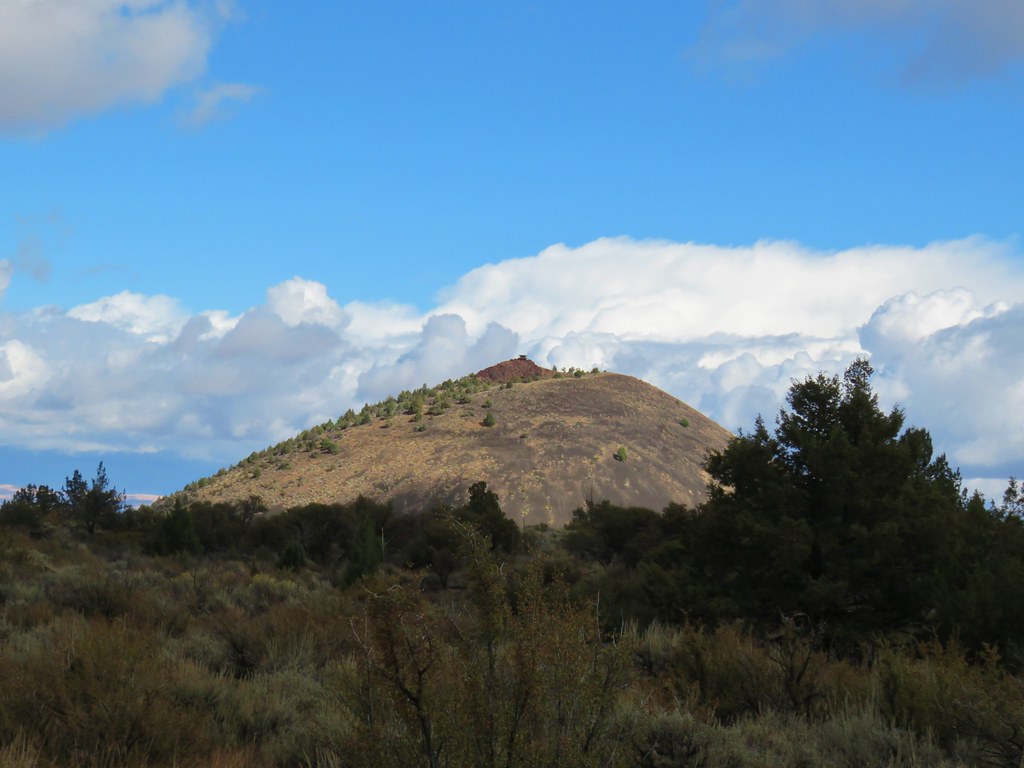
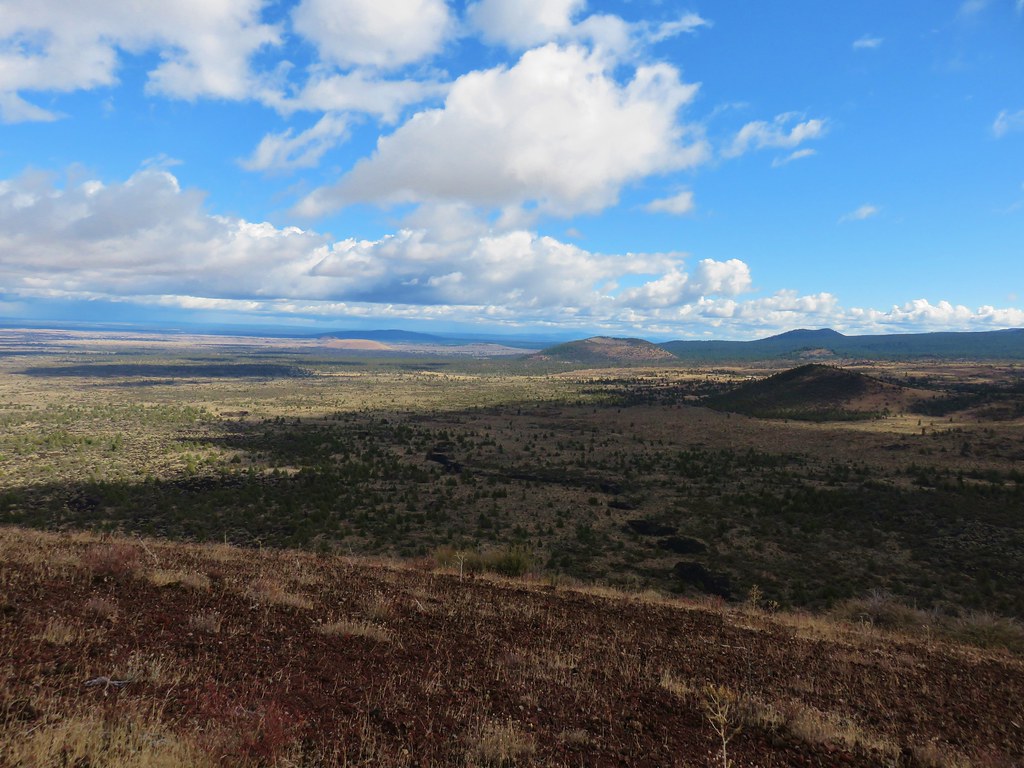
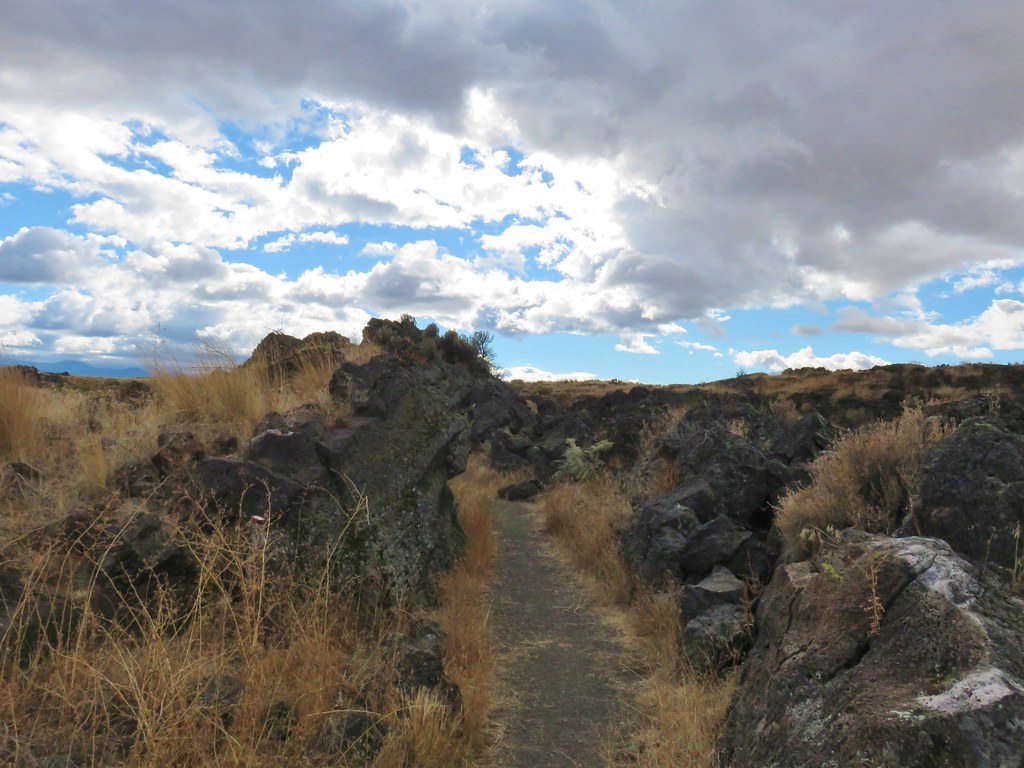
 Whitney Butte to the left and Mount Dome to the right.
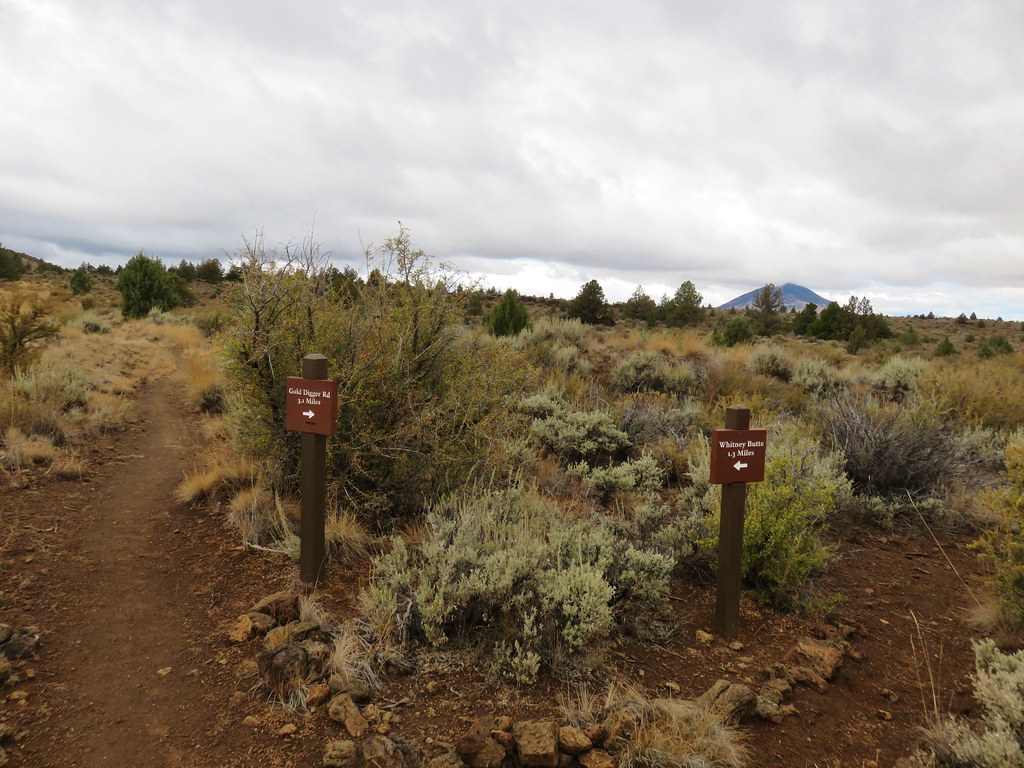


 Tule Lake
 Whitney Butte and Mount Dome
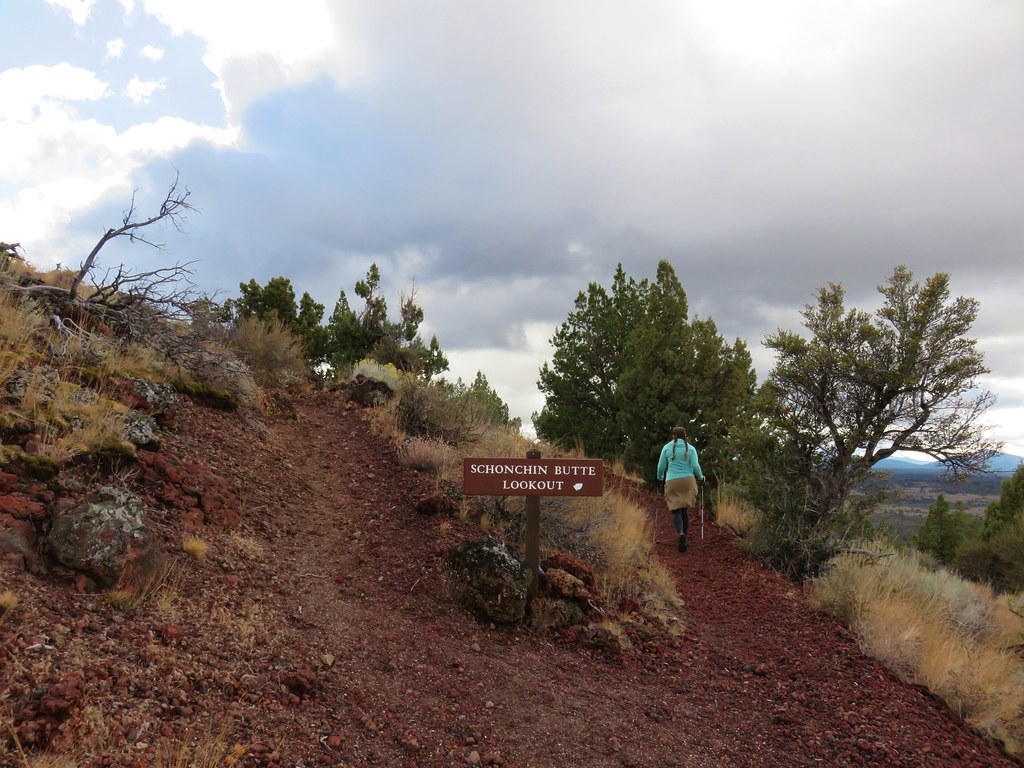


 <
<

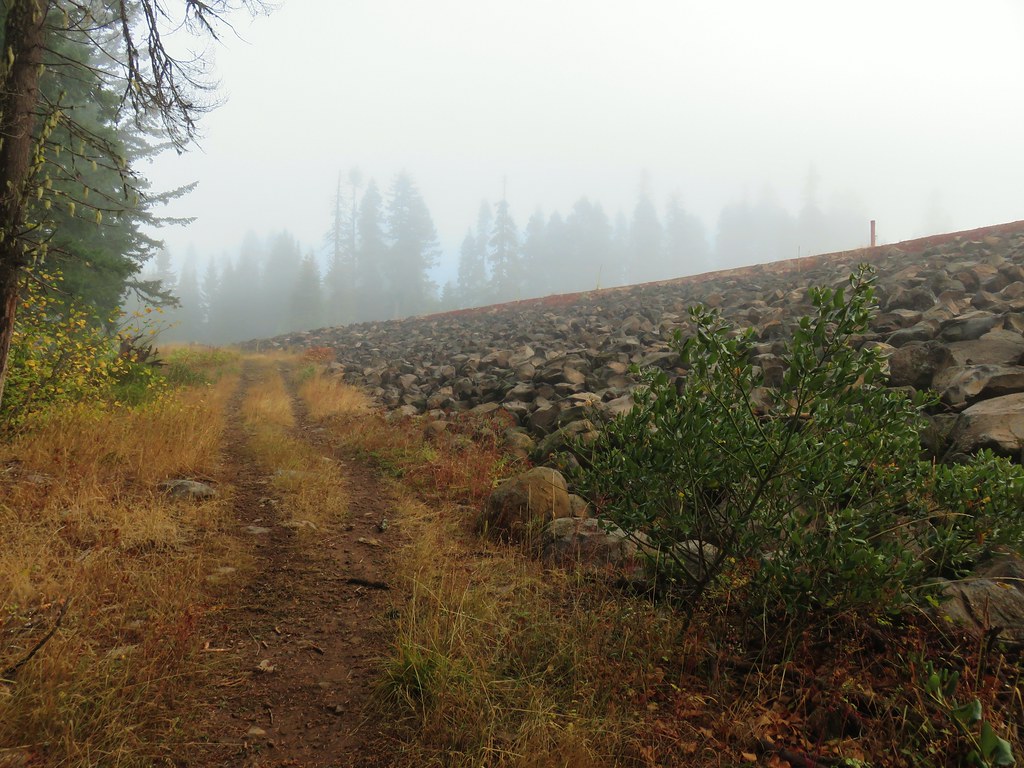
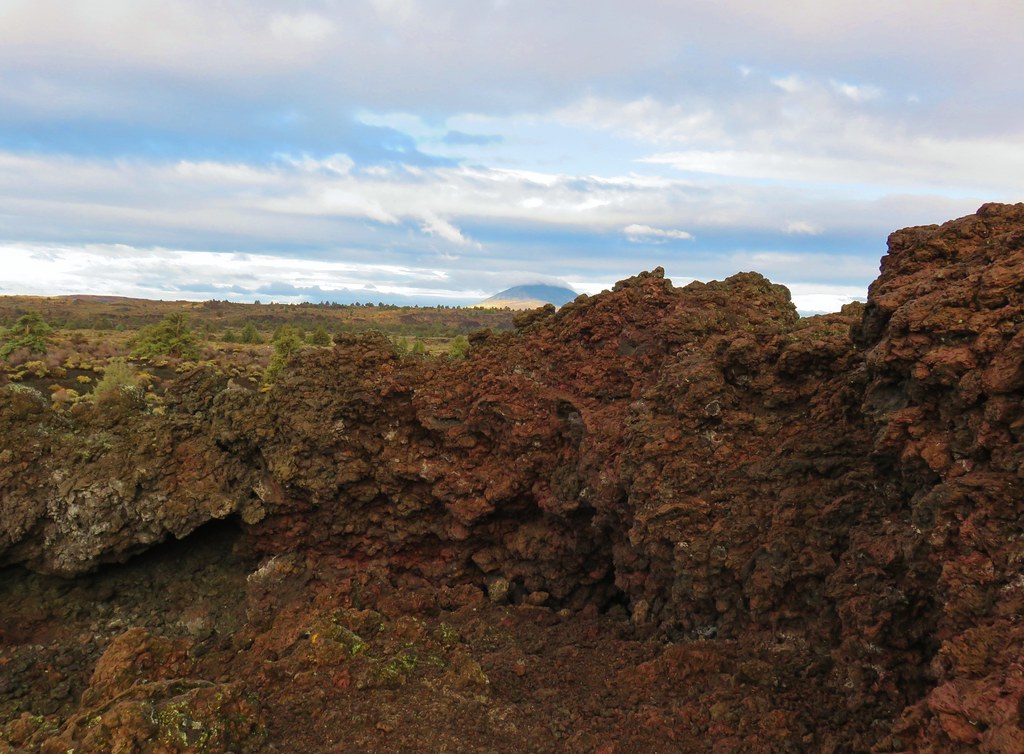
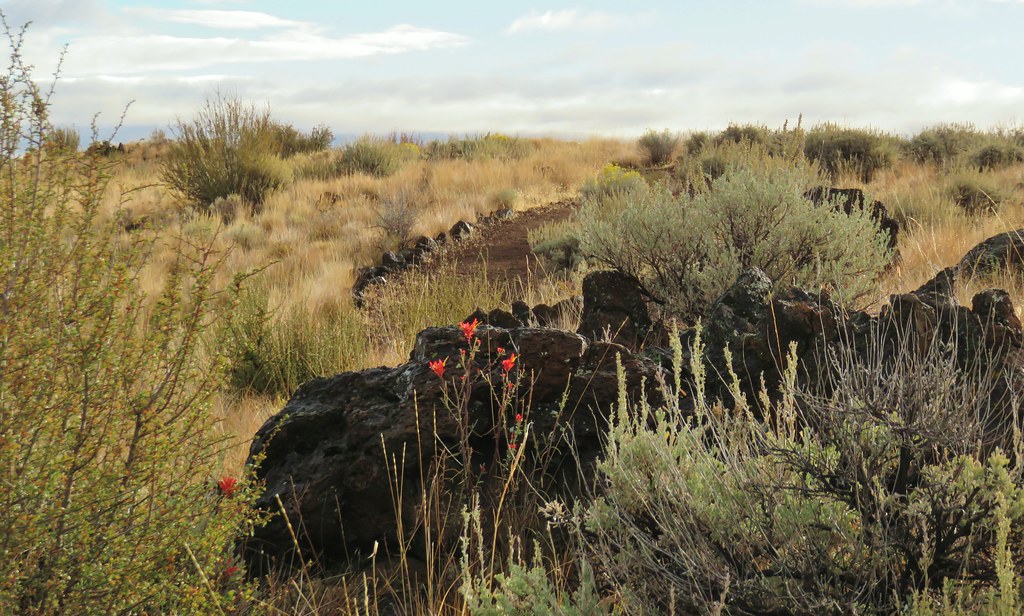
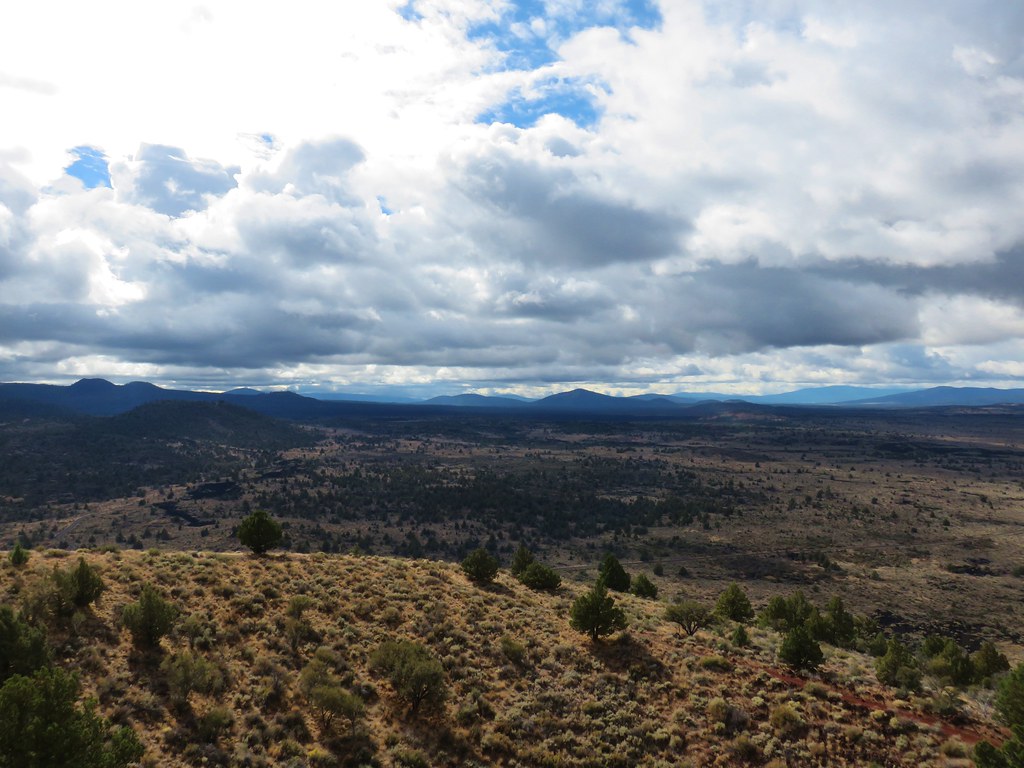
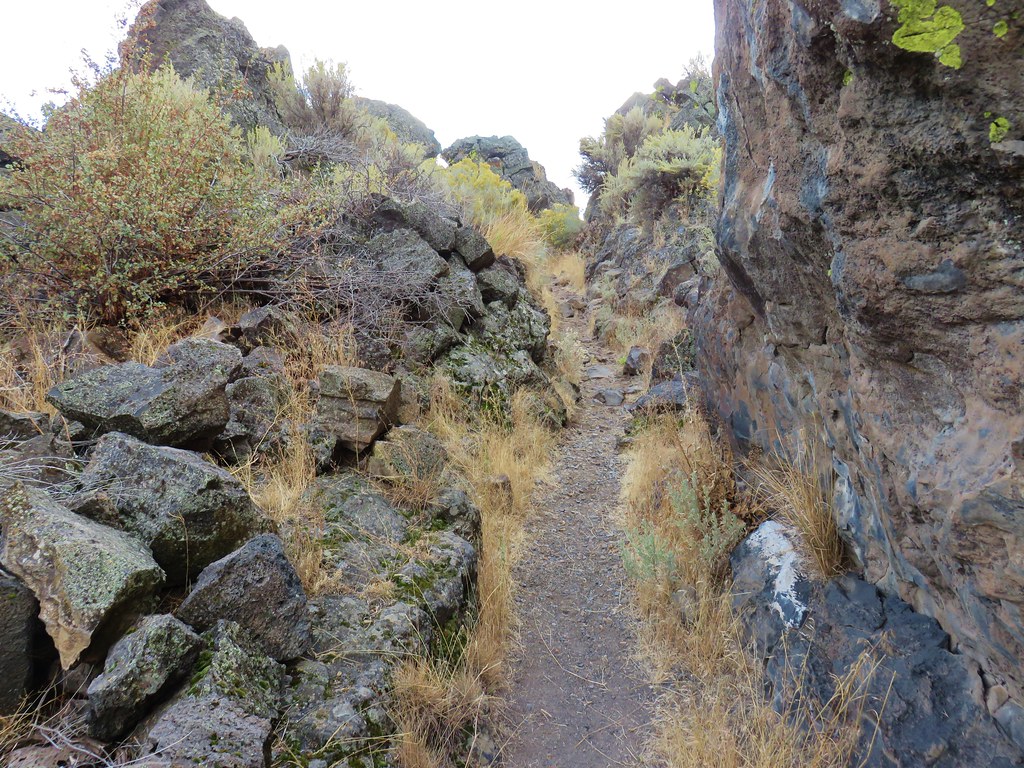
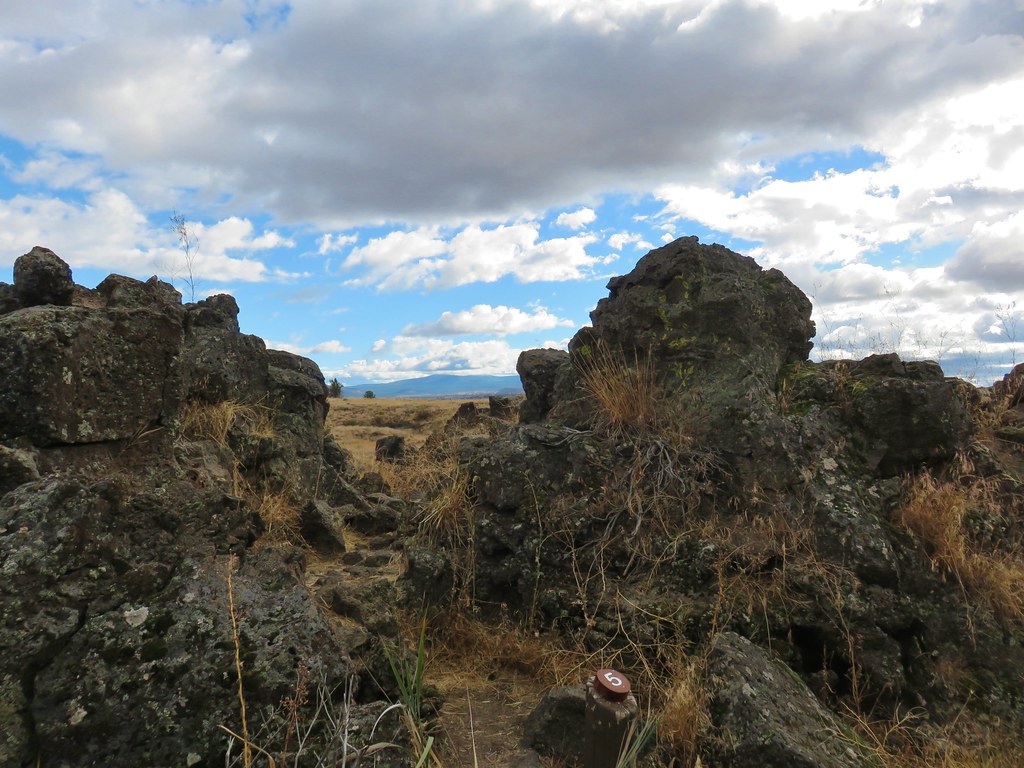
 The rocky ridge
 Mt. St. Helens
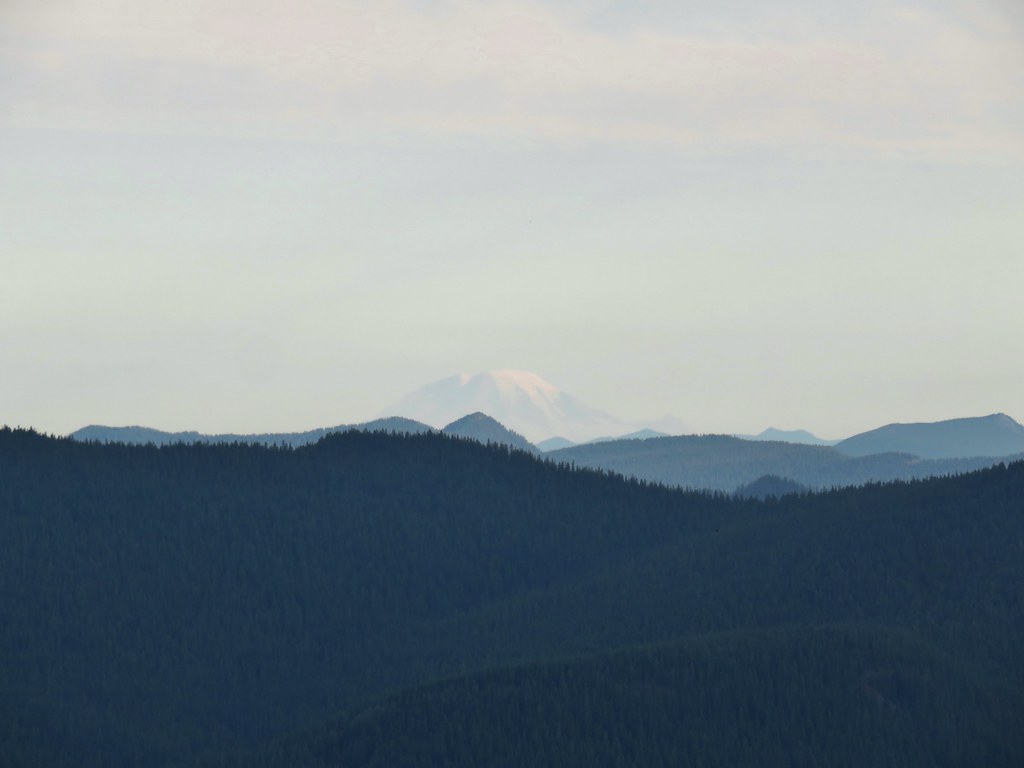 Mt. Rainier
 Mt. Adams
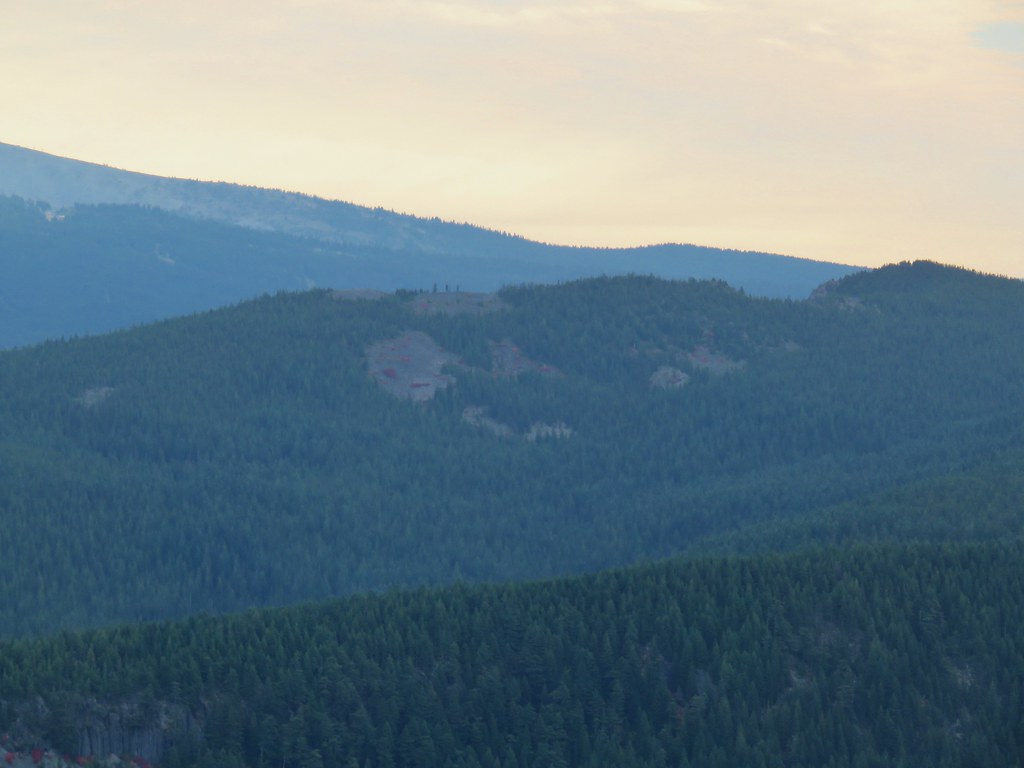


 Mt. Jefferson in some haze to the south.
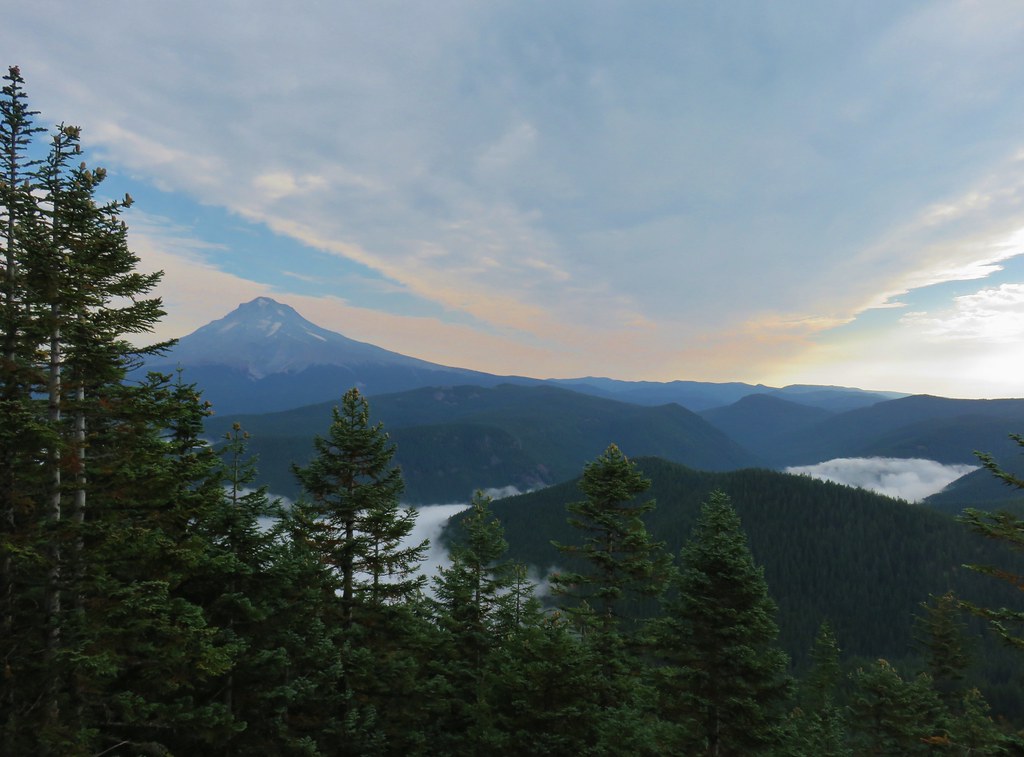 Mt. Hood
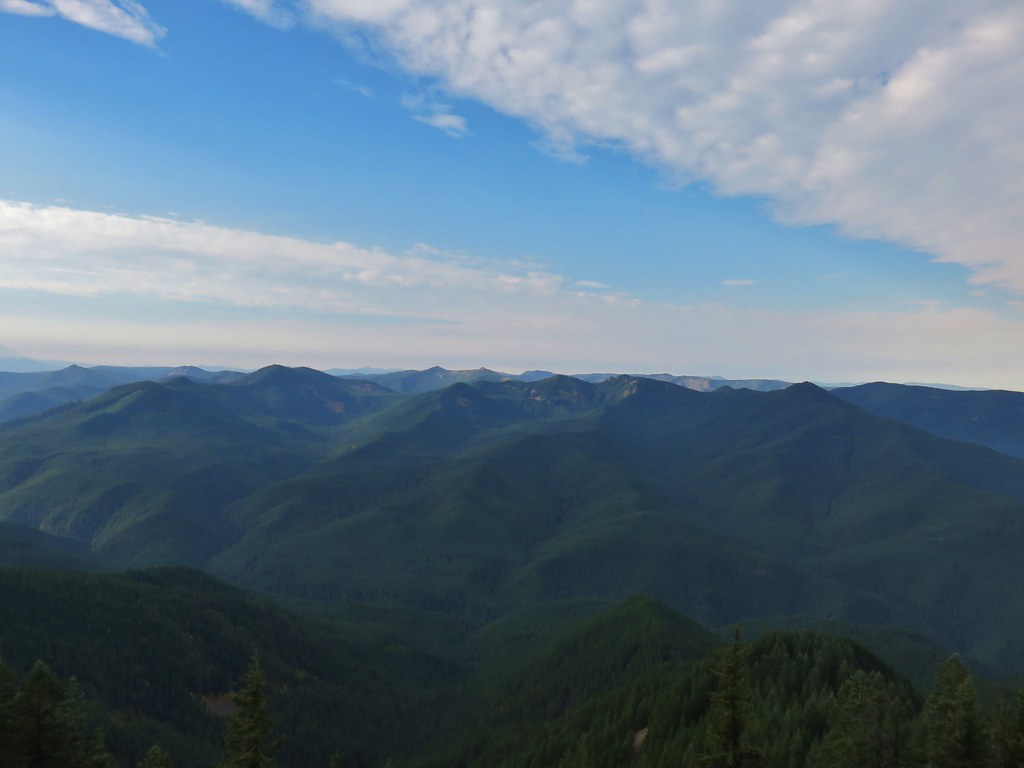 Salmon-Huckleberry Wilderness
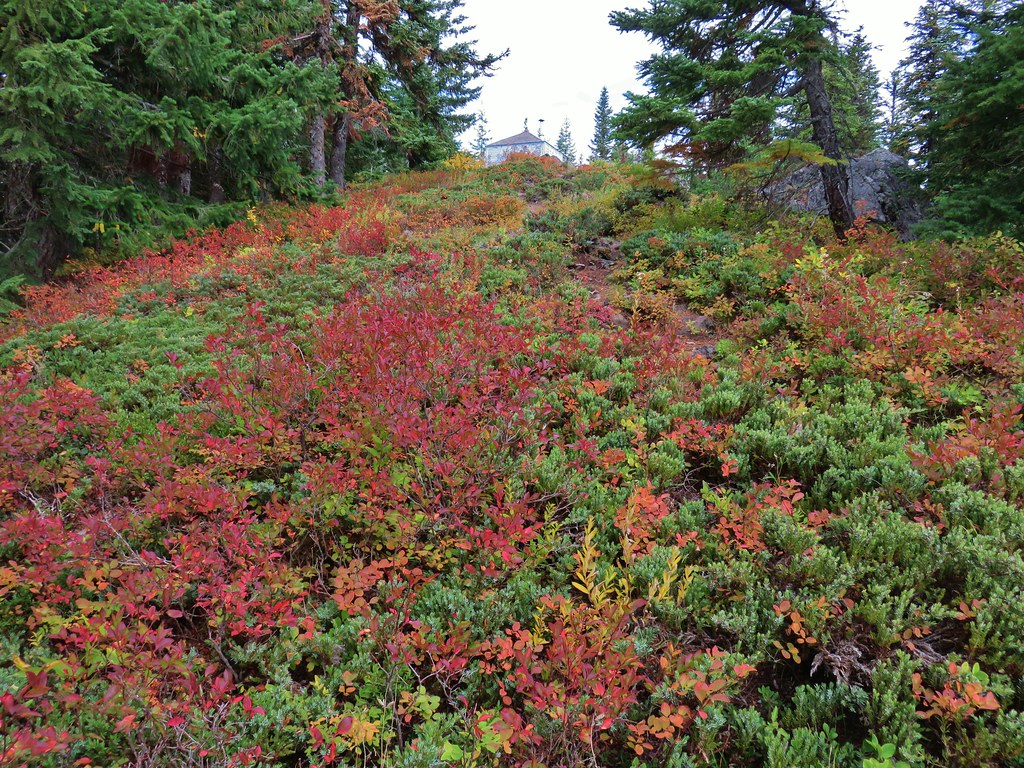
 Clouds coming up the Salmon River Valley
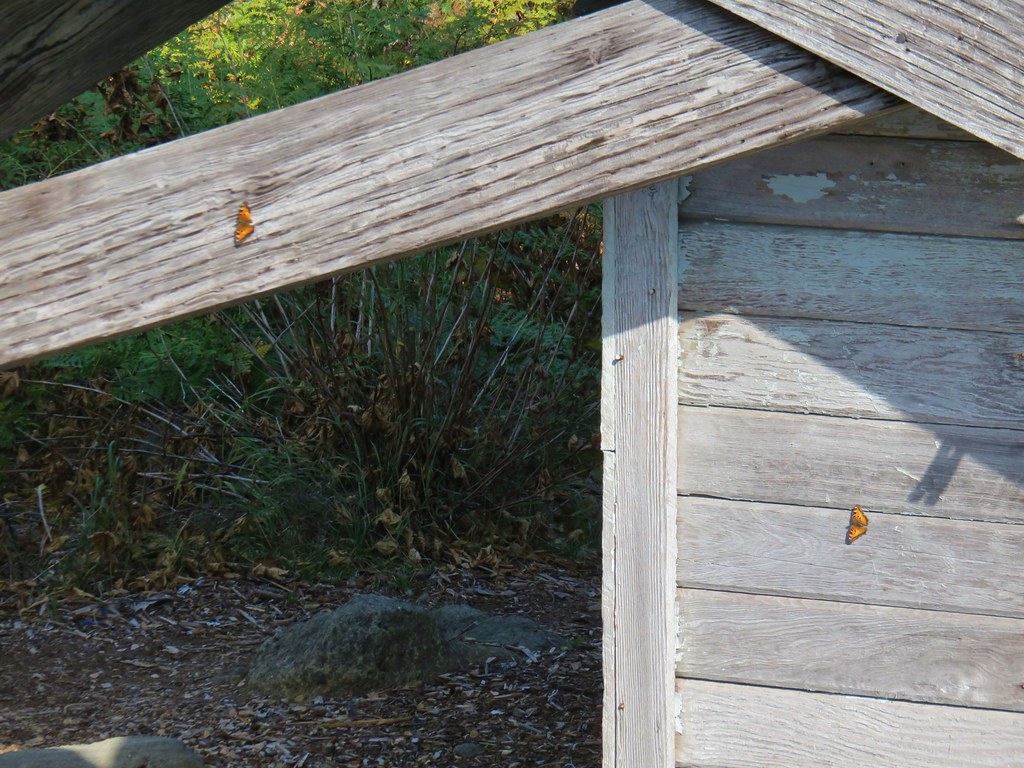 Butterflies on the lookout.
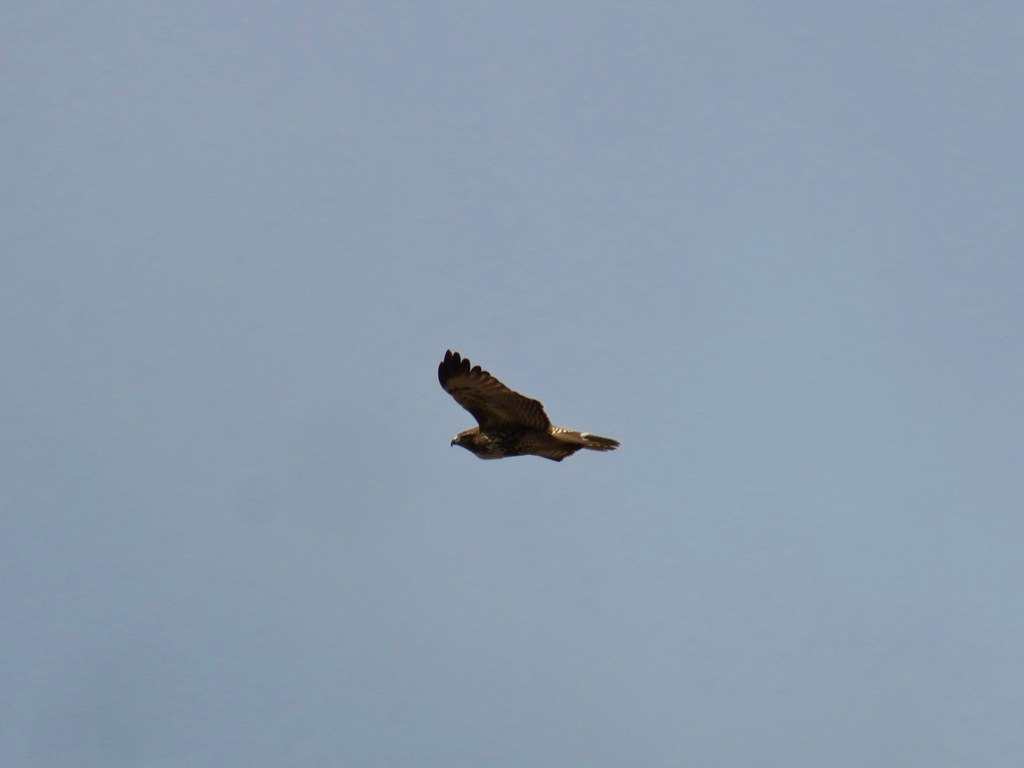
 One of several birds foraging in the bushes near the lookout.
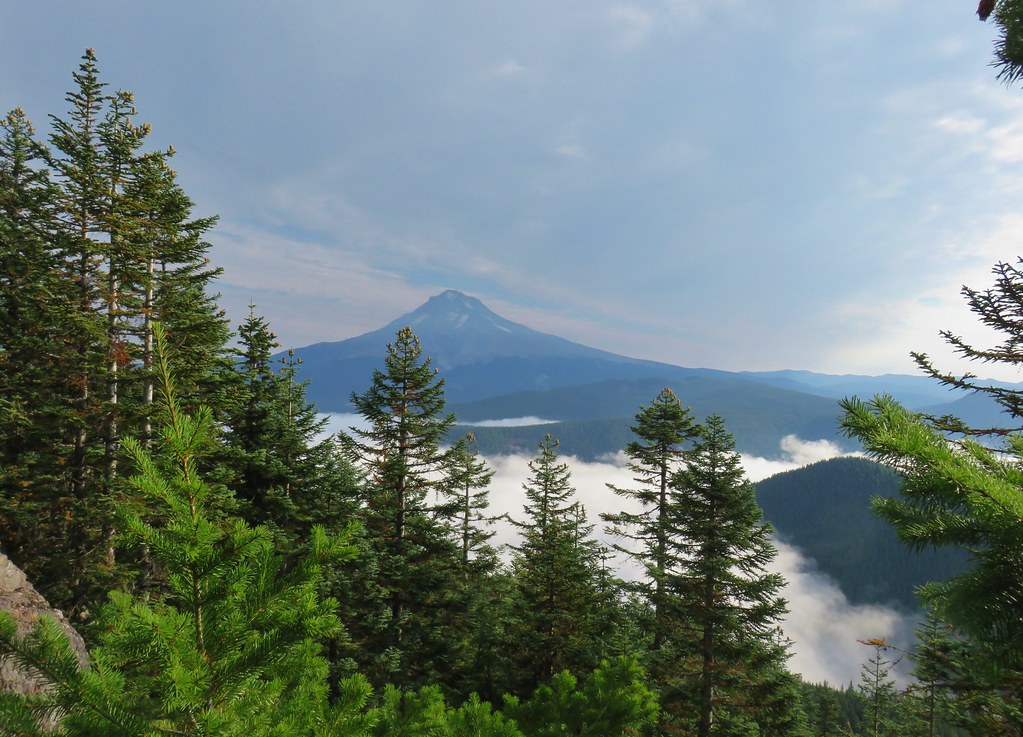


 Redtop Mountain
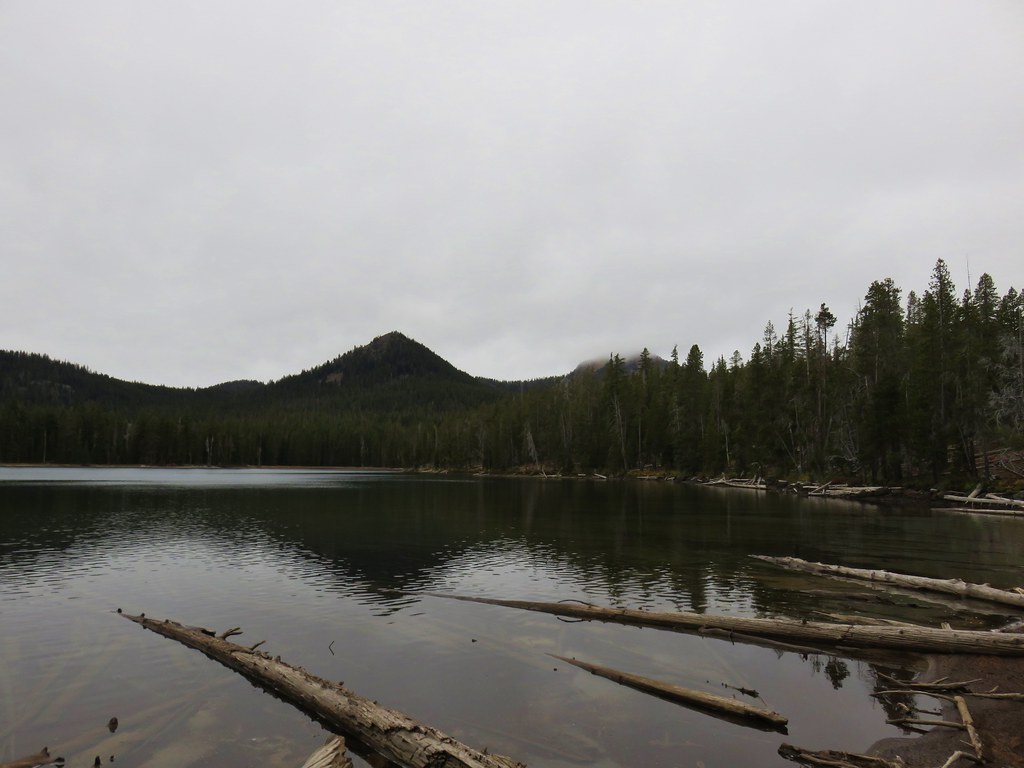 Lakeview Mountain (to the right behind clouds)


 Barklow Mountain West Trailhead
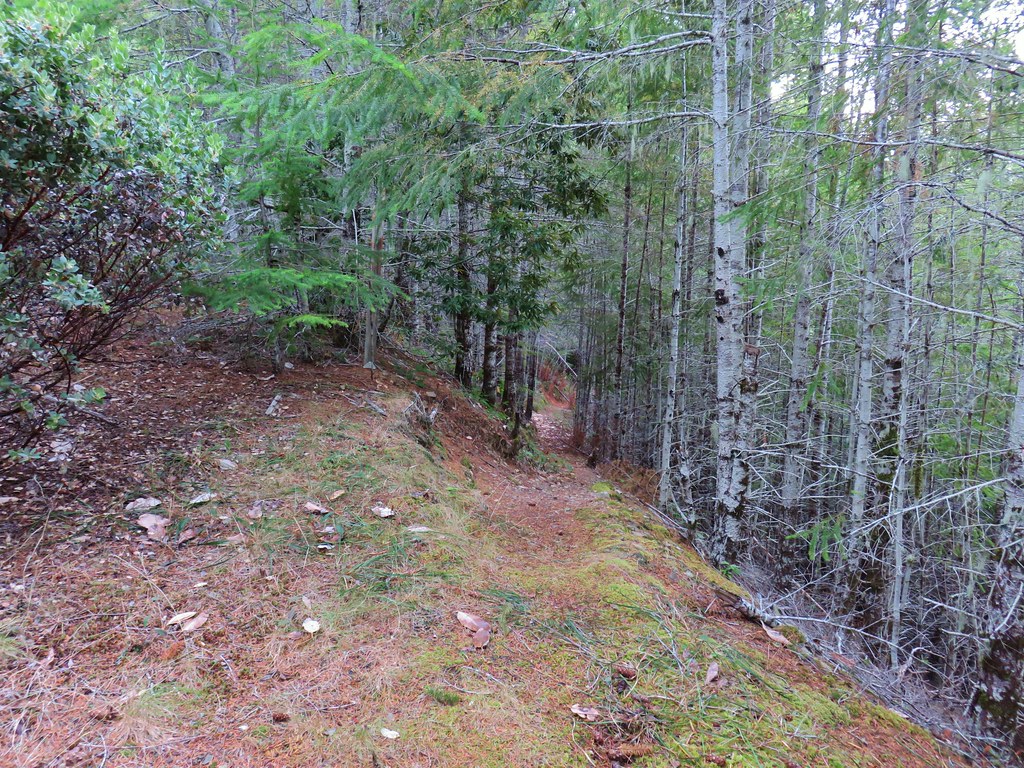


 Grassy Knob is on the horizon just to the left of the near trees.
 Copper Mountain from the lookout site.