Categories
Hiking Oregon SE Oregon Trip report

Jordan Craters and Leslie Gulch – SE Oregon Vacation Day 3

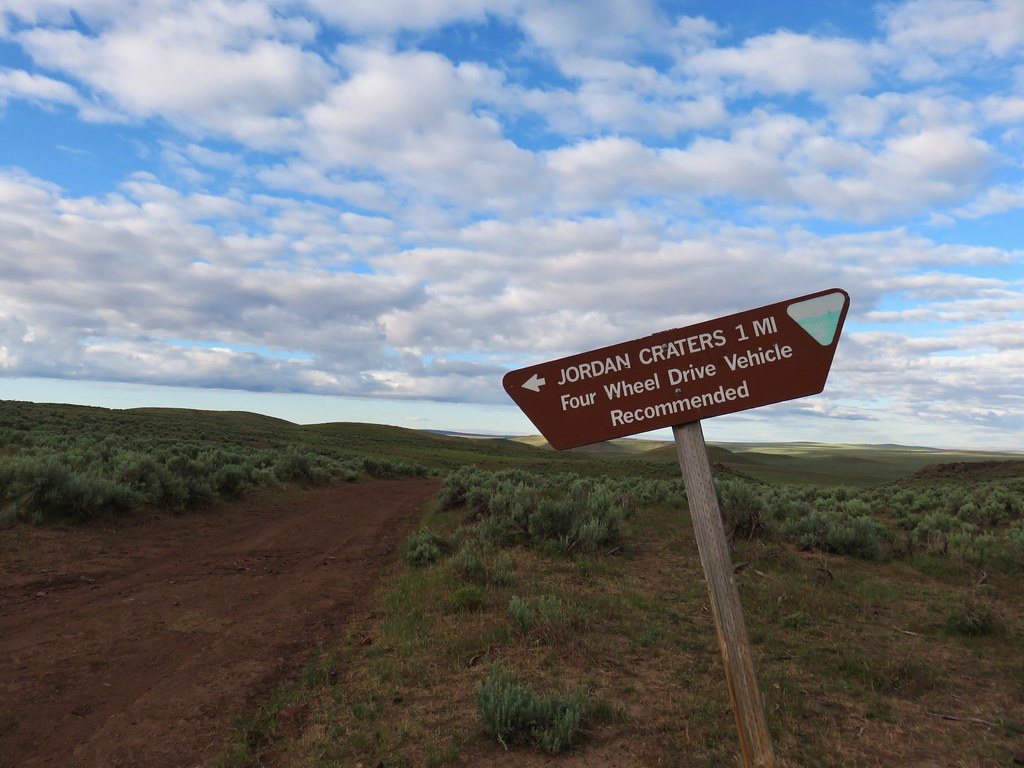
After winding up in Caldwell, ID the at the end of day 2 of our vacation we had a bit of a longer drive for our two planned hikes for day 3. The drive to the turnoff for Jordan Craters would have been just over 8 miles but from Caldwell it was a little over 55 miles. Either way that still left 27 miles of gravel and dirt roads from Highway 95 to reach the craters. The first 24 of those miles were on decent gravel roads but then the route to the craters forked left onto a rough dirt road which we followed for a mile and a half to another fork. Here we were met with a sign warning recommending 4 wheel drive vehicles only.
IMG_5561

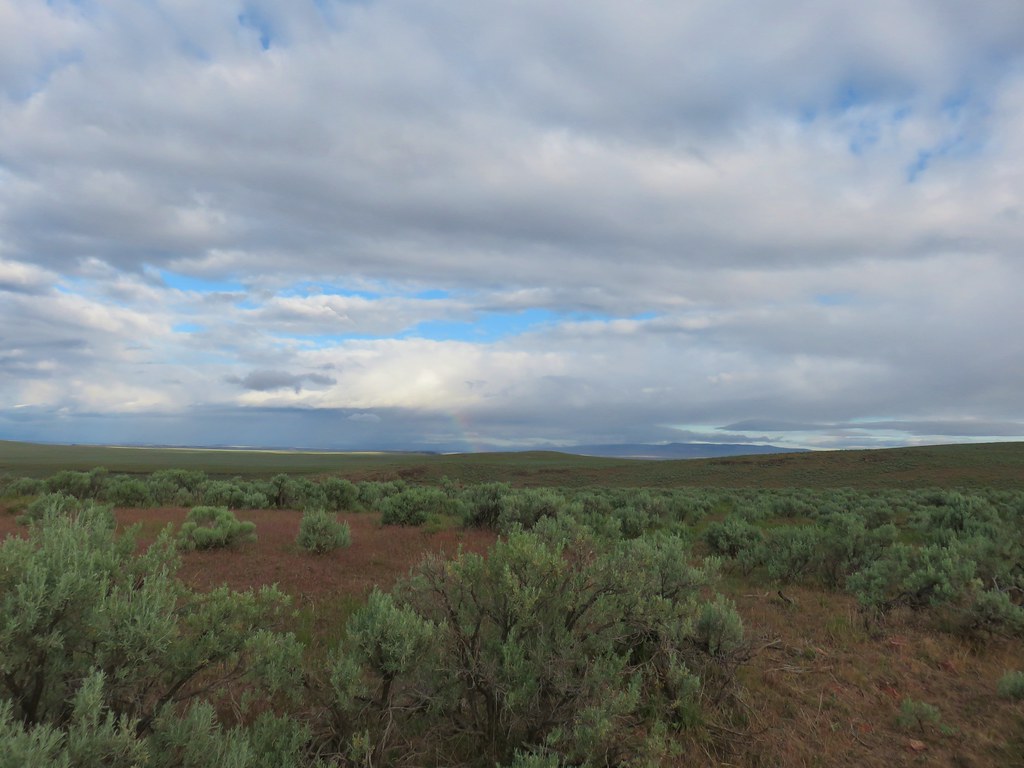
We decided we’d had enough of the rough roads and chose to hike the rest of the way down to the trailhead. There hadn’t been any rain in the forecast but it looked like there were some showers passing through the area.
IMG_5566

IMG_5572

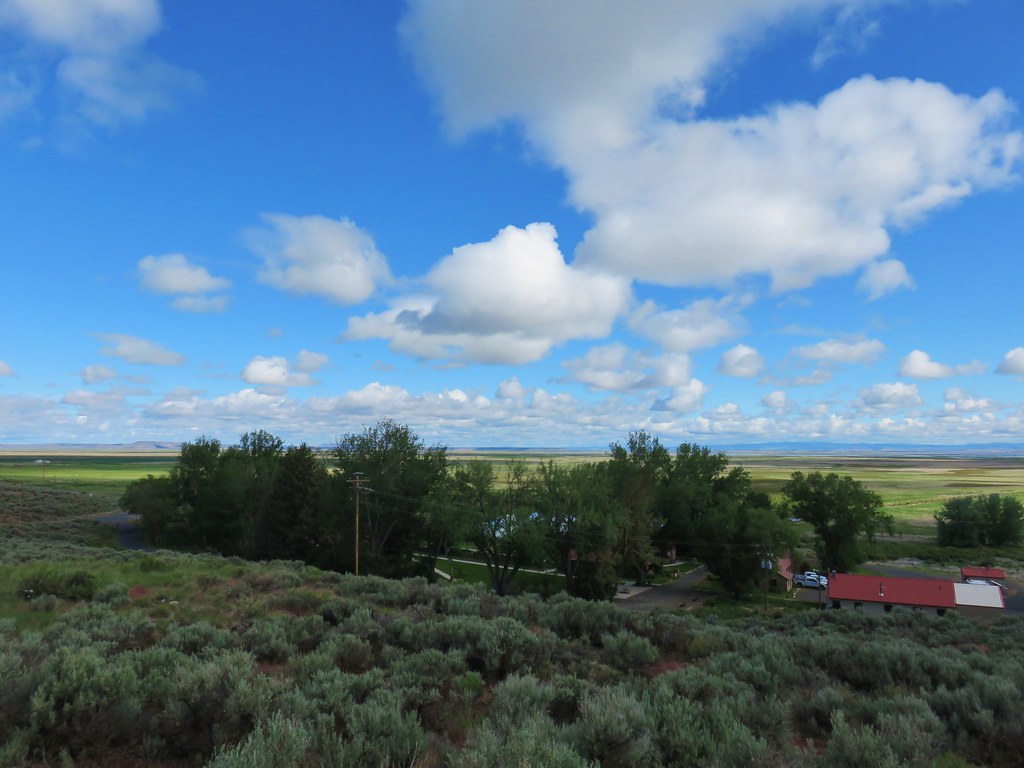
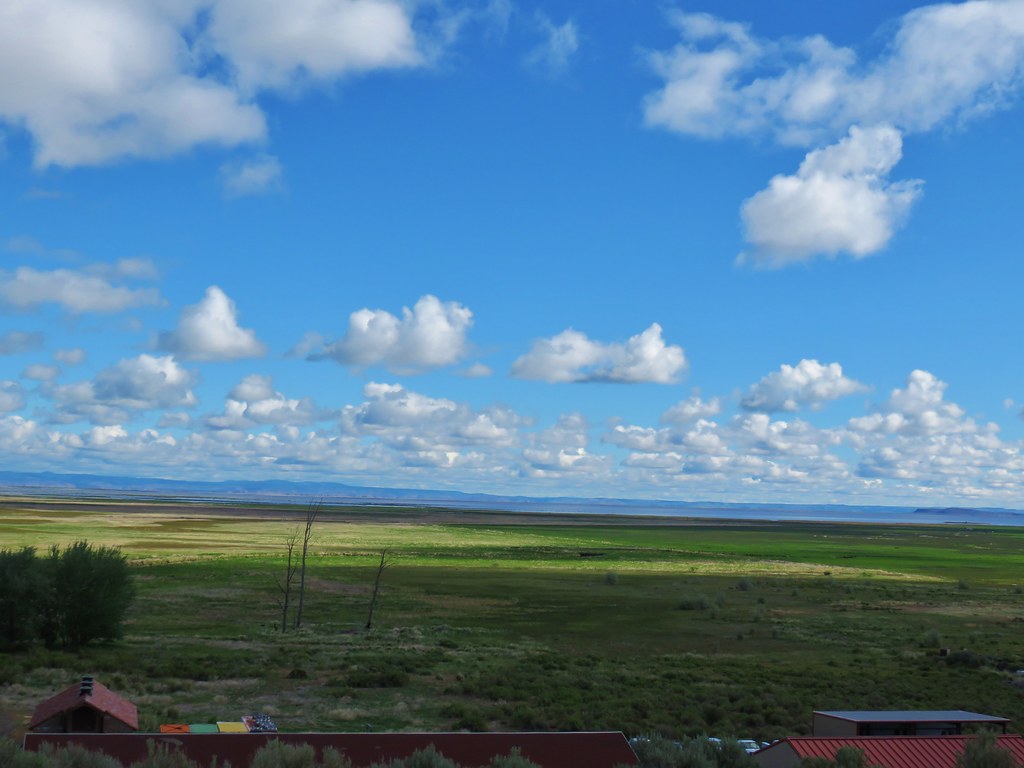
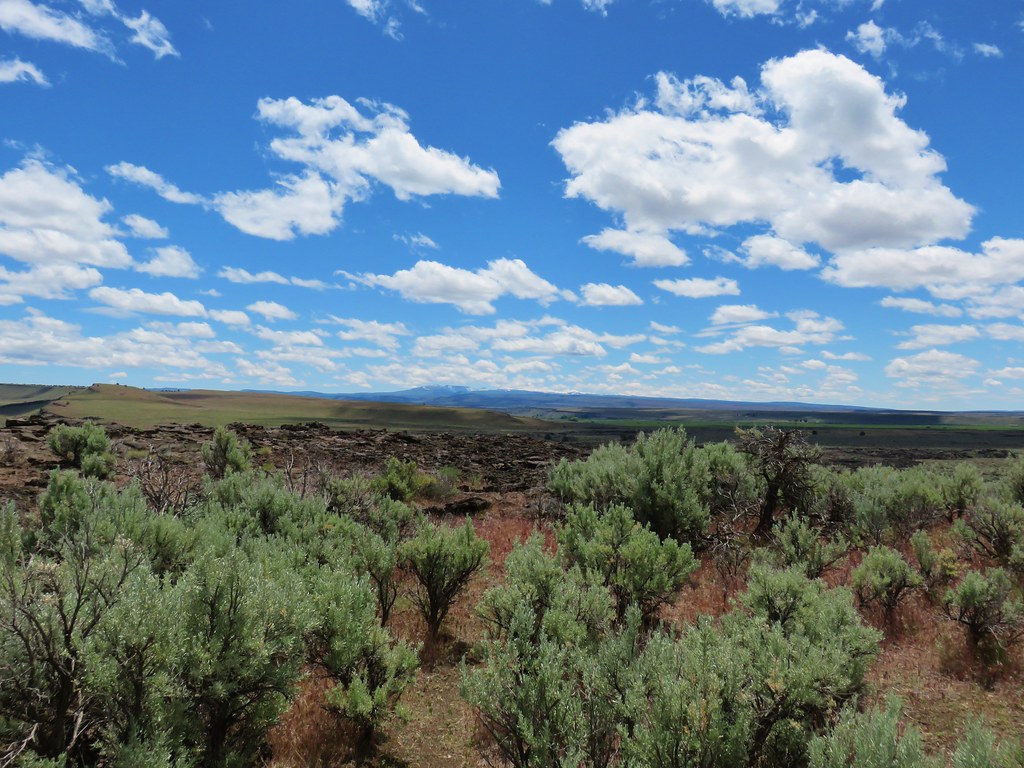
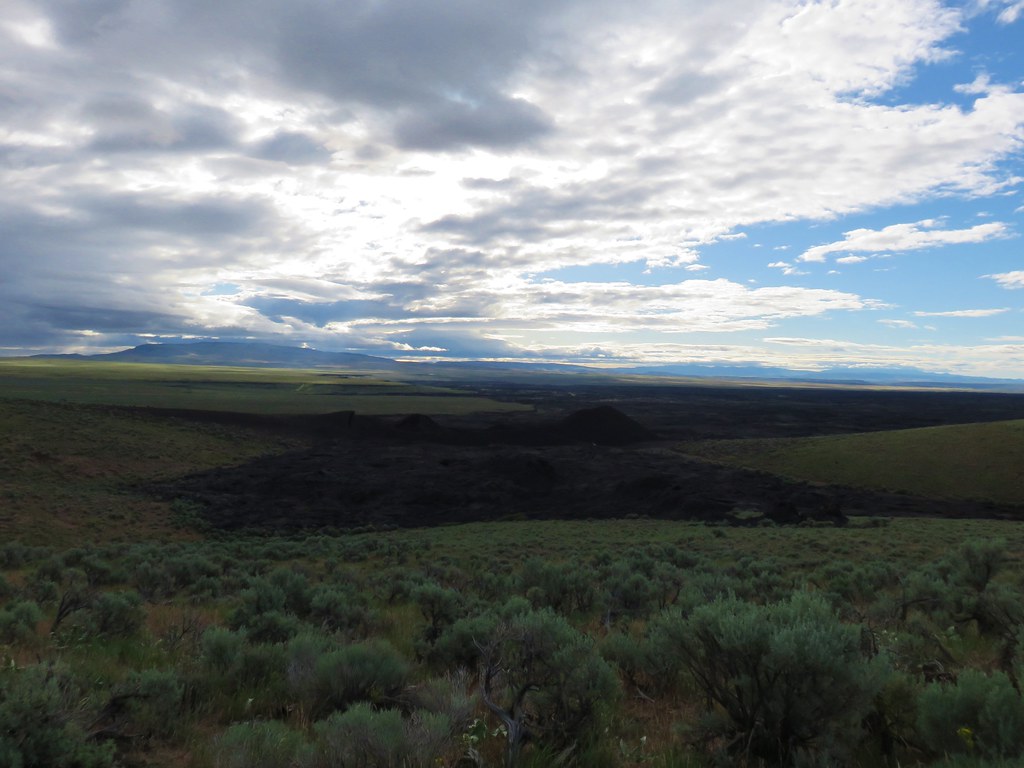
From the road we had a good view of the 27 square mile lava flow as well as the trailhead next to Coffee Pot Crater.
IMG_5576

IMG_5575

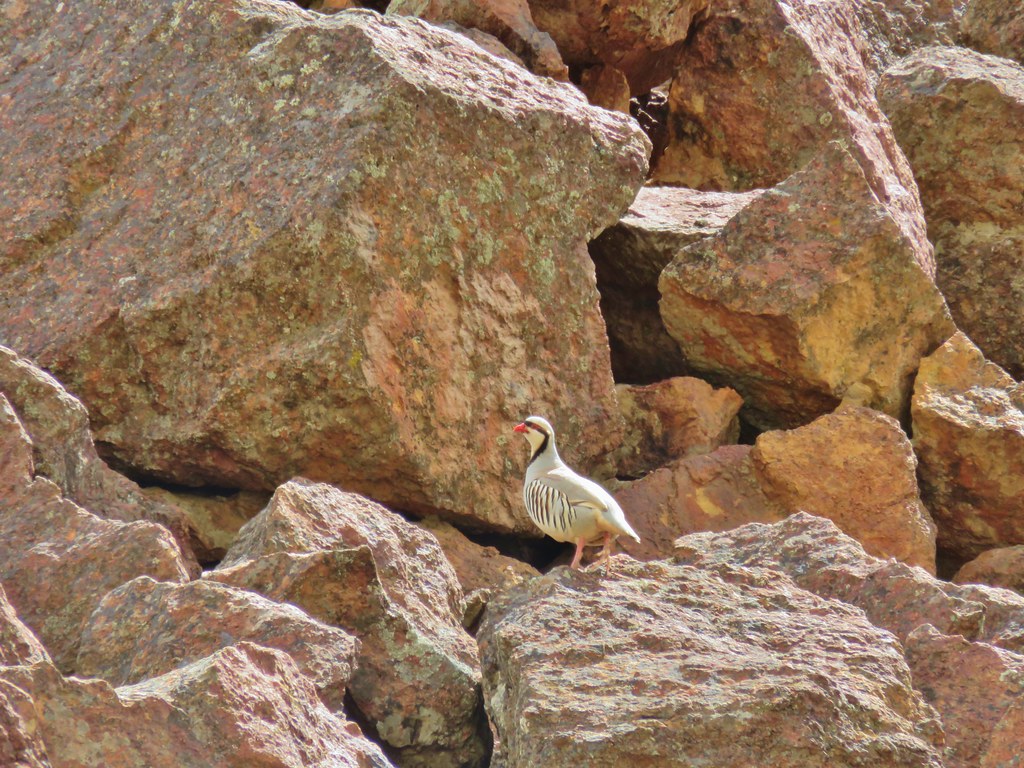
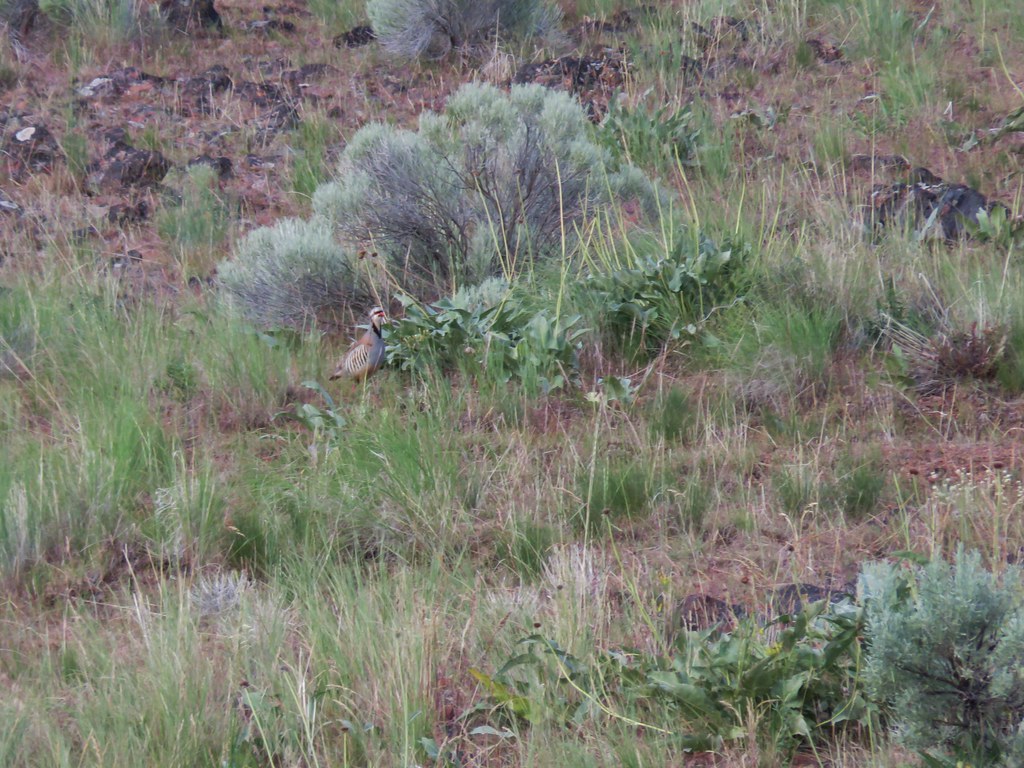
As we made our way down the road we spotted a chukar and a rabbit.
IMG_5581

IMG_5590

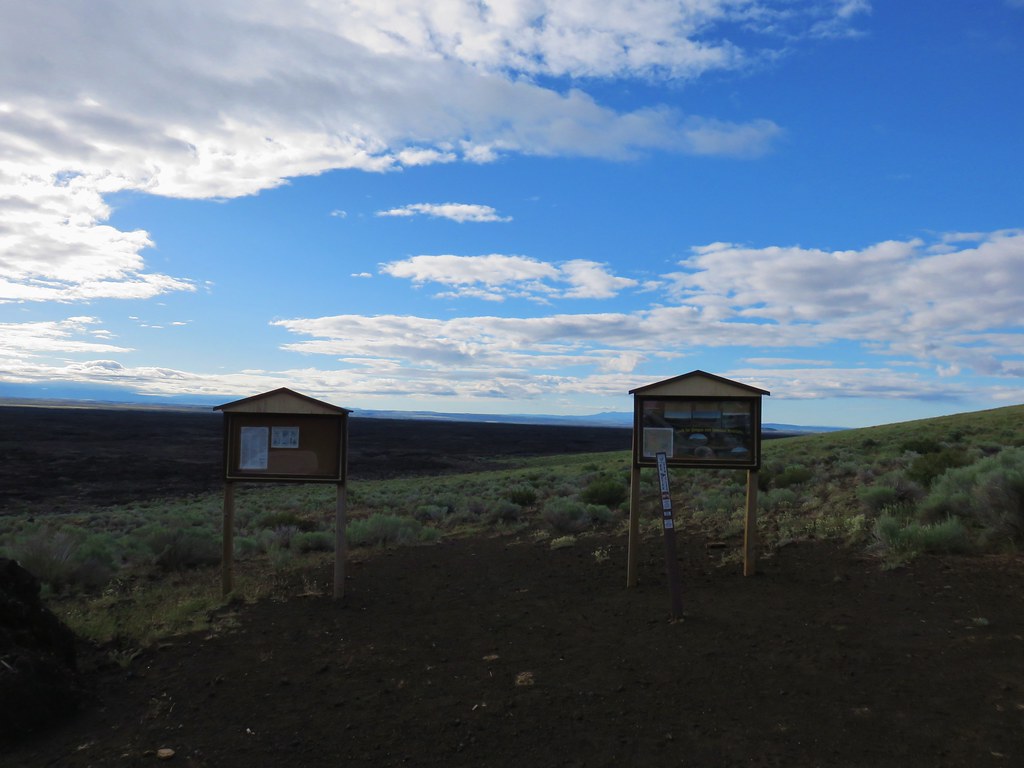
When we reached the trailhead we followed a path to the right of Coffee Pot Crater.
IMG_5595

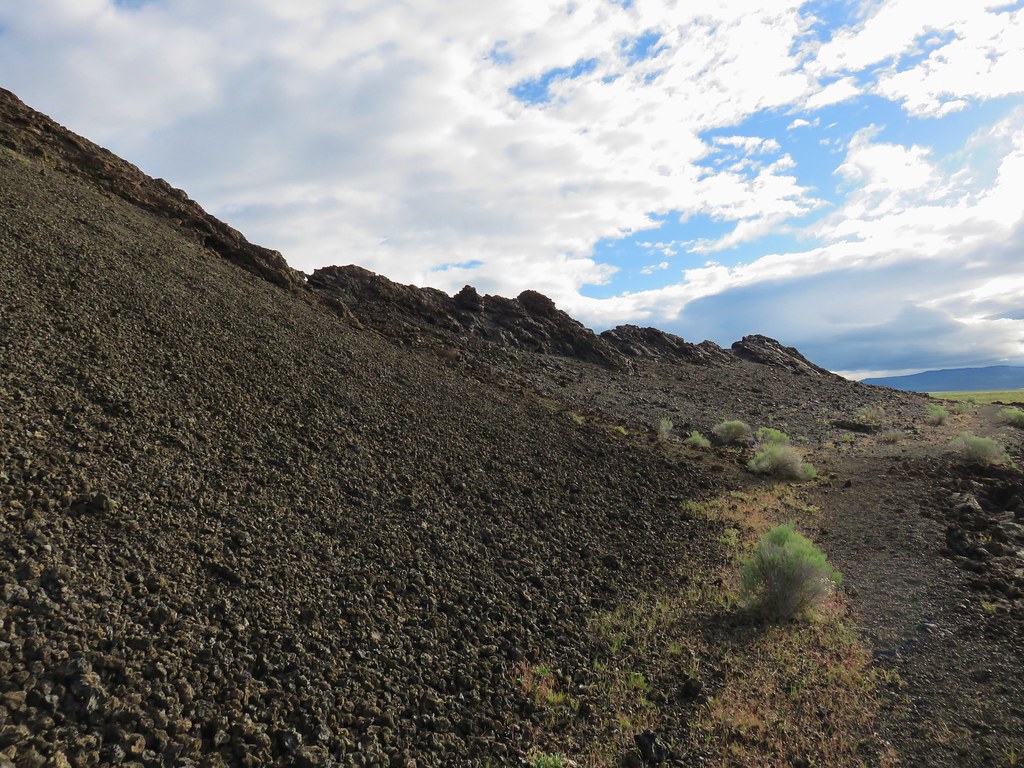
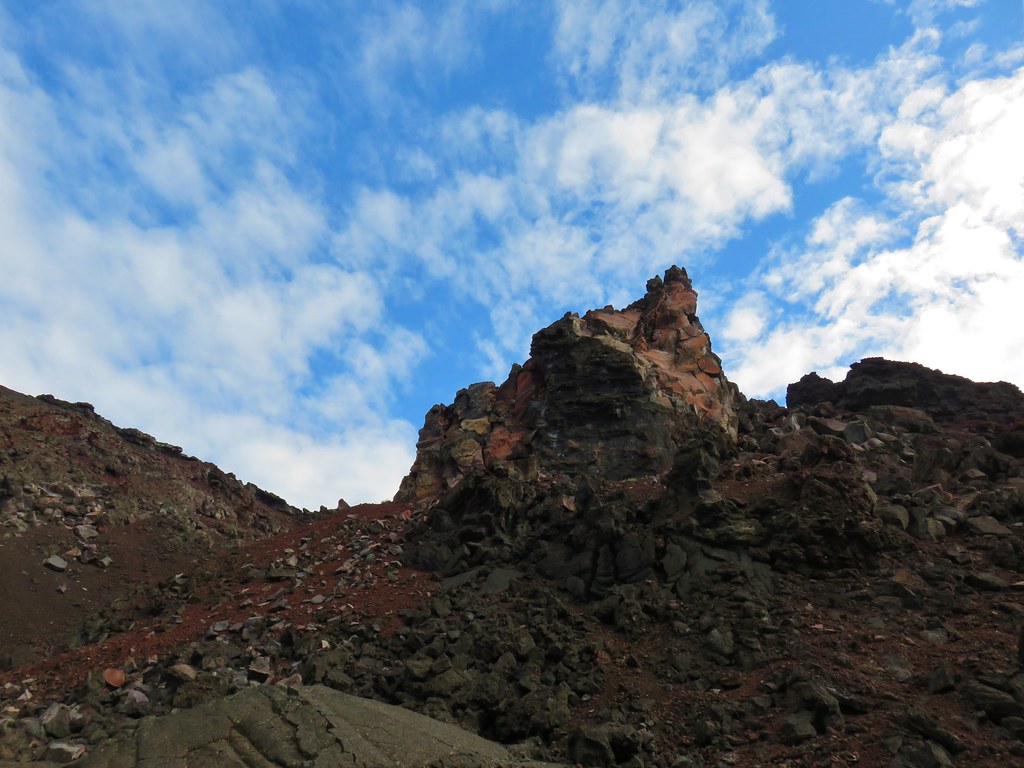
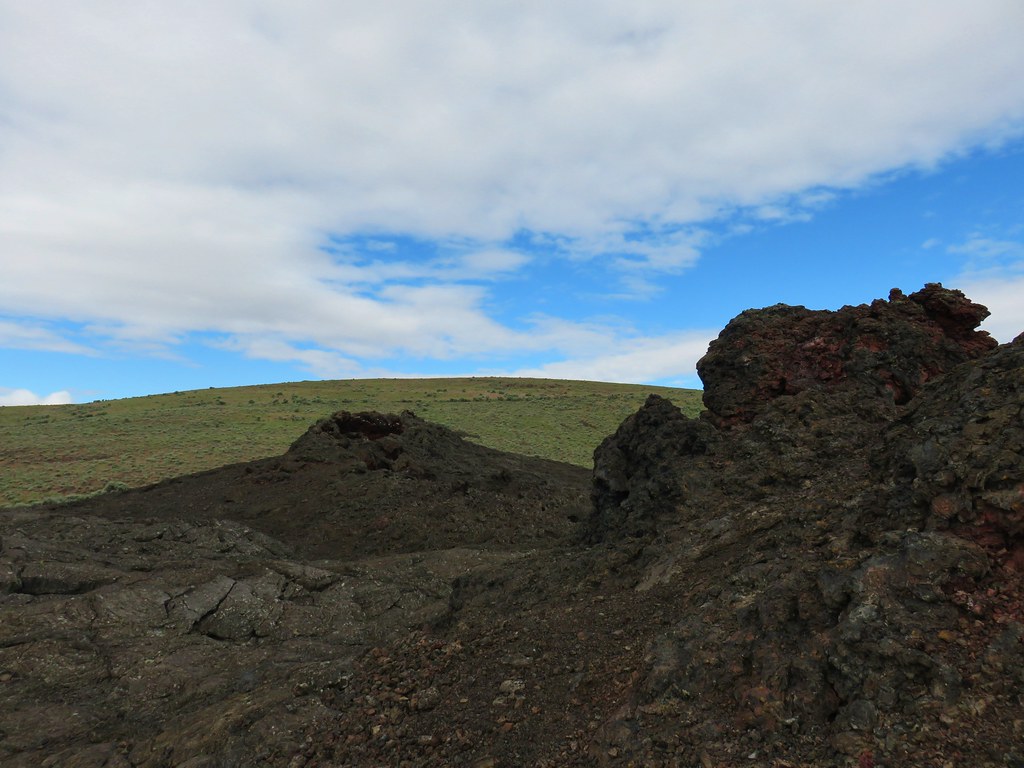
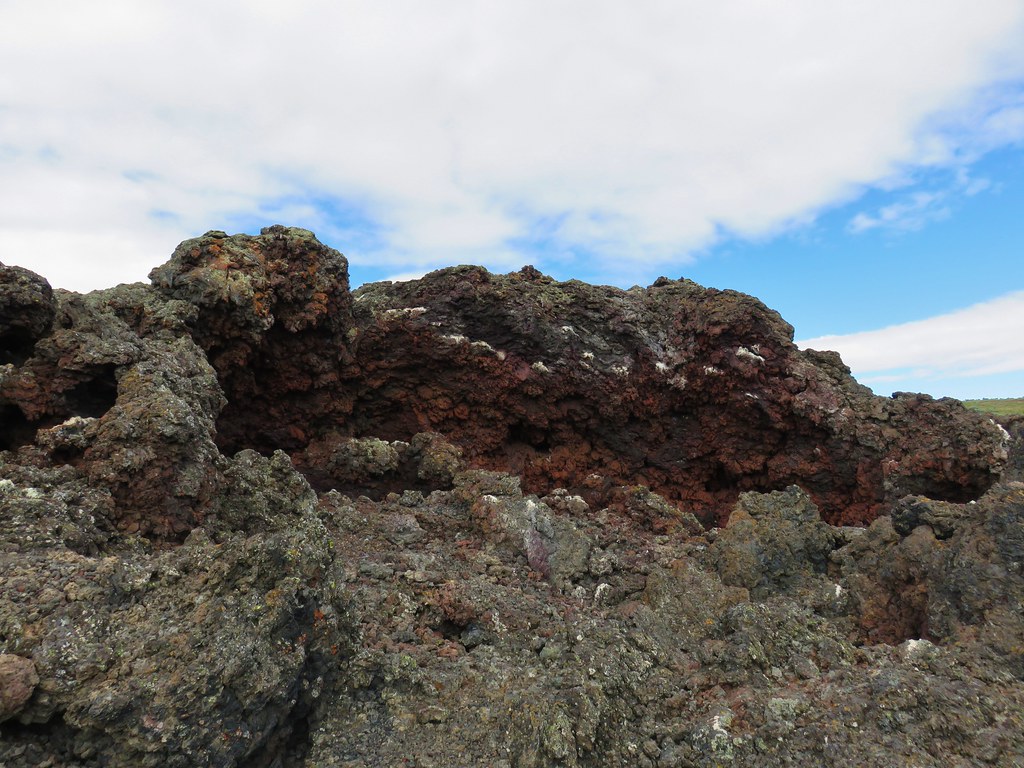
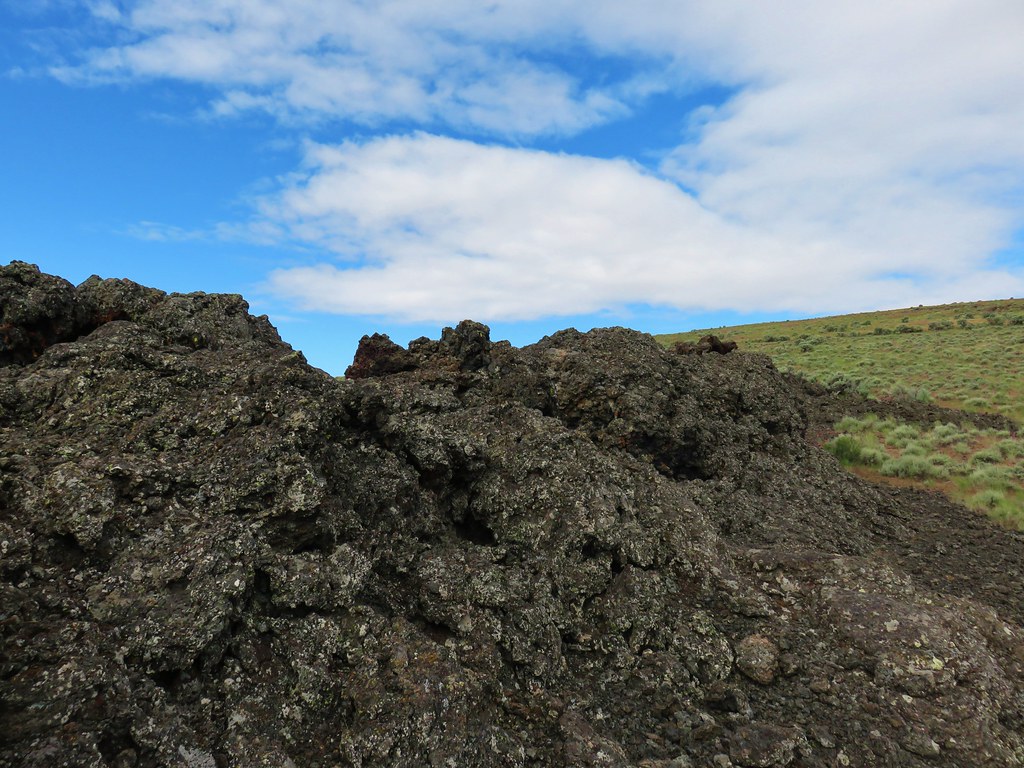
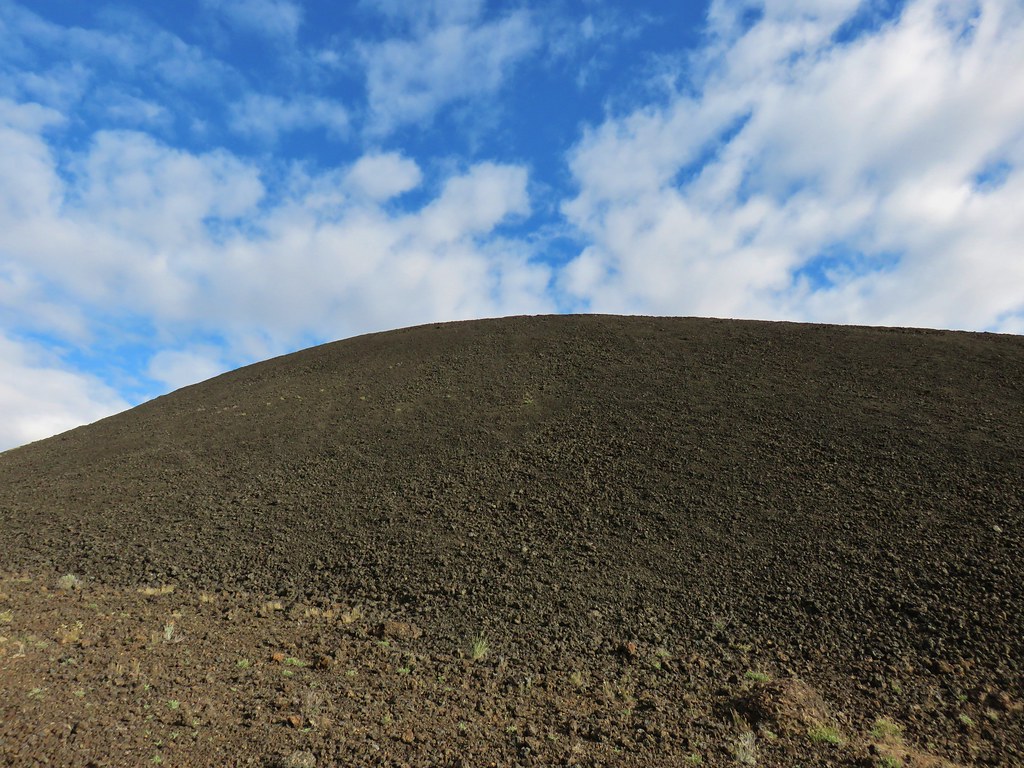
The path led around the crater first passing a rounded cinder hill then more rugged lava rocks.
IMG_5600

IMG_5601

IMG_5604

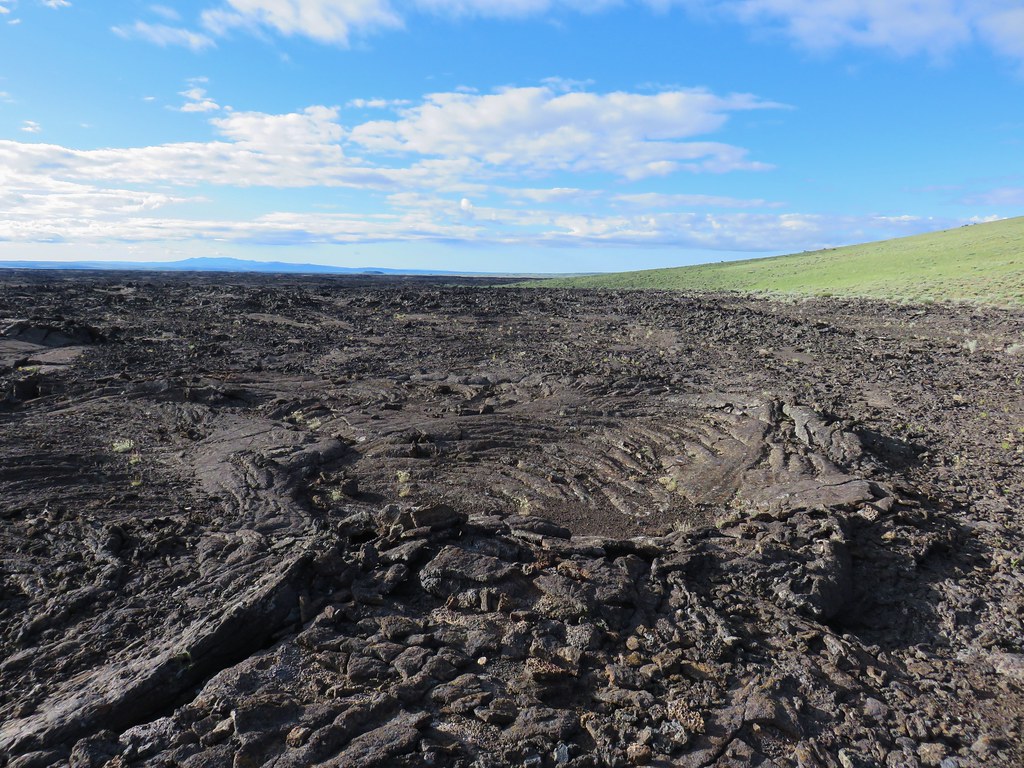
The lava flow extended south from the crater in various patterns.
IMG_5605

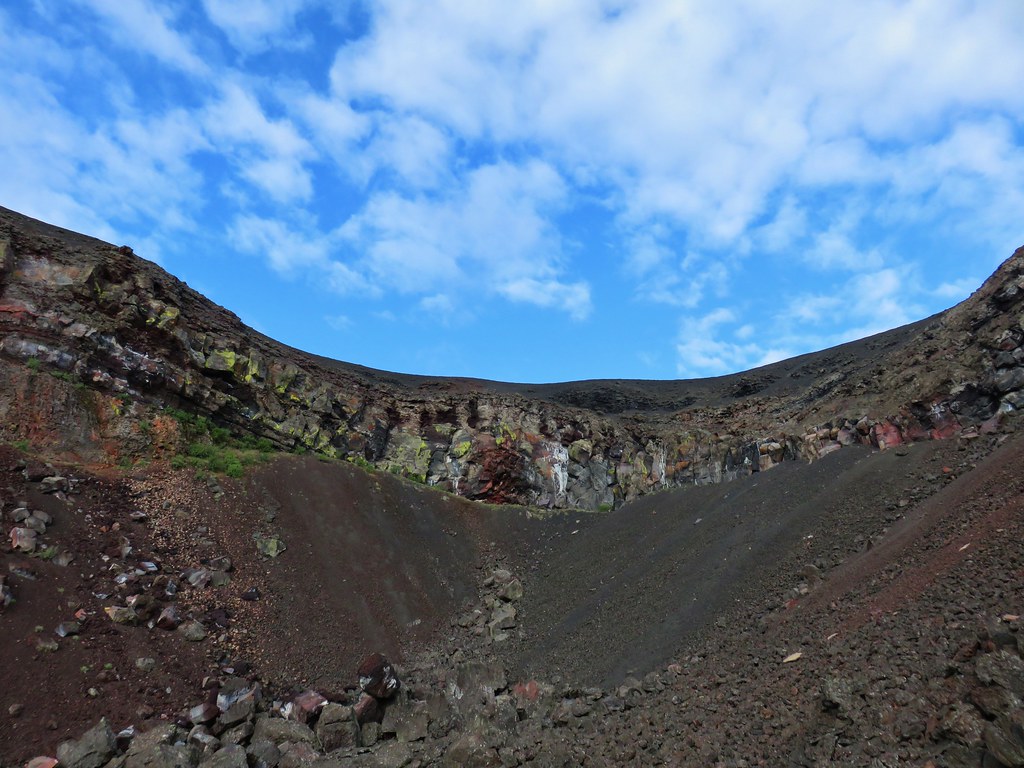
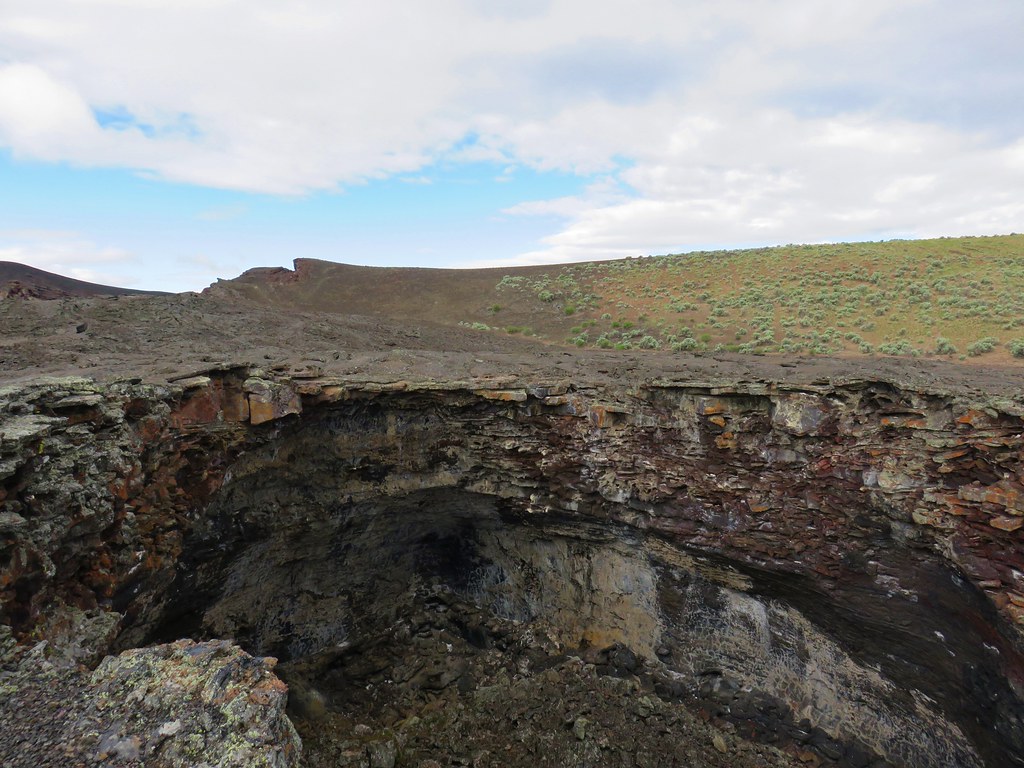
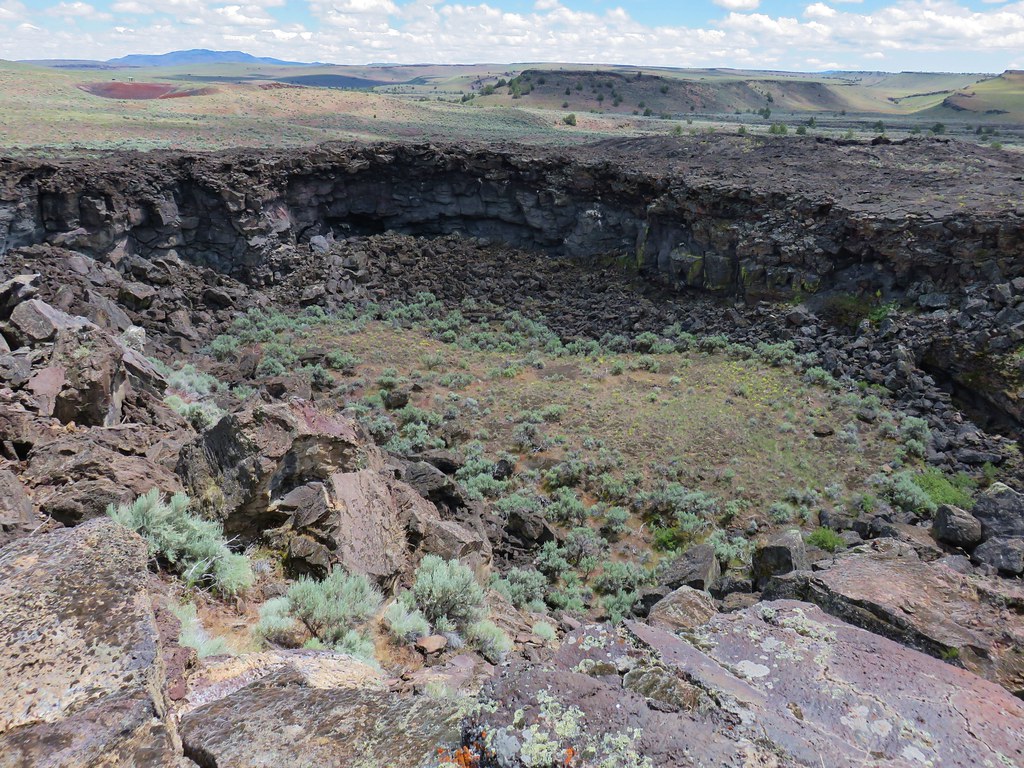
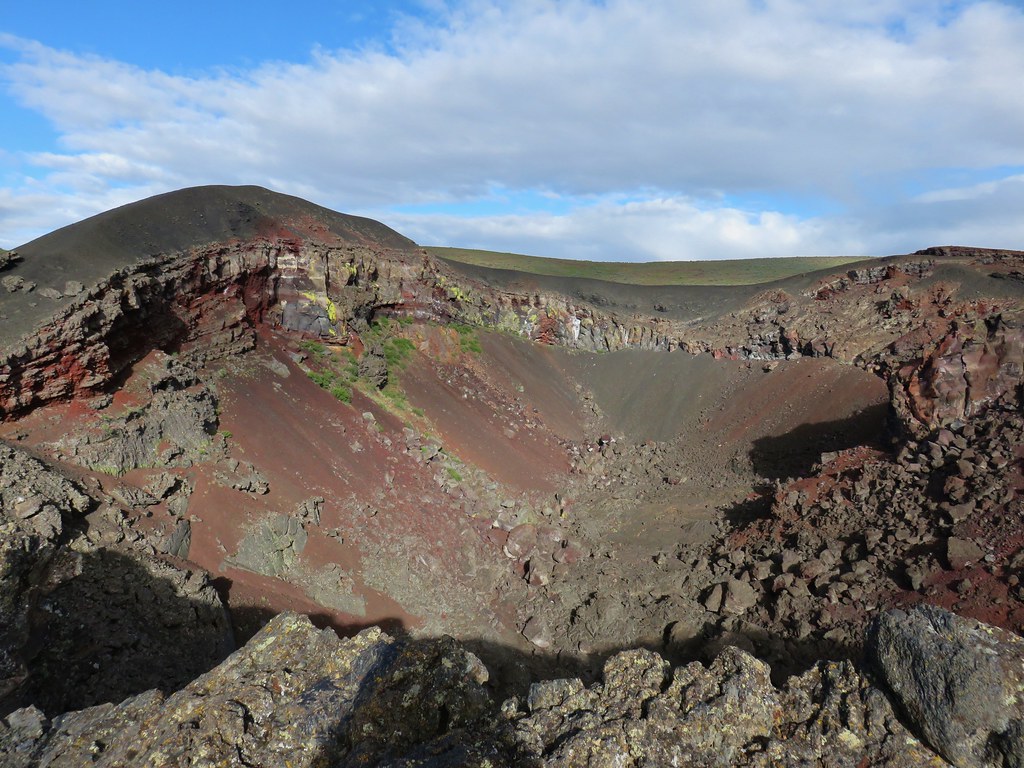
As we made our way around we were soon able to see inside the 150 foot crater which was much larger than either of us had expected.
IMG_5608

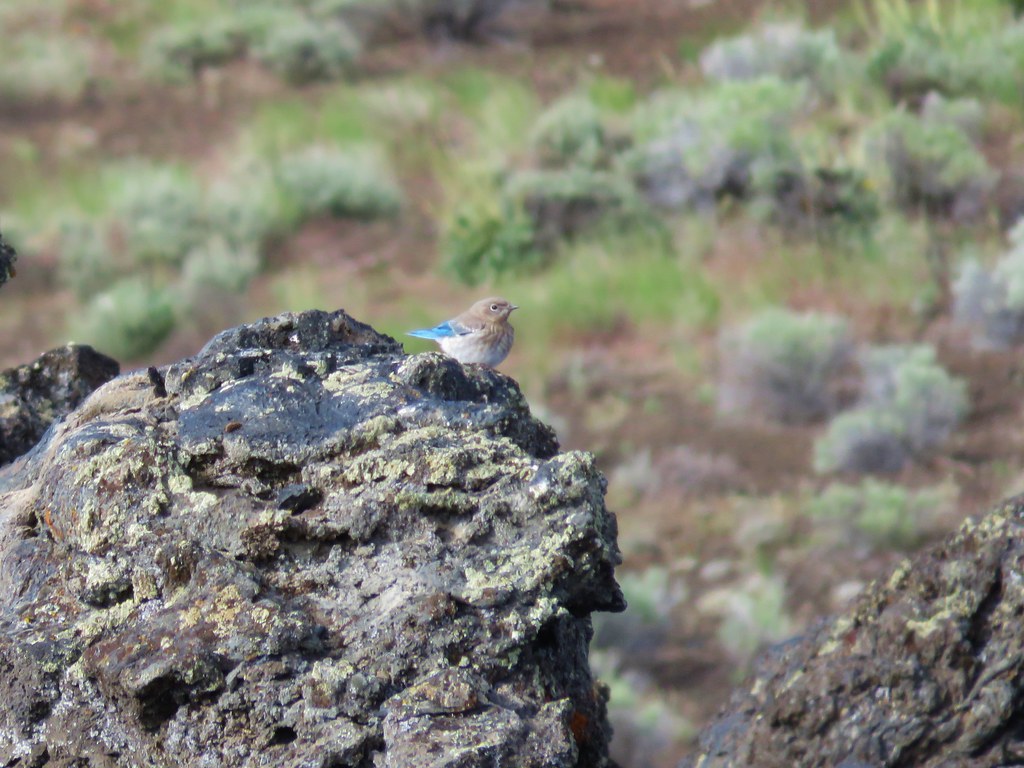
Swallows and blue birds flew in and out of the crater occasionally landing on its rim.
IMG_5614

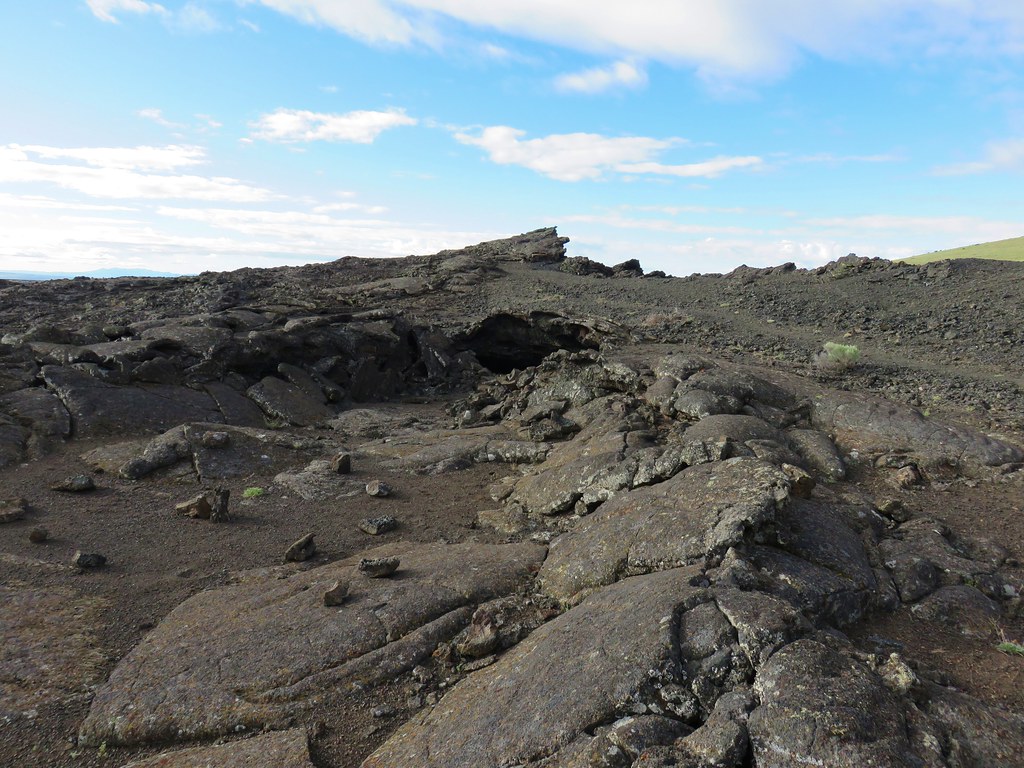
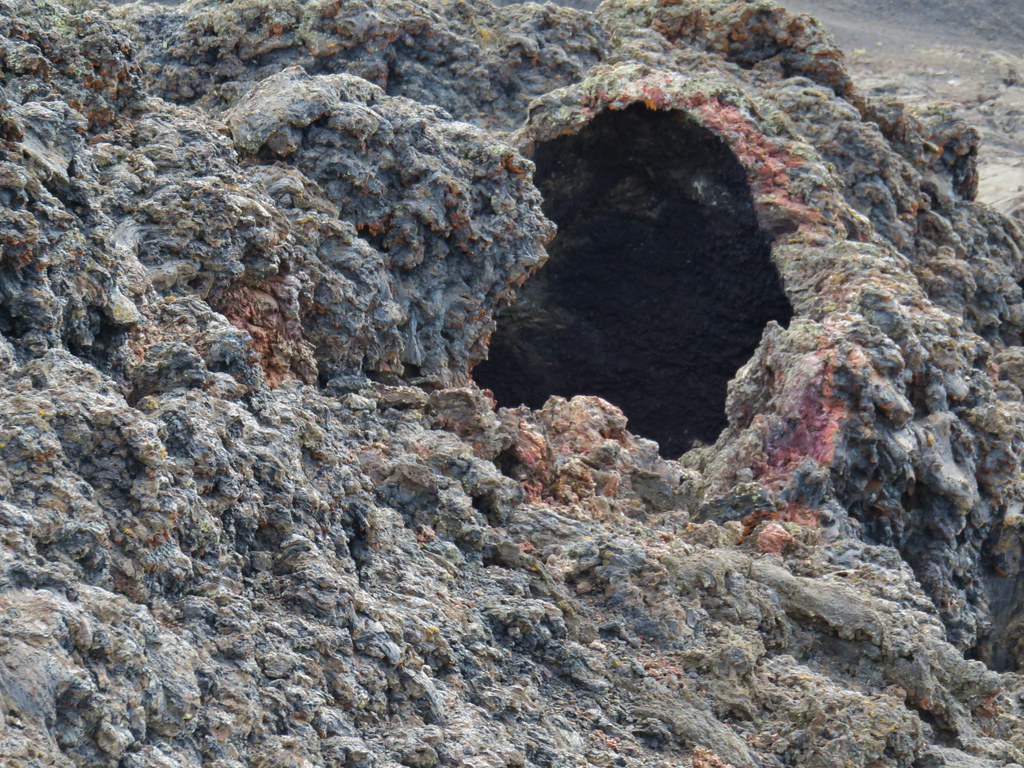
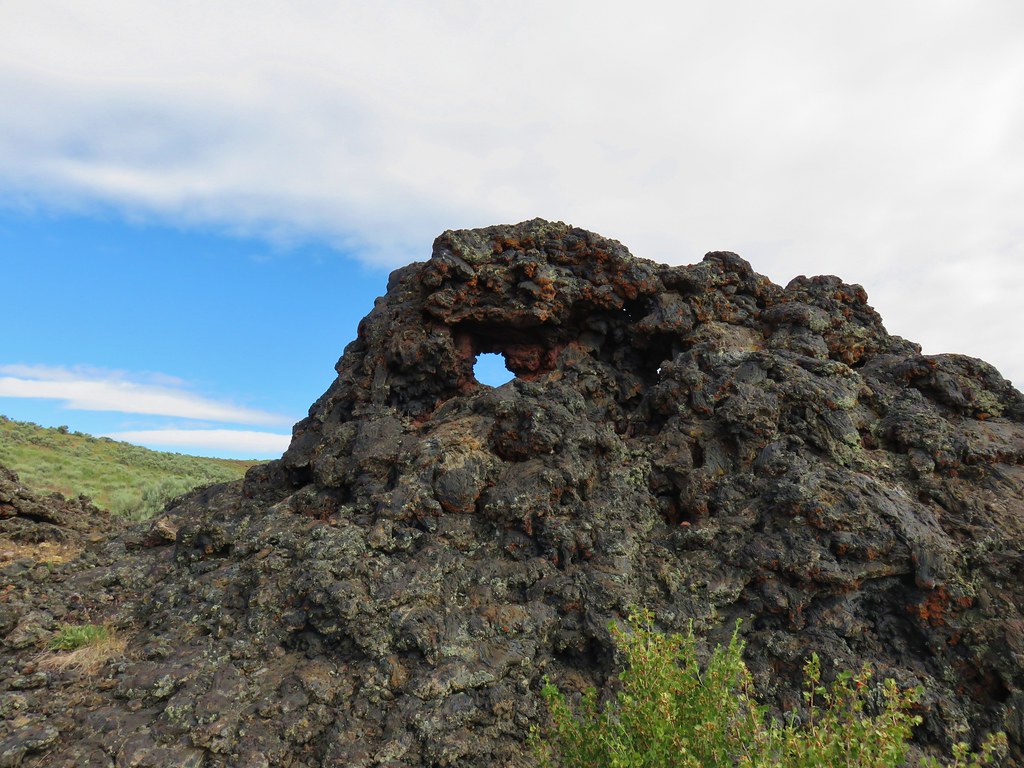
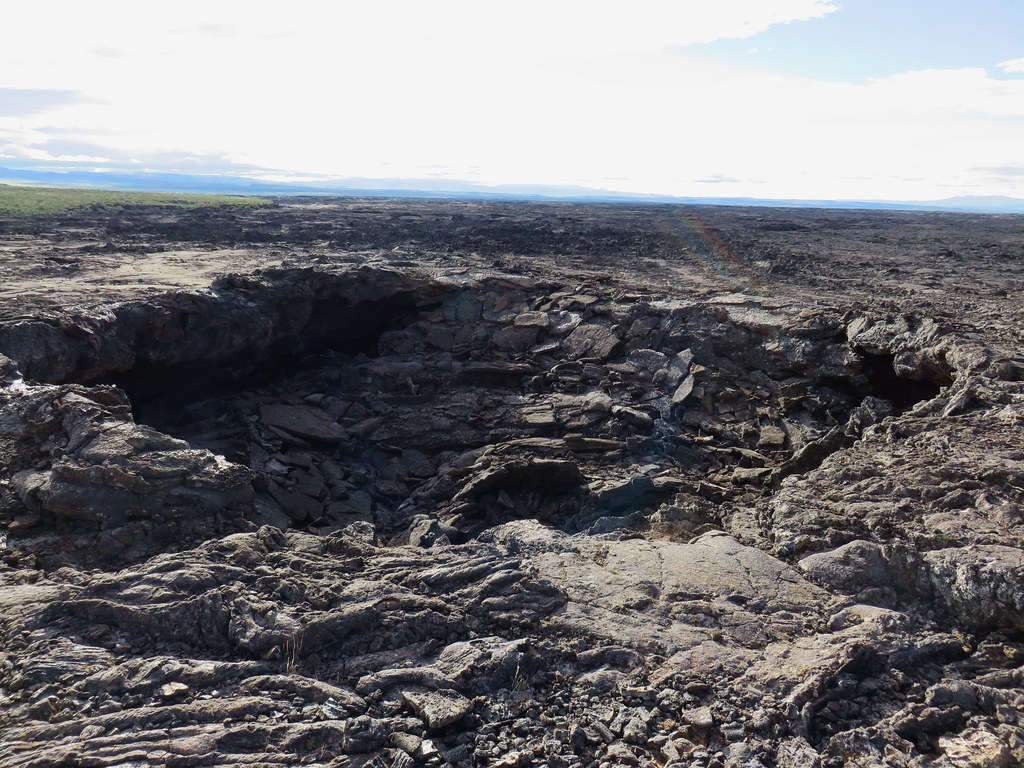
As we continued around we passed a smaller pit and several openings in the lava.
IMG_5617

IMG_5620

IMG_5624

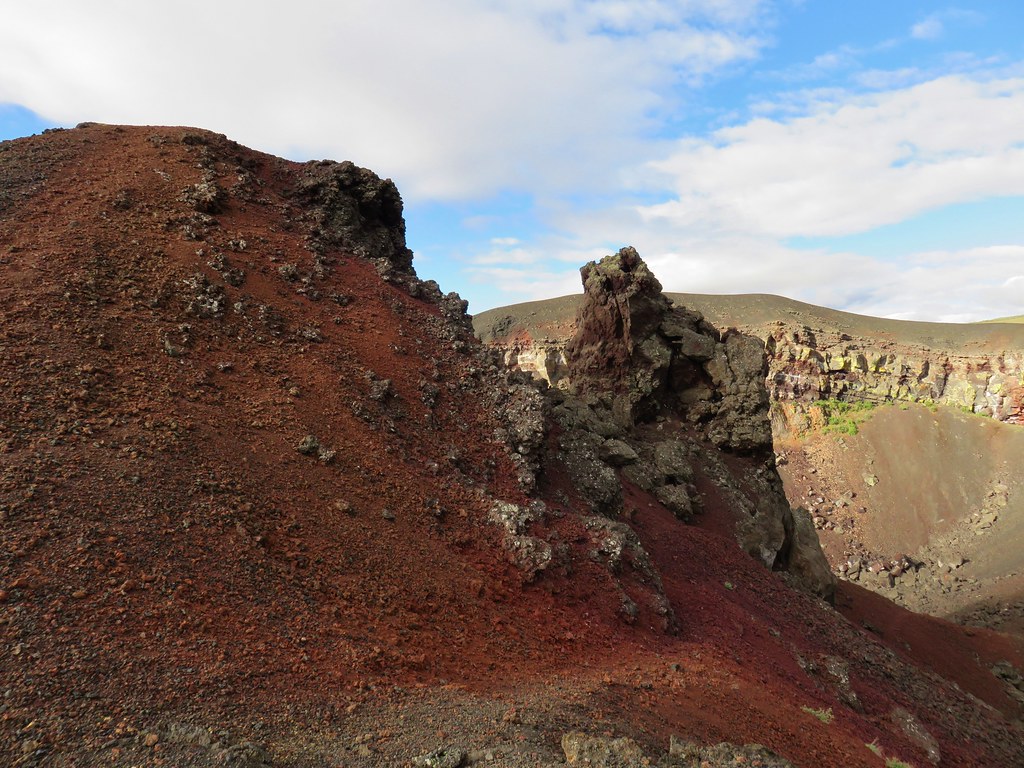
After just .3 miles we arrived at a scramble trail down a red cinder slope into Coffee Pot Crater.
IMG_5628

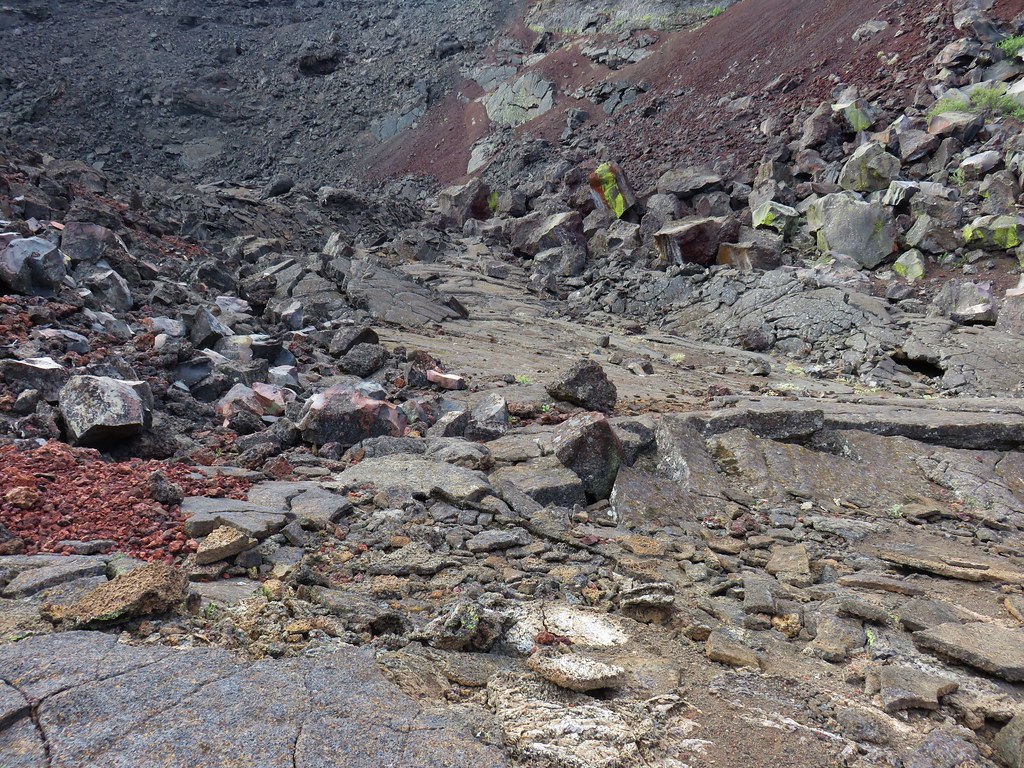
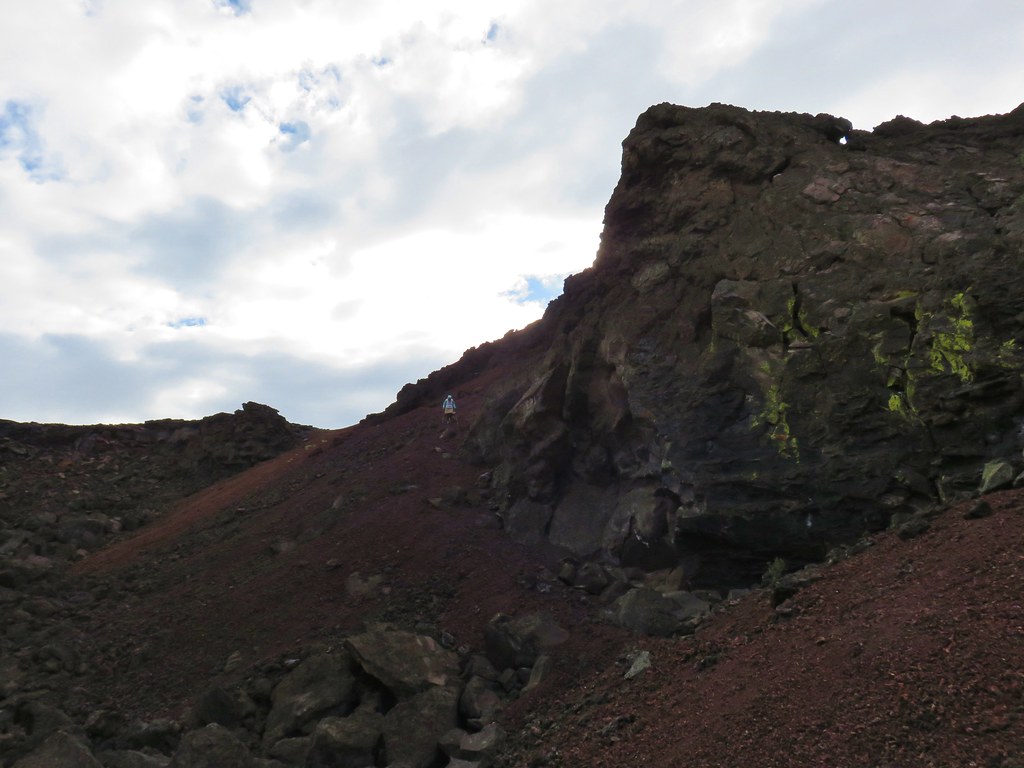
The path was fairly steep with loose rock but we made our way down carefully and explored the inside of the crater.
IMG_5633

IMG_5635

IMG_5636

IMG_5641

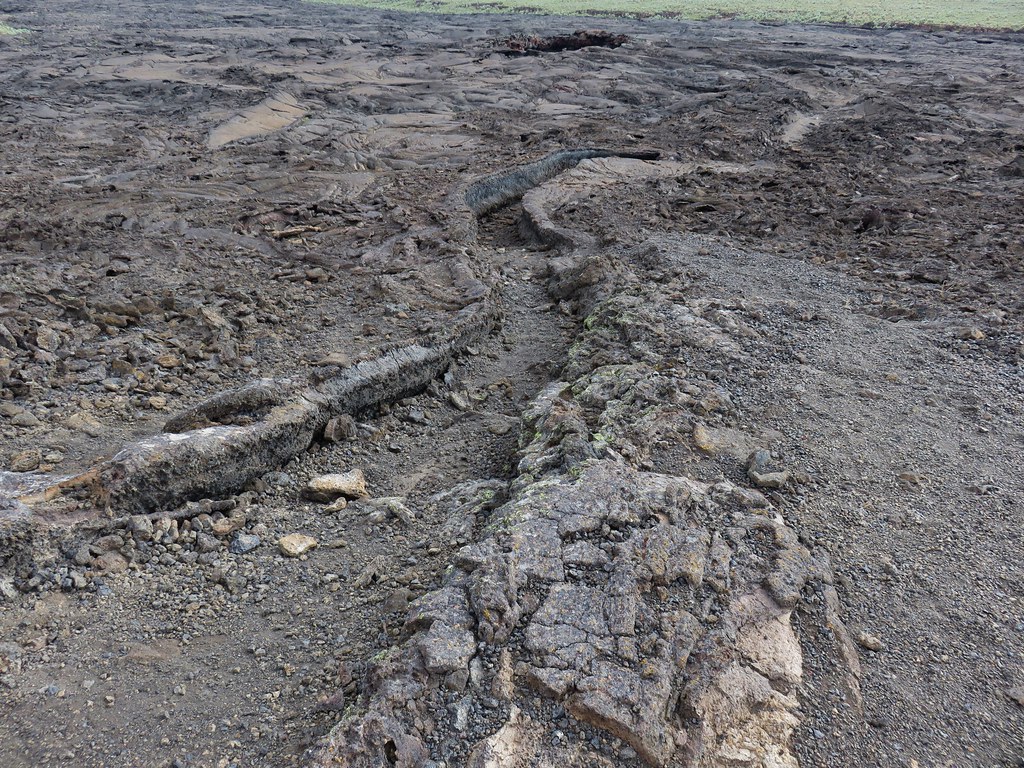
After wandering around inside the crater we climbed back out and headed cross country toward a visible channel in the lava.
IMG_5652

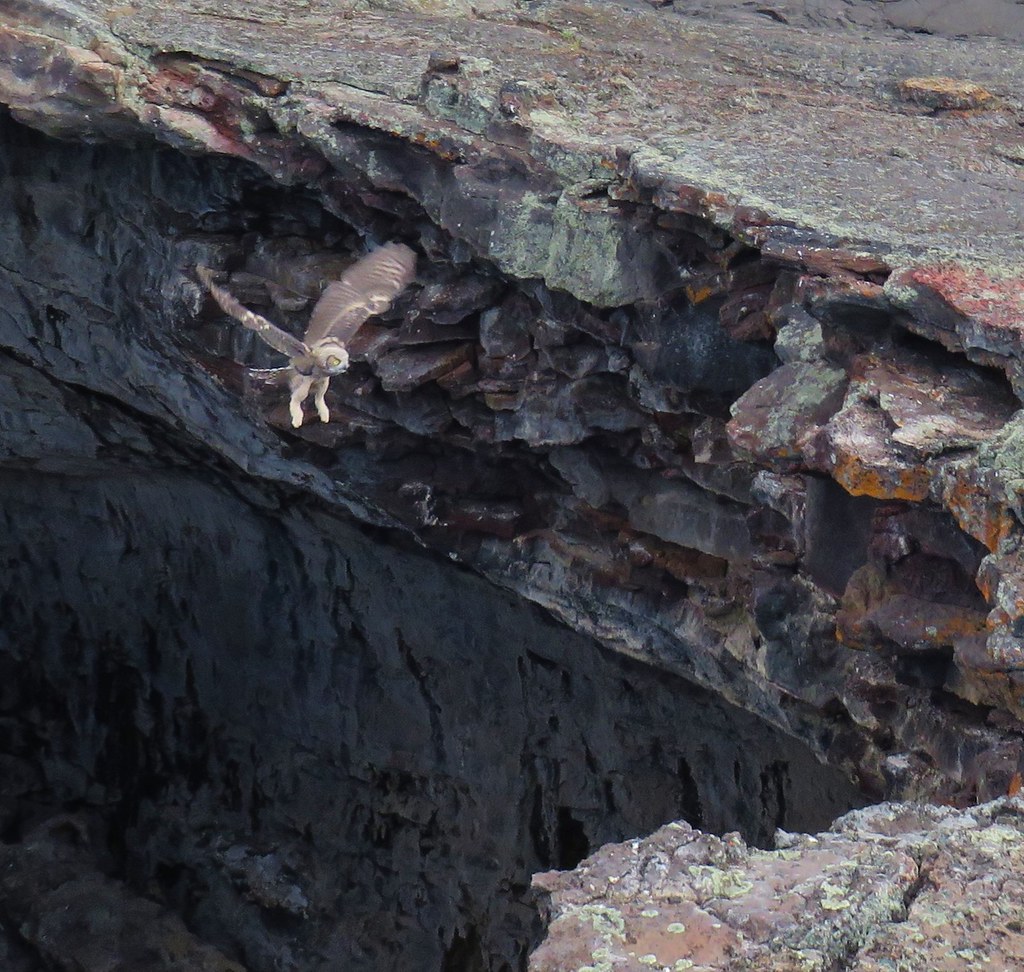
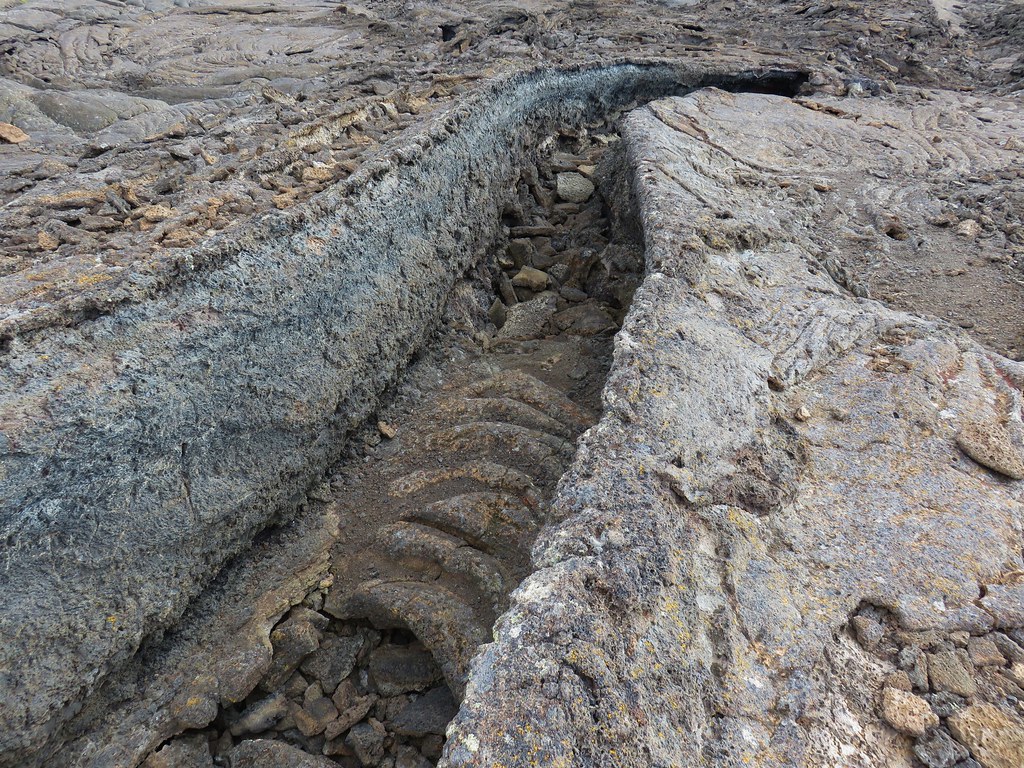
We followed this crack across the lava to its end near a pit where an owl startled us by suddenly appearing out of the pit and flying off further down the lava.
IMG_5654

IMG_5659

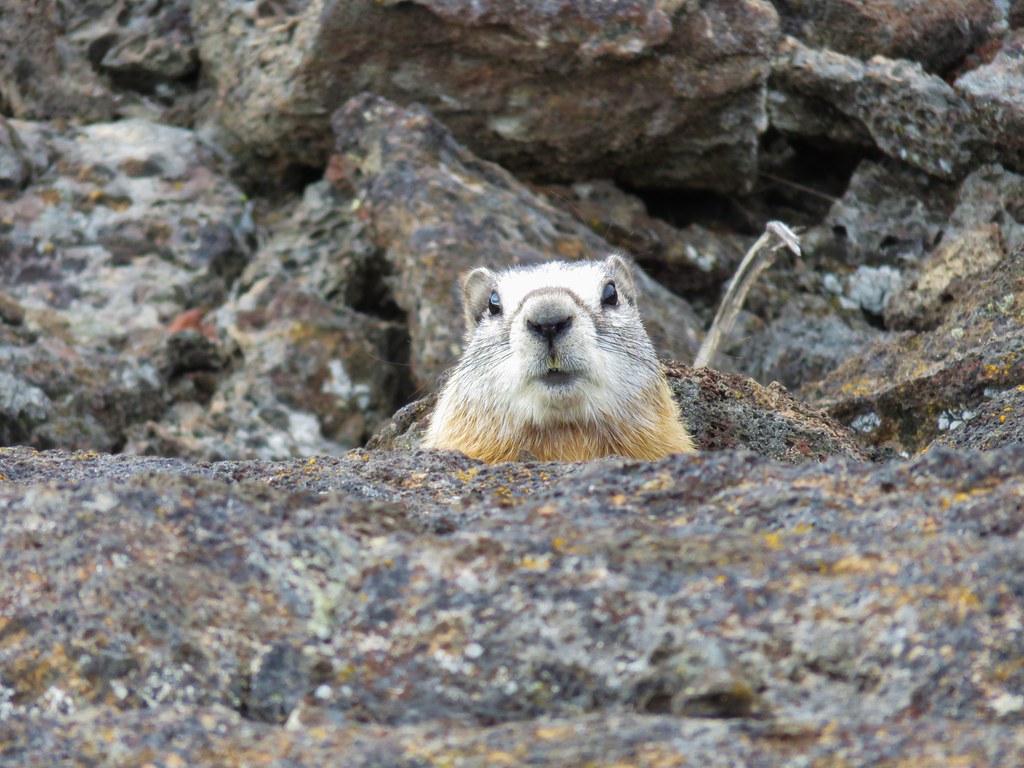
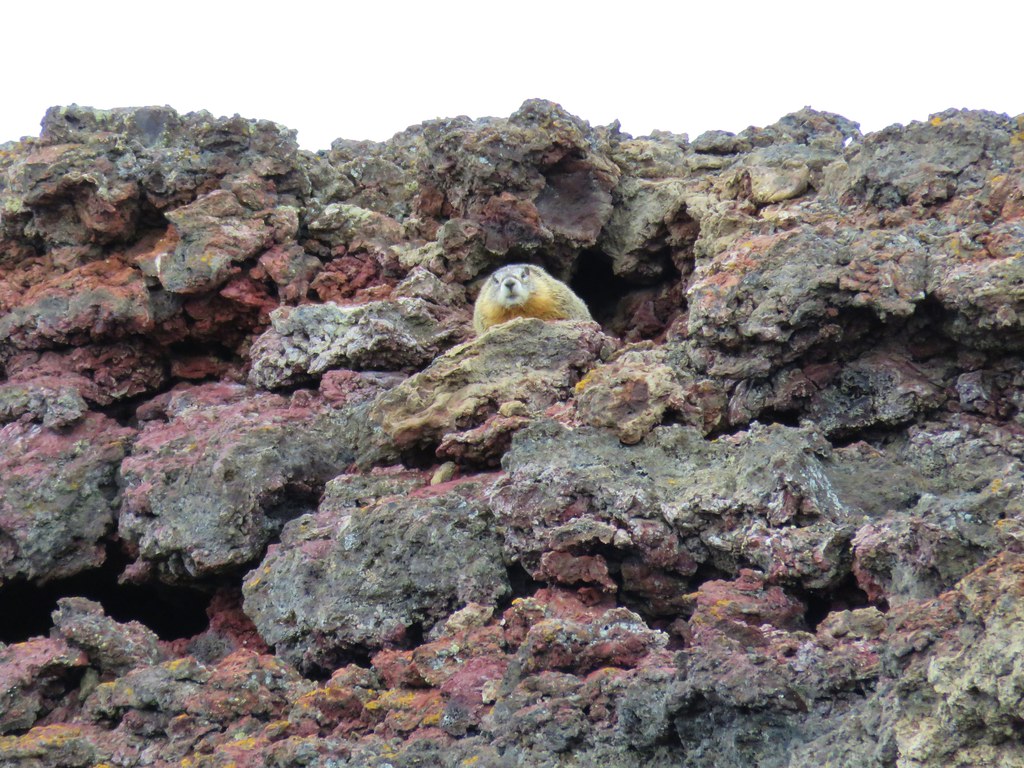
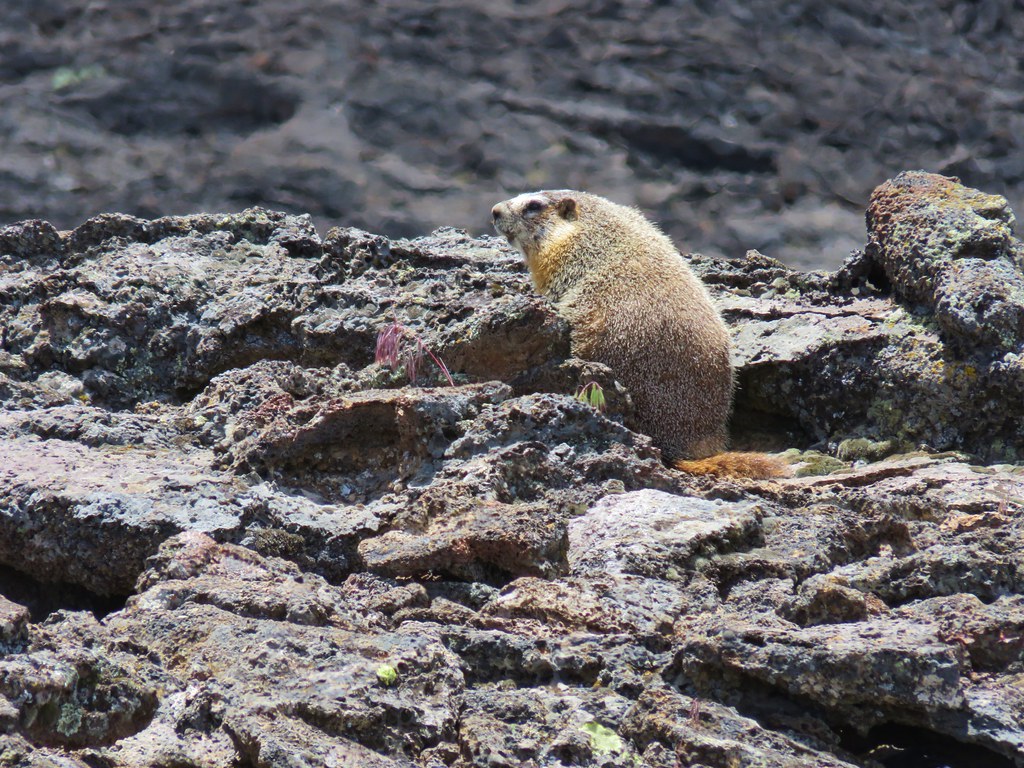
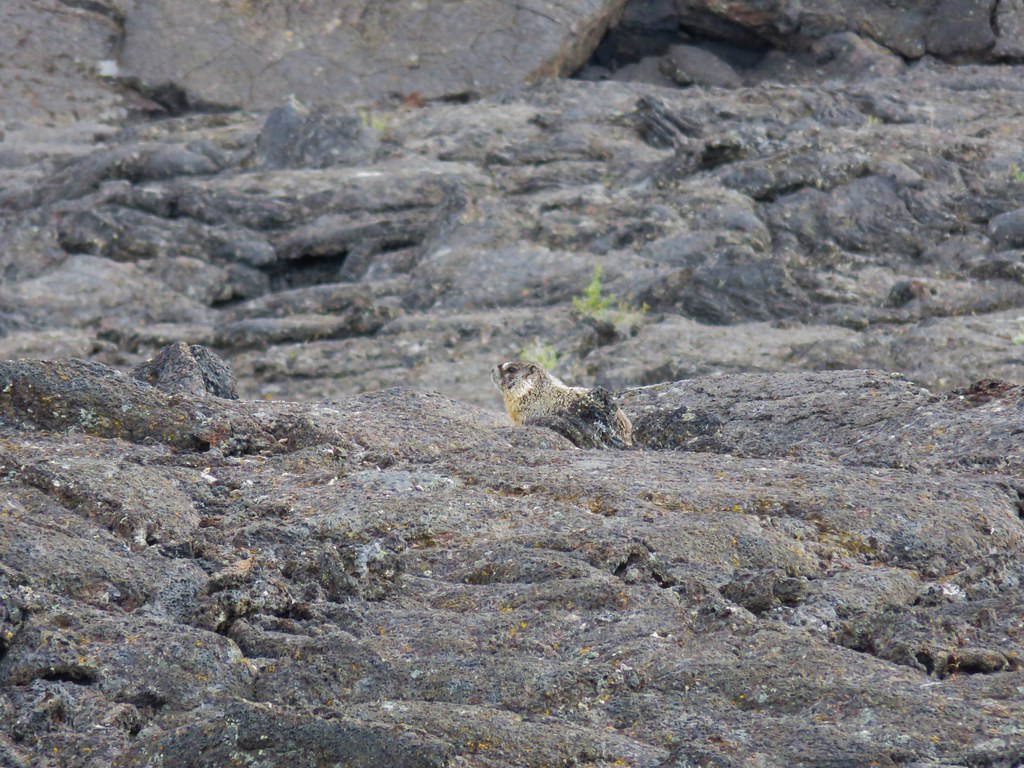
Heather spotted a marmot that was not able to fly off.
IMG_5663

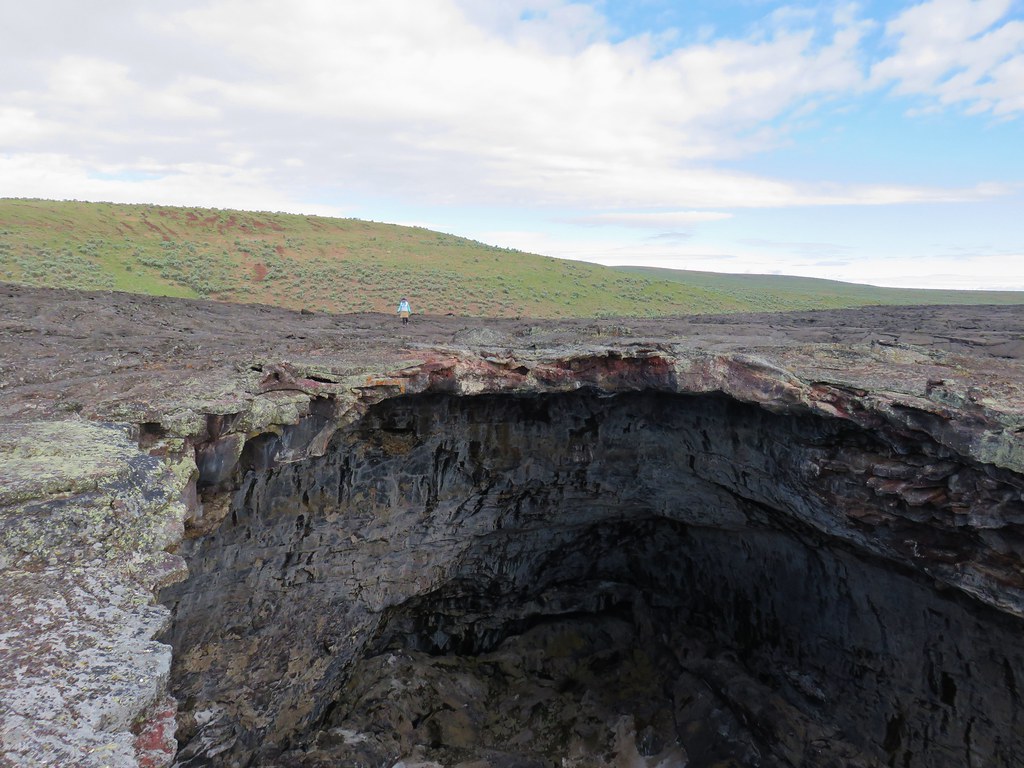
Just a bit further away was a second pit which we headed for. I got there first and started taking pictures.
IMG_5668

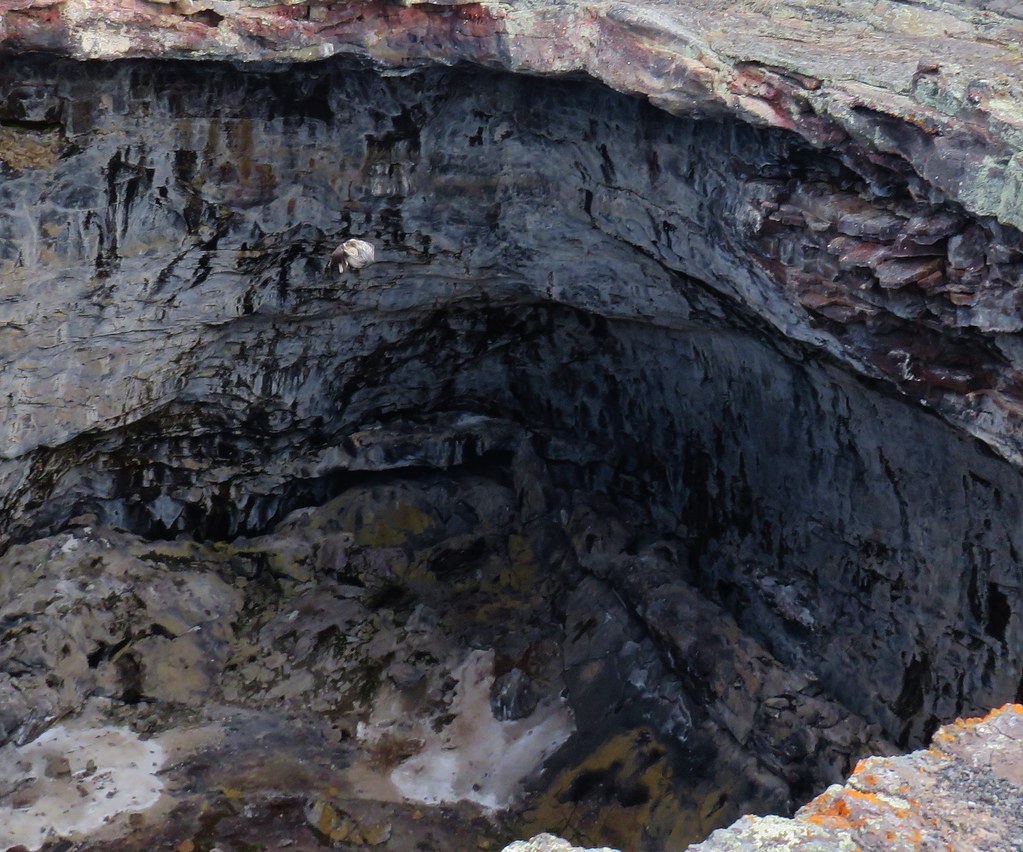
As Heather neared the owl reappeared only this time flying in my general direction. I was able to take a few pictures as it flew by to parts unknown.
IMG_5669

IMG_5670

IMG_5671

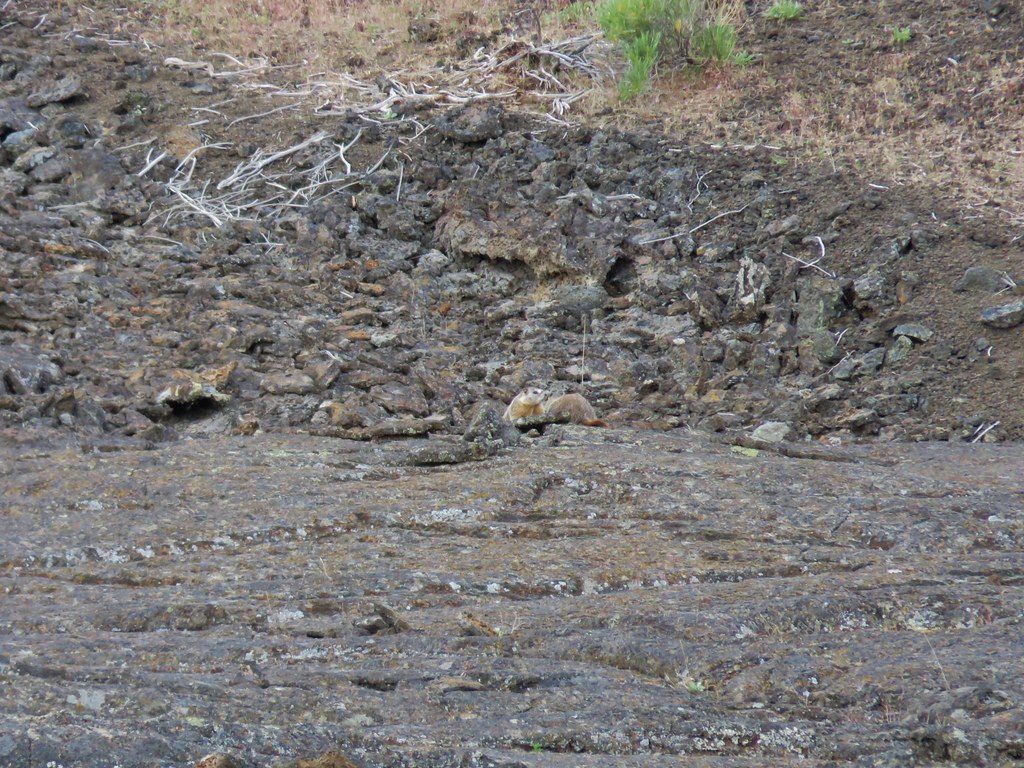
After admiring the second pit we headed back for the trail. More marmots watched us from the edge of the lava.
IMG_5682

IMG_5686

IMG_5692

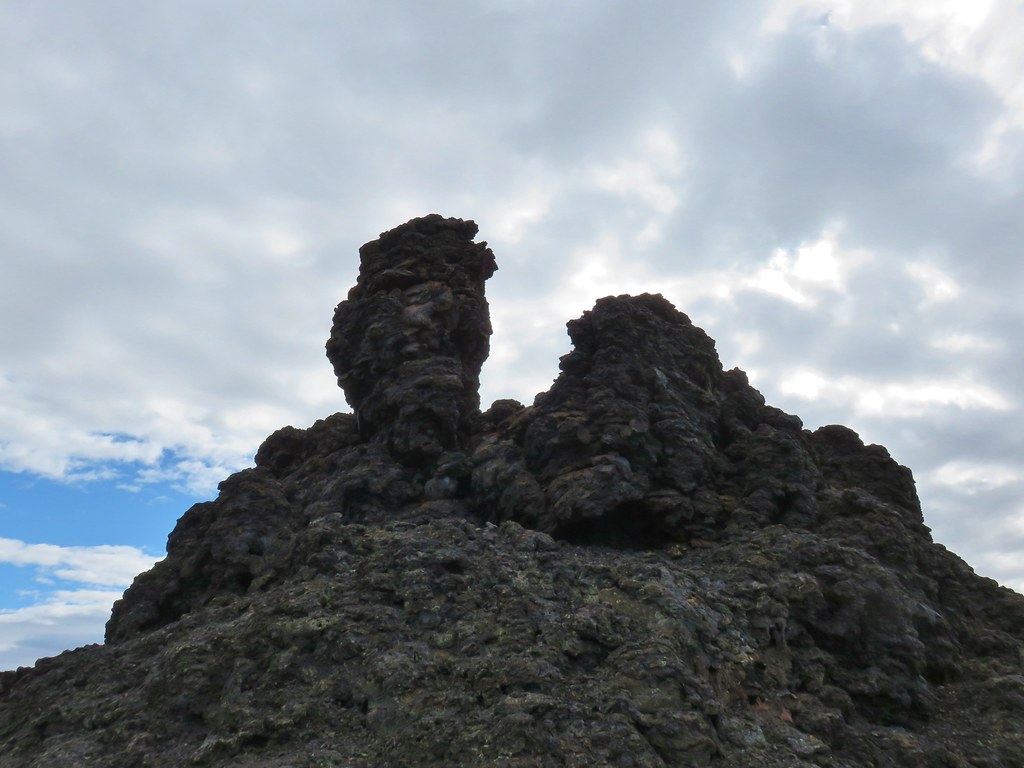
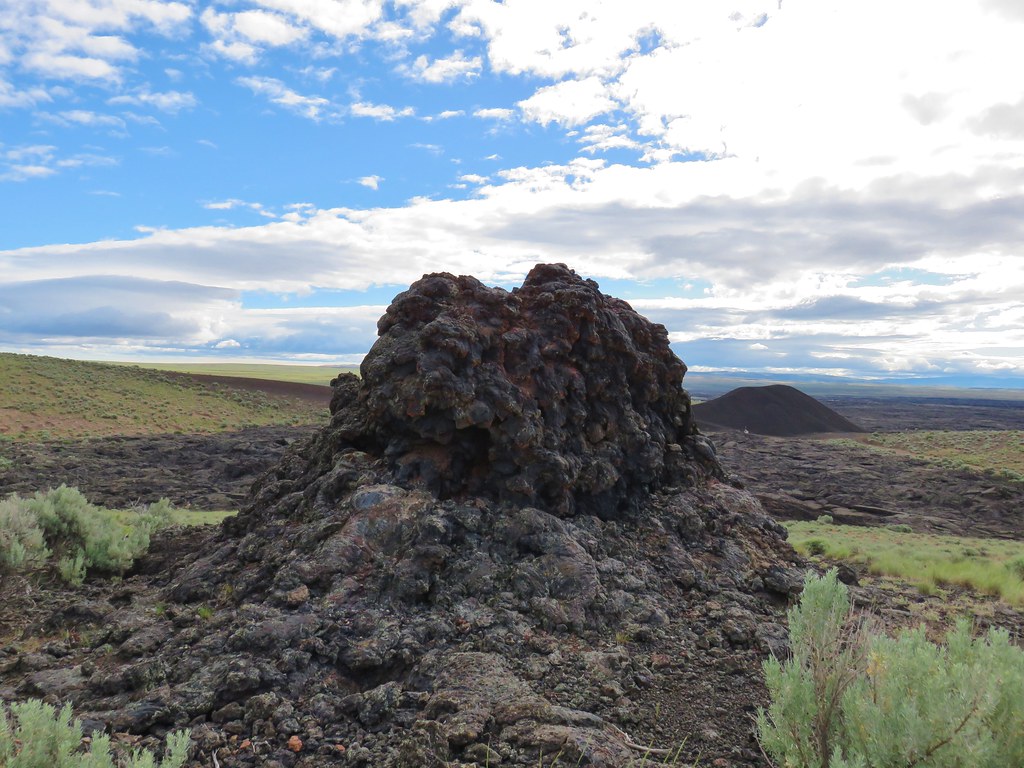
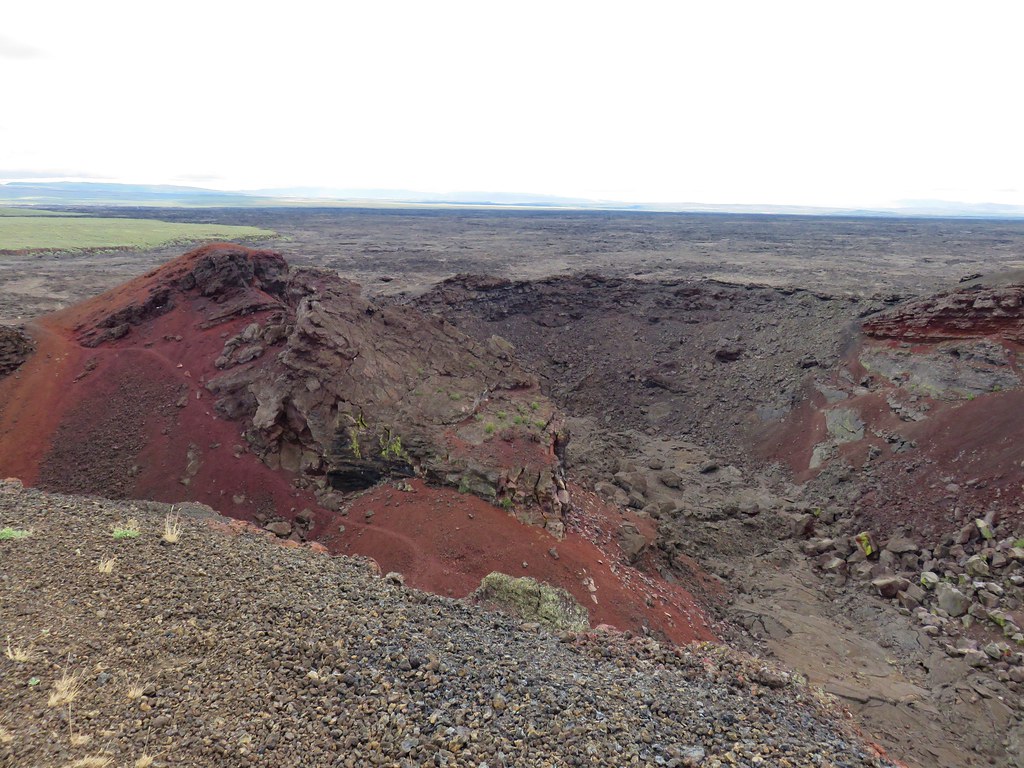
We were briefly back on the rim of the crater but then left the trail again to get an up close look at a row of splatter cones that extended uphill toward the road.
IMG_5699

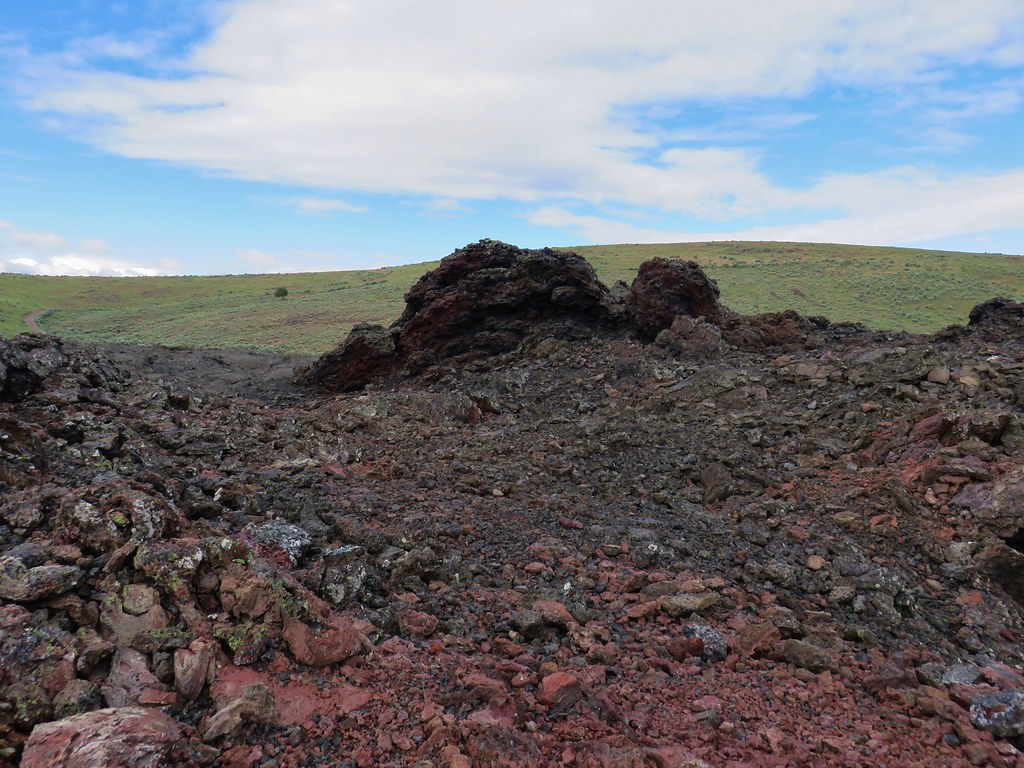
We had decided that after visiting the splatter cones we would just continue cross country uphill back to the road eliminating a little distance. In all there were seven cones varying in size and shape.
IMG_5706

IMG_5708

IMG_5710

IMG_5711

IMG_5714

IMG_5717

IMG_5721

IMG_5722

IMG_5724

We followed the road back to our car and returned to Highway 95 where we headed north toward our next stops for the day at Leslie Gulch.

The hike at Jordan Craters had only been 3.8 miles even with the road walk so we had plenty of energy left for additional hikes and Leslie Gulch offered numerous opportunities. For our visit we planned on hiking into at least four of the explorable gulches. We decided to start at the western most gulch and work our way back east toward the highway. The gravel road to Leslie Gulch was easily the best of the roads we would take to trailheads while in the area and the scenery along the route was spectacular making this a worthwhile visit even if you aren’t planning on hiking.
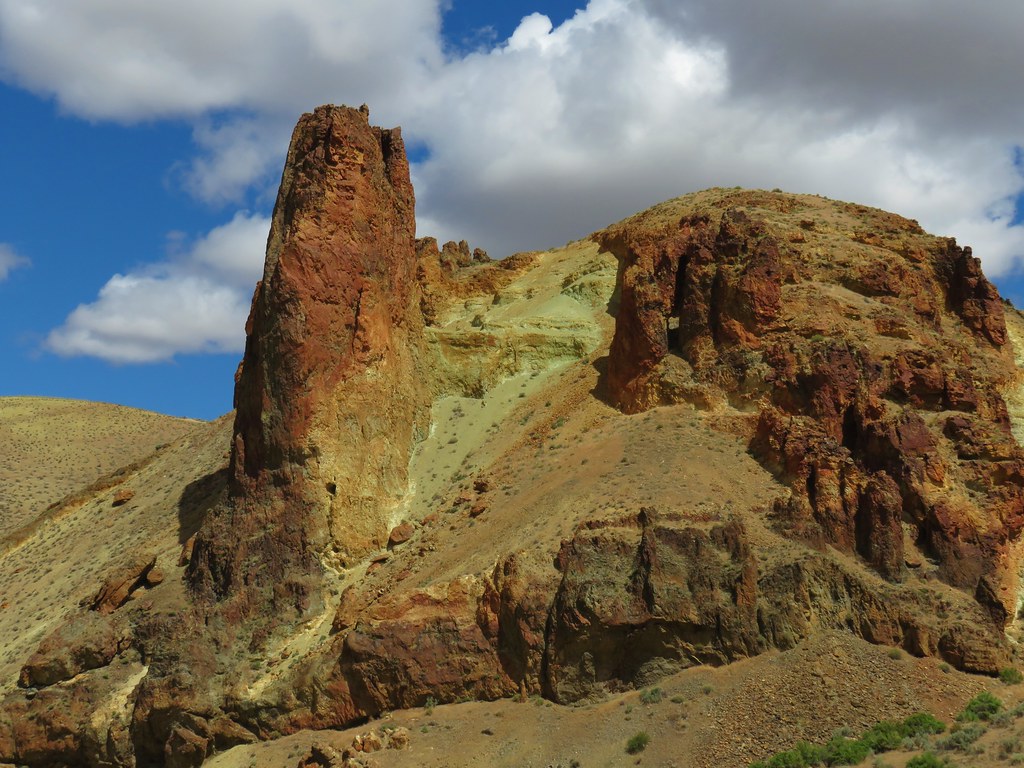
IMG_5733

We drove to the end of Leslie Gulch Road and parked near Slocum Campground near the boat ramp for the Owyhee Reservoir.
IMG_5730

IMG_5736

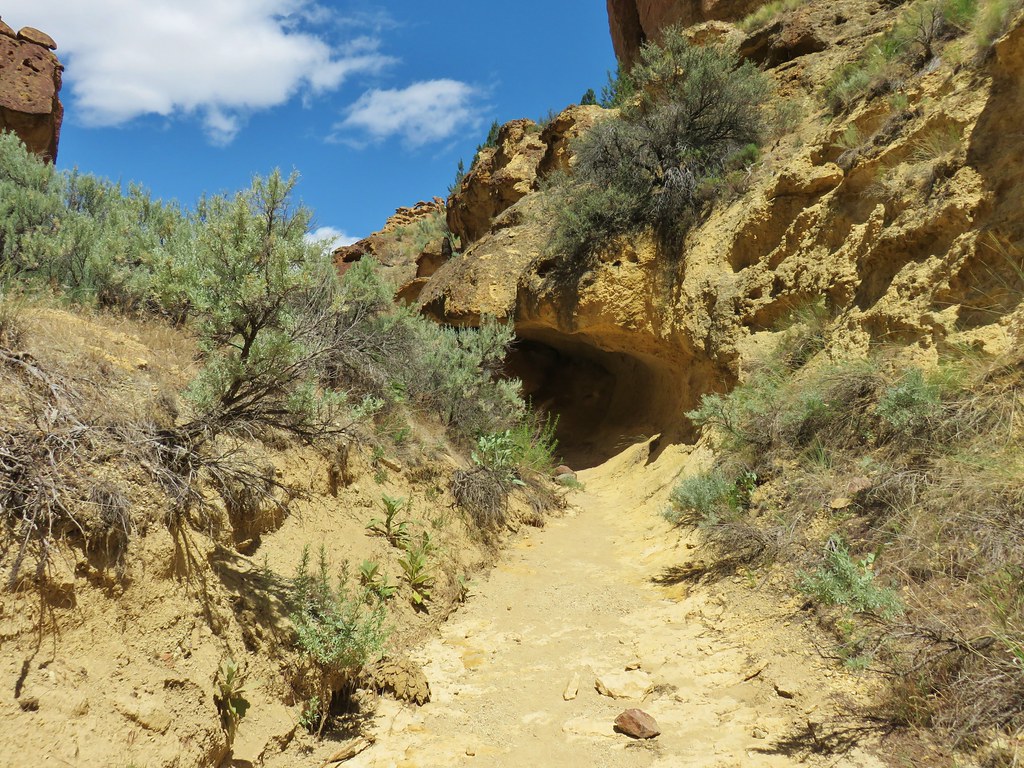
The trail into Slocum Gulch is not an official trail but it was easily identifiable at first.
IMG_5740

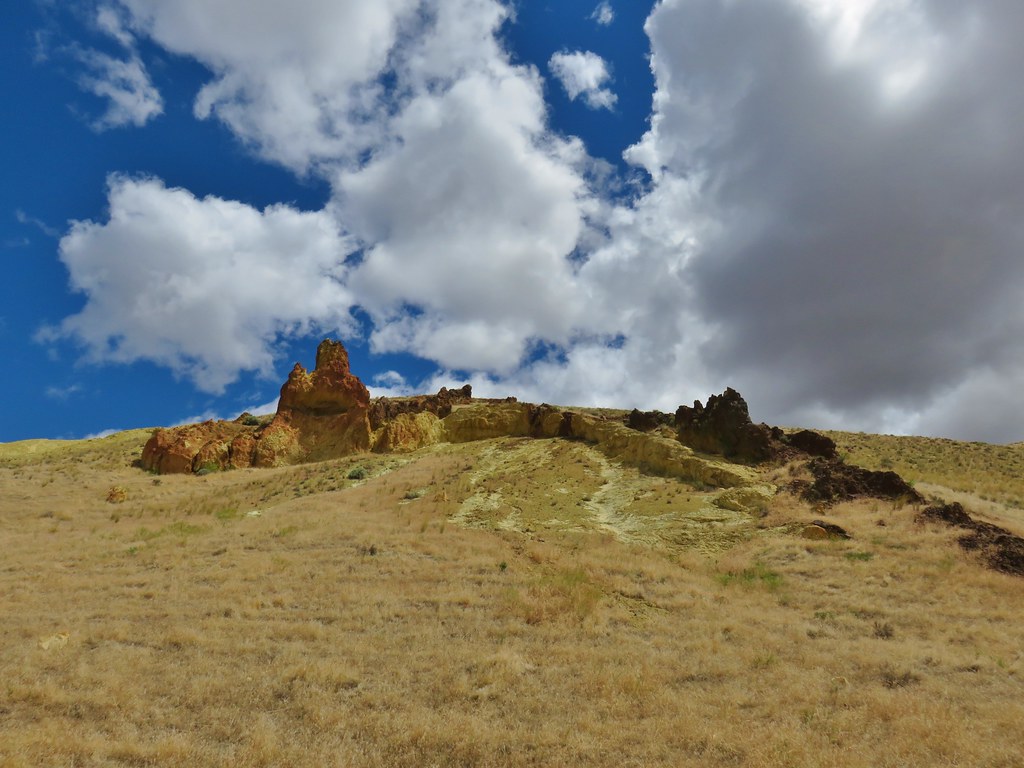
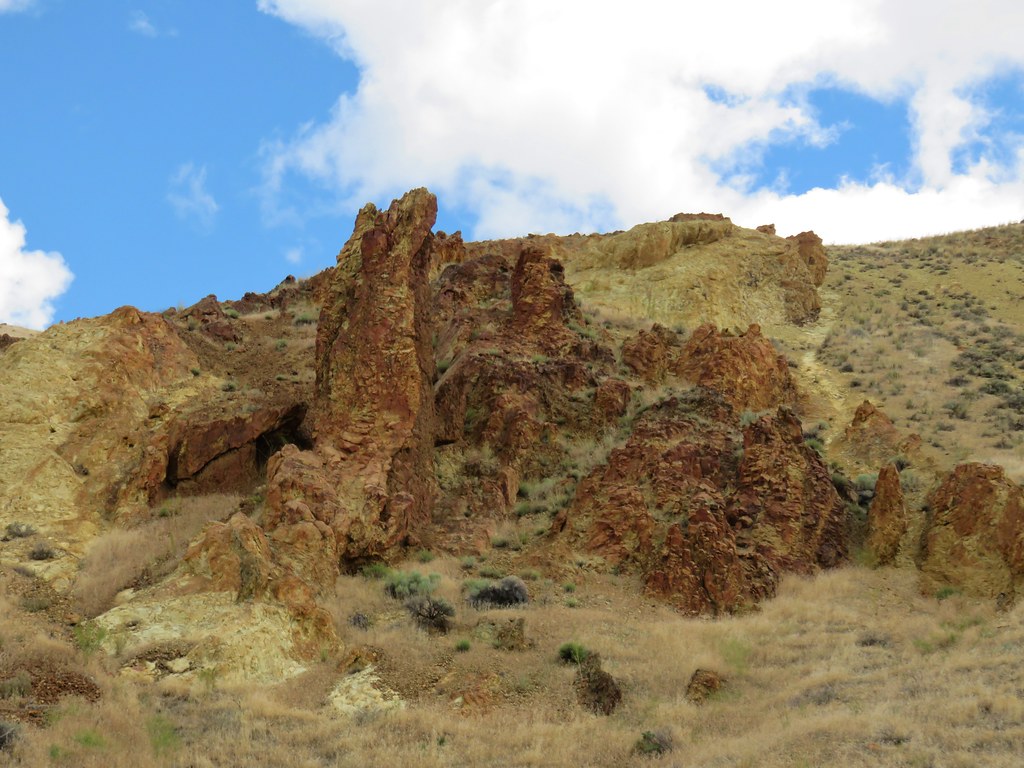
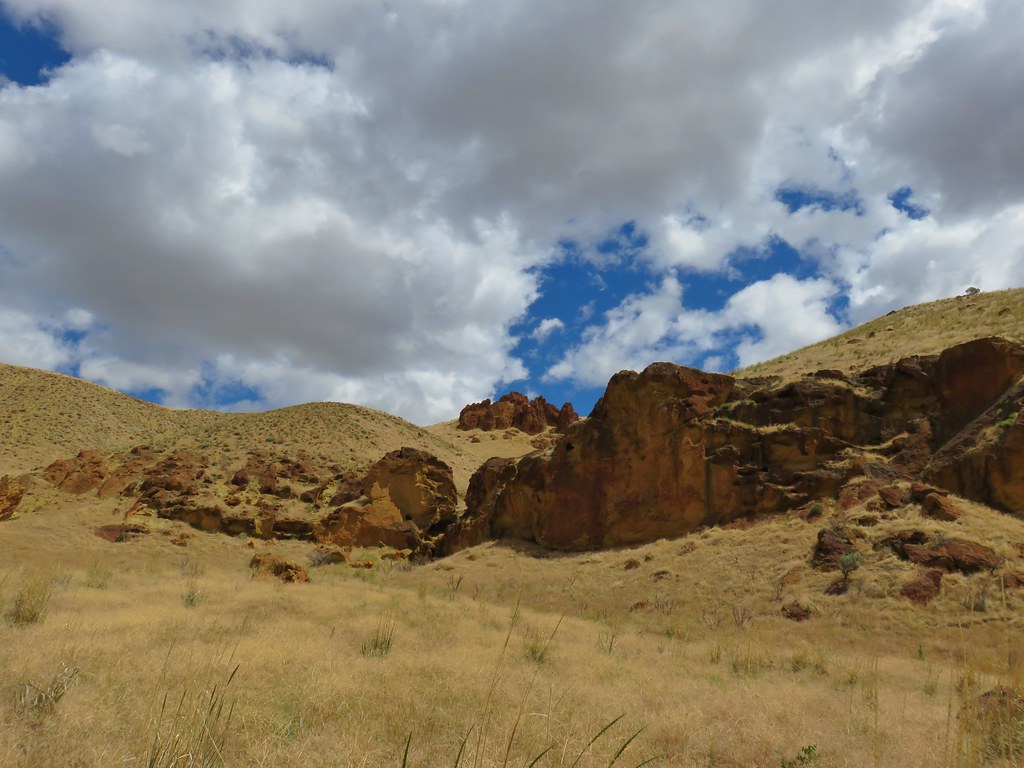
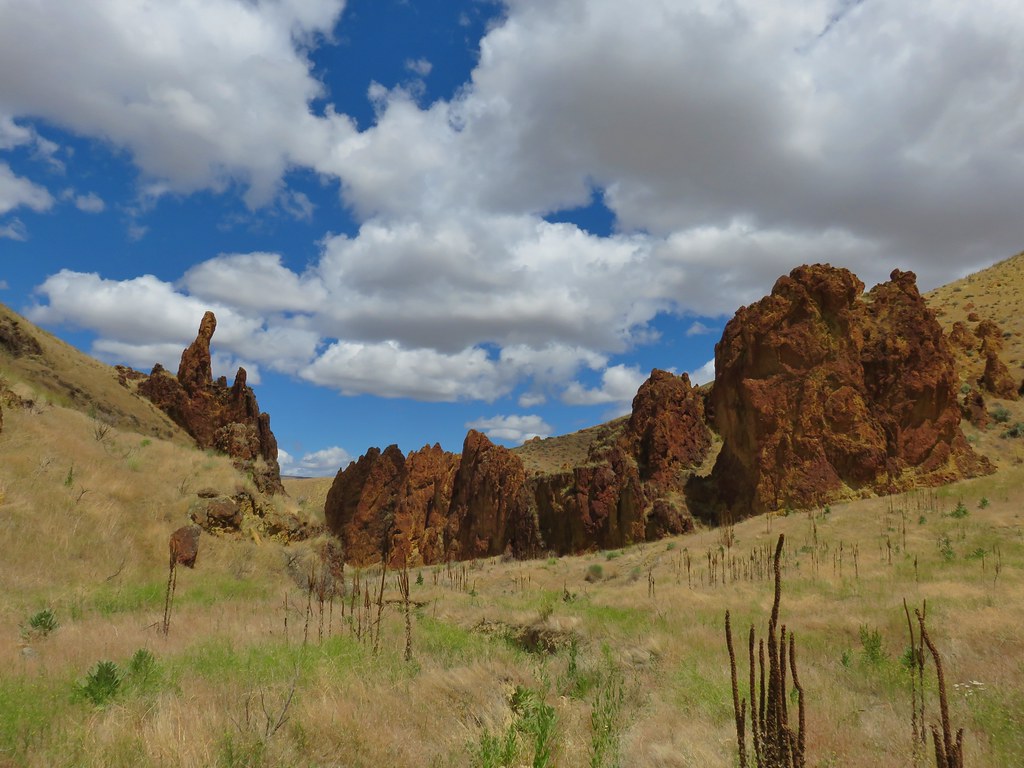
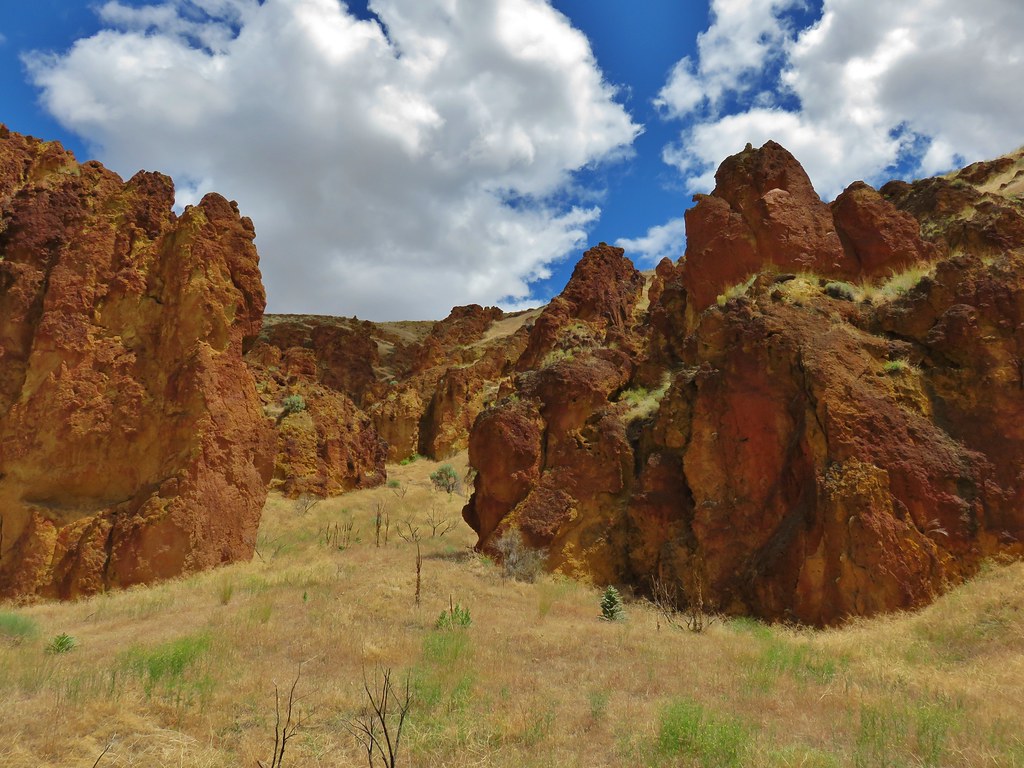
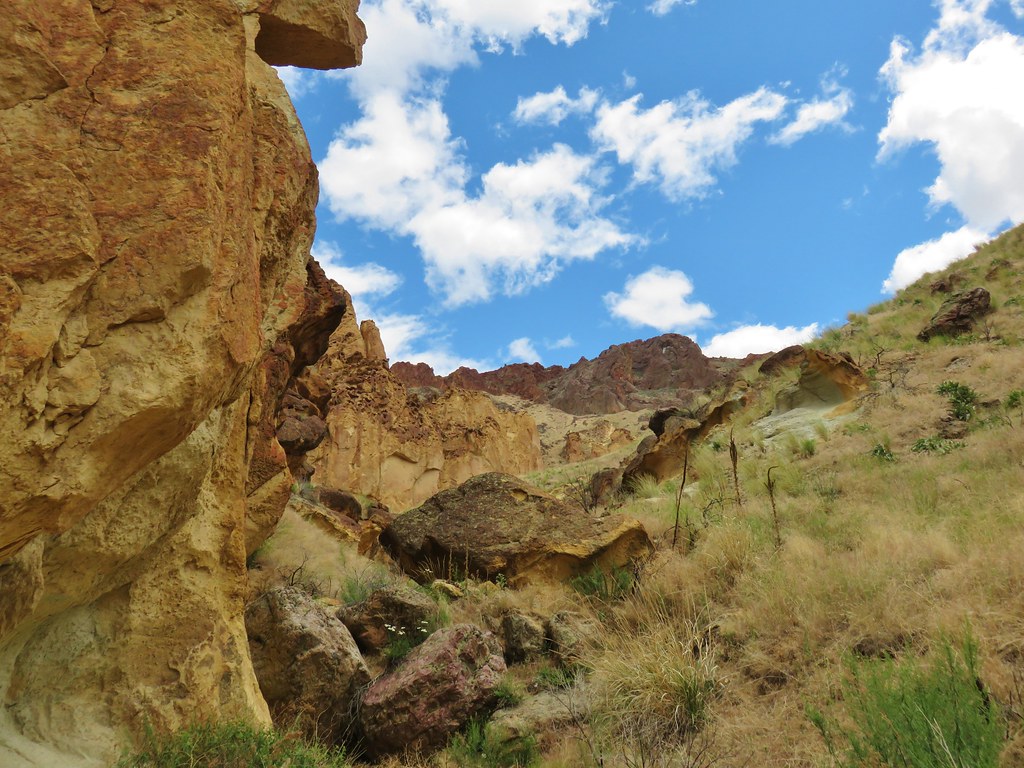
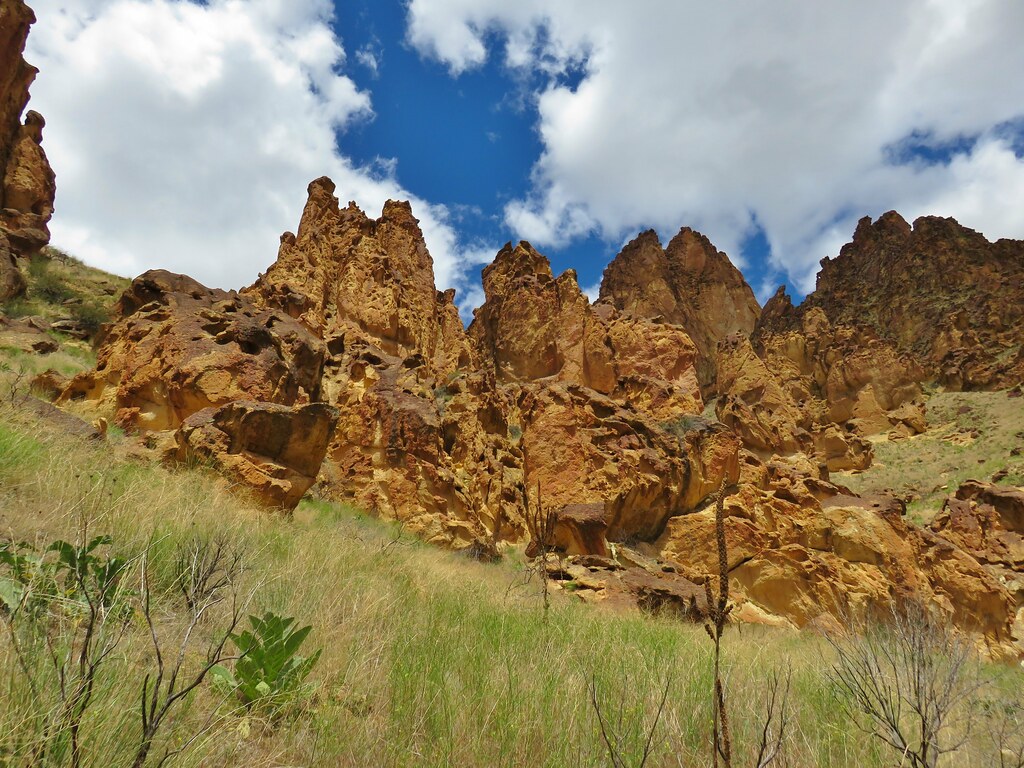
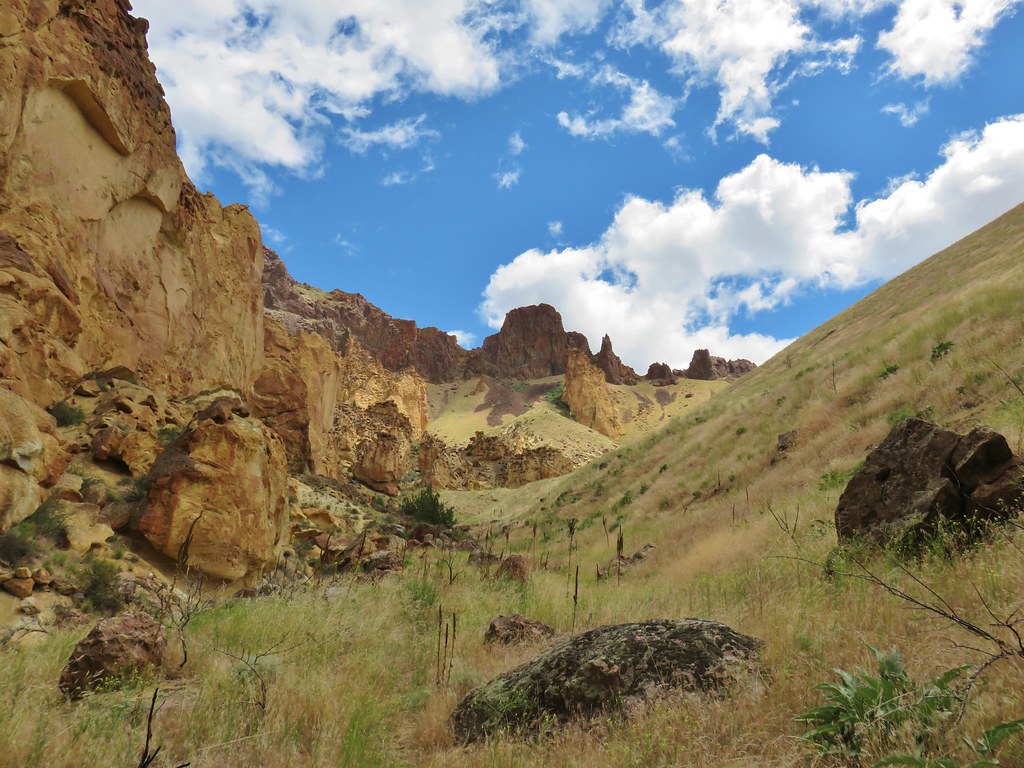
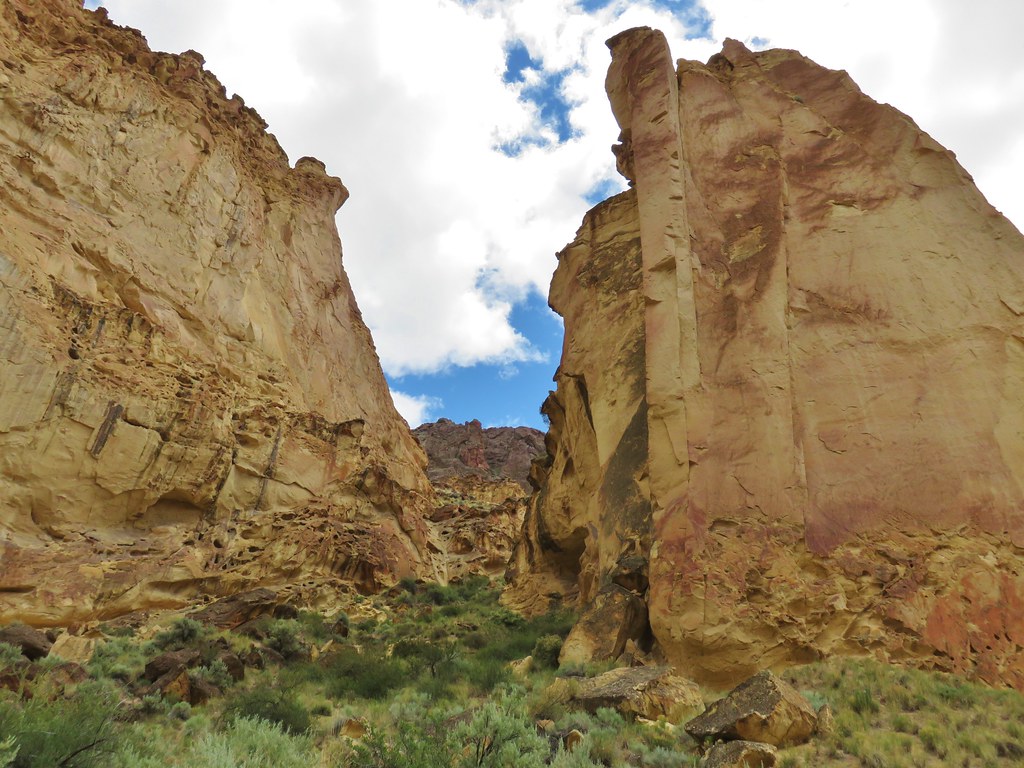
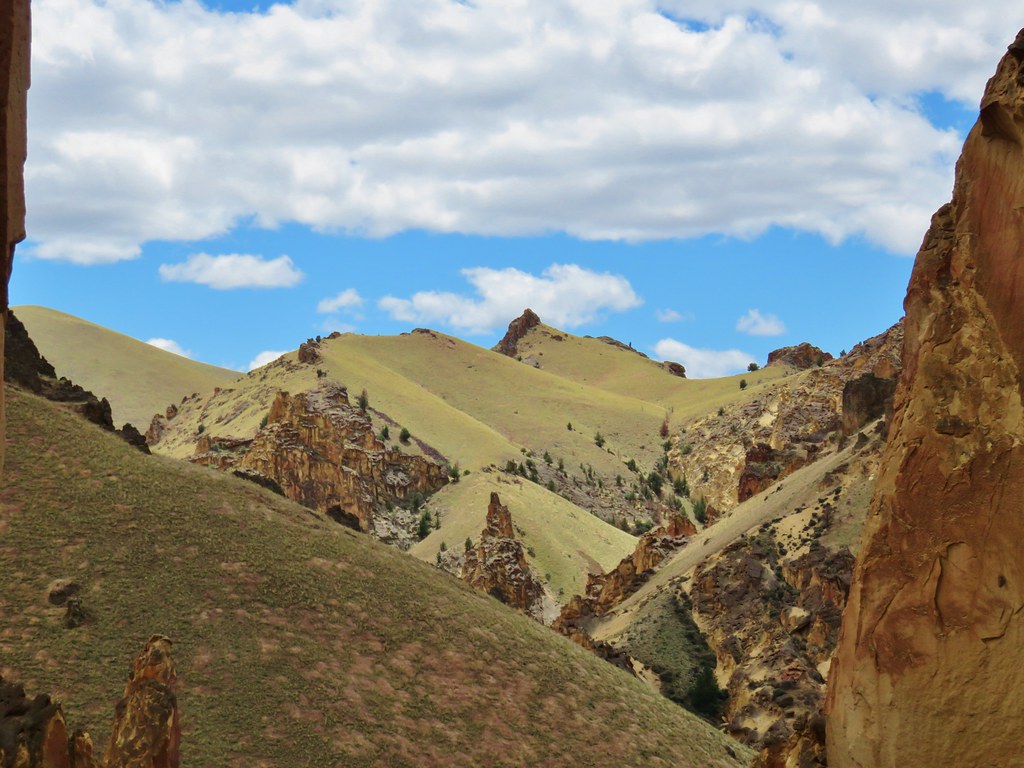
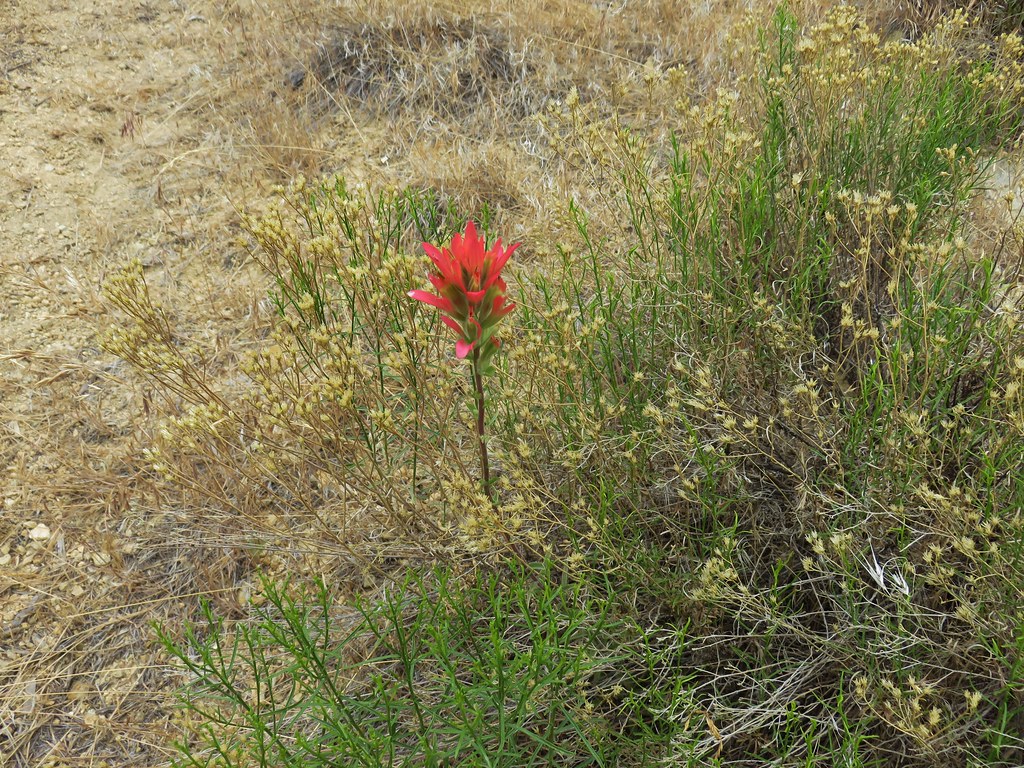
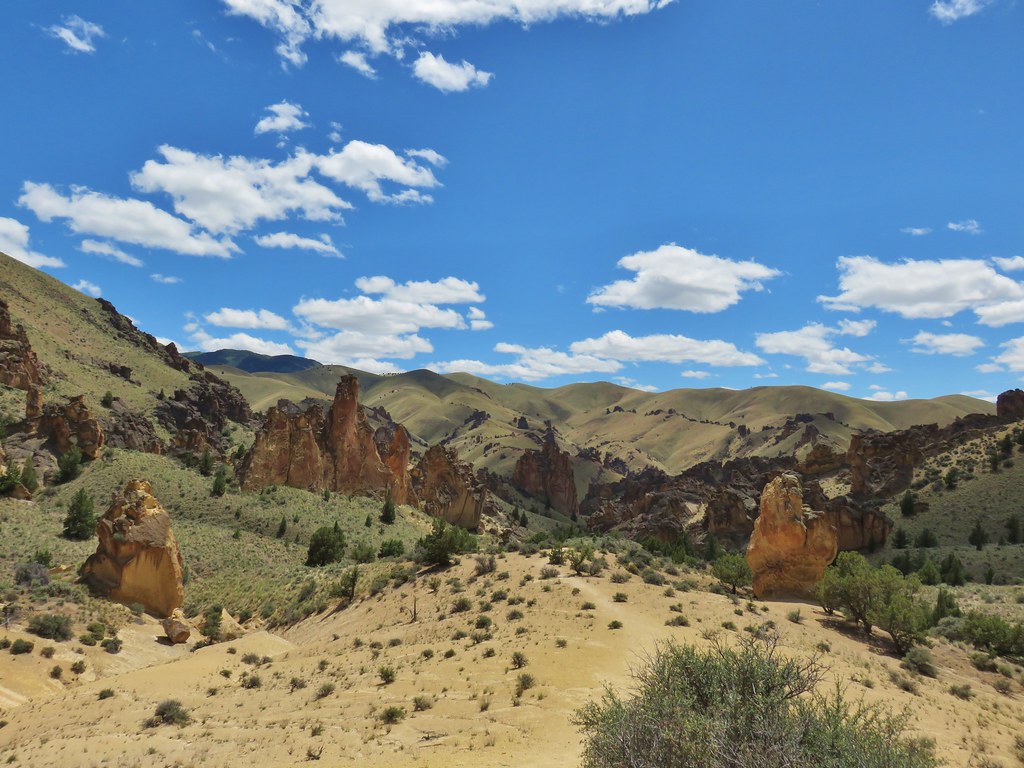
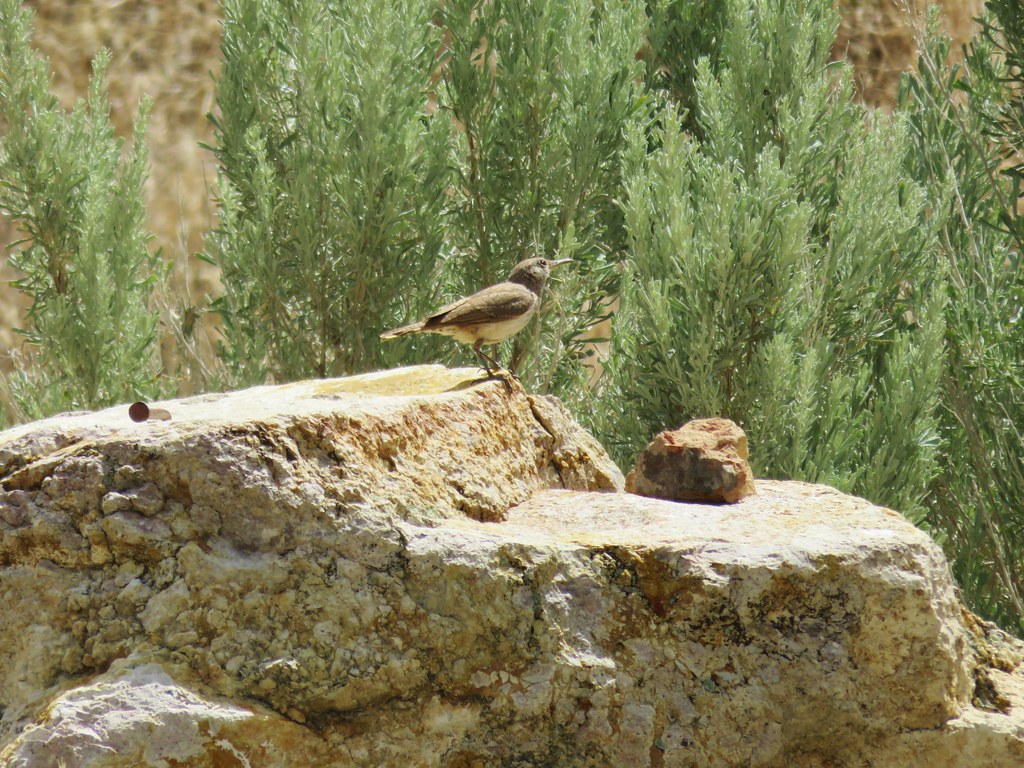
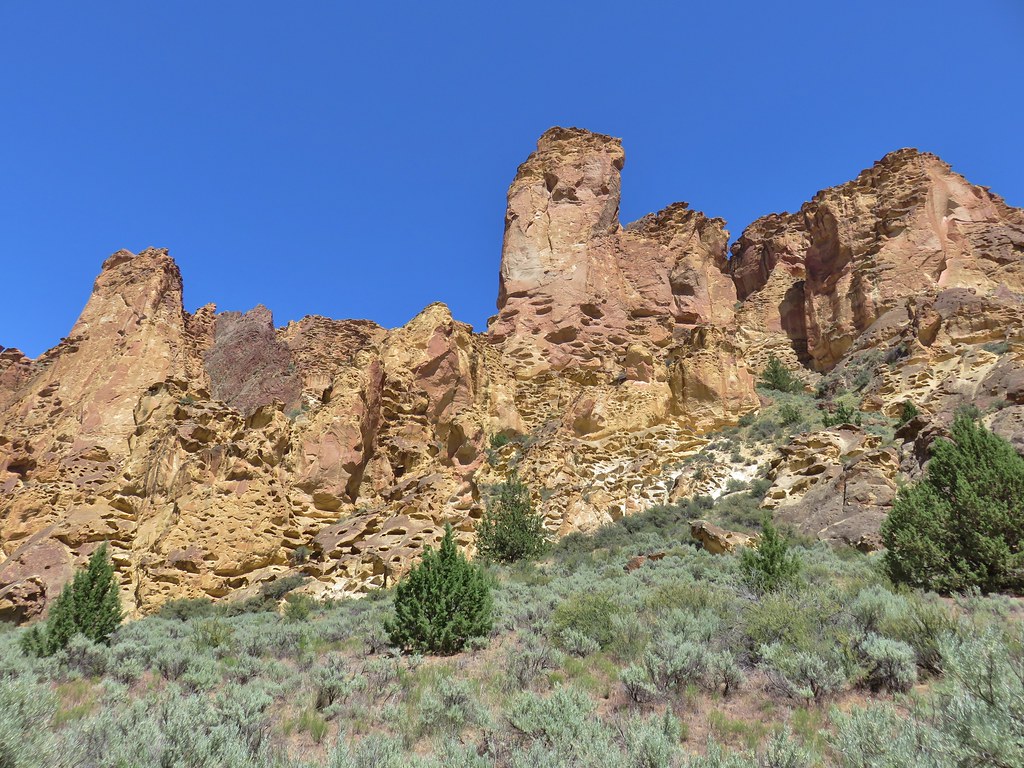
Wildlife and wildflowers accentuated the views but it was the rock formations that were the stars.
IMG_5738

IMG_5742

IMG_5752

IMG_5765

IMG_5829

IMG_5808

IMG_5785

IMG_5790

IMG_5755

IMG_5757

IMG_5770

IMG_5774

IMG_5781

IMG_5817

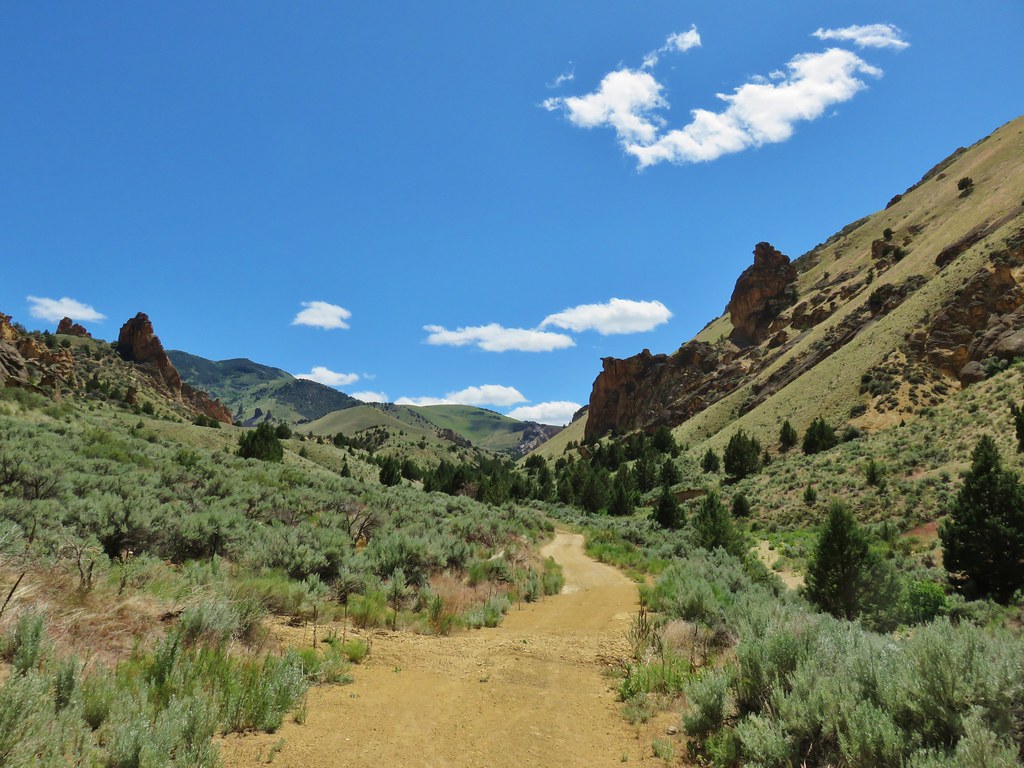
The trail grew fainter the further we went but we managed to go a little over 1.25 miles before turning around and heading for our next stop at Timber Gulch. This was another gulch with no official trail but there was a small pullout 2.35 miles from the Slocum Campground where we parked. From the pullout we followed another clear trail into Timber Gulch.
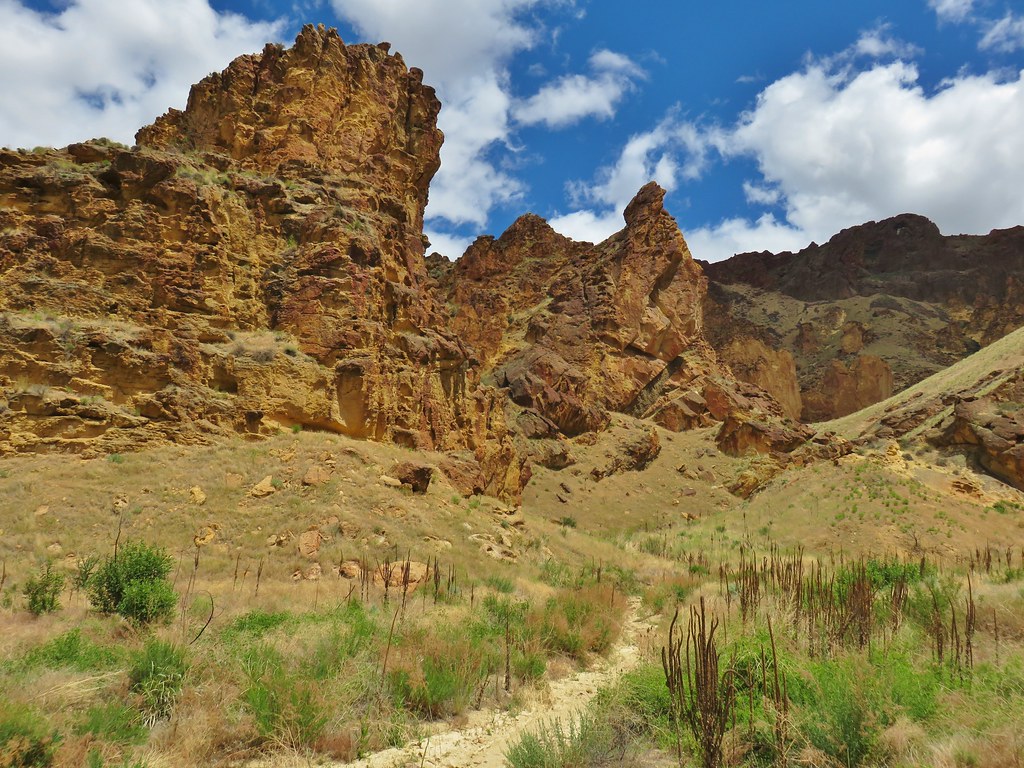
Trail into Timber Gulch

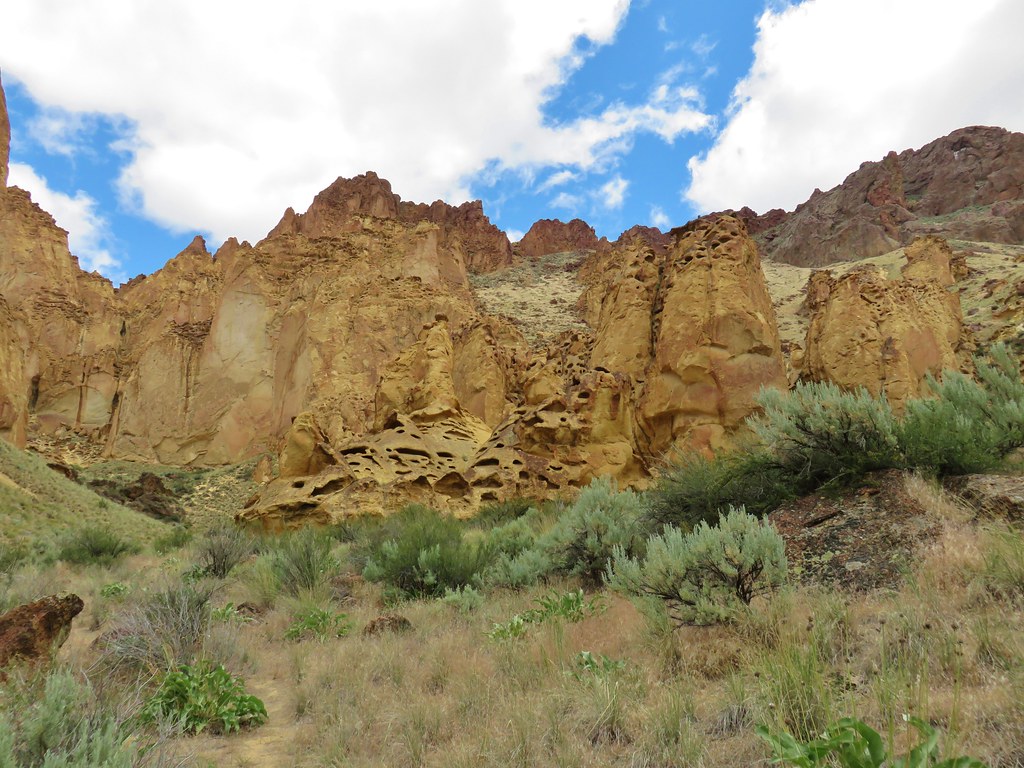
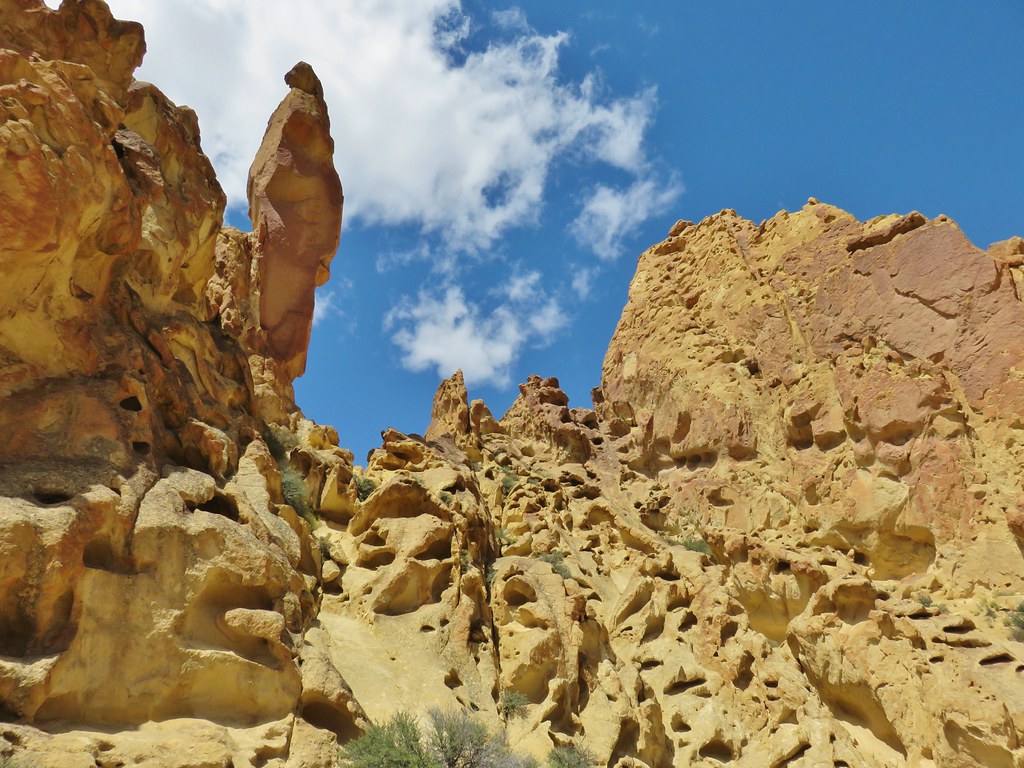
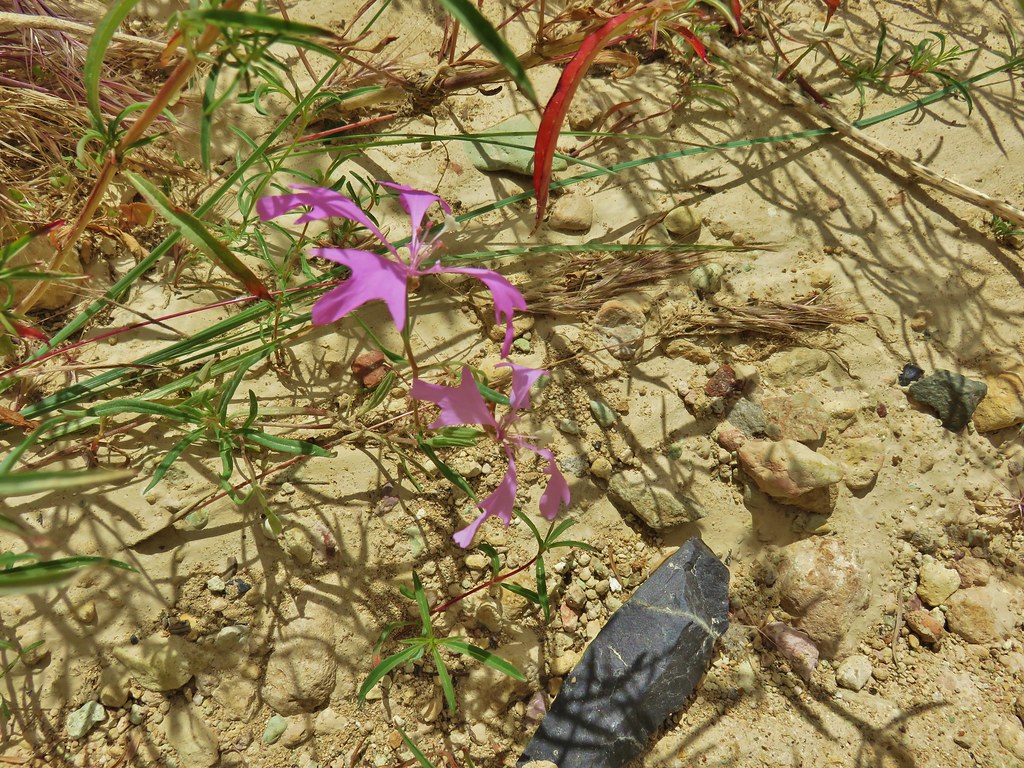
Despite the proximity to Slocum Gulch the scenery here was quite different with more “honeycomb” rocks and even some different flowers.
IMG_5835

IMG_5843

IMG_5850

IMG_5853

IMG_5871

IMG_5883

IMG_5889

IMG_5894

IMG_5895

IMG_5901

The trail ended in an amphitheater of rocks with sweeping views.
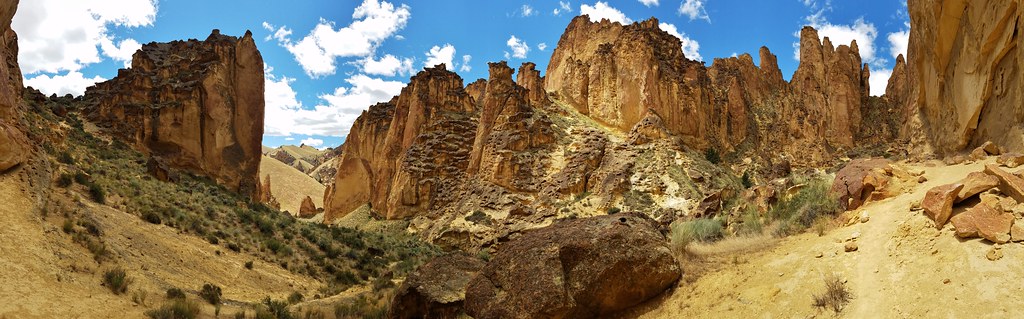
20180611_134720

The hike up Timber Gulch was only 1.3 miles round trip but it was packed with scenery. After Timber Gulch we drove just 1.25 miles further back up Leslie Gulch Road to the signed Juniper Gulch Trail.
IMG_5905

This wound up being a 1.8 mile hike with a little loop in the middle when we forked right where we should have stayed straight. Some minor scrambling up some rocks got us back on course though. This trail featured rock overhangs that we passed under and was also the only trail that we encountered other hikers on the entire trip after being at the Malheur Wildlife Refuge Headquarters.
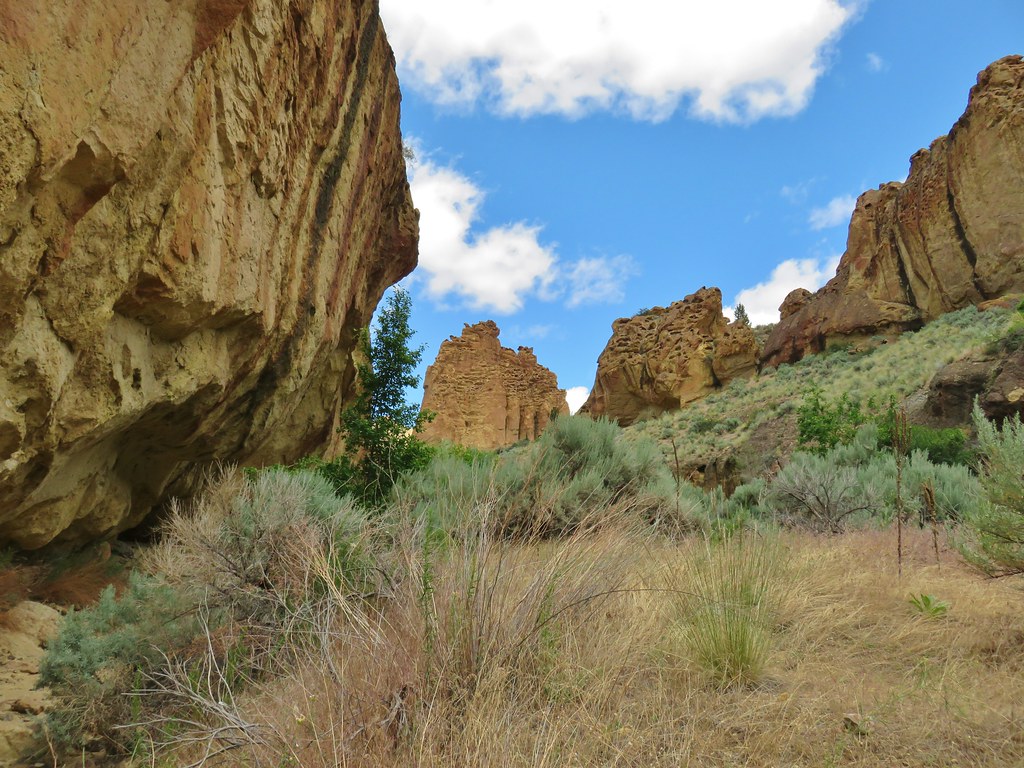
IMG_5908

IMG_5919

Beyond the overhangs (and once we were back on the correct path) the trail led up to a knoll with some impressive views.
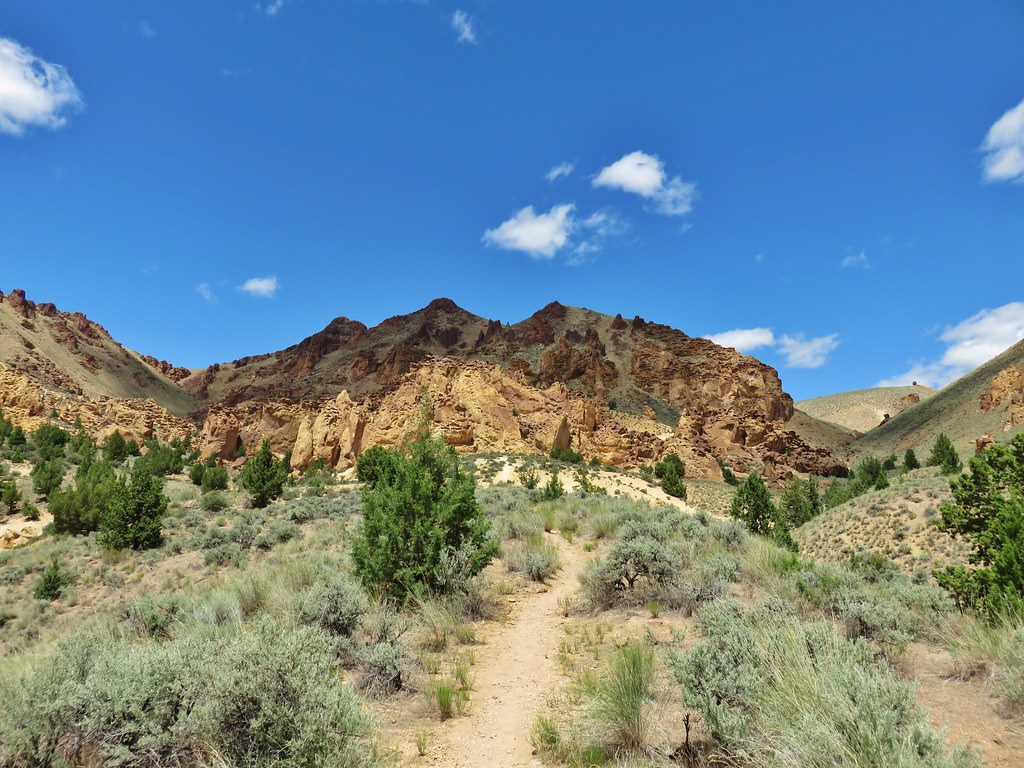
IMG_5931

IMG_5938

IMG_5937

Our last stop in Leslie Gulch was at Dago Gulch, a mile from Juniper Gulch.
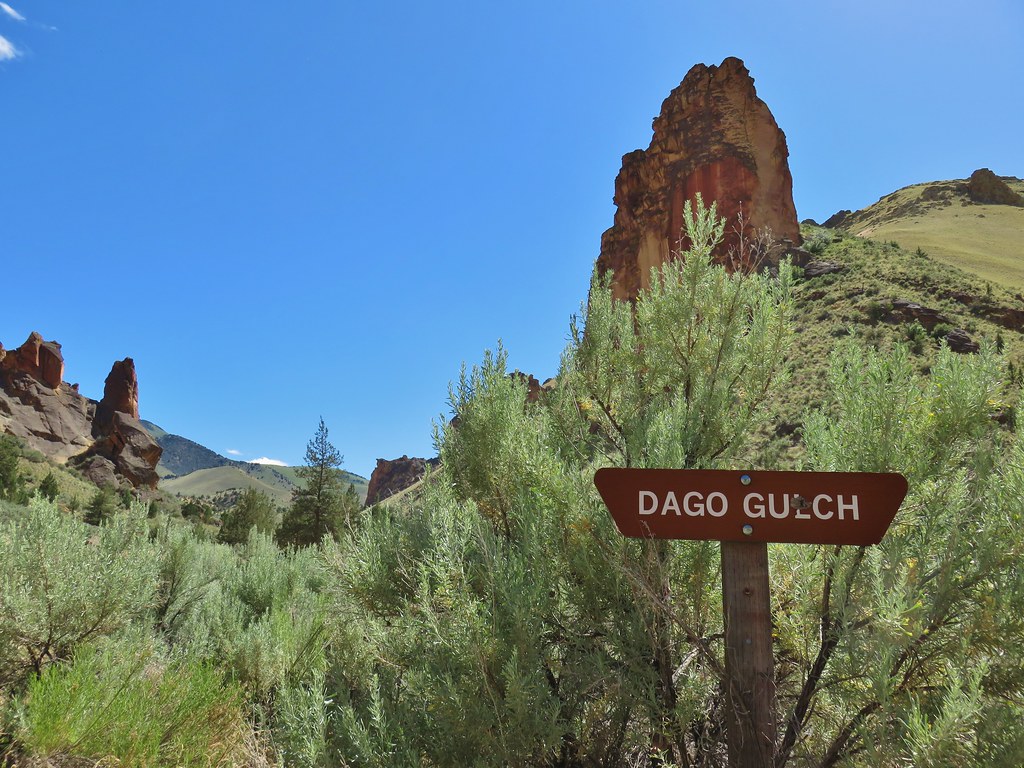
IMG_6021

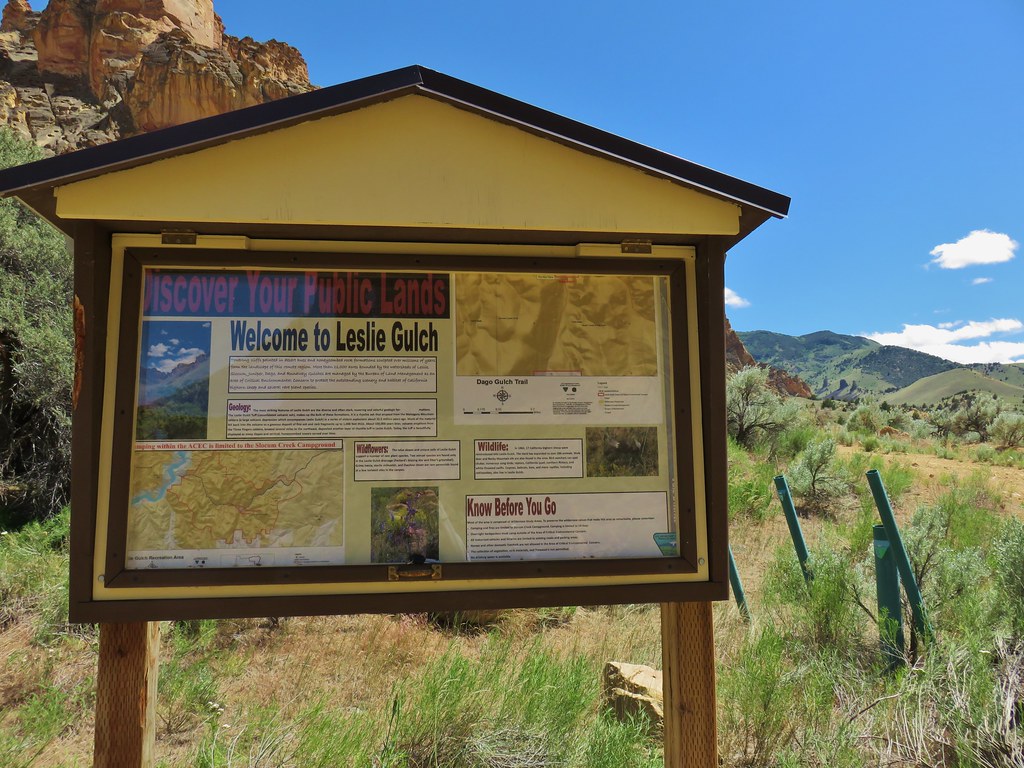
Here we followed an old roadbed for a mile to private land.
IMG_5966

IMG_5972

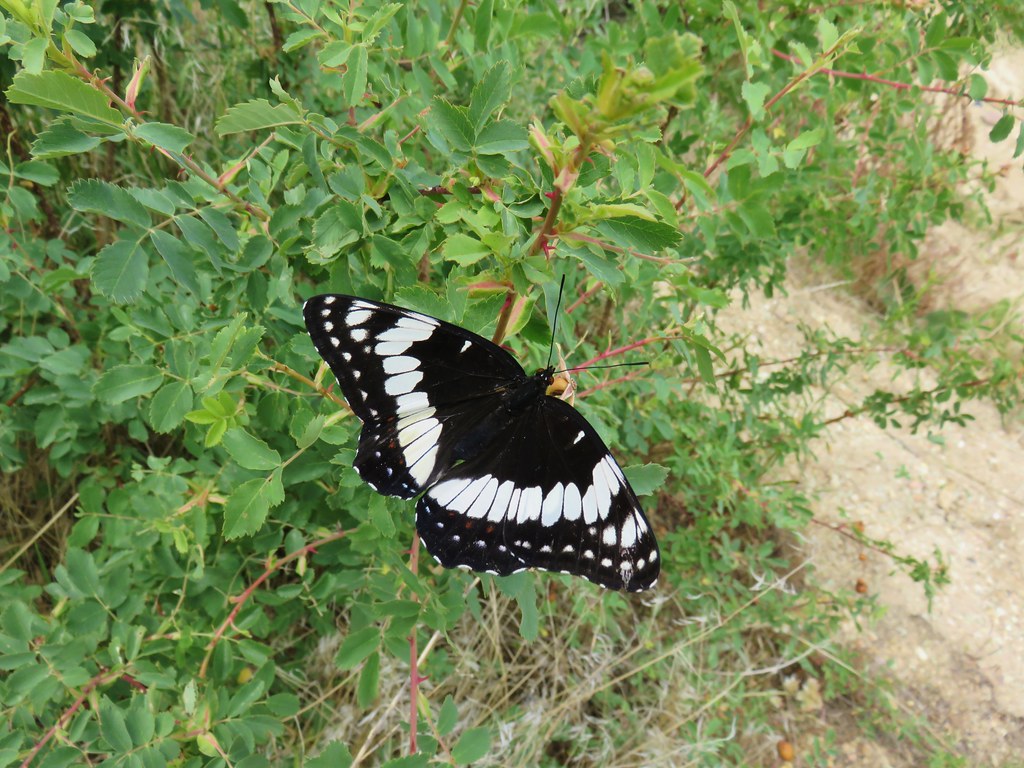
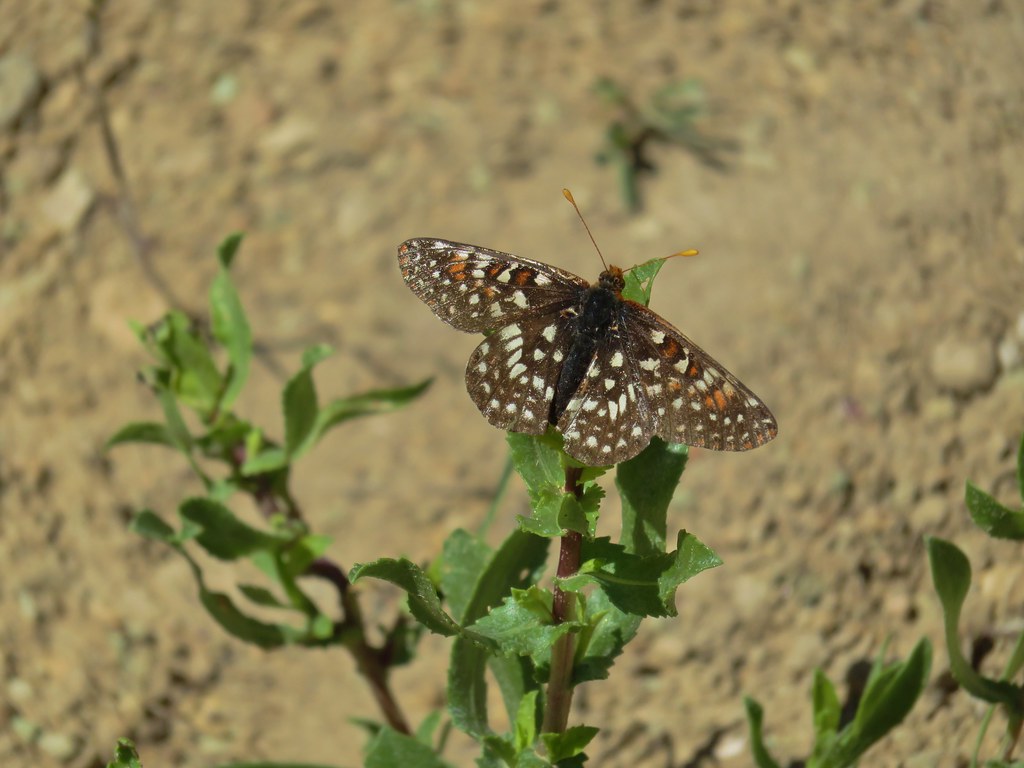
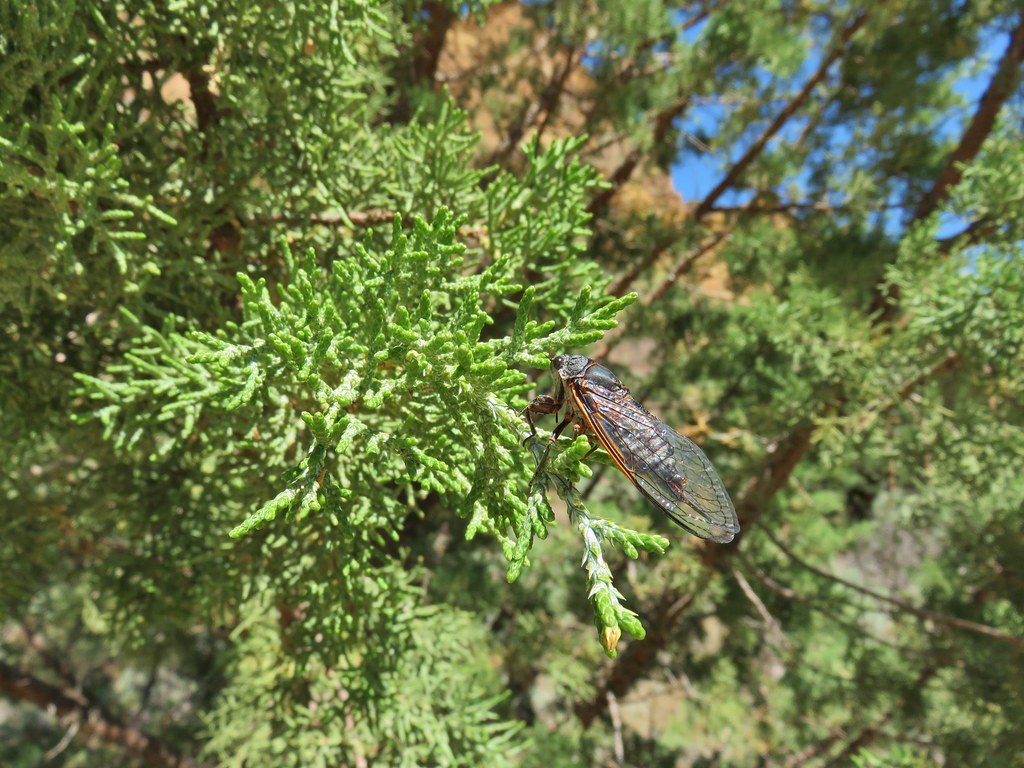
Although this gulch didn’t have quite as many impressive rock formations as the other gulches it had its share and it also had a lot of butterflies and cicadas.
IMG_5975

IMG_6001

IMG_5984

IMG_5994

IMG_6008

IMG_6013

IMG_5980

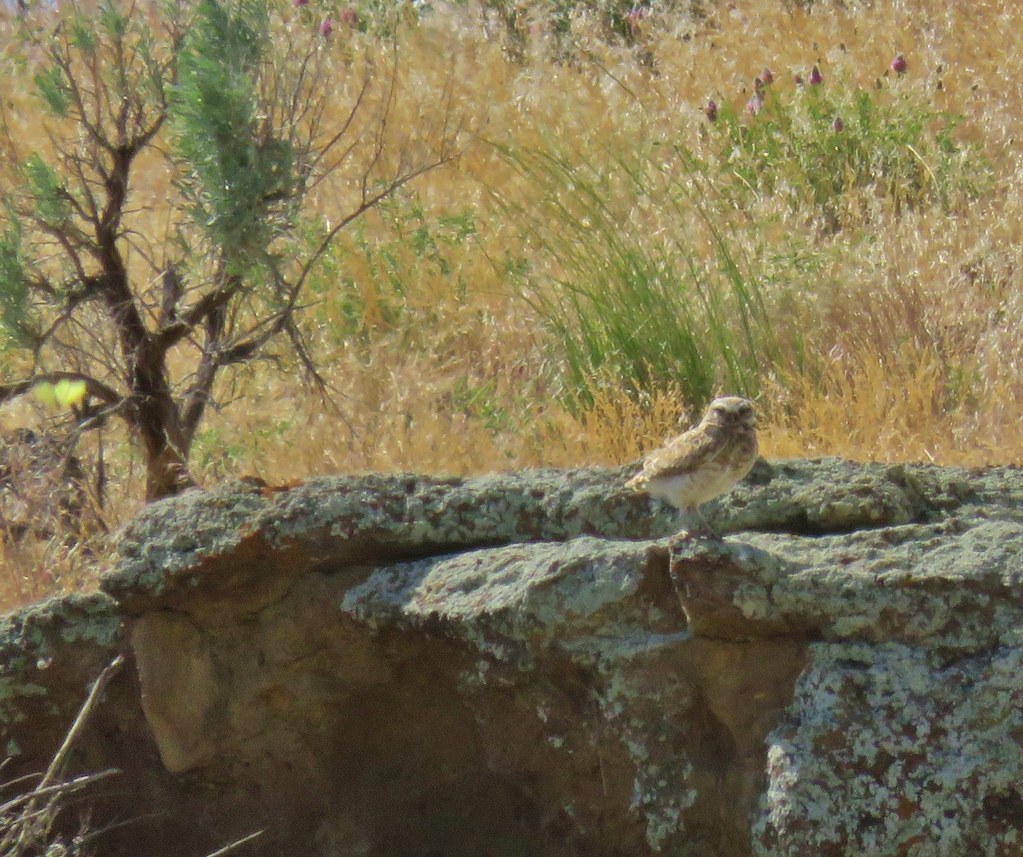
We had considered also hiking into Upper Leslie Gulch on a .3 mile trail there but it had gotten really warm and after five hikes we were ready to head back to Caldwell to get cleaned up and cool off. On the way back to the highway we spotted a burrowing owl atop some sagebrush along McBride Road. It flew up on some rocks when we stopped but I was able to get a somewhat blurry photo of the little guy before we drove on.
IMG_6030

It was a long day with just under six hours of hiking and almost seven and a half hours of driving but the sights had been worth it. We grabbed a fast food dinner back in Caldwell and turned in for the evening looking forward to what the next day had in store. Happy Trails!

Flickr: Jordan Craters and Leslie Gulch
Categories
Hiking Oregon SE Oregon Trip report

Malheur Wildlife Refuge, Diamond Craters, and the Peter French Round Barn – SE Oregon Vacation Day 2

Day 2 of our SE Oregon vacation was set to be more of a driving day as we headed from Bend to our next destination which we had originally intended to be Jordan Valley. Instead we ended the day in Caldwell, Idaho but we’ll get to that later.

When I was planning this trip I was looking for a hike between Bend and Jordan Valley to do along the way. We had done the Oregon Badlands twice (post post) and Pine Mountain (post) previously. These were the only hikes that were listed in our “100 Hikes/Travel Guide Eastern Oregon” guidebook but the travel guide for Burns pointed us toward the Malheur National Wildlife Refuge.
Having reopened after the occupation we were eager to visit the refuge and show our support for our Public Lands.

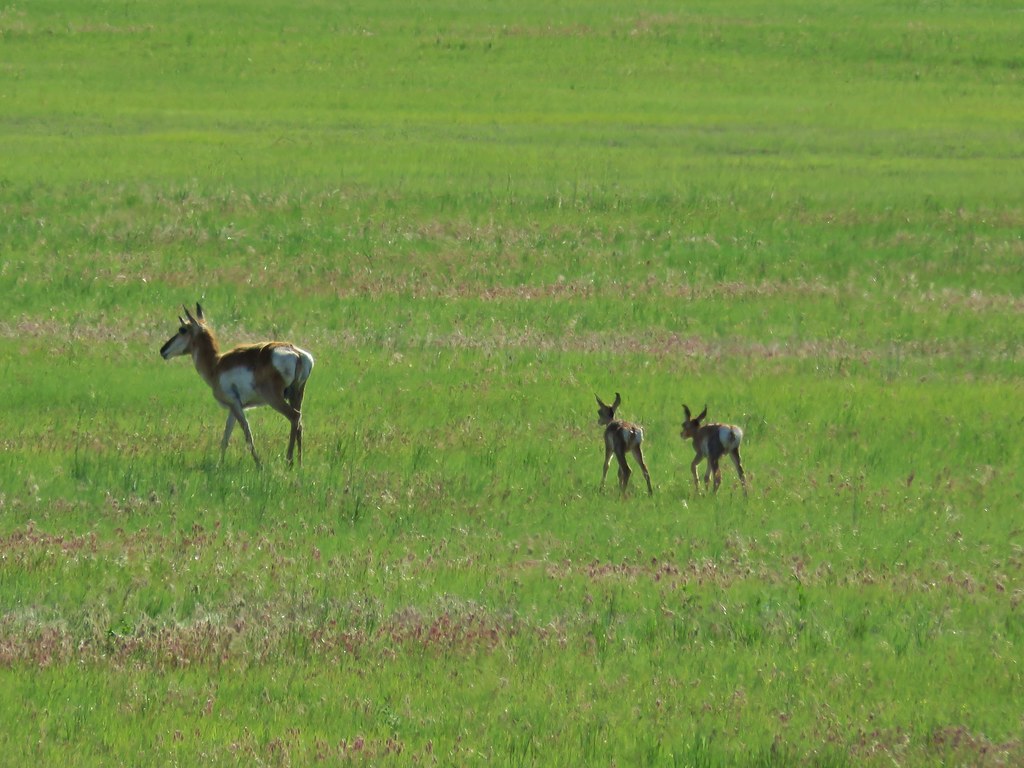
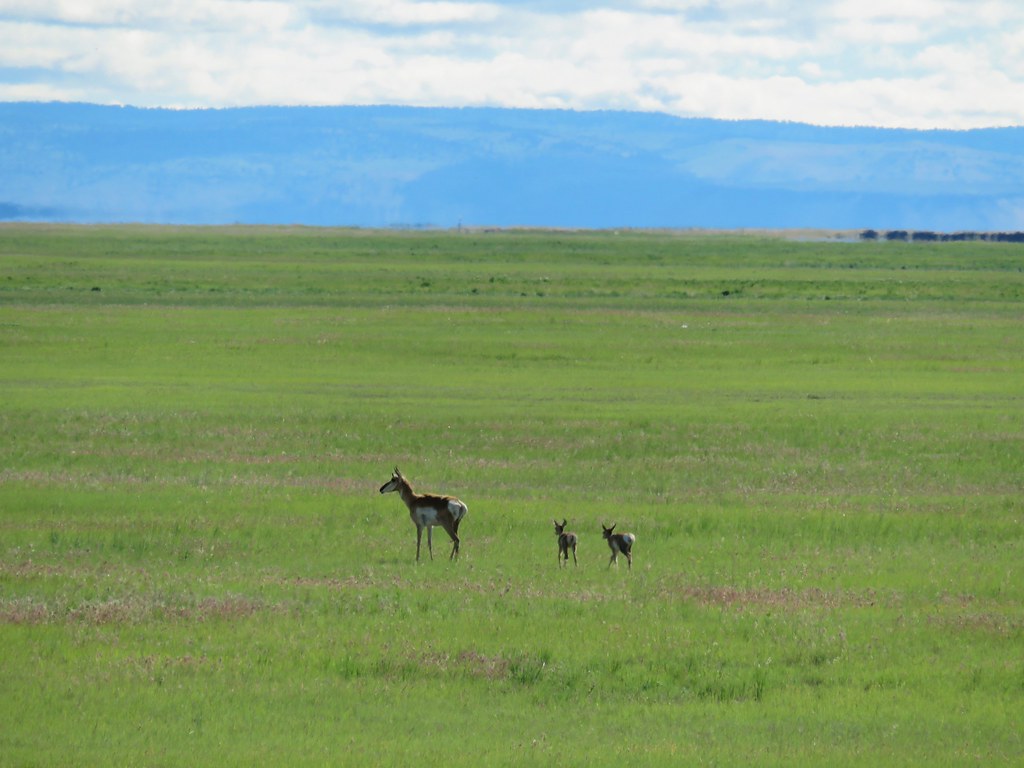
We left Bend bright and early and drove east on Highway 20 to Burns then followed signs to the refuge. We were quickly rewarded when we spotted a prong horn with two little ones in tow.
IMG_5294

IMG_5298

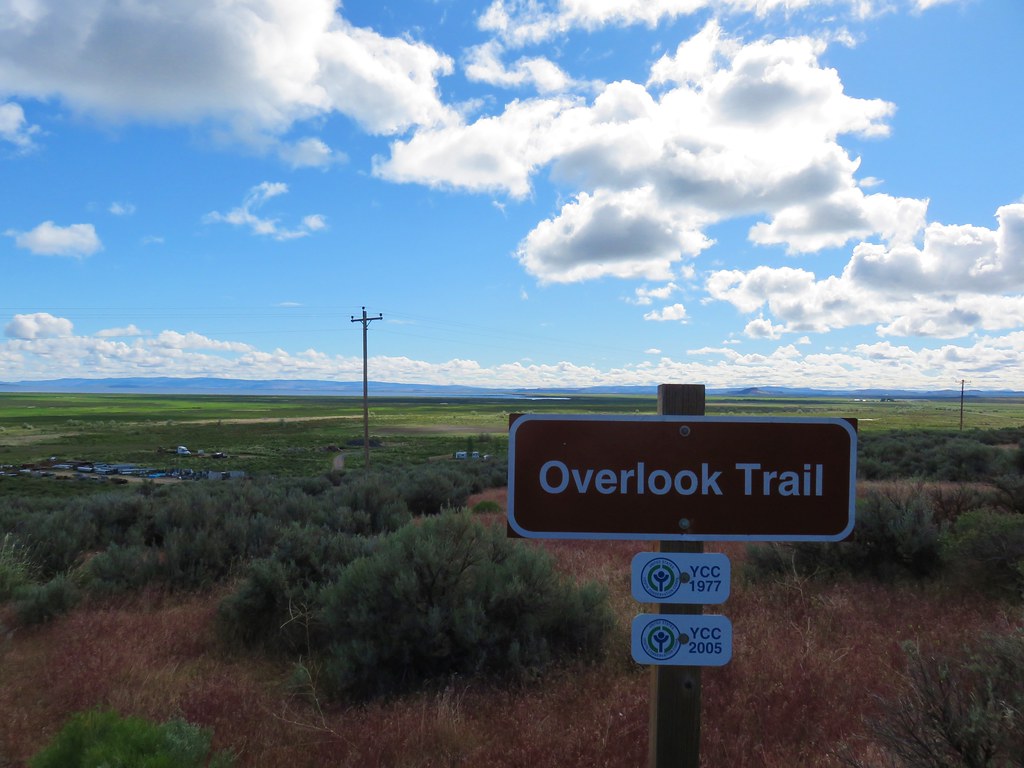
We suspended some of our usual rules for this trip such as taking some photos from the car of wildlife and having our driving time exceed our hiking time several of the days, but when you’re that far from home you have to be flexible. We did plan on doing a little hiking on our visit to the refuge though so we parked at the Overlook Trail just beyond the turnoff for the park headquarters.
IMG_5306

The headquarters lay a half mile below the overlook which looked out over Malheur Lake in the distance.
IMG_5304

IMG_5308

We followed the trail down to the headquarters.
IMG_5312

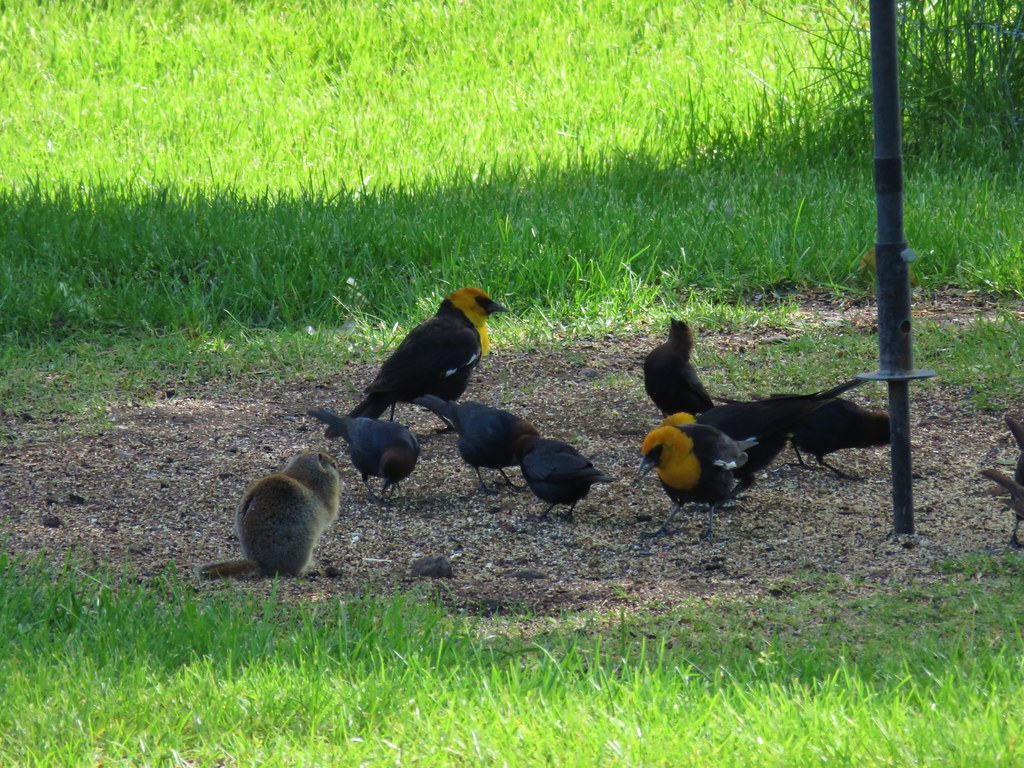
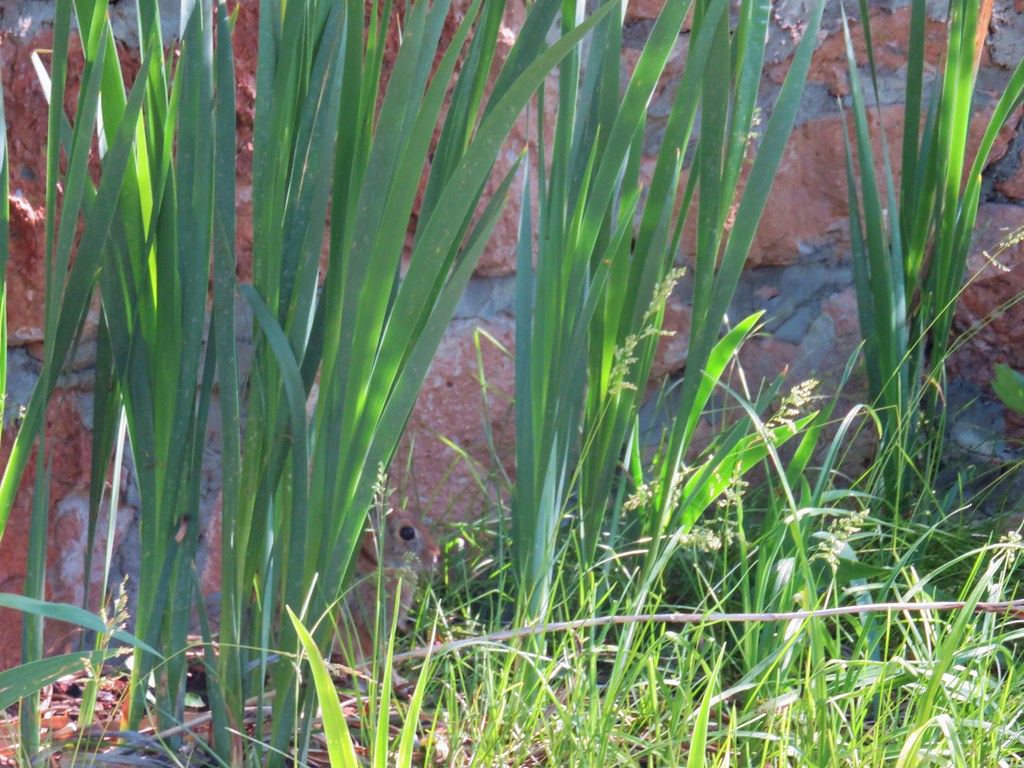
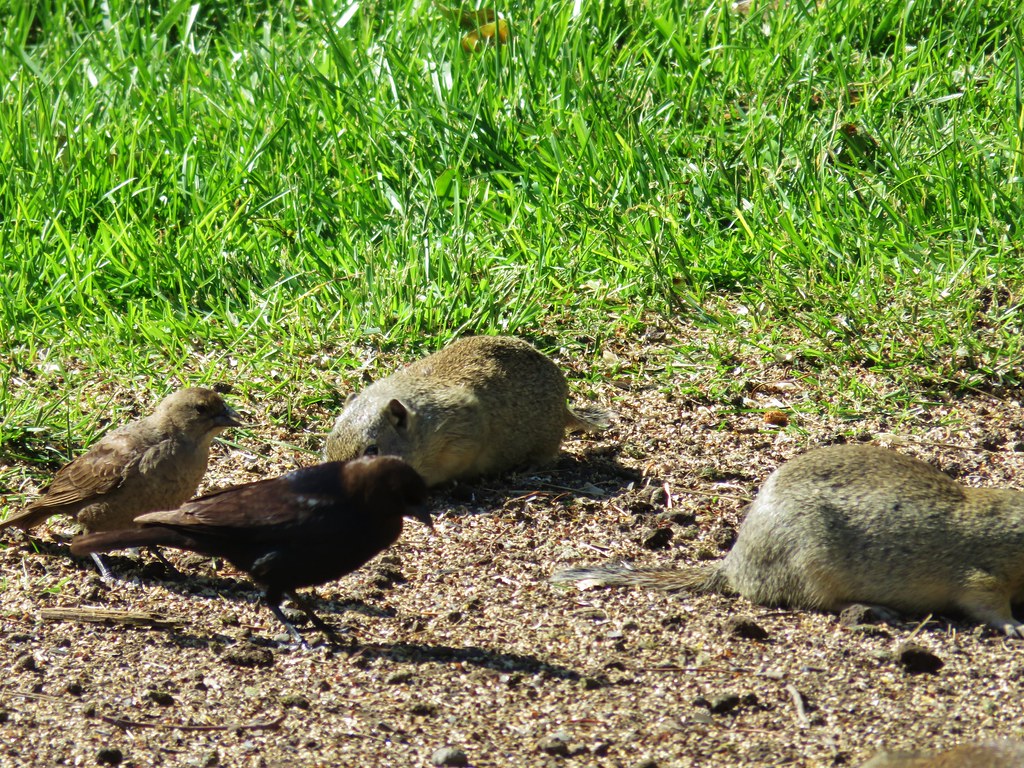
It was a beautiful morning and the headquarters was full of birds, ground squirrels and even a rabbit.
IMG_5318

IMG_5320Rabbit behind the plants

IMG_5326

We stopped in the visitors center where a helpful volunteer gave us several brochures and told us about the 43 mile auto-tour as well as mentioning the Diamond Craters Outstanding Natural Area and the Peter French Round Barn State Heritage Site. These last two sites aren’t part of the refuge but they were along the route we’d be taking to Jordan Valley so she recommended we stop and check them out. After getting this helpful information we walked over to the Museum.
IMG_5327

IMG_5328

The small building held a wealth of information as well as displays of the birds, bats and many of the insects that can be seen at the refuge. We spent quite a while there before moving on to the short Marsh Trail.
IMG_5339

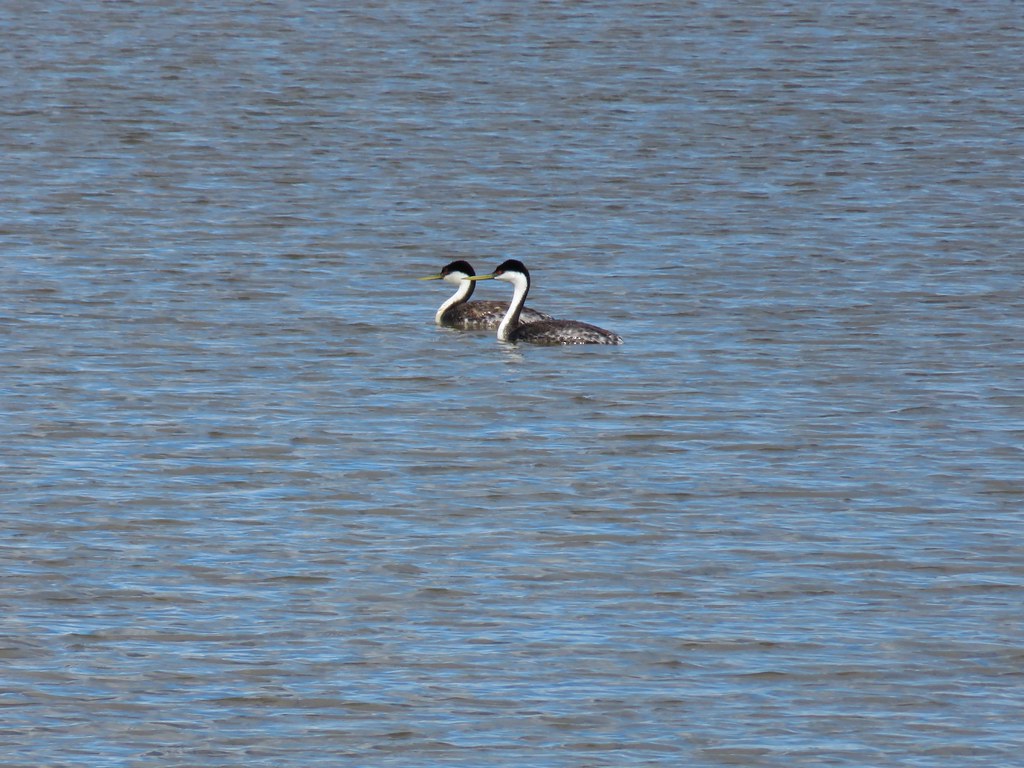
We stopped in the photo blind and even though there weren’t many birds on the water we did see a pair of horned grebes.
IMG_5340

IMG_5350

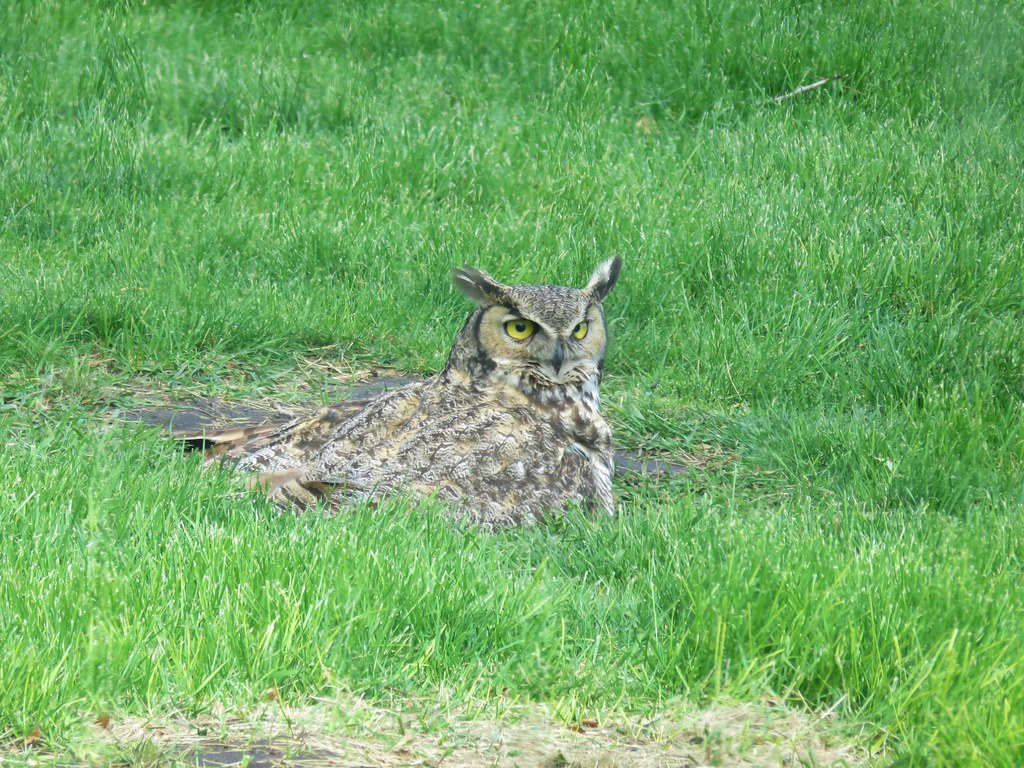
After completing the short loop we visited the gift shop. While we were inside I happened to look out the window and noticed something in the grass. I thought it was a cat but the fur didn’t look right, then it turned it’s head and I realized it was a great horned owl.
IMG_5352

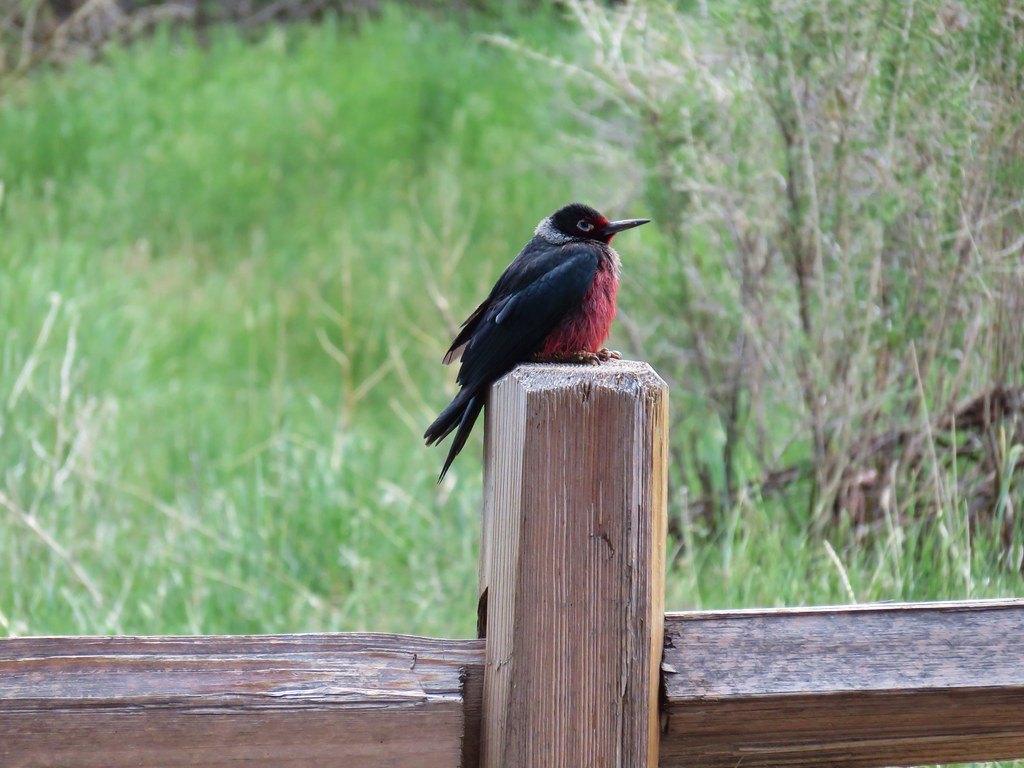
By the time I got Heather it had disappeared. From the gift shop we returned to the Overlook Trail and climbed back to our car. Before we reached the Overlook Trail though we spotted a Lewis’s Woodpecker sitting on a post.
IMG_5354

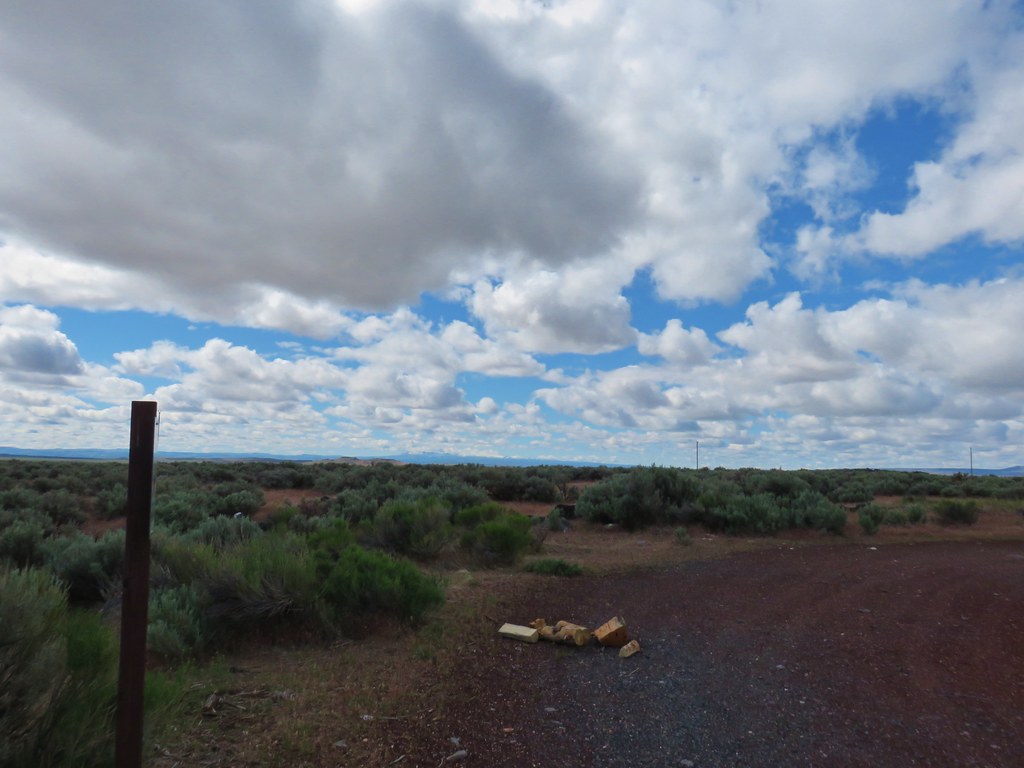
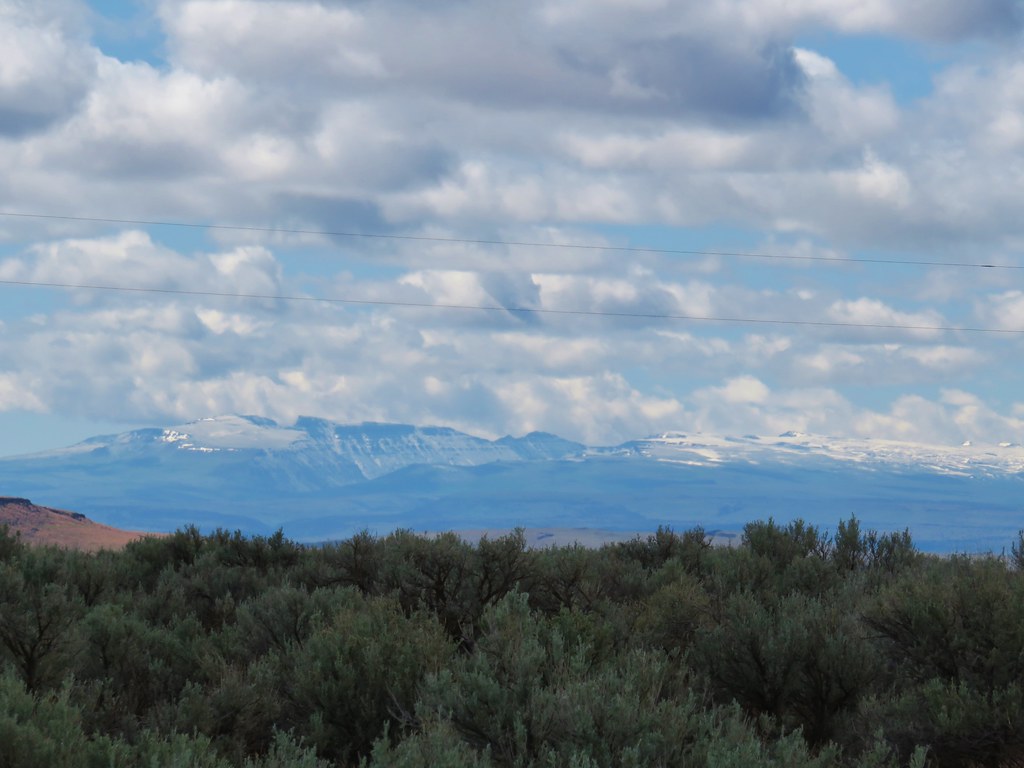
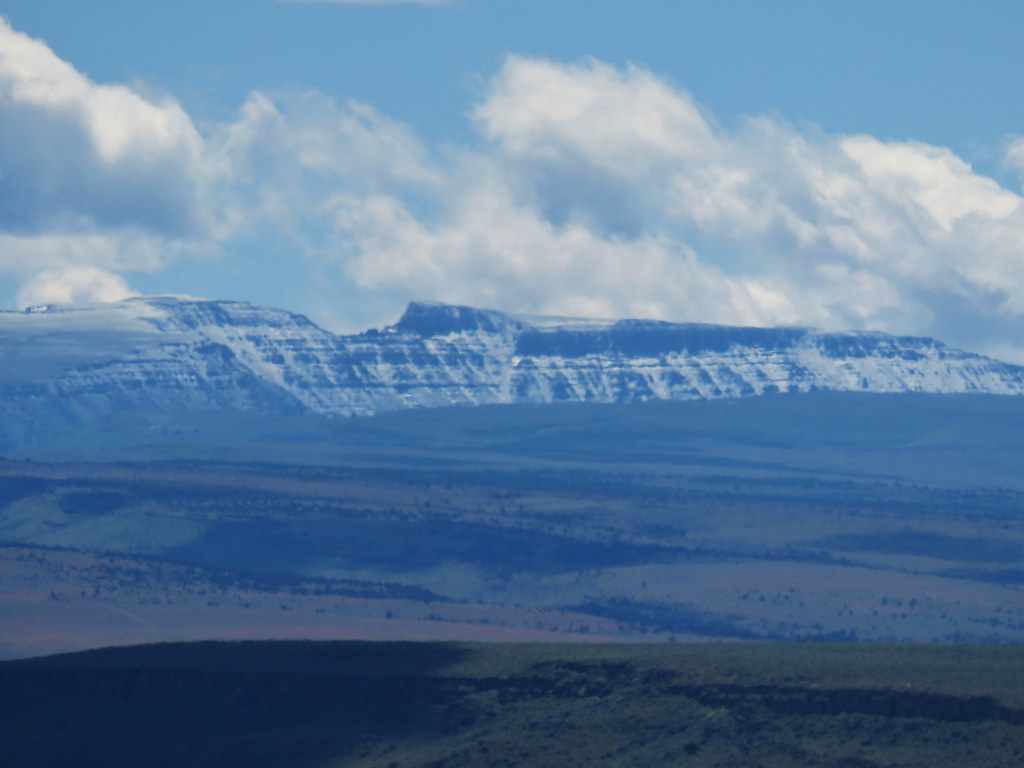
When we got back to where we had parked we noticed that we could see Steens Mountain off to the SE. This was our first time viewing the 50 mile long fault block mountain.
IMG_5358

IMG_5360

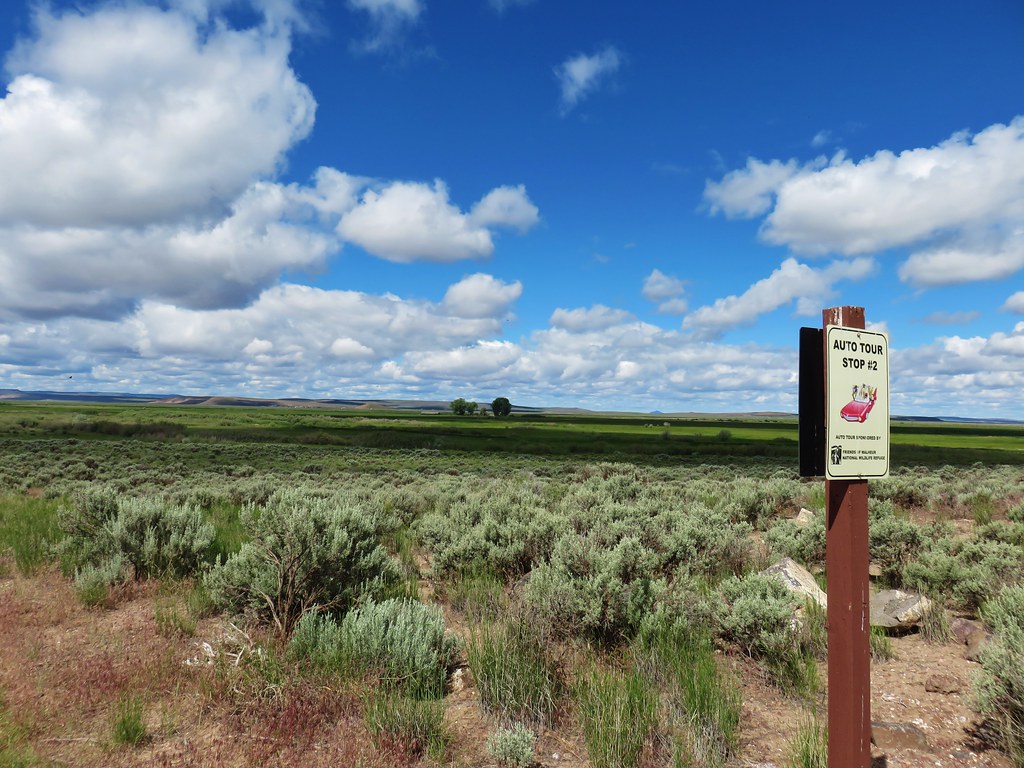
Based on the information given to us in the visitors center we decided to do part of the 42 mile auto tour. There are 19 “stops” along the route. We picked up the route from the Overlook Trail (which is stop 1) and started down the gravel road. Sign posts marked the suggested stops that corresponded with the brochure given to us at the headquarters.
IMG_5365 Stop 2 – Sod House Ranch

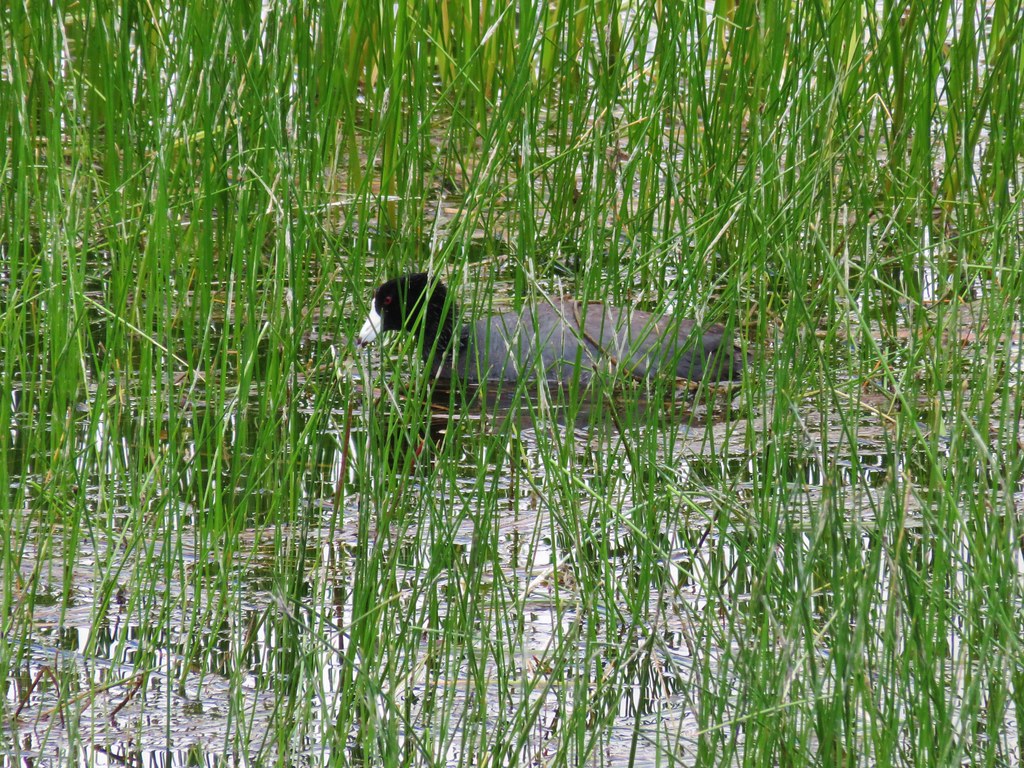
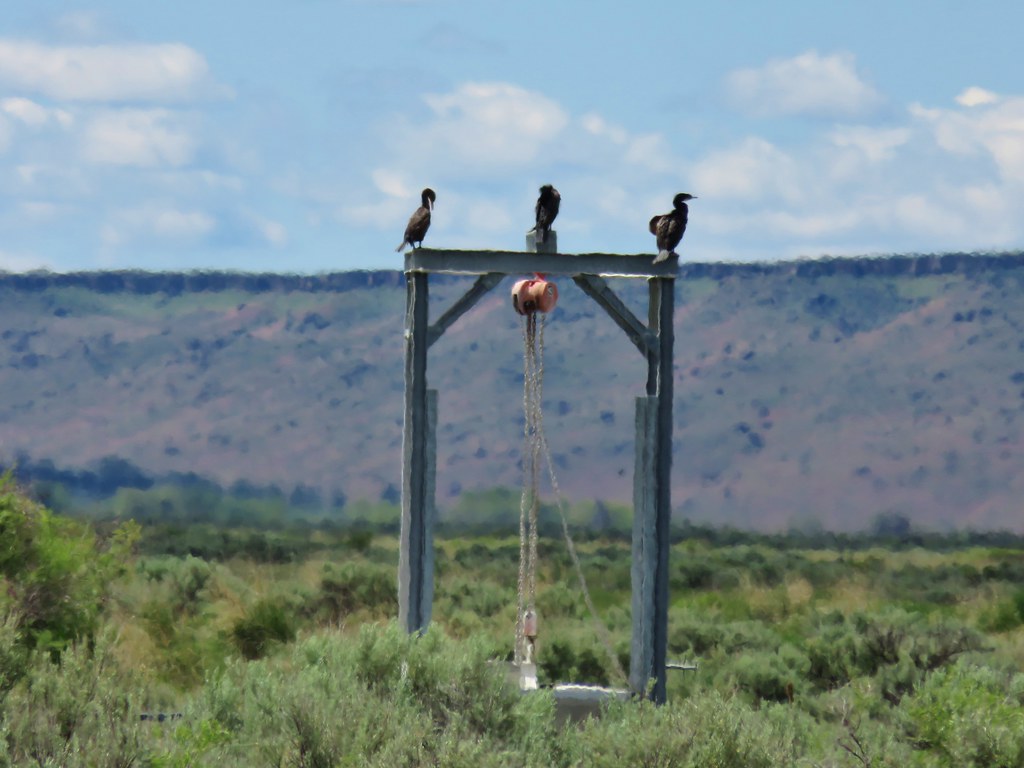
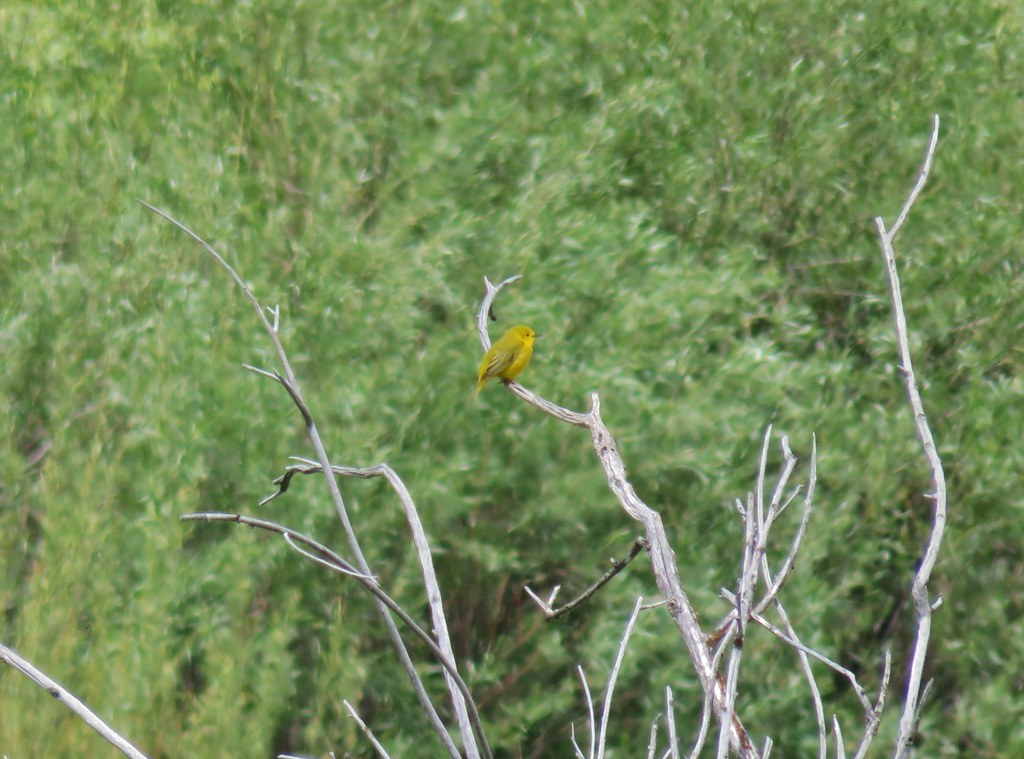
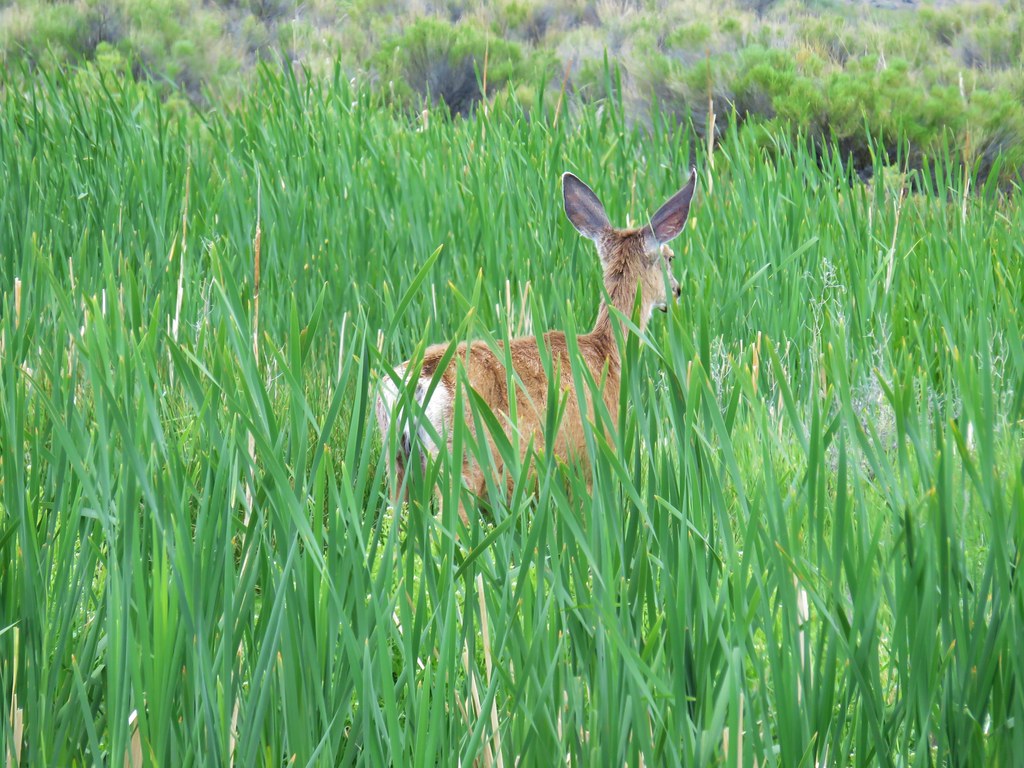
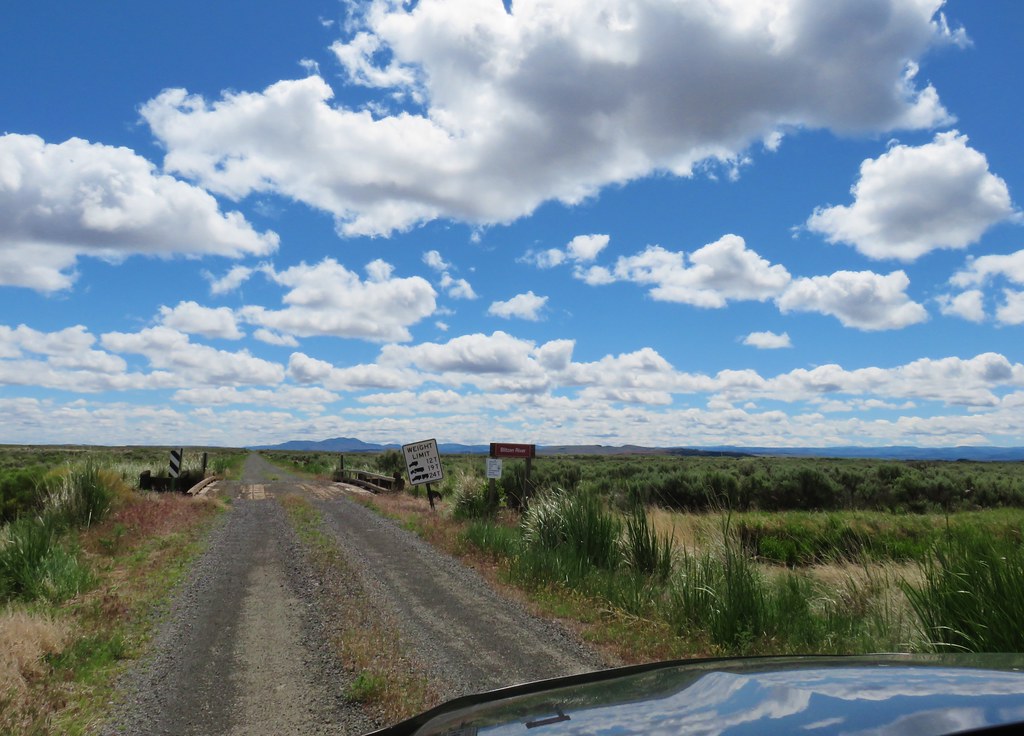
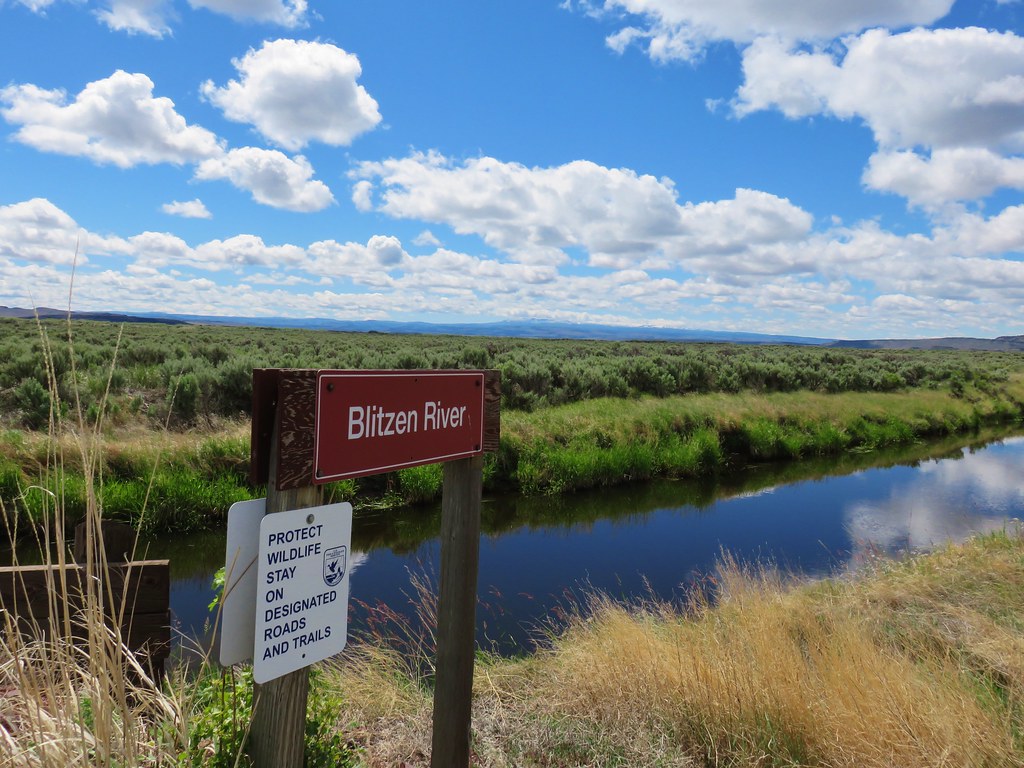
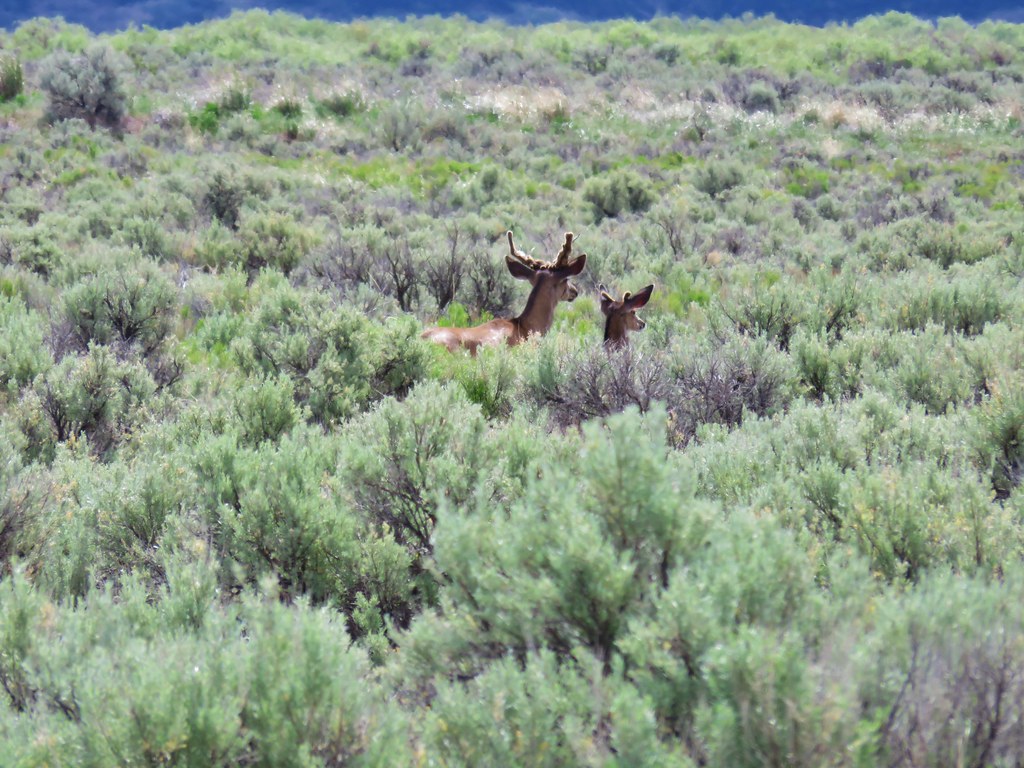
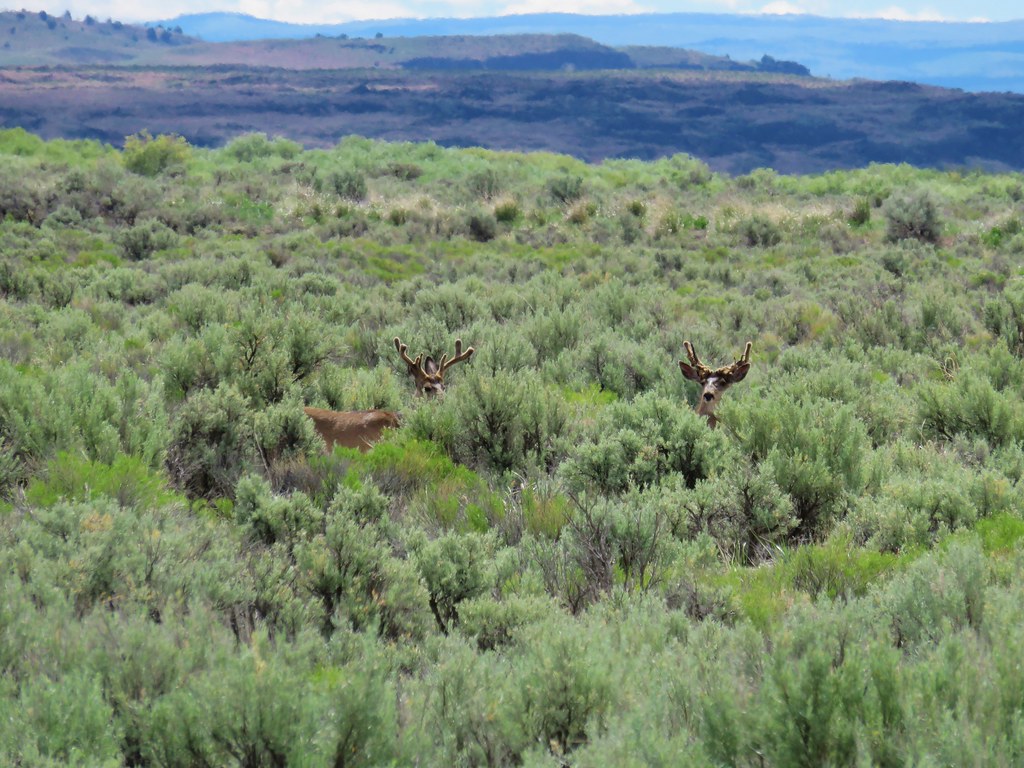
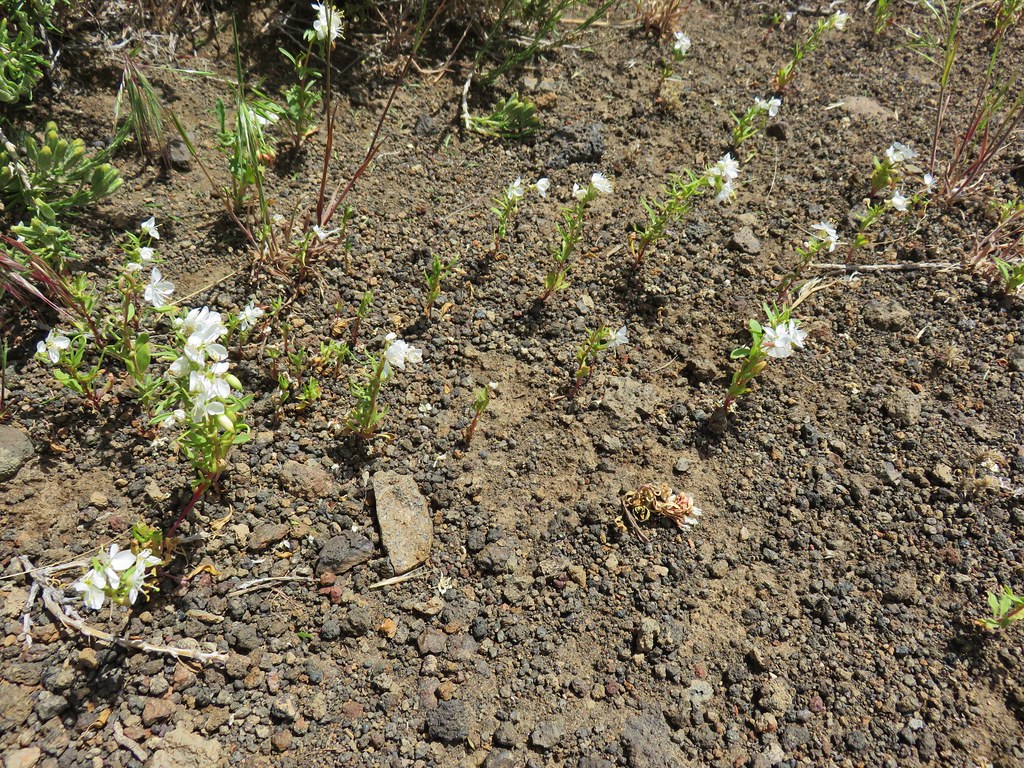
We followed the route for 15.8 miles passing stops 2-8. The wildlife were the stars of the drive though as we spotted various birds and several deer including three bucks near the crossing of the Blitzen River.
American CootAmerican Coot

White Faced IbisWhite Faced Ibis

IMG_5418Cormorants

IMG_5424Yellow Warbler?

IMG_5432Western Meadowlark
IMG_5392

IMG_5401

IMG_5408

IMG_5411

IMG_5404

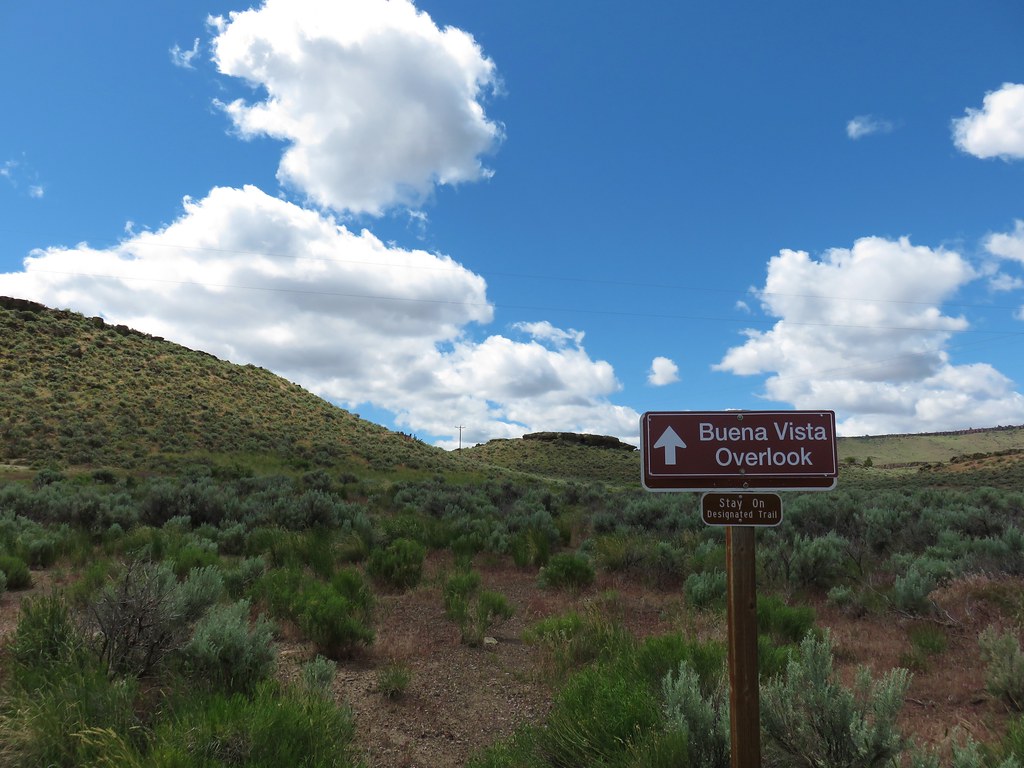
After stop 8 (Buena Vista Ponds) we turned right toward stop 9 which is the Buena Vista Overlook. Here there was an option to hike up to the overlook on a .3 mile trail.
IMG_5434

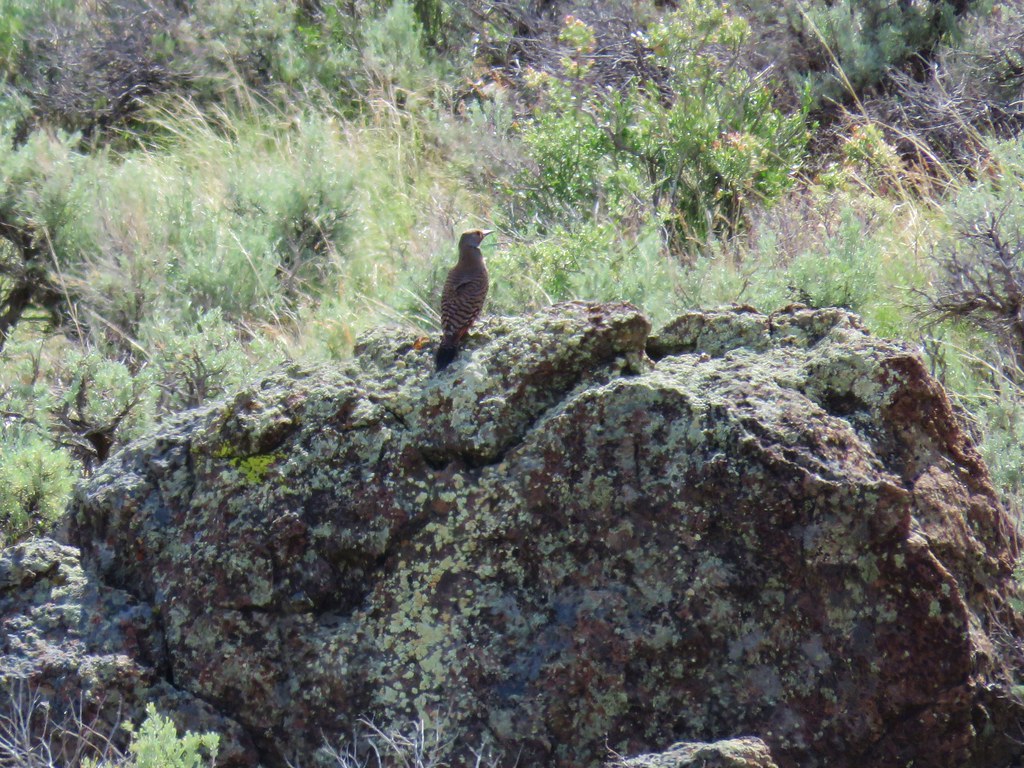
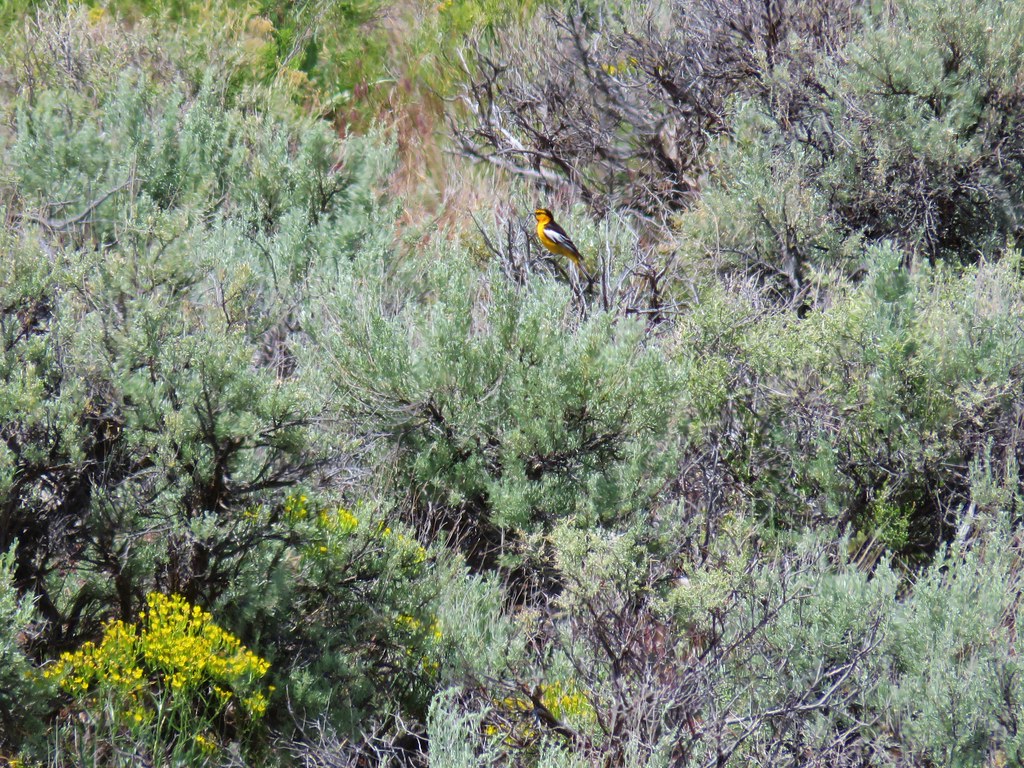
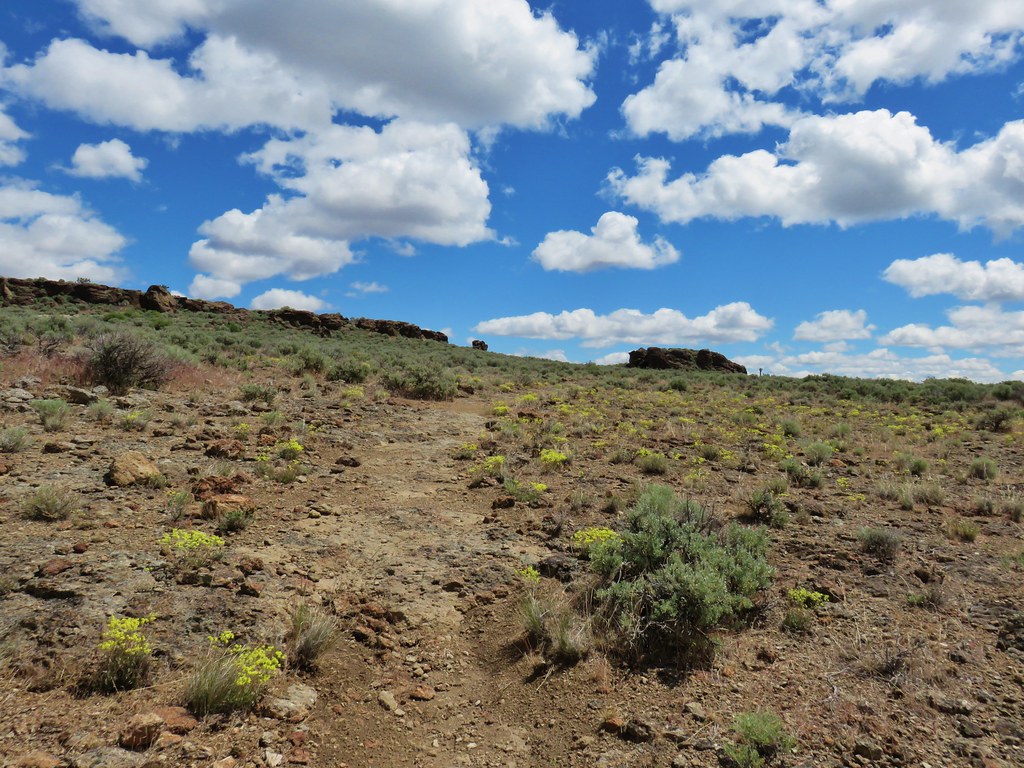
We chose this option and headed uphill through the sagebrush where we spotted a northern flicker and a bullock’s oriole.
IMG_5443

IMG_5453

IMG_5457

From the parking area on top we followed a gravel path to the overlook.
IMG_5468

We had forgotten to bring our binoculars up with us so we had to settle for listening to the birds below in the ponds.
IMG_5471

IMG_5472

IMG_5474

Once again Steens Mountain was visible on the horizon.
IMG_5476

IMG_5477

IMG_5478

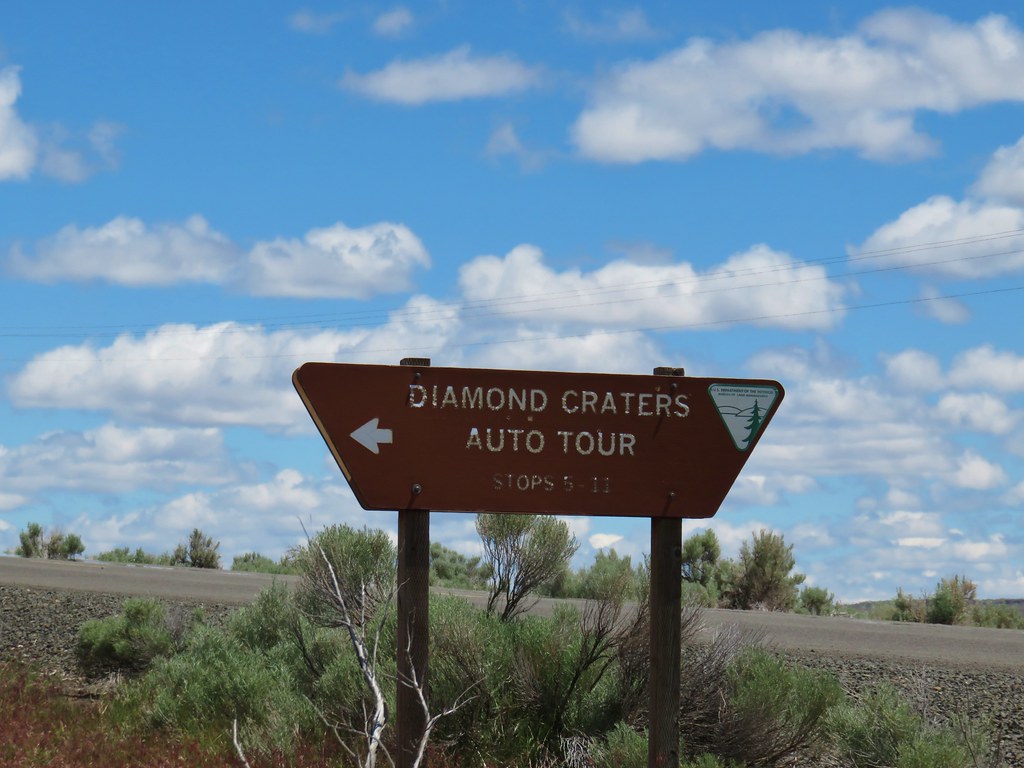
We hiked down the road to make a 1.1 mile loop out of the hike and then left the auto tour which would have had us back track to where we turned off and continue south to Frenchglen. Instead we drove west to Highway 205 and turned left for 1.9 miles to Diamond Lane. Here we turned left crossing the auto tour route at stop 10 (Diamond Lane) and continued east for a total of 10 miles to a sign for the Diamond Craters Auto Tour Stops 5-11.
IMG_5491

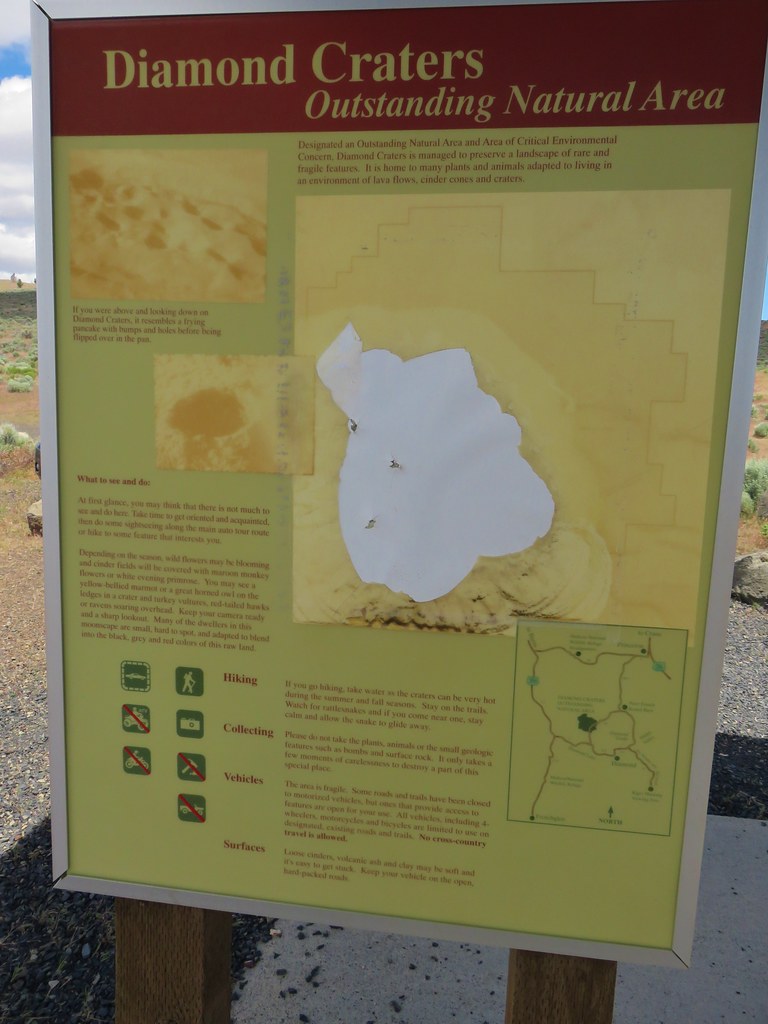
Prior to speaking with the volunteer at the refuge we had not planned on stopping here and had little information other than the small brochure she’d given us. We parked at a signboard where the one map had been vandalized.
IMG_5495

We decided to give hiking a try and followed a path toward Crater 5 aka Big Bomb Crater.
IMG_5497

The trail petered out near the bowl so we backtracked to where we’d parked and decided to hike up the road a bit to the next crater which was ahead on our right. We passed a few small desert flowers along the way before reaching a view of the crater known as the Keyhole Explosion Crater.
IMG_5503

IMG_5511

IMG_5515

IMG_5508

IMG_5513

The road had split before we had arrived at this crater and ahead it continued to climb uphill.
IMG_5514

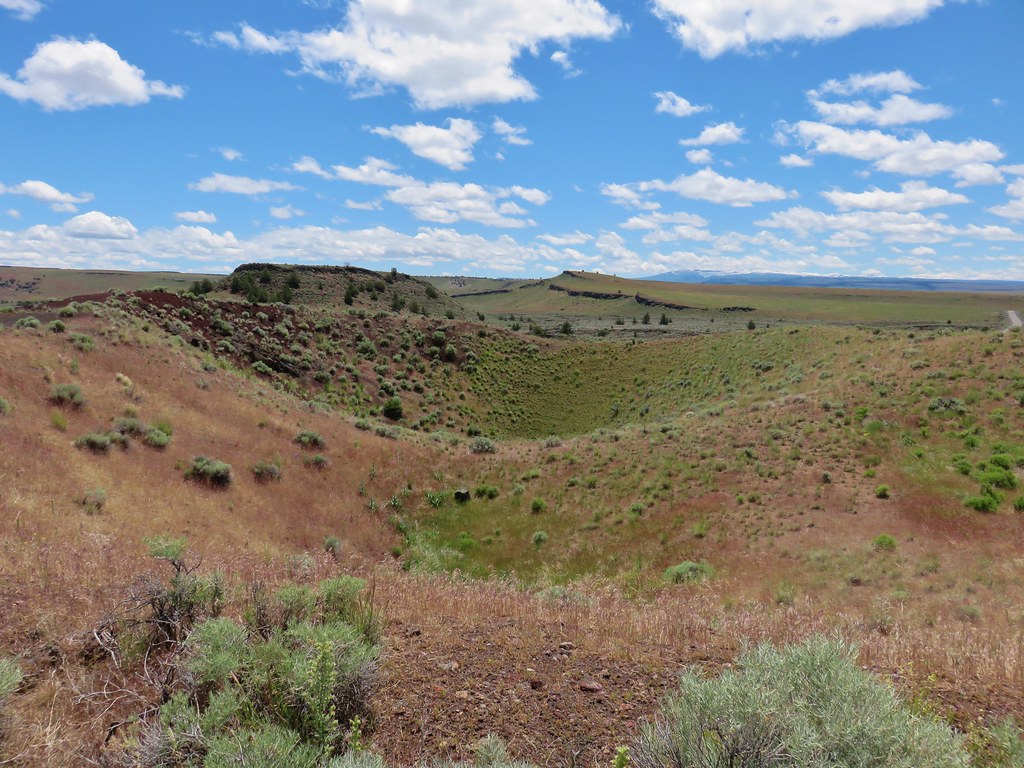
Not knowing what lay ahead we opted to avoid the climb in the heat of the day and headed back to the split where we took the left hand fork to another crater, the Lava Point Crater.
IMG_5519

A marmot was admiring this crater when we arrived.
IMG_5525

IMG_5528

We ended our hike here and returned to our car. A short 1.7 mile jaunt had given us a sample of what the Diamond Craters Outstanding Natural Area had to offer. We hope to go back some day with better information and visit more of the area.

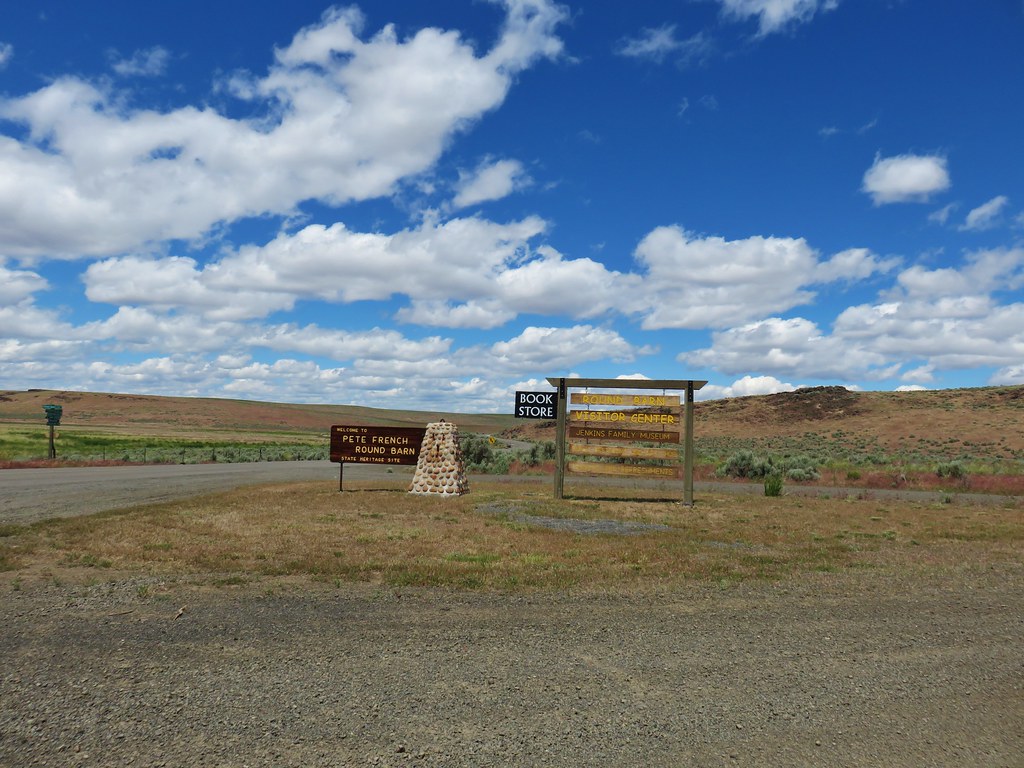
After leaving the area we continued NE on what had started as Diamond Lane then become Lava Beds Road and was now Diamond Craters Road. Just over six and a half miles from where we’d parked we turned right at a sign for the Peter French Round Barn State Heritage Area.
IMG_5533

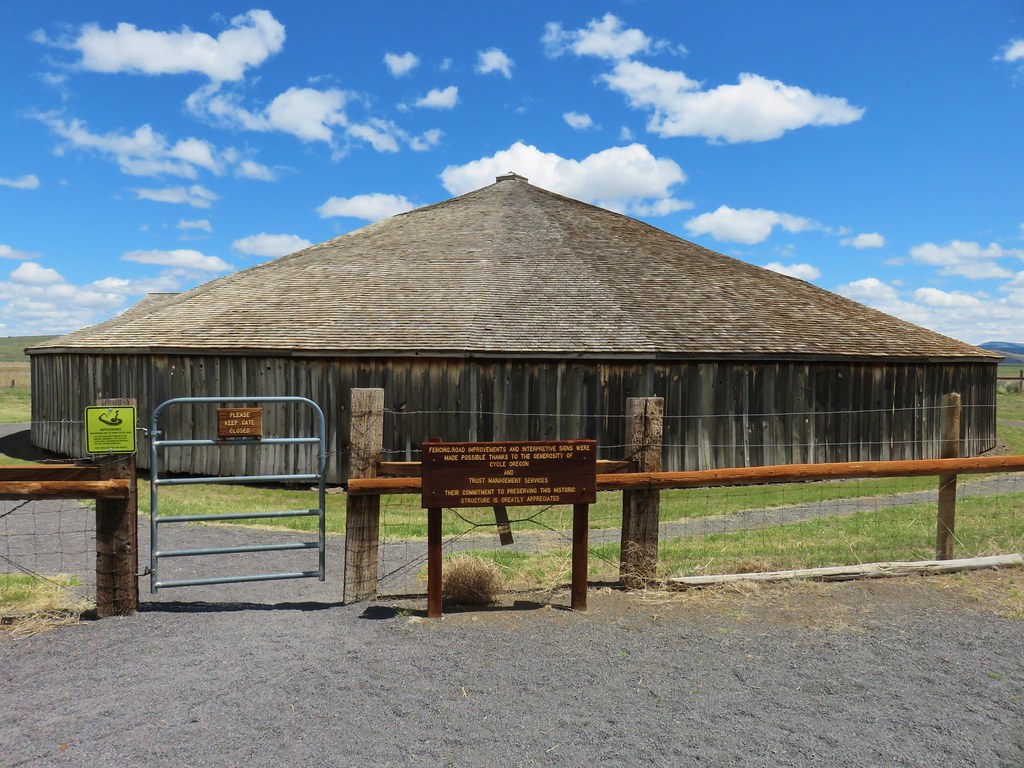
We skipped the visitors center here and headed straight for the round barn.
IMG_5538

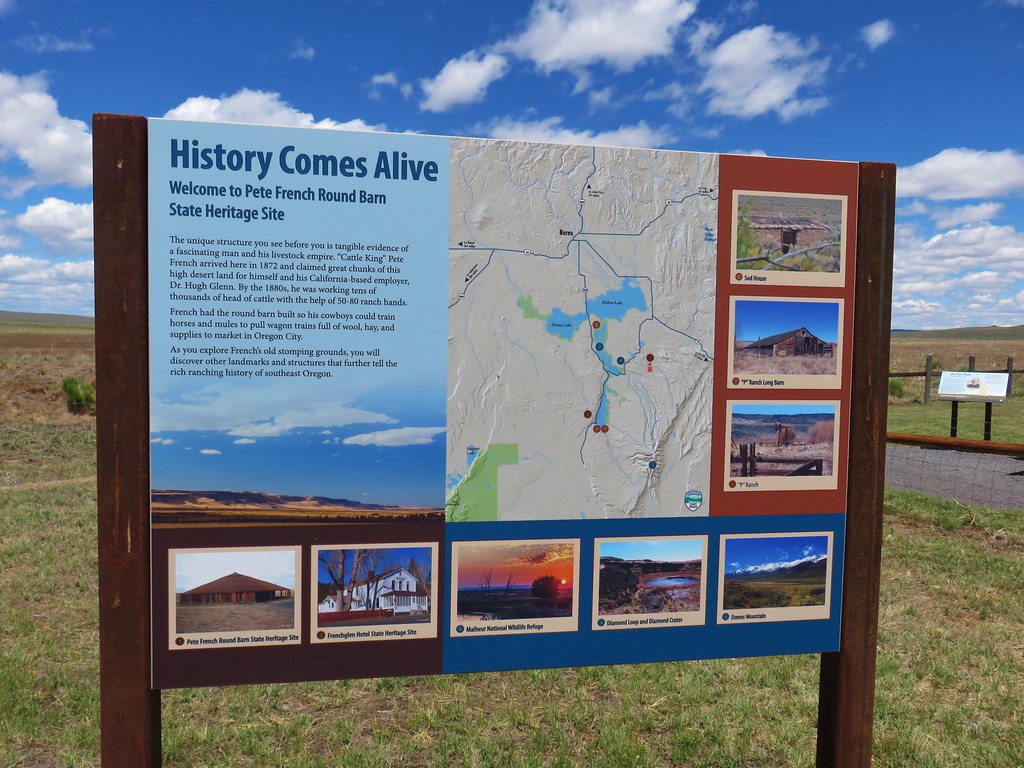
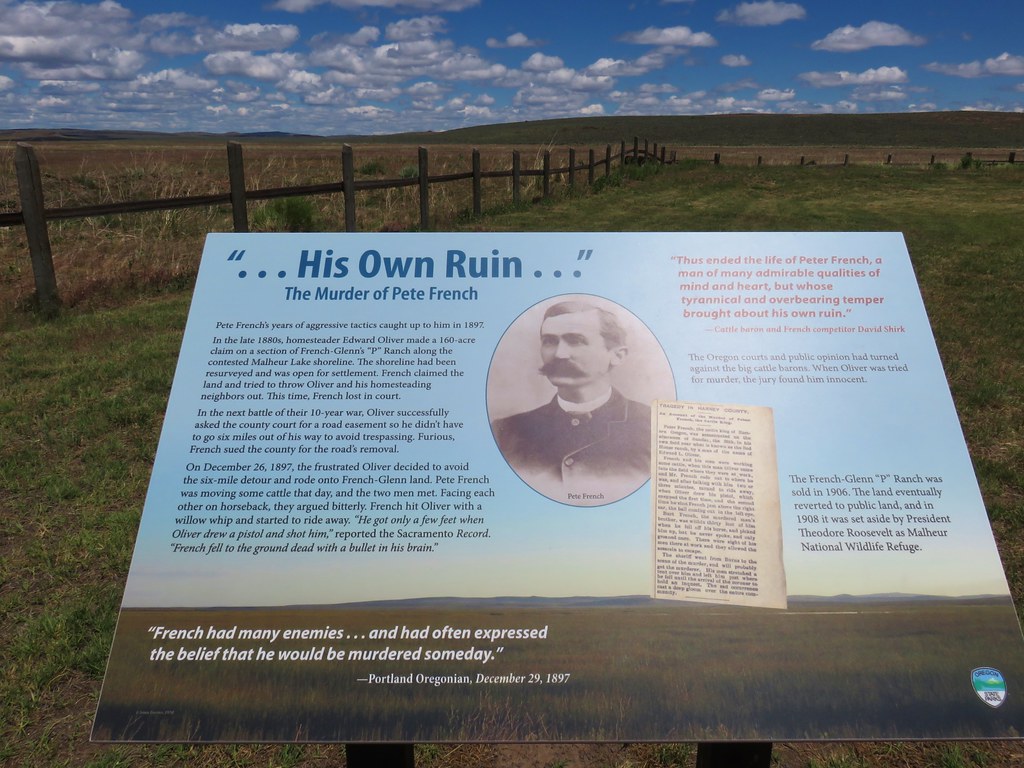
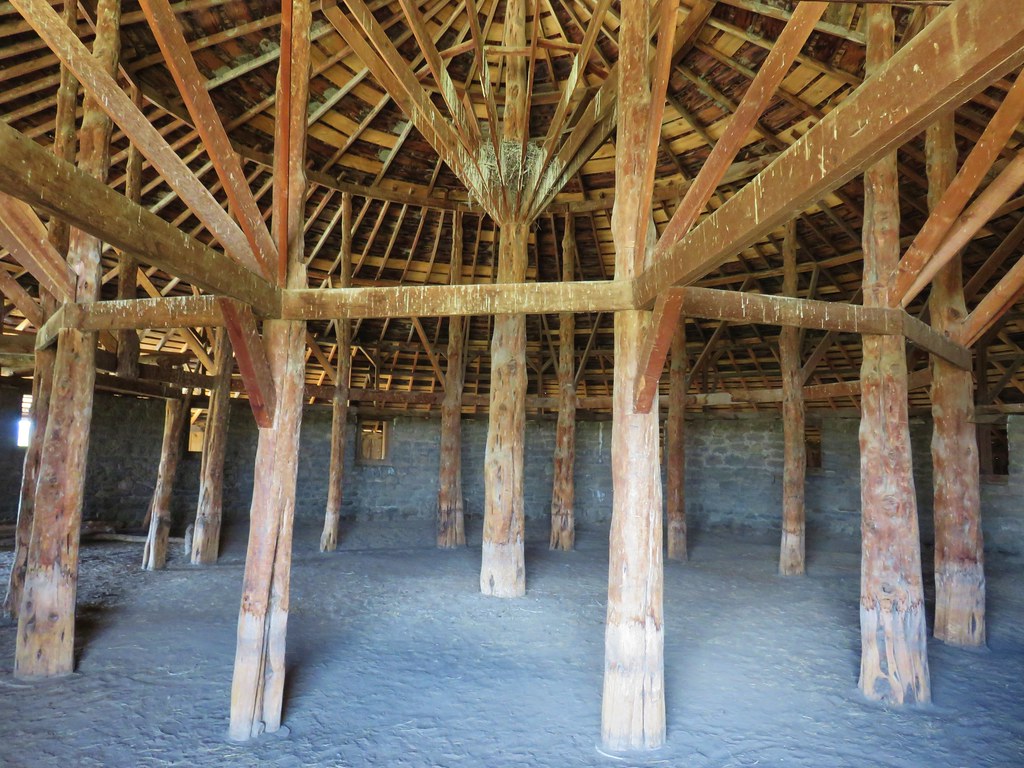
Information signs told the story of this unique structure and of Peter French who had amassed quite an empire before being shot.
IMG_5535

IMG_5540

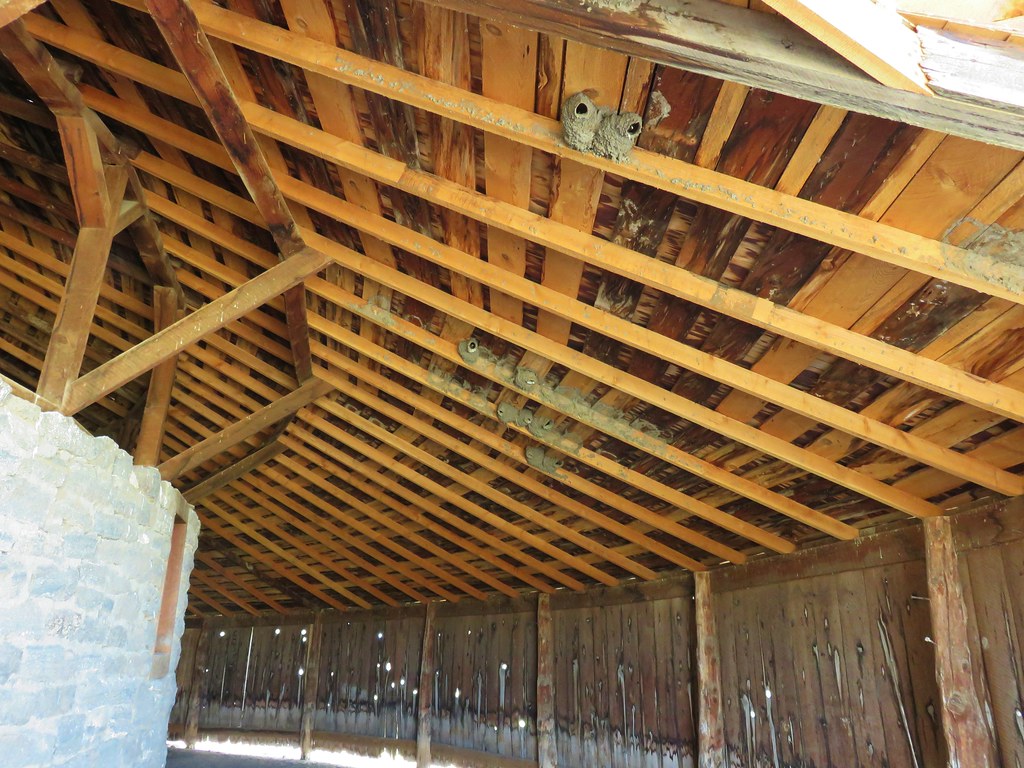
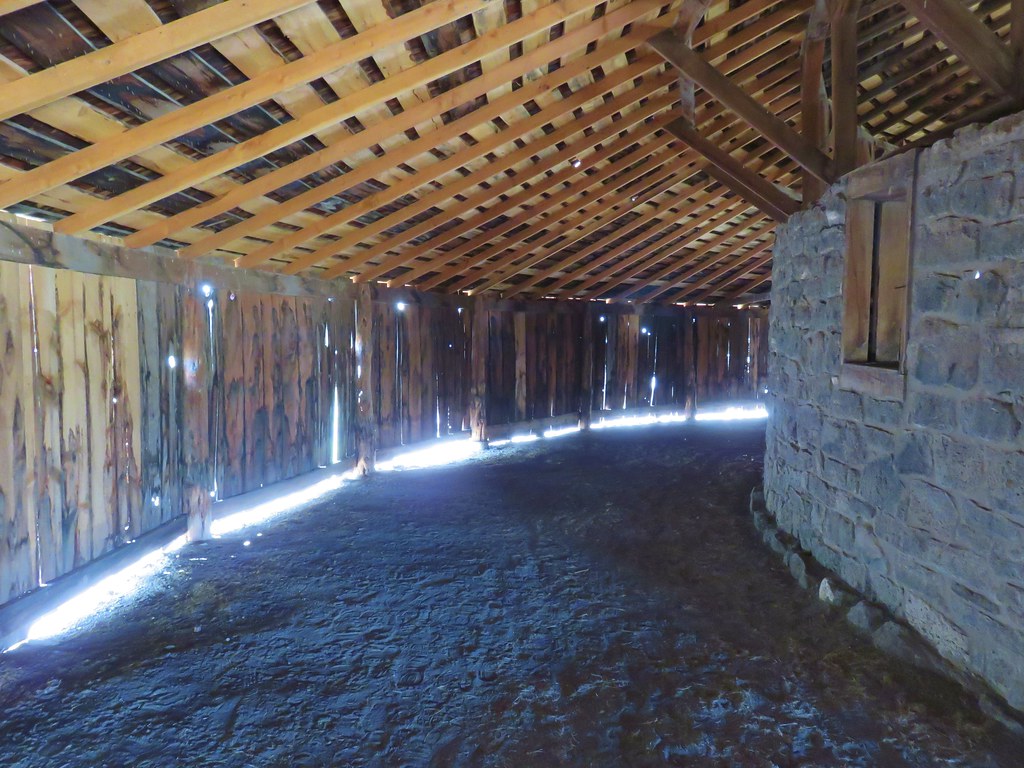
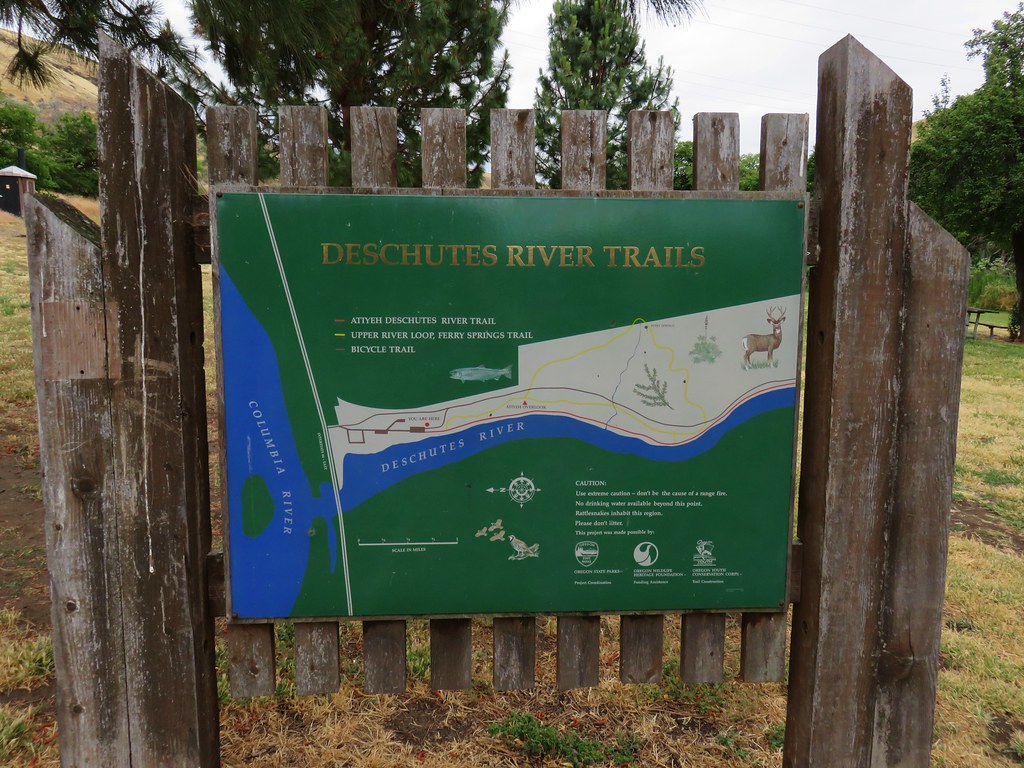
While there are no trails at this park we did walk around and through the barn.
IMG_5546

IMG_5548

IMG_5550

IMG_5553

It was another interesting and worthwhile stop. From the Round Barn we continued on to Highway 78 where we turned right following it to Highway 95 where we turned left toward Jordan Valley. As we got closer to Jordan Valley we began to talk ourselves into possibly staying in Marsing, ID instead thinking that it was a larger city and might have amenities that we wouldn’t have in Jordan Valley such as cell coverage. By the time we passed the loan motel in Jordan Valley we had pretty much made up our minds to continue on to Marsing thinking that it was only 20 miles to the north. That was a miscalculation as it was actually close to 50 miles further and when we did finally get cell reception we found that there were no real options in Marsing for places to stay. We had to continue on for another 15 miles to Caldwell, ID where we wound up staying in a hotel just off I84 which we had been on the day before when we’d driven from Salem to the Deschutes Recreation Area.

It had turned into a long day of driving with three short hikes and a couple of stops mixed in. We decided to stay in Caldwell for two nights and then go back to our original plan of staying in Jordan Valley. Things were really shaping up for this to be one adventurous vacation. Happy Trails!

Flickr: SE Oregon Road Trip Day 2

Categories
Columbia River Gorge South Hiking Oregon Trip report

Lower Deschutes River – SE Oregon Vacation Day 1

It’s been awhile since our last post but we have a good excuse, we were busy hiking. Eight straight days of hiking in fact. 😊

For the last two years we’ve had plans to visit SE Oregon in May but each time our vacation week arrived so did rain in the forecast. Since May wasn’t working out we decided to give June a try. A dry Spring had things looking promising but a system moved in at the end of the week prior to our leaving that had us a little worried. There was rain in the Willamette Valley (and snow in Cascades) but our destinations looked like they would escape mostly dry. At least dry enough that we could rearrange a few of our planned hikes to let things dry a bit before attempting the drives that would be impassible if wet.

Before we could even attempt those hikes we had to get to SE Oregon. Conventional wisdom would have had us driving through Bend via Santiam Pass but we aren’t conventional. First the Sisters Rodeo was happening which meant even more traffic than usual in that little town. More importantly we wanted to squeeze a hike in on the way to Bend were we planned to stay with Heather’s parents again.

Following up on our recent hike along the Deschutes River at Macks Canyon (post) we decided to kick off our eight days of hiking at the Deschutes River Recreation Area near the mouth of the river. From Salem we drove north to Portland and took Interstate 84 ten miles east of The Dalles to the park. It seems a bit odd to kick off a SE Oregon vacation with a hike near the northern border of the State, but it’s a hike we hadn’t done yet and it was sort of on the way.

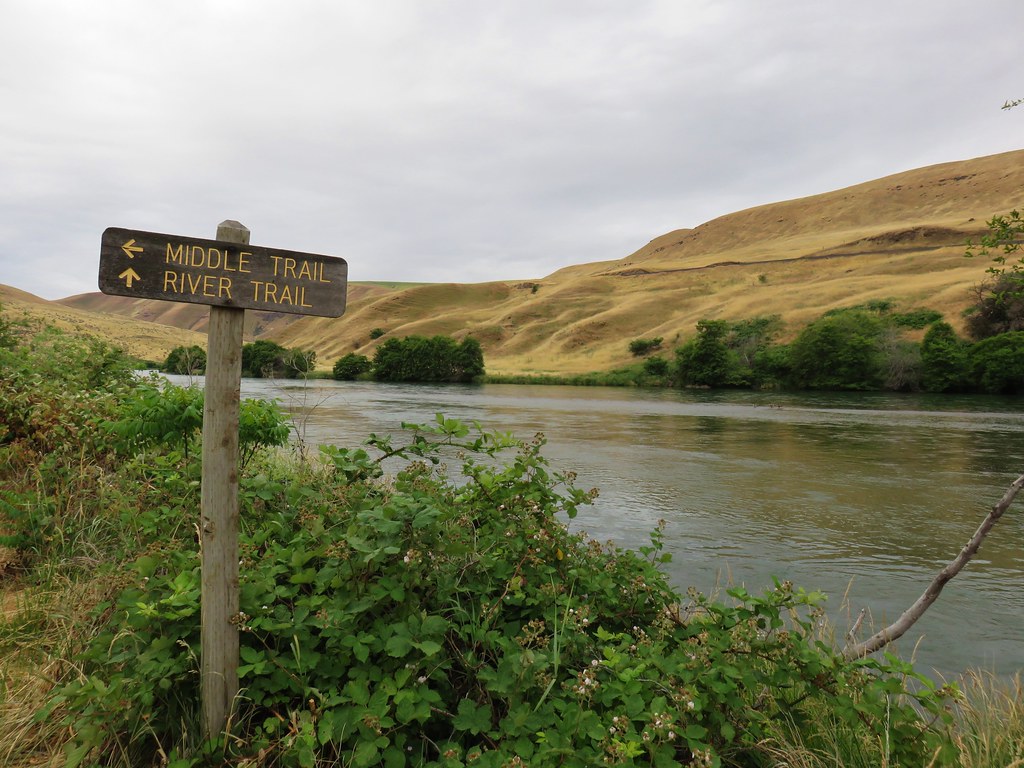
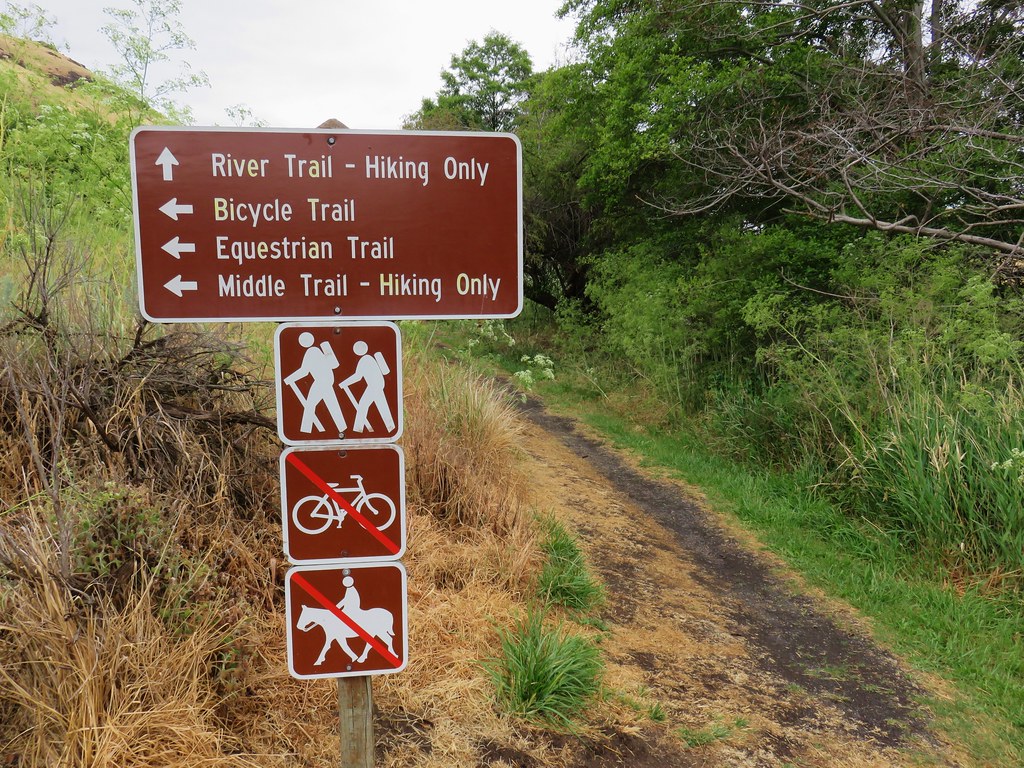
We parked at the end of the park and walked across a grassy area to a trail sign at the far end where we followed a pointer for the River Trail.
IMG_5089

IMG_5100

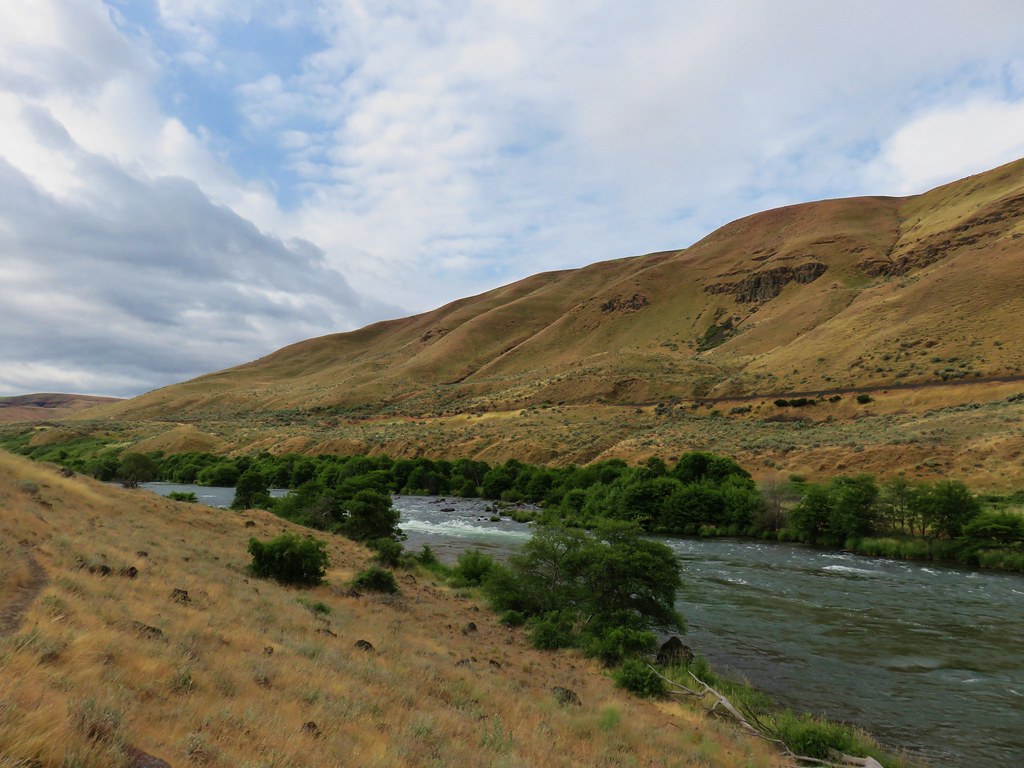
Unlike the trail at Macks Canyon, the River Trail stayed close to the water.
IMG_5108

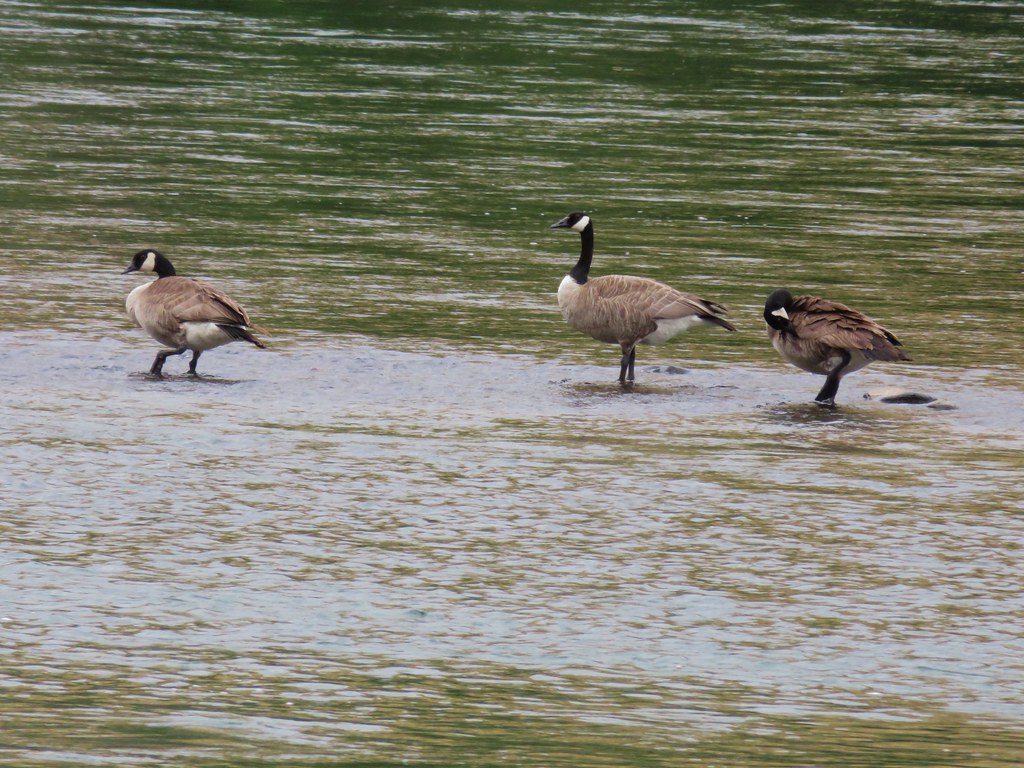
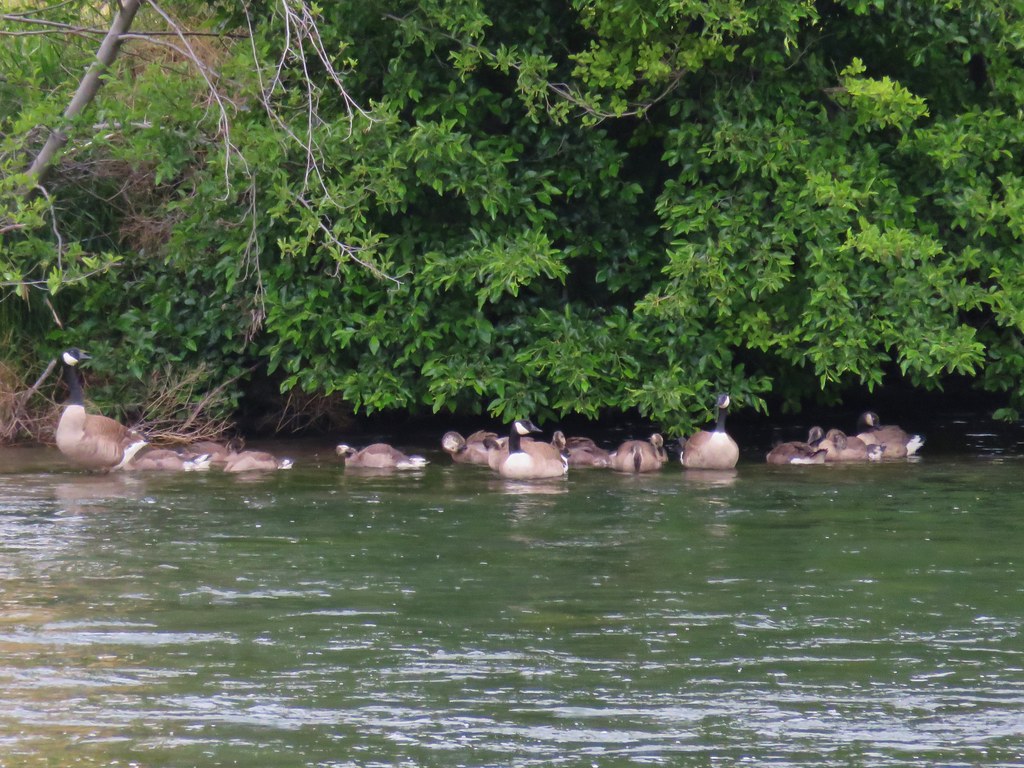
We stayed right at junctions sticking to the River Trail where we passed several groups of Canada geese.
IMG_5116

IMG_5118

IMG_5121

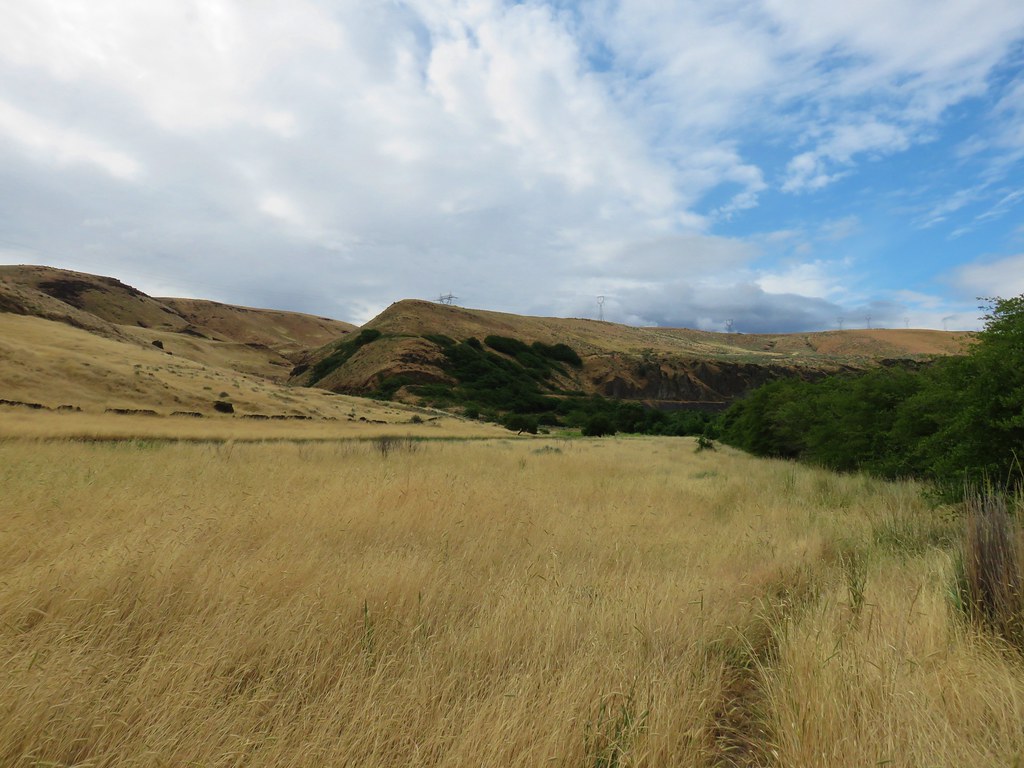
The trail did climb away from the river to cross over a rocky area at the 1.5 mile mark.
IMG_5133

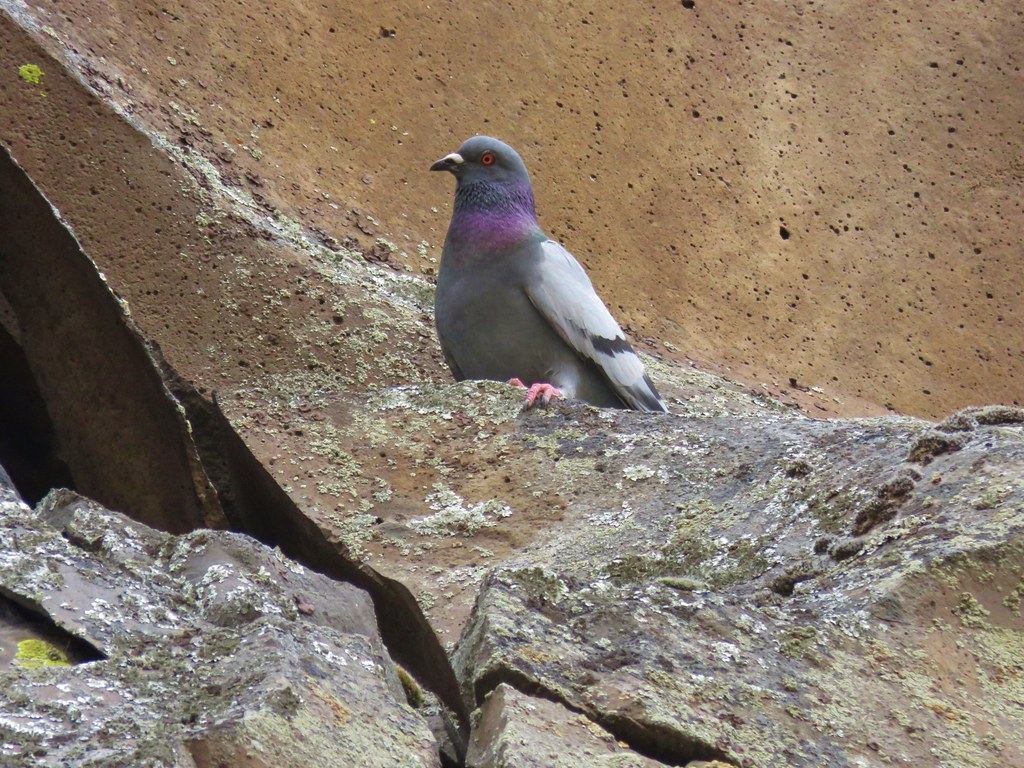
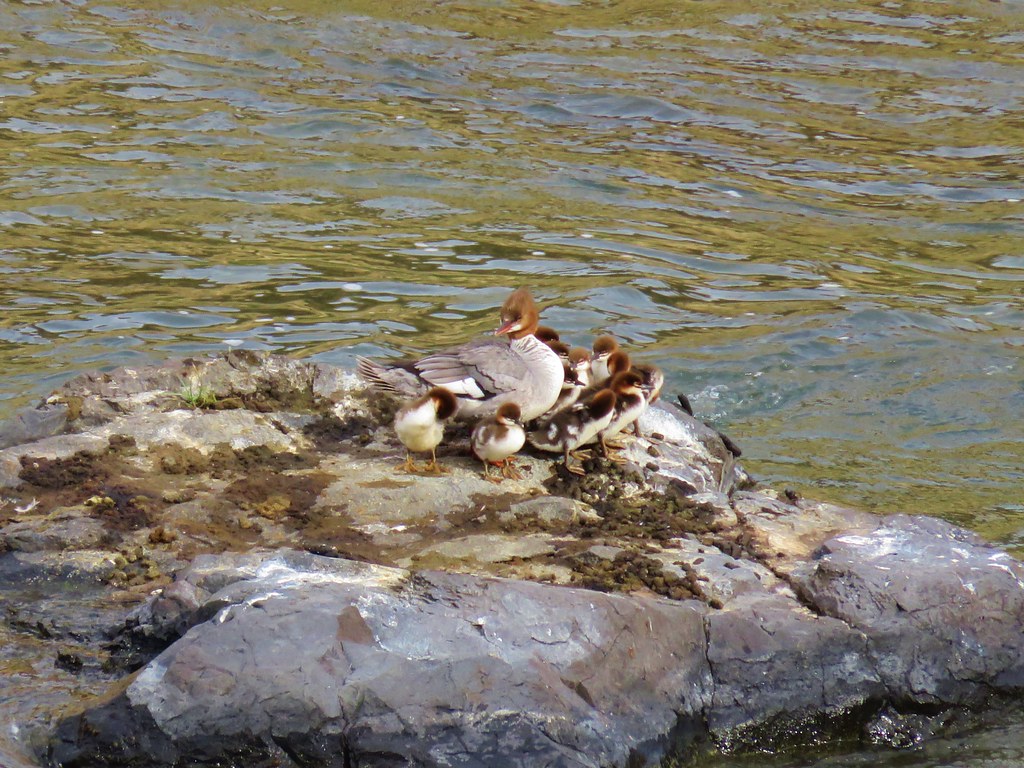
Pigeons kept an eye on us as we passed the rocky cliffs and a family of mergansers sat on a rock in the river below.
IMG_5136

IMG_5138

IMG_5142

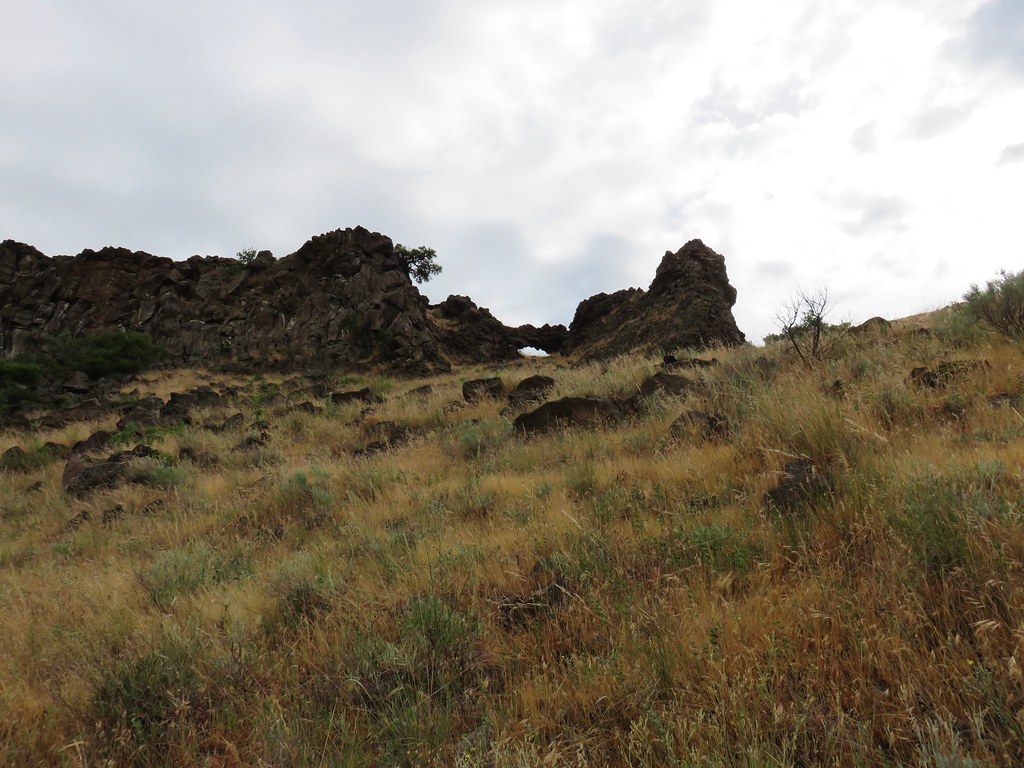
The trail improved again beyond the rocks and it passed below a rock arch.
IMG_5147

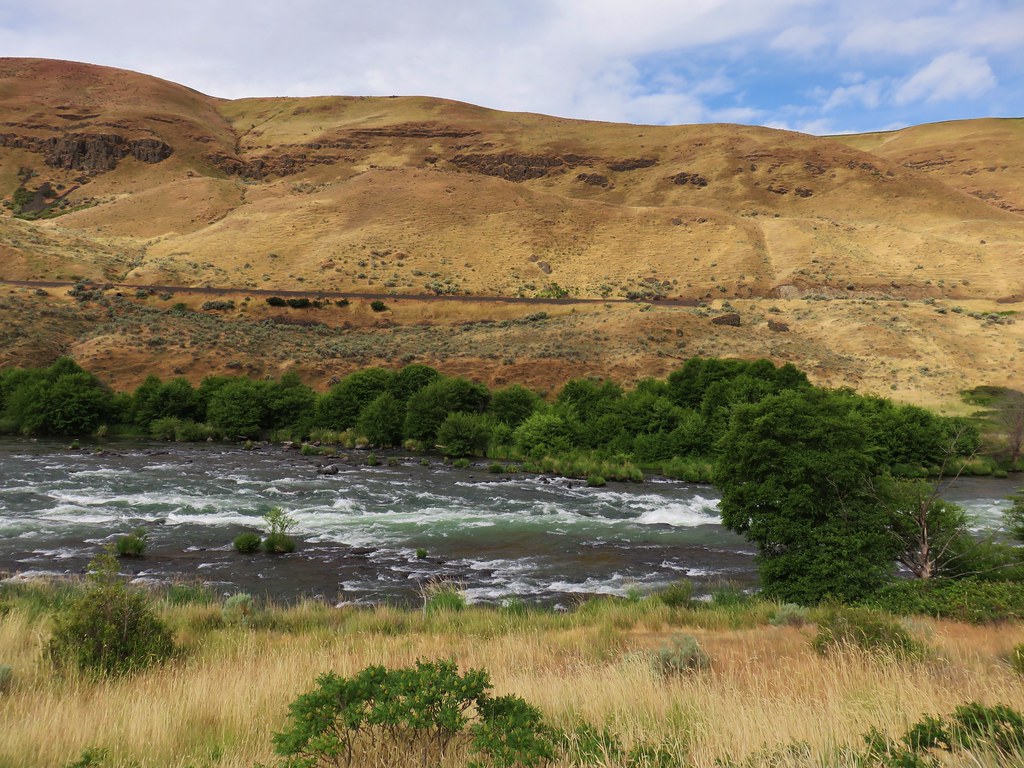
A short distance beyond the arch we passed Rattlesnake Rapids.
IMG_5149

IMG_5152

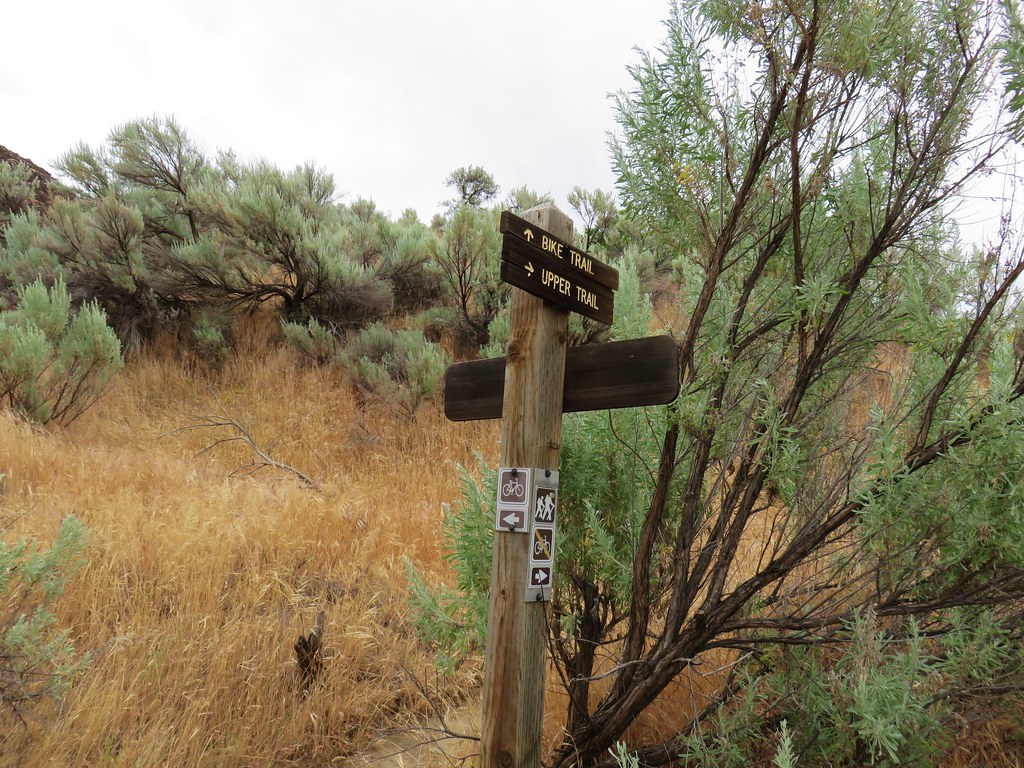
Up to this point we’d seen a few flowers and an interesting dragon fly.
IMG_5155

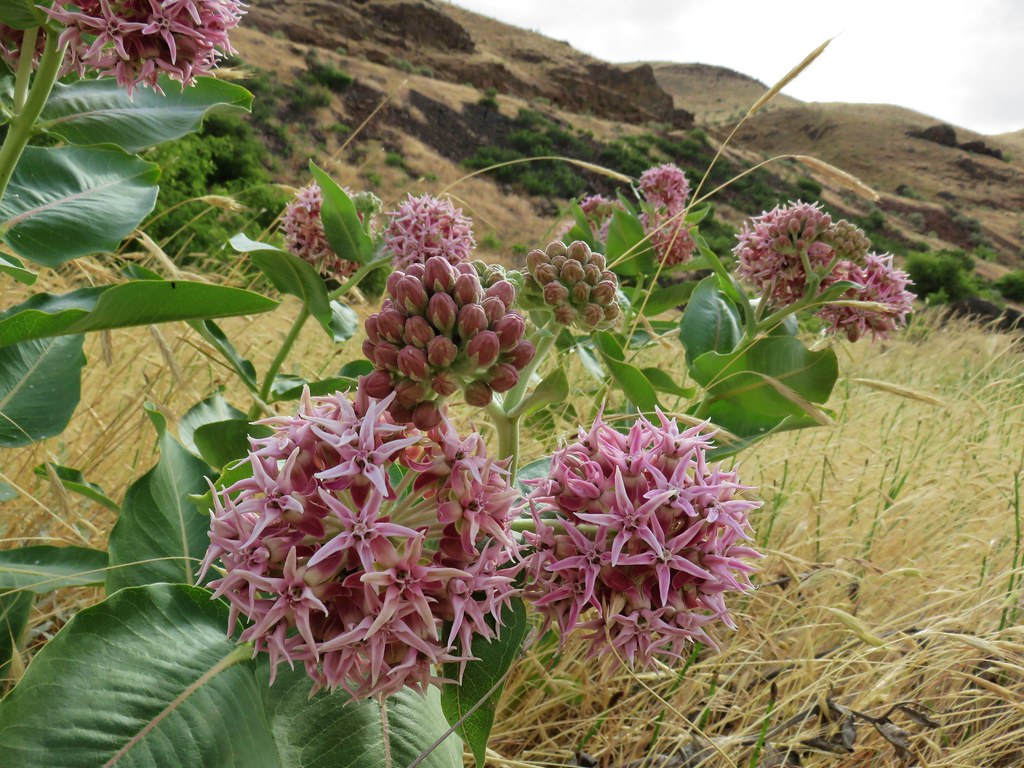
Showy MilkweedShowy milkweed

IMG_5168Chicory

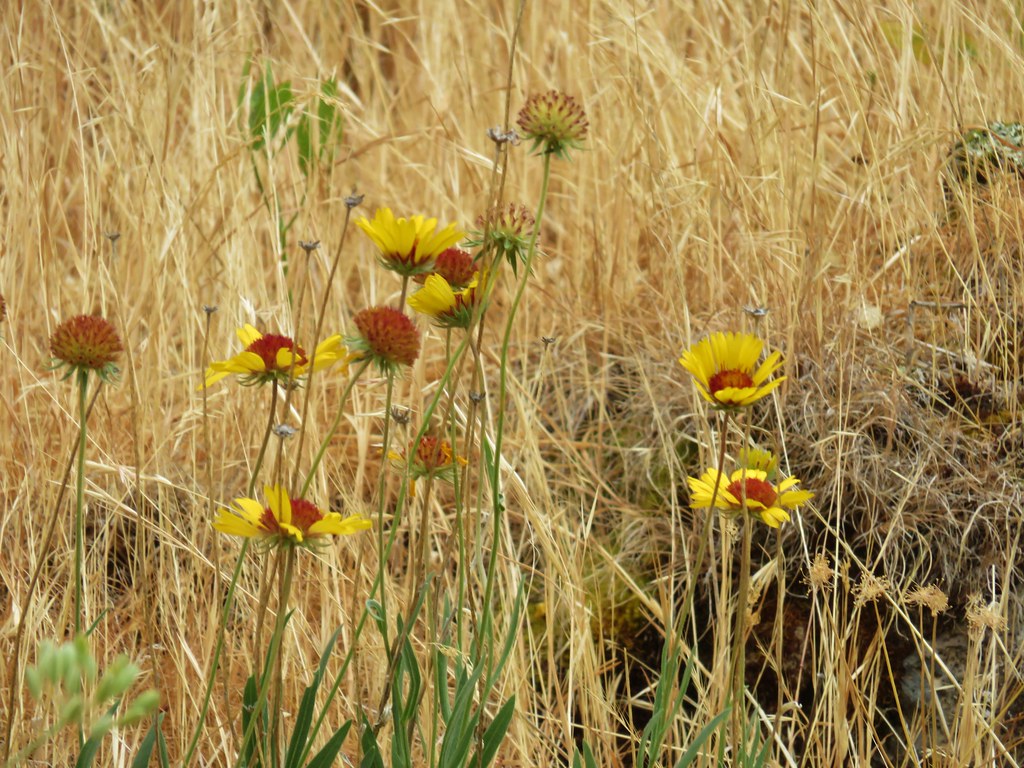
IMG_5134Blanket flower
IMG_5172

After 3 miles on the River Trail we passed by a 10 acre wheat field.
IMG_5174

At the far end of the wheat field we followed an old dirt roadbed uphill to a gravel road where we turned right, crossed small Gordon Creek and veered right again on another dirt roadbed down to a primitive camp site.
IMG_5176

IMG_5181

After checking out a small beach where one could wade in the river we headed back to the gravel road.
IMG_5183

IMG_5186

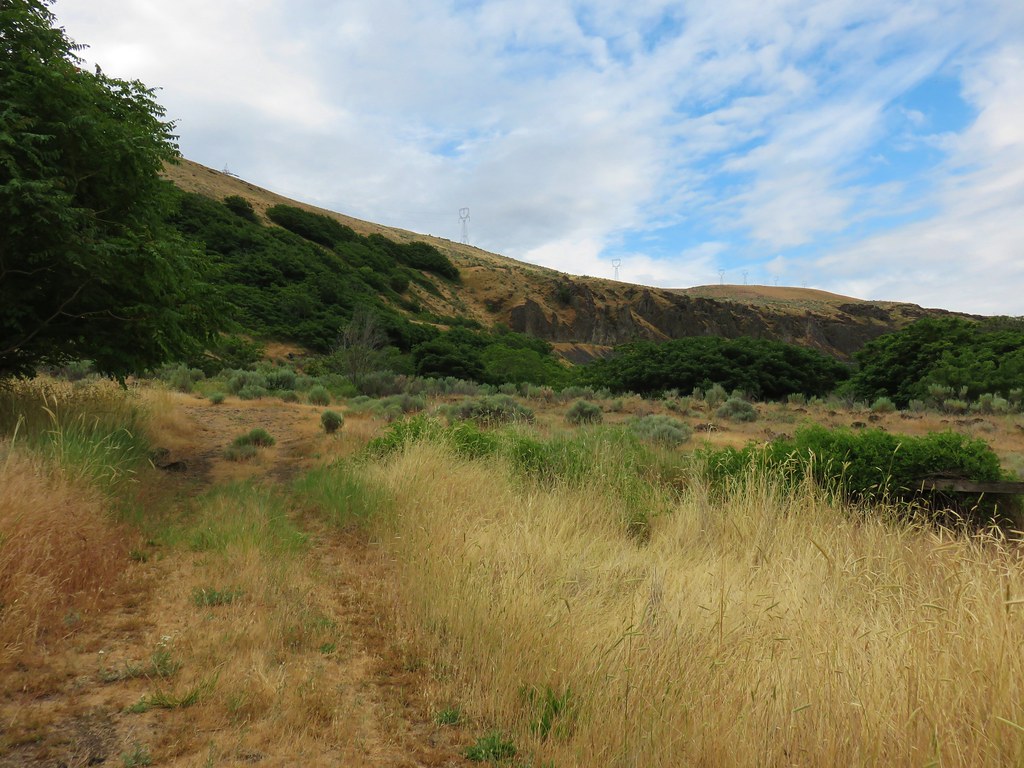
The road led up to the same old railroad grade that we had followed on our hike at Macks Canyon.
IMG_5189

Here the grade is in good shape and used by bicyclists as well as hikers.
IMG_5197

We followed the old railroad grade for a mile and a half from the primitive camp to a signboard.
IMG_5211

The unmarked Ferry Springs Trail led off to the right a little before the sign and use paths to the left of the sign led to a view of the rock arch from above.
IMG_5213

After checking out the arch we took the Ferry Springs Trail uphill.
IMG_5216

This trail gained nearly 500′ as it climbed up and then traversed the hillside above the Deschutes River.
IMG_5226

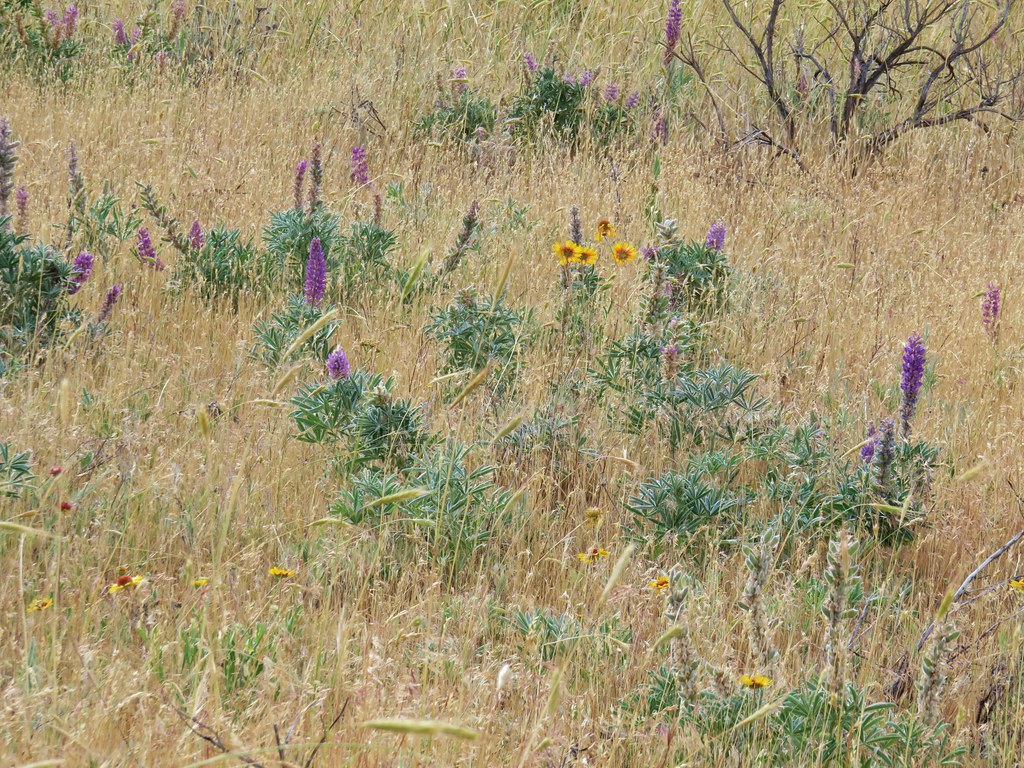
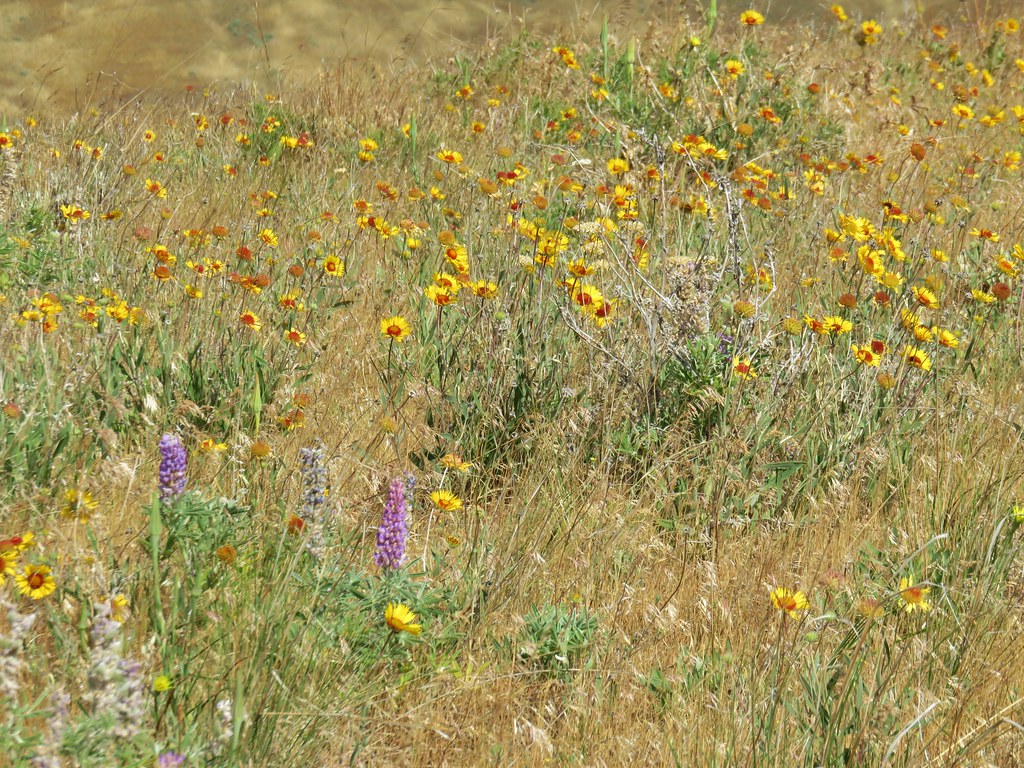
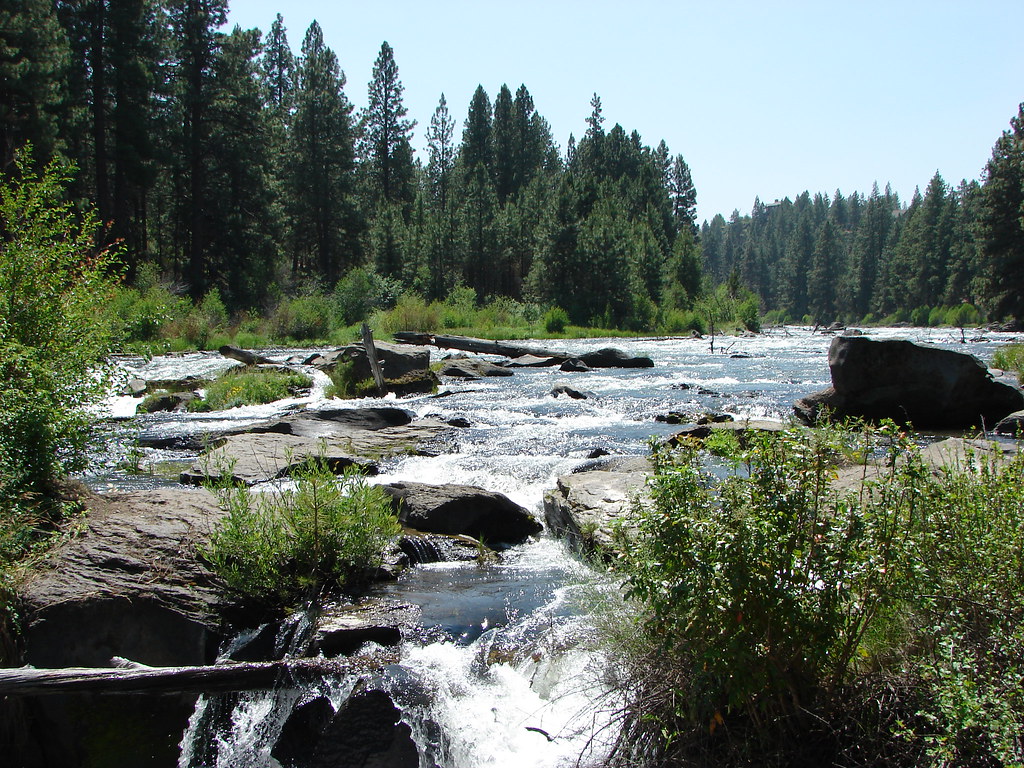
As we gained elevation we also gained more wildflowers, primarily yellow blanket flower and purple lupine.
IMG_5228

IMG_5231

IMG_5248

IMG_5249

Just over three quarters of a mile along this trail we came to Ferry Springs where we crossed a brushy creek.
IMG_5251

IMG_5256

A lizard greeted us on the far side of the creek.
IMG_5259

The trail then passed a less than informative sign and passed through an old fence.
IMG_5265

IMG_5266

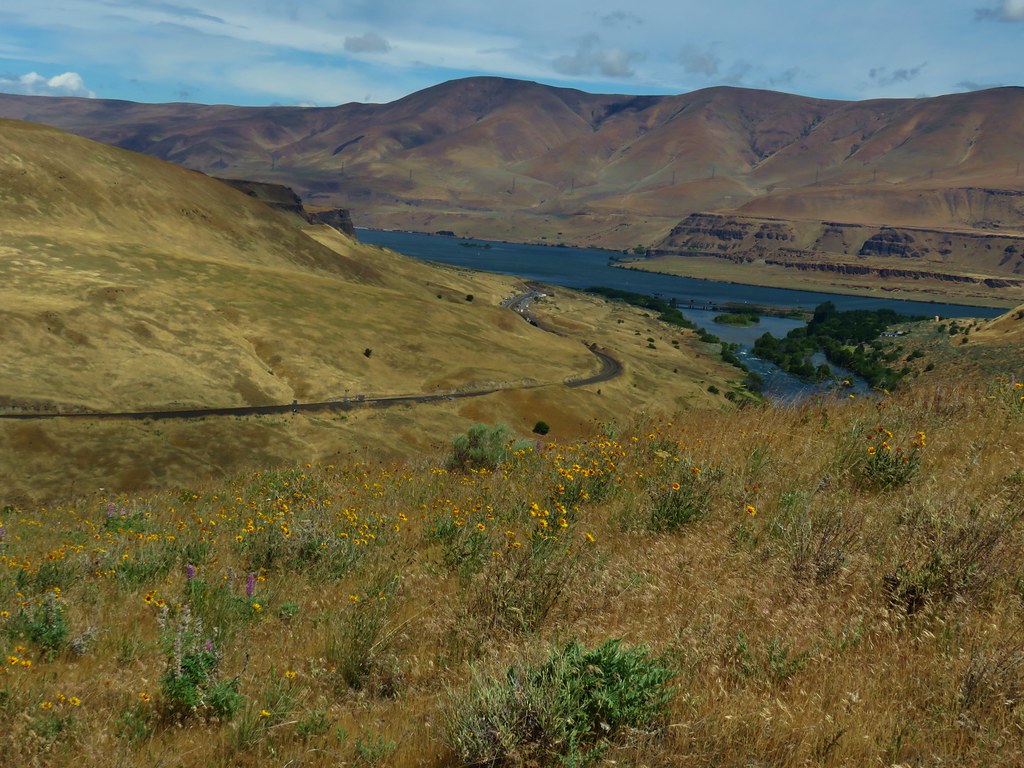
Beyond the fence the trail began to descend back down toward the river. From here we had a good view of the river’s confluence with the Columbia.
IMG_5277

Near the end, the trail follows a section of the Oregon Trail.
IMG_5281

After almost 1.75 miles on the Ferry Springs Trail we arrived back at the railroad grade. Here we had the choice of following it back to the parking area or continuing on hiker only trails. We opted for the hiker trail and flowed a pointer on the far side of the bike path.
IMG_5286

This trail traversed the hillside between the River Trail and the bike path and brought us back to the start of the River Trail in just under three quarters of a mile.
IMG_5288

IMG_5290

The hike came in just over 8 miles which was a nice way to start a week of hiking. It had been pretty windy (not unusual for the area) but the rain had stayed to the west which we took as an encouraging sign for the rest of our trip. We left the Deschutes and headed east to Biggs Junction where we took Highway 97 south to Bend and had a nice visit with Heather’s parents before heading further east (and south) for more adventures. Happy Trails!

Flickr: Lower Deschutes River

Categories
Bend/Redmond Bull of the Woods/Opal Creek Central Oregon Hiking Mt. St. Helens Newberry Crater Old Cascades Oregon Throwback Thursday Trip report Washington Washington Cascades

Throwback Thursday – Odds and Ends

With this Throwback Thursday post we will have covered all the trails that we hiked prior to starting this blog and have not been part of a subsequent hike that was featured here. We are combining several hikes in one for a couple of reasons. The remaining hikes were all relatively short, some we have few if any pictures, and one was done on the same day that we did another hike that we did again after we started the blog.

Many of our earliest hikes were centered around Bend, OR and were part of vacations prior to 2010 when we first started to be serious about hiking. These were hikes of opportunity more than conscious efforts to go on a hike.

One such was the 3 mile loop around Suttle Lake. We were staying at one of the cabins at the Suttle Lake Resort and decided to take the trail around the lake. The level hike offered views of the lake and of bald eagles and osprey as they soared over the lake watching for fish. On that hike we didn’t even carry a camera.

Another camera-less but worthwhile hike was the Lava River Cave. This mile long lava tube south of Bend is a great stop for kids and adults and can easily be combined with a visit to nearby Lava Lands or the High Desert Museum.

In 2007, while in Bend on vacation in July, we hiked up Pilot Butte. A mile long trail in the middle of town leads up to the top of the 4148′ summit which offers view on a clear day north to Mt. Adams in Washington.
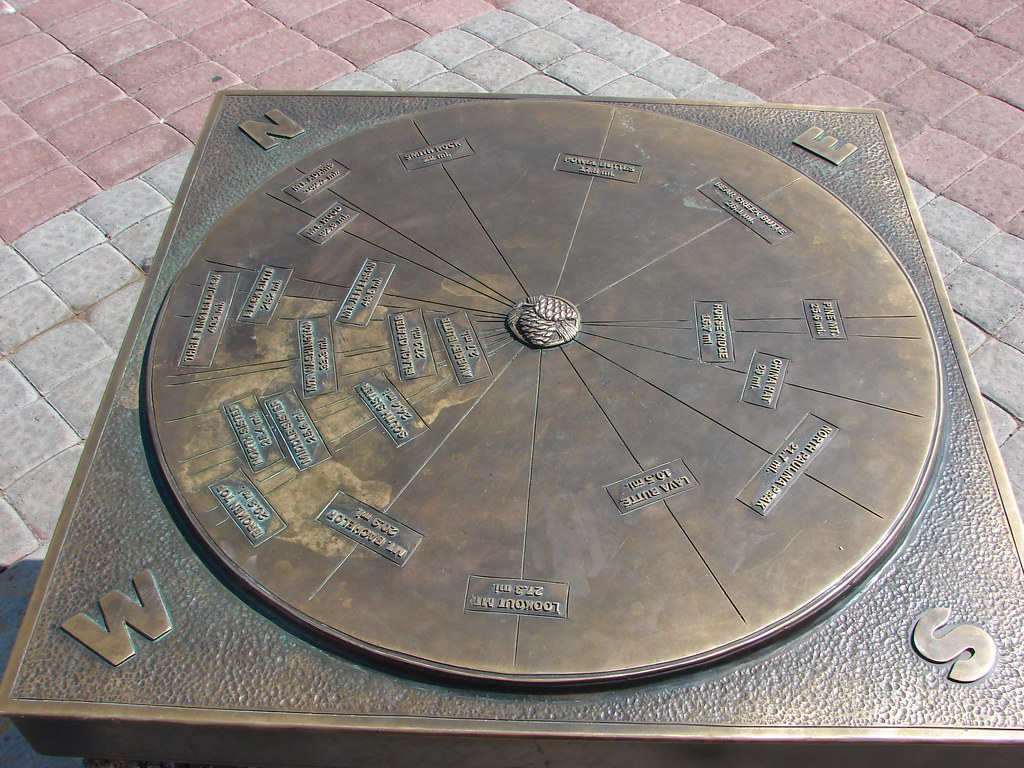
Mountain locator on Pilot Butte

It was a bit hazy during this visit but the snowy peaks of the Cascades from Mt. Bachelor to the Three Sisters were still visible.
Mt. Bachelor, Tumalo Mt., Ball Butte, Broken Top, and the Three Sisters

On that same trip we took a stroll along the Deschutes River Trail from the Mt. Bachelor Village upriver to a footbridge and returned on a loop via Reed Market Road.
Deschutes River

Geese on the Deschutes River

Scarlet gilia

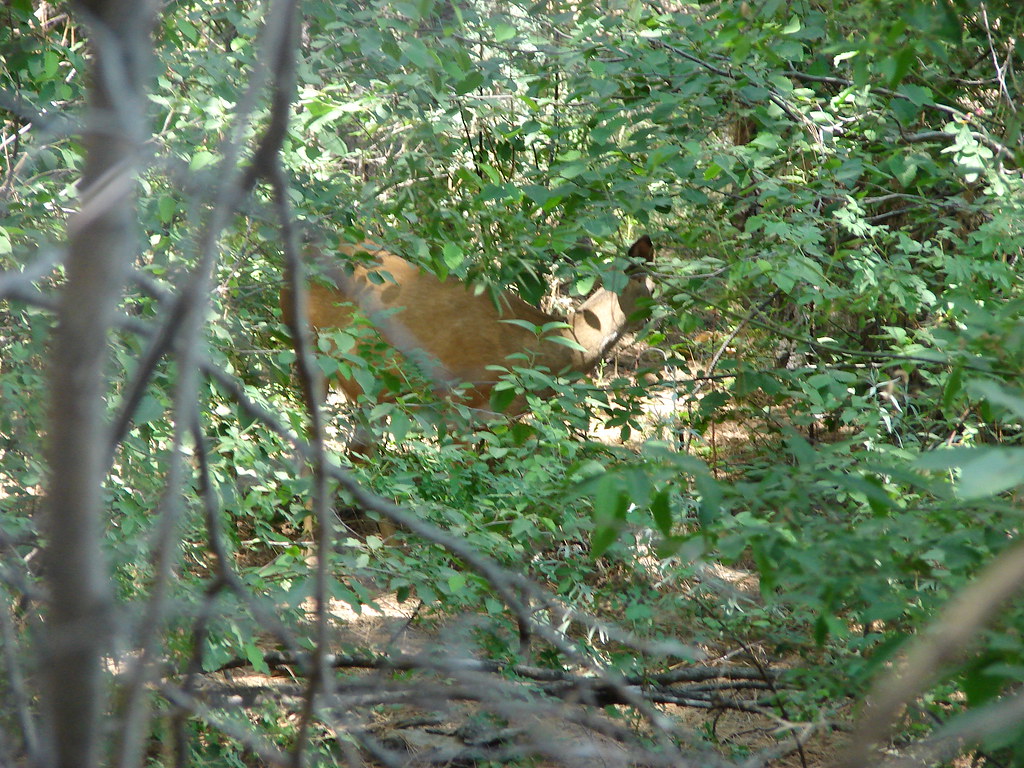
Deer along the Deschutes River Trail in Bend, OR

Deschutes River

Grand Collomia

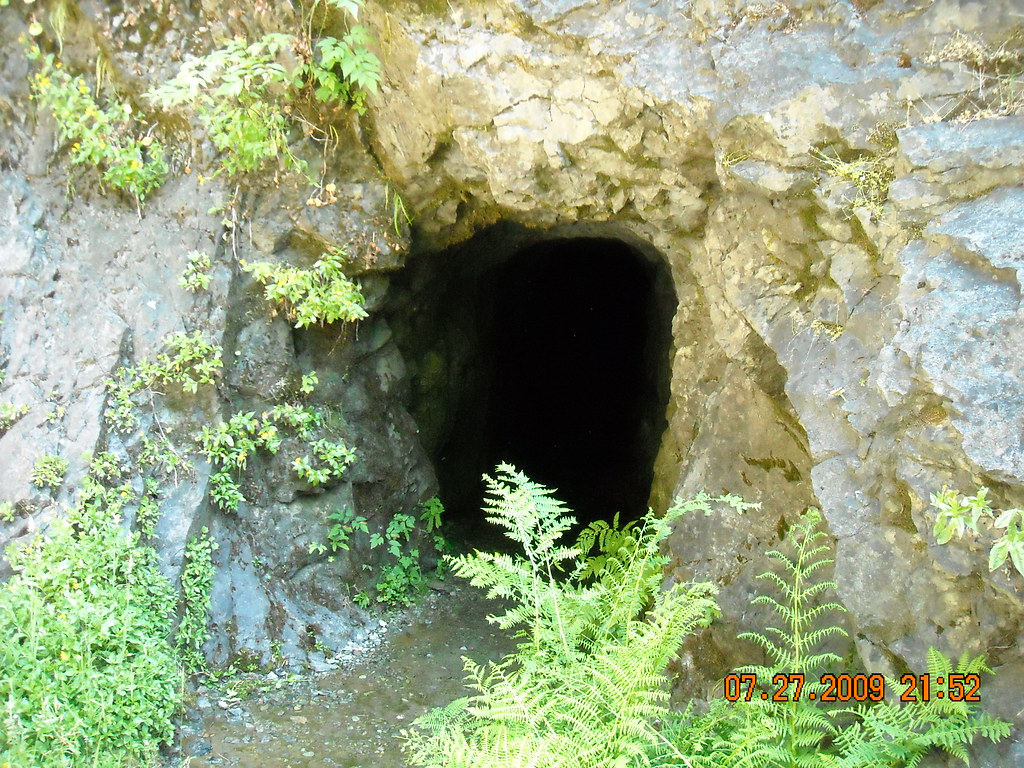
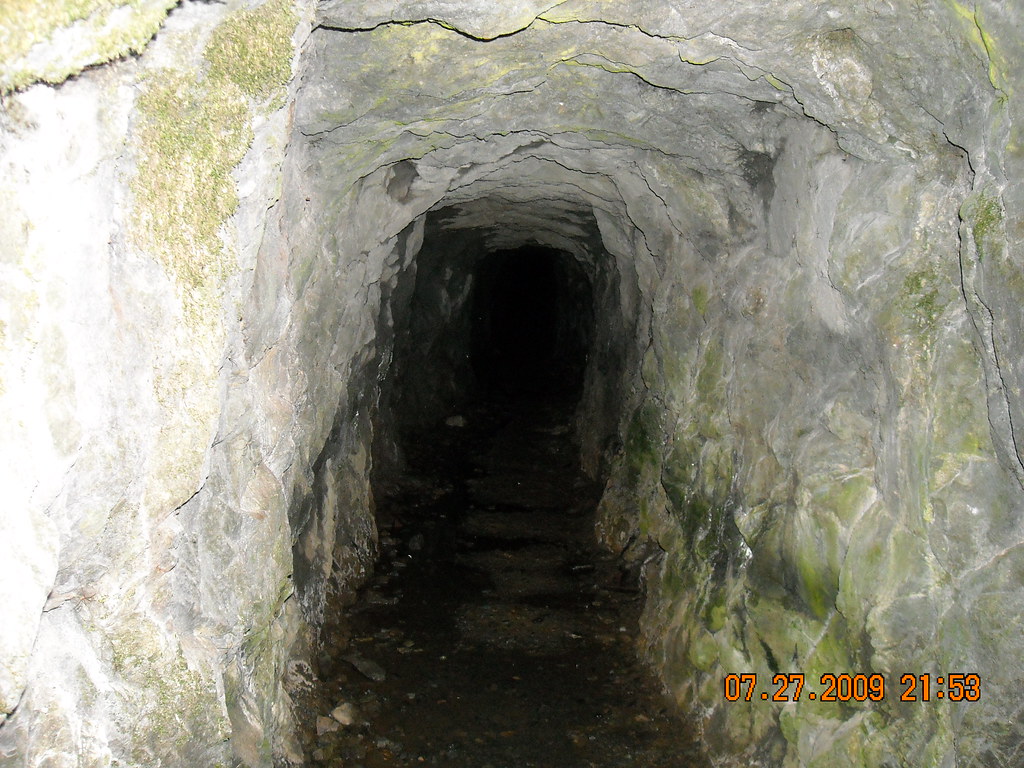
The hikes weren’t all in Central Oregon. On 7/27/2009 we completed the 1.8 mile round trip to Henline Falls from the Henline Falls Trailhead. The trail is approximately 45 minutes east of Salem and features an old mine shaft near the waterfall.
Henline Falls

Abandoned mine shaft

Abandonded mine shaft

We also started up the nearby Henline Mountain Trail (trailhead) that day but were not in decent enough shape to make it very far.

The final short hike along Lava Canyon near Mt. St. Helens was done after our first hike to Ape Canyon on 9/17/2012. We went back to Ape Canyon in 2015 (post) but that time we did Ape Cave for the other hike.

After finishing our Ape Canyon hike in 2012 we walked from the Ape Canyon Trailhead .25 miles to the Lava Canyon Trailhead.
Trail map near Lava Canyon

A .4 mile trail leads down to the start of a short half mile loop.
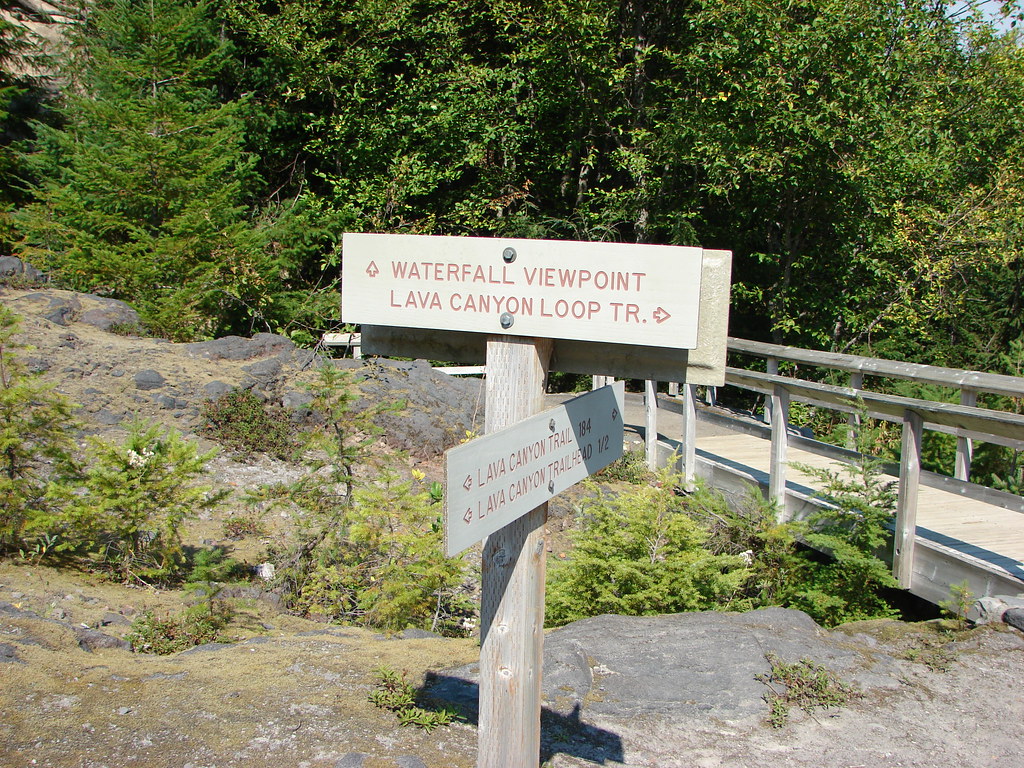
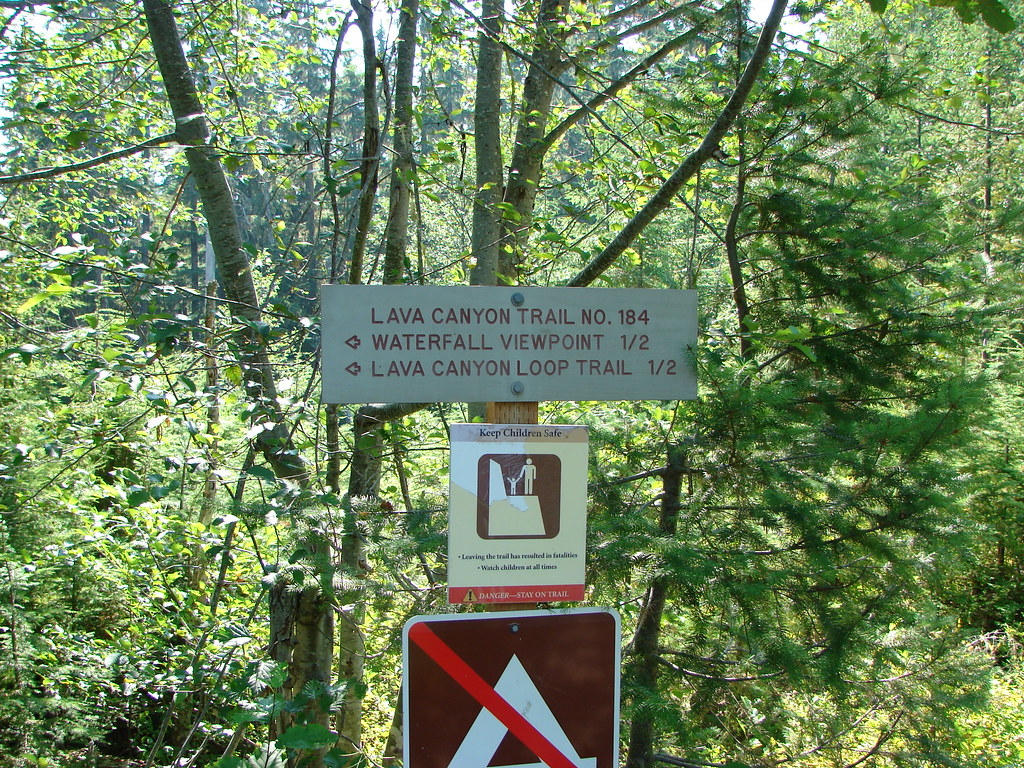
Lava Canyon Trail sign

We stayed left at the start of the loop staying on the west side of the Muddy River. A footbridge led across the river above Lava Canyon Falls which was below the trail but mostly obscured.
Lava Canyon Trail sign at the start of the loop

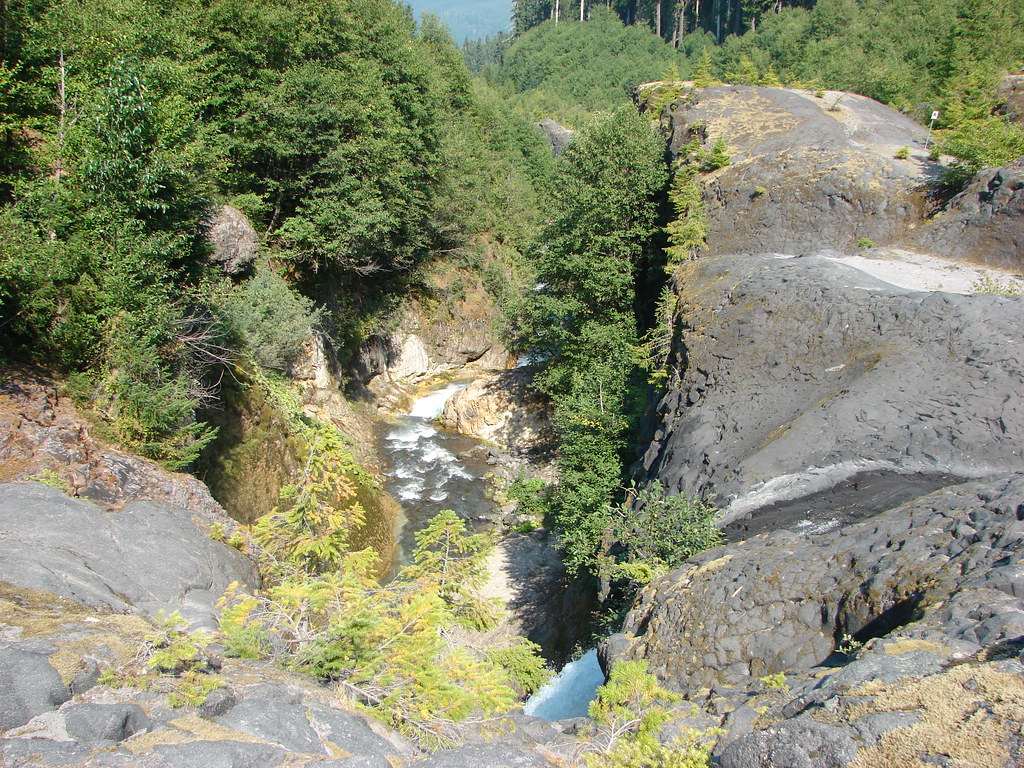
Lava Canyon Falls

Just .2 miles from the first bridge the loop crosses the river on a suspension bridge.
Suspension Bridge over Lava Canyon

Suspension Bridge over Lava Canyon

Upstream from the suspension bridge the Muddy River careens down Triple Falls.
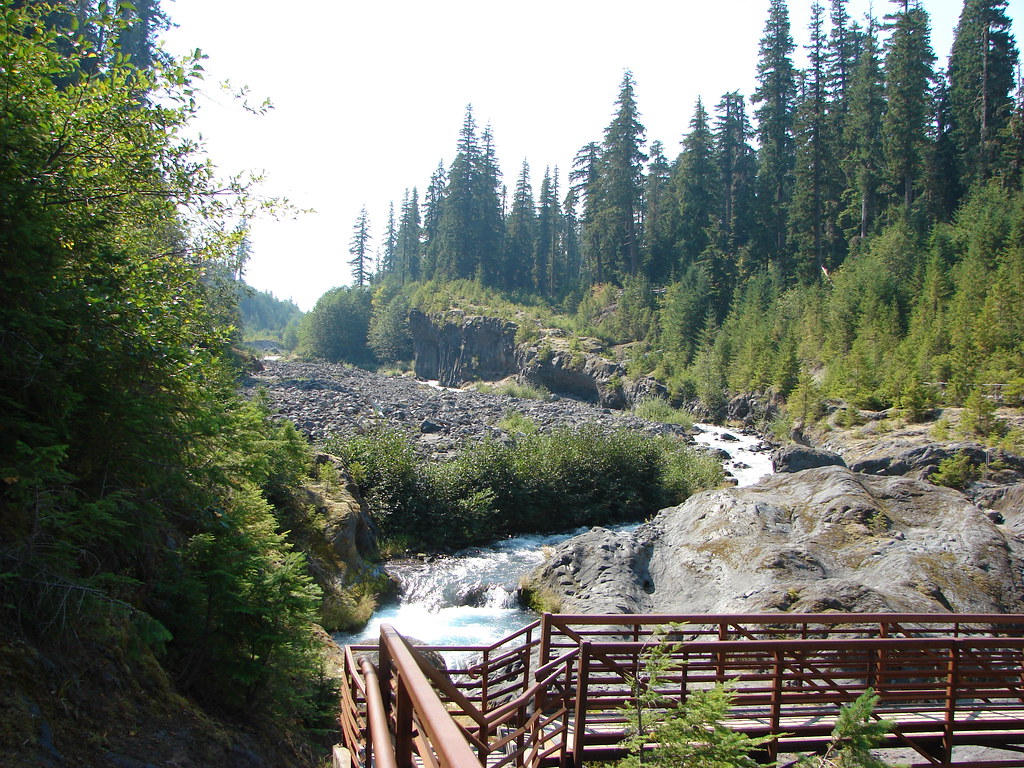
Triple Falls

A .3 mile trail returns to the footbridge along the river along the eastern bank.
Muddy River

Muddy River

Upper Lava Canyon Falls

Henline Falls, Henline Mountain, and Lava Canyon are all in our future plans and reliving these and all our other Throwback Thursday hikes has been a lot of fun. Even though the information is dated hopefully they have provided some additional ideas for places to visit here in the Pacific Northwest. As always check with the managing agencies for current trail conditions before heading out. Happy Trails!

Categories
Hiking Mt. Hood Area Oregon Trip report

Salmon River Overnight

For our first overnight outing of 2018 we chose the Salmon River Trail which we had previously visited on August 30, 2015. (post) That hike included approximately 3.5 miles of the 14 mile trail from the west trailhead. This time we would start from the east trailhead with our plan being to set up camp somewhere along the trail then continue to same viewpoint where we had turned around on our previous visit to complete the trail.

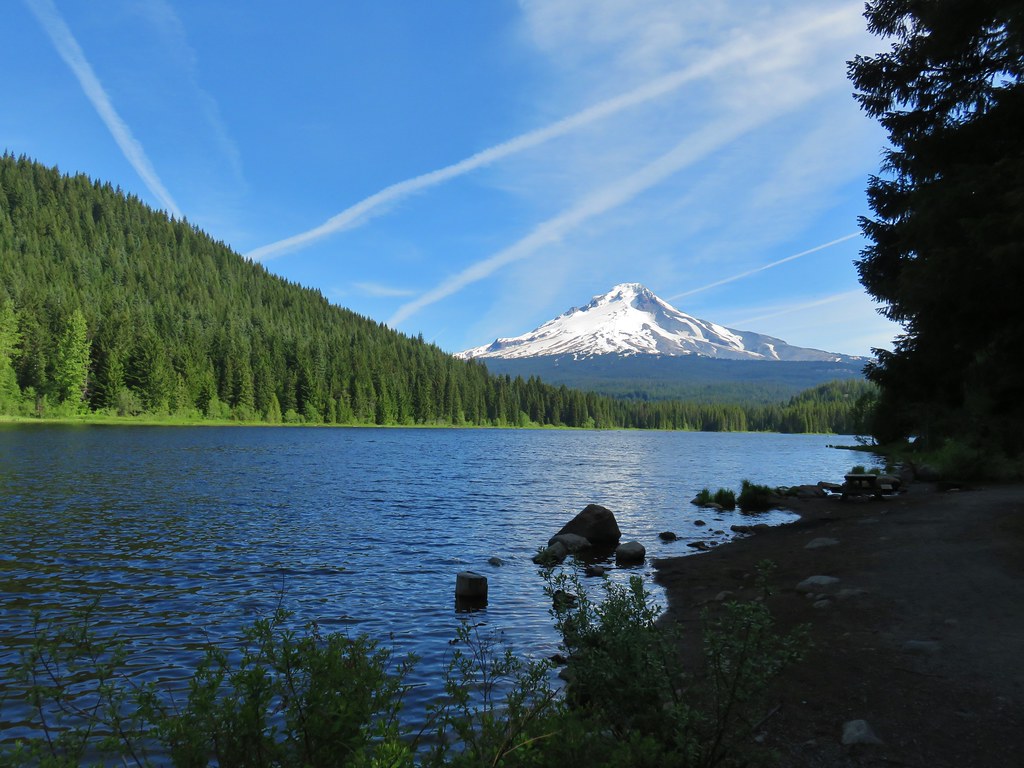
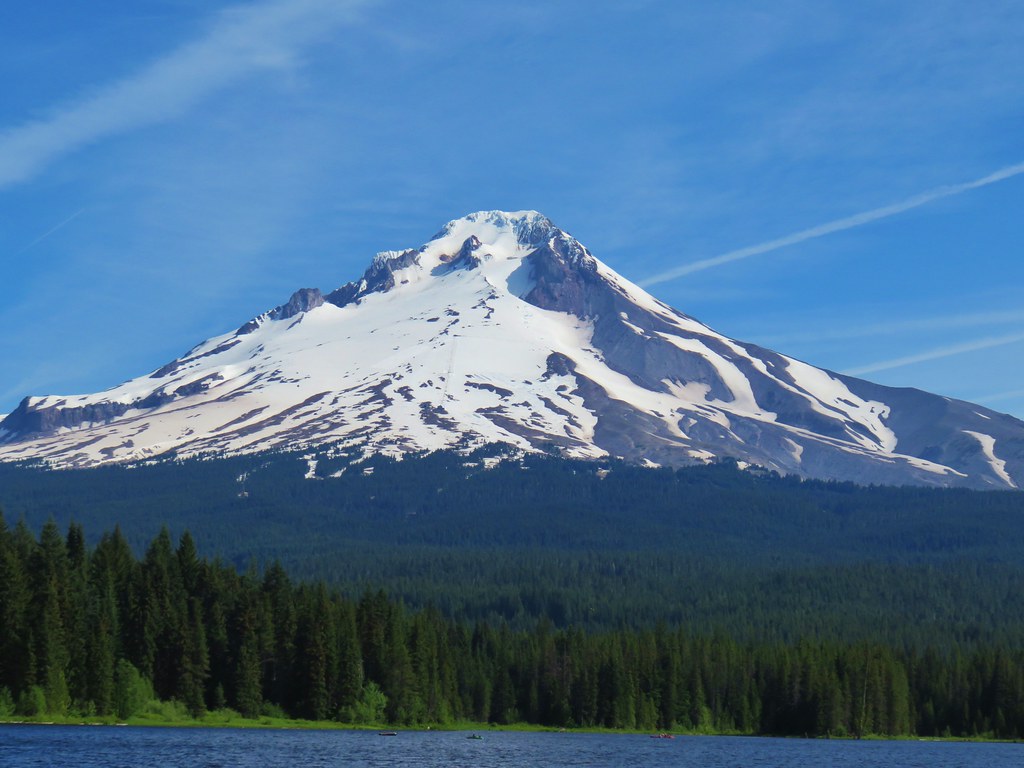
Before we could start our hike though we needed to get some water since the city of Salem’s water had been testing positive for a toxin. We stopped at the Trillium Lake picnicking area on our way to the trailhead and filled our packs there. We didn’t take the time to visit the lake since we were on a mission to start hiking but we did stop again on they way home to see the lake and its view of Mt. Hood.
IMG_5083

IMG_5088

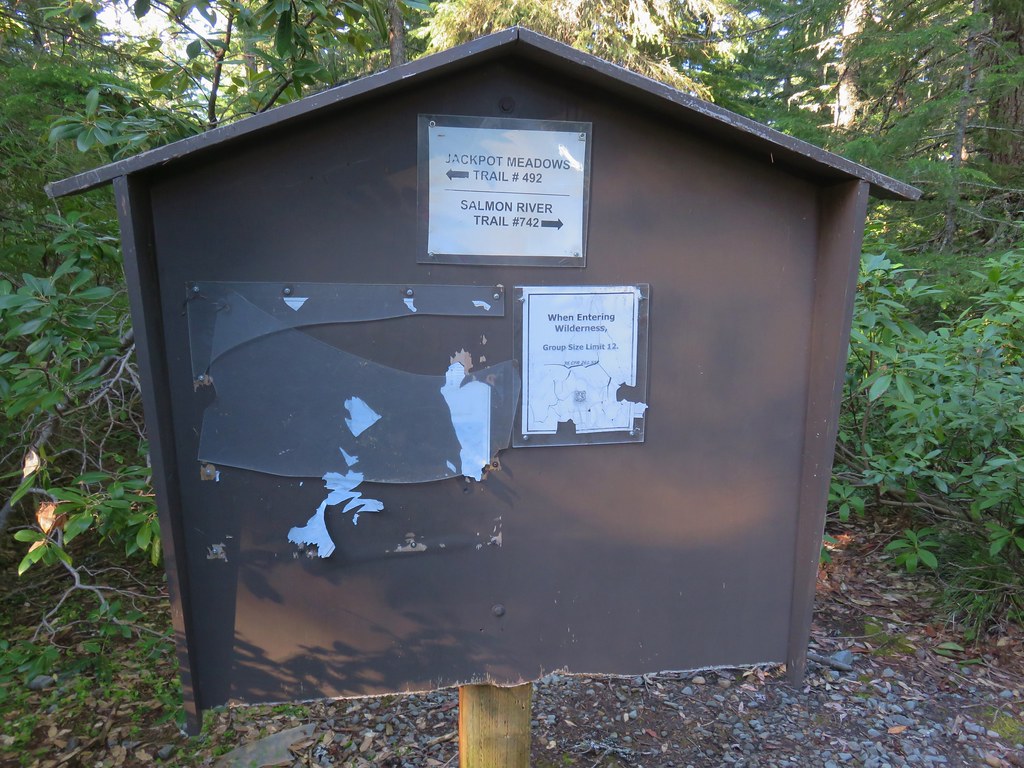
After filling up on water we continued to the trailhead where we were the only vehicle. The trailhead also serves as the north trailhead for the Jackpot Meadows Trail.
IMG_4754

We took the signed Salmon River Trail and headed downhill.
IMG_4756

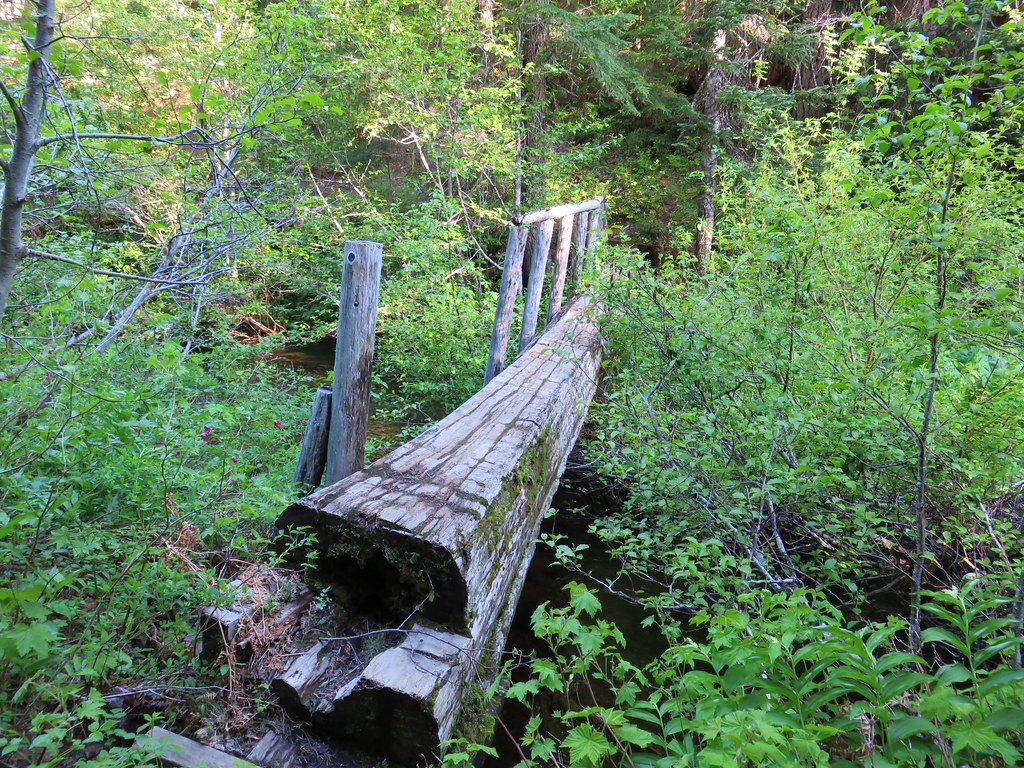
The trail descended in the first quarter mile to a footbridge over Mud Creek which flows from Trillium Lake.
IMG_4760

This was the only creek crossing with an official bridge. Over the next mile and a half the trail would cross Fir Tree Creek three separate times.
IMG_47621

IMG_47672

IMG_47833

Between the first and second crossings the trail passed a now abandoned section of trail that led up to the Dry Fir Trail.
IMG_4764

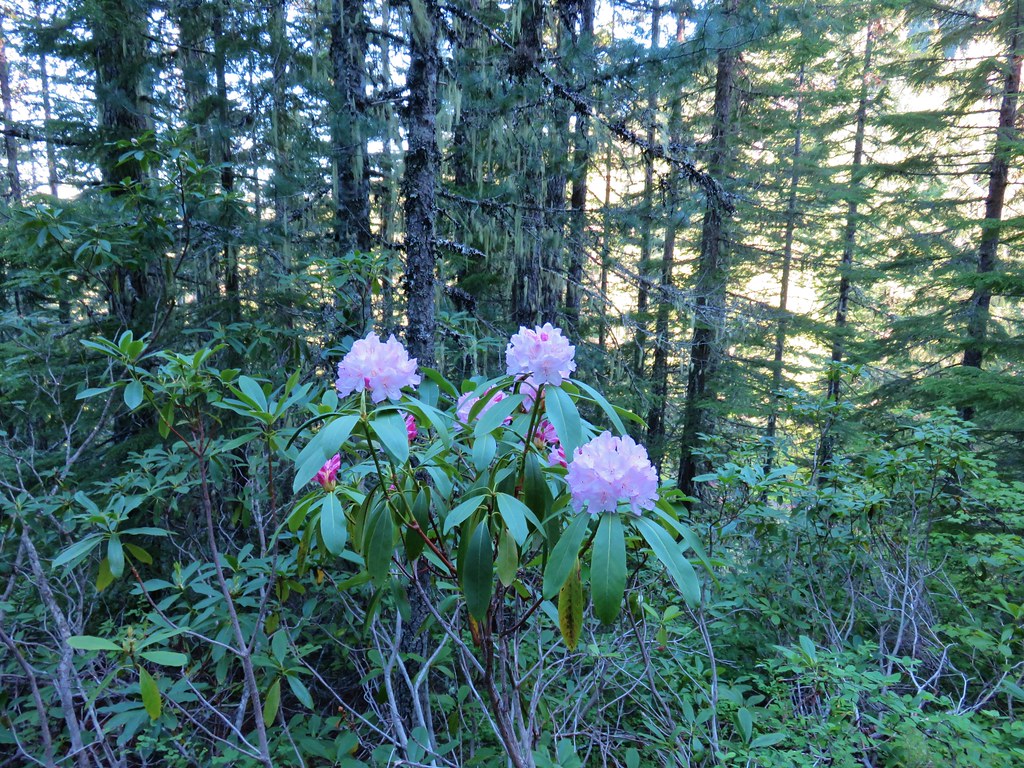
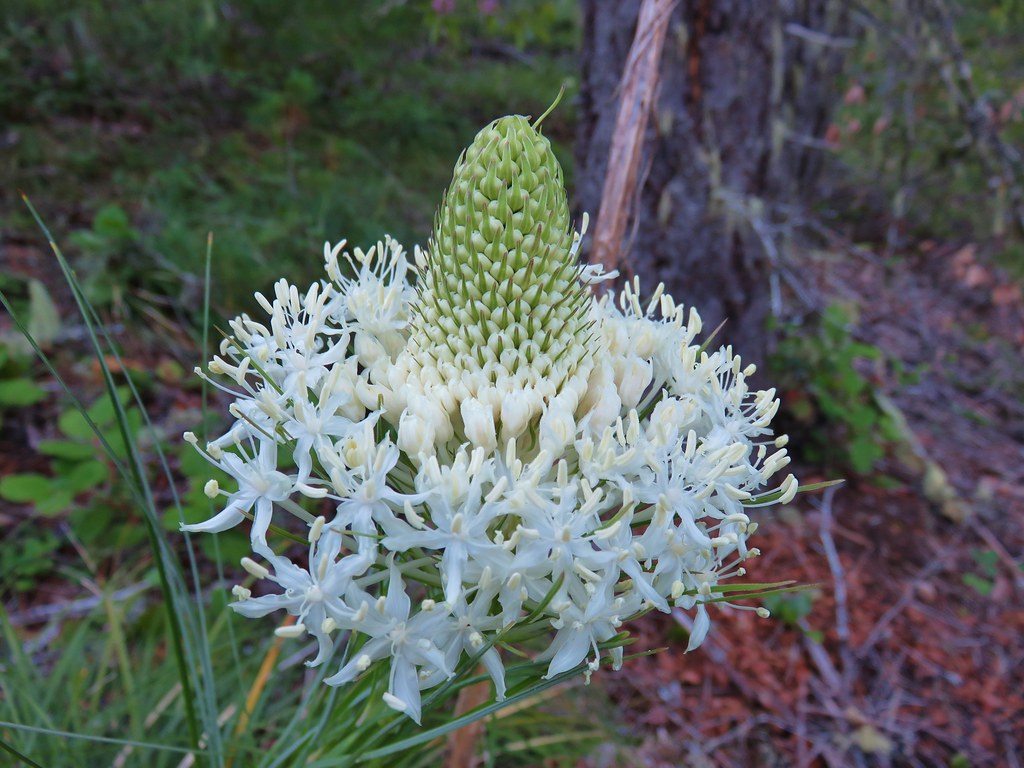
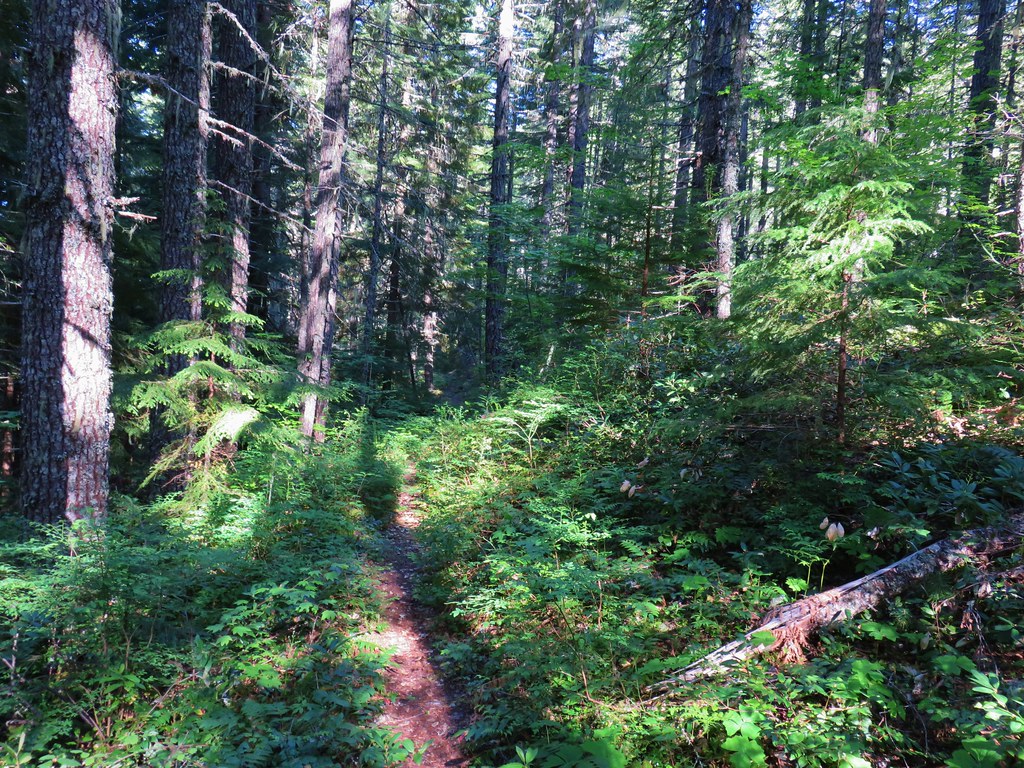
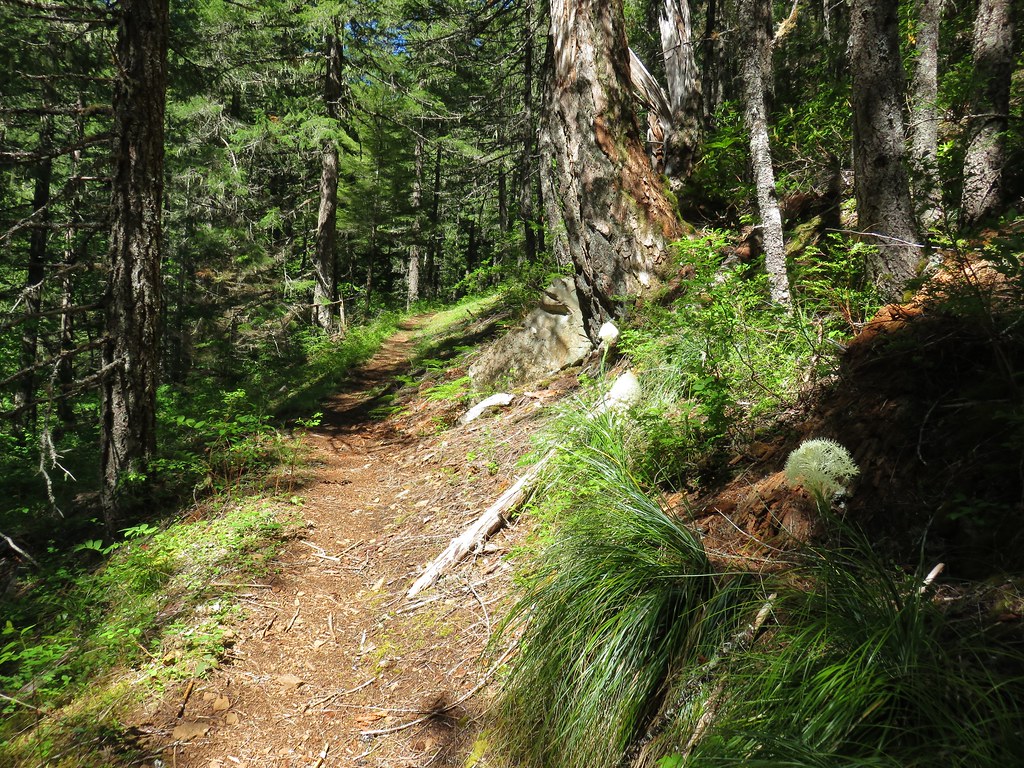
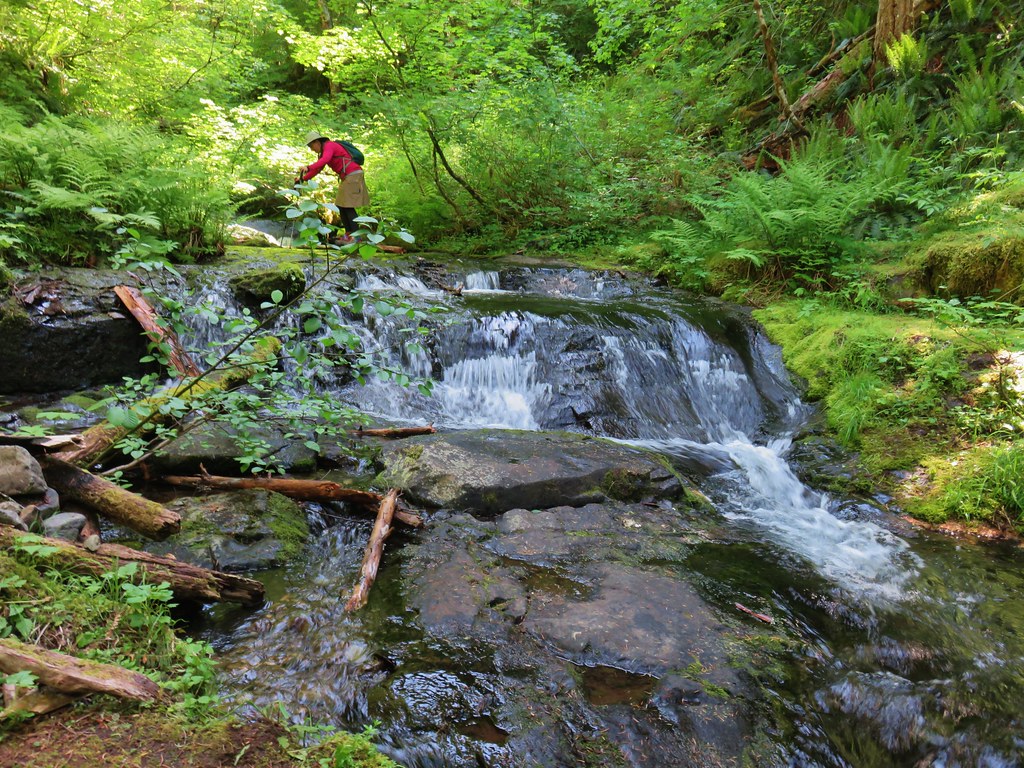
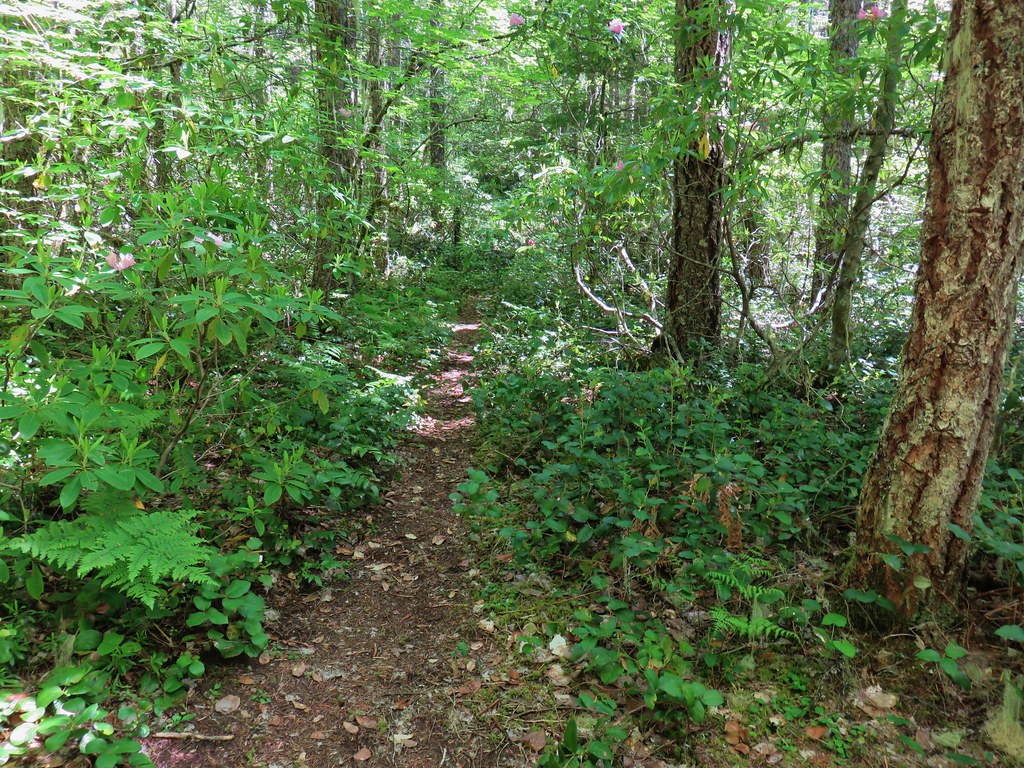
It also passed through some nice forest with rhododendron beginning to bloom along with a little beargrass.
IMG_4779

IMG_4771

IMG_4777

Beyond the third crossing of Fir Tree Creek we entered the Salmon-Huckleberry Wilderness and passed through a variety of scenery.
IMG_4786

IMG_4792

IMG_4793

IMG_4794

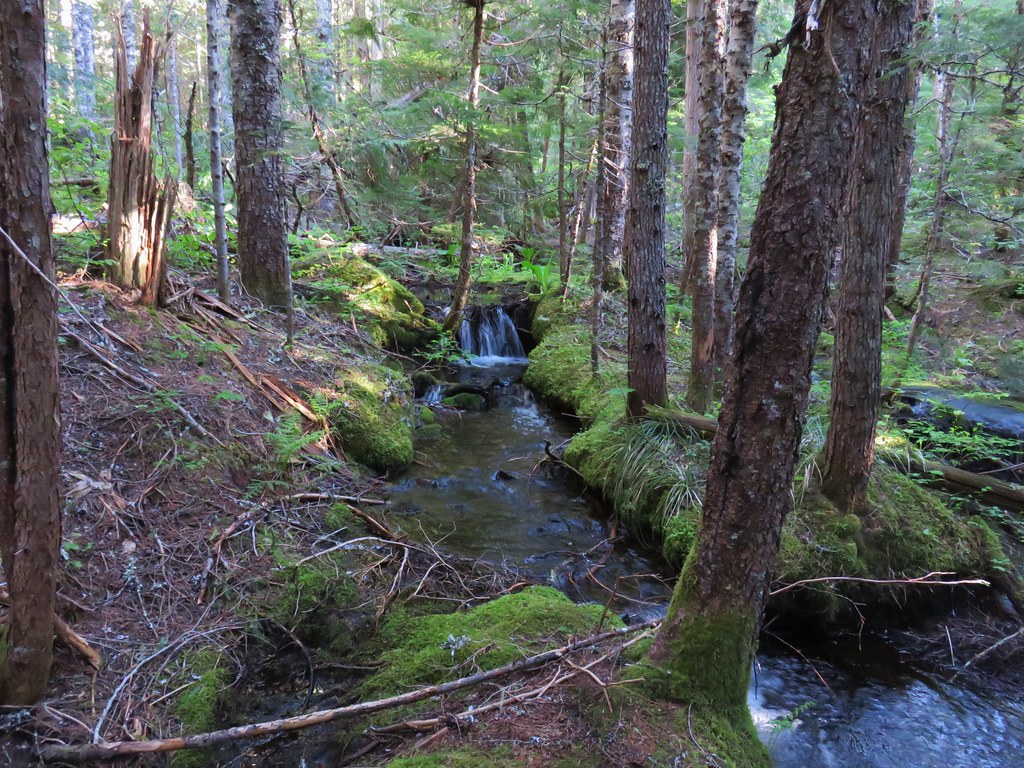
The trail also crossed more creeks.
IMG_4799

IMG_4803

We had passed a few possible campsites but felt they were too close to the trailhead, but after 5.5 miles we came to a junction with the Linney Creek Trail.
IMG_4810

We had spotted some potential campsites along the Salmon River from above just before the junction so we turned down the Linney Creek Trail to check them out.
IMG_4811

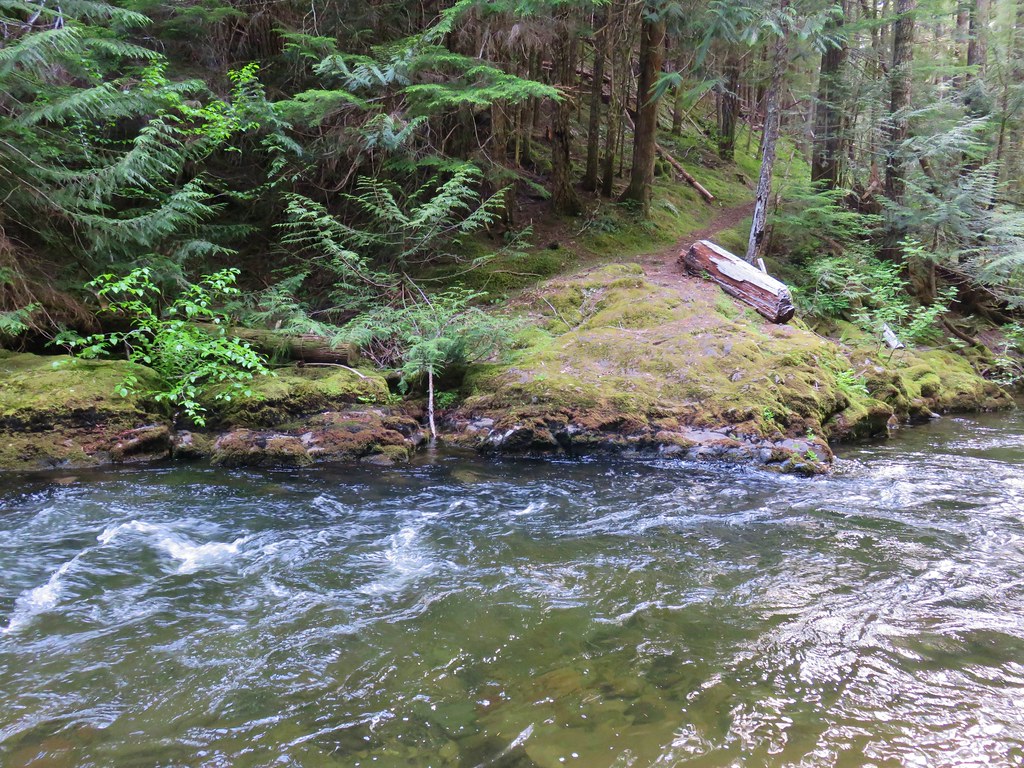
The remnants of an old bridge could be seen on the far side of the Salmon River where the Linney Creek Trail used to cross.
IMG_5056

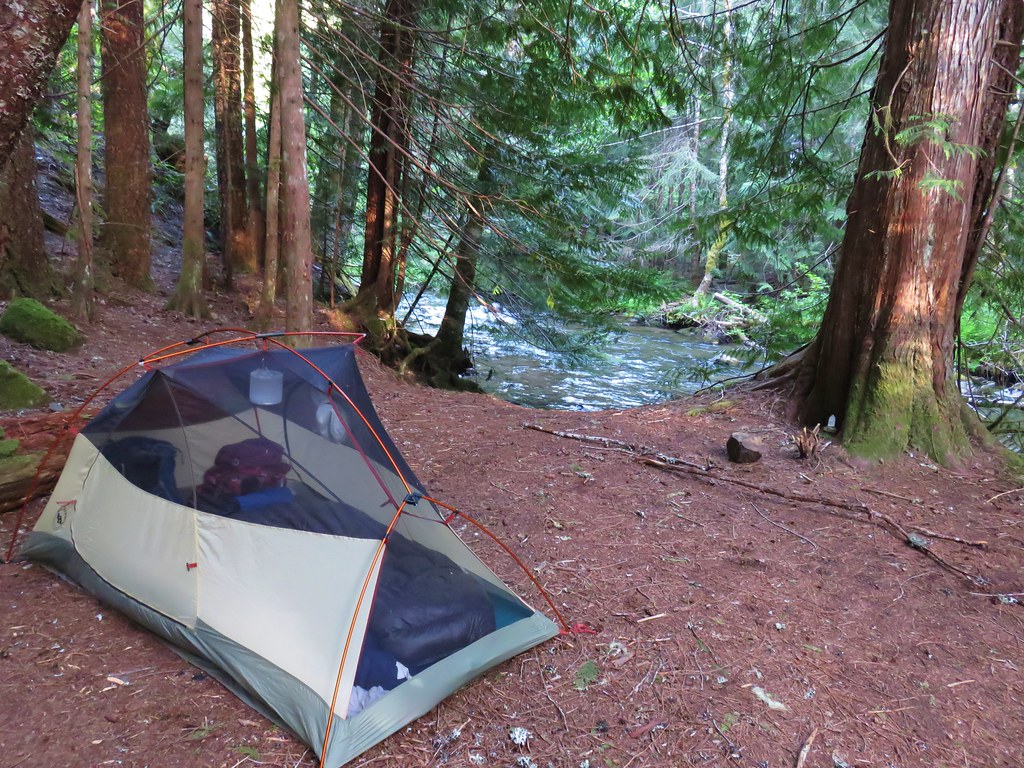
There was a nice large established campsite here which we claimed and set up camp.
IMG_5059

After getting set up we switched to our day packs and climbed the short distance back up to the Salmon River Trail and continued west. For the next three miles the trial continued above the Salmon River to a junction with the Kinzel Lake Trail. We began seeing more flowers along this stretch and also saw the first of two garter snakes for the day.
IMG_4817

IMG_4821

IMG_4824

IMG_4825

IMG_4841

IMG_4835

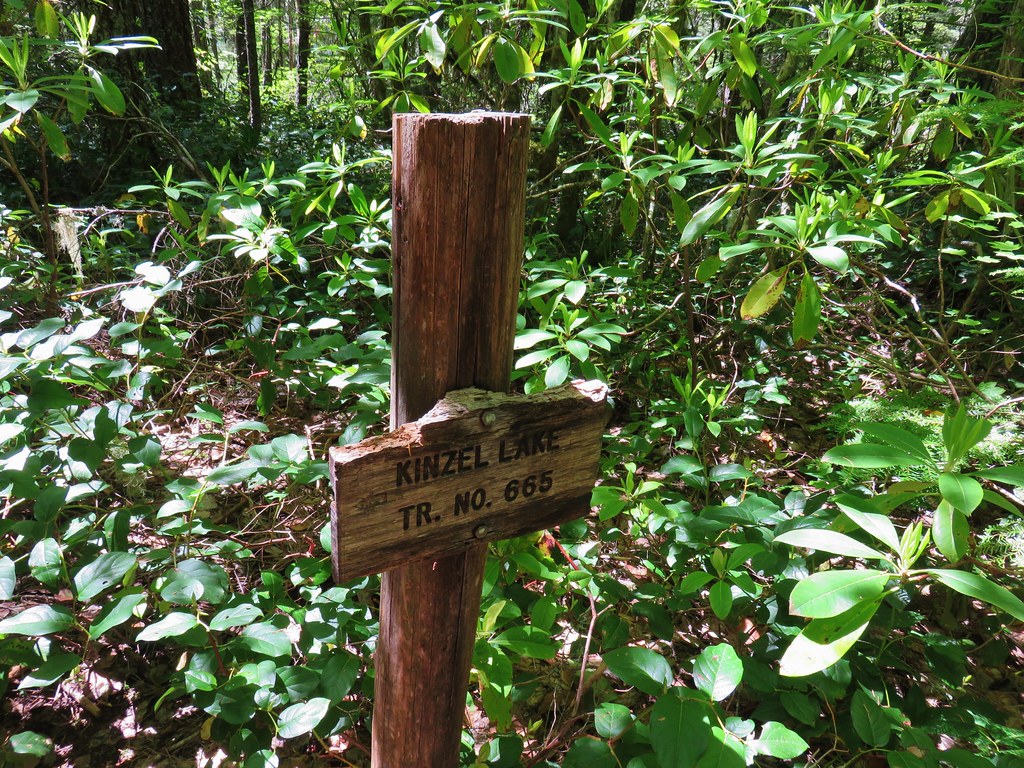
Shortly before reaching the Kinzel Lake Trail we crossed Kinzel Creek which had a small waterfall visible through trees.
IMG_4845

IMG_4843

IMG_4852

IMG_4853Kinzel Lake Trail

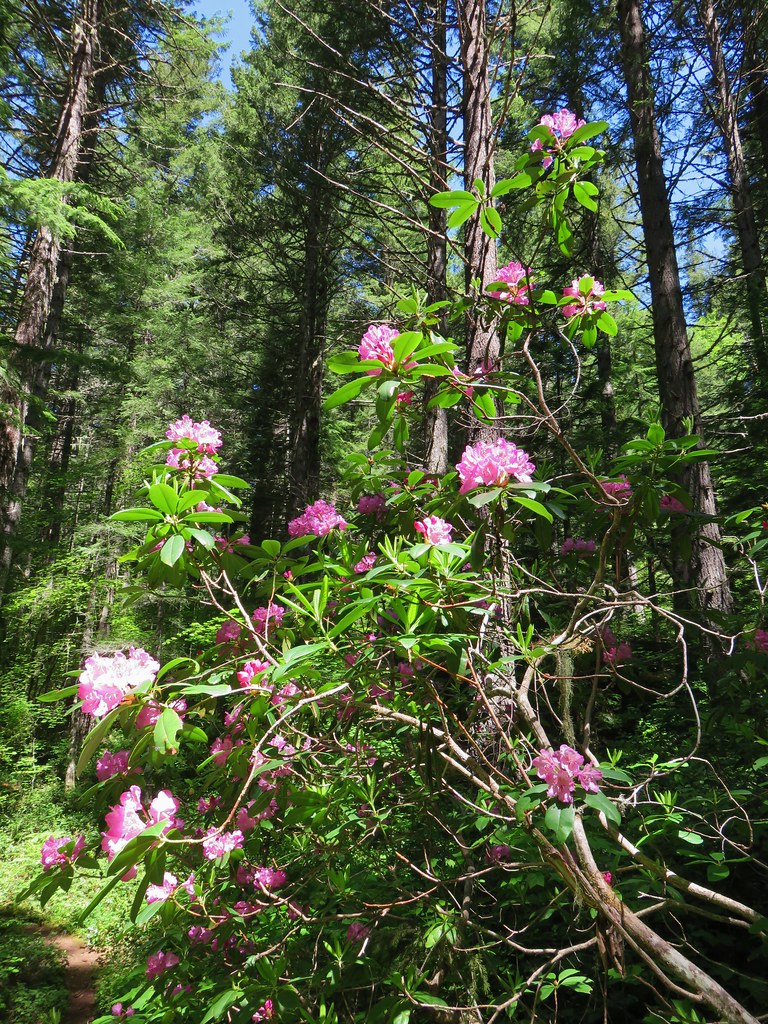
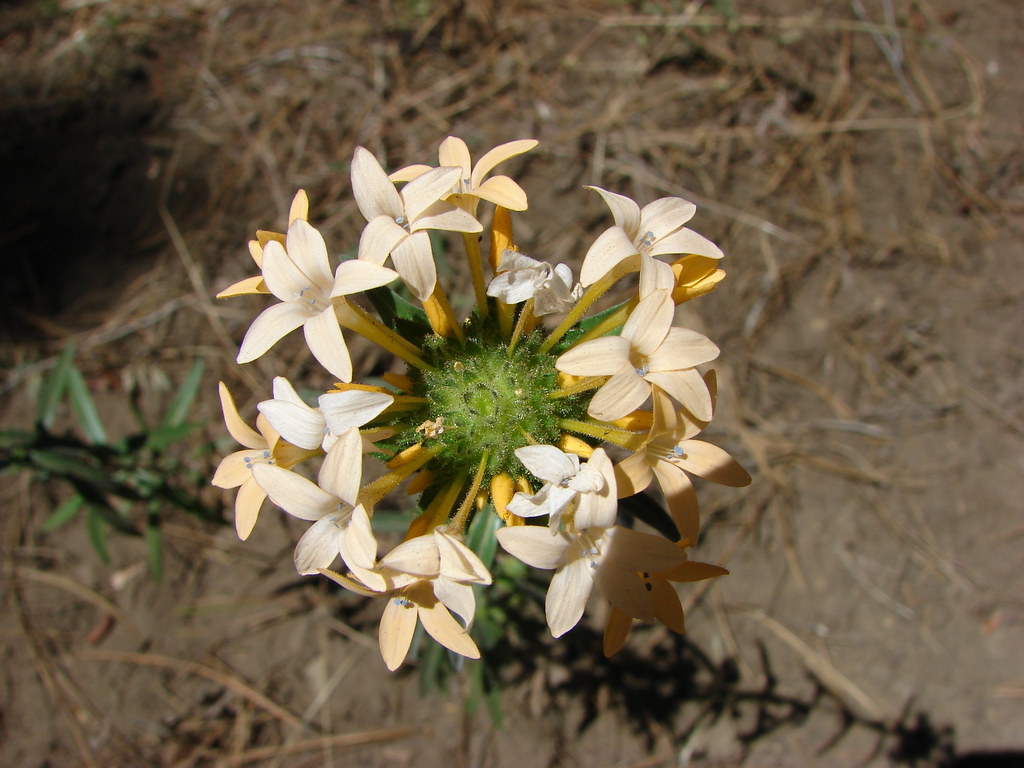
The flower display continued to improve beyond the Kinzel Lake junction with the rhodies now in full bloom.
IMG_4858

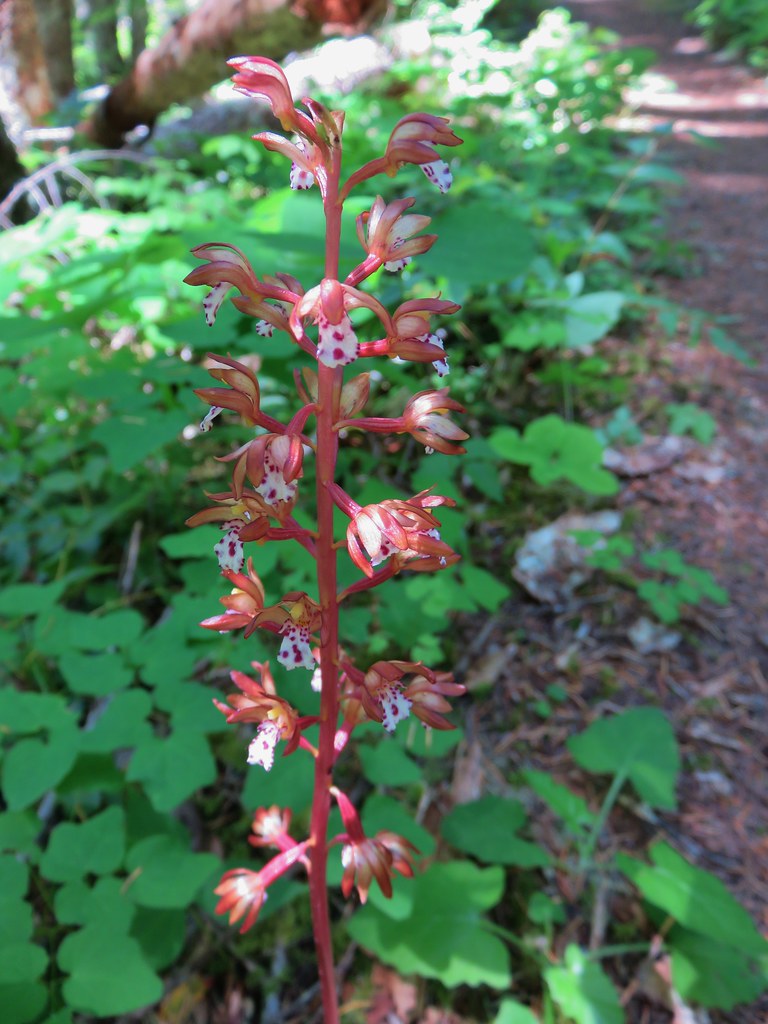
IMG_4870Spotted coralroot

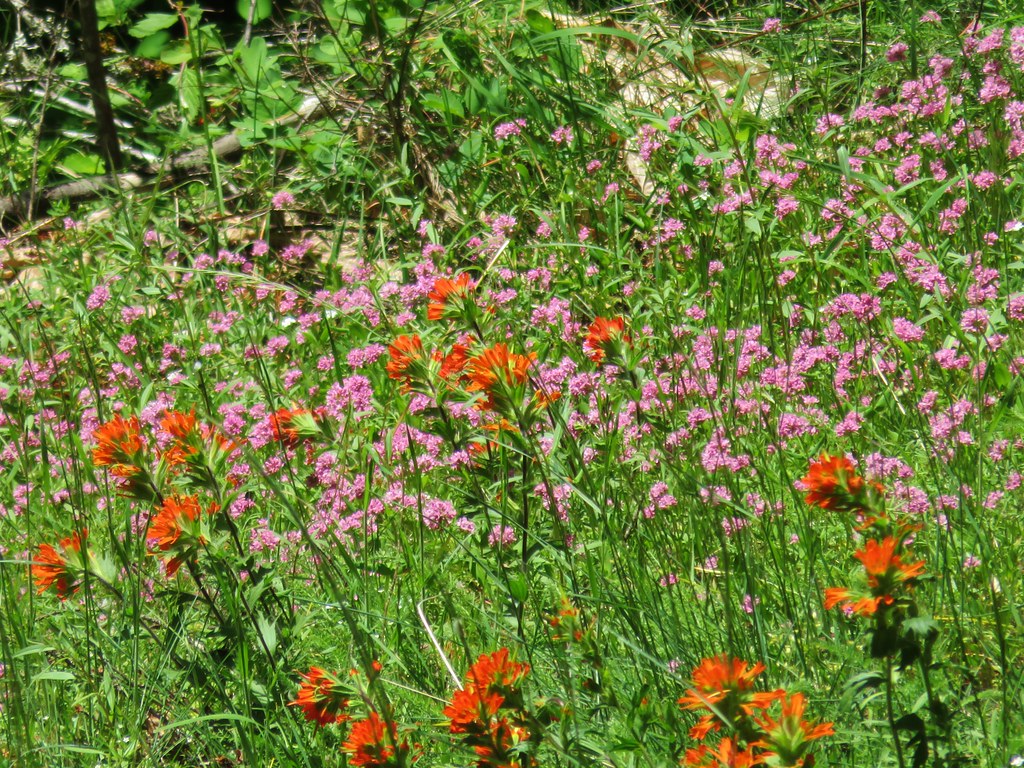
IMG_5032Paintbrush and plectritis

We also passed our first other person of the day when we spotted another backpacker camped near Goat Creek. A bit over a half mile beyond Goat Creek the trail entered a grassy area with the first real viewpoint of the day.
IMG_4878

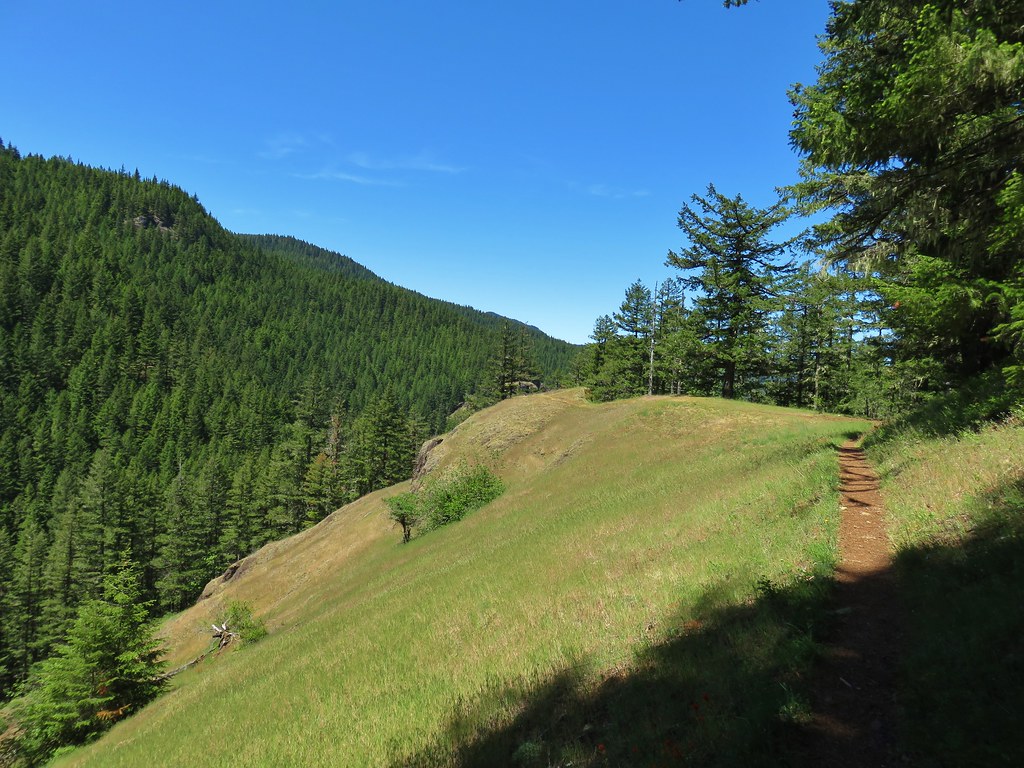
We turned out toward the viewpoint where we found more flowers and a limited view of the Salmon River below.
IMG_4888

IMG_4892

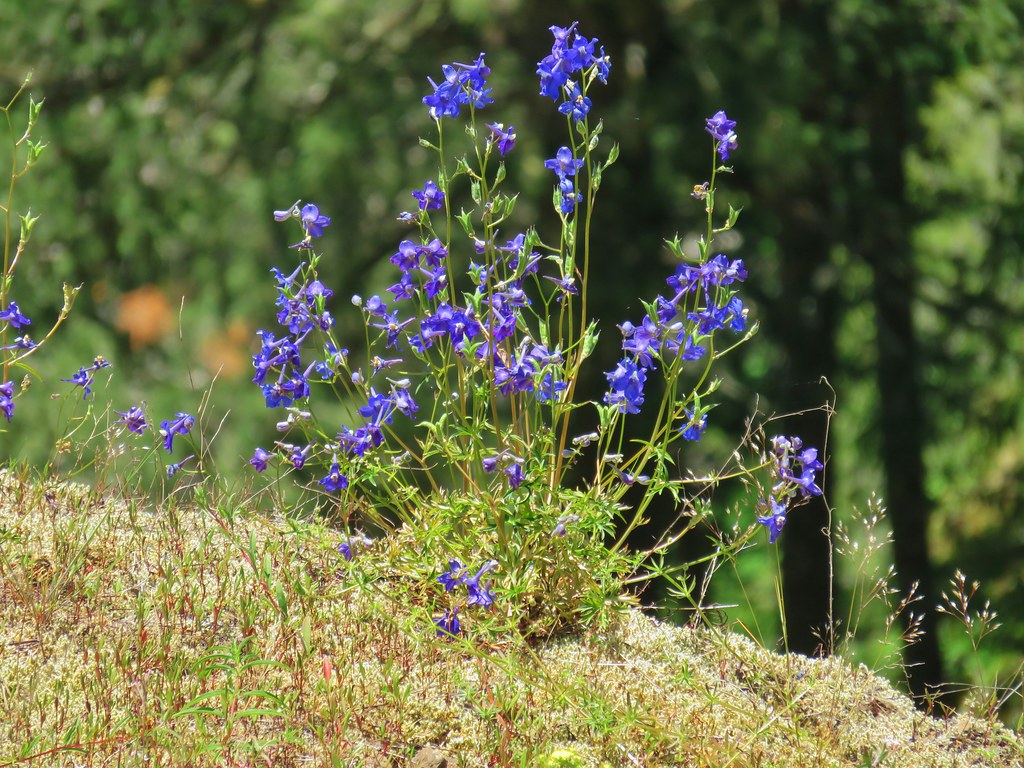
IMG_4896Larkspur

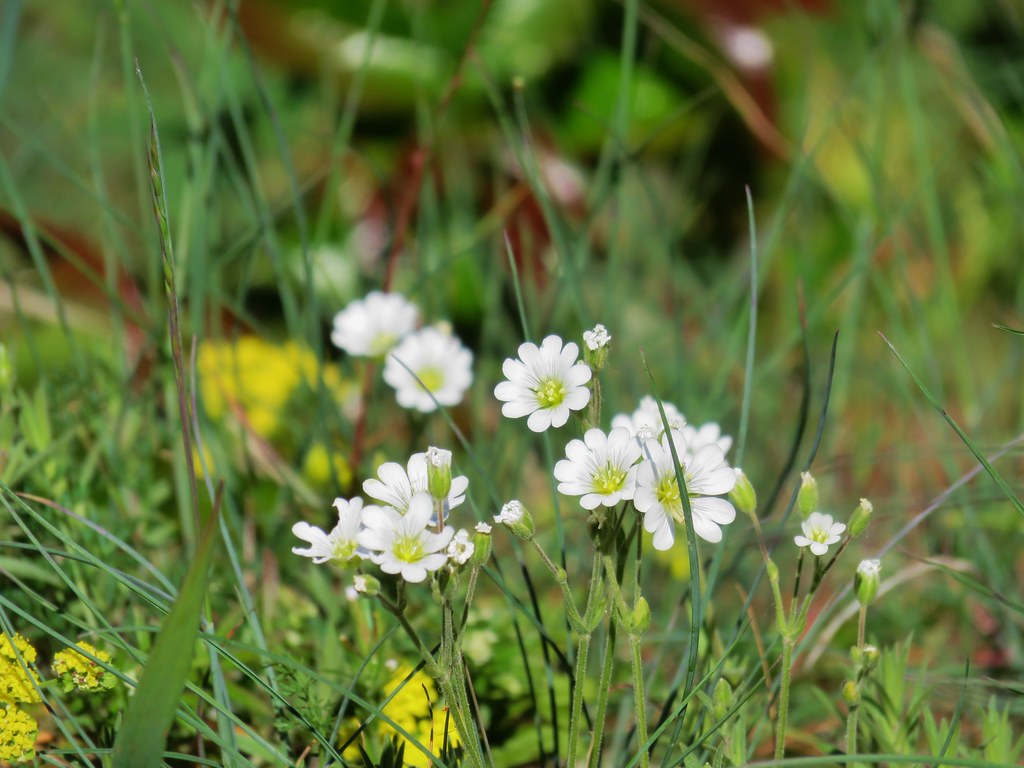
IMG_4902Field chickweed

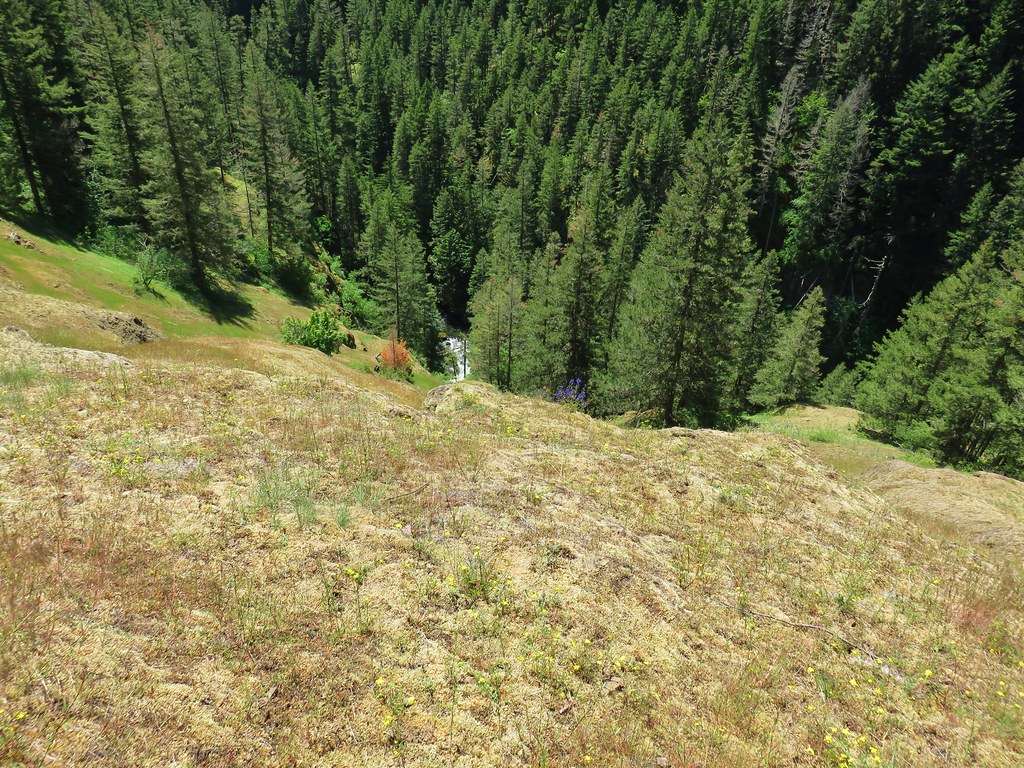
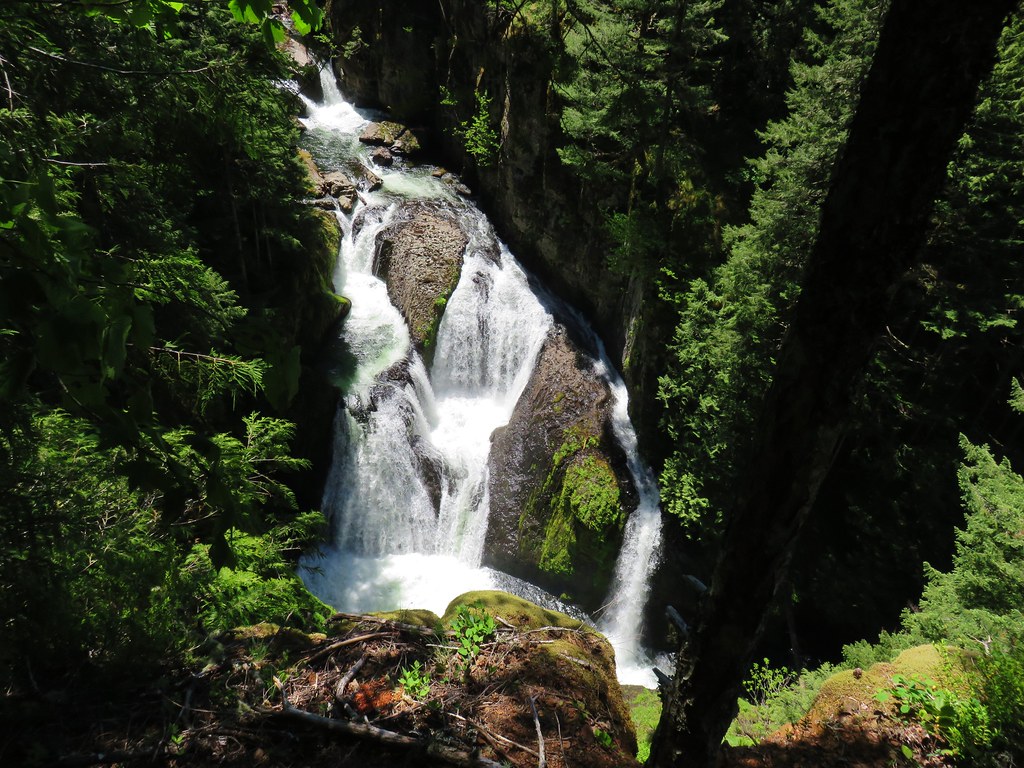
We knew from our 100 Hikes in Northwest Oregon guidebook that there was a series of three viewpoints along this section of trail. The third of which (coming form the east) being the only one we had visited on our previous hike. After the first viewpoint we passed by what appeared to be a use trail and kept going for a moment before deciding to go back and make sure this wasn’t the route to the middle viewpoint. It was not, but what it turned out to be was the very steep, rugged scramble to an overlook of Frustration Falls.
IMG_4947

We were aware that there was a use trail to a view of these falls and originally had no intention of seeking it out. We lucked out in that the conditions were perfect on this day so the trail was not wet or muddy which could make it extra slick. It was slick enough just due to the steepness and loose rocks so we relied heavily on our poles. In all the trail lost around 350 feet in less than a quarter mile. This was definitely not a trail for everyone and anyone wishing to attempt it does so at their own risk. With that said we were happy to have accidentally stumbled on the trail and sat next to a small creek with it’s own fall for a bit admiring the thundering cataract below.
IMG_4928

IMG_4941Cliffs along the hillside above the Salmon River

After the break we struggled back up the scramble path.
IMG_4953

Shortly after being back on the Salmon River Trail we came to the actual middle viewpoint which didn’t have a view of the river at all just up and down the forested canyon.
IMG_4961

IMG_4962

Another quarter mile brought us to the start of a familiar small loop around the final viewpoint area.
IMG_4966

This was as far as we’d come from the west end of the trail and meant that we had now covered the entire Salmon River Trail. The grassy viewpoint here was full of June flowers which would be long gone at the end of August.
IMG_4969

IMG_4970

IMG_4980

IMG_4990

IMG_4994

IMG_5006

The view was quite a bit different too.
IMG_4997

Salmon River Canyon

We finished the .4 mile loop and started back for camp. We had run into a few more hikers since Goat Creek but by the time we got back to the campsites along that creek we had passed them all. We saw one additional hiker between Goat Creek and the Kinzel Lake Trail then not another soul on the rest of the backpacking trip.

We got back to camp a quarter to five and relaxed for the rest of the evening. I had figured that it could be a 16 mile day if we decided to camp near Linney Creek, but I hadn’t figured in the side trips to viewpoints, the scramble trail down to the Frustration Falls view, or the hike up and down the Linney Creek Trail to the campsite. At the end of the day we’d covered closer to 18 miles so we were pretty well pooped. We were however excited to try out some new pieces of gear including an Enlightened Equipment quilt that Heather had recently purchased and for me it was a Thermarest Air Head pillow.

We were both pleased with our new gear and after a good nights sleep at what turned out to be a great campsite we were up at 5am ready to hike back to the trailhead. Even though we had hiked those same 5.5 miles the previous day we managed to spot some candy sticks starting to sprout that we’d missed on our way by the first time.
IMG_5067

As I mentioned at the beginning of this post we stopped by Trillium Lake on the way home where we got some more water and took a look at the lake. This time we paid a $5 day use fee that attendants were collecting, apparently we were there early enough the day before that the attendants weren’t yet out. We figured we’ve paid $5 for two bottles of water before so why not.

Were looking forward to more overnight trips in the next several months and this was a great trial run for the new gear. Happy Trails!

Flickr: Salmon River Overnight

Categories
Bull of the Woods/Opal Creek Hiking Old Cascades Oregon Throwback Thursday Trip report

Throwback Thursday – Little North Santiam River

**Note the 2020 Beachie Creek Fire burned the area covered by this hike.**

Our Throwback Thursday hike this week was the first time that we experienced snowfall while on a trail. In early April of 2012 we headed to the Little North Santiam, West Trailhead for what we hoped would be a 9 mile out-and-back hike along the Little North Santiam River.
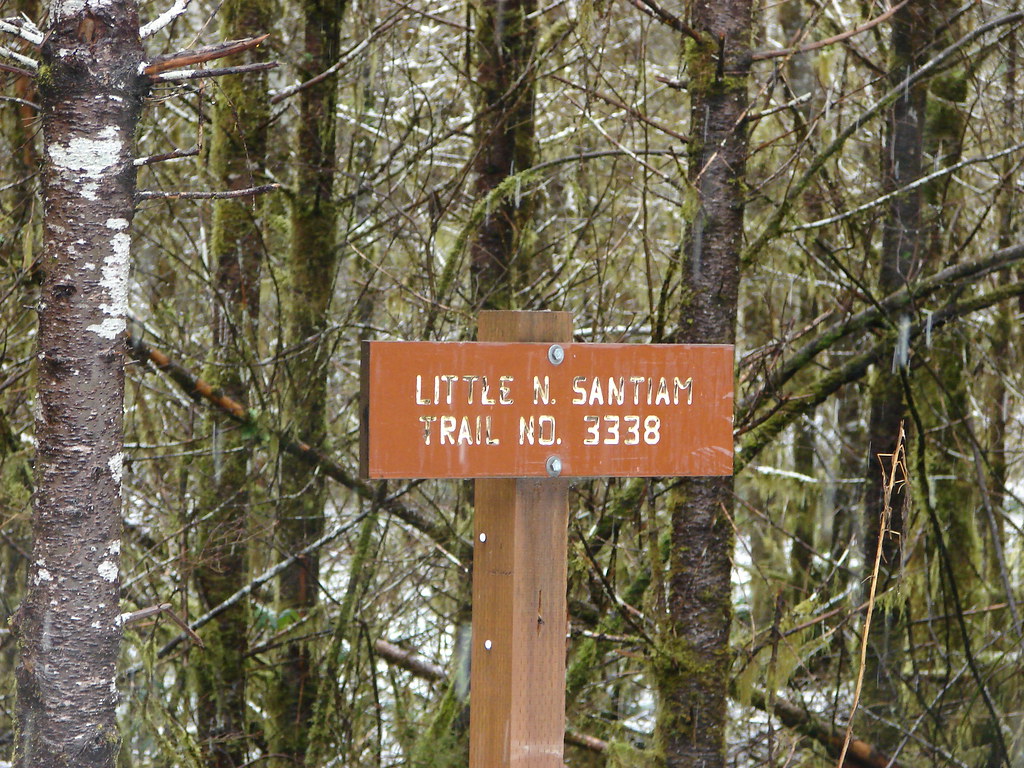
Little North Santiam Trail sign

The area has become so popular on summer weekends that in June 2017 the Forest Service put several restrictions in place (information). Most of the issues have been north bank of the river which is easily accessed by car. Even in 2012 we knew to avoid the warm days of summer so we were there on a cold, wet Spring morning ready to go.
Little North Santiam Trail sign

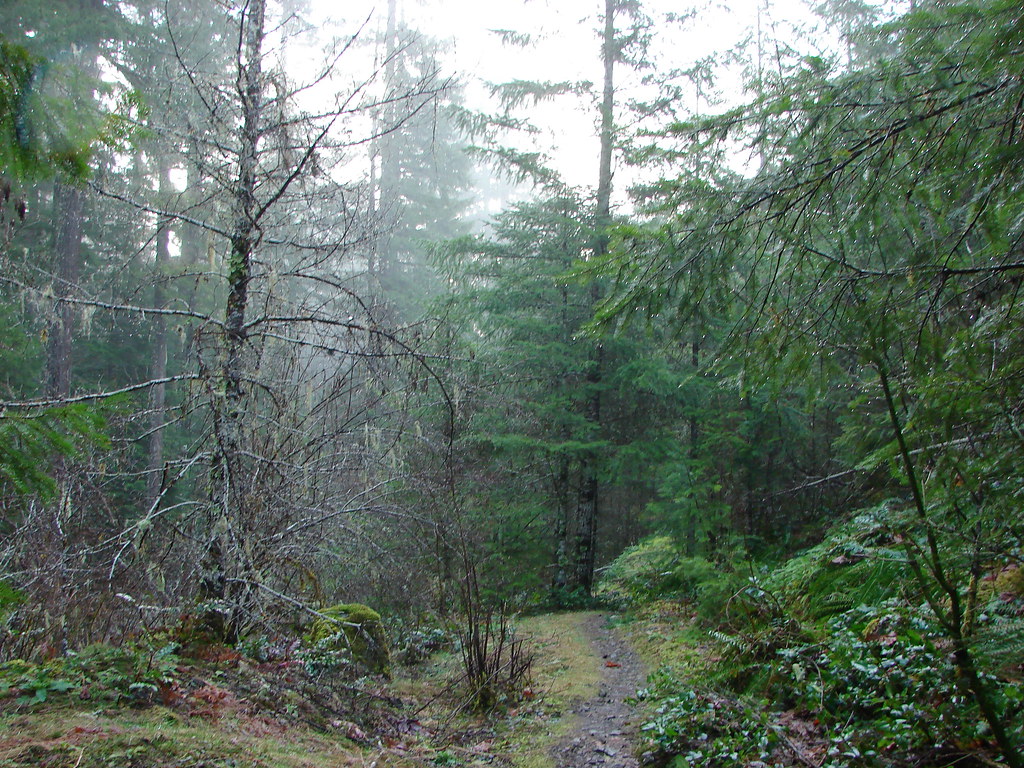
Little North Santaim Trail

The Little North Santiam Trail led through a green forest along the Little North Santiam River.
Winter Creek

Little North Santaim River

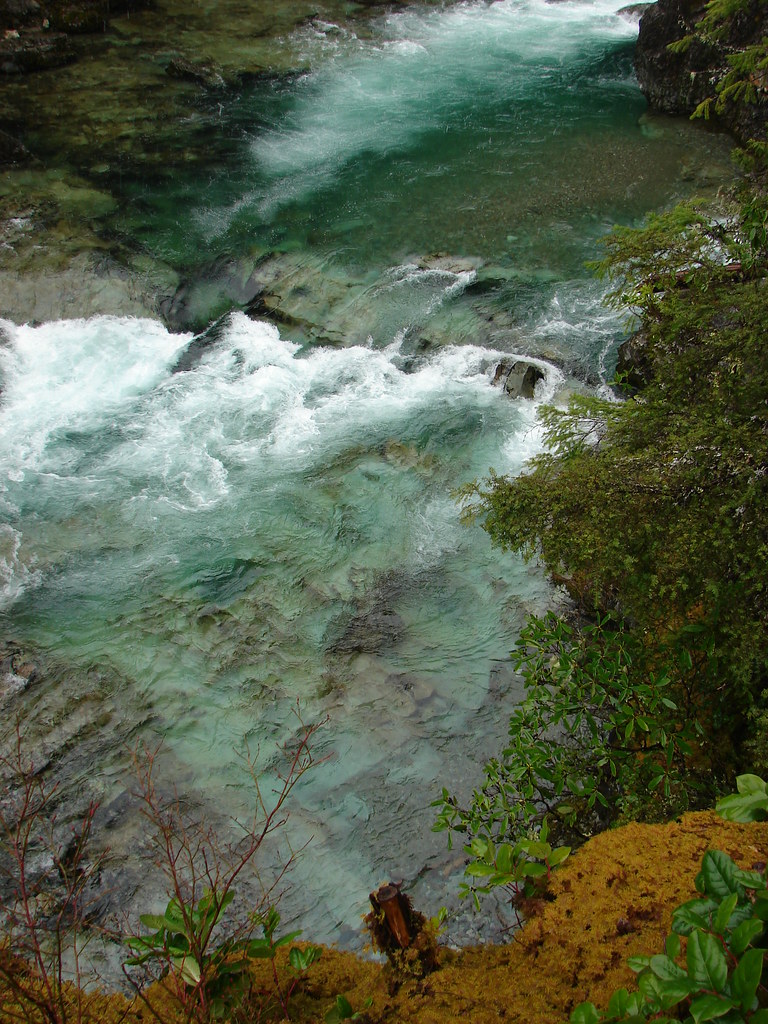
Several side paths led down to the clear water.
Little North Santaim River

Little North Santaim River

Little North Santaim River

Little North Santaim River

Little North Santaim River

Little North Santaim River

Low clouds provided a light drizzle but we could see high enough up the hillside to see that snow level wasn’t all that much more above us.
Snowy trees not too much higher up

After crossing Winter Creek the trail climbed away from the river as it passed through a narrow canyon.
Little North Santaim Trail

Little North Santaim River

Little North Santaim River

After passing the canyon the trail descended back down to the river through a mossy green forest.
Little North Santaim Trail

Forest along the Little North Santaim Trail

Little North Santaim River

At the 3.3 mile mark we passed above the Three Pools which are emerald pools in the river separated by small falls.
Little North Santaim River

Little North Santaim River

Little North Santaim River

A little beyond the Three Pools the trail crosses Little Cedar Creek on a footbridge only the footbridge had been washed out over the winter and the creek was flowing high enough and fast enough to make the thought of fording unattractive. We were only about half a mile from the eastern trailhead but had to turn back.

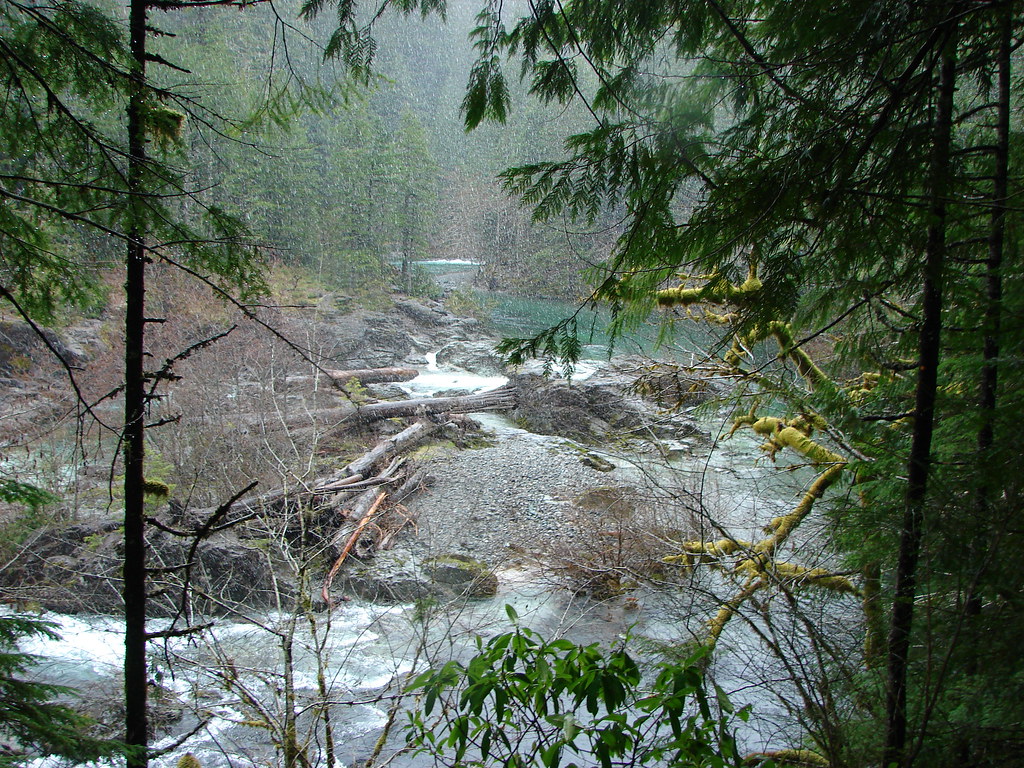
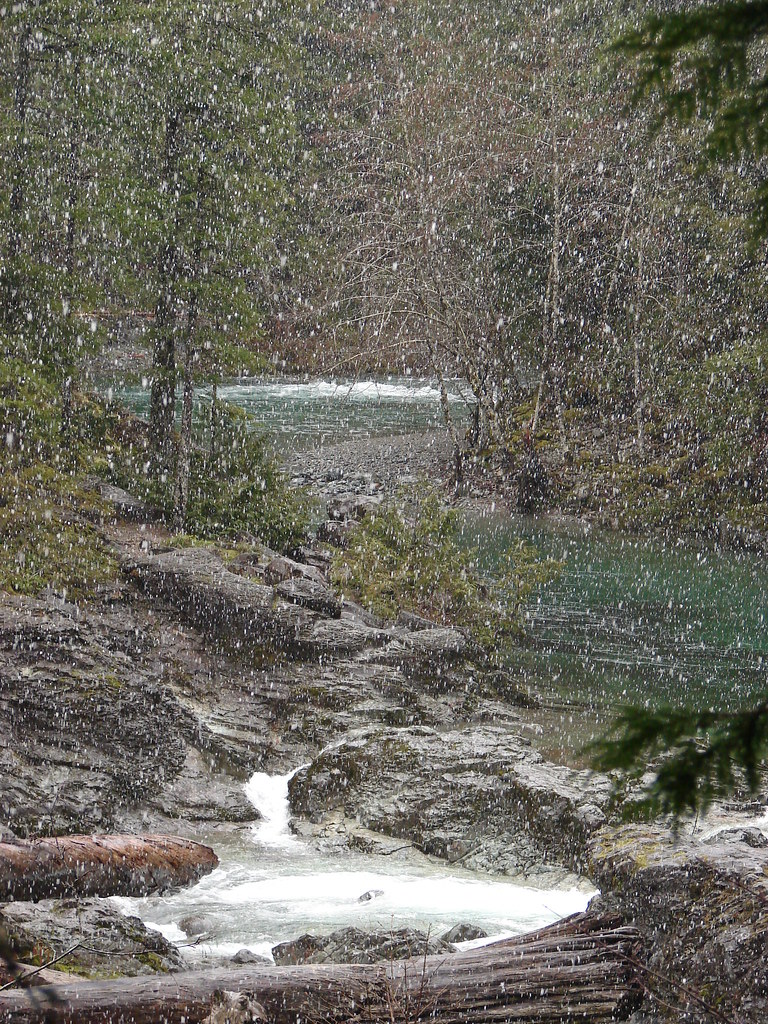
As we headed back it began to snow.
Snow falling on the Little North Santaim River

Snow falling on the Little North Santaim River

It was coming down steadily and beginning to stick.
Snow along the Little North Santiam Trail

Snow falling on the Little North Santaim River

Things looked quite a bit different at the high point of the trail when we passed over on the way back.
Little North Santaim Trail

Fresh snow on the Little North Santiam Trail

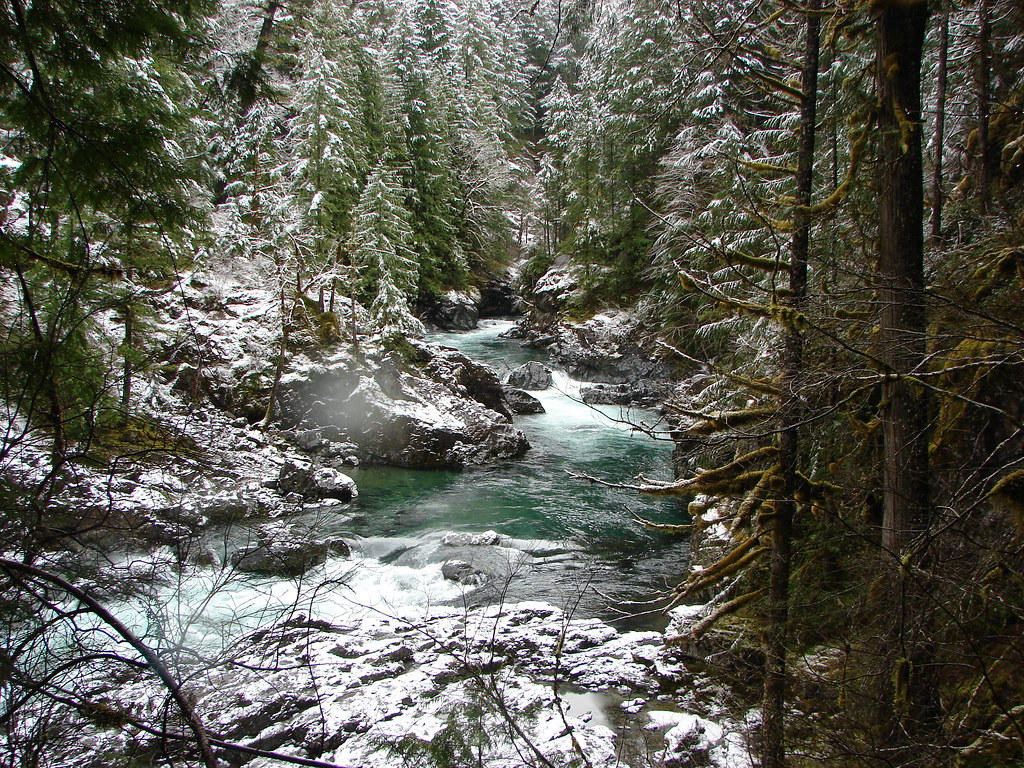
As we descended the amount of snow lessened but it still made for some beautiful scenery.
Snow on the Little North Santaim River

There was even a bit of snow at the trailhead when we got back.
Fresh snow at the Little North Santiam Trailhead

The snow had surprised us and we were a little nervous at first about being able to see the trail, which was unfounded but we hadn’t hiked in snow like that before. It wound up being an exceptionally beautiful hike though and so much nicer than it would have been with hundreds of people swimming in the river. Happy Trails!

Flickr: Little North Santiam River

Categories
Hiking McKenzie River Old Cascades Oregon Trip report

Lookout Creek & Carpenter Mountain

**Note portions of these hikes burned in the 2023 Lookout Fire.**

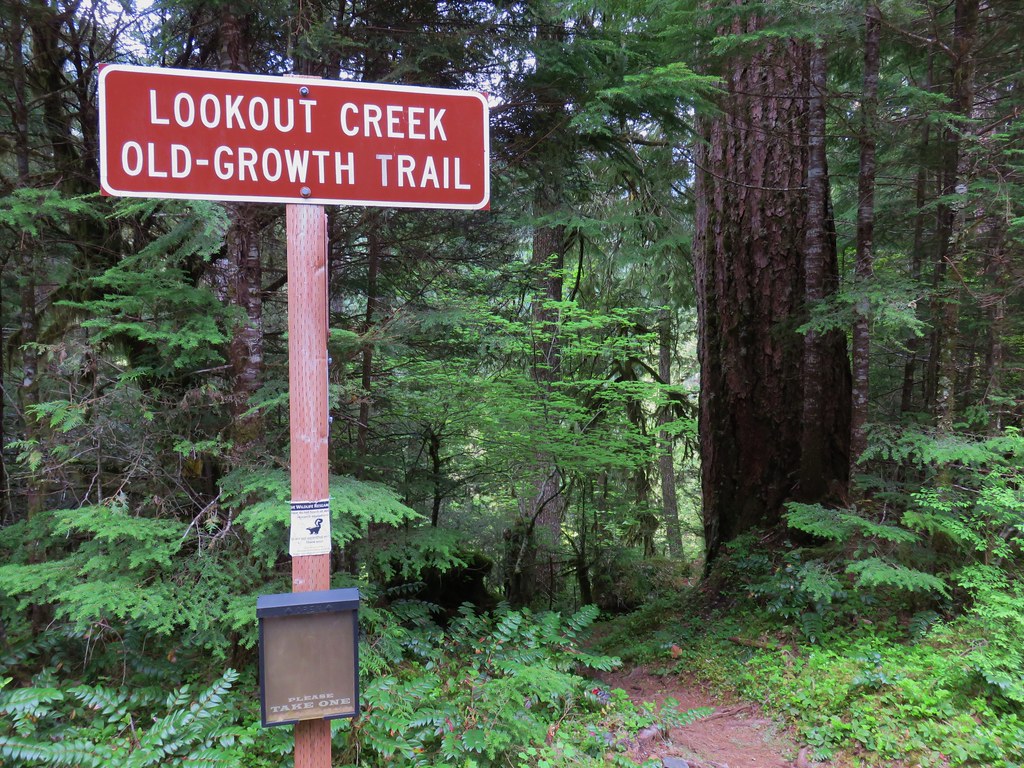
We found ourselves doing some last minute schedule rearranging due to an ever changing weather forecast. After deciding against a possibly wet overnight trip along the Salmon River we chose a pair of hikes we had originally planned on doing in early June. We picked these because they gave us options. The Lookout Creek Old-Growth Trail wasn’t view dependent so it didn’t matter if it was raining or partly sunny. We did however want at least partly sunny skies for the shorter hike to the lookout tower atop Carpenter Mountain so our plan was to decide on our way to Blue River, OR which hike to start with. Worst case scenario was that it showered all day in which case we would just hike the Lookout Creek Trail and save Carpenter Mountain for another time.

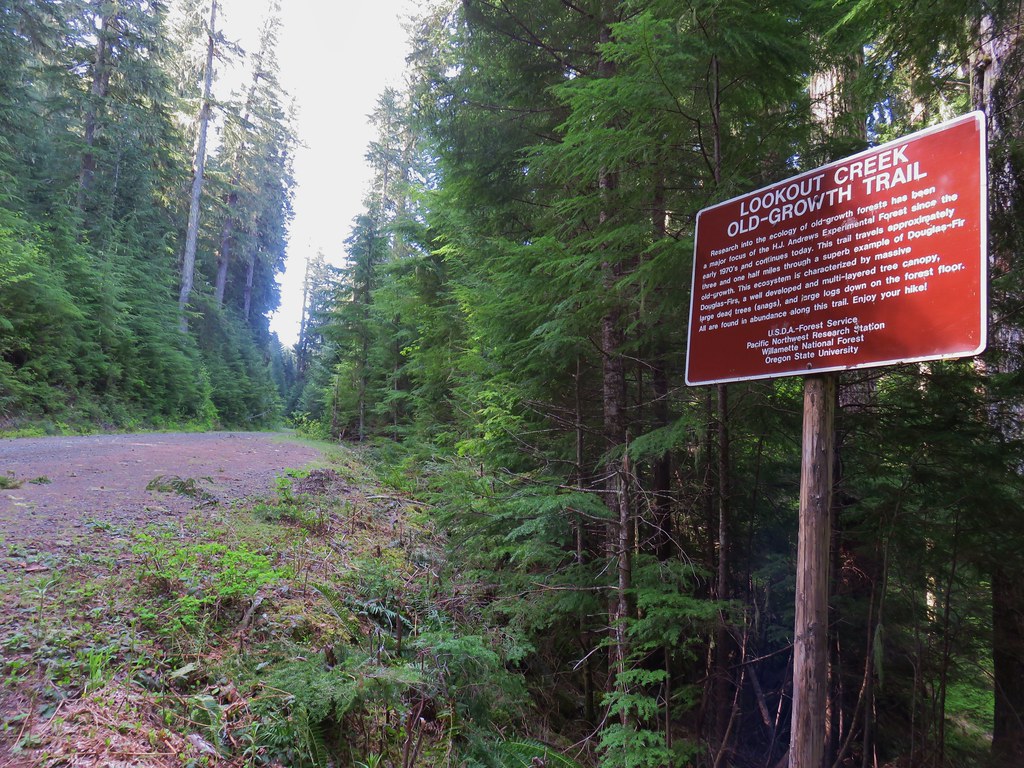
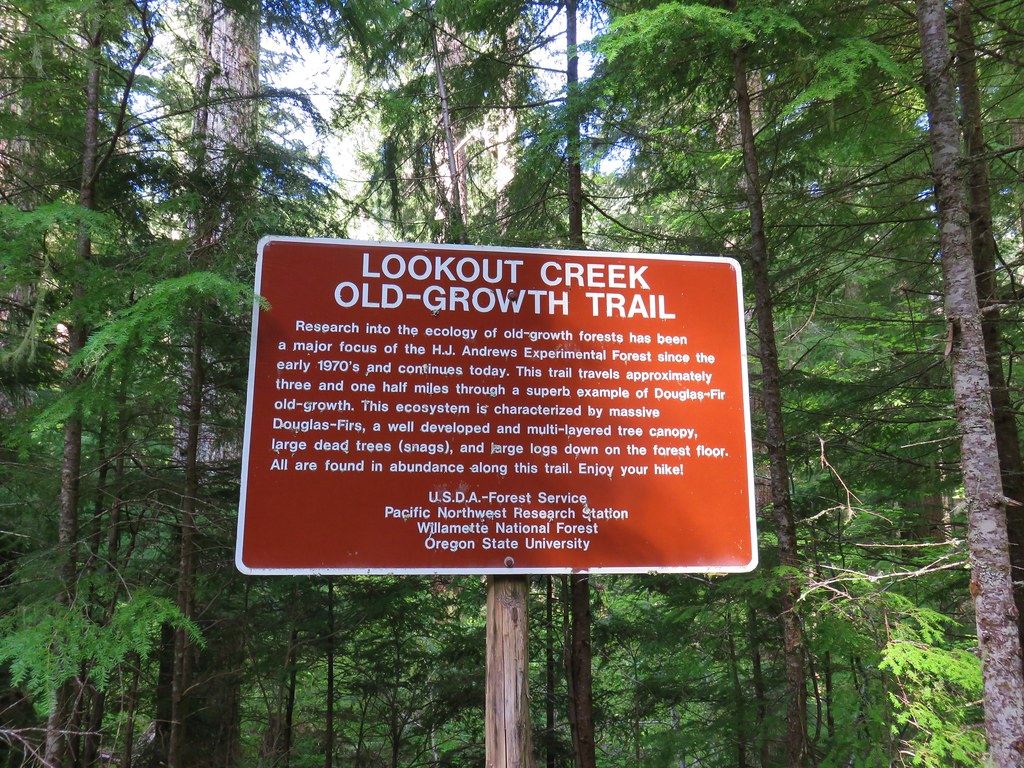
It was a misty drive south to Eugene and more of the same as we drove east from there on Highway 126 to Blue River so we headed to the Lookout Creek West Trailhead. The trail passes through the H.J. Andrews Experimental Forest, a 16,000 acre portion of the Willamette National Forest supported by Oregon State University and the U.S. Forest Service. The trail begins and ends on Forest Road 1506 making a car shuttle possible.

From the west trailhead the trail descended quickly down to Lookout Creek.
IMG_3696

IMG_3701

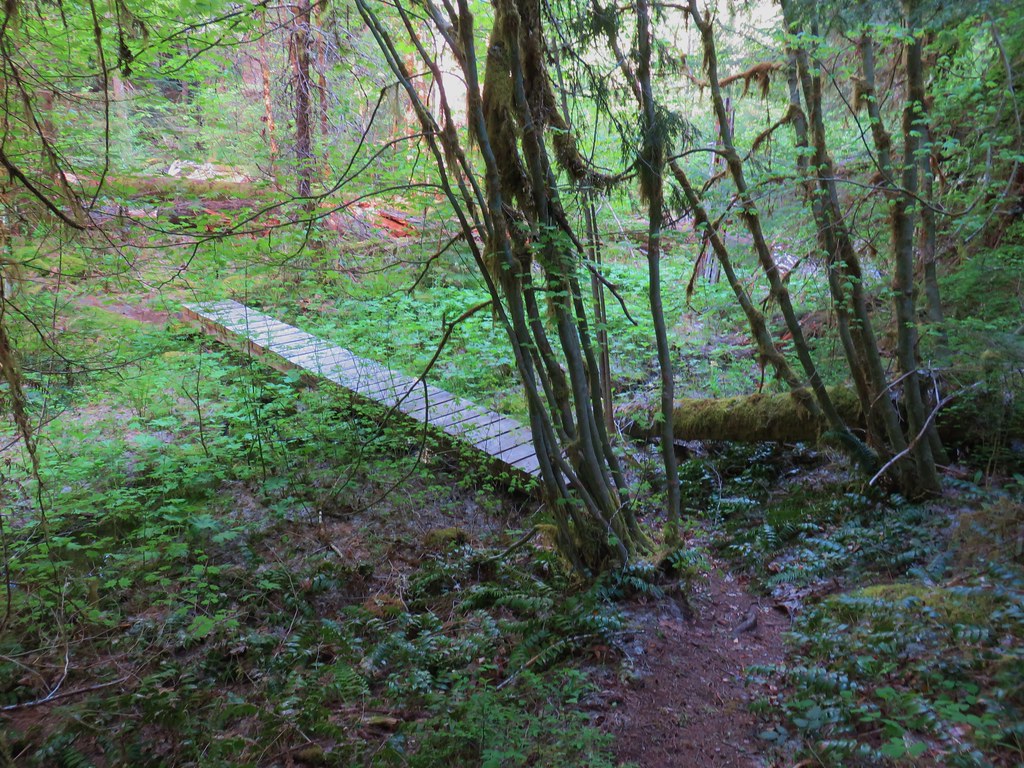
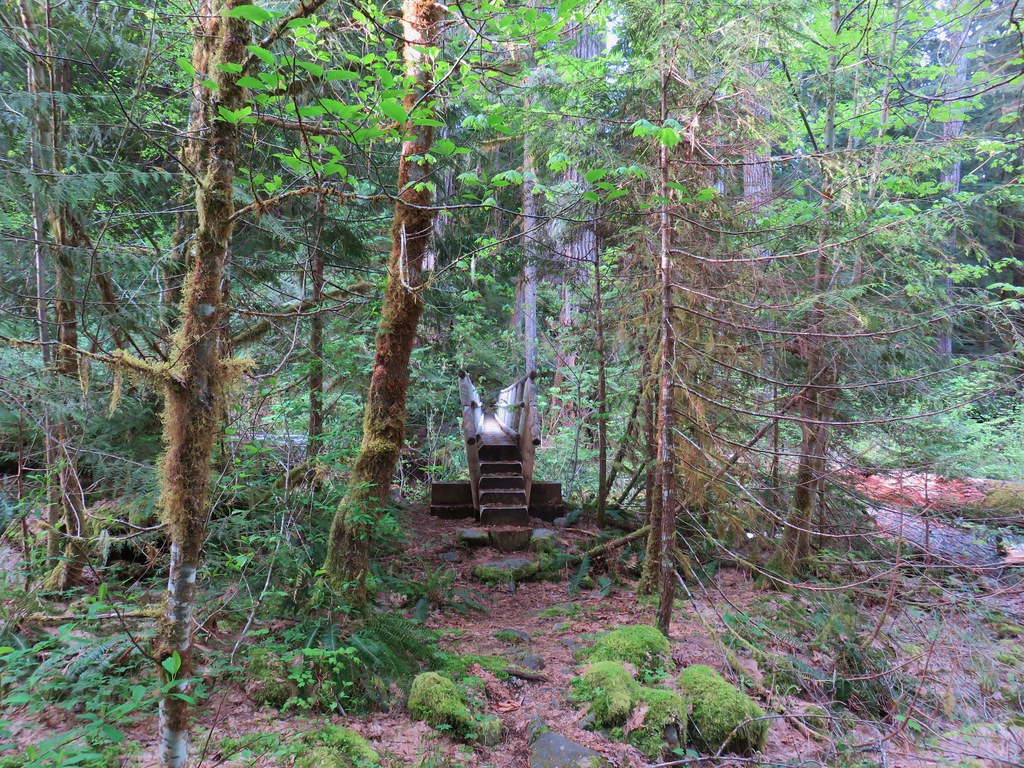
A small footbridge crossed a marshy area just prior to reaching a much longer bridge spanning Lookout Creek.
IMG_3706

IMG_3707

IMG_3709

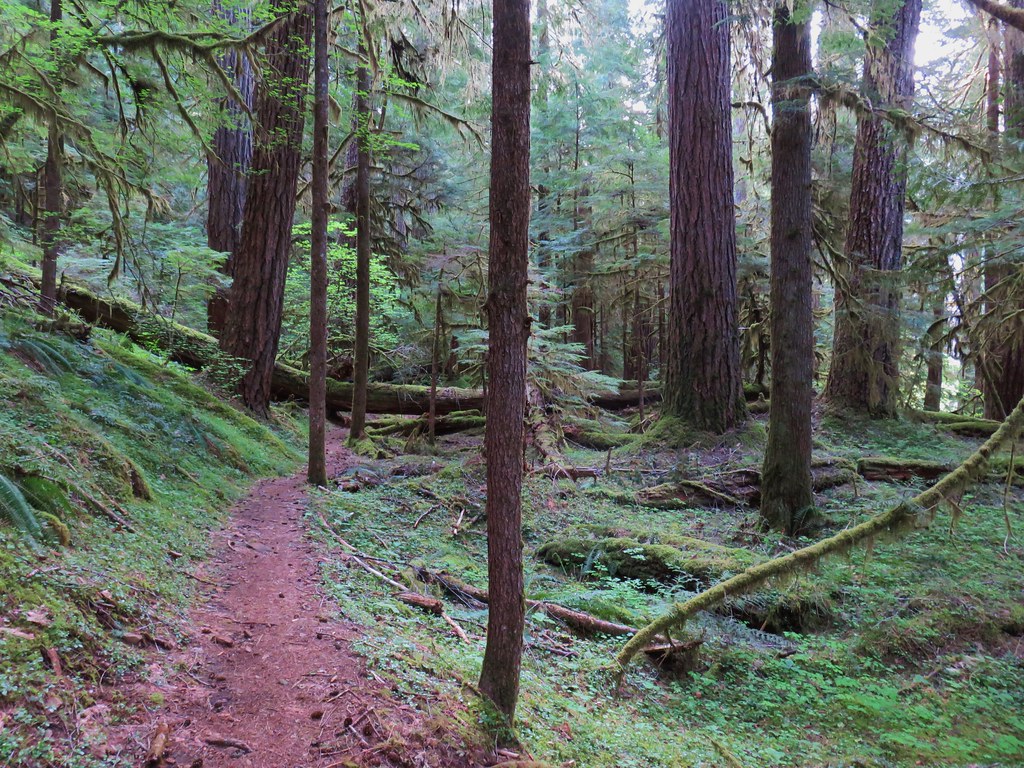
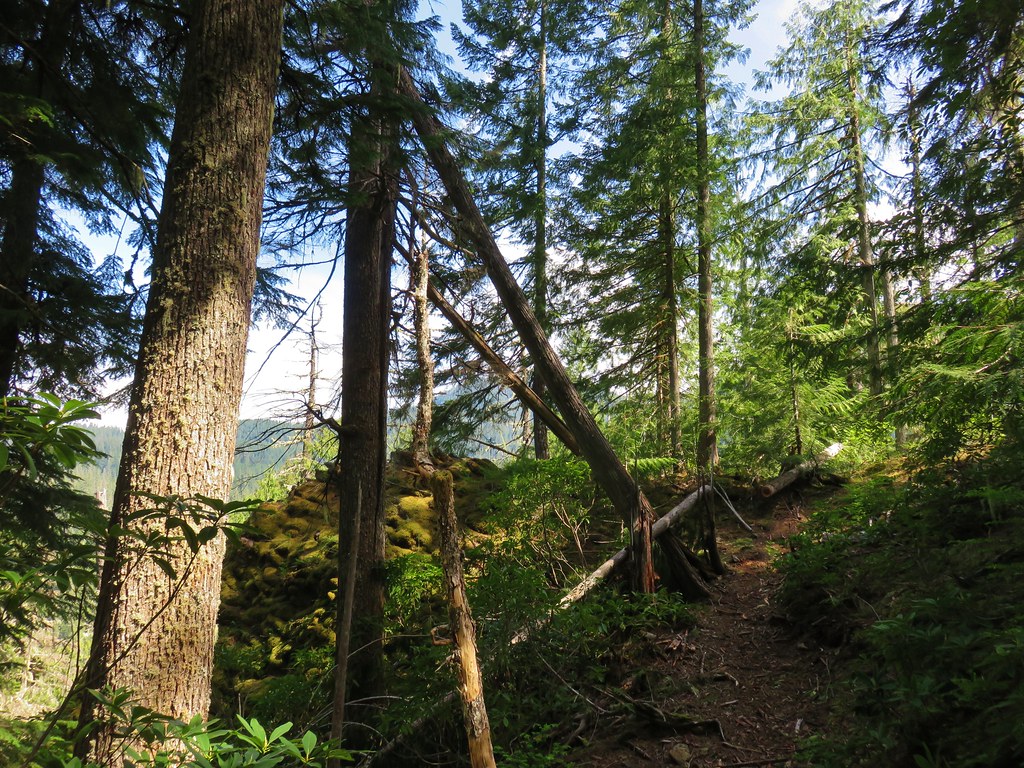
The trail then climbed steeply away from the creek up a ridge for about a mile then began traversing the hillside several hundred feet above the creek. The old-growth forest was the star of the hike.
IMG_3716

IMG_3727

IMG_3754

Several types of wildflowers were either blooming or preparing to bloom along the way.
IMG_3722Red flowering currant

IMG_3723 Large solomonseal

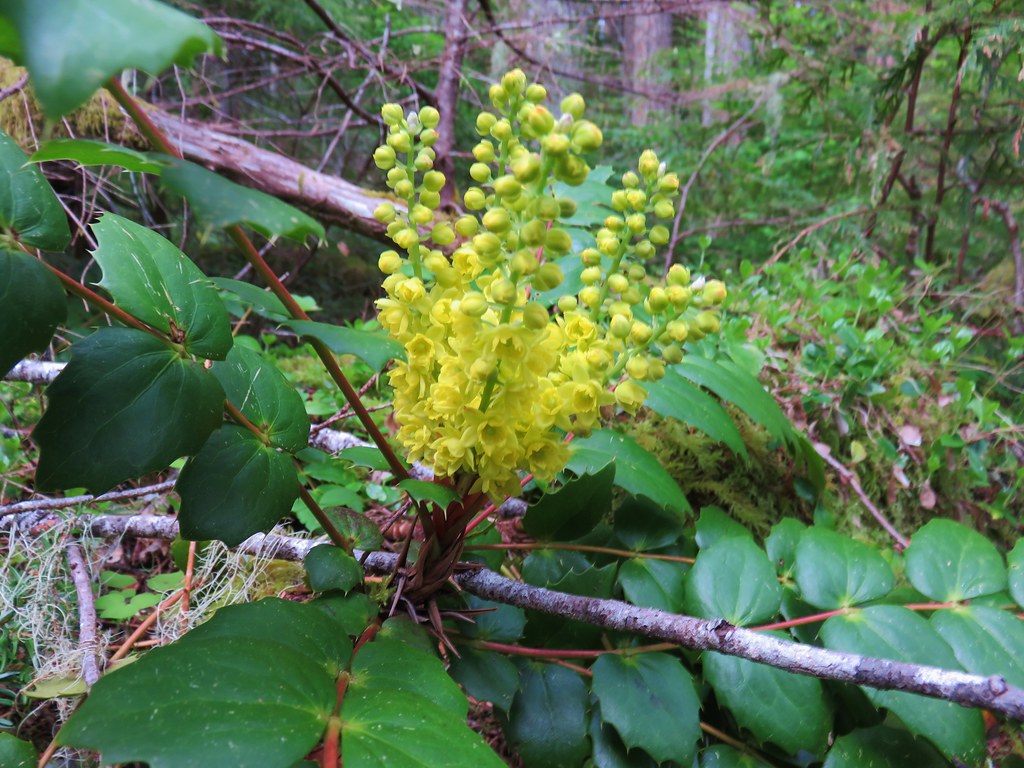
IMG_3739Oregon grape

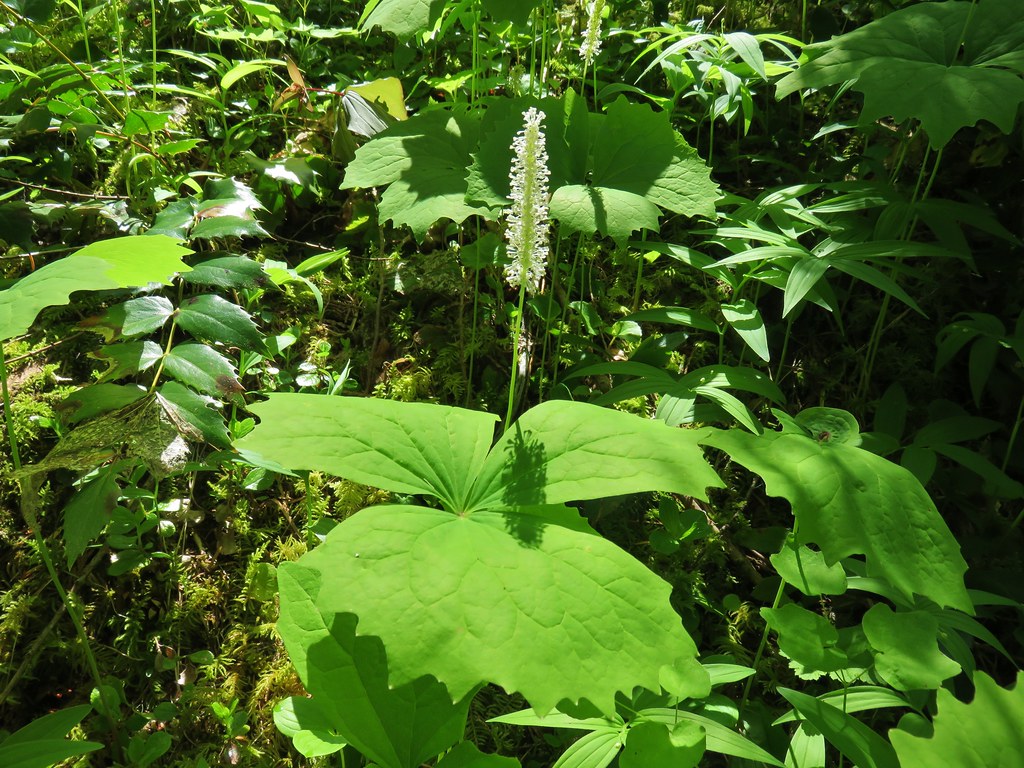
IMG_3804Vanilla leaf

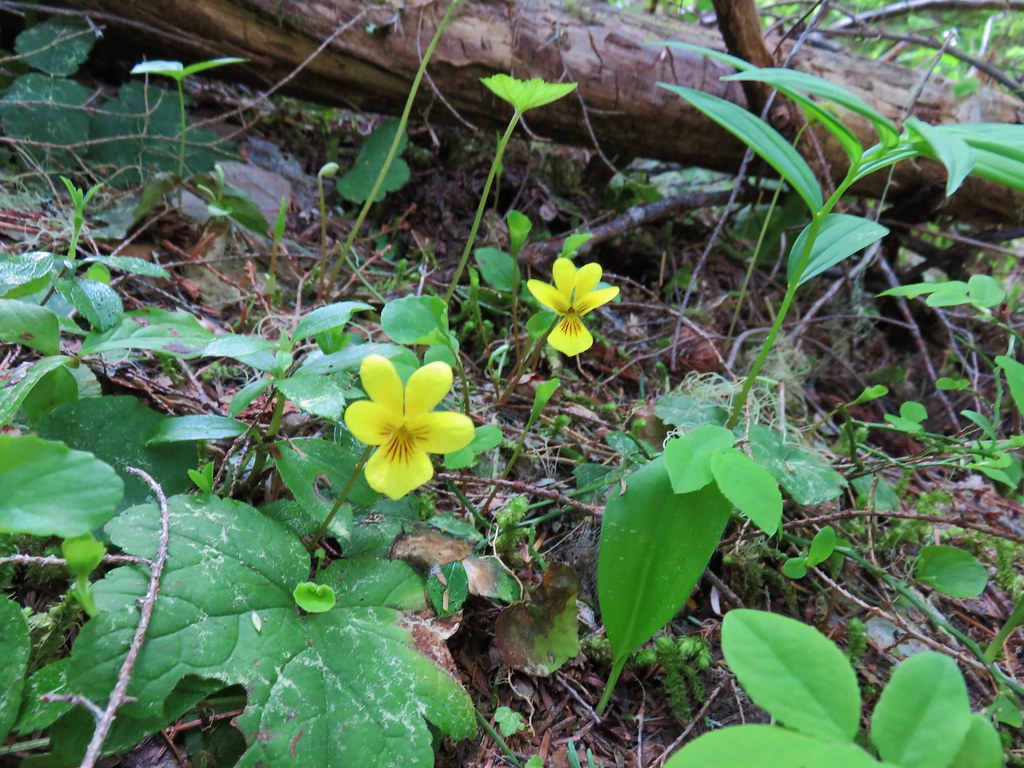
IMG_3791Violets

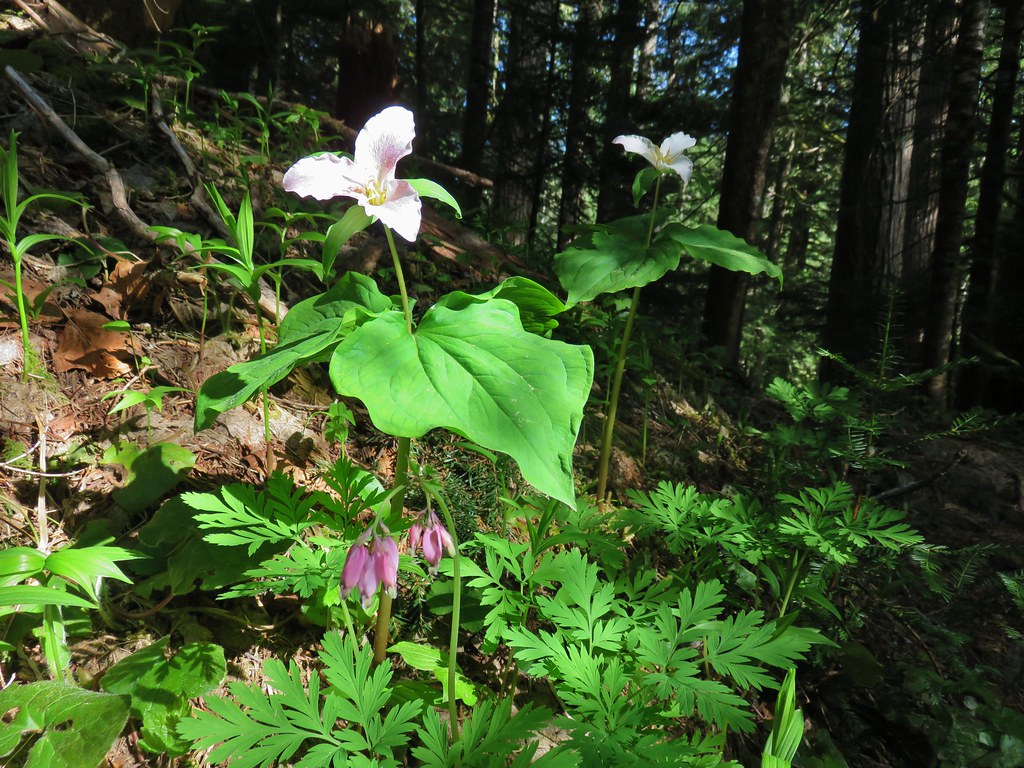
IMG_3774Trillium and bleeding heart

IMG_3803Bunchberry

IMG_3744

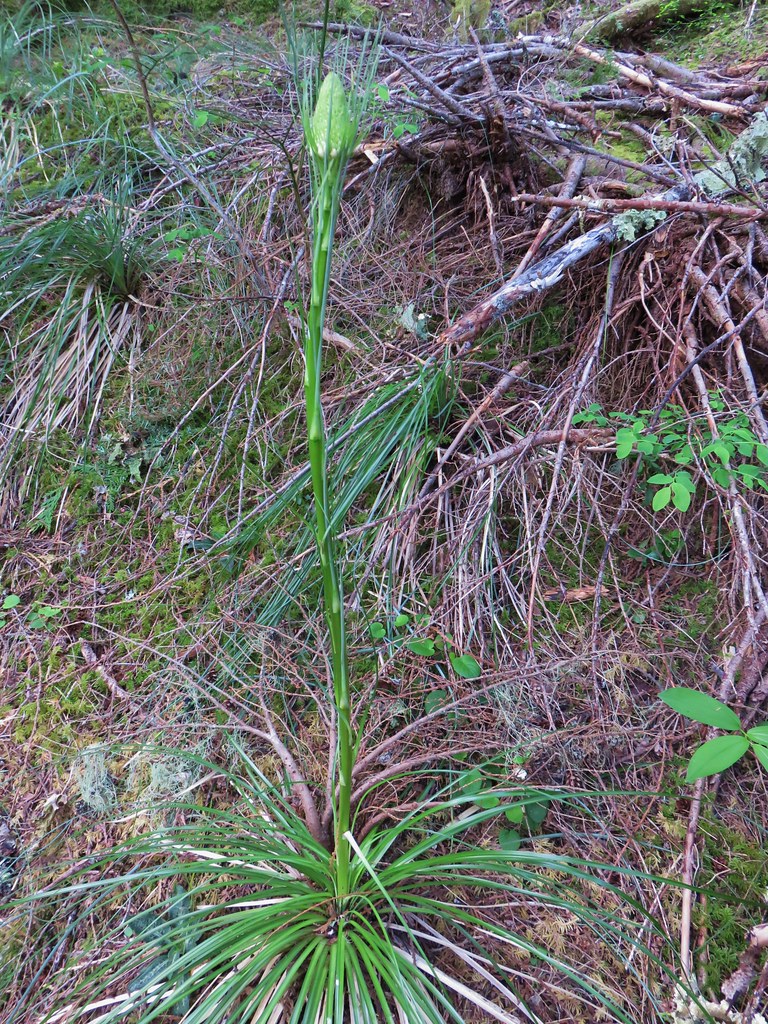
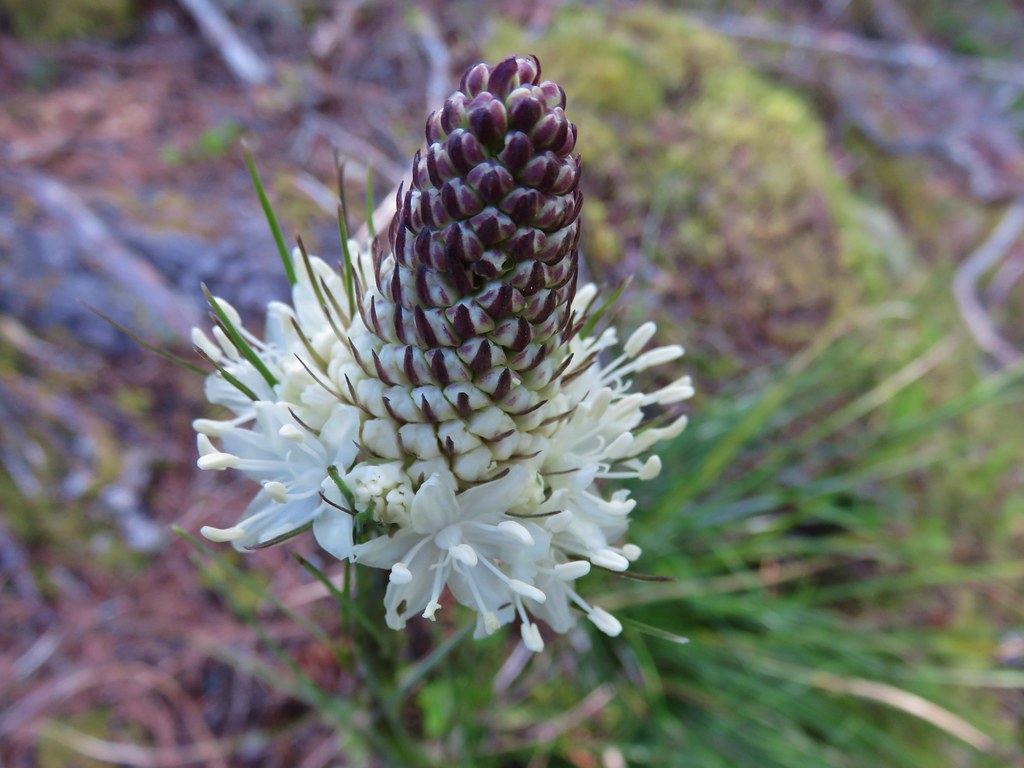
IMG_3752Beargrass

Wildlife was confined to the smaller varieties.
IMG_3719

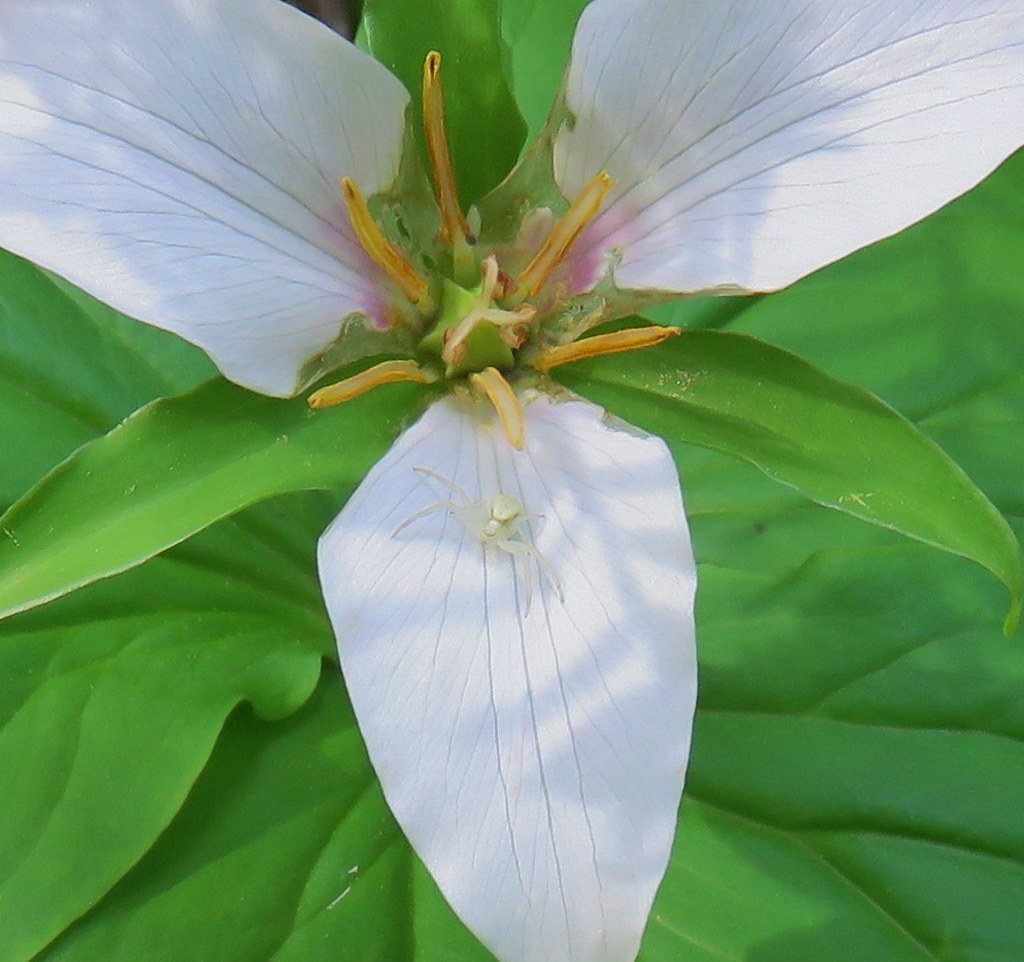
Crab SpiderCrab spider on trillium

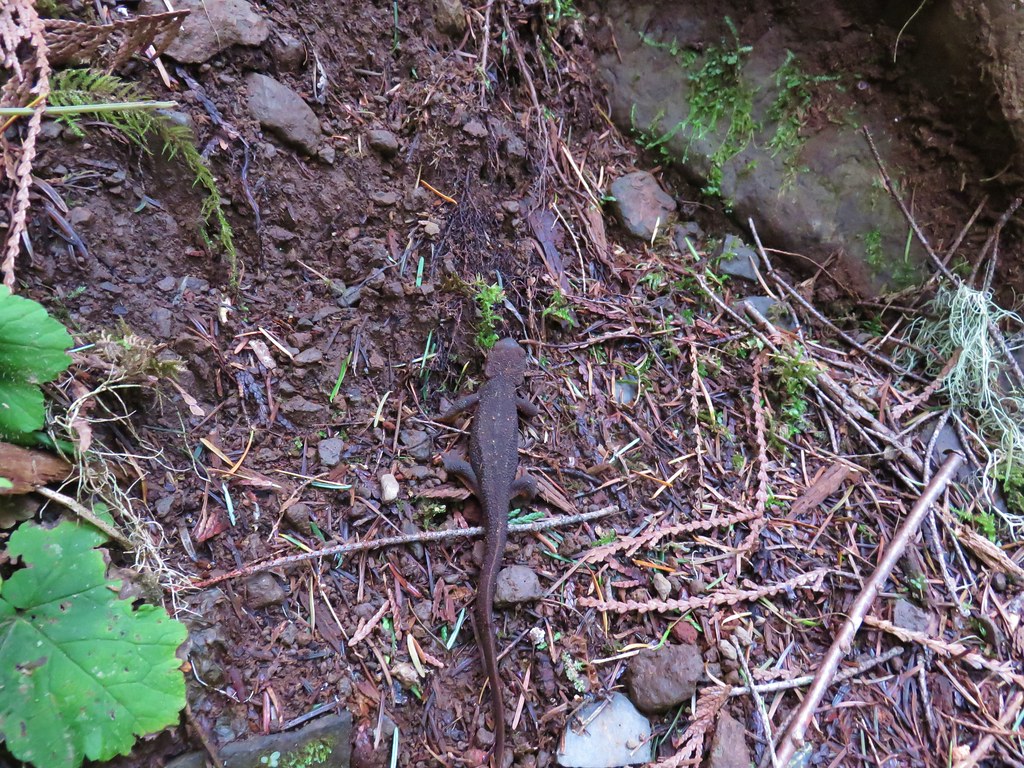
IMG_3729Rough-skinned newt

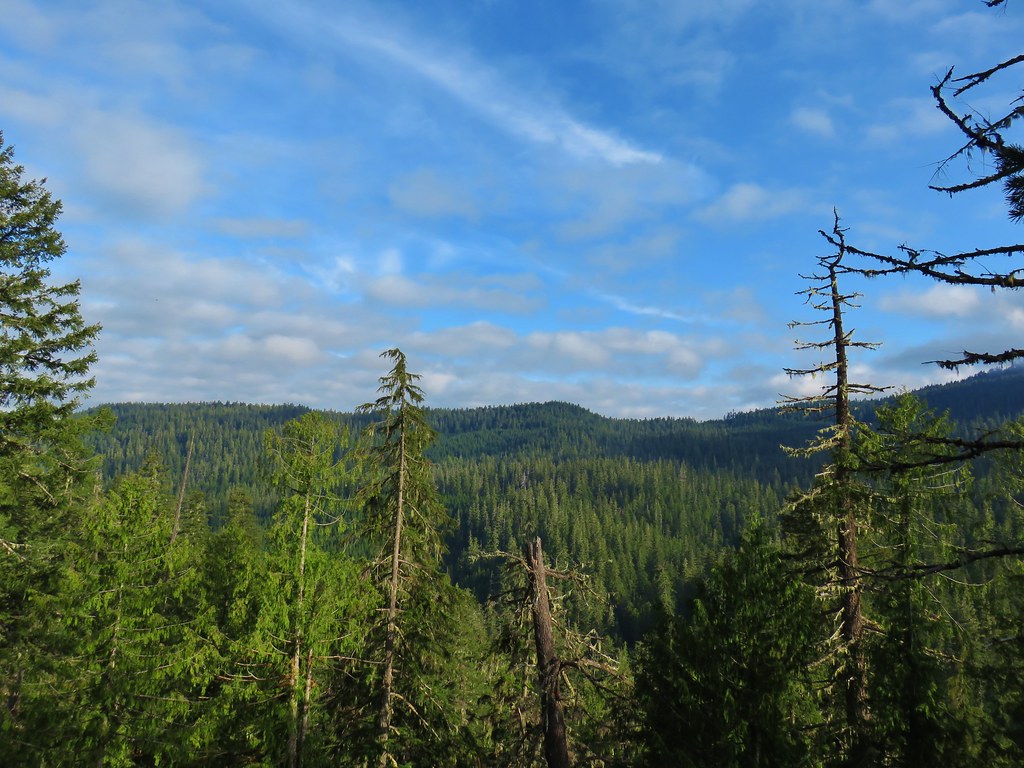
A mile and a half from the west trailhead was the only real viewpoint along the trail. A rock outcrop there looked out over the Lookout Creek Valley.
IMG_3801

IMG_3748

IMG_3746

From the viewpoint we could see that the clouds seemed to be breaking up which gave us some hope that by the time we were finished with this hike it might be clear enough to warrant the visit to Carpenter Mountain.

Beyond the viewpoint the trail crossed several small seasonal streams. Only one of these crossing was a little tricky. The log over the stream was angled down which made it a little awkward to cross.
IMG_3757

IMG_3759

The trail dropped back down to a second crossing of Lookout Creek before climbing back up to Road 1506 at the eastern trailhead. The bridge and the creek where much smaller at this end.
IMG_3781

IMG_3782

IMG_3783

IMG_3785

Our guidebook had described the trail in part as “A woodsy 6.3-mi trail….” (since corrected in subsequent printings) so we had been thinking that hiking the entire trail out-and-back would be 12.6 miles but a sign at this trailhead indicated that the trail was only 3.5 miles one way.
IMG_3787

We returned the way we’d come passing a handful of hikers on the way back to our car. Since the hike wound up only being 7 miles instead of 12.6 we made it back to the car at a quarter after eleven. The sky above seemed clear enough to give Carpenter Mountain a try. The trailhead for Carpenter Mountain is located on Forest Road 350 which we had passed on Road 1506 less than a quarter mile from the Lookout Creek West Trailhead. We drove back to Road 350 and turned onto it heading uphill (north) for approximately 5 miles to a pullout at a saddle. Even though the snow pack is below normal this year, we weren’t entirely certain that we would make to the trailhead which was at an elevation just over 4400′. We knew from our Patterson Mountain outing just two weeks prior that there was still some snow present in areas starting around 4000′ feet and we had even seen one very small patch of snow along the Lookout Creek Trail around 3400′.
IMG_3770Snow in the bushes along the Lookout Creek Trail

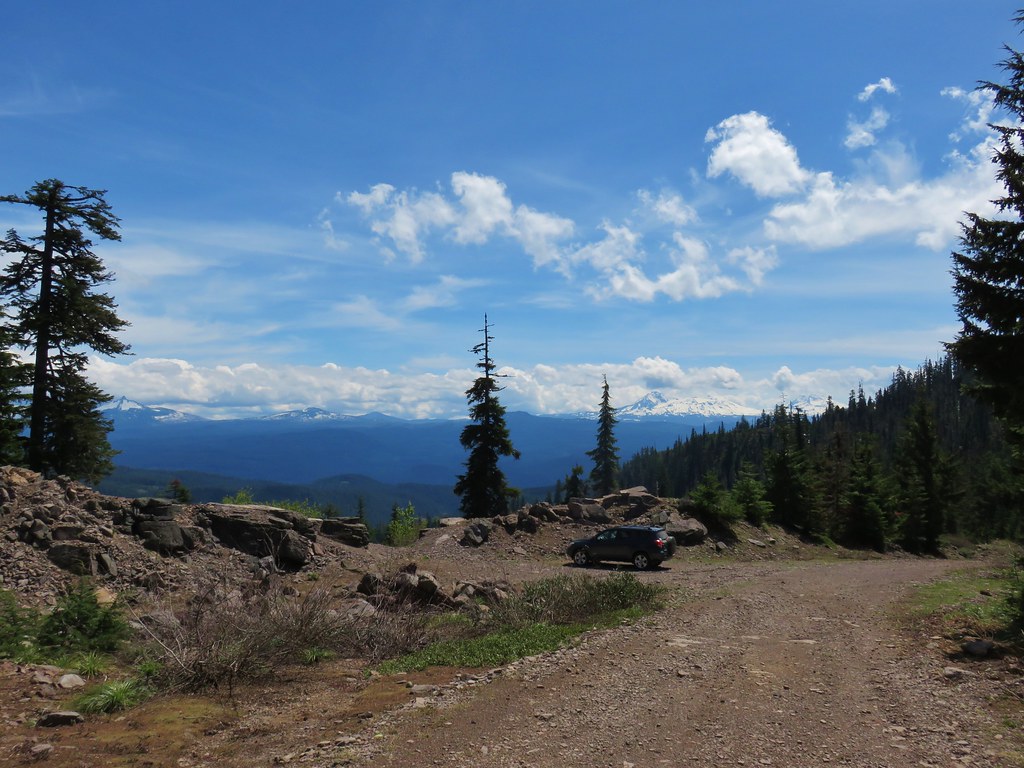
The road was in pretty good shape, it appeared that the Forest Service had taken care of the trees that had fallen over the winter and aside from a few rocks here and there the drive was fine. Near the trailhead there was some snow present along the shoulder of the road but that was it. We parked at the saddle which had a decent view east to several mountains.
IMG_3822

A short walk up the road brought us to the signed trail.
IMG_3824

IMG_3826

The trail climbed up through huckleberry bushes just beginning to get their leaves.
IMG_3828

It wasn’t long before we hit the first section of snow covered trail.
IMG_3834

For a short while the trail occasionally popped out from under the melting snow.
IMG_3934

IMG_3838

IMG_3840

We had micro spikes with us but never needed them. The trail actually became snow free after about four tenths of a mile and at the half mile mark passed through a hillside meadow with a few yellow glacier lilies.
IMG_3844

IMG_3848

IMG_3853

The meadow allowed for views SSW to Diamond Peak.
IMG_3846

IMG_3849

IMG_3850

Beyond the meadow the trail wound its way up Carpenter Mountain through a forest that had lots of debris down from the winter.
IMG_3862

IMG_3864

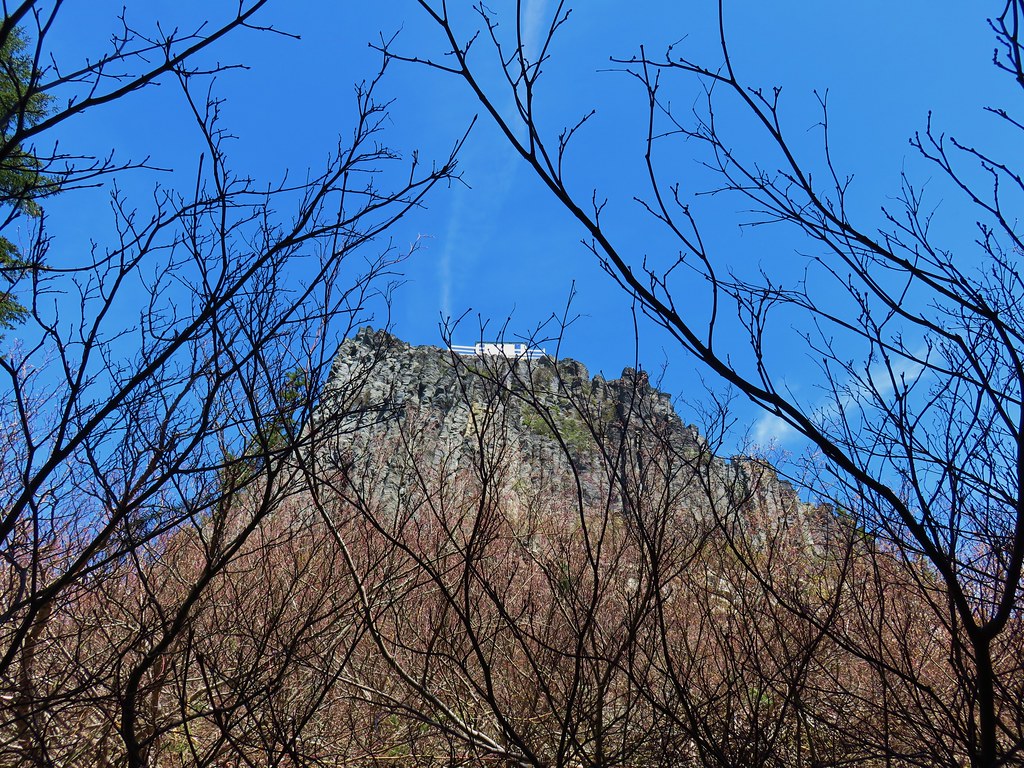
A little under a mile from the car the trail passed an opening where we could see the basalt cliffs of Carpenter Mountain’s summit and the lookout tower atop them.
IMG_3868

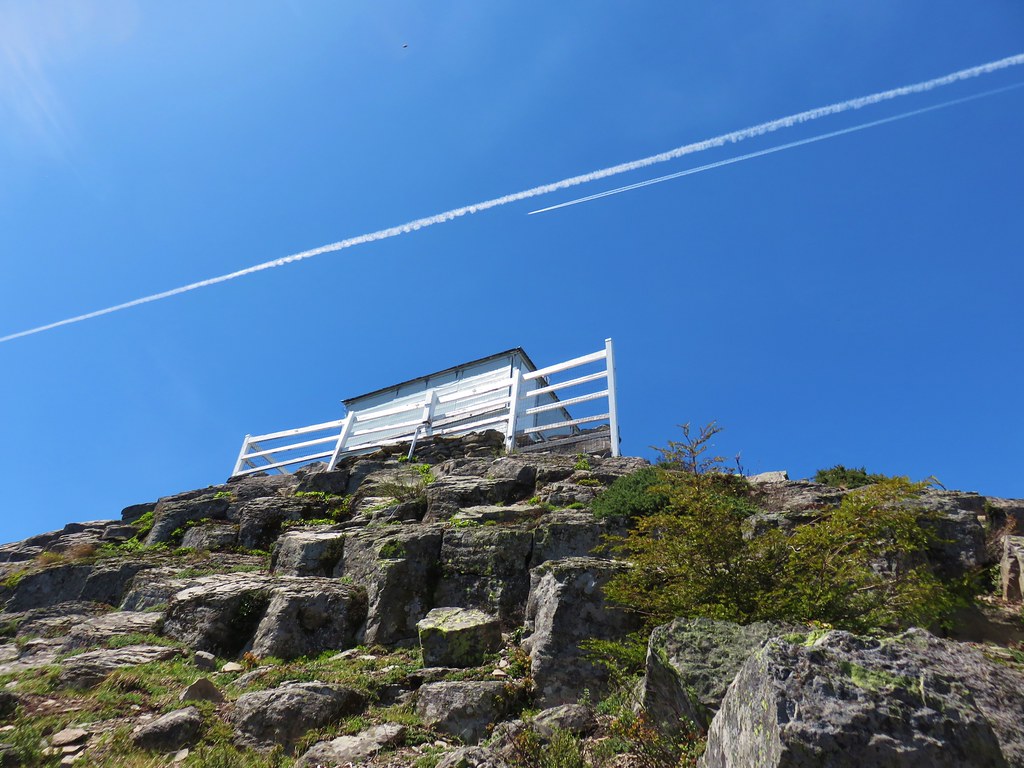
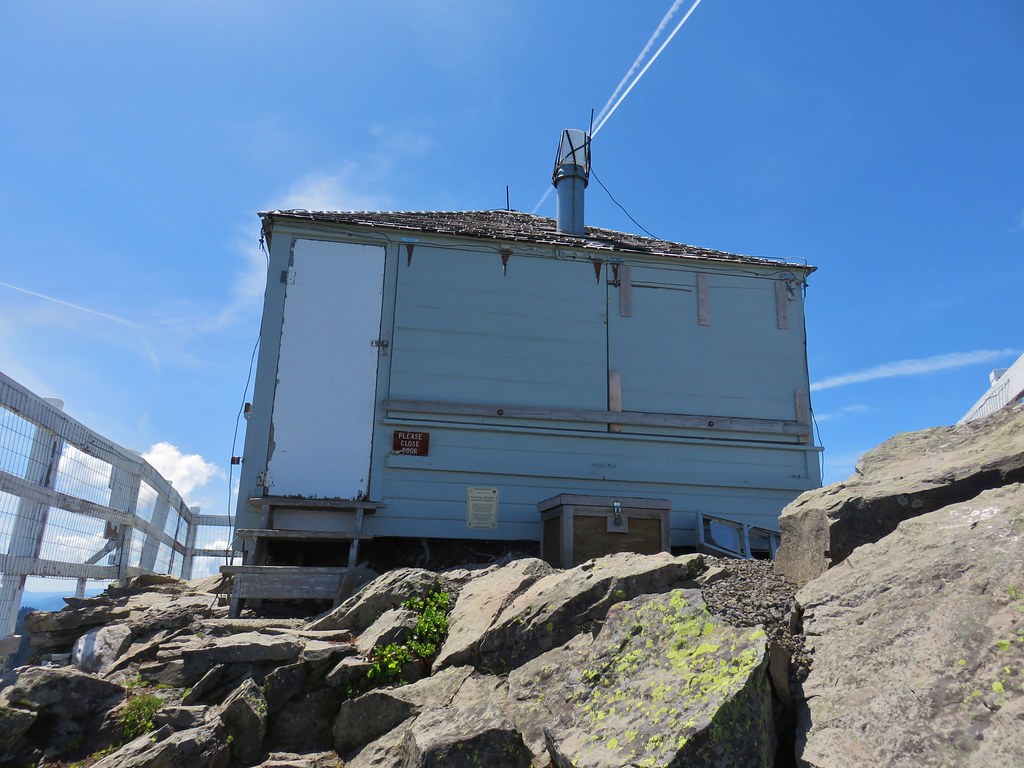
The trail took us around to the east side of the mountain where we climbed up the rocks to the lookout tower.
IMG_3875

IMG_3876

IMG_3924Looking back down at the route up

The tower wasn’t staffed yet for the season so we had the summit to ourselves. There were still some clouds in the sky but overall the views were pretty darn good. Mt. Jefferson was a little obscured and Mt. Hood was completely hidden but the rest of the Cascades from Three Fingered Jack to Diamond Peak were on full display.
IMG_3884Mt. Jefferson, Three Fingered Jack and Mt. Washington

IMG_3888Belknap & Black Craters, The Three Sisters & The Husband, and Mt. Bachelor

IMG_3886Diamond Peak

View from the Carpenter Mountain LookoutPanorama

One of the most interesting sights from the lookout is Wolf Rock, a monolith just to the north.
IMG_3915

IMG_3880

We took a nice long break at the tower and tried to identify as many of the visible peaks as possible. Starting to the north:
IMG_3908Iron Mountain and Cone Peak (post) with Battle Ax Mountain (post) between in the distance.

IMG_3910Browder Ridge (post)

IMG_3883Mt. Jefferson

IMG_3893Maxwell Butte (post) and Three Fingered Jack

IMG_3894Mt. Washington

IMG_3896Belknap Crater (post) and Black Crater (post)

IMG_3897The Three Sisters and The Husband

IMG_3898Mt. Bachelor

IMG_3904Fuji Mountain (post) and Diamond Peak

IMG_3919Tidbits Mountain

The thought of an actual meal finally tore us away and we headed back down. It was a great reward for a relatively easy two mile hike. Even though the trail gained over 900′ of elevation over the course of the mile it was a fairly gradual climb. The old-growth trail had also been very nice, it was a pretty forest with lots of bird song. All in all not a bad way to spend a day. Happy Trails!

Flickr: Lookout Creek & Carpenter Mountain

Categories
High Cascades Hiking Mt. Jefferson Area Oregon Throwback Thursday Trip report

Throwback Thursday – Three Fingered Jack

This week’s Throwback Thursday hike is a 13.5 mile loop taken on 10/13/12 partly along the Pacific Crest Trail in the Mt. Jefferson Wilderness. We started our hike at the Pacific Crest Trailhead near Santiam Pass along Highway 22. Our plan for the day was to follow the PCT to the SW flank of Three Fingered Jack then return on a loop by leaving the PCT on the way back above Martin Lake and hiking cross country past that lake to the Summit Lake Trail.

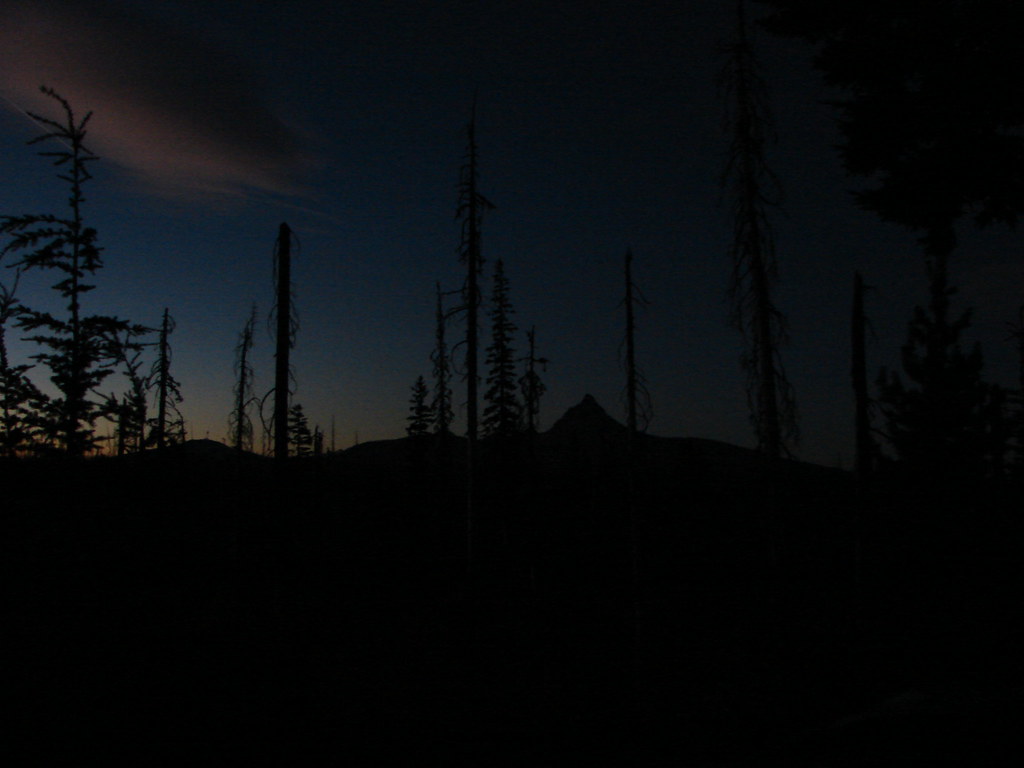
We arrived just before daylight and were rewarded with some amazing sights as we waited for enough light to start hiking.Three Fingered Jack/PCT trailhead

Morning from the trailhead

Mt. Washington in the morning from the trailhead

Mt. Washington

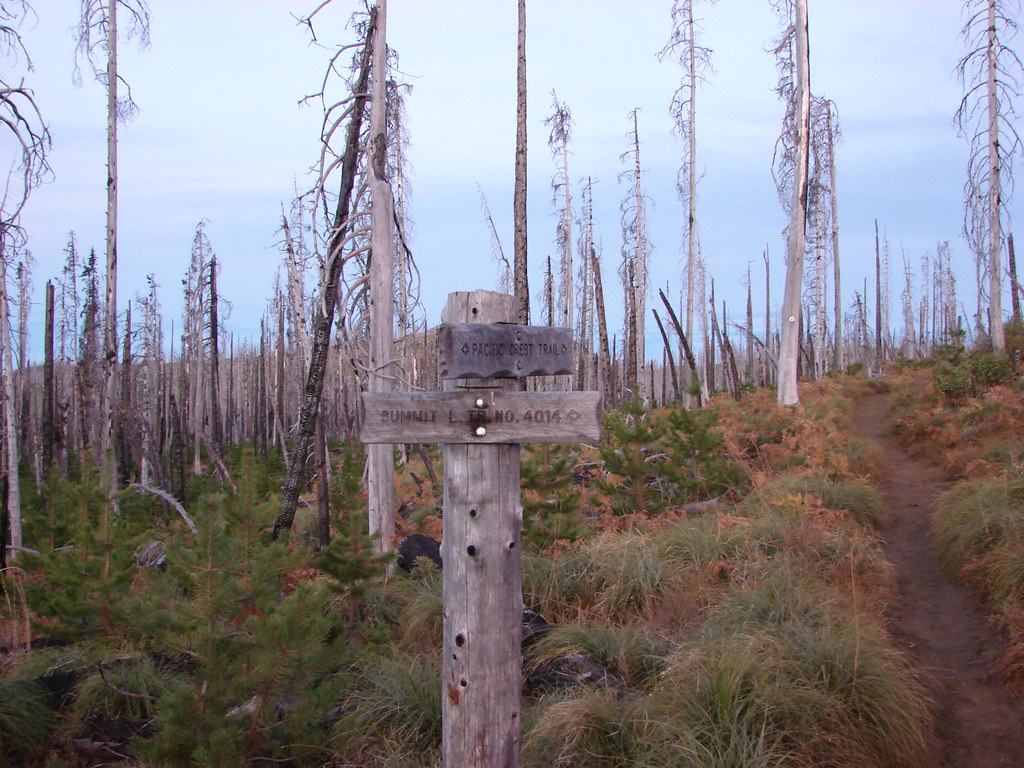
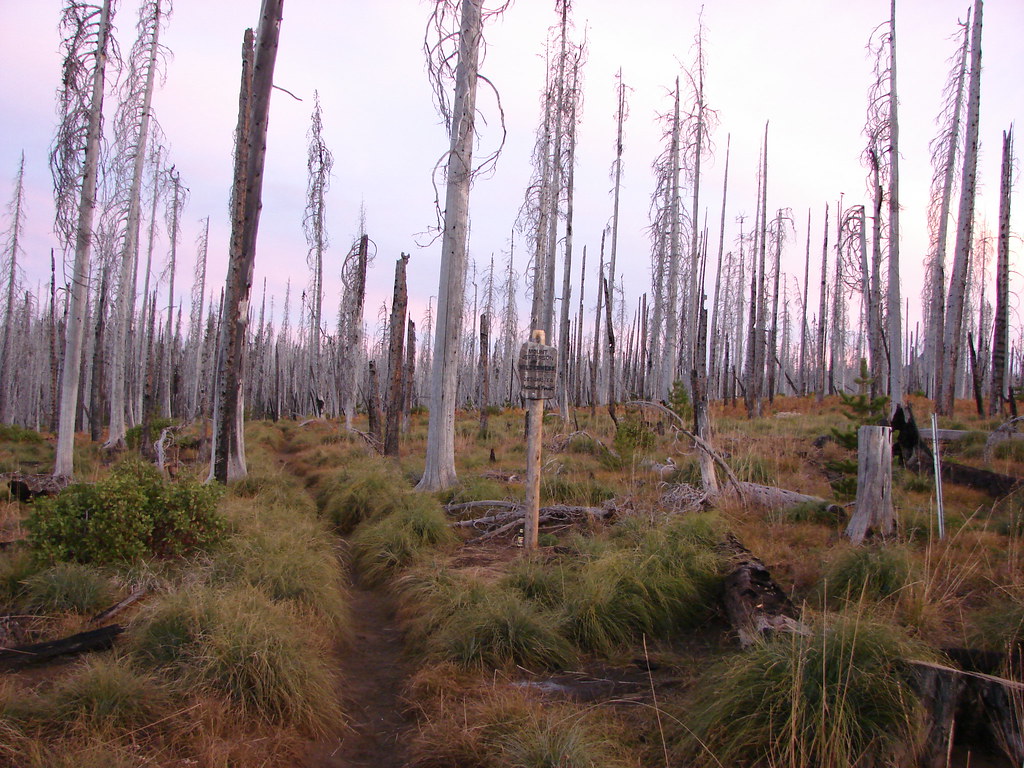
The trailhead is located in the fire scar of the 2003 B & B Fire. One of those B’s is for Booth Lake which we planned on visiting as we returned on the Summit Trail.Pacific Crest Trail

Pacific Crest Trail

A short distance after passing the junction with the Summit Trail the PCT entered the Mt. Jefferson Wilderness.Entering the Mt. Jefferson Wilderness on the Pacific Crest Trail

From the wilderness boundary Three Fingered Jack was only about 3 miles away but was hidden behind the rise of the land. There were plenty of views to be had to the south though.Hayrick Butte and Hoodoo

Hayrick Butte and the Hoodo Ski Area

View from the Pacific Crest Trail

Mt. Washington and the North and Middle Sisters

We spent a lot of time looking over our shoulders as the views only got better as we made the gradual climb toward Three Fingered Jack.Black Crater, Broken Top, the North & Middle Sister and Mt. Washington

Mt. Washington

Mt. Washington

North and Middle Sister

North and Middle Sister

Broken Top

Broken Top

Three Fingered Jack finally came into view when the trail leveled out on a plateau.Three Fingered Jack

Three Fingered Jack

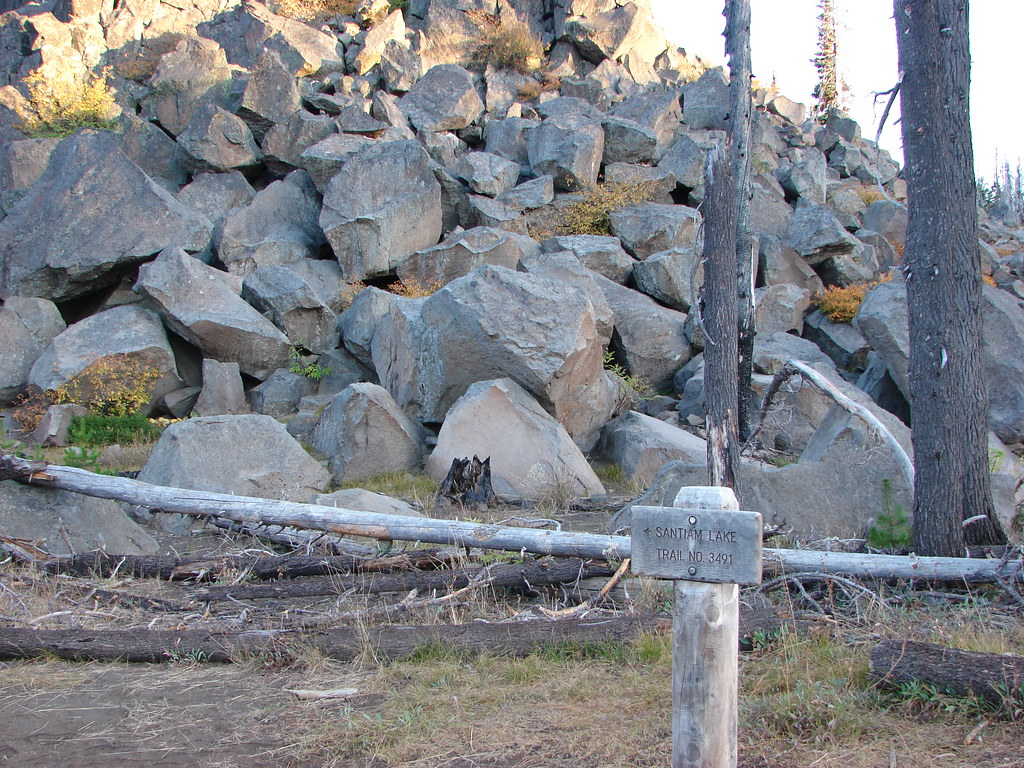
At the 1.25 mile mark we arrived at a junction with the Santiam Lake Trail.Pacific Crest Trail junction with the Santiam Lake Trail

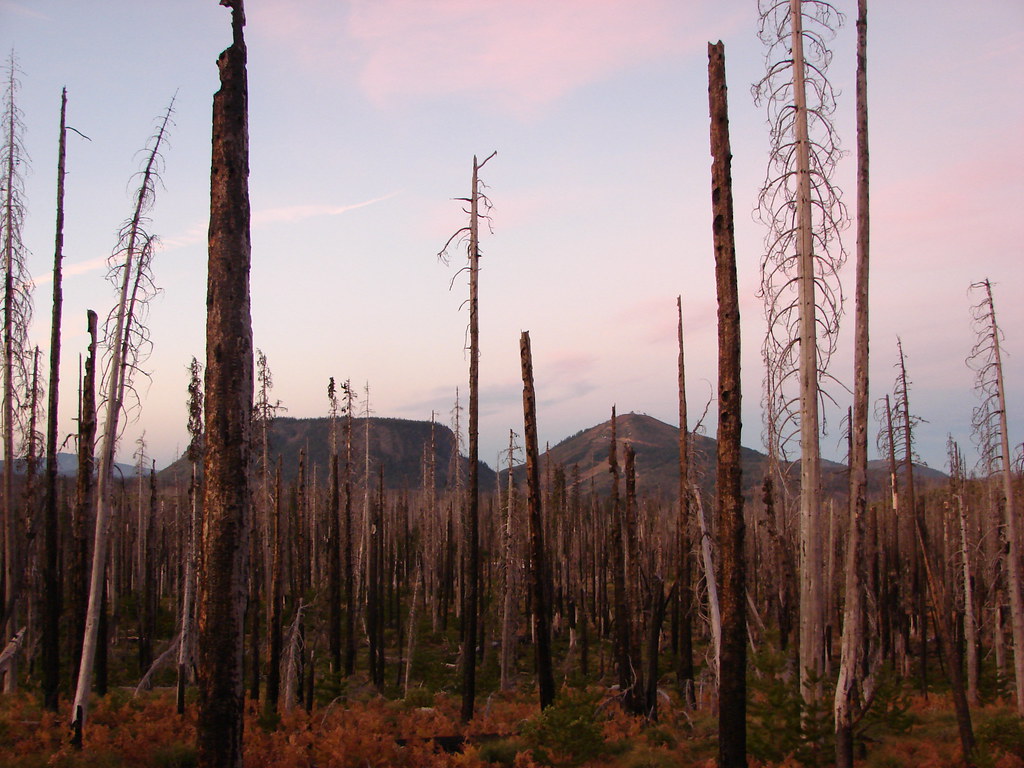
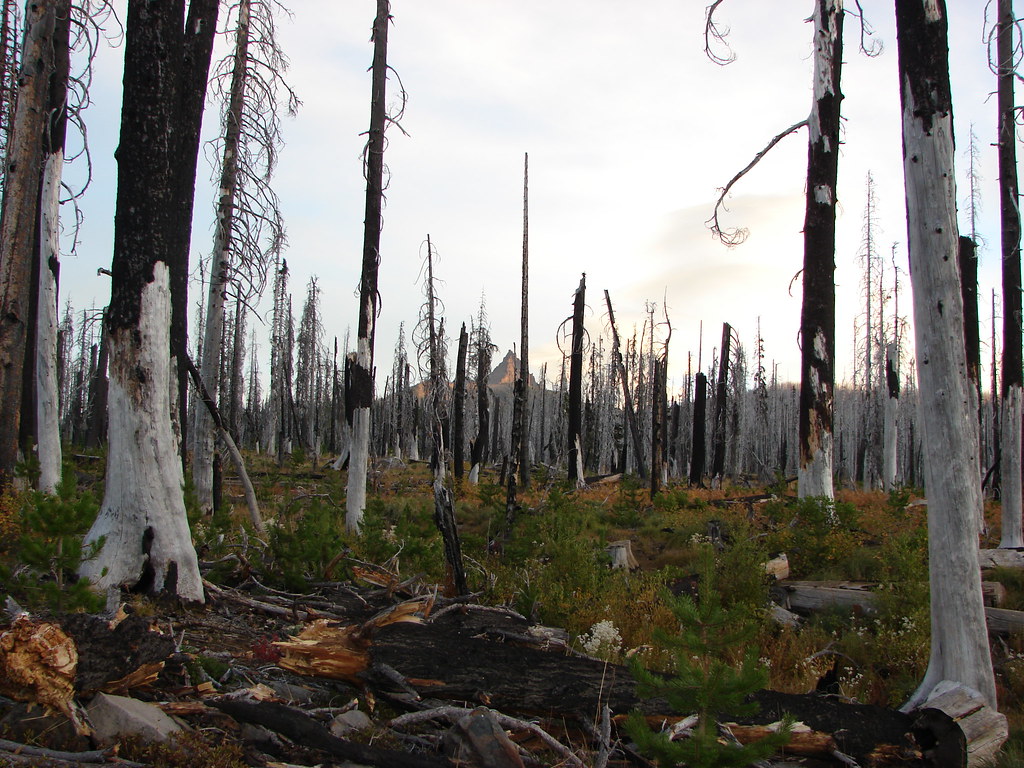
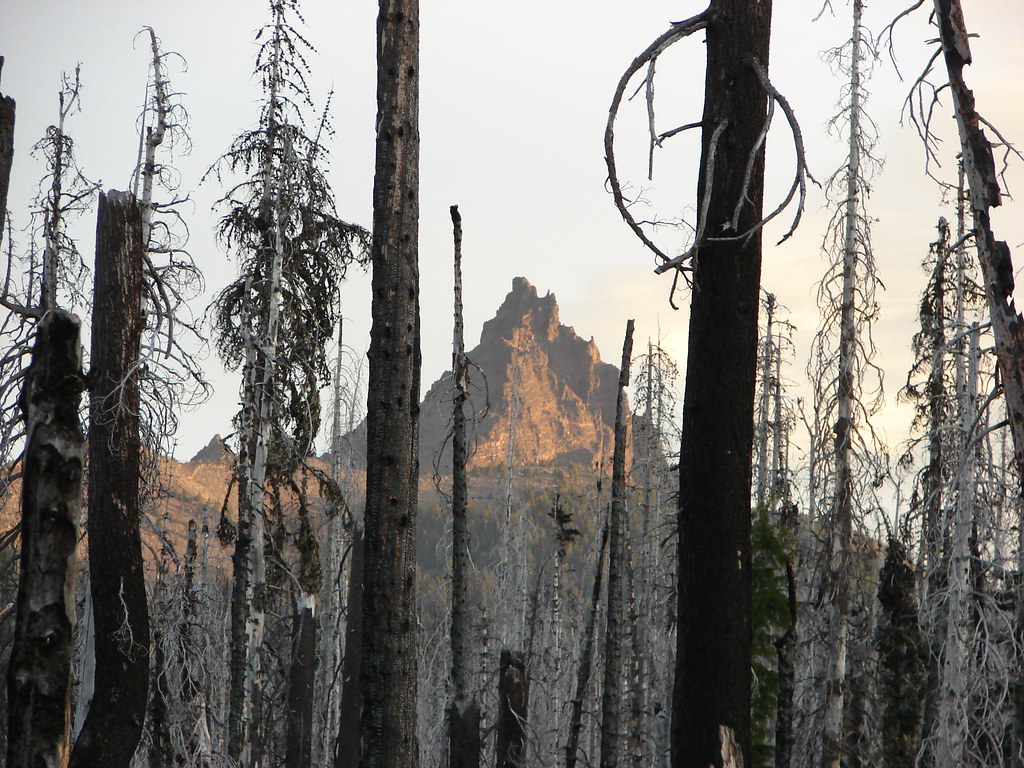
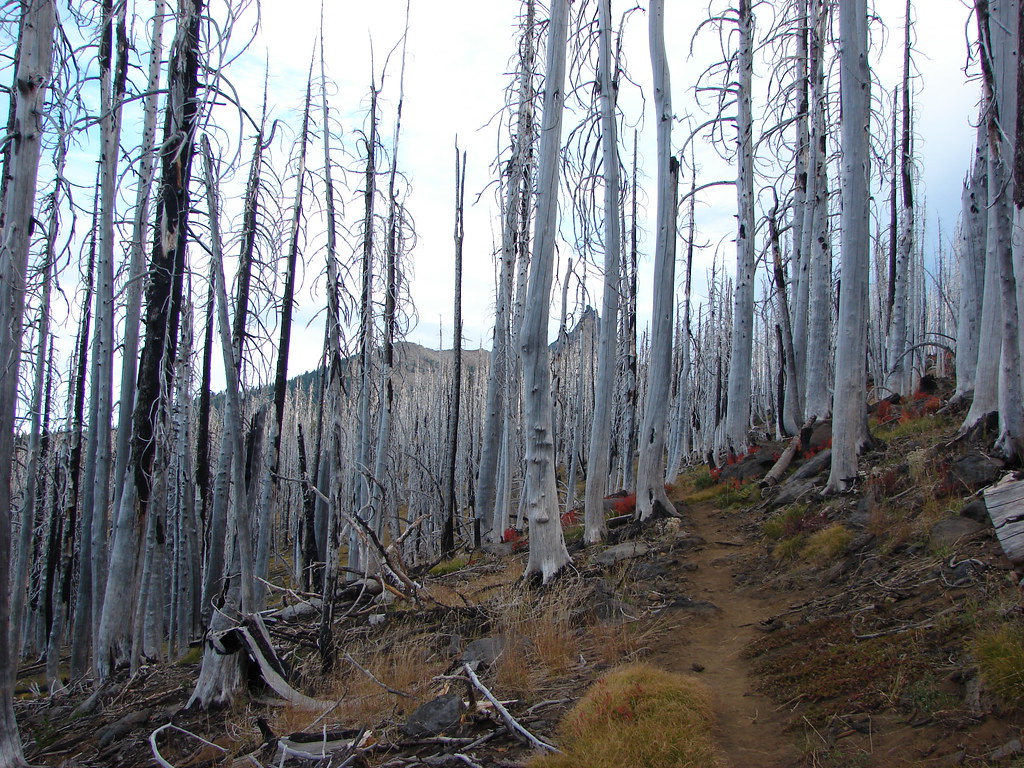
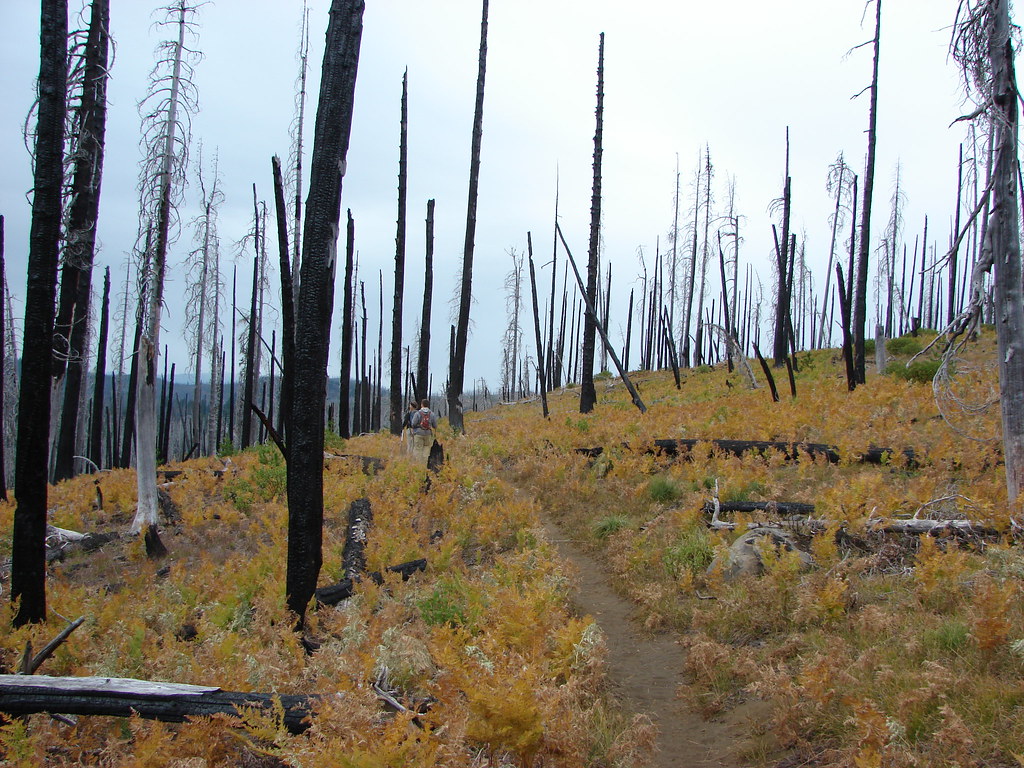
We continued on the PCT through the silver snags of the B & B Fire which were a surprisingly nice contrast to the bright red Fall huckleberry leaves.Pacific Crest Trail

Contrasting colors in the Mt. Jefferson Wilderness

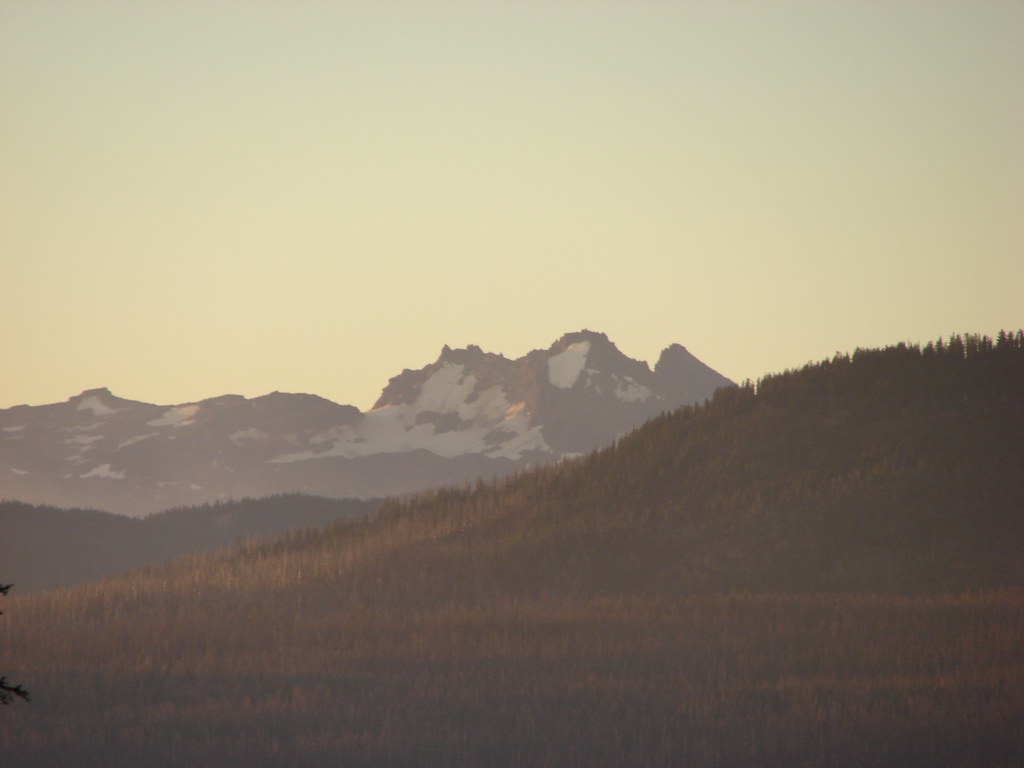
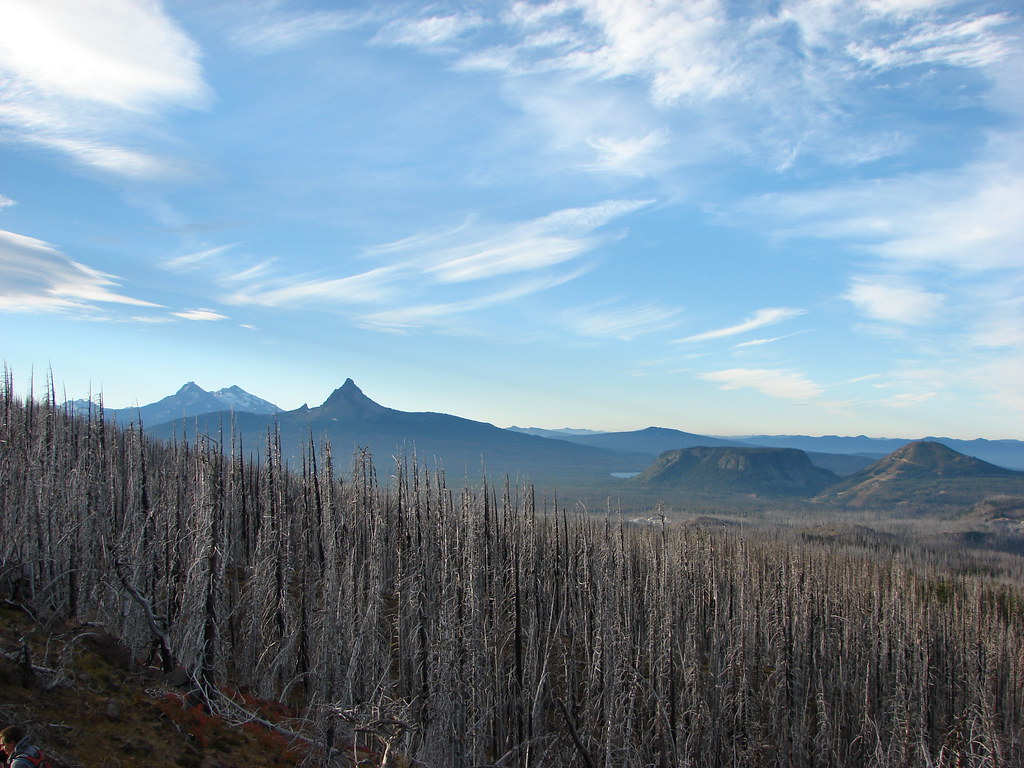
Another impressive view came two miles from the Santiam Trail junction.Three Fingered Jack

Three Fingered Jack

View from the Pacific Crest Trail

Looking south

The PCT had steepened a bit as it climbed to this view on a ridge which it now followed into green trees.Three Fingered Jack

Pacific Crest Trail

The ridge passed above Booth and Martin Lakes which lay to the east.Martin and Booth Lakes and Black Butte

Black Butte (post) beyond Martin and Booth Lakes

Just under a half mile from the viewpoint we passed a spot along the ridge where we would head cross-country on the way back. We were still gaining elevation which gave us a view of Diamond Peak even further south.View from the Pacific Crest Trail

Diamond Peak

We also noticed that the stubborn Pole Creek Fire was still putting up a smoke column from the Three Sisters Wilderness.Black Crater, Broken Top, smoke from the Pole Creek Fire, Mt. Bachelor, The Three Sisters, Mt. Washington, The Husband, Big Lake, Hayrick Butte, Scott Mountain, and Diamond Peak

Broken Top and the Pole Creek Fire

To the west we spotted Lower Berley Lake.Lower Berley Lake

Three Fingered Jack disappeared again for a bit but not long after crossing a rocky section of the ridge the PCT rounded a corner and Three Fingered Jack came back into view.Three Fingered Jack

Continuing on just a couple tenths of a mile more brought us to even better views of the volcano’s western face.Three Fingered Jack

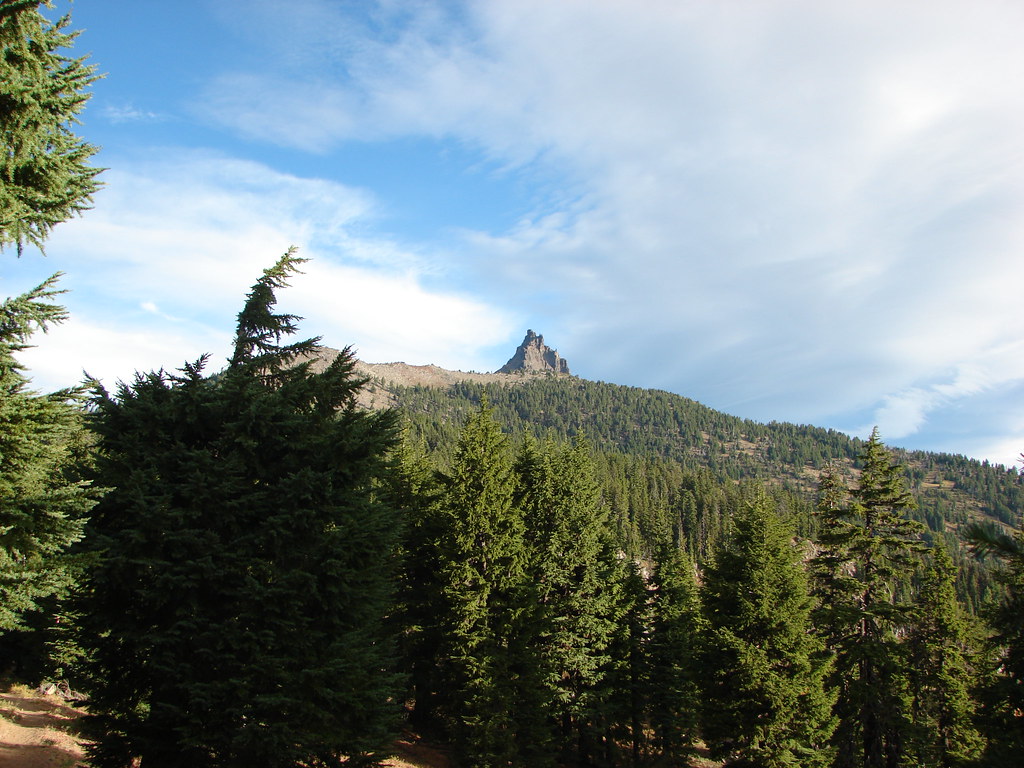
A climbers trail was clearly visible heading up toward the summit.Three Fingered Jack

We followed the PCT to the junction with the climbers trail which was approximately 5.5 miles from the trailhead.Three Fingered Jack

It was tempting to head up the path but apparently only for me. Heather and Dominique were good turning around here so they took a short break as I went up a very short distance. The trail was fairly steep and the loose rock made it more effort than I was willing to expend so I quickly returned and we began our hike back.

On the way back along the PCT we spotted a trail heading off to the right (SW) just over half a mile from the climbers trail. This short spur led to a rock outcrop with spectacular view.View from the Pacific Crest Trail

From here we could see at least a part of 7 Cascade Peaks: Broken Top, Mt. Bachelor, All three of the Three Sisters, Mt. Washington, and Diamond Peak.Black Crater, Broken Top, Mt. Bachelor, the Three Sisters and Mt. Washington

From left to right: Broken Top, Mt. Bachelor, North Sister, the summit of South Sister, Middle Sister, and Mt. Washington.

Scott Mountain and Diamond Peak

Diamond Peak

After a nice long break soaking in the view we continued south on the PCT past the rock section along the ridge.Pacific Crest Trail

Shortly after the rocks we headed downhill at a low point along the ridge into the least steep looking gully we had seen on the way by earlier.Off-trail route to Martin Lake from the Pacific Crest Trail

The route was fairly steep but the good news was that the lake was at the bottom of a bowl so we basically just needed to stay heading downhill and we would by default find Martin Lake. The trees were sparse enough to make travel easy and we soon found ourselves along a fern covered hillside.Cross country route from the Pacific  Crest Trail to Martin Lake

Fern covered hillside near Martin Lake

This was our first real foray into off-trail travel but between the map, GPS and knowing that the lake was at the bottom of the bowl we had no trouble finding the water after traveling approximately .4 miles.Martin Lake

Several deer had been on the far side of Martin Lake but ran as we emerged from the trees. They had been in the area of an old trail that ran from the Summit Trail to Martin Lake but had not been maintained since the B & B Fire.Martin Lake

Martin Lake

We made our way around the south shore of the lake to its east end hoping to pick up the trail we had seen from the west end.Martin Lake

The trail was basically non-existent though.Cross country route to the Summit Trail

The good news was we knew that the Summit Trail was due east from Martin Lake and to make things easier so was Black Butte. We used the 6436′ butte as our guide as we traveled the half mile from Martin Lake to the Summit Lake Trail.Black Butte

We were a little concerned that the Summit Lake Trail might be hard to spot so I occasionally checked the GPS to make sure it wasn’t showing that we’d crossed it. We wound up having no problem identifying the dusty Summit Lake Trail though and turned right onto it. After a quarter mile we took a short spur to the right to Booth Lake.Booth Lake

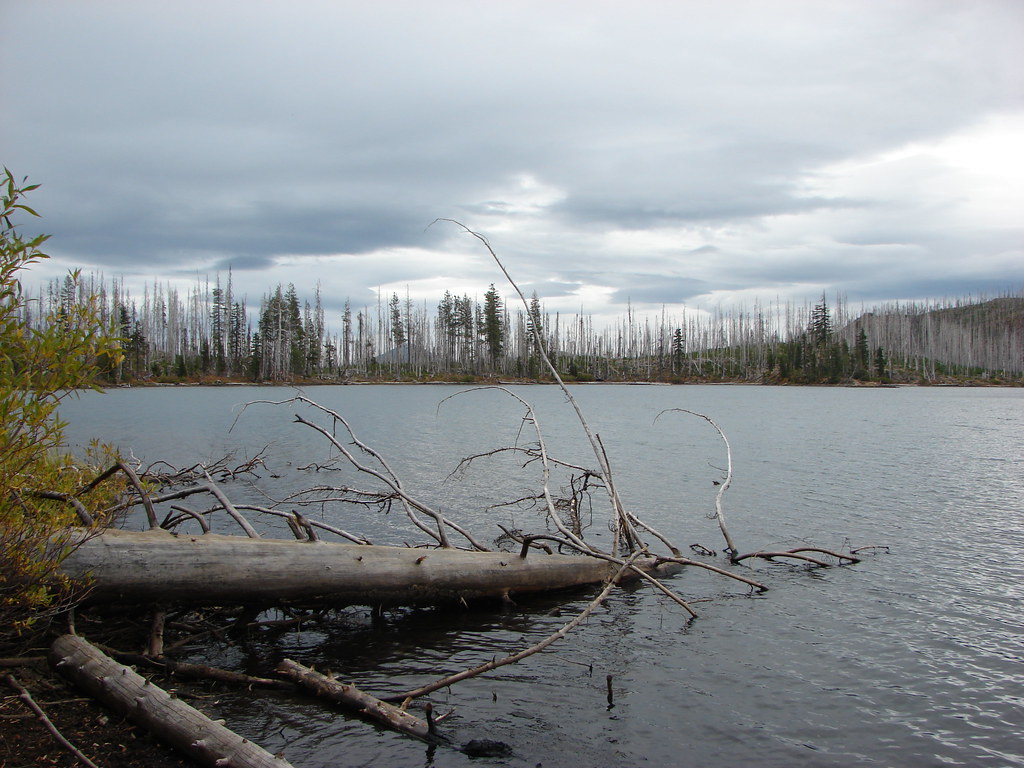
We were joined by an eagle who landed in the snags on the far side of the lake.Eagle on the far side of Booth Lake

From the shore Three Fingered Jack was visible peaking over a ridge.Three Fingered Jack from Booth Lake

There was a decent breeze which created some eerie sounds as it passed through the dead trees. We left Booth Lake and continued south on the Summit Lake trail which remained in the B & B scar for the rest of the hike.Three Fingered Jack

Mt. Jefferson Wilderness along the Summit Trail

Colorful hillside along the Summit Trail

The trail climbed gradually for 3/4 of a mile to a saddle before descending more steeply for a little over a mile to Square Lake.Square Lake, Broken Top, North & Middle Sister and Mt. Washington

As we began descending the clouds over the North Sister formed into an interesting shape.Cool cloud formation passing over the North Sister

We took another short break at the lake where the only view we had was east to Black Butte.Square Lake

Square Lake

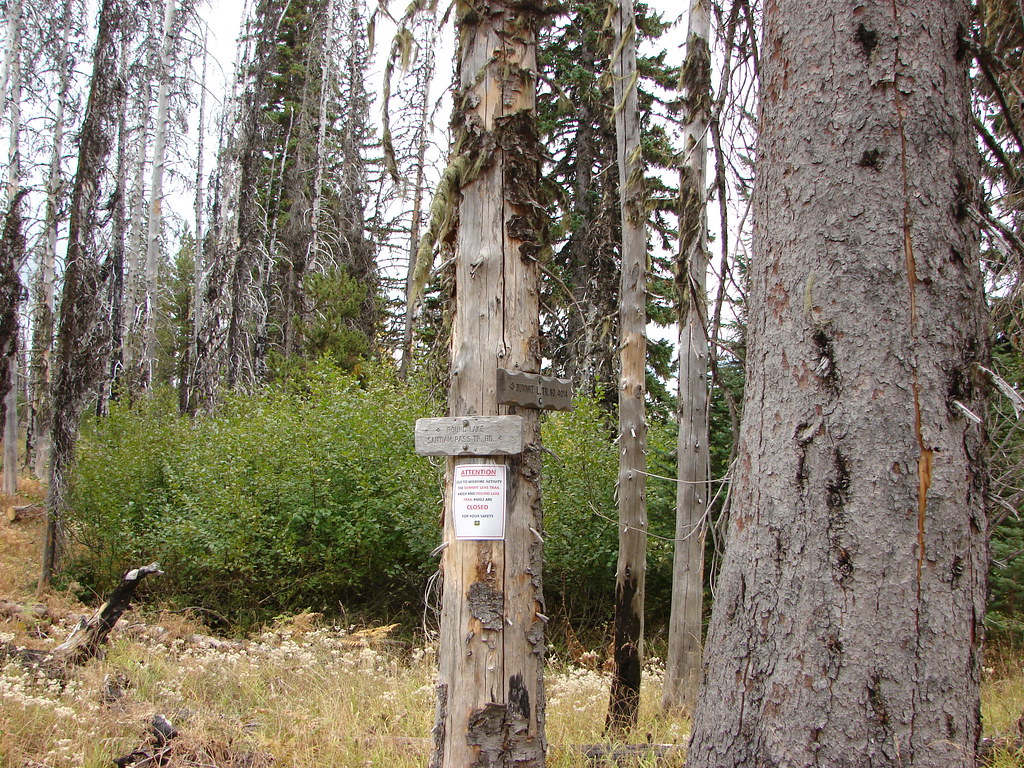
We followed a pointer for the Santiam Pass Trailhead at the junction with the Round Lake Trail.Trail sign for the Santiam Pass Trailhead

It was roughly 2.2 miles back to the PCT from Square Lake. The trail climbed away from the lake gaining a final view of Three Fingered Jack to the north.Three Fingered Jack and Square Lake

We then passed along a hillside covered in golden ferns with decent views of Mt. Washington but an increase in clouds and slight drizzle began obscuring the views of the other mountains.On the way back to the Santaim Pass Trailhead

Mt. Washington

After completing the loop and arriving back at the trailhead we drove to my parents house near Bend. They were away for the weekend but the house was being watched carefully by their guard owl.Owl in Central Oregon after the hike

We had another hike planned for the next day in the Three Sisters Wilderness so we spent the night at their house and set off the next day on what would become known as “The hike that shall not be named“. Happy Trails!

Flickr: Three Fingered Jack

Categories
Hiking Oregon Portland Trip report Willamette Valley

Washington Park & Council Crest

As we continue to work our way through the featured hikes in William L. Sullivan’s 100 Hikes guidebooks we occasionally come to some that call for a little creativity on our part. Often times this is due to the overall distance being short enough that we would likely break our self imposed rule of not spending more time driving than hiking on day trips. One of our solutions for these hikes is to combine them with other nearby hikes. On Mother’s Day weekend that is what we did with the Washington Park and Council Crest hikes described in Sullivan’s “100 Hikes in Northwest Oregon & Southwest Washington” book.

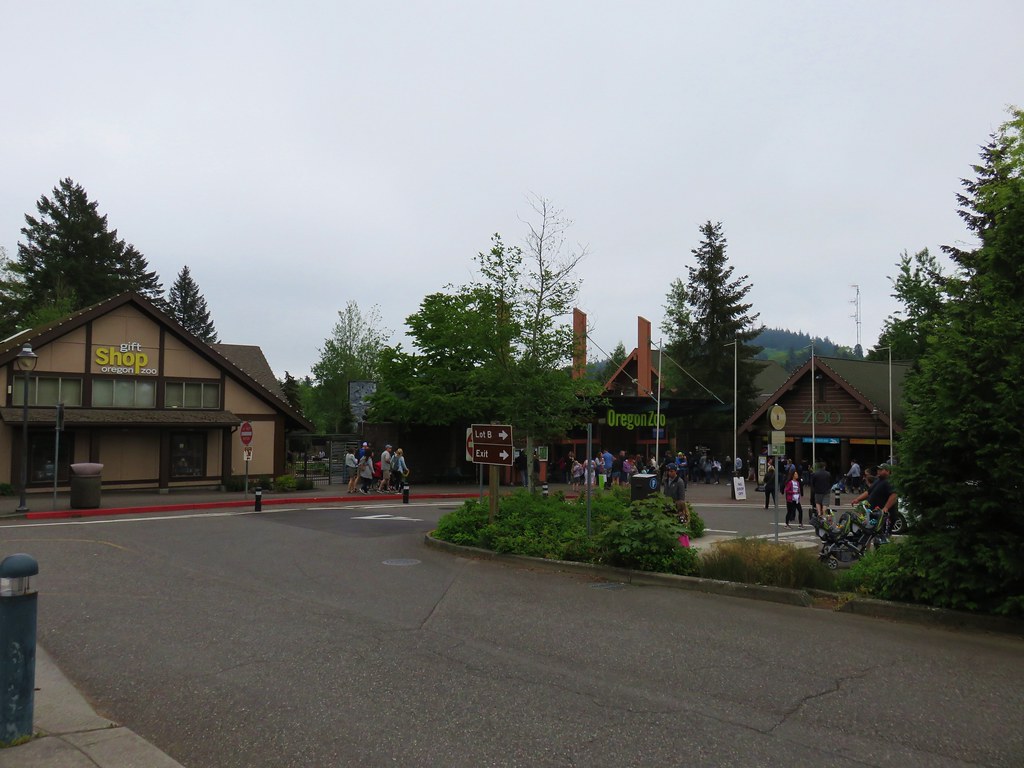
The handy thing about these hikes was that we could start them from the same location, Portland’s Washington Park. The location also gave us a good opportunity to visit the Oregon Zoo for the first time in many years. The zoo was open from 9:30-4:00 so figured we’d have enough time for a tour after our hikes given our typical early start. Our Son joined us for this outing and promptly fell back asleep in the car as we drove up Interstate 5 to Portland.

We arrived at Washington Park just before 6am and parked north of the Max Station near the entrance to the Vietnam Veterans of Oregon Memorial. Our plan was to head north loosely following Sullivan’s suggested Washington Park route to Pittock Mansion then return and head south to Council Crest and back then visit the zoo.

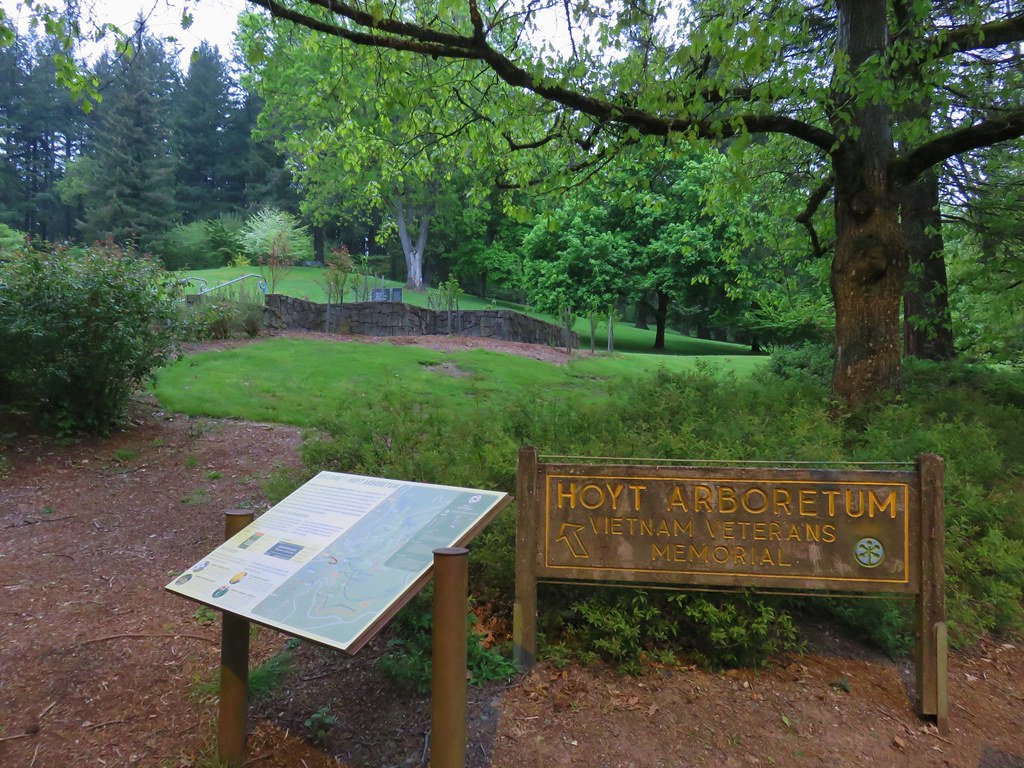
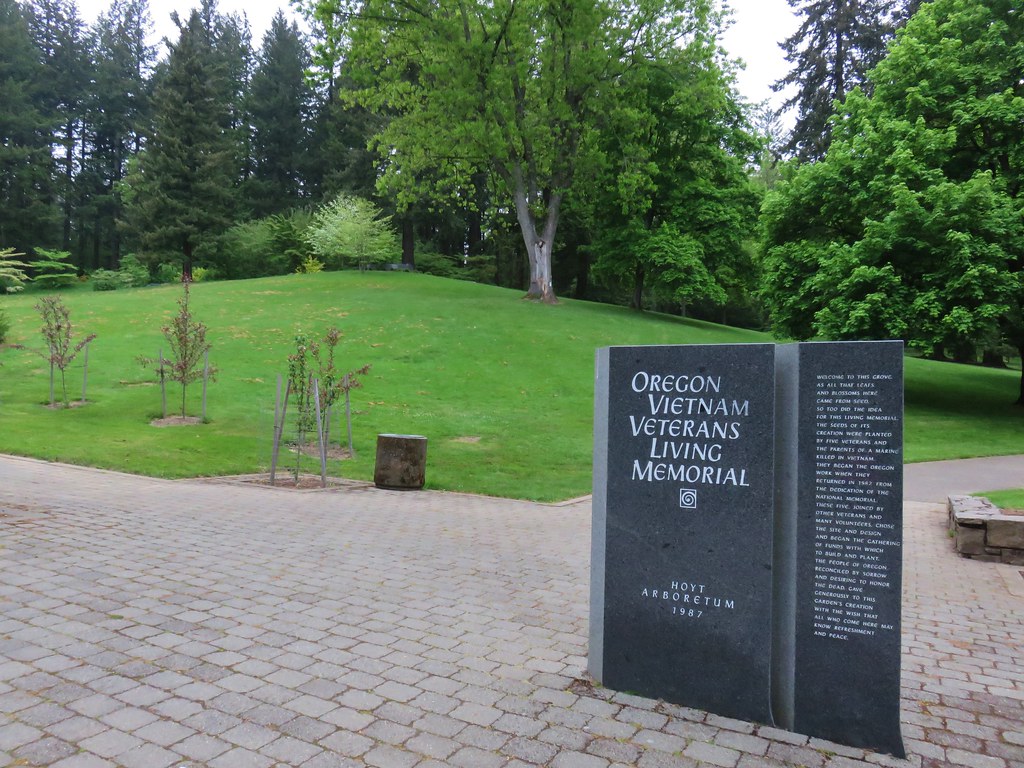
We began our hike at a sign for the Hoyt Arboretum Vietnam Veterans Memorial.
IMG_3140

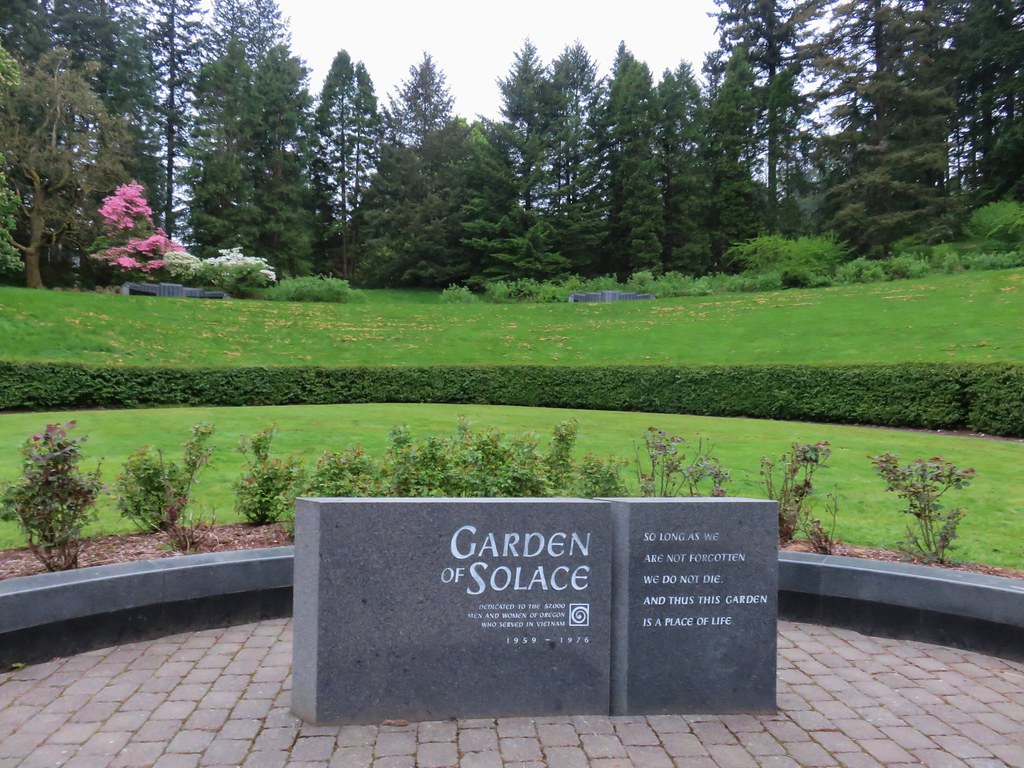
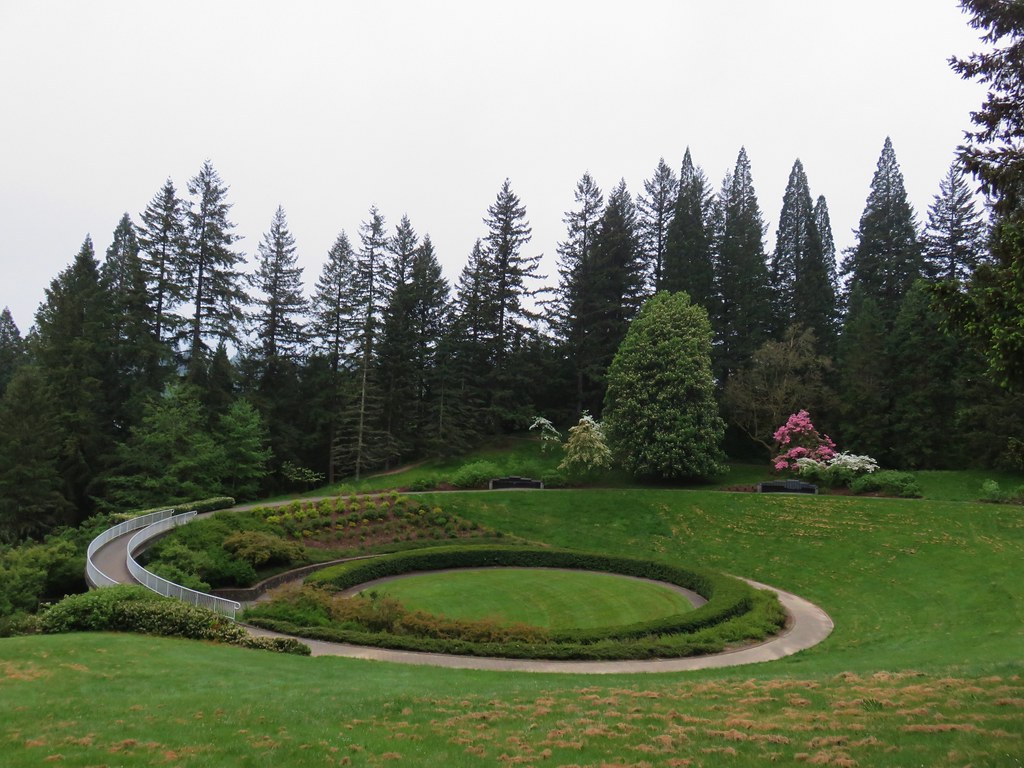
After reviewing a large signboard map we passed through the memorial.
IMG_3142

IMG_3145

IMG_3146

IMG_3147

IMG_3148

I mentioned we loosely followed Sullivan’s route for two reasons. First we were going to do his described loop in the opposite direction in order to cross busy Burnside Road earlier in the morning when we hoped there would be less traffic to dodge. The second reason was that there were far more trail junctions than we had expected and we took a couple of “alternate” routes early on. A connector trail from the end of the memorial led to the Wildwood Trail where we turned left. At the next junction we turned right onto the Maple Trail instead of staying on the Wildwood Trail as our guidebook suggested. Luckily we realized our mistake fairly quickly as we compared the map from the book to the GPS and turned left on another connector trail that led us back up to the Wildwood Trail at SW Knights Blvd.
IMG_3151

We turned left onto the Wildwood Trail.
IMG_3154

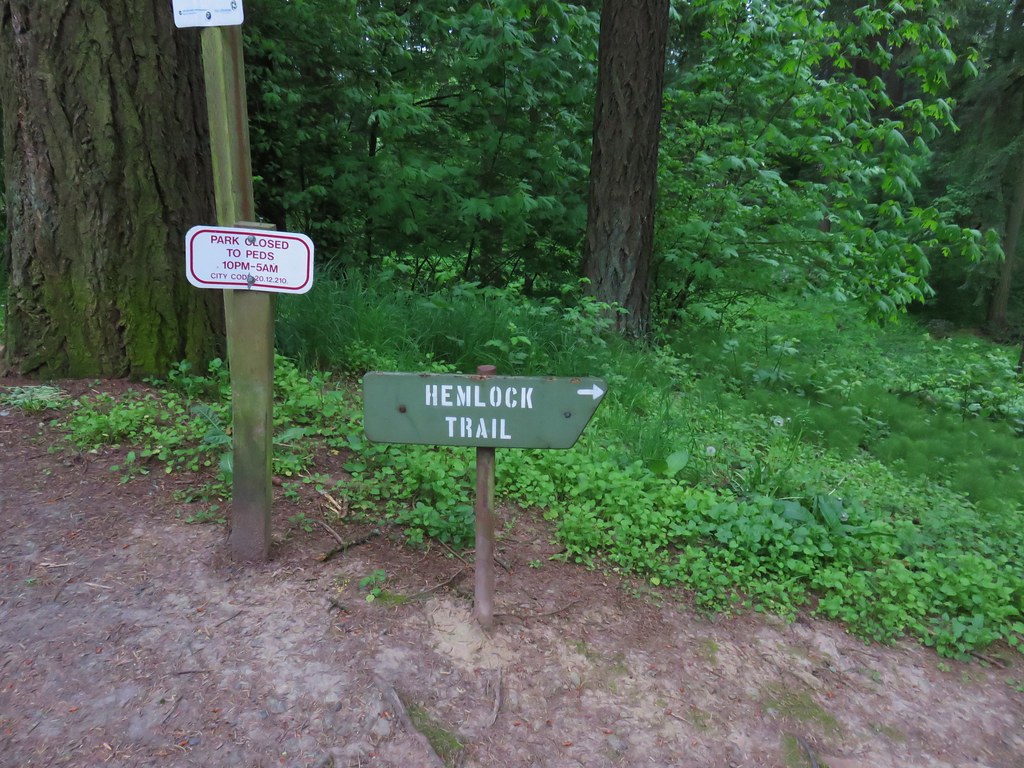
After about a tenth of a mile we came to another junction. Here we turned right and once again left the Wildwood Trail. We quickly climbed to a crossing of SW Fairview Blvd where we found a sign for the Hemlock Trail.
IMG_3155

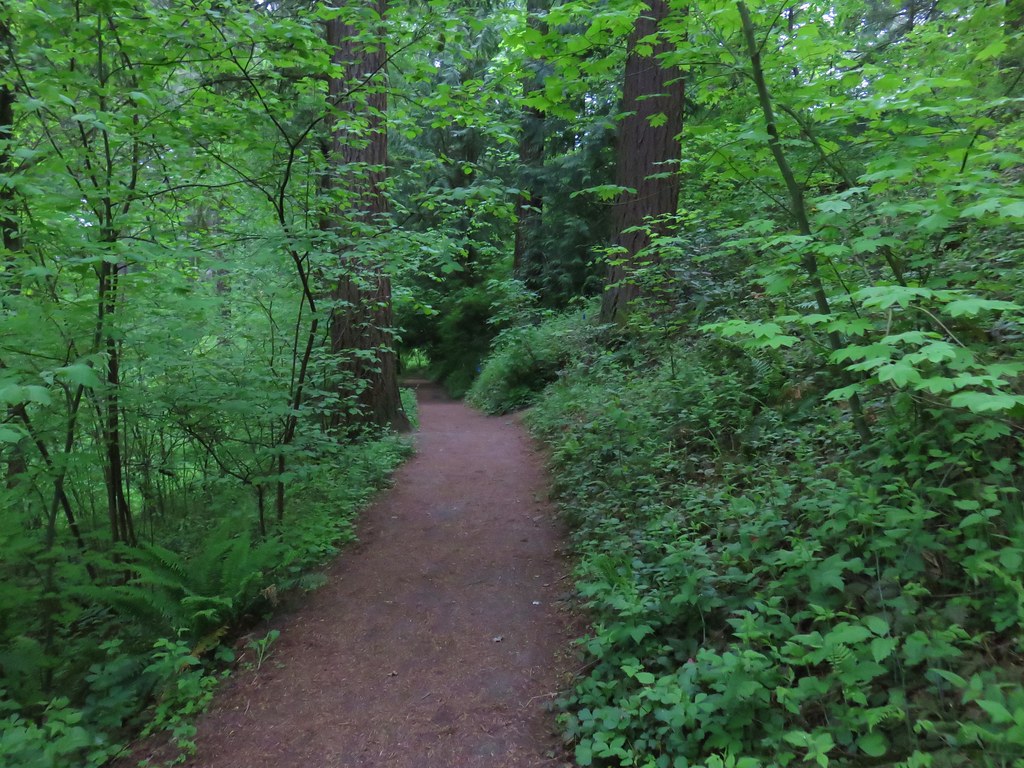
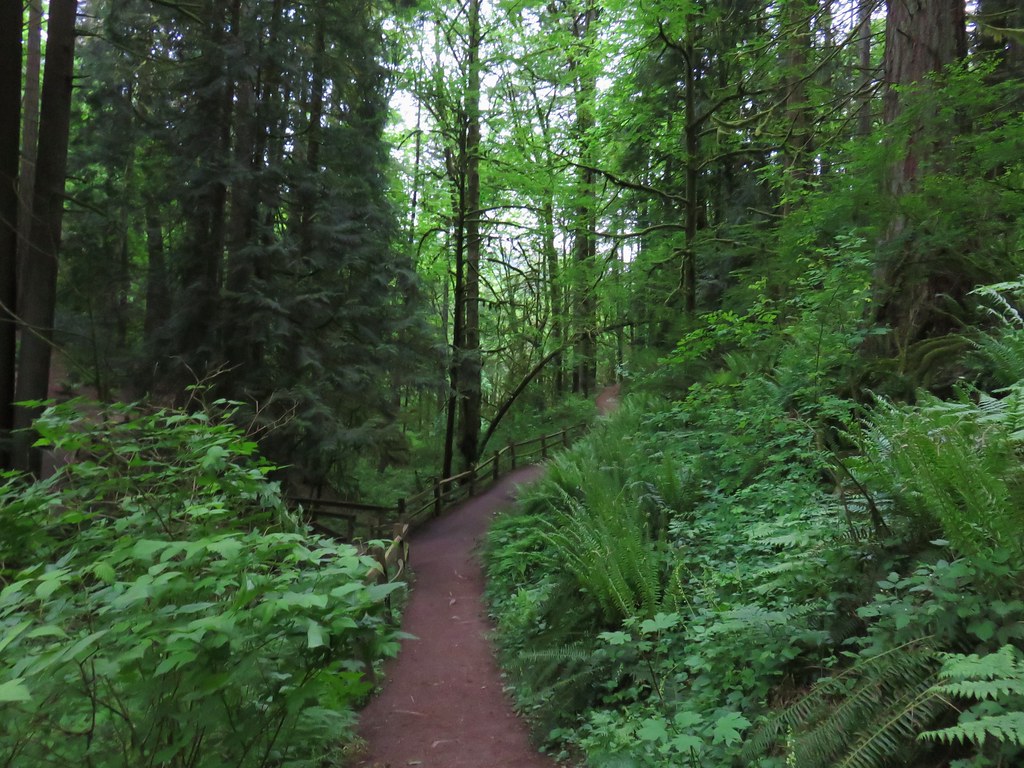
We followed the Hemlock Trail north but turned off of it to the right onto the Fir Trail. The guidebook would have had us continue further on the Hemlock Trail and then turn onto the Creek Trail but we were frankly a bit confused by the number of junctions and were doing our best to match up the GPS track to the path drawn on the map. After a short stint on the Fir Trail we decided it was heading the wrong direction so we turned left onto the Redwood Trail which got us headed back in the correct direction at least. We knew there should be a creek on our left and after crossing SW Fischer Lane it was evident that this was the case. We figured as long as we kept it close by we were at least headed in the right direction. A tenth of a mile from Fischer Lane we finally noticed a trails sign for the Creek Trail.
IMG_3160

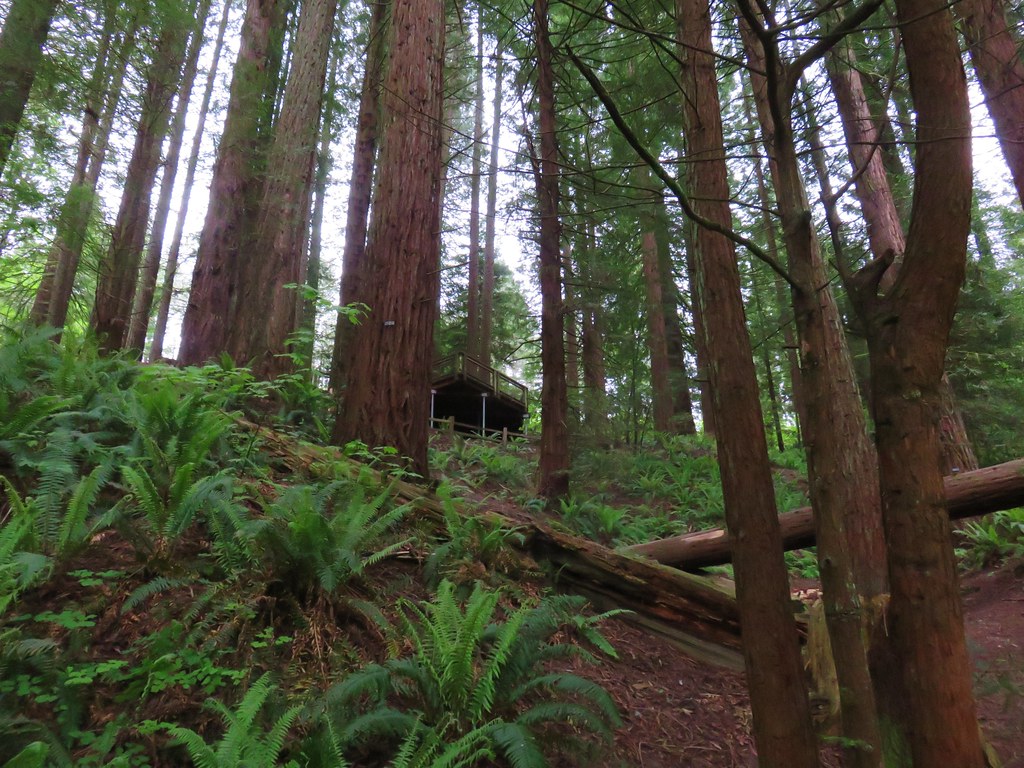
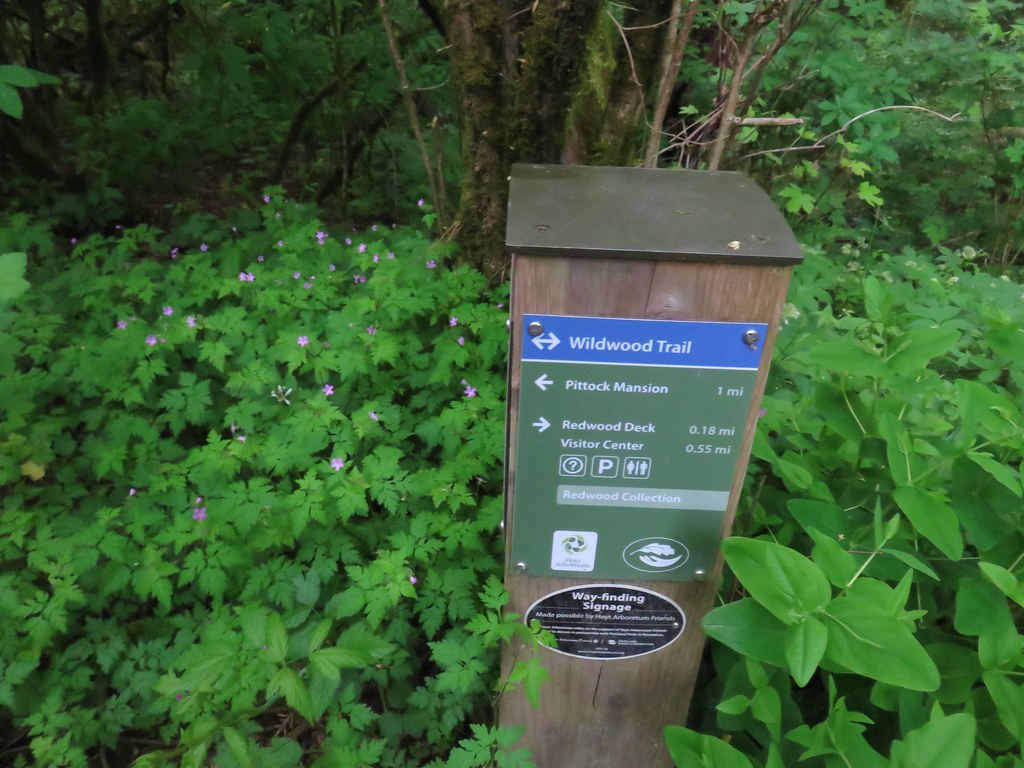
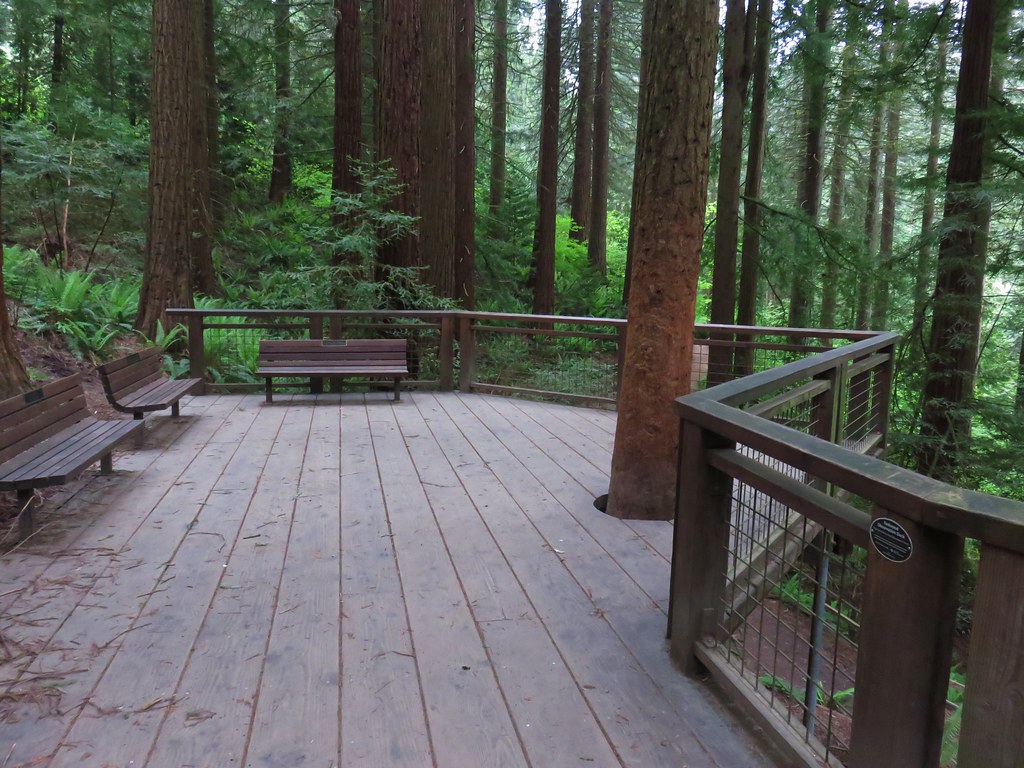
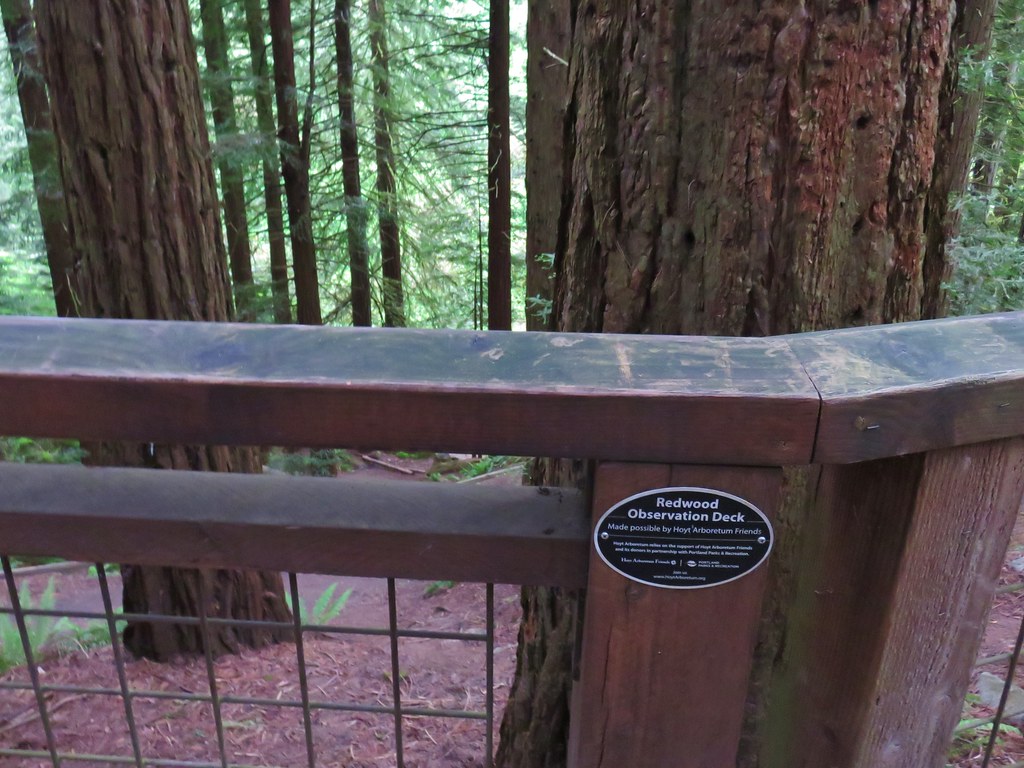
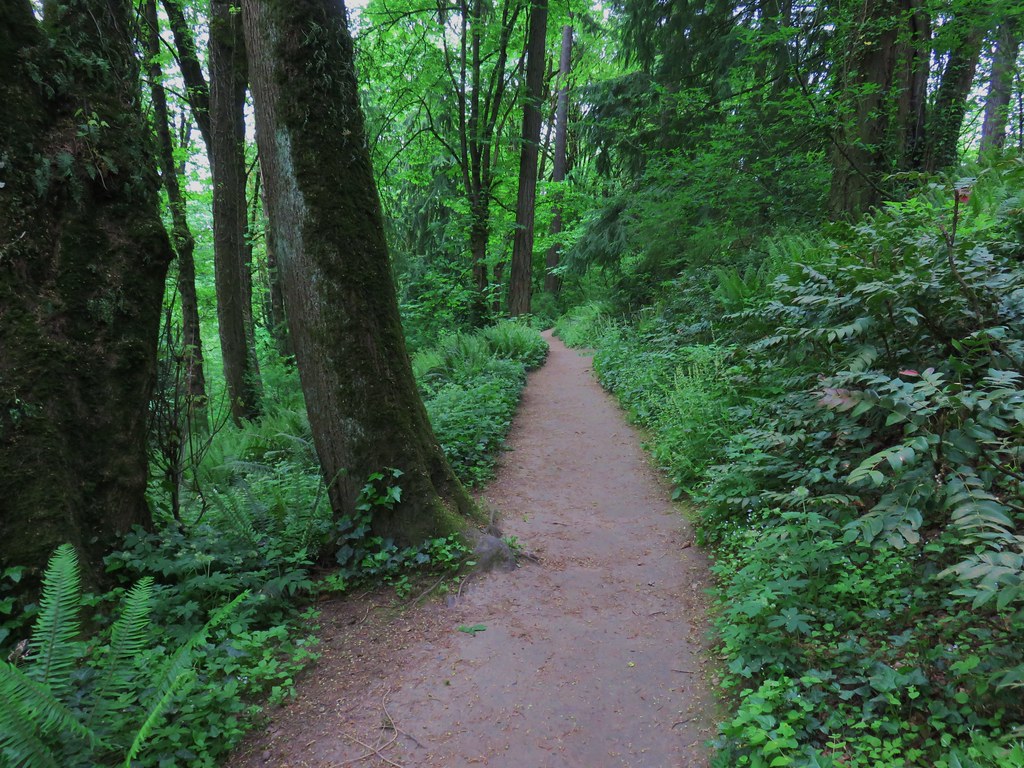
To be fair there had been a good presence of trial signs throughout but there had been so many options that it was overwhelming our not fully awake brains. We followed the pointer down to the Creek Trail where we turned right. We passed a neat display of roots from a tree on the hillside and then below the Redwood Observation Deck before reaching the end of the Creek Trail at another junction with the Wildwood Trail.
IMG_3161

IMG_3164

IMG_3166

We turned left onto the Wildwood Trail following a pointer for the Pittock Mansion.
IMG_3167

From Johnson Creek the Wildwood Trail climbed for just over a quarter mile to W Burnside Road. Burnside is a busy street so it was time for our mad dash. Luckily at 6:40am on Saturday there wasn’t much traffic. I scampered across then two cars stopped for Heather & Dominique.
IMG_3168

There are plans to build a pedestrian bridge over the road as soon as 2019 which seems like a great idea.

From Burnside the trail climbed over 250′ in just over half a mile to NW Pittock Dr. A sign at the road indicated that a section of the Wildwood Trail beyond was closed due to an active landslide, but it was time for us to leave the trail here anyway.
IMG_3171

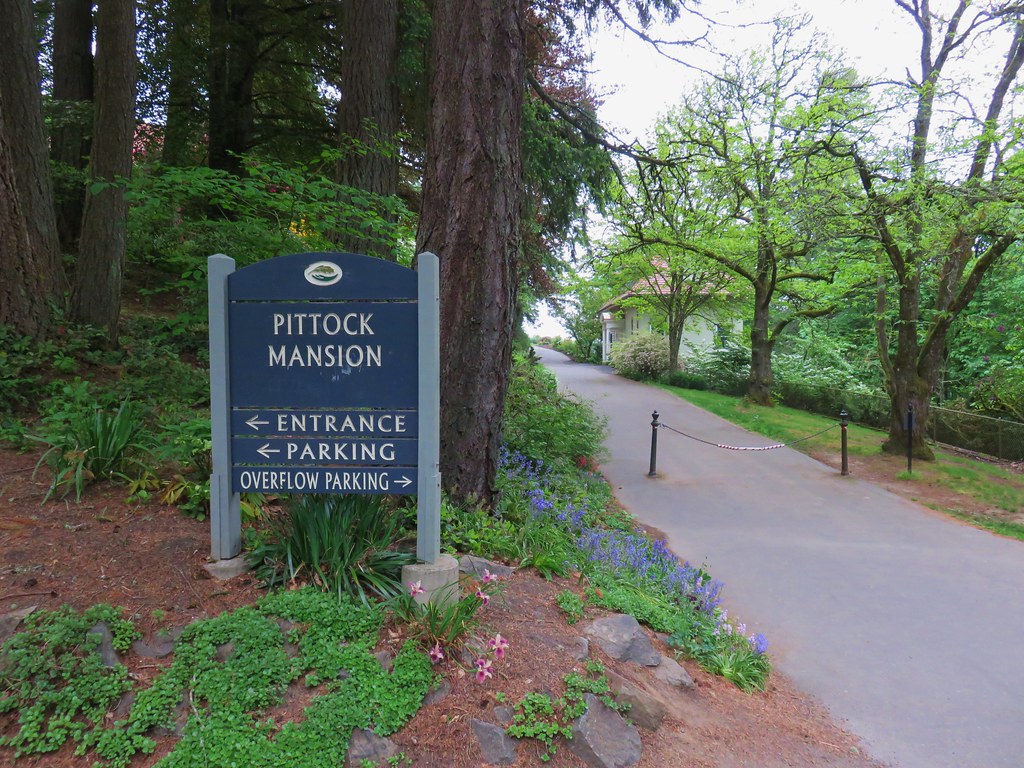
We turned right and followed the road uphill to the Pittock Mansion.
IMG_3175

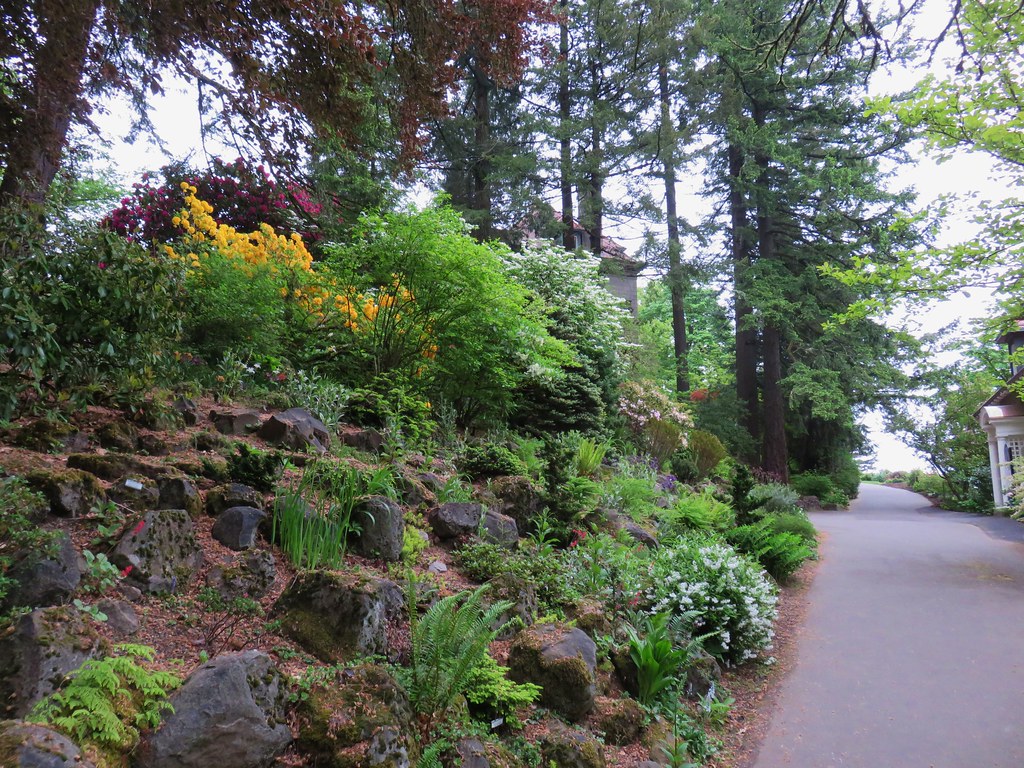
We followed a flower lined path to the right past the Gate Lodge.
IMG_3178

IMG_3181

The path continued beyond the gate house wrapping around the mansion to a viewpoint at the end of a lawn.
IMG_3187

IMG_3188

IMG_3191

IMG_3194

IMG_3195

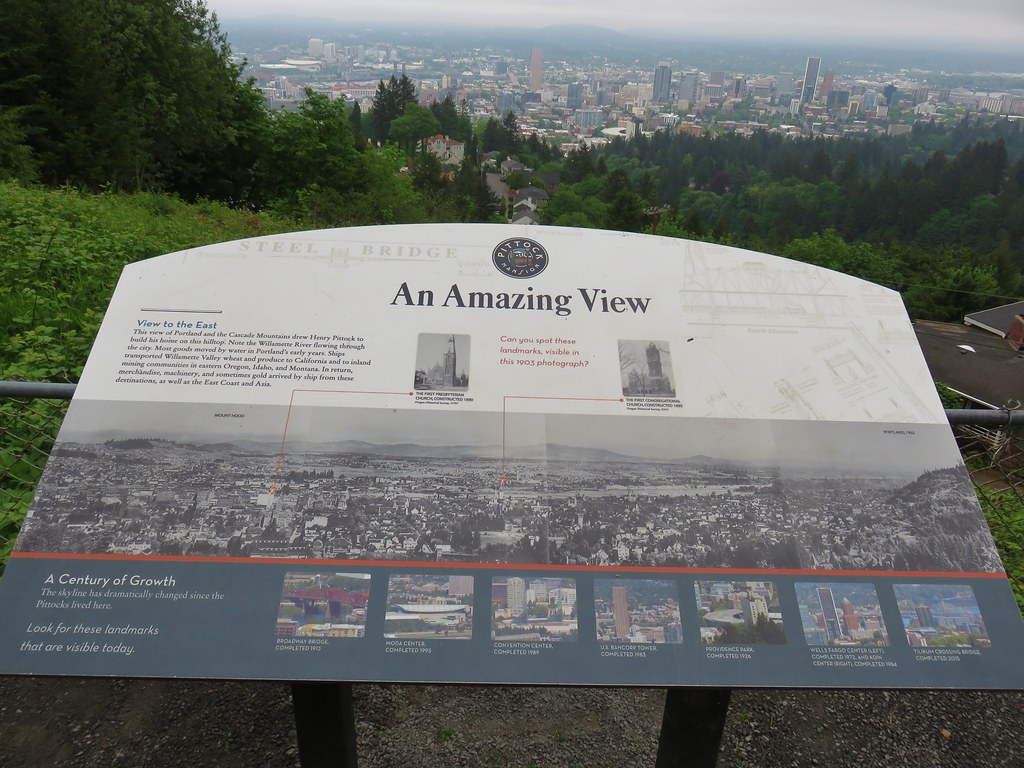
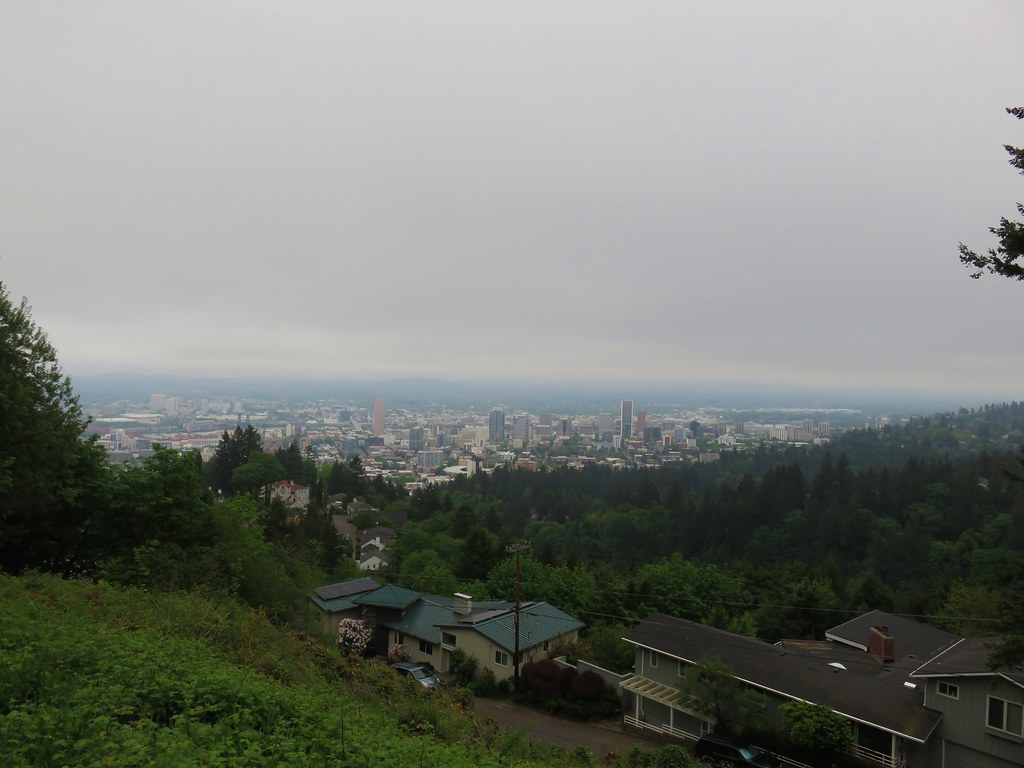
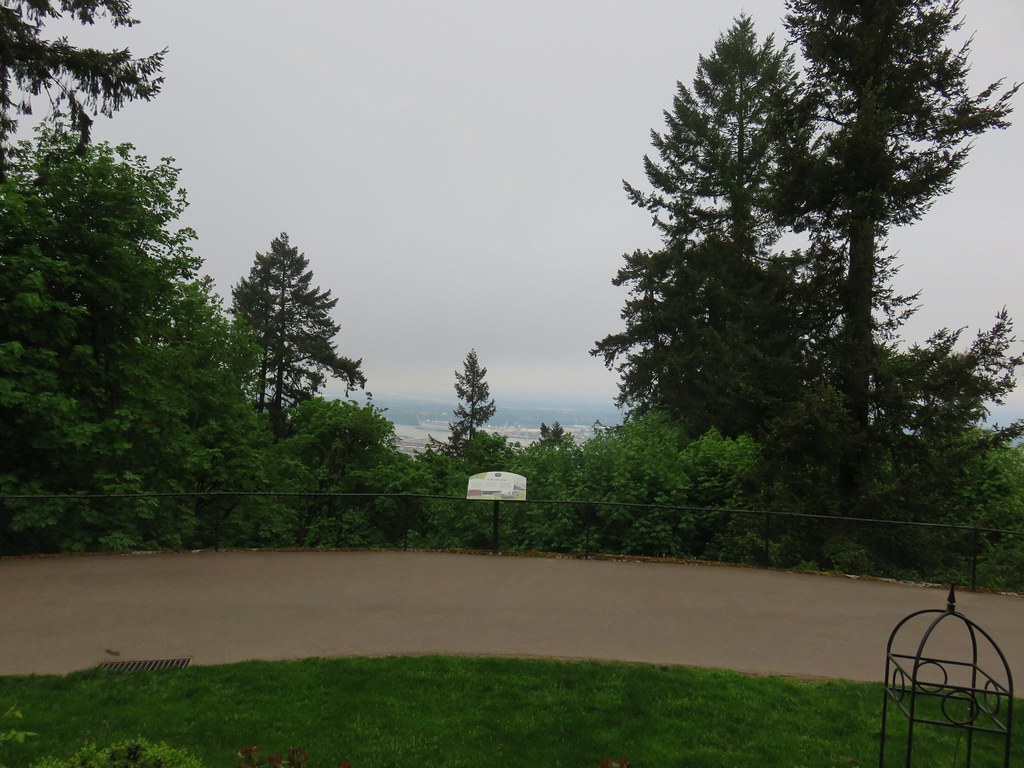
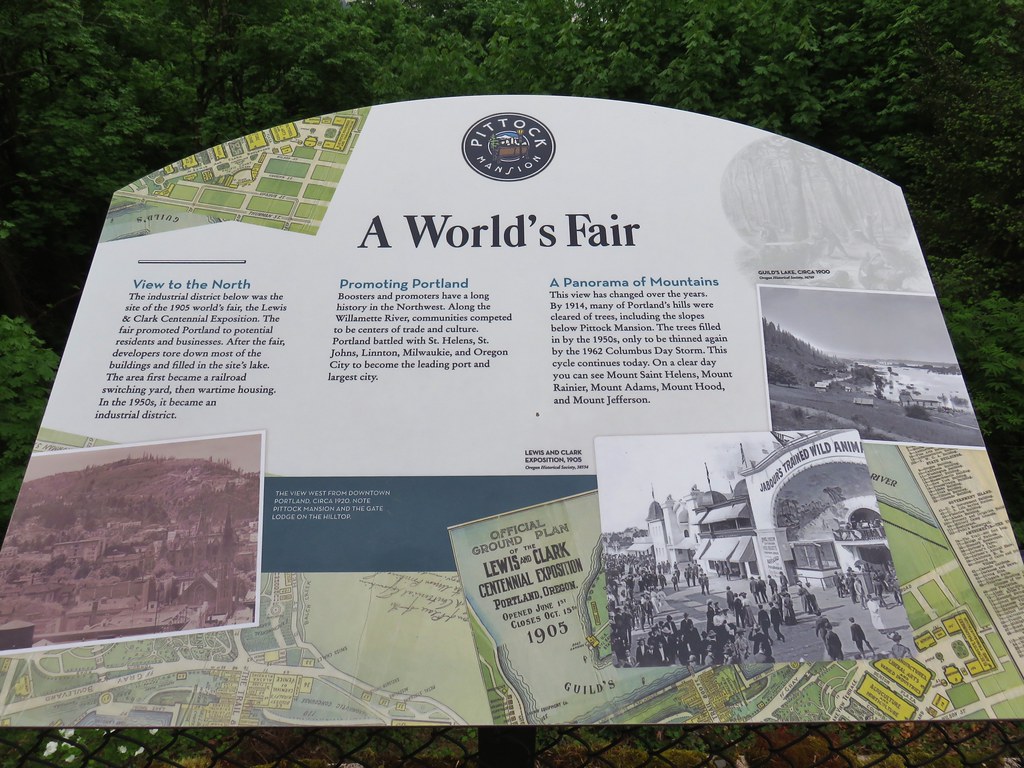
The viewpoint overlooks the city of Portland and on a clear day (which this had been forecasted to be) the view would include Mt. Hood.
IMG_3199

IMG_3201

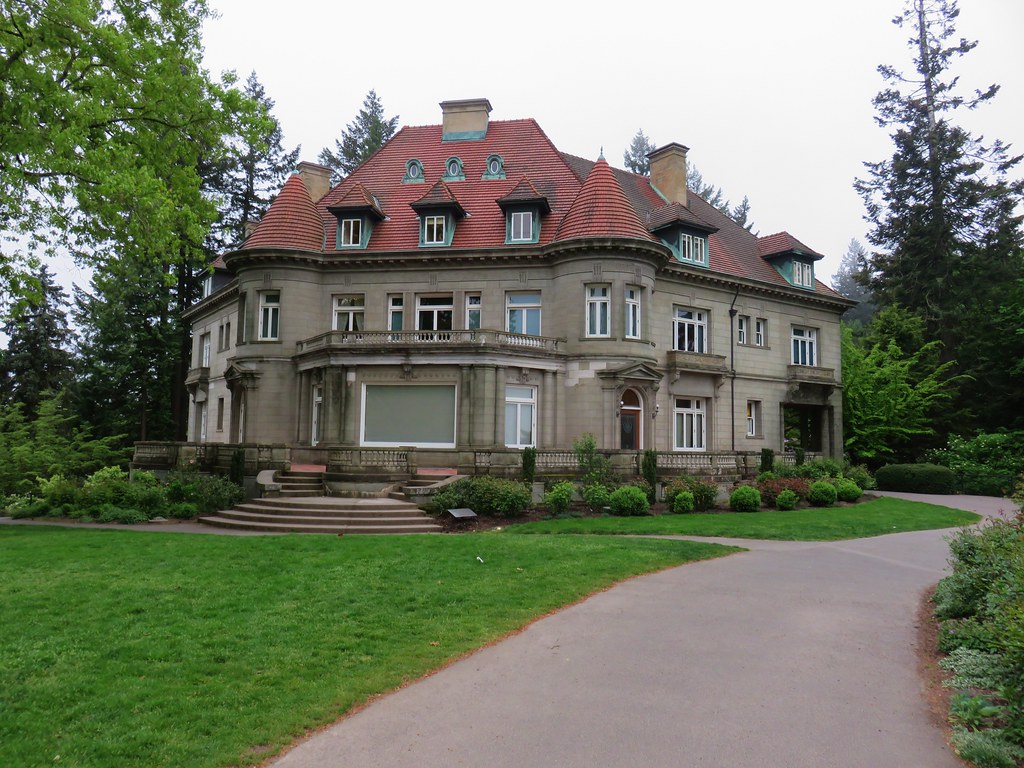
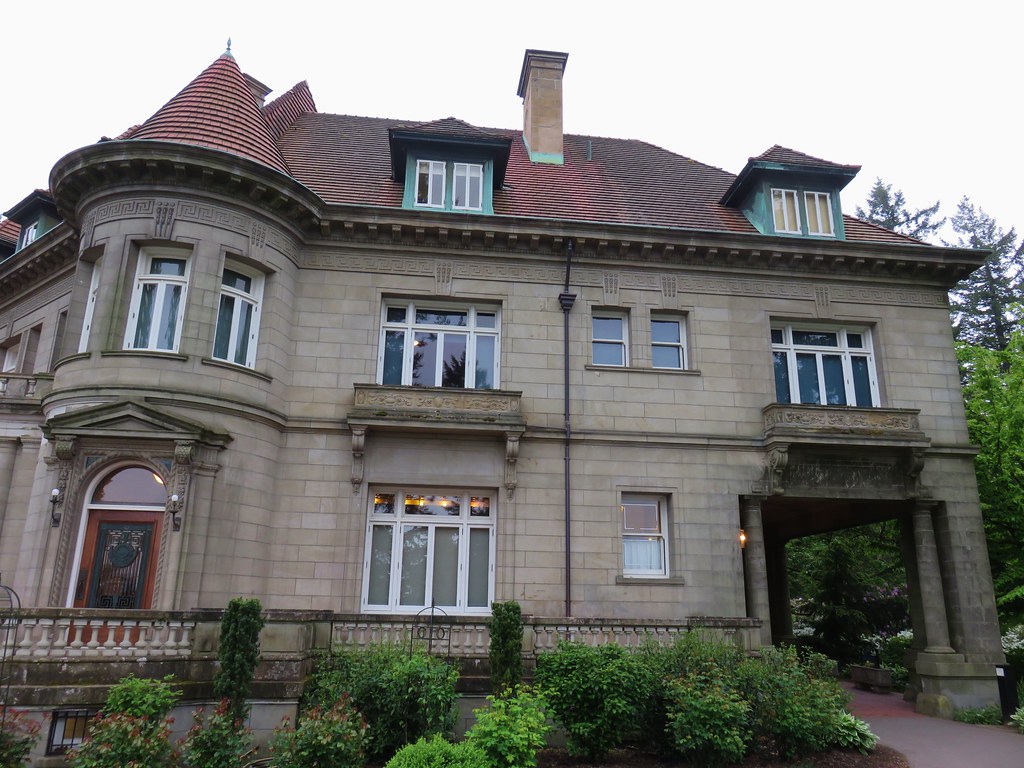
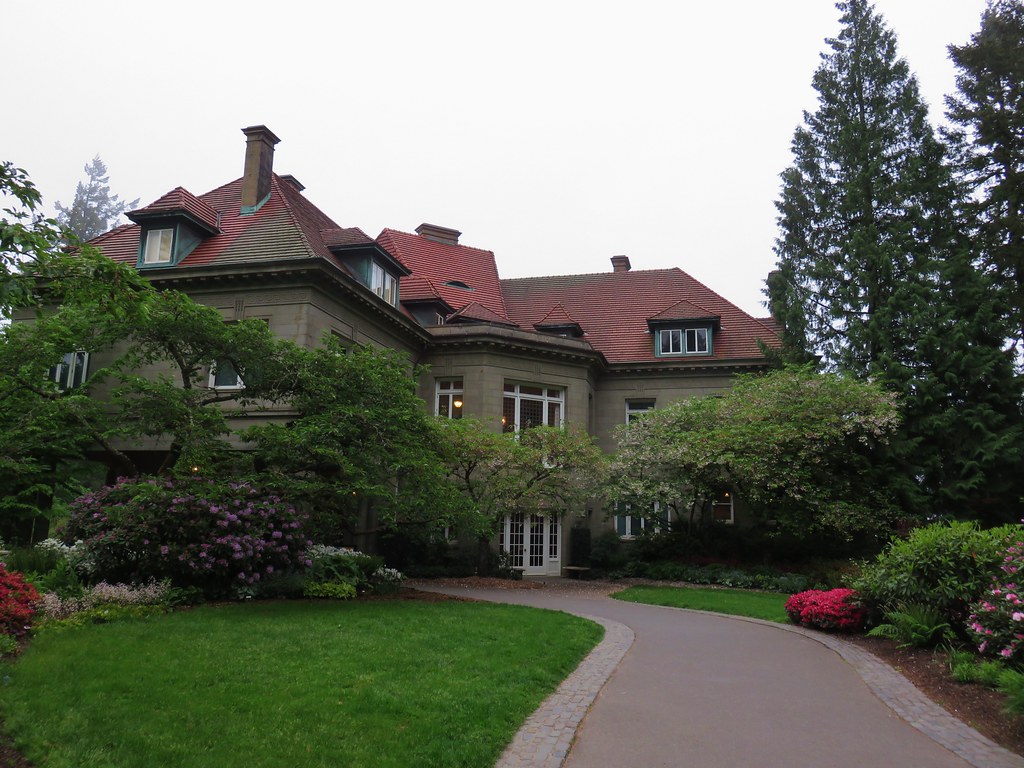
The 16,000 square foot mansion was built in 1914 in the French Renaissance style.
IMG_3203

IMG_3209

IMG_3213

Self-guided and guided tours are available for the mansion but we were far too early for those and will have to save them for another visit.

A second viewpoint to the north looks across the Columbia River to what would have been, on a clear day, Mt. Rainier, Mt. St. Helens, and Mt. Adams in Washington.
IMG_3205

IMG_3211

After wandering through the grounds we returned the way we’d come. After another successful crossing of Burnside we arrived back at the junction with the Creek Trail. Here we left our earlier route and kept to the Wildwood Trail which climbed uphill away from the creek past a junction with the Redwood Trail.
IMG_3221

We stuck to the Wildwood Trail and quickly came to the Redwood Observation Deck.
IMG_3222

IMG_3223

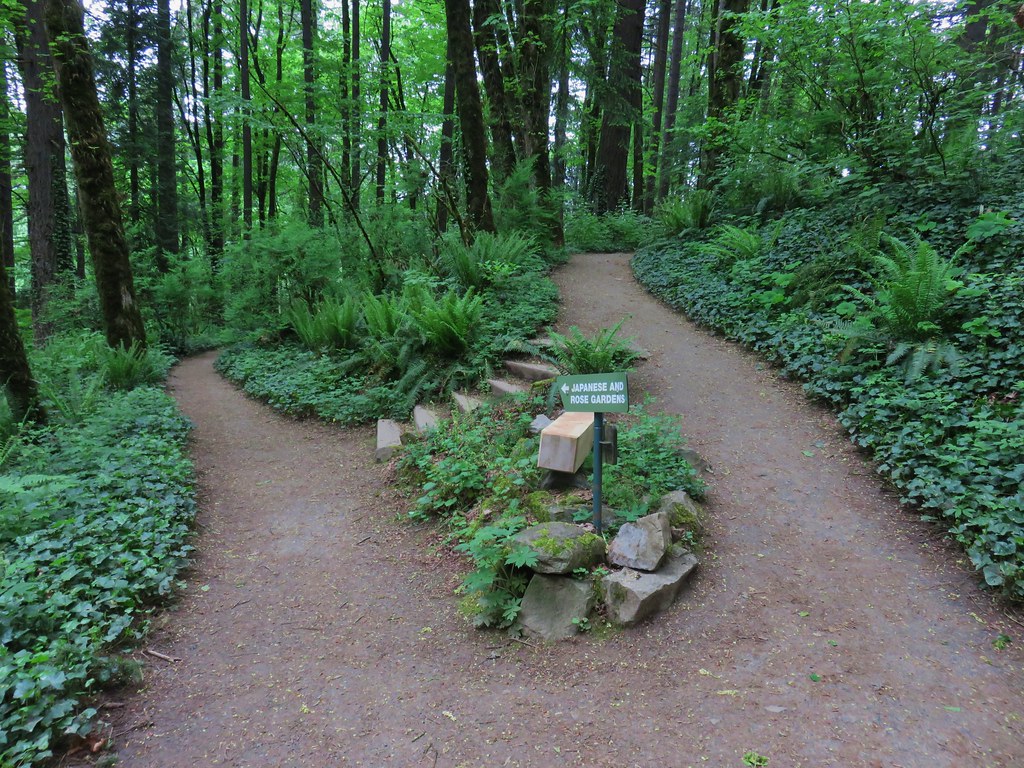
We continued on from the deck climbing to a ridge where we crossed SW Fairview Blvd (again) then descended to a signed junction for the Japanese Garden.
IMG_3228

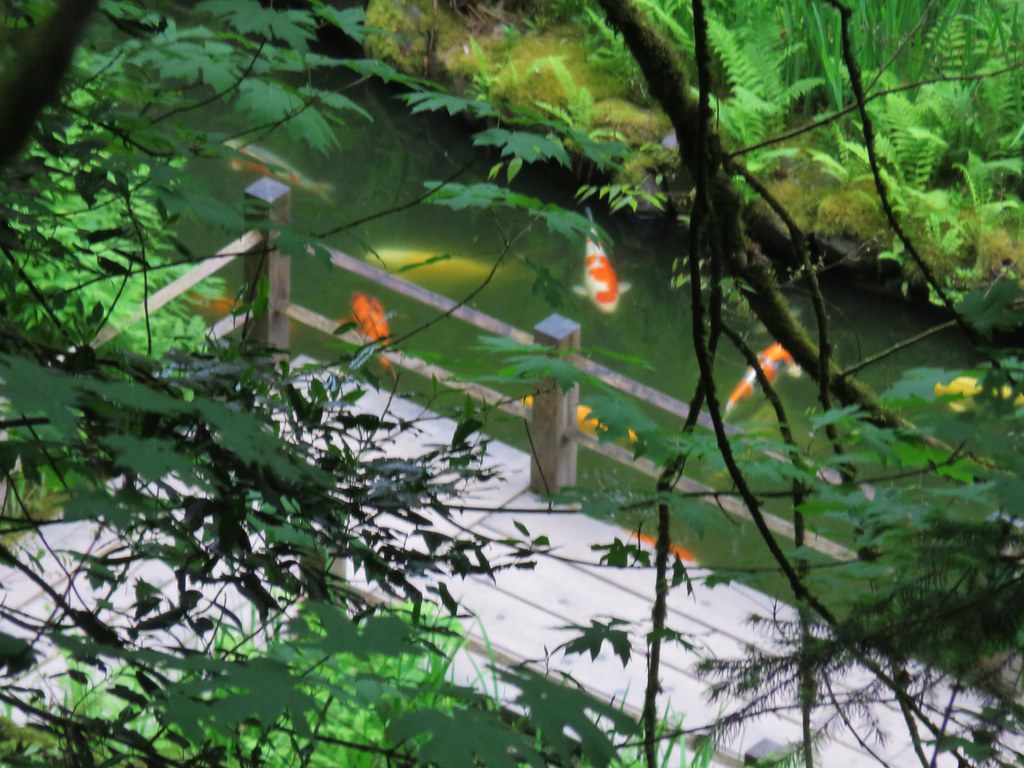
This is another place we’ve yet to get to but will someday. We stayed right the junction remaining on the Wildwood Trail as it passed above the garden which we could see below.
IMG_3232

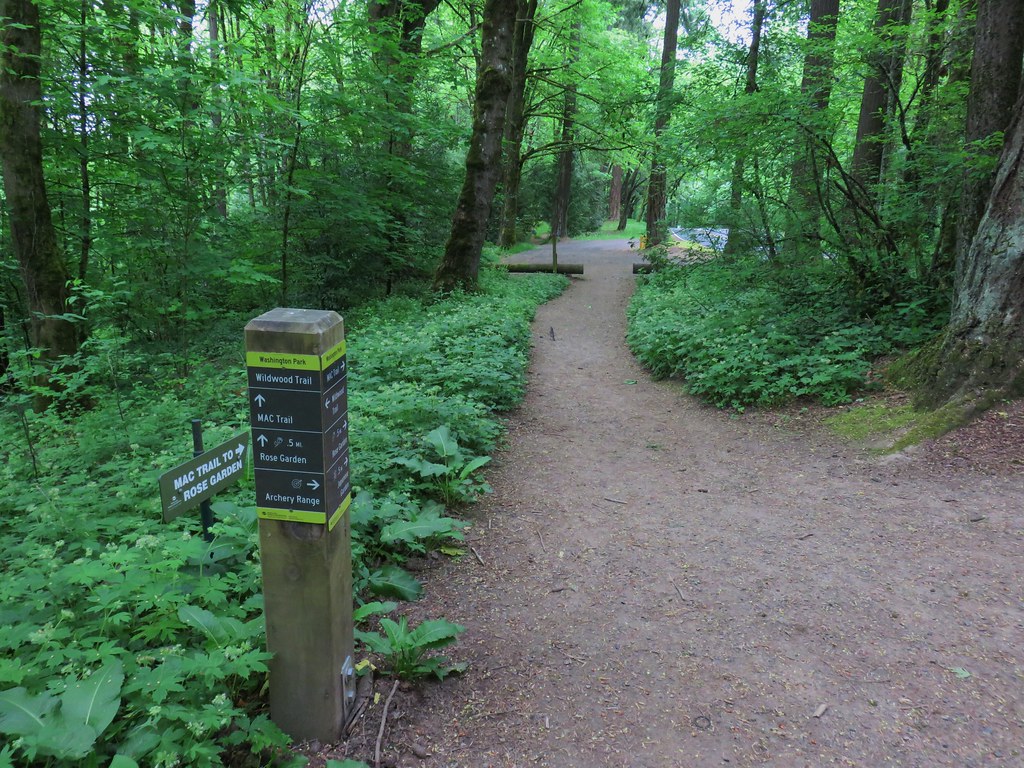
The Wildwood Trail wrapped around the hillside past a junction for the Mac Trail to the Rose Garden and then an archery range.
IMG_3235

IMG_3236

IMG_3238

A section of the trail near the archery range had recently been reopened after being realigned.
IMG_3240

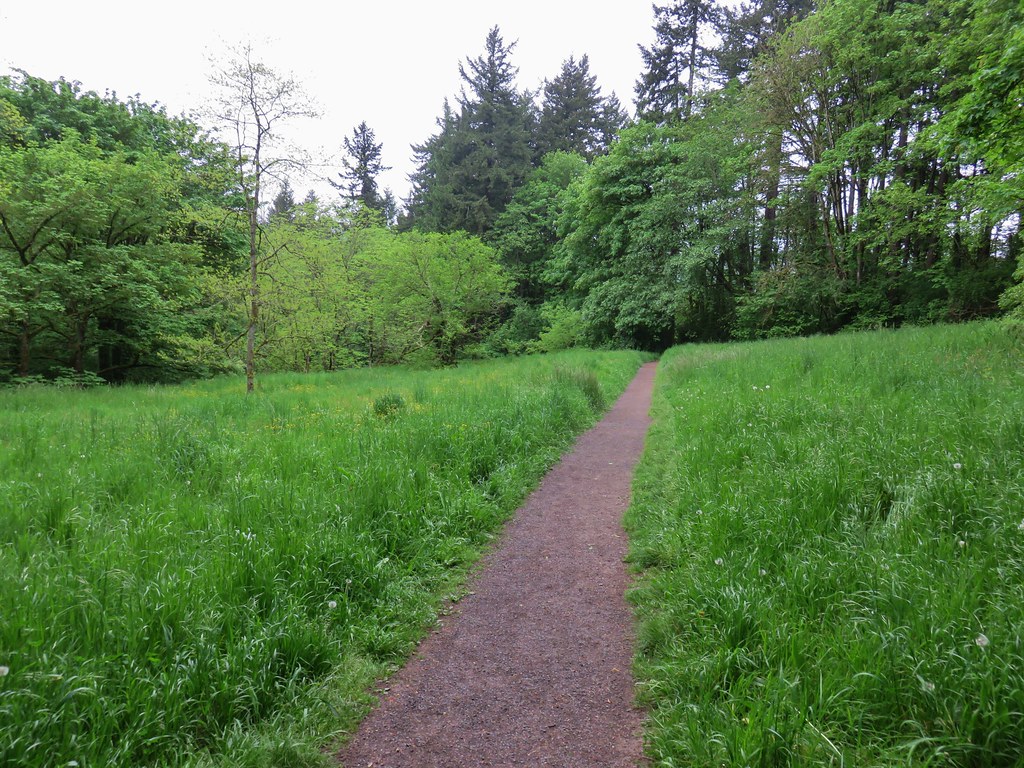
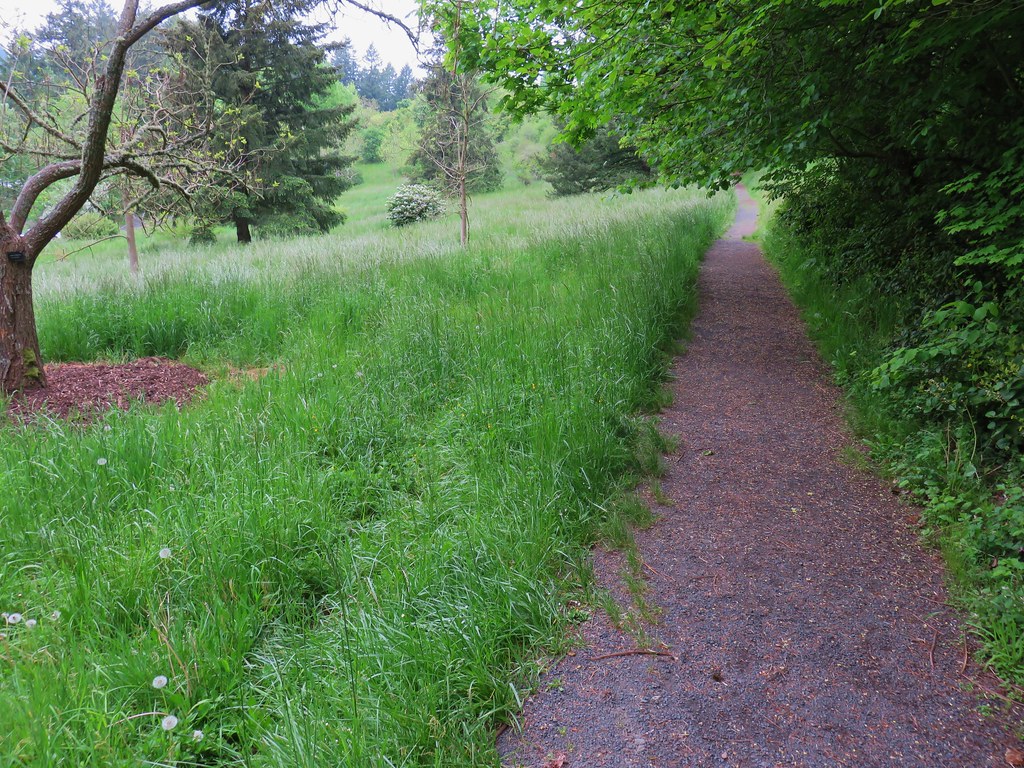
We wound up leaving the Wildwood Trail shortly after passing the archery ranger when we took a left onto the Maple Trail then a right on the Walnut Trail and finally following the Ash Trail from a three way junction of the Maple, Walnut & Ash Trails back to Vietnam Veterans Memorial.
IMG_3241

IMG_3243

IMG_3245

After a brief stop at our car to grab a snack it was time to head to Council Crest so we returned to the memorial entrance where we turned left onto an unmarked path.
IMG_3247

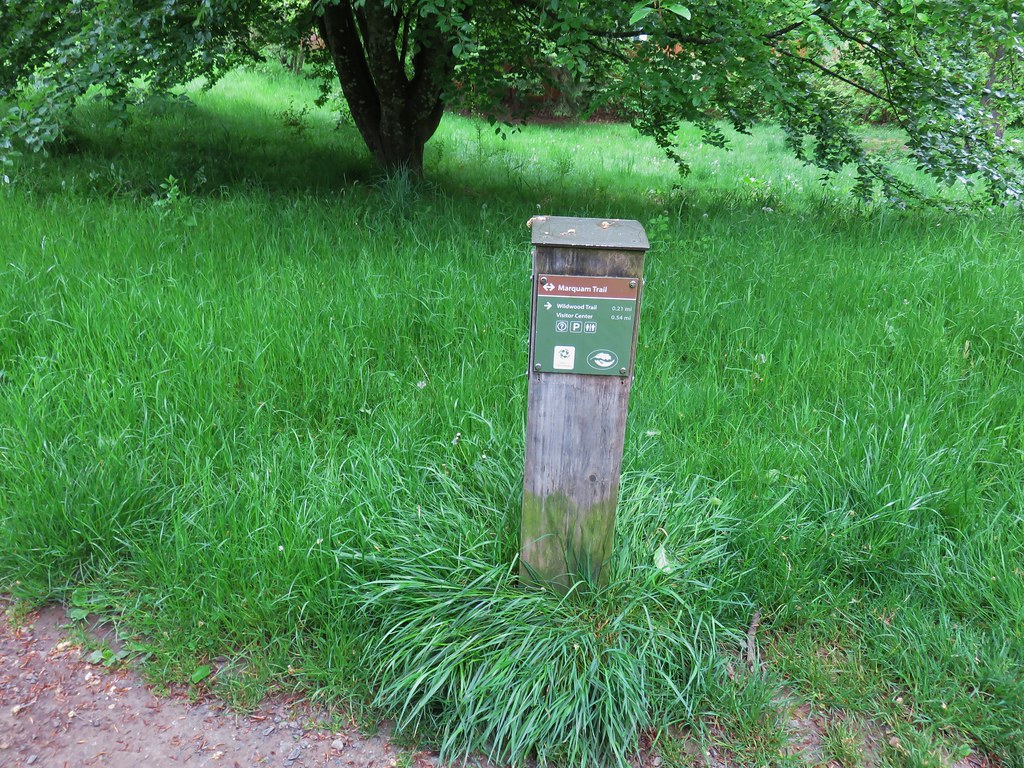
This path quickly joined the Marquam Trail which we followed south behind the World Forestry Center.
IMG_3250

We were hoping the clouds would burn off as the morning progressed but one look toward Council Crest let us know that that was probably wishful thinking.
IMG_3251

The Marquam Trail descended to SW Canyon Rd where we once again had to dash across a road to a freeway bridge which followed over Highway 26. On the far side of the bridge we dashed across the highway on ramp then followed the shoulder downhill to a continuation of the trail.
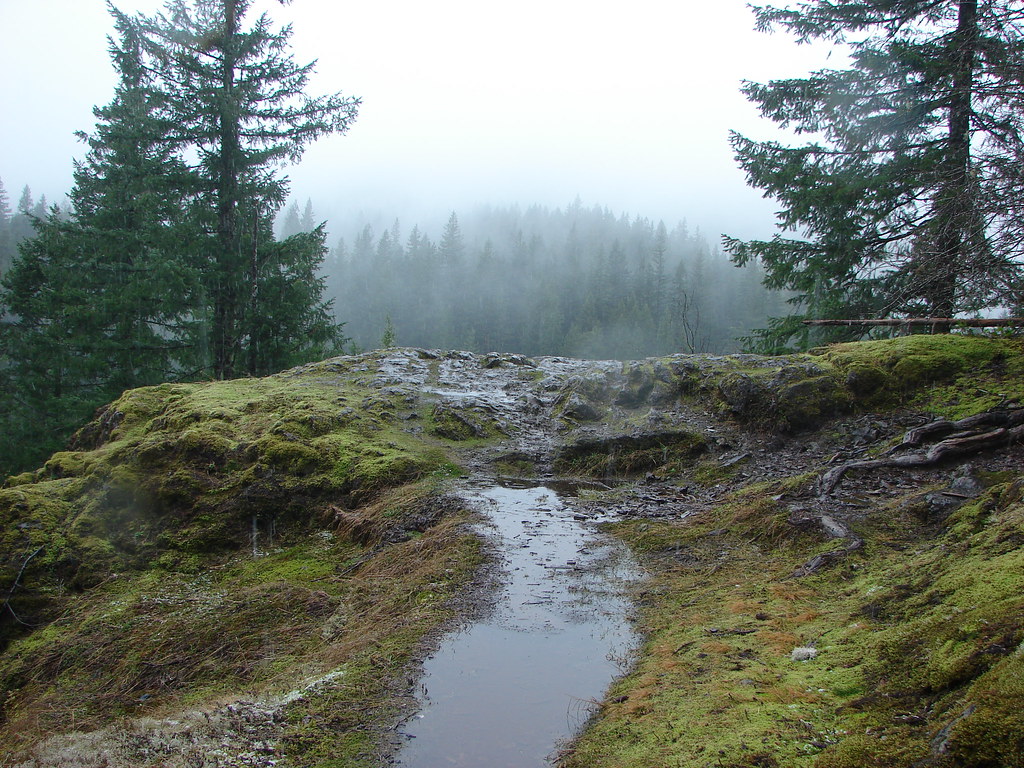
IMG_3252

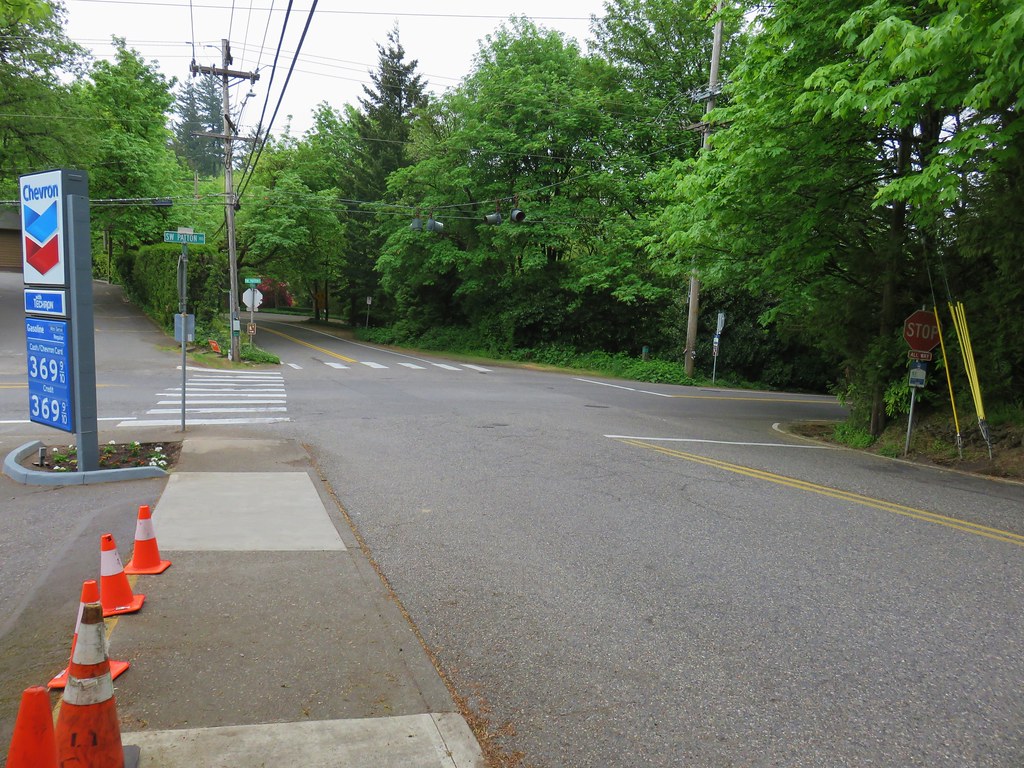
This was one of the strangest maneuvers that we could remember doing on a trail. From the on ramp the Marquam Trail climbed through a nice but noisy forest for a about .6 miles to SW Patton Road. Here the route followed the shoulder of the road right to an intersection. We followed the crosswalk stripes across SW Humphrey Blvd then left across Patton onto SW Talbot Rd.
IMG_3267 View back to the intersection from SW Talbot Rd

We followed the shoulder of Talbot Rd for approximately a tenth of a mile to another intersection.
IMG_3254

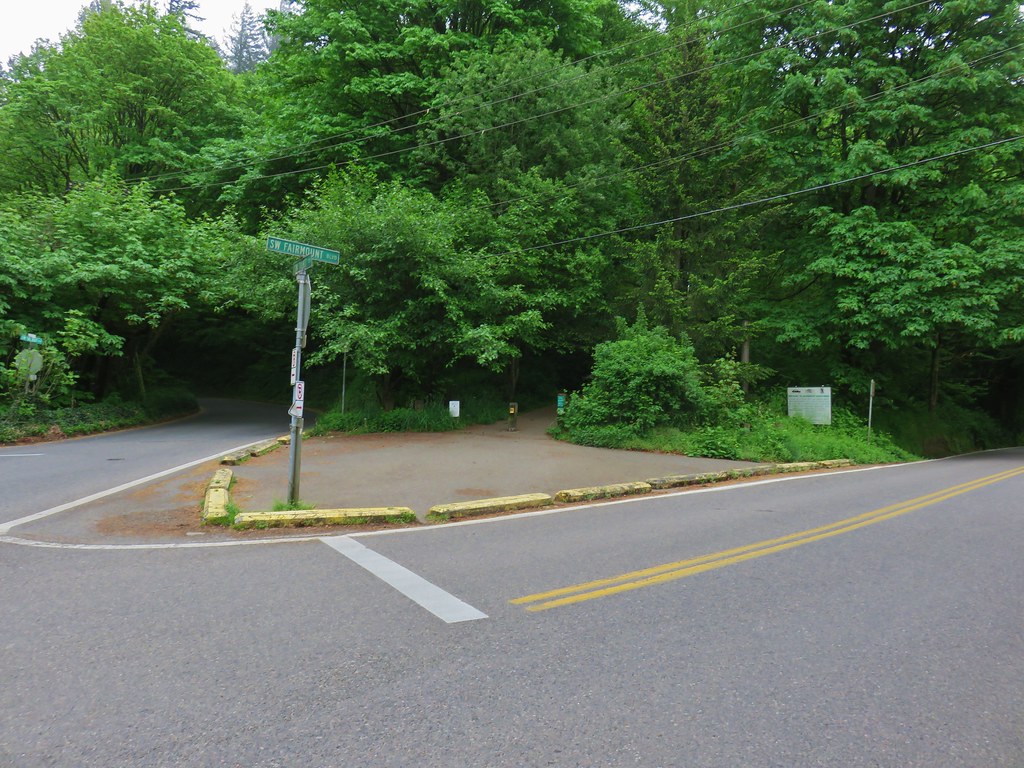
Here we crossed SW Fairmount Blvd and got back onto a proper trail.
IMG_3255

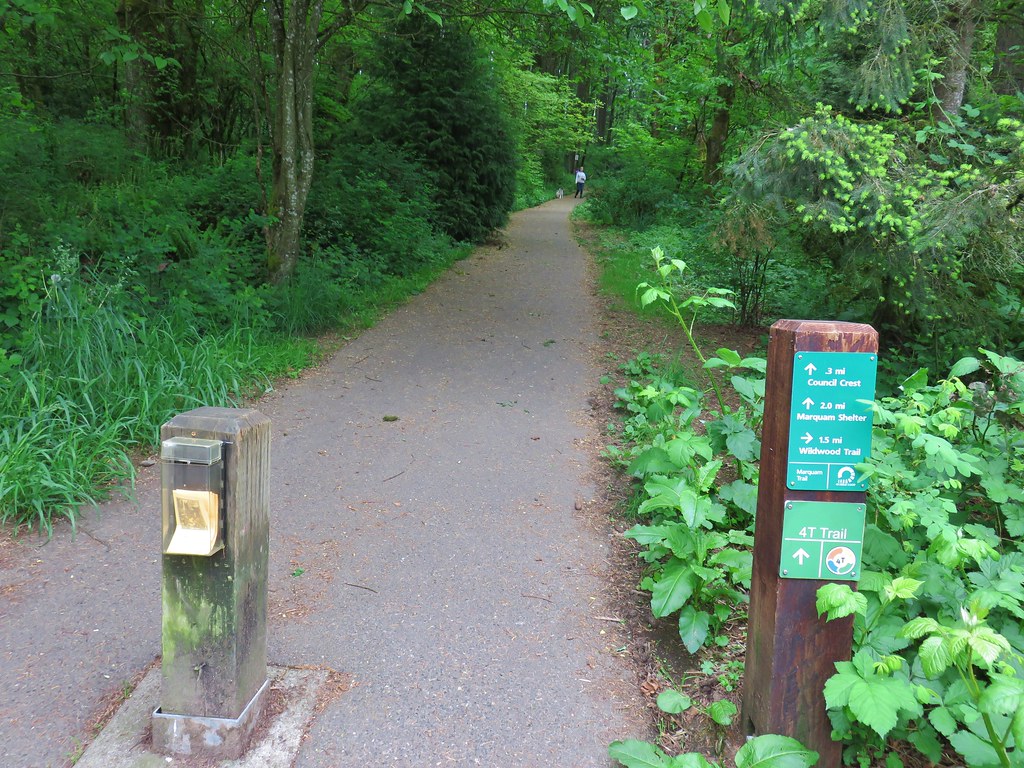
We stuck to the paved path as it wound around the hillside and up to Council Crest, the highest point in Portland at 1073′.
IMG_3256

IMG_3258

IMG_3260

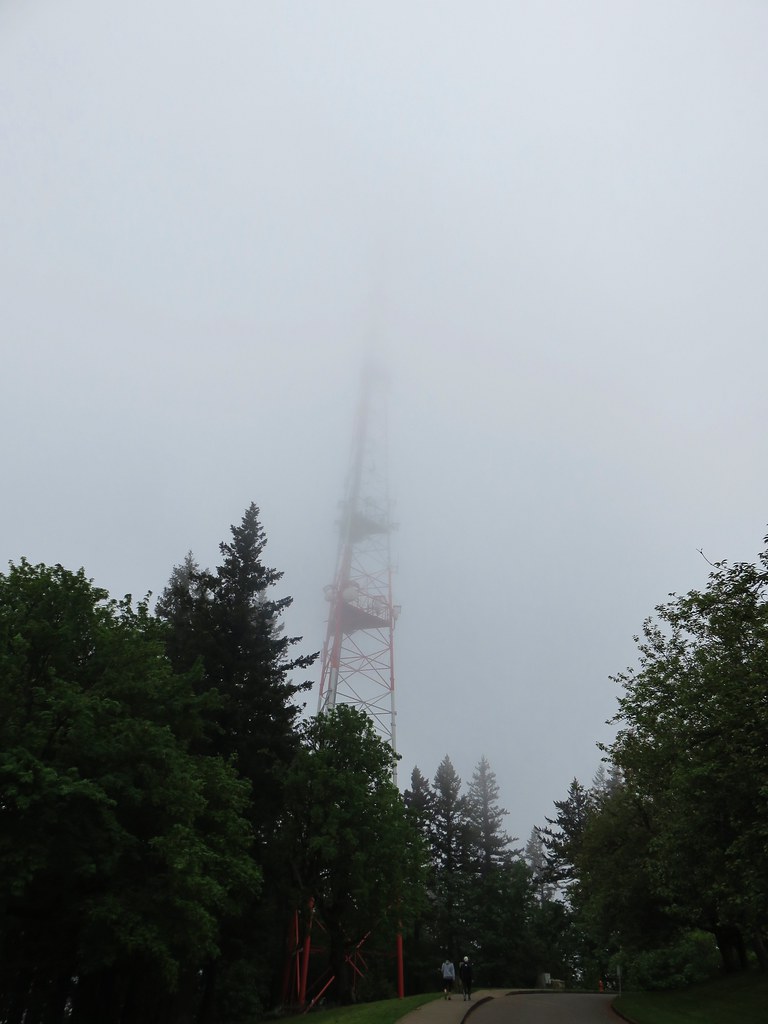
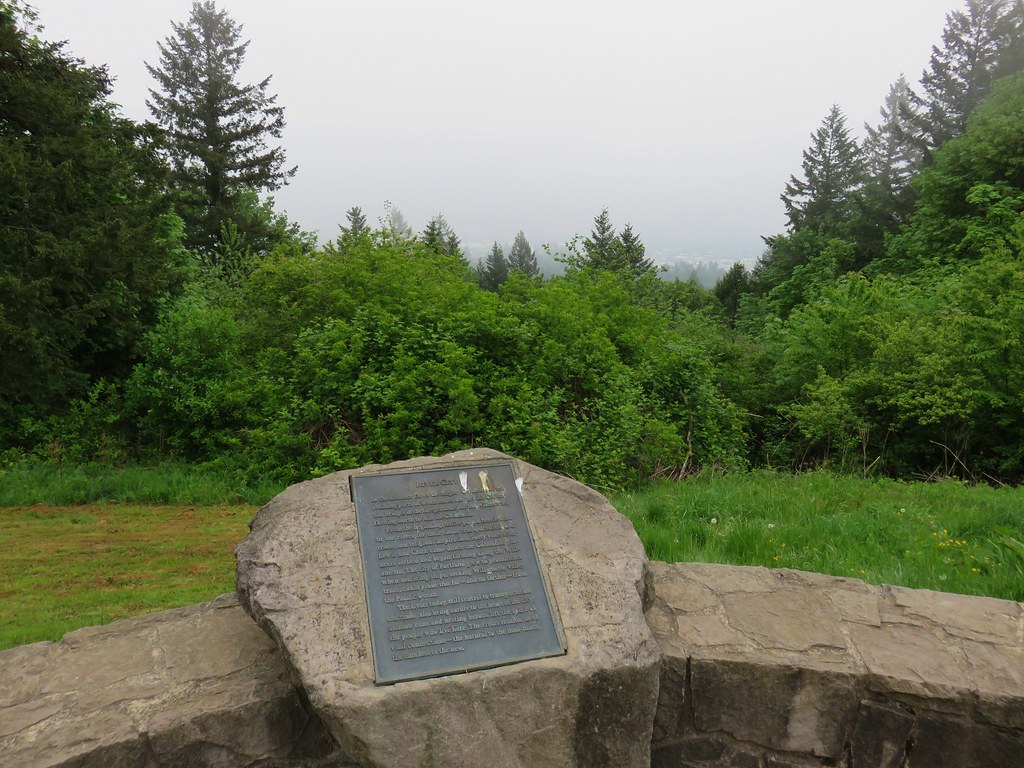
Not only had the clouds not burned off, they were low enough that we were practically in them. On a clearer day the mountains from Mt. Rainier to Mt. Jefferson would have been visible but instead we had a nice view of a green water tower.
IMG_3259

IMG_3261

The views from Council Crest would have to wait for another time. Not only was there no view but the moisture from the clouds made it a little chilly up there. We headed back returning to our car to change and grab our zoo tickets. The hike to Pittock Mansion and back had been just under 6 miles and the out-and-back to Council Crest 3.5 miles. The early start and a crisp pace had gotten us back to the car at 9:45am leaving us more than enough time to enjoy the zoo.
IMG_3272

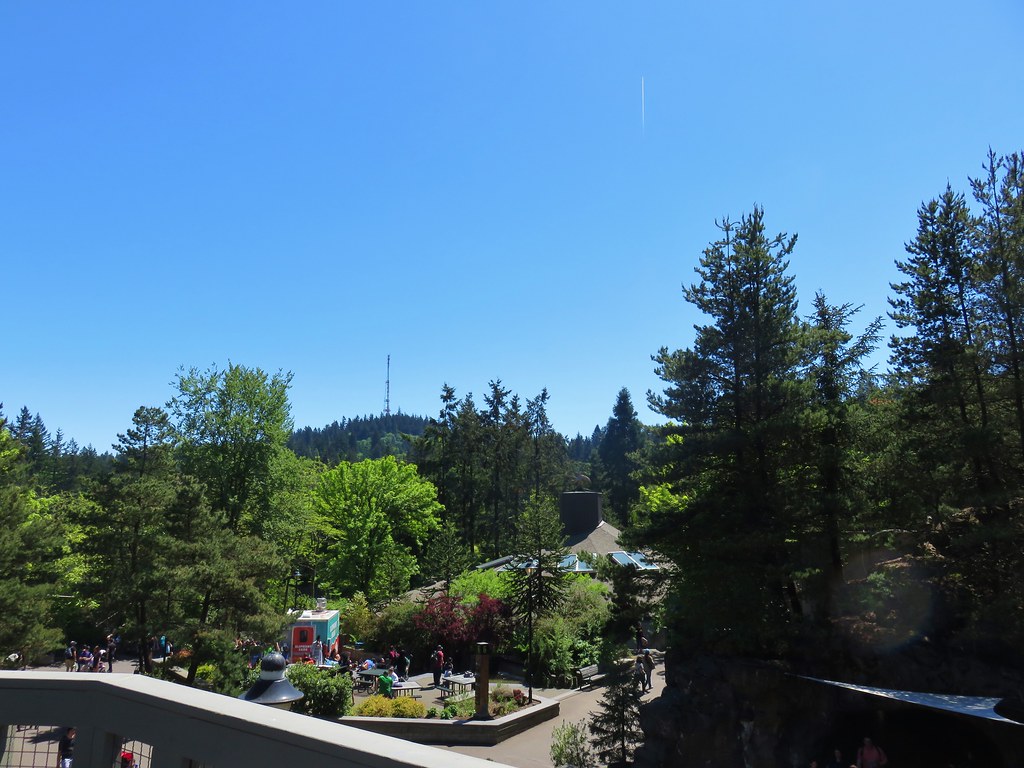
We spent about 4 hours wandering around there which isn’t really a hike so I wont get into the details here but many of the animals were out and about and it wasn’t long before the clouds did in fact burn off. As we left the zoo a glance up at Council Crest said it would have been a different view up there in the afternoon.
IMG_3694
Happy Trails!

Flickr: Pittock Mansion & Council Crest
Oregon Zoo

Categories
Central Oregon Hiking Ochoco Mountains Oregon Throwback Thursday Trip report

Throwback Thursday – Twin Pillars

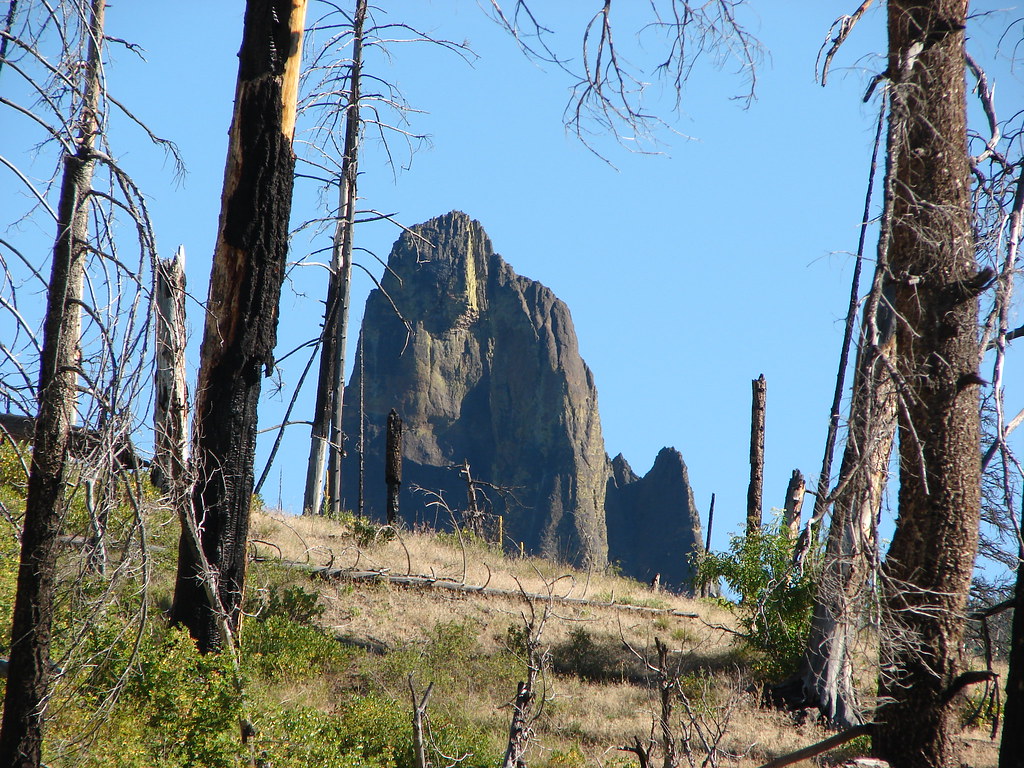
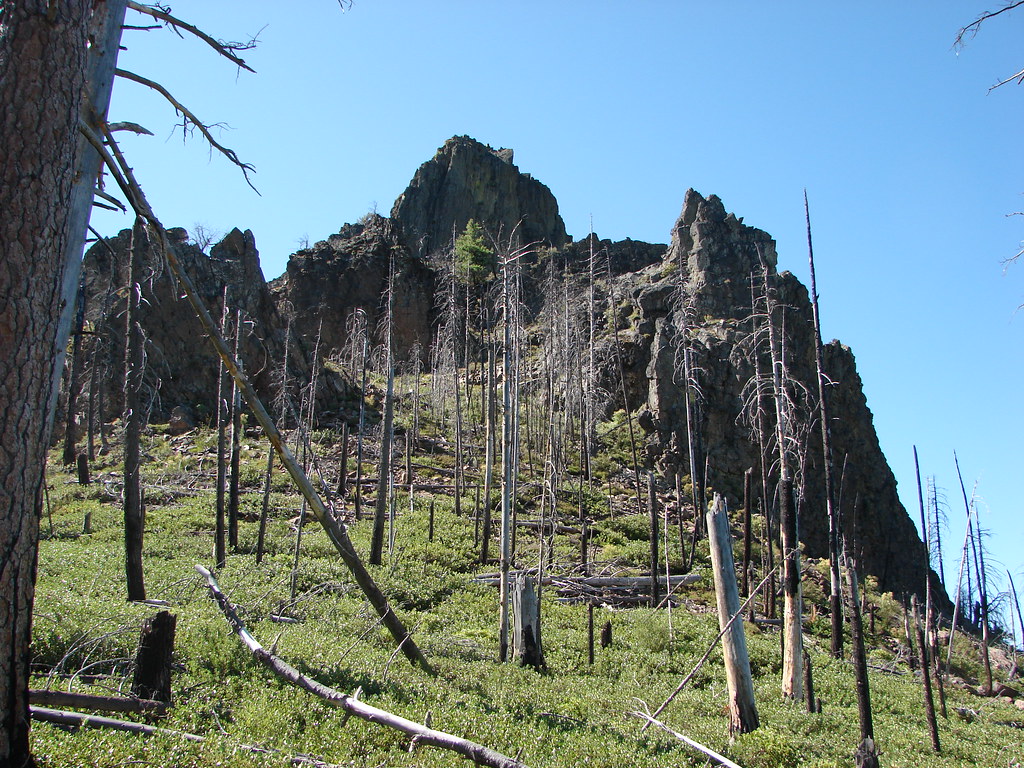
The subject of the this weeks Throwback Thursday is our first hike in the Ochoco Mountains. On 7/31/2012 we planned on visiting the Twin Pillars in the Mill Creek Wilderness. There were two fires in the Mill Creek Wilderness in 2017, the Belknap and Desolation Fires but it doesn’t look like either burned over the route we took on this visit.

We started at the Twin Pillars South Trailhead located near Wildcat Campground. The trailhead can be reached by driving Highway 26 9.2 miles east of Prineville and turning left on Mill Creek Road for 10.6 miles to the entrance of Wildcat Campground. We parked at a large gravel parking area 200 yards after turning into the campground area.Twin Pillars Trailhead

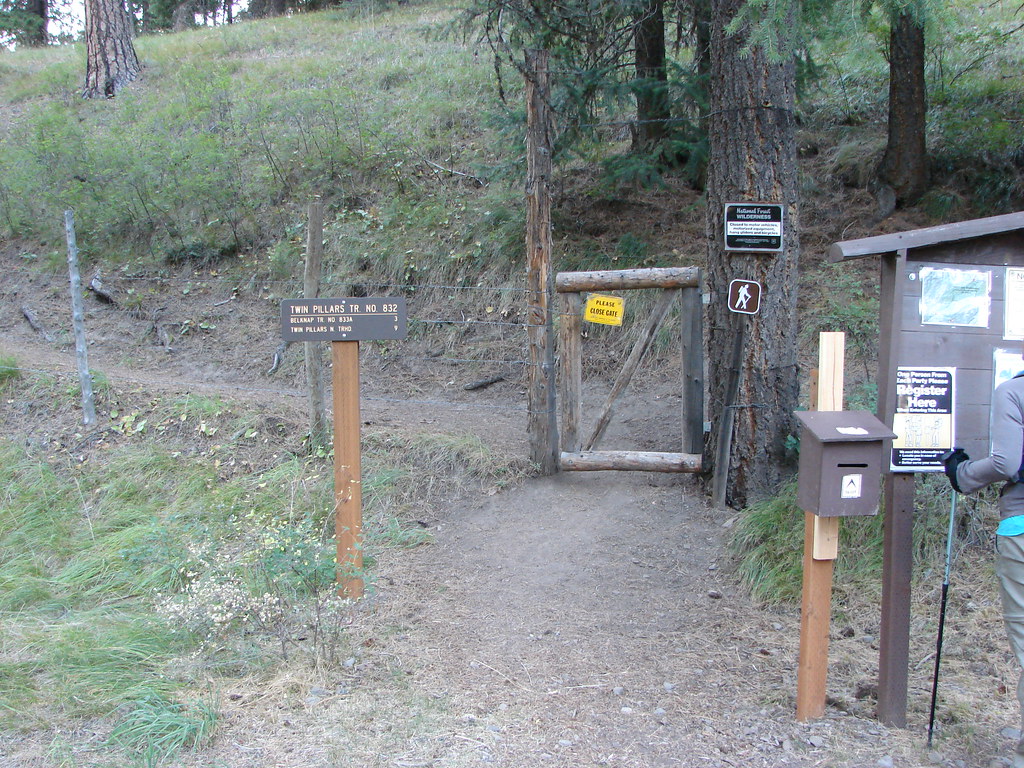
We followed a short path into the campground opting not to ford Mill Creek at a horse crossing. After walking to the far end of the campground we came to a gate and the start of the Twin Pillars Trail.Twin Pillars Trailhead

The trail almost immediately entered the Mill Creek Wilderness.Mill Creek Wilderness sign

The trail followed Mill Creek through a forest with ponderosa pines and a few remaining wildflowers.Mill Creek Wilderness

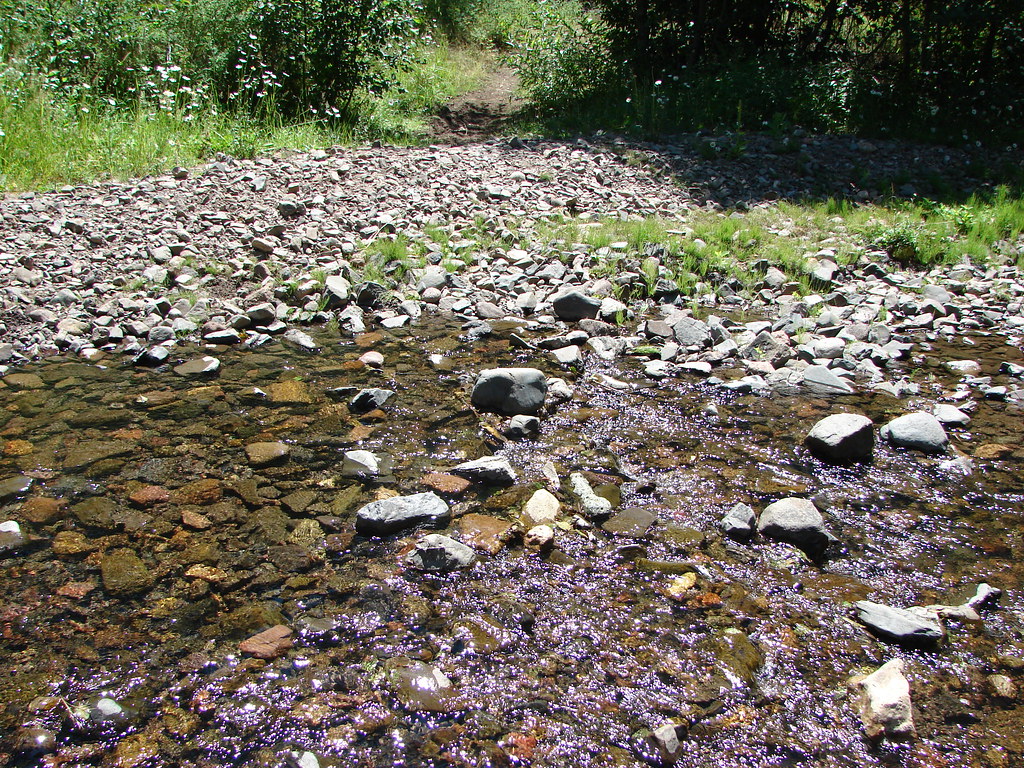
Mill Creek

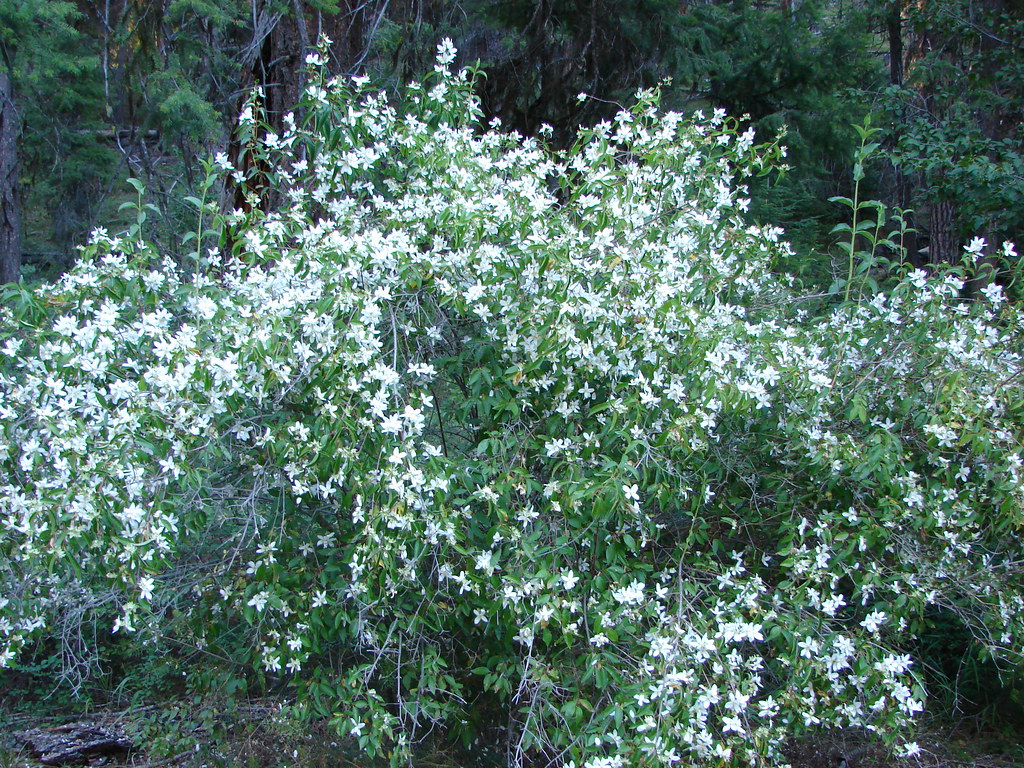
Lewis Mock Orange

Twin Pillars Trail

The official trail fords the creek 7 times in the first 2 miles but often cattle trails existed on both sides of the creek making many of the fords unnecessary. Low summer water levels allowed us to stay dry on the crossings we did do.Twin Pillars Trail

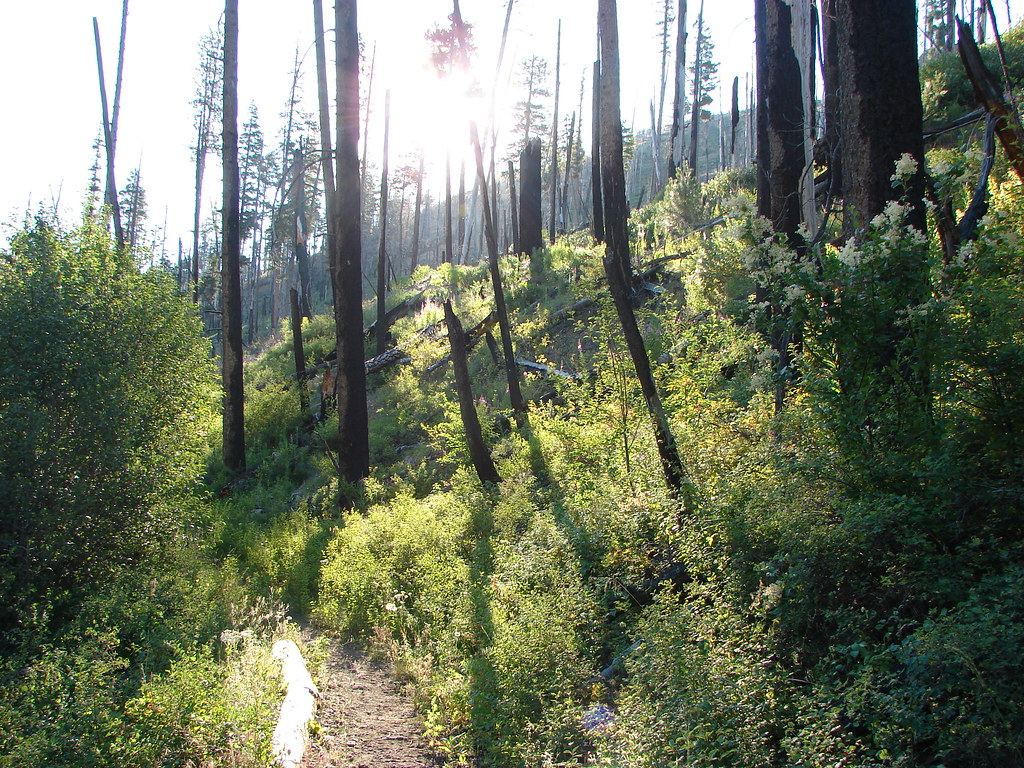
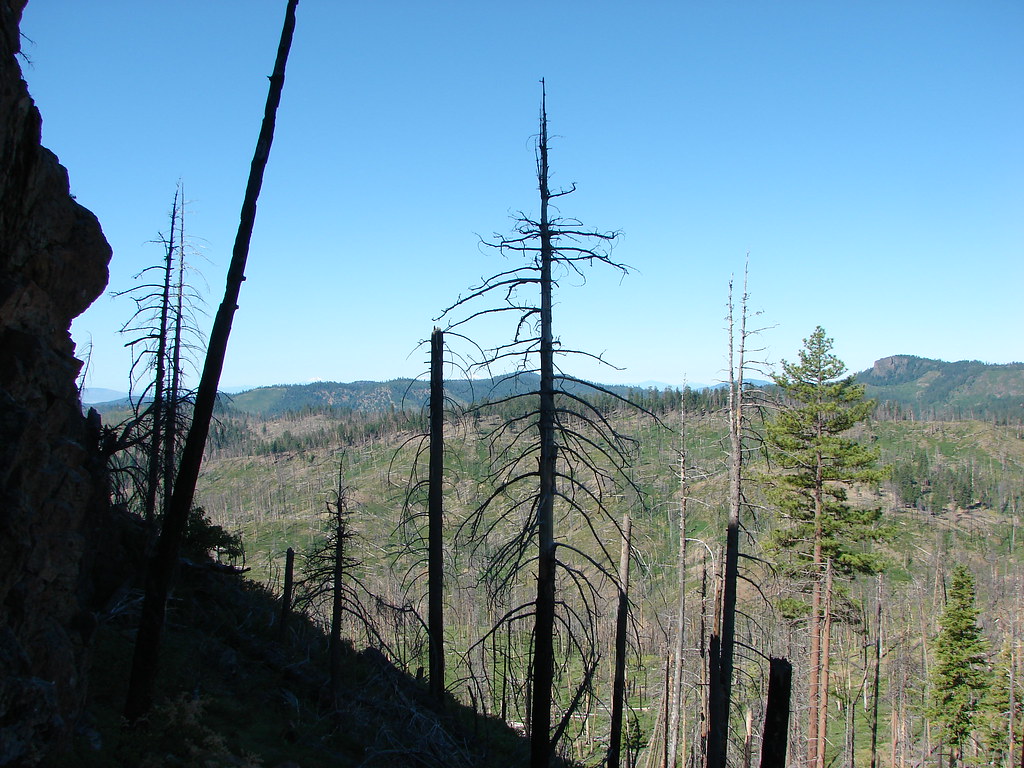
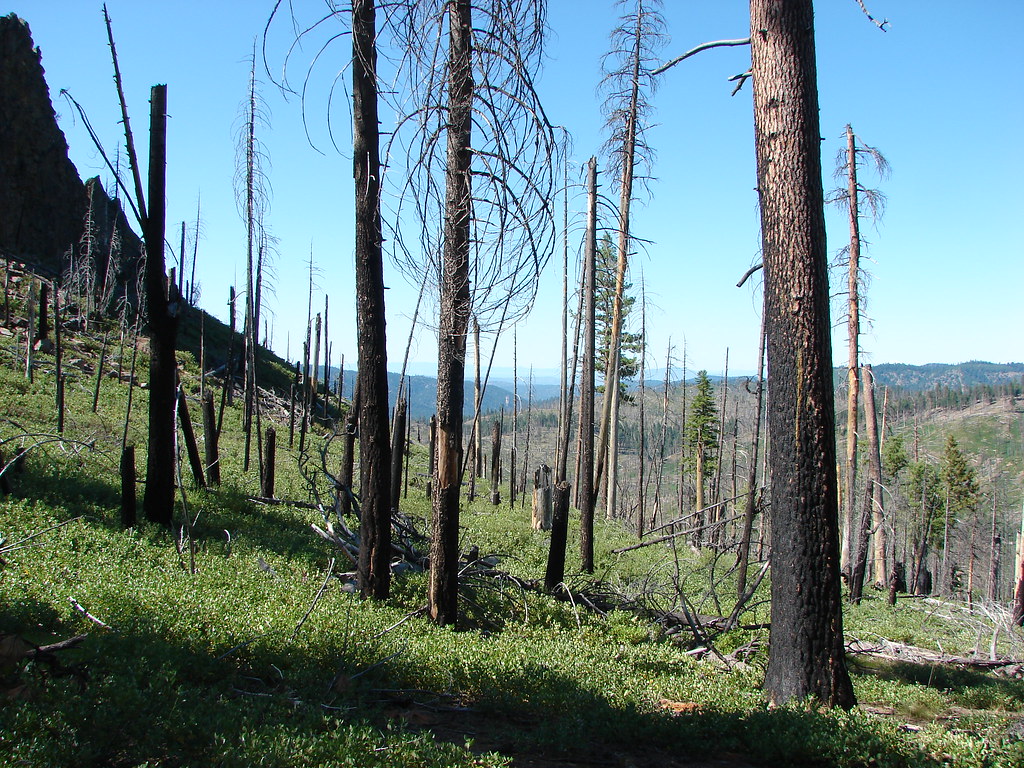
Beyond the 7th ford the trail entered scars of a wildfire that swept through the wilderness in 2000.Mill Creek along the Twin Pillars Trail

Twin Pillars Trail

Here we ran into some of the cattle responsible for the unofficial paths.Cows along Mill Creek

We played a frustrating game of follow the leader with them as they would move up the trail ahead of us leaving “land mines” along the way. Eventually they would stop and move off the trail but as we approached they would once again hop on the trail in front of us and repeat the game. We lost them somewhere around the 2.9 mile mark where the Belknap Trail joined from the east. Just beyond this junction we crossed Mill Creek for the final time as the trail veered away from Mill Creek and headed uphill toward the now visible Twin Pillars.Twin Pillars
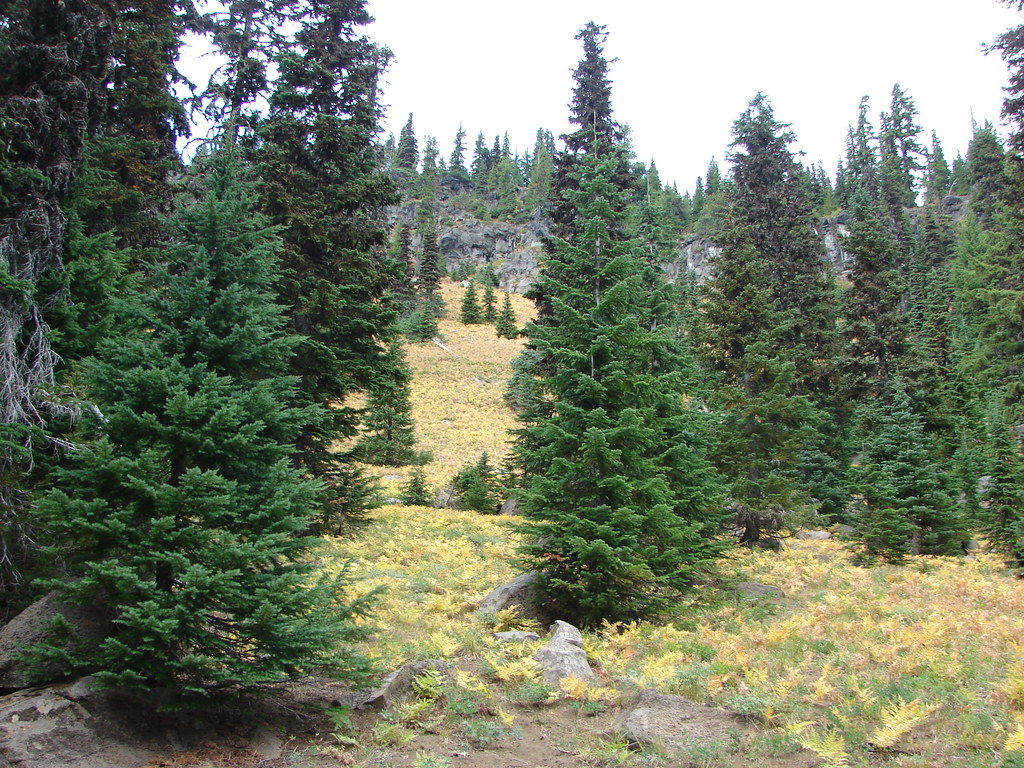
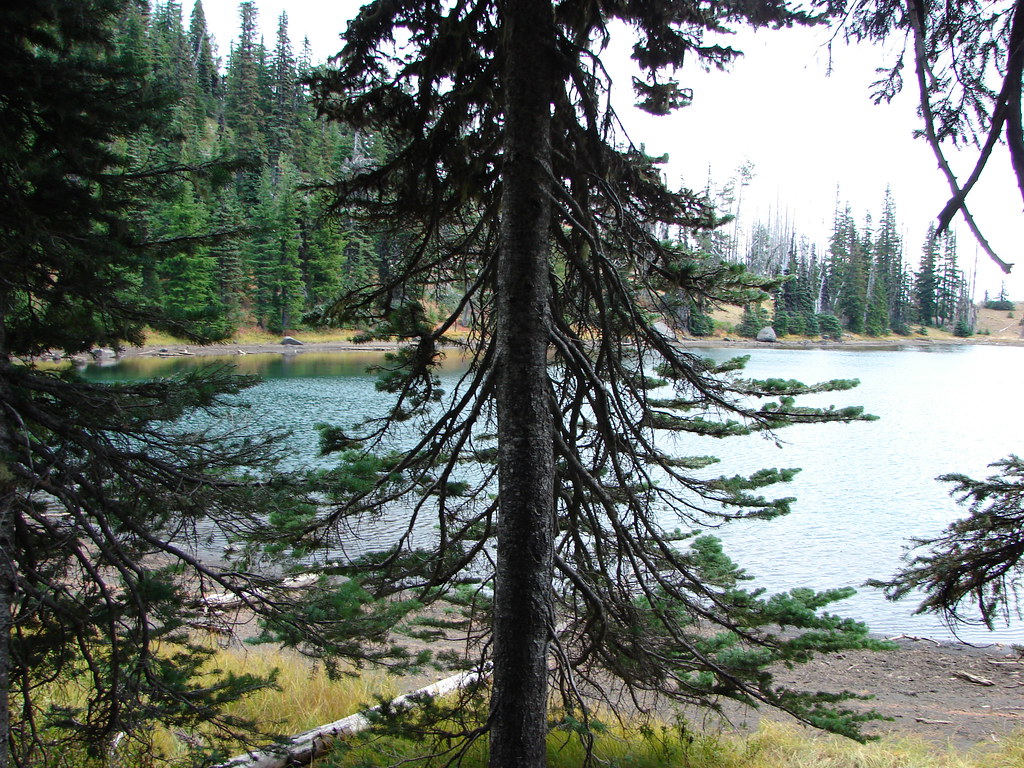
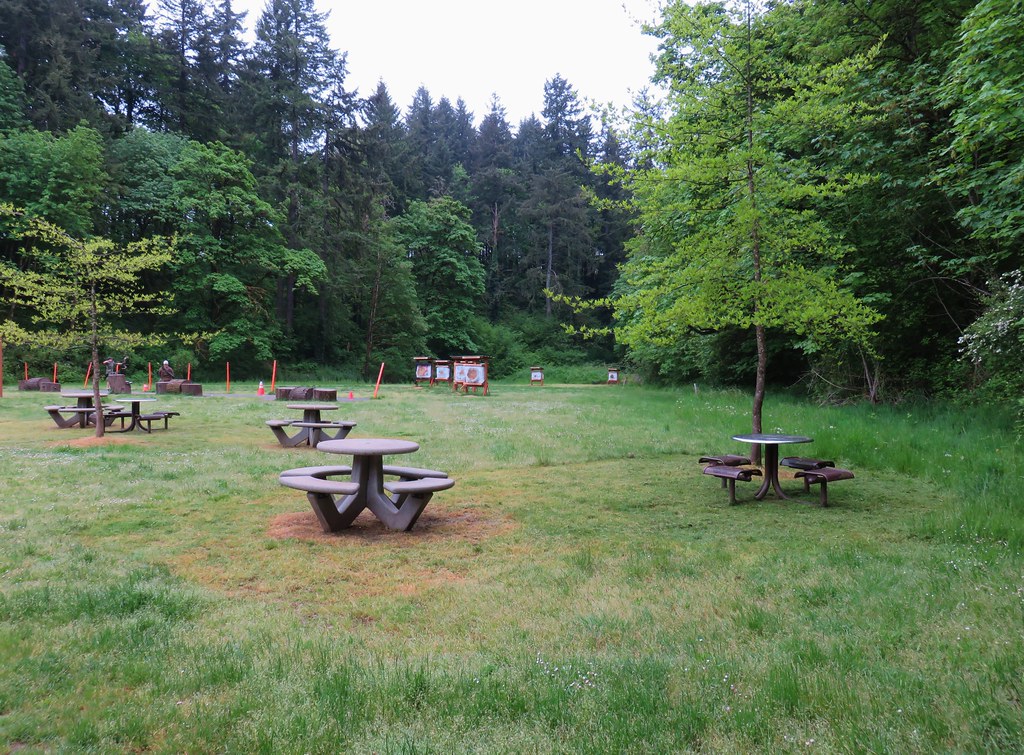
Twin Pillars

Due to the majority of trees having been lost to the fire in 2000 this section of trail was very exposed to the sun and therefore quite warm.Twin Pillars Trail

The trail crossed Brogan Creek as it continued to climb uphill.Unnamed creek along the Twin Pillars Trail

There were more cows off in the brush along this section but they stayed off the trail. We also spotted a pair of norther flickers and a Lewis’s woodpecker.Northern flickers

Lewis's Woodpecker

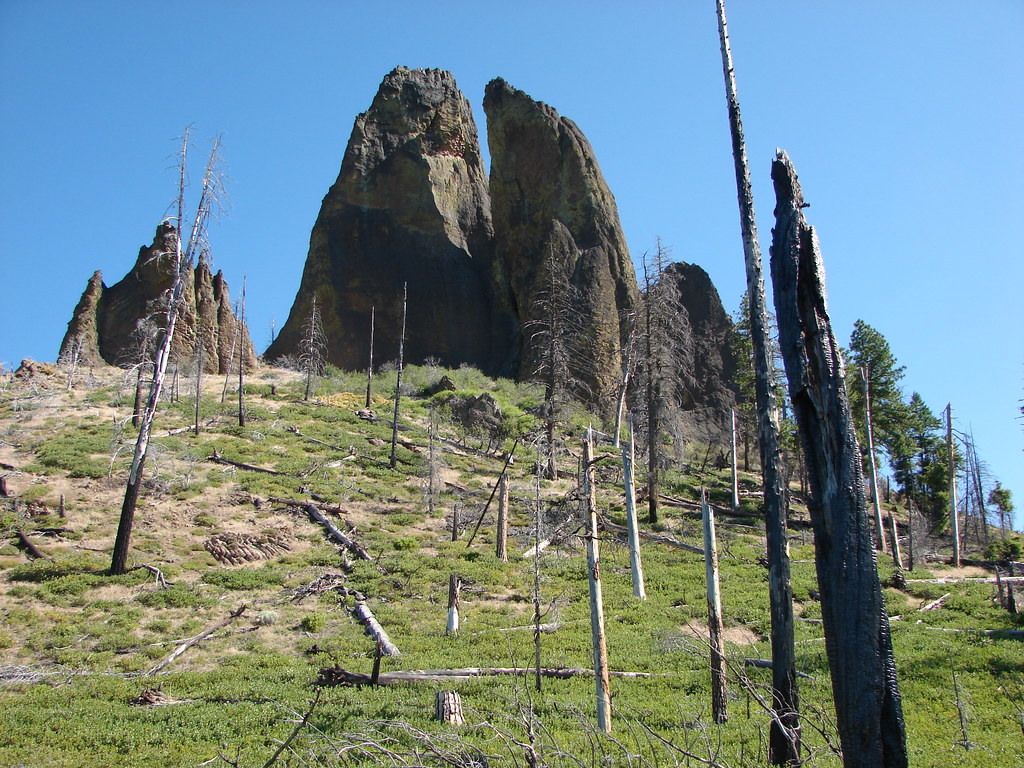
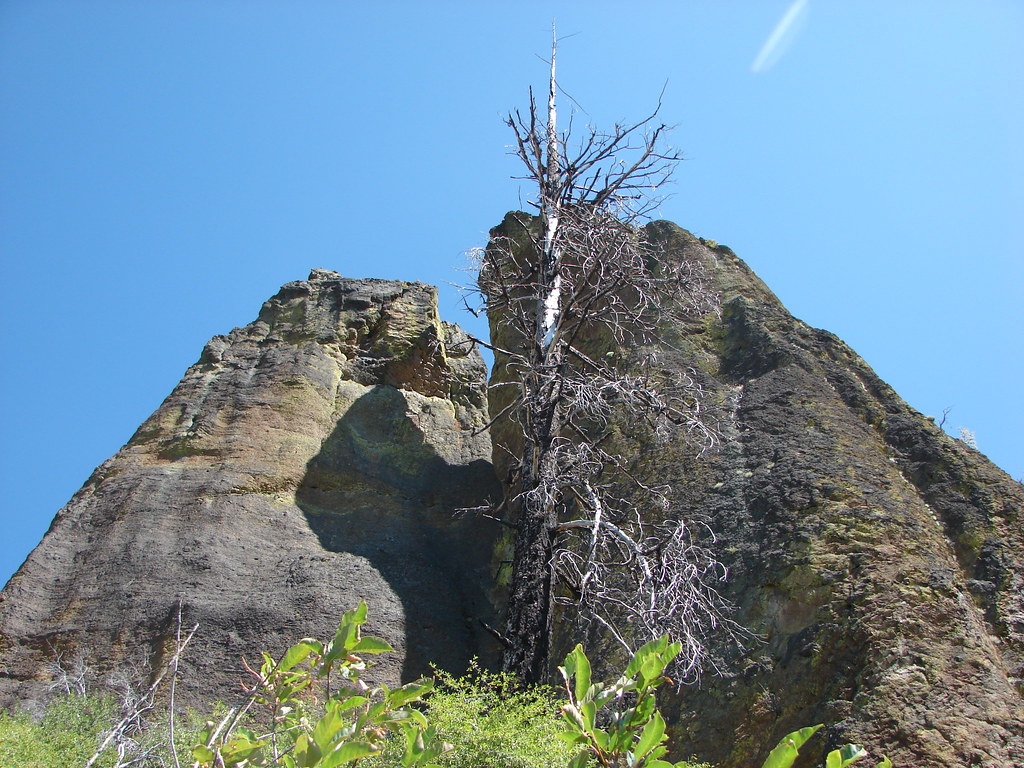
The trail continued to get closer to the Twin Pillars and began to wind around the rock formation.Twin Pillars

Twin Pillars

We were looking for a side trail to the base of the pillars which we expected to find around 2.5 miles from the Belknap Trail junction. We didn’t notice anything as we continued around the pillars and we soon found ourselves behind the rocks where the trail veered away from them toward the Twin Pillars North Trailhead on Forest Road 27. That trailhead offers a shorter hike to Twin Pillars (5.2 miles RT) but a worse drive.Twin Pillars

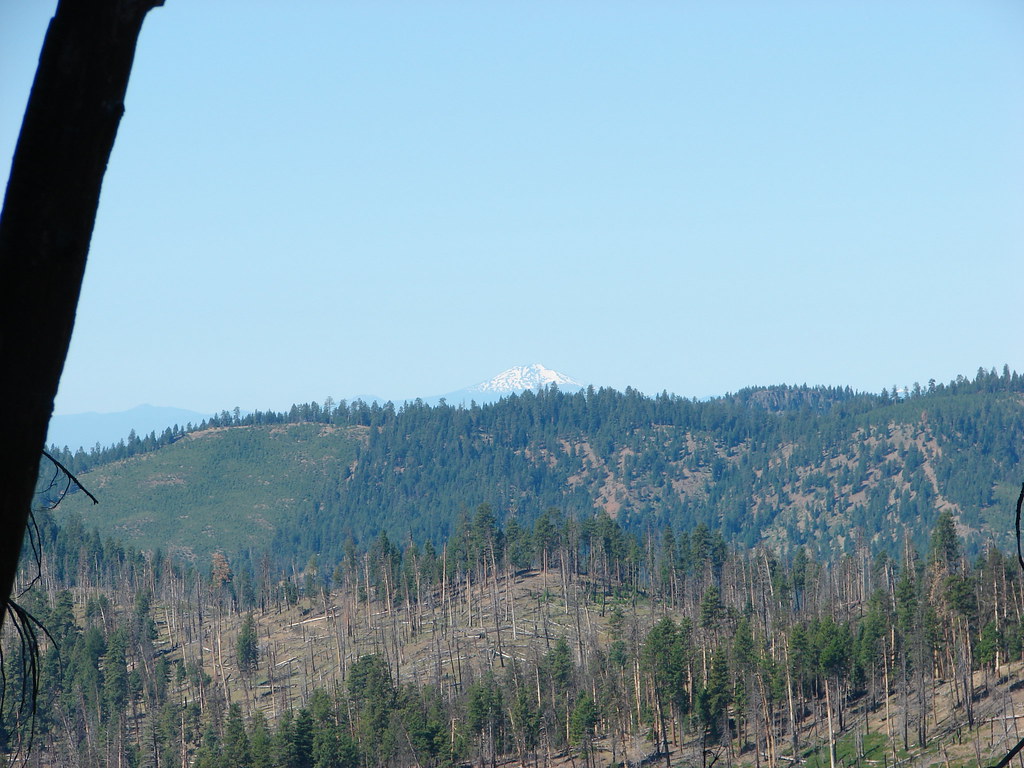
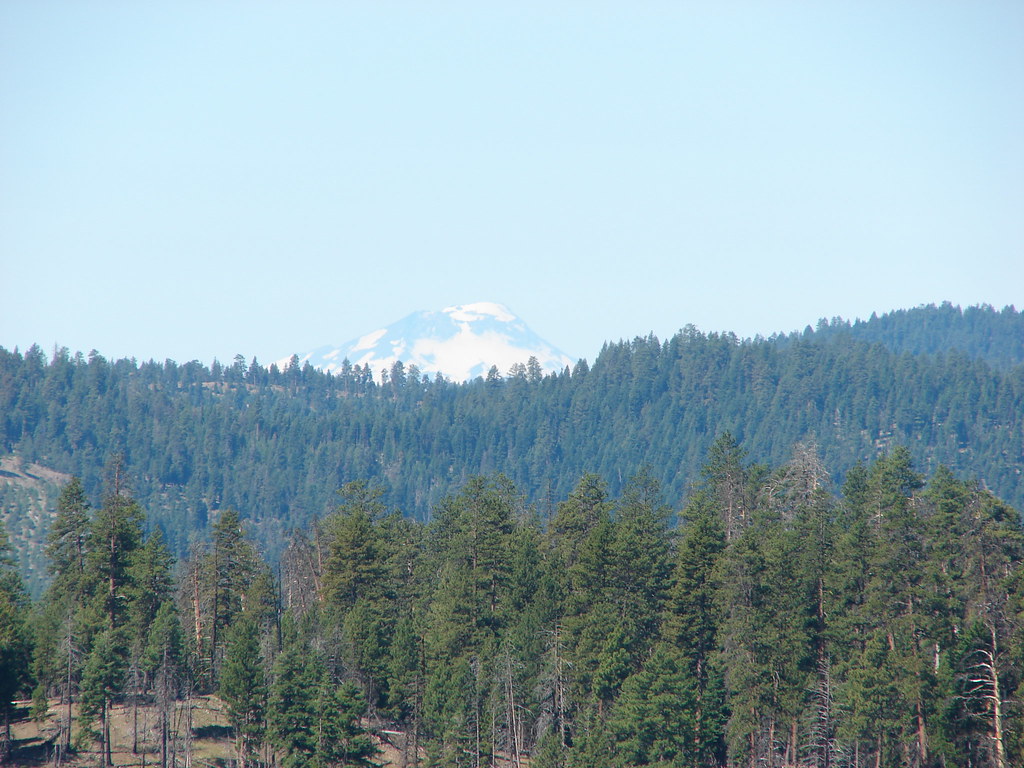
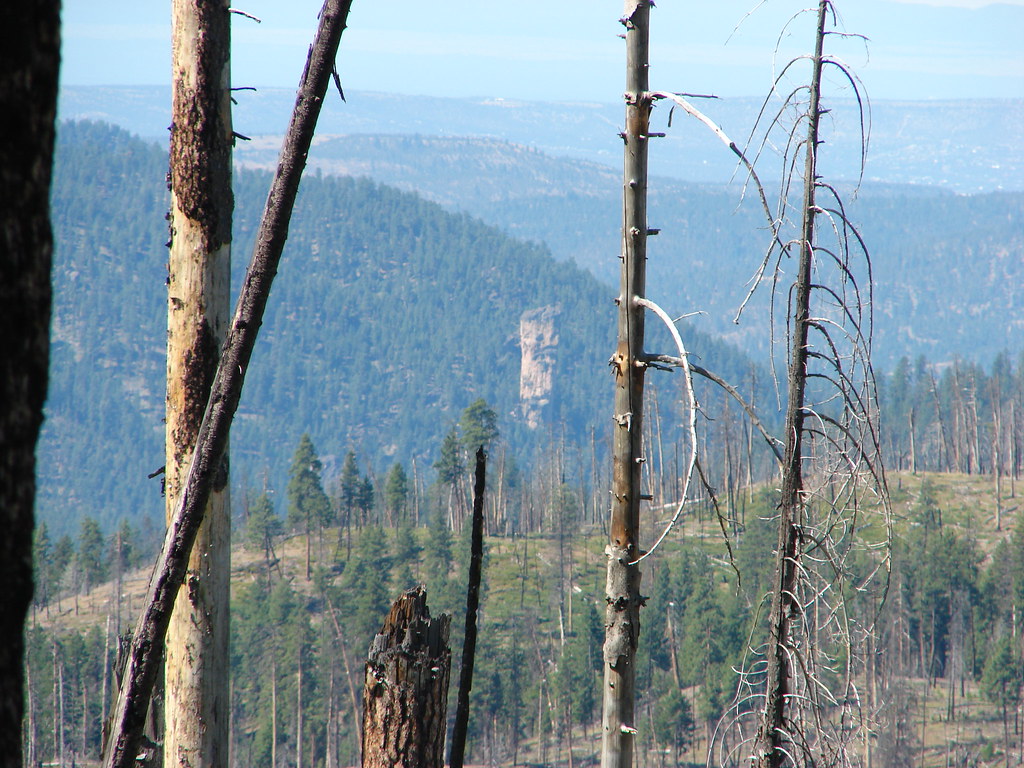
The view from this spot included Mt. Bachelor and the South Sister as well as the rhyolite ash Steins Pillar (post).View from Twin Pillars

Mt. Bachelor

Mt. Bachelor

South Sister

South Sister

View from the Twin Pillars Trail

Steins Pillar

Steins Pillar

We decided to bushwack to the base of the rocks as best we could and then worked our way around to the south a bit.Twin Pillars

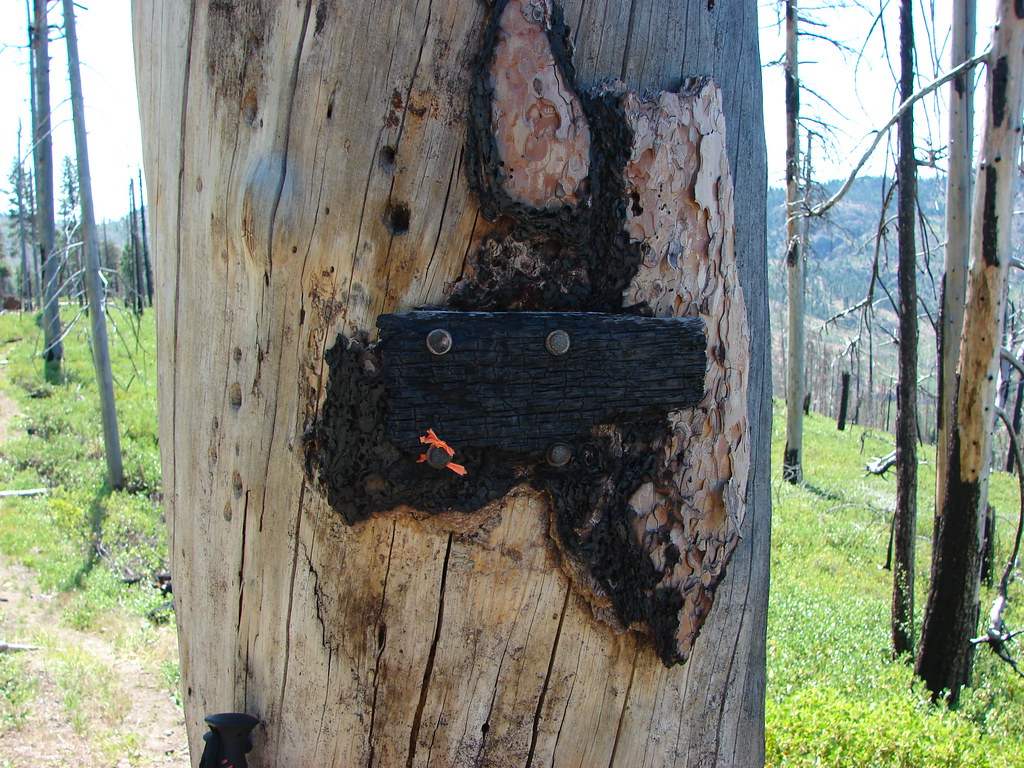
We couldn’t tell whether we were on a path or not but we followed whatever it was as best we could down away from the pillars toward the trail. As luck would have it we popped out onto the trail right by a snag that had a burnt trail sign attached to it.Burtn sign for the spur trail to Twin Pillars

It seems we had stumbled onto the side trail after all. We returned the way we’d come even playing another round of follow the cattle. We’re planning on redoing this hike at some point in late Spring or early Summer in hopes of catching more flowers and avoiding some of the heat. Until then the cows will just have to play their games with other hikers. Happy Trails!

Flickr: Twin Pillars